Harvesting Fall Beets

As I’m getting ready to plan out this year’s vegetables, I know I want to include beets.  Again.

Botanical Interests

I thought I had planted beets last spring for the first time ever, but somewhere along the growing season I forgot, or thought they never came up.  All summer I thought I had grown 2 plots of swiss chard, which actually amounted to a lot of swiss chard.  We just ate them all, never noticing any difference.  When I decided the gardens were done for the season and it was time to harvest whatever was left, out came what I had thought was the swiss chard.  But, lo and behold, there were beets attached to a whole bunch of them.

beets
Hmm, swiss chard or beets (These are beets, I think)

Ok, time to think about that.  It was then I realized these were the beets I had planted.  The same ones that that hadn’t ever grown, and mysteriously turned into swiss chard.

Now this was exciting.  I had quite a few beets from this harvest.

beets

But, beets are not something I ever remember eating.  Maybe we had them from a can when I was a kid, but even then I’m sure I didn’t eat any.

So I headed to the web to figure out how best to cook these little garden treasures…

Since this was the first time cooking them, I kept it simple and just quartered and boiled them for about 20 minutes until they were soft.  I loved the variety of colors and patterns of the beets!  My fingers turned a bit pink too, but that’s ok.

Beets

beets

We ate them just as they were, but I’m sure you could season them to your own taste.

I am definitely growing lots of them again this year, and marking them clearly!  And apparently beet greens taste a lot like swiss chard, so we’ll just continue to eat them as well.

Kitchen Lettuce

I saw on Pinterest lots of pins about how you can grow some vegetables from the remains of store-bought or farm-raised vegetables. I thought I’d give it a try with some green leafy lettuce I bought at the grocery store.

Stephi Gardens

First, I cut off the end off the head of lettuce.

Stephi Gardens

I wrapped the washed lettuce leaves, wrapped in damp paper towels and placed them in the fridge drawer for use this week.  The cut of root end, I placed in a glass of water and put it near the kitchen window.

Within a week or so, the first leaf started to grow.  I changed the water every few days to keep it fresh.

Stephi Gardens

Almost 3 weeks later, I was getting enough leaves to start to think about harvesting the lettuce for some sandwiches.  Along the way, I added another lettuce root and watched them both grow.

IMG_3081

A few days later, it was time.  I just snipped off what I wanted and let the rest continue to grow.

Stephi Gardens

Yummy fresh sandwich for lunch!

Stephi Gardens

It was fresh and tasty, but does take patience to get enough lettuce to use.  I didn’t end up with enough for a salad, but it was great for sandwiches.  A larger container with more lettuce cuttings would easily produce enough for salad.

Have you grown anything on your countertop?

Taming my Tomatoes with a Florida Weave

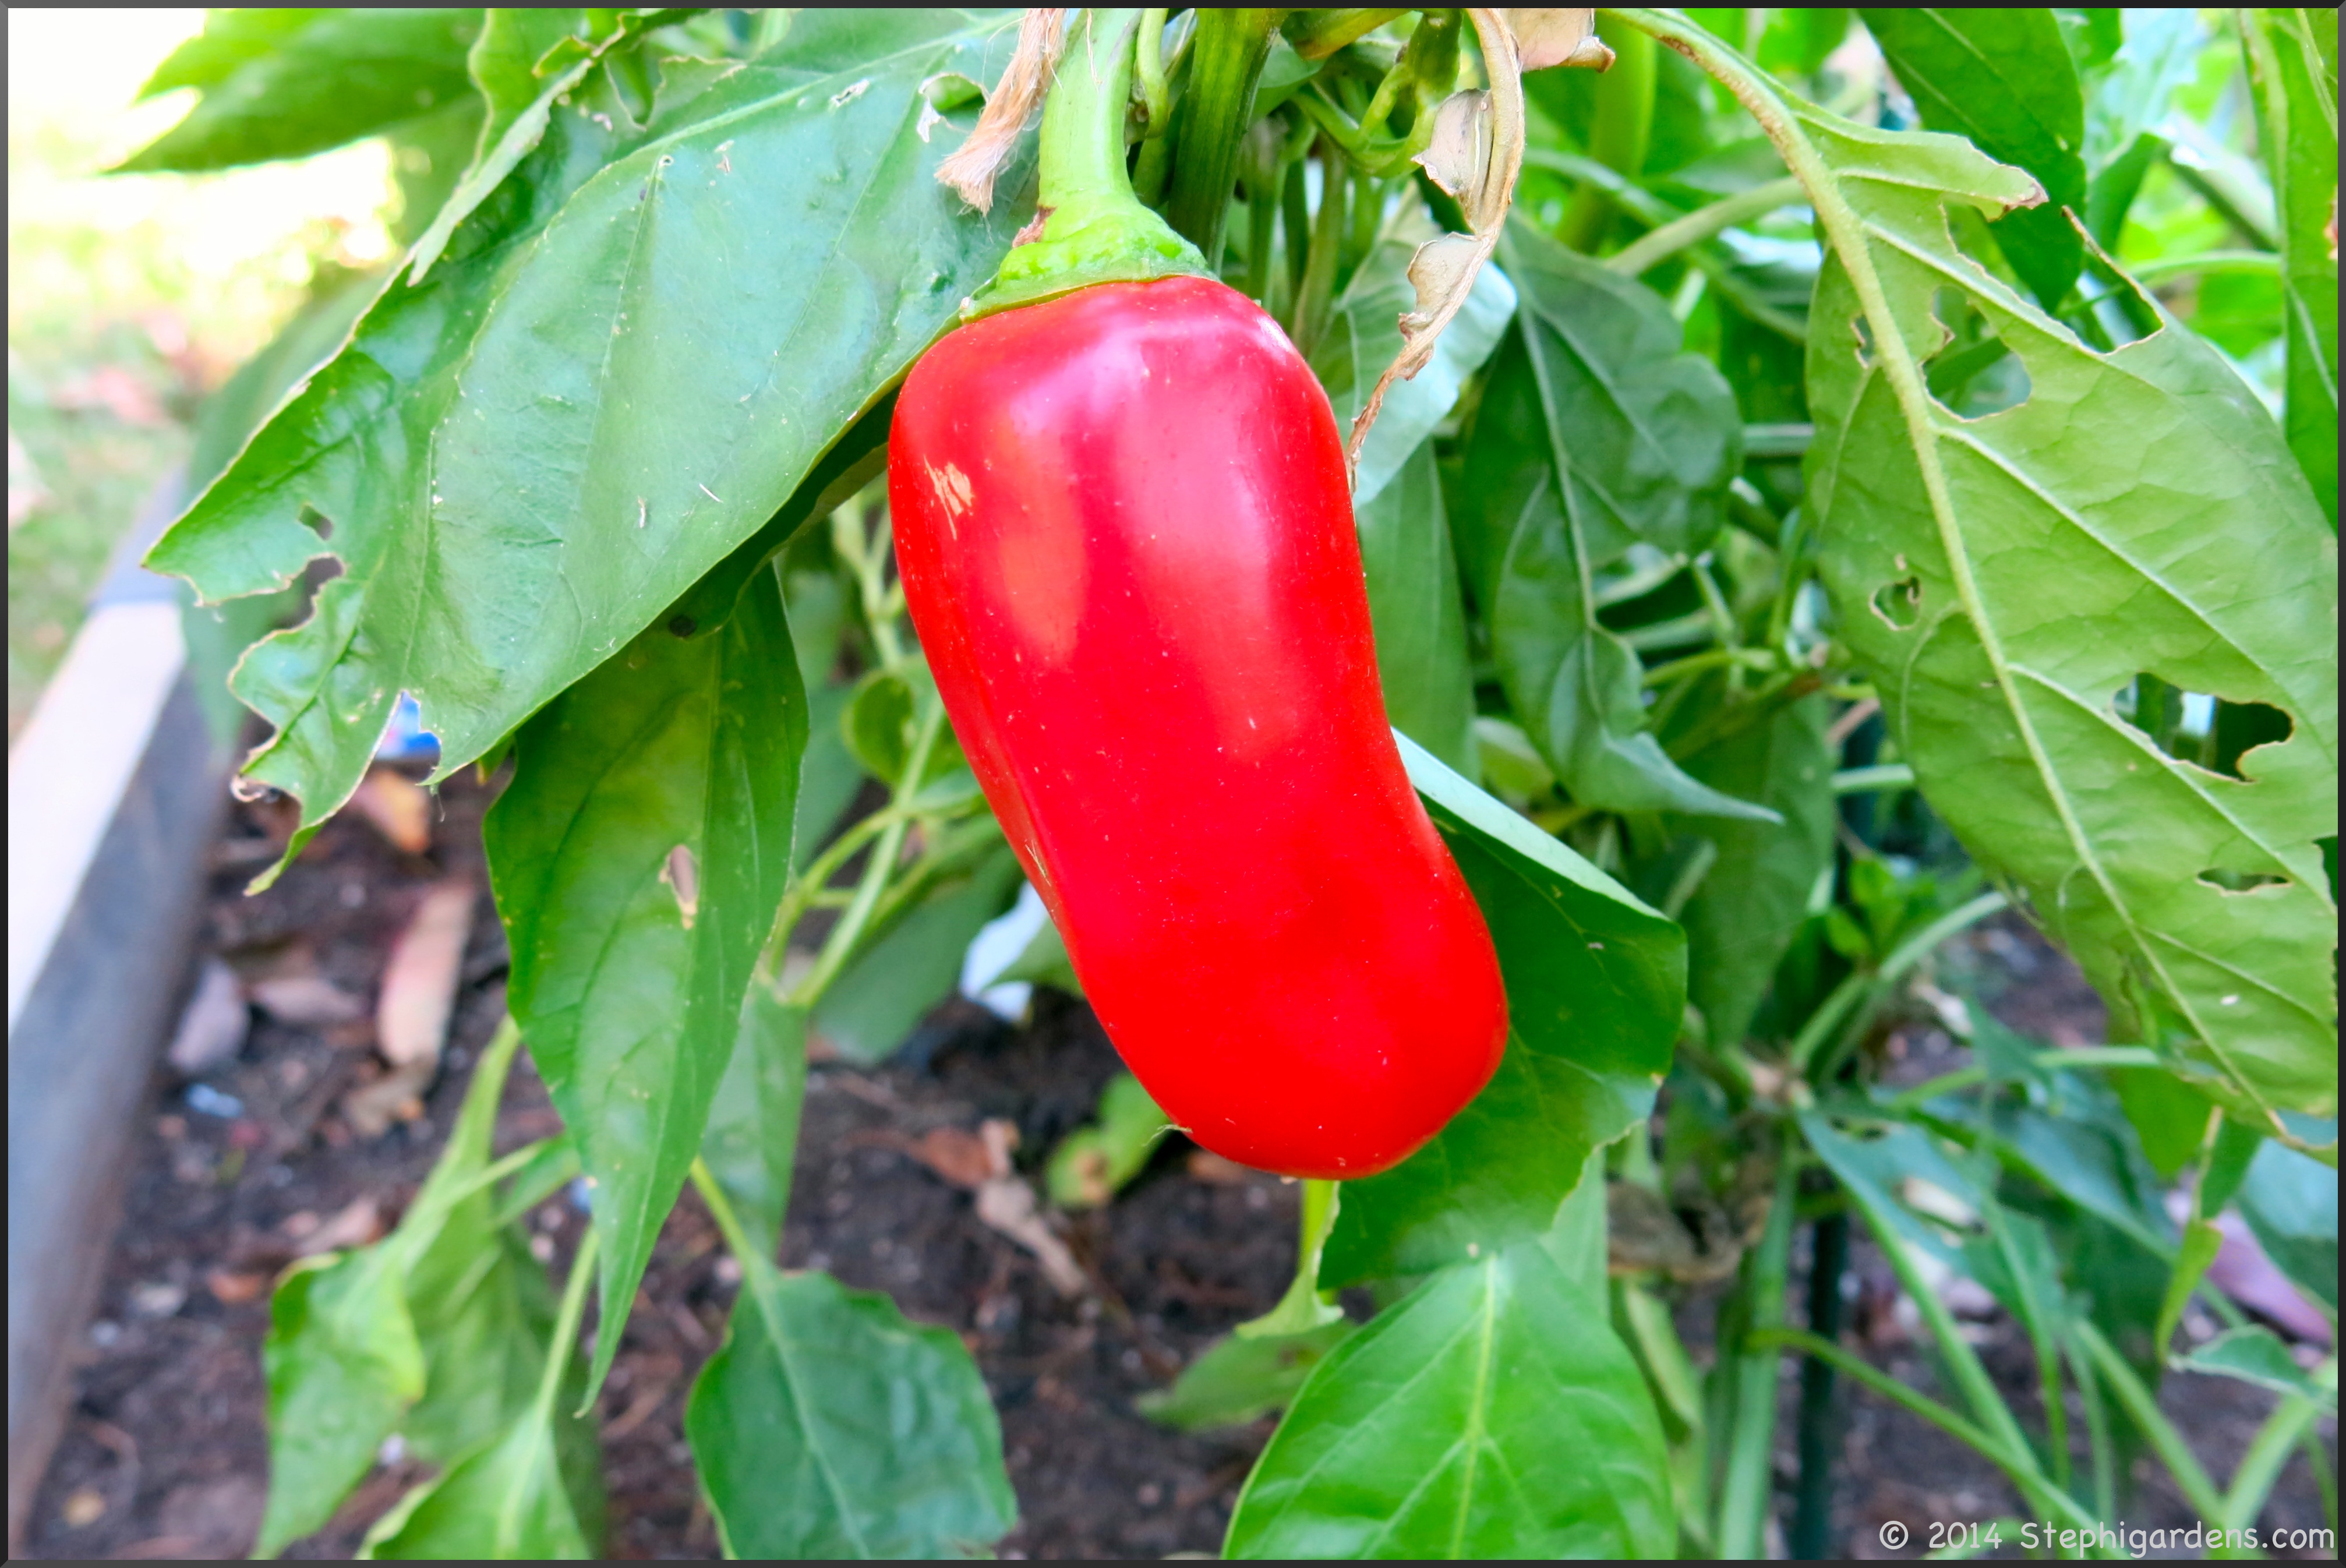
I keep searching for just the right way to tame my tomatoes.  I’ve tried different trellising methods, but they just seem to grow crazy and become totally unwieldy by late summer.  That’s also why they are banished out of view to the side garden.  Of course it would help if I pruned them like I should, but I am the casual gardener and things happen.

In my experience, my least favorite way of containing tomatoes is the metal cone cages.  I’ve never found one tall enough or wide enough to hold up a mature plant in the garden.  Maybe they’d work for a small patio tomato, but not for a garden tomato.

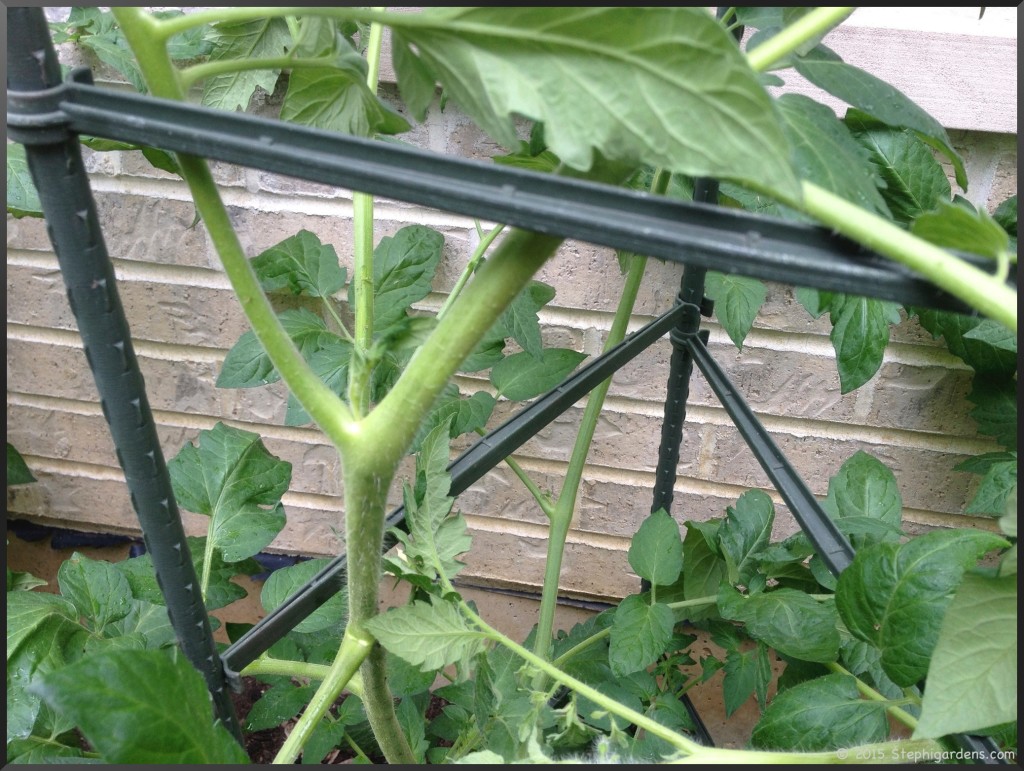
My current favorite for supporting tomatoes is the Blue Ribbon ® Ultomato Tomato Plant Cage.

Blue Ribbon ® Ultomato Tomato Plant Cage

It’s 5′ tall, made of heavy-duty Sturdy Stakes (strong steel core stakes with a tough, thick plastic coating) and has nine fully-adjustable support clips.   I’ve had mine for years.   The extra nice thing is that if I’m a little late staking the tomatoes, it’s super easy to get the plant contained without damaging anything.

Blue Ribbon ® Ultomato Tomato Plant Cage

I found them on clearance one year at Home Depot, but I’ve seen them at Amazon and other garden shops as well.

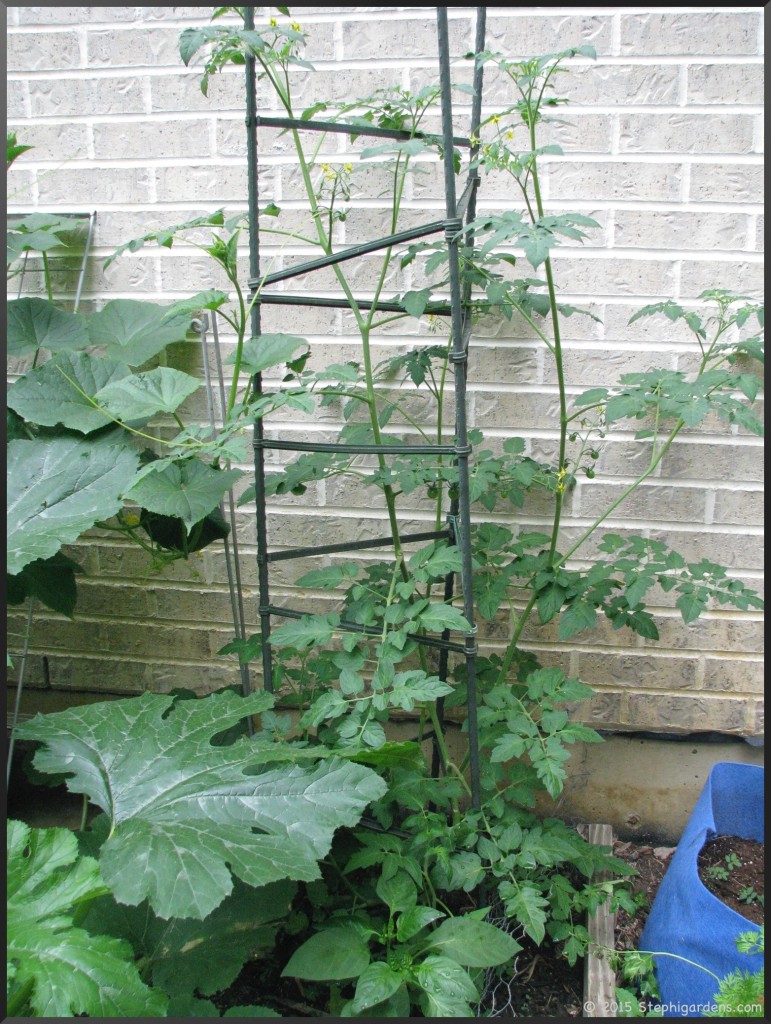
Last year, I came across a post on Garden Betty describing a different way of trellising tomatoes using a Florida Weave.  Despite the somewhat comical name, it sounded like a handy, low cost, easy way to prevent the crazy sprawl I usually experience.   I was generally happy with how it turned out in my garden, but I definitely made some mistakes that I would need to fix next time.

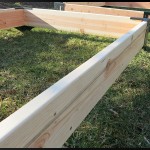
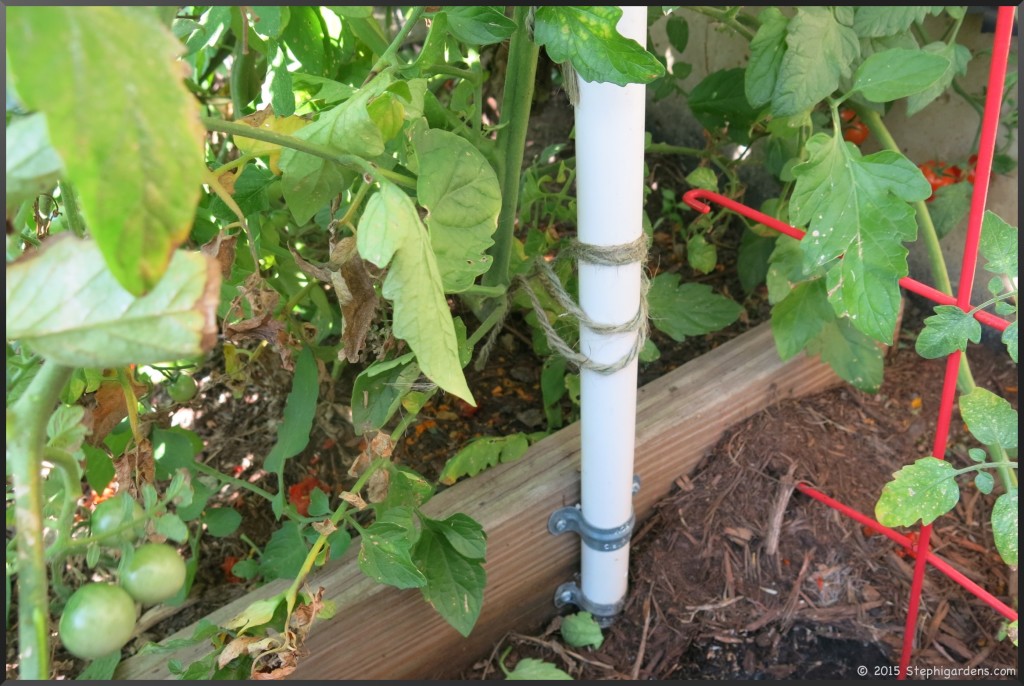
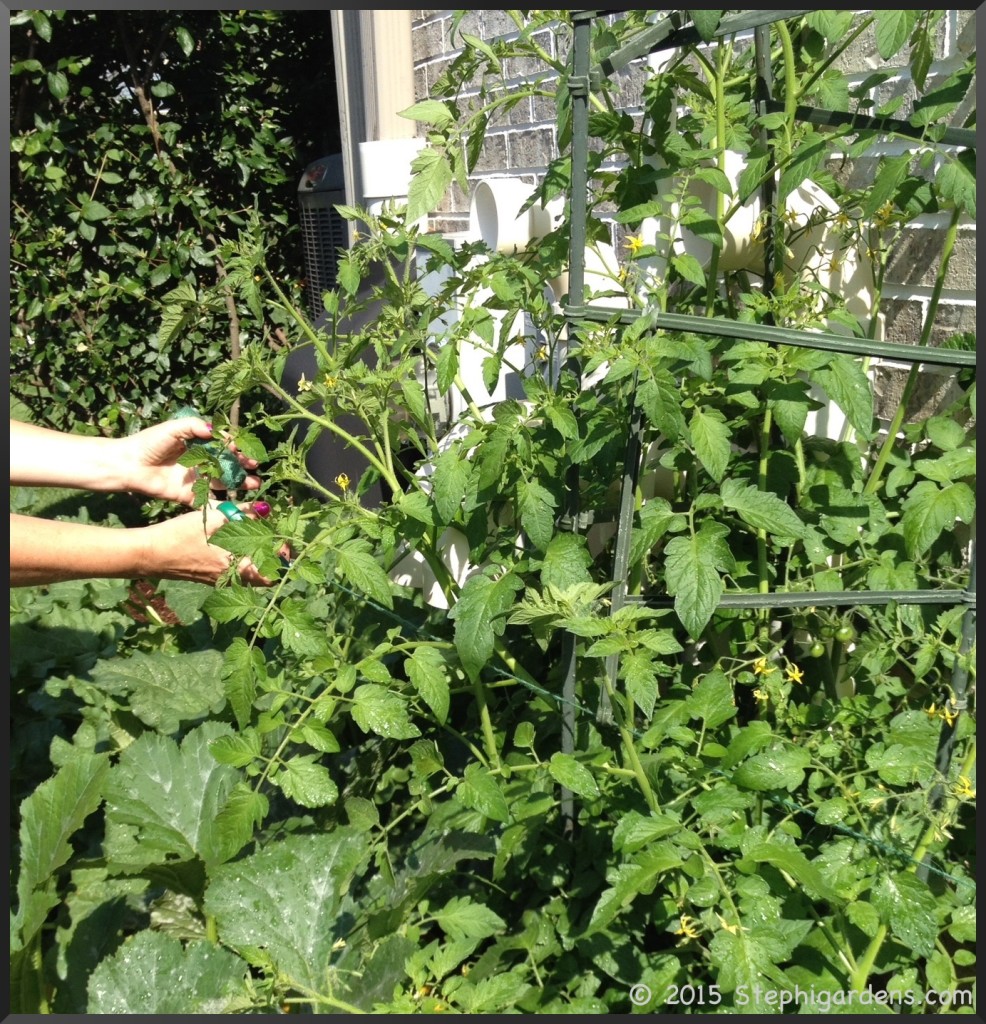
I was planning on planting 2 cherry tomato plants, 2 plum tomatoes and 2 beefsteak types in a 16×3 ft raised bed (Problem #1-trying to weave more than one variety of plant in the same row).  First, I attached some strong 5′ PVC poles I had around the house to the wood sides of my raised bed to act as anchors.

Tomato Florida Weave

(Problem #2–not enough stakes)

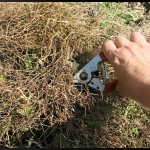
I took garden twine, and following the weaving method that Garden Betty described, wove the first row of twine.  By the time I did the second and third rows, I realized hadn’t followed the directions she provided very well and my supports were way to far apart. I was trying to weave across too far of a distance and everything just started to get tangled. The twine also sagged a lot in the middle and didn’t support the growing plant very well.

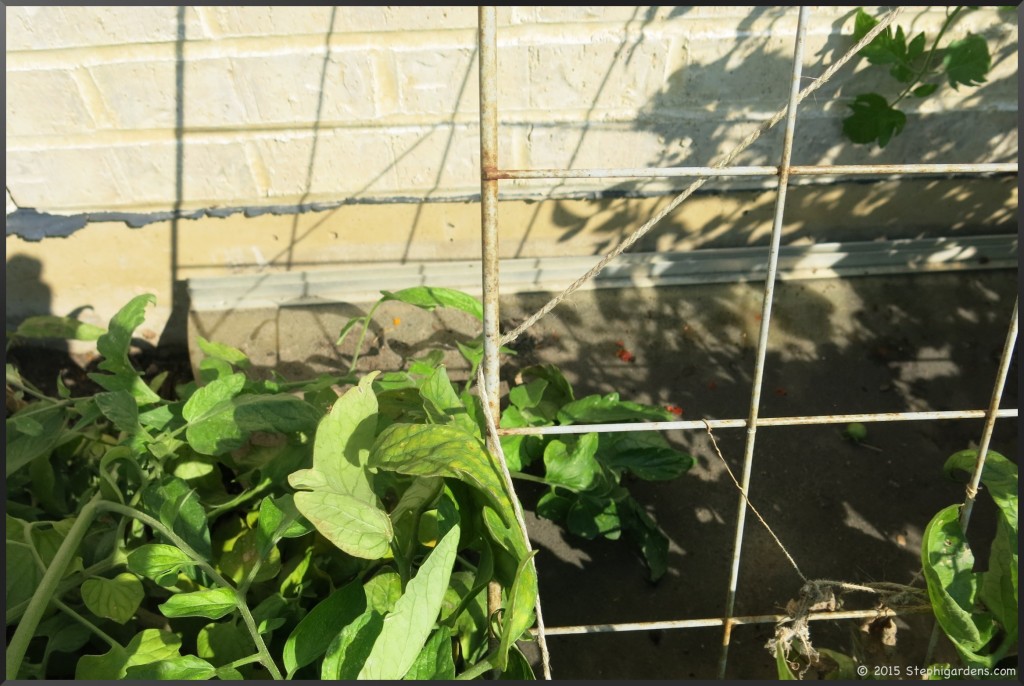
To shorten some of the distance between supports, I first ended up using the metal cucumber trellises as an in-between anchor.

Tomato Florida Weave

Then, by mid-summer as the plants grew bigger, I added a couple more not very strong stakes in a last ditch effort to salvage the weave and keep the plants from completely tipping over.

Tomato Florida Weave

(Problem #3-really not enough stakes)
(Problem #4-really should keep up with the weeding better, but that’s unrelated to the Florida weave )

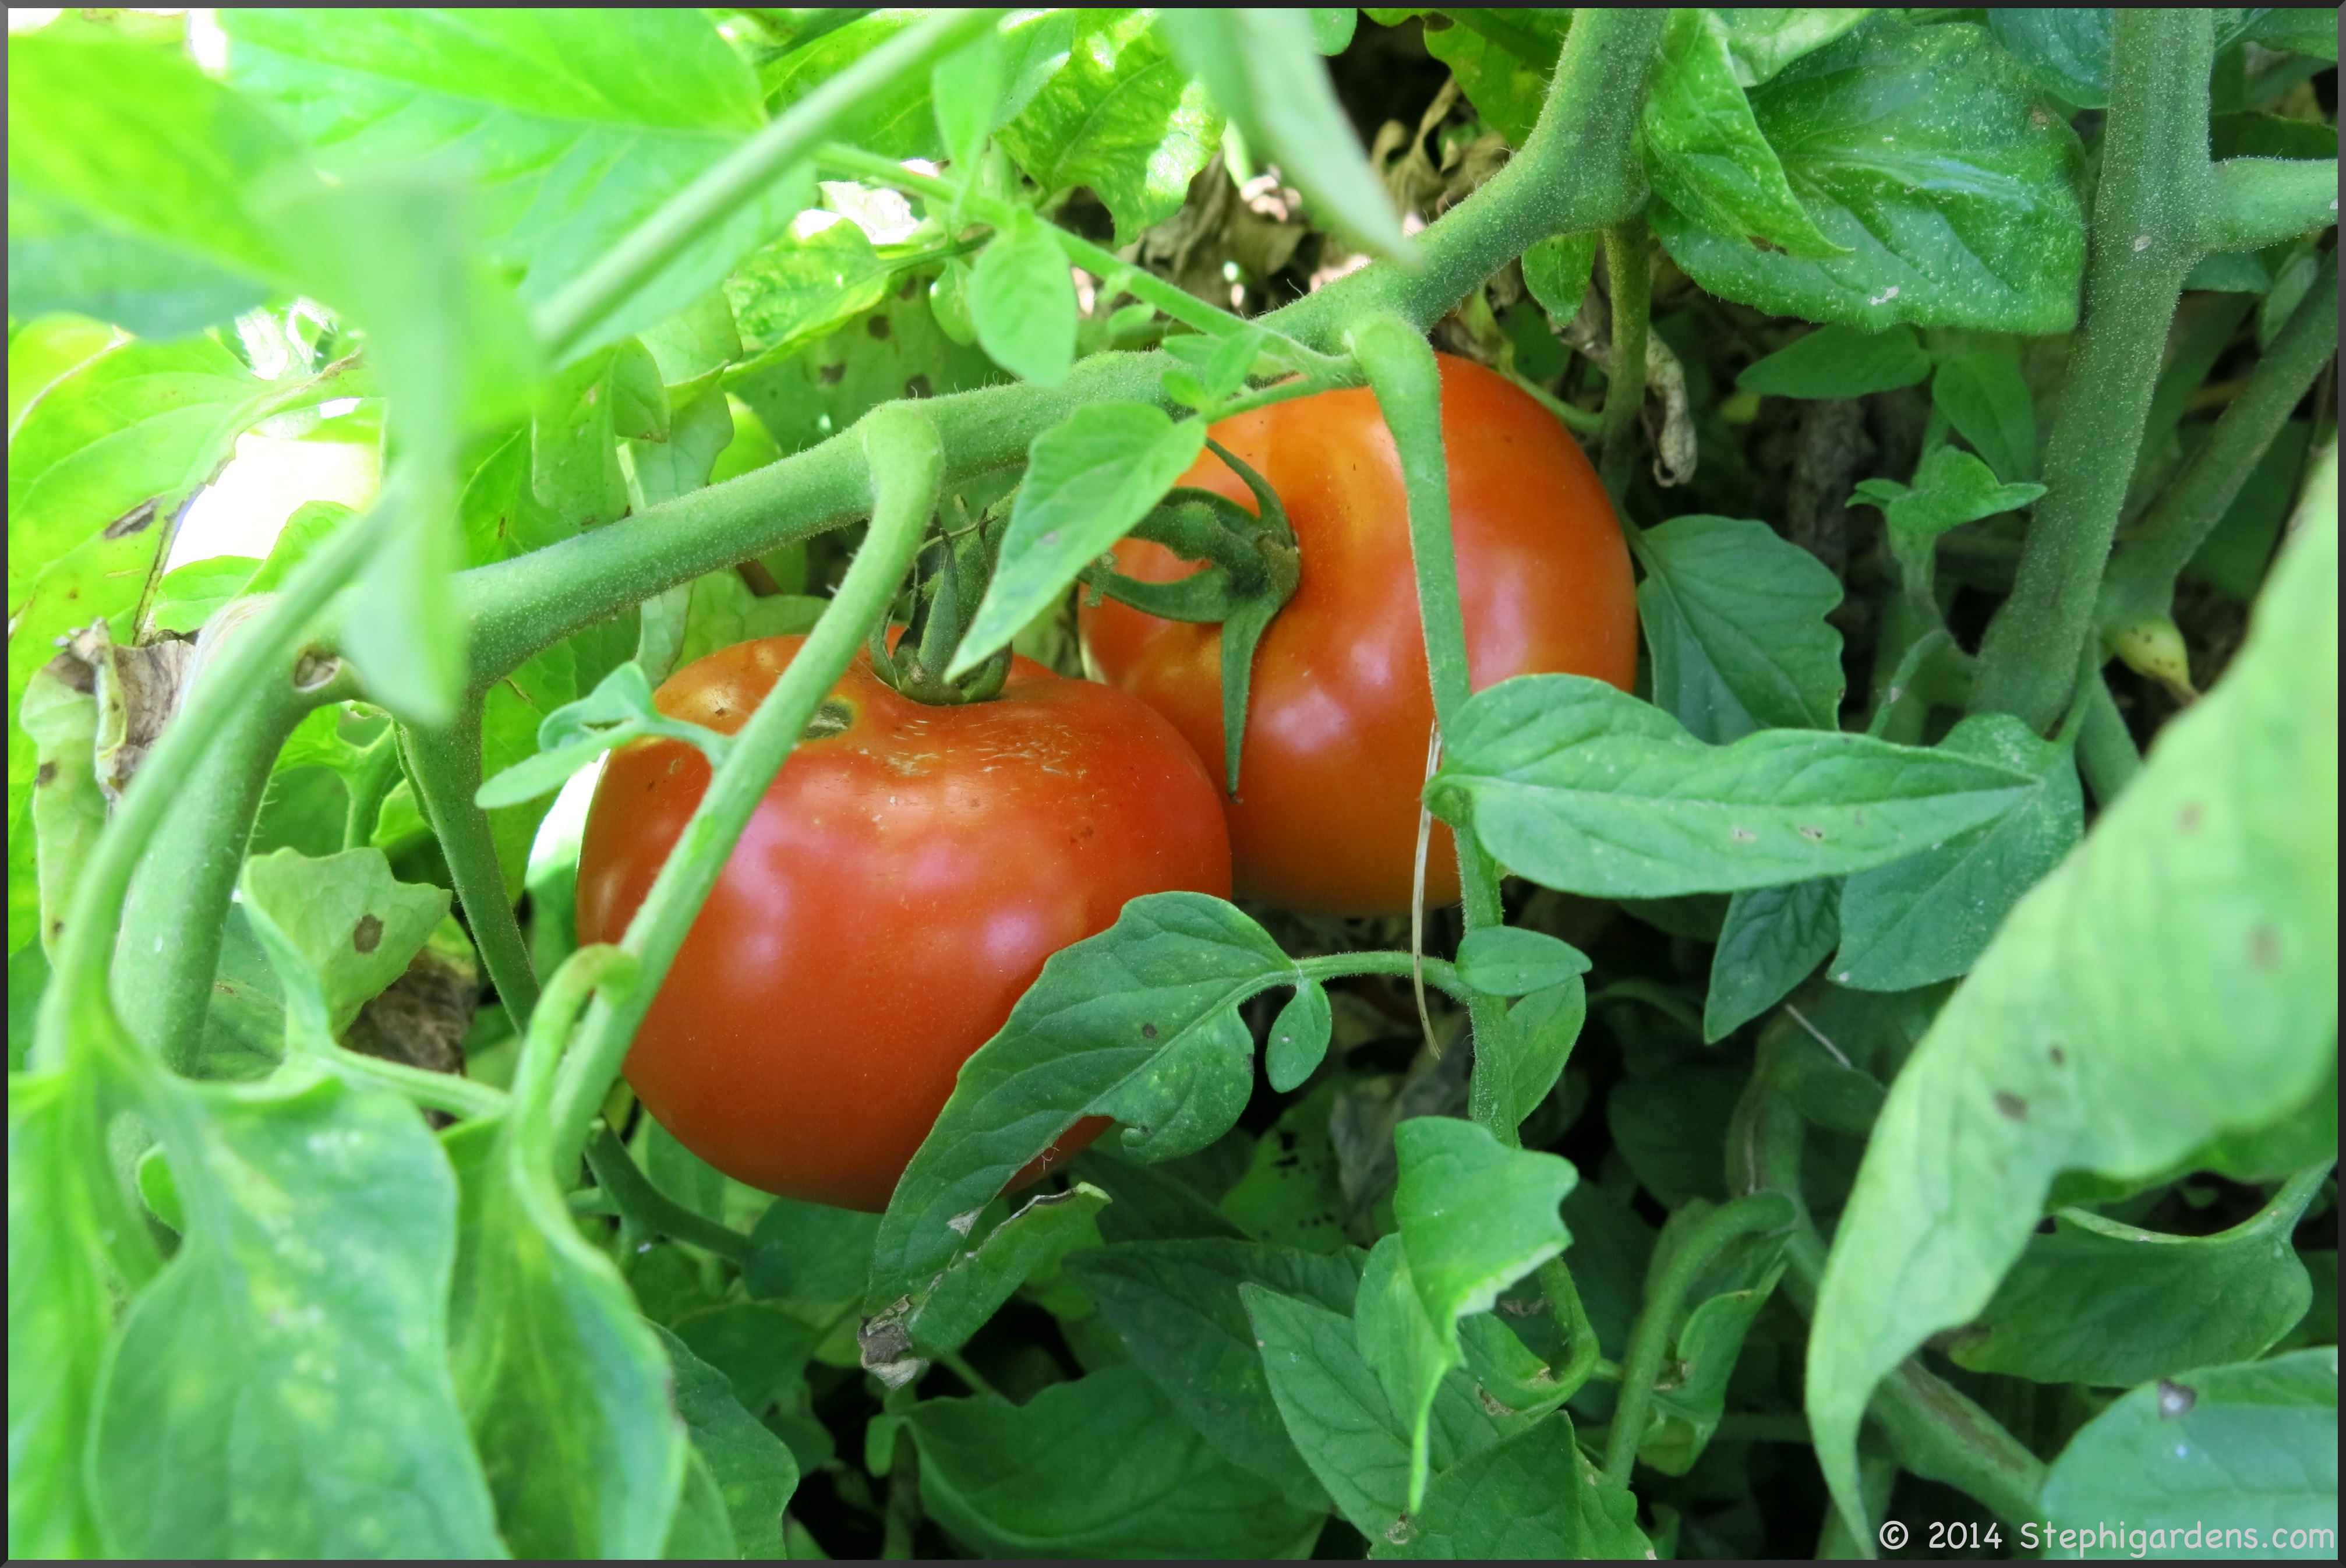
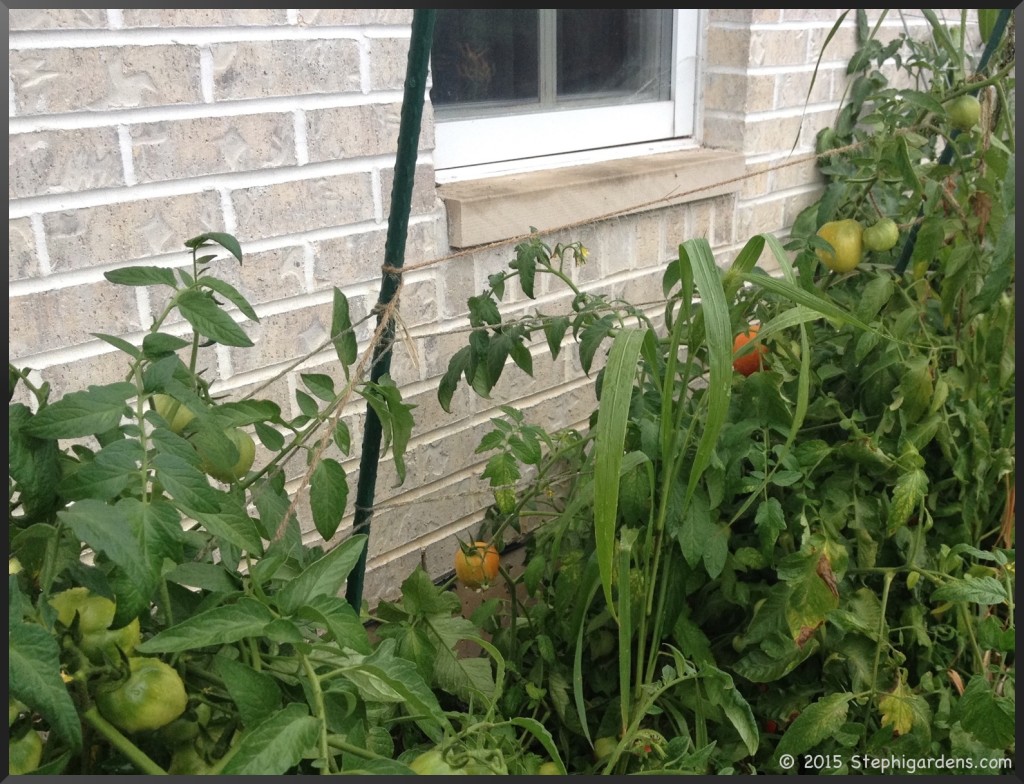
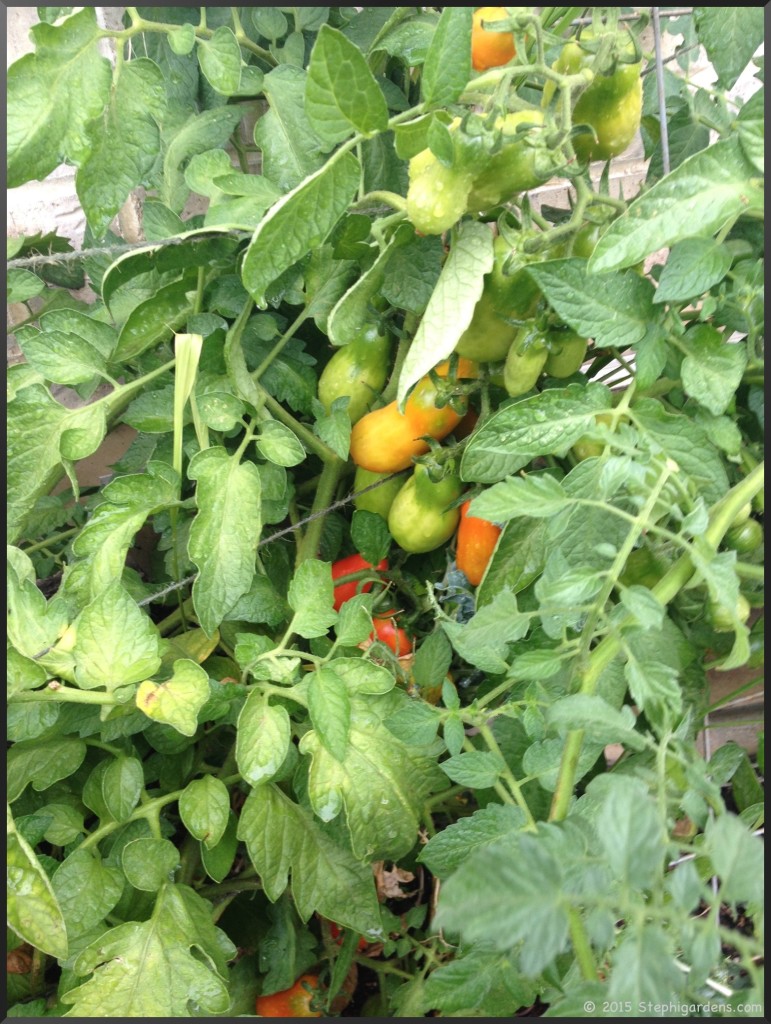
So what was my overall impression?  For the beefsteak and Roma tomatoes I really liked the Florida Weave technique, even if I had issues with how my first time version turned out.  I’m going to use it again for them, but before I get the plants planted I’ll have enough strong stakes in place to offer appropriate support.  I also noticed that weaving like varieties would probably work better.  They grow at the same speed and in similar shapes.  Trying to corral a variety of plants didn’t work so well.

But even with the problems I had, the plants grew great.  I thought there was more air circulation making for healthier plants, more naturally placed and stronger supports for sprawling branches and it was easier to get into the plant to harvest the tomatoes.  As a bonus, in the fall it was really easy to pull out all the plants.  Just cut the twine and down everything comes.

Tomato Florida Weave

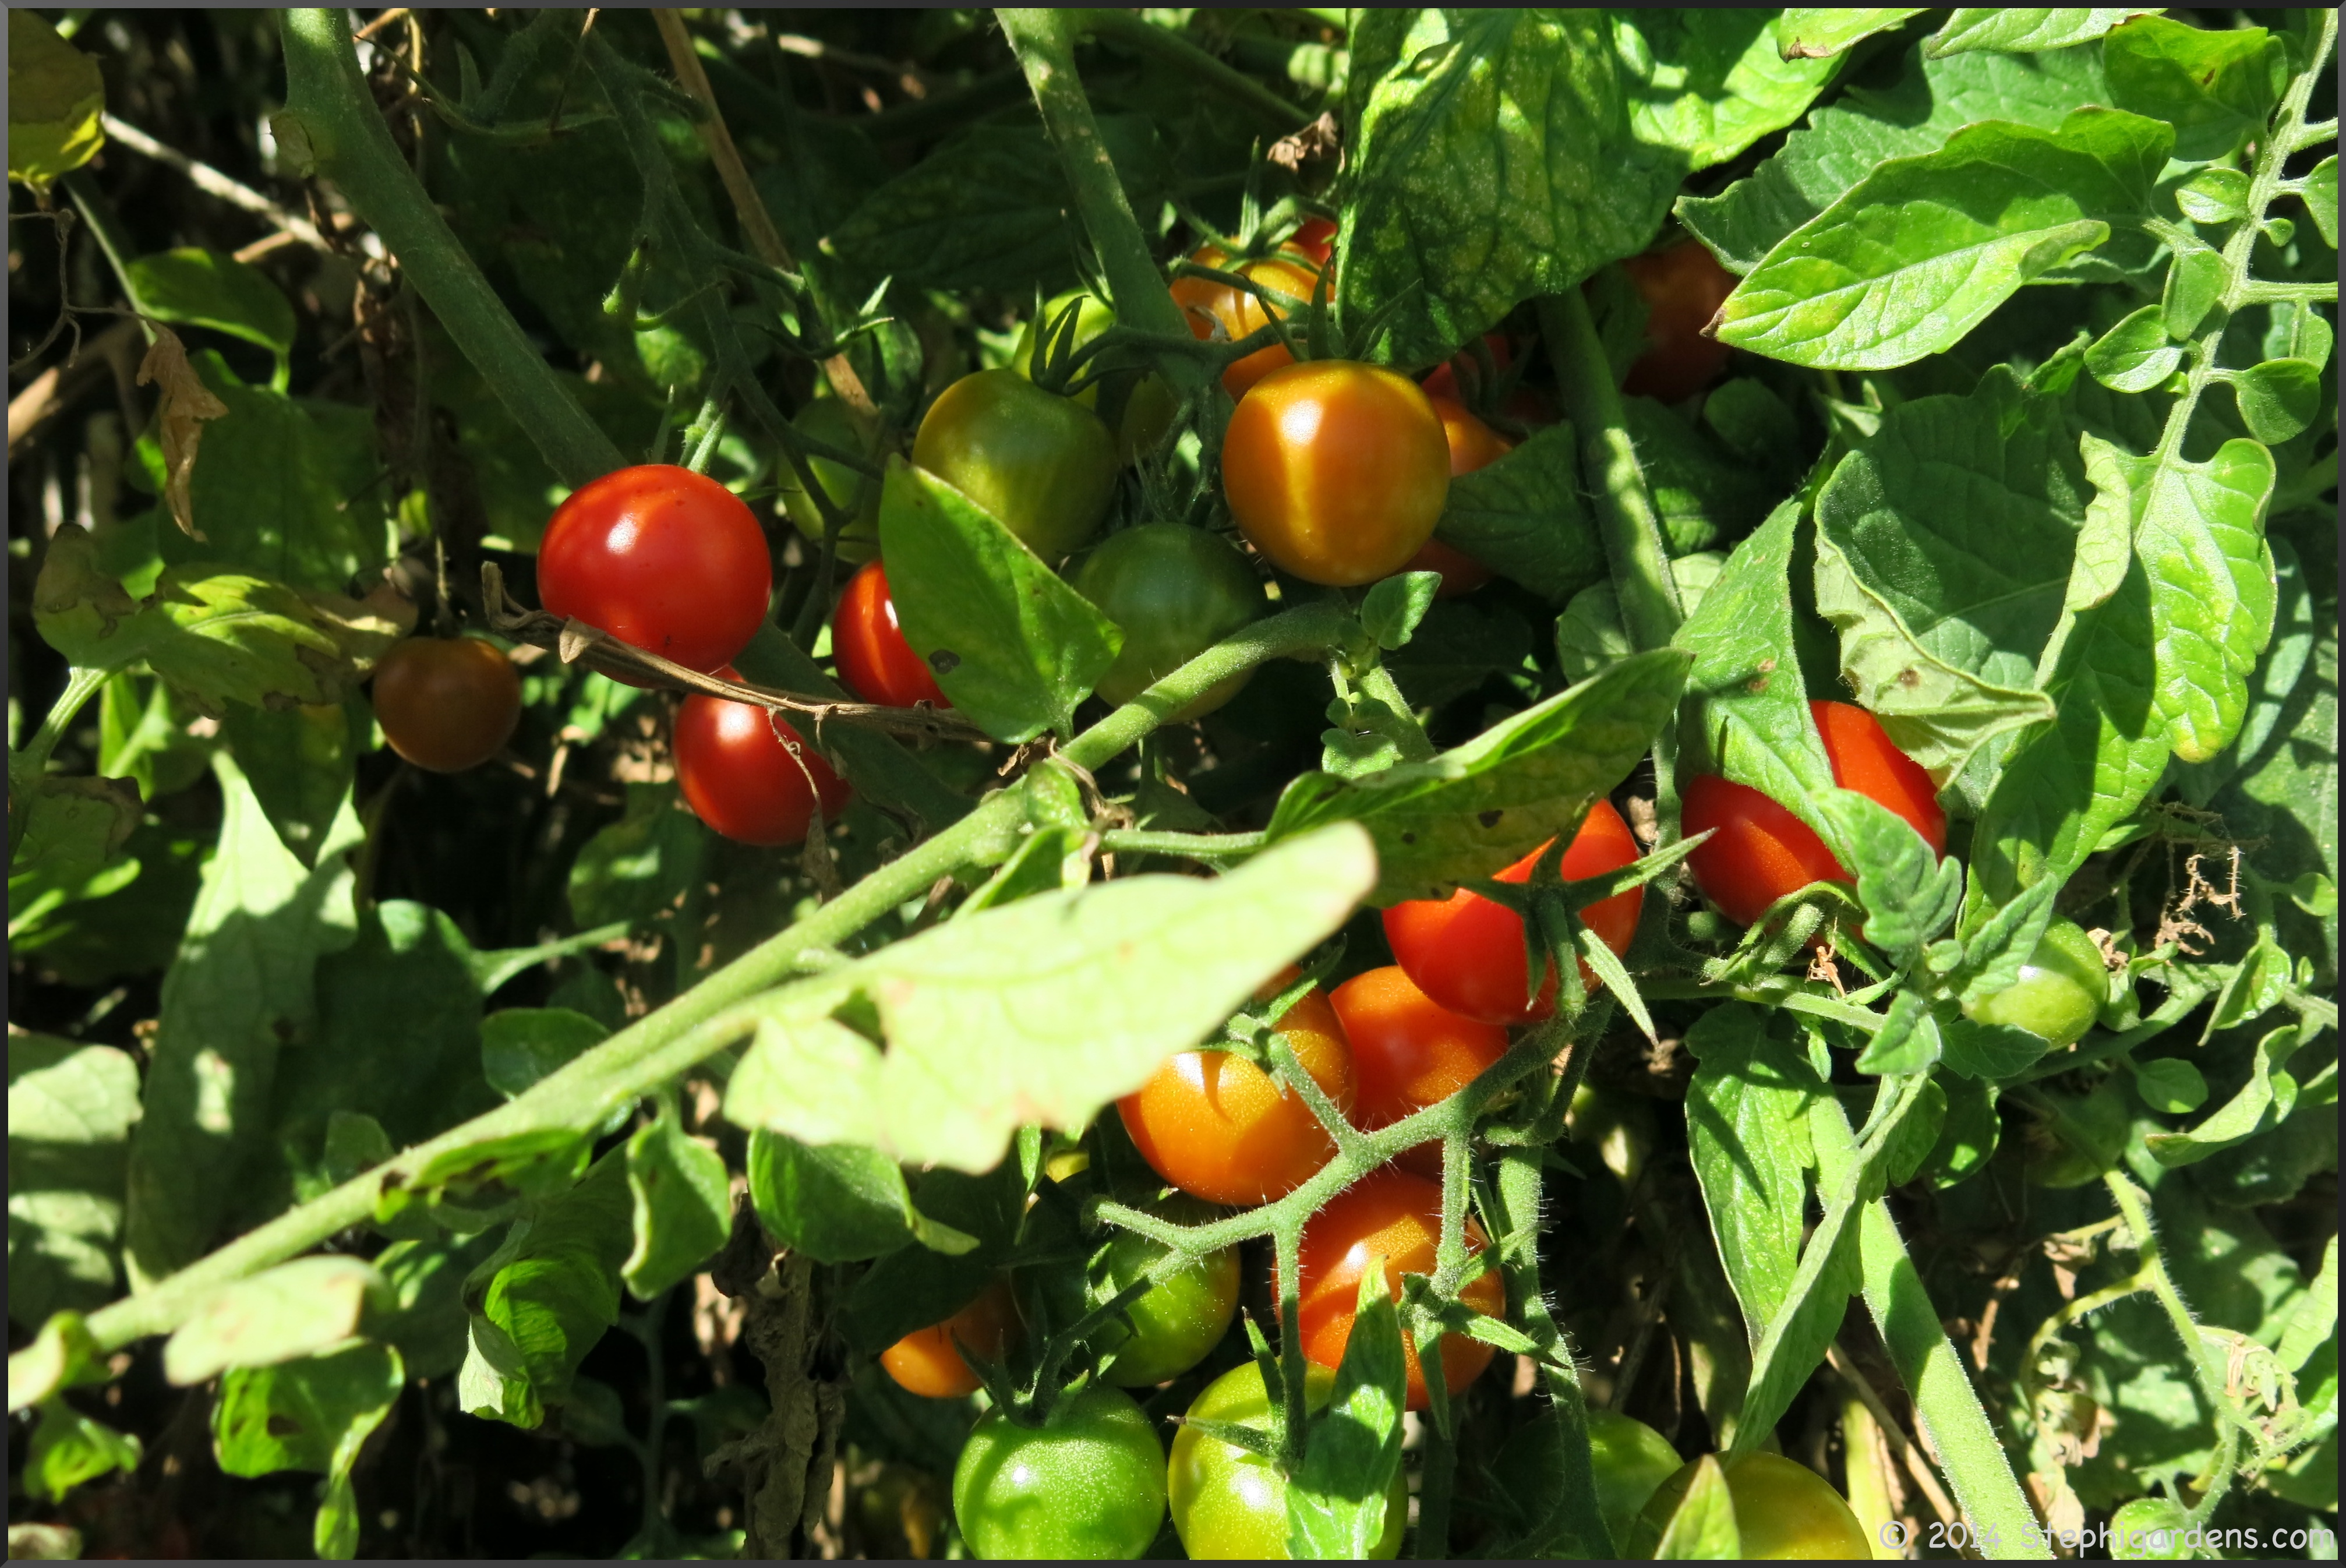
For the cherry tomatoes, I am going to go back to using my Blue Ribbon ® Ultomato Tomato Plant Cage.  About midway through the summer, I actually got the cages back out and put them around the cherry tomato plants as extra support.  It also helped to take some of the weight off the weave since things were beginning to topple.

Blue Ribbon ® Ultomato Tomato Plant Cage

I’m looking forward to trying again this summer and having it work out better.  At least I learn from my mistakes, usually.  What’s your favorite way to support tomatoes?

Happy New Year!

Happy New Year and best wishes for 2015!  As many of you have noticed, I had to take a little break this fall.  Sometimes, life just gets busy and something needs to give.  I’ve been taking lots of pictures and notes, so I’m looking forward to catching up over the next few weeks.  In the meantime, here’s a look back at some of my most popular posts of 2014!

Painted Rock Garden Labels

1.  Painting Garden Rock Garden Markers:  A fun project to jazz up the garden.


Biltmore Estate

2. Girls Weekend in Asheville:  A wonderful weekend away in a great city!


IMG_5288 (1)3.  Angel Wings in the Snow:  Fascinating tracks in the snow.


Creeping Thyme4.  Creeping Thyme Problems:  Trying to salvage a mess in the garden.


snowflakes5.  Peggy’s Snowflakes:  Every snowflake is truly different.


stephi gardens6.  Gardening:  All in the Family:  From grandparents to great-granchildren, gardening is a family tradition.


Homemade Suet Cakes7.  Homemade Suet Cakes:  Giving homemade suet a try.  The birds loved it!


glass pumpkin8.  Visiting the Glass Pumpkin Patch 2014:  I love seeing all the different creations the artists bring every year.  


Yarn wrapped bottles9.  Yarn Wrapped Bottles:  A fun and easy craft project to decorate for the holidays, a party, a wedding, or for whatever you have that needs some color.


Raised vegetable bed10.  My New Raised Bed: Construction:  I needed more garden space so we built two new raised bed gardens.


Final Harvest

It’s getting to be that time of year when the vegetable garden is waning.  I’ve pulled some things already (beans, roma tomatoes, sunflowers, summer squash, cucumbers), but others are still producing.  We’ve been lucky to not have had a hard freeze yet.  So even though I thought I had picked my last harvest last week before a potential overnight frost, I still have a few things still growing.

Here’s some photos of what’s still growing, and my final (??) harvest.

Sweet Red Peppers

Sweet red pepper

Swiss Chard

Swiss Chard

Kale

Kale

Early Girl Tomatoes

Burpee Early Girl tomato

Green Peppers

Stephi Gardens

Zucchini

Stephi Gardens

Sweet 100’s Tomatoes

Sweet 100's

Some very tiny carrots

carrot

This weekend’s harvest-what a treat to still be having garden fresh vegetables in late October.

vegetables

Stephi Gardens

I forgot I planted beets, and when I was pulling out the “swiss chard”, out came these beets instead.  What a funny surprise.  I really need to mark my plants better!

Are you still getting vegetables from your garden?

Planting Garlic

I decided to try something new in the garden this fall–garlic.I’ve been reading about how to grow it, and it seems pretty straightforward.  Hope so! It should be planted in the fall, 6-8 weeks before a hard frost is likely. Unfortunately, that means I’m probably a couple of weeks late when I looked the date up on this useful frost/freeze/hard freeze table on Dave’s Garden.

I think the hardest part of growing the garlic was finding a place to plant it. I needed a spot now, that will stay free until mid July when it can be harvested.  (That’s part of why I needed to wait until now to plant it.)  I chose 2 locations, one in each of my raised beds where I could pull out existing plants that were pretty much done for the season.  I’m not sure how it will do in either of these locations, but I figure at least one should  be good.

I chose 3 different varieties, 2 hardneck (Chesnok Red and Purple Glazer) and 1 soft neck (California Early) from Botanical Interests.

chesnok red garlic
Chesnok Red Garlic
chesnok red garlic
Chesnok Red Garlic (hardneck)
Early California Garlic
California Early Garlic (softneck)
Purple Glazer
Purple Glazer Garlic (hardneck)

Softneck varieties tend to grow in a wider variety of climates and can be grown in warmer areas, last longer in storage and are good for braiding.  They also tend to be a little milder in taste.  Hardneck varieties require some time in frozen ground, so are not recommended for warmer climates.   In the spring, they produce a tall edible stem called a “scape”  that should be cut and can be used as a mild garlic seasoning.  The hard neck varieties are also generally known for their stronger taste.

hardneck garlic
Garlic hardneck “stem”

To plant the garlic, separate into individual cloves, but leave the peel on.

chesnok red garlic

In a spot that will get full sun to part-shade, plant the cloves with the pointy end up and the “root” end down, at a depth of 2-4 inches.  Space the cloves 4-6 inches apart and rows 12 inches apart.  Cover with 2-4 inches of mulch to preserve moisture and insulate against the cold.

chesnok red garlic

Here’s the 2 locations I selected.  Since they need to overwinter, I was extra careful to mark where the cloves are since I know I tend to lose plant markers, and to mark off the whole area to be sure I don’t dig in it in the spring.

growing garlic

growing garlic

I’m looking forward to seeing it come up in the spring.   Have you ever grown garlic?

Save

Summer Stir Fry: Swiss Chard and Radish

We’ve tried so many delicious stir fry recipes this summer using vegetables fresh from my garden and the farmers market. One of my favorites is swiss chard and radishes. I’m not really much of a radish fan, but my daughter convinced me to try them sautéed, or in a stir fry. I’m hooked! What a mild, delicious taste the radishes have when sautéed.

Clean and trim the radishes and swiss chard.  
radish and swiss chard stir-fry

Cut the swiss chard stems into 1-1.5 inch pieces.  Quarter the radishes.  

radish and swiss chard stir-fry

Preheat stir fry pan with 1-2 T exra-virgin olive oil.  Add radishes and swiss chard stems.

radish and swiss chard stir-fry

Sauté  over medium heat until soft.  About 5-7 minutes.  While cooking, coarsely chop the swiss chard leaves.

radish and swiss chard stir-fry


radish and swiss chard stir-fry

When soft, add the leaves and sauté a minute more or so until leaves are wilted.  Season with salt and pepper to taste.  

radish and swiss chard stir-fry

Finished!  Yummy and healthy!

radish and swiss chard stir-fry

Powdery Mildew Attack

With the damp spring and summer we had, some powdery mildew was almost inevitable.  Question was, where was it going to hit?  The vegetables like squash, cucumbers, zucchini, or tomatoes, or the flowers like zinnias, sunflowers, or phlox?  Almost every plant is susceptible to this common set of fungi.   On most plants, it looks like a thin layer of dust, on others like tomatoes , it can cause yellow splotches on leaves.  No matter what it looks like, if bad enough of an infection it can kill the plant.

The best way to deal with powdery mildew is by prevention.  Use mildew resistant varieties, don’t overcrowd plants, and be sure there is enough air circulation.  If your plants do get infected, remove the infected plant parts, thin out the plants to improve air circulation, don’t water plants from above and try treating with a chemical fungicide or an organic method like neem oil,  or what I tried, a milk and baking soda solution.

This year it was my summer squash and zucchini  that became infected with powdery mildew.  I may have overcrowded my plants a little bit, well maybe more than a little bit, so I was almost inviting the mildew into my garden.  By the time I started to deal with the issue, I had a full blown powdery mildew infection.

summer squash


summer squash

Since the powdery mildew was in my vegetable garden, I especially didn’t want to use a non-organic way to treat it. First I got rid of as many of the badly infected leaves.  As I did this, I found that the leaves were truly covered in a thick layer of dust that flew everywhere as soon as I handled the leaves.  Yuck.

Once that was done, I needed to spray with some kind of fungicide.  Other than chemical means,  there doesn’t seem to be a lot of evidence that anything else really works well.   After a lot of research, I settled on spraying with a milk and baking soda solution.

Powdery Mildew treatment

I used:

2 cups water
1 cup milk (I used 2% but anything would be fine; it’s the milk protein, not milk fat that is the active ingredient)
3 Tbsp baking soda
squirt of Dawn dish detergent

Stir and put in some kind of spray bottle.
Spray on all infected and uninfected leaves every 10-14 days.

squash

After 2 weeks, many of the leaves were looking much better.

squash


squash

Unfortunately, the plants that were severely damaged ended up dying.  But, the ones I was able to rescue seemed healthy and have continued to put out squash and zucchini.

Next year, I need to be sure to get on top of this earlier.  Isn’t that true for many garden  issues?  I had success with the milk and baking soda solution on the less infected plants and will use it again next year if the powdery mildew comes back.   Many of the plants that failed were severely affected by the time I even started trying to do anything.   Again, early intervention is the key!

Did you have any powdery mildew issues this year?  How do you treat it?

Harvesting the Cabbage

This was my first attempt at growing cabbage.  I never had the space before, so with the new vegetables beds I thought I would give them a try.  I first tried to grow them from seeds, but with the weird spring we had, like a lot of of my in-ground seeds I planted originally they didn’t sprout.  Luckily, I happened upon some organic seedlings at the nursery and planted them.  That worked much better.

The head is forming!

cabbage
You can see that the leaves had a number of holes in them. I never saw any cabbage worms, or other specific cabbage pests, and instead decided this was probably slug damage.  I put down some organic Sluggo slug and snail bait and that stopped any further damage.

This one is a little small, but ready.  You can’t visually tell when it’s ready.  A cabbage head is ready when when you give it a squeeze, it feels firm like a baseball.

cabbage

I was able to break the head off the stem, but if it’s got a really thick stem, use a knife to cut it off.

cabbage

Like everything I had read, cabbage take a fair amount of space.  I think mine were a little too close together, or maybe a little too shady.  I got 4 heads of cabbage, but they are really different in size.  The largest is about the size of a softball, the smallest, a little bigger than a golf ball.

cabbage

They should have all been the same, but that’s the fun of growing your own.  It’s rarely perfect.

cabbage

I used my first ever cabbage harvest to make my friend Kathy’s Freezer Slaw.   I used my own homegrown green peppers, but I had to buy carrots.  Bad year for carrots, great year for peppers.

freezer slaw

Did you grow anything new this year?  How did it turn out?


Save

Making Sauce on a Sunny Day

Now that it’s finally warm, it’s the perfect time to make some tomato sauce with the beautiful garden tomatoes. Well not really, but this has been a great year for my tomatoes and I need to get them harvested. I have lots of tasty San Marzano Roma, Early Girl slicing tomatoes and tons of Super Sweet 100 cherry tomatoes.

I picked about 5 lbs of San Marzano and Early Girl tomatoes and processed them with my new toy, an Oxo Food Mill.

food mill

Last year to prepare the tomatoes, I par-boiled them, removed the peels and seeds, and then processed them in the food processor to puree them for sauce (see 35 Pounds of Tomatoes for directions).

I kept reading about food mills as a better way to prepare tomatoes (and apparently mashed potatoes), so I thought I’d give it a try this year.  It’s actually pretty easy to use and makes perfect puree.  I also think it’s even more efficient at making puree than the way I prepared the tomatoes last year, since it seems like I ended up with a lot more sauce than before (and fewer seeds).

Here’s some tips I learned:

  • The medium grate was just the right size to get a thick puree without seeds.

oxo food mill

  • I found it was faster if I par-boil the tomatoes for about 1 minute.  Then put tomatoes right into the mill.  About 5-6 fit in at a time.

food mill

  • I made a slice in each tomato once in the food mill to make the process even a little easier.

food mill

  • Be sure to go both forwards and backwards.  You need to clear it periodically to get the chunks mixed up and under the press.
  • It’s done when you are only spinning skins under the press.  Be patient, it’ll happen.
  • Scrape out the peels with a fork and put another batch of tomatoes in.
  • It doesn’t really take any strength to use this.  It’s really just spinning the handle.  I was worried with a bit of a bum shoulder this would be hard.  Not at all.

Now I was ready to make my sauce.  Last winter, I used my frozen tomatoes and played around with recipes.  This was ultimately my favorite.  The longer it cooks the better it tastes.

For 8 cups of tomato puree (about 3 lbs of tomatoes):

2 medium onions, grated
2 tablespoons butter
2 tablespoons olive oil
4 teaspoons Penzys Italian Herb Mix
4 garlic cloves, minced
8 cups fresh tomato puree
4 tablespoons fresh basil, chopped
salt and pepper to taste

Melt butter and heat oil in a large stockpot over medium heat. Add grated onion and Italian Herb Mix. Sautee 7-8 minutes over medium heat, until onions are soft and golden minutes. Add minced garlic and cook 30 seconds or so until fragrant. Add tomatoes. Bring to a boil, then cover and simmer on low heat for at least 1 hour. Longer for a richer taste.  Before serving, stir in fresh basil, season with salt and pepper to taste. Serve over pasta.

**If you like a smoother sauce, use a hand blender to blend the sauce when finished cooking.
**If freezing the sauce, leave out basil. Add fresh when warming thawed sauce.
**We eat a fairly low sodium diet. This is flavorful without salt, but if you prefer your sauce with salt, add desired amount to taste with the pureed tomatoes.

tomato puree
Puree is ready to add
Onions and spices are cooking beautifully.  Kitchen smells great!
Braun Stick Blender
Use a hand bender for a smoother sauce

Now that I’ve cooked up all the garden tomatoes, I’ve moved on to the 10 lb box of Roma tomatoes from the farmers market.  Getting ready for winter already 🙁

Fresh Tomato Pasta Sauce
Print
Author:
Ingredients
  • 2 medium onions, grated
  • 2 tablespoons butter
  • 2 tablespoons olive oil
  • 4 teaspoons Penzys Italian Herb Mix
  • 4 garlic cloves, crushed
  • 8 cups fresh tomato puree
  • 4 tablespoons fresh basil, chopped
  • salt and pepper to taste
Instructions
  1. Melt butter and heat oil in a large stockpot over medium heat.
  2. Add grated onion and Italian Herb Mix. Sautee 7-8 minutes over medium heat, until onions are soft and golden minutes.
  3. Add minced garlic and cook 30 seconds or so until fragrant.
  4. Add tomatoes. Bring to a boil, then cover and simmer on low heat for at least 1 hour. Longer for a richer taste.
  5. Before serving, stir in fresh basil, season with salt and pepper to taste. Serve over pasta.
Notes
**If you like a smoother sauce, use a hand blender to blend the sauce when finished cooking.
**If freezing the sauce, leave out basil. Add fresh when warming thawed sauce.
**We eat a fairly low sodium diet. This is flavorful without salt, but if you prefer your sauce with salt, add desired amount to taste with the pureed tomatoes.