
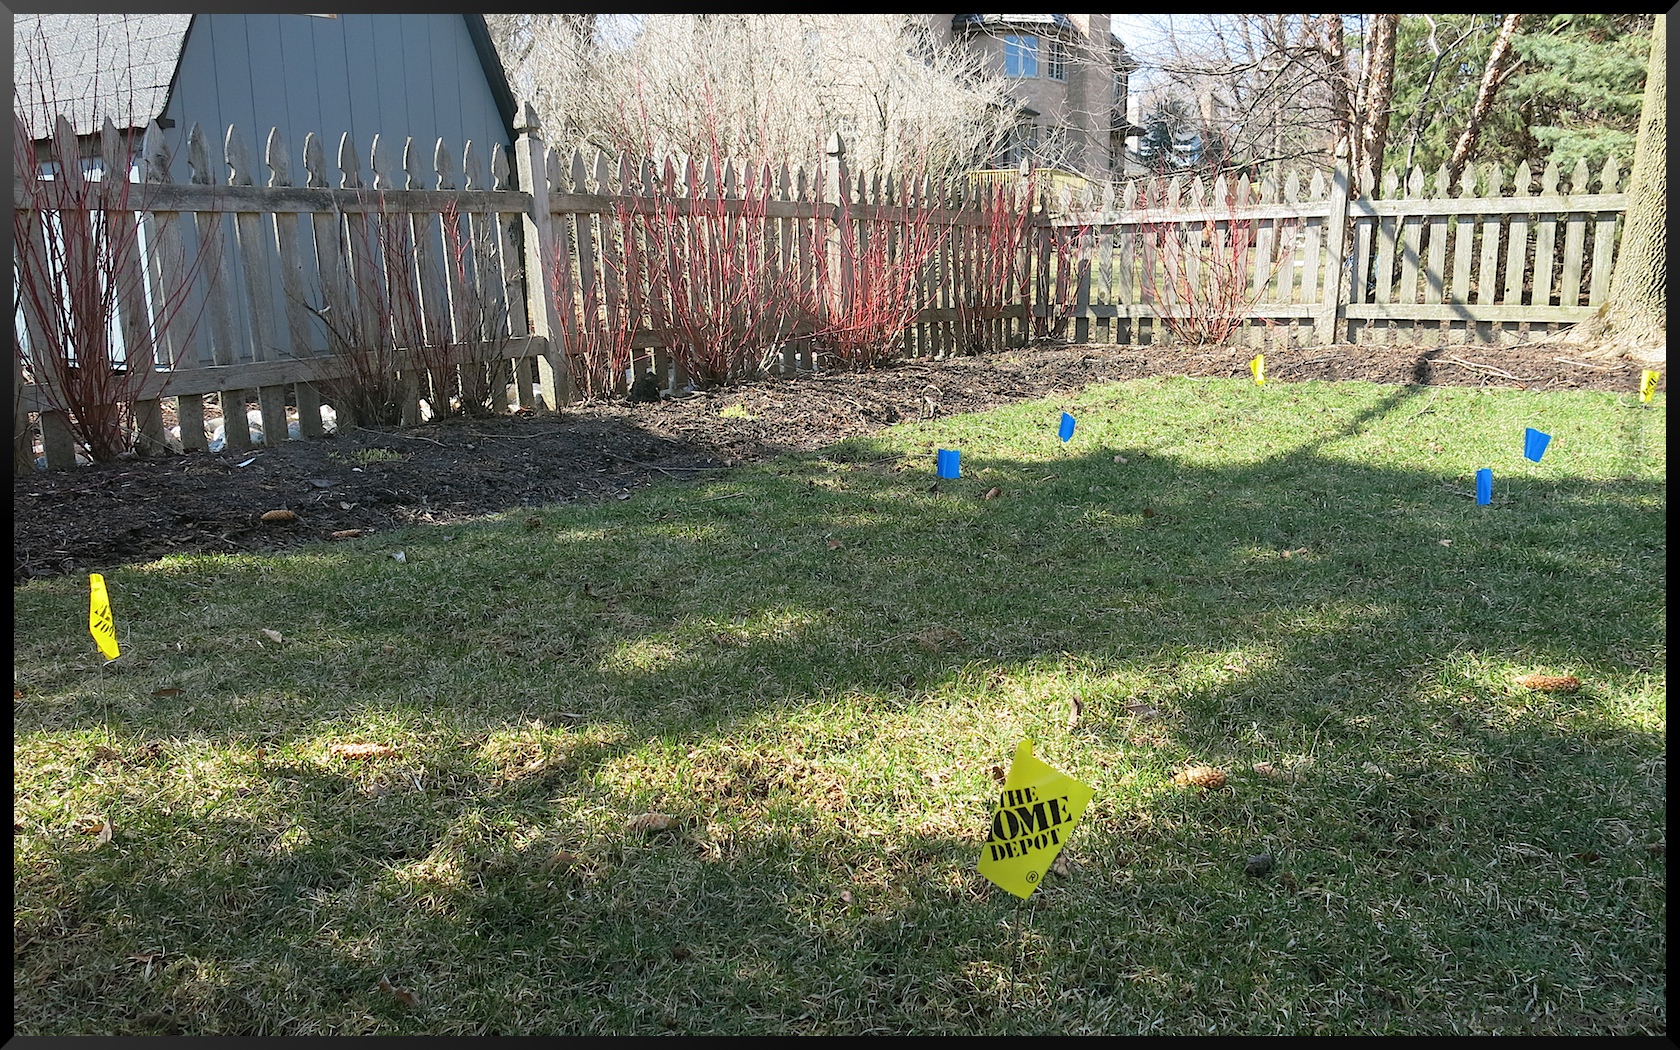
It took a couple of weeks because of the weather and finding the time, but the new raised vegetable beds are finally finished! We had scoped out a site last fall that got a reasonable amount of sun and wouldn’t interfere too much with existing beds, drainage, play space for the kids, etc. Getting full sun on my yard is a bit tricky, but most of the beds will be in full sun mid-summer, and the parts that aren’t, I’ll plant accordingly. After measuring it out, we decided two 4’x6’x8″ beds were the ideal size for the space. Anything more than 4′ wide is too difficult to garden in physically.
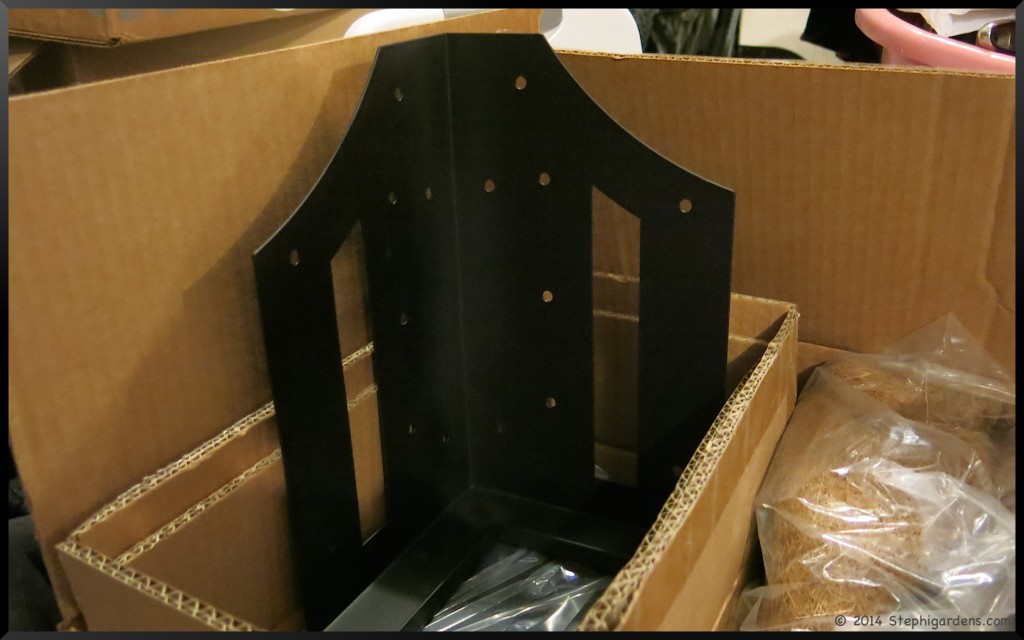
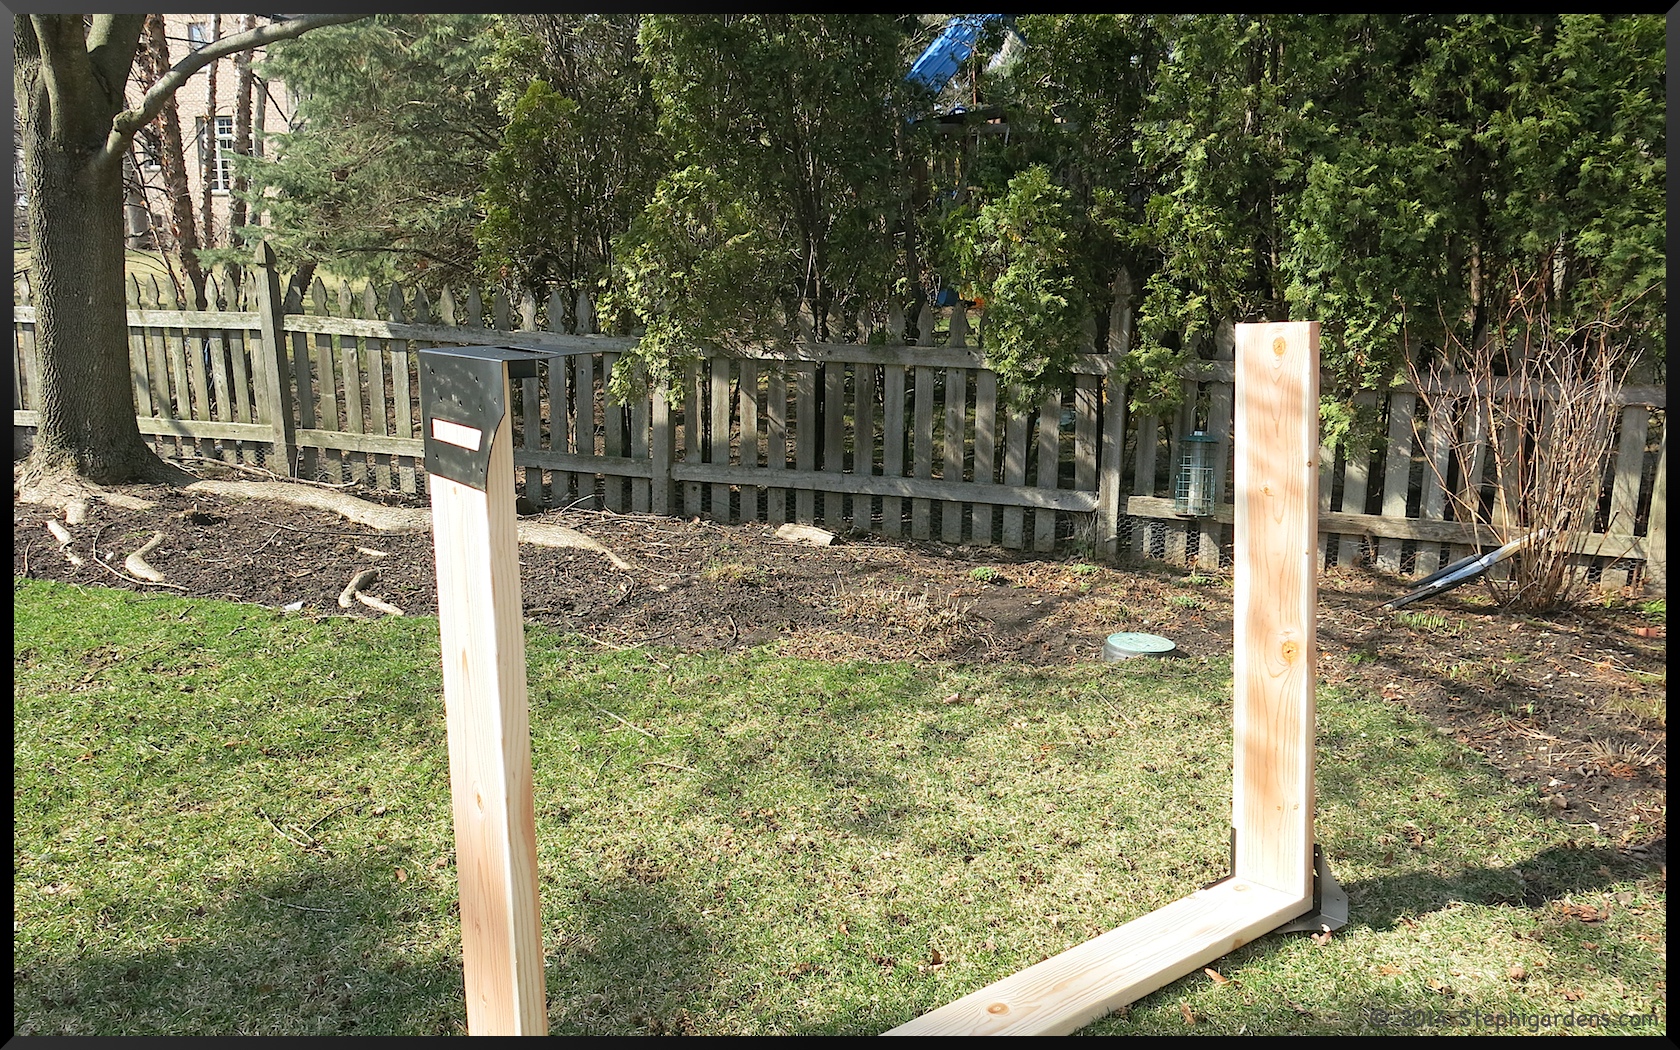
I bought corner brackets from Plow and Hearth to simplify the construction of the beds.
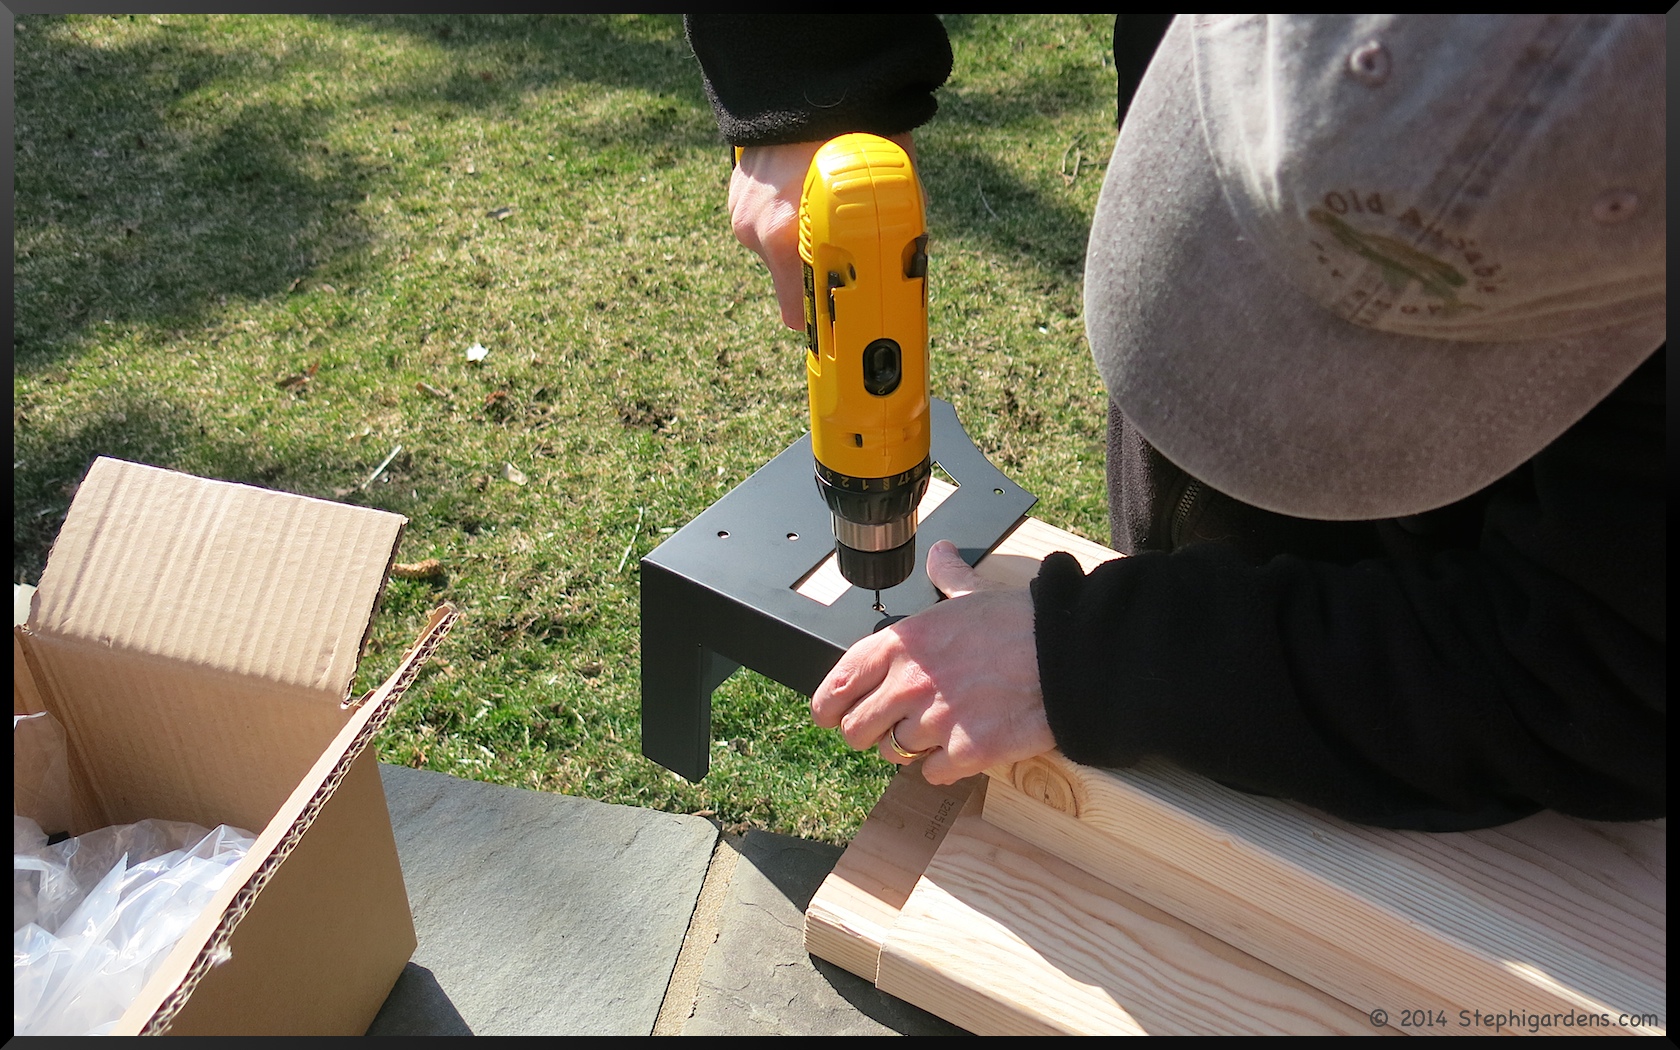
Then we went to Home Depot to get lumber. We had planned to use cedar, but they only came in 6″ heights. That just seems too short and doubling was too high and expensive. We researched our options and finally decided on regular pine. While they are not pressure treated, we used them on the other beds and after 3-4 years, they are weathered, but fine. The possibility of eventual rot outweighed the potential toxins in pressure treated wood. To make the job a bit easier, we had Home Depot cut the boards for us for free.
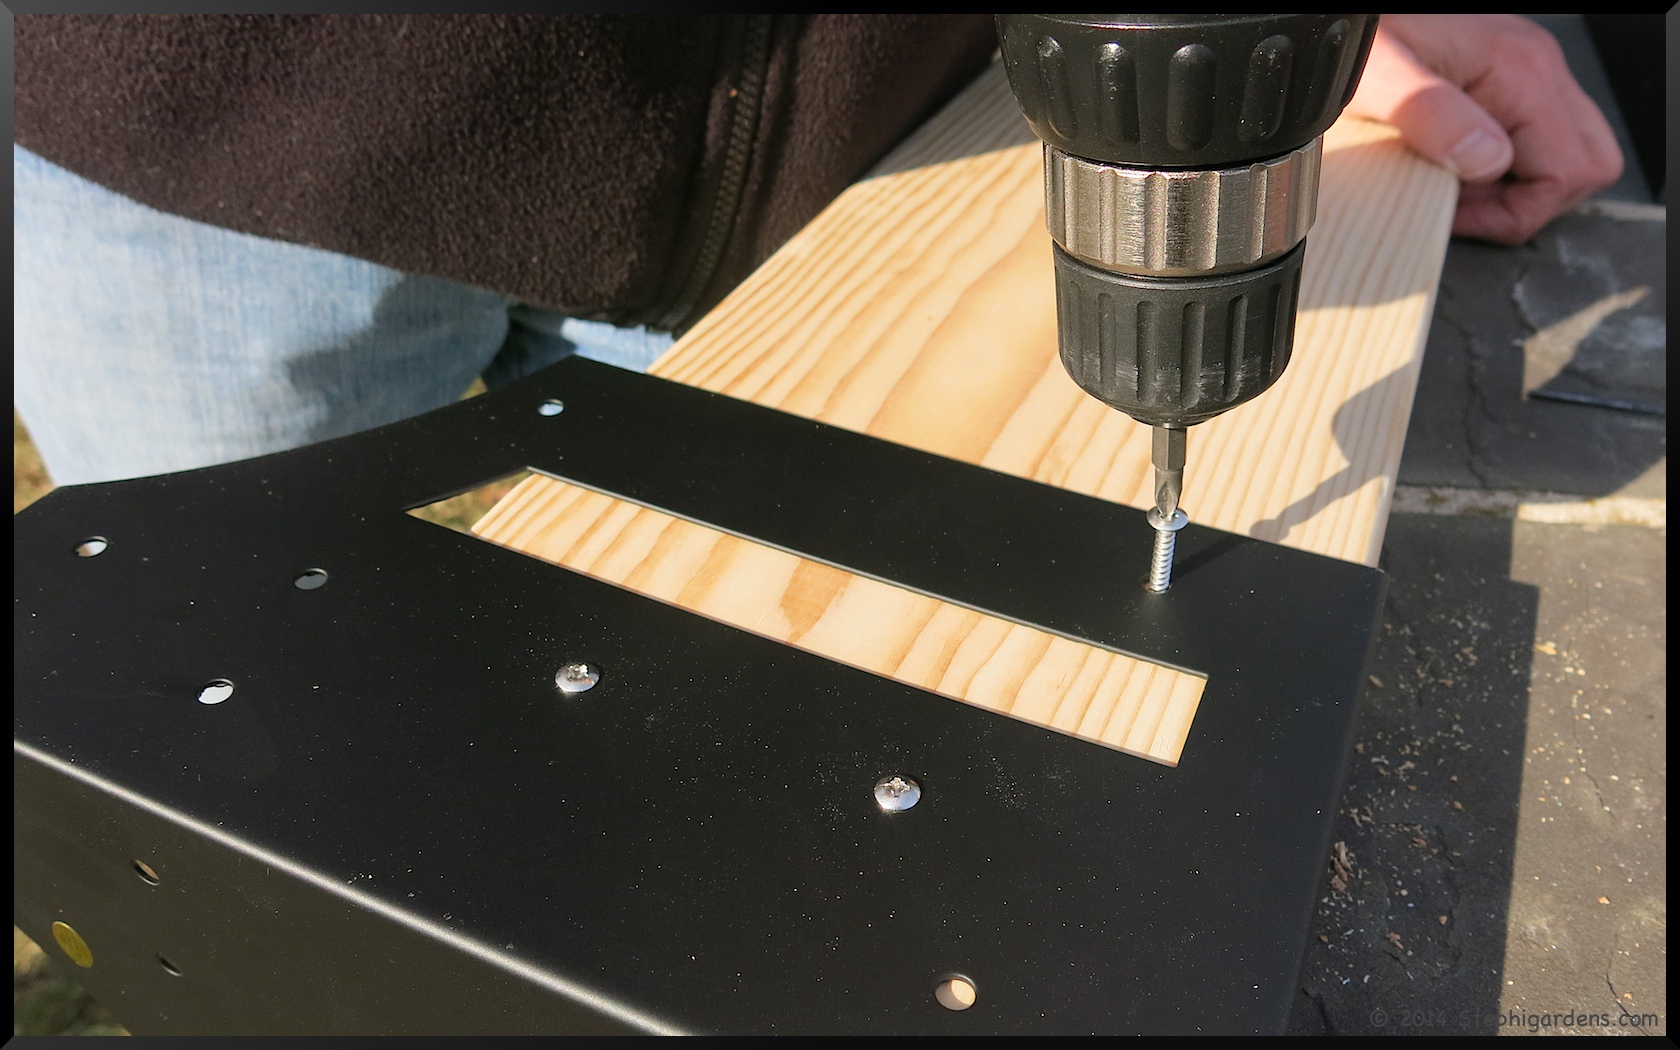
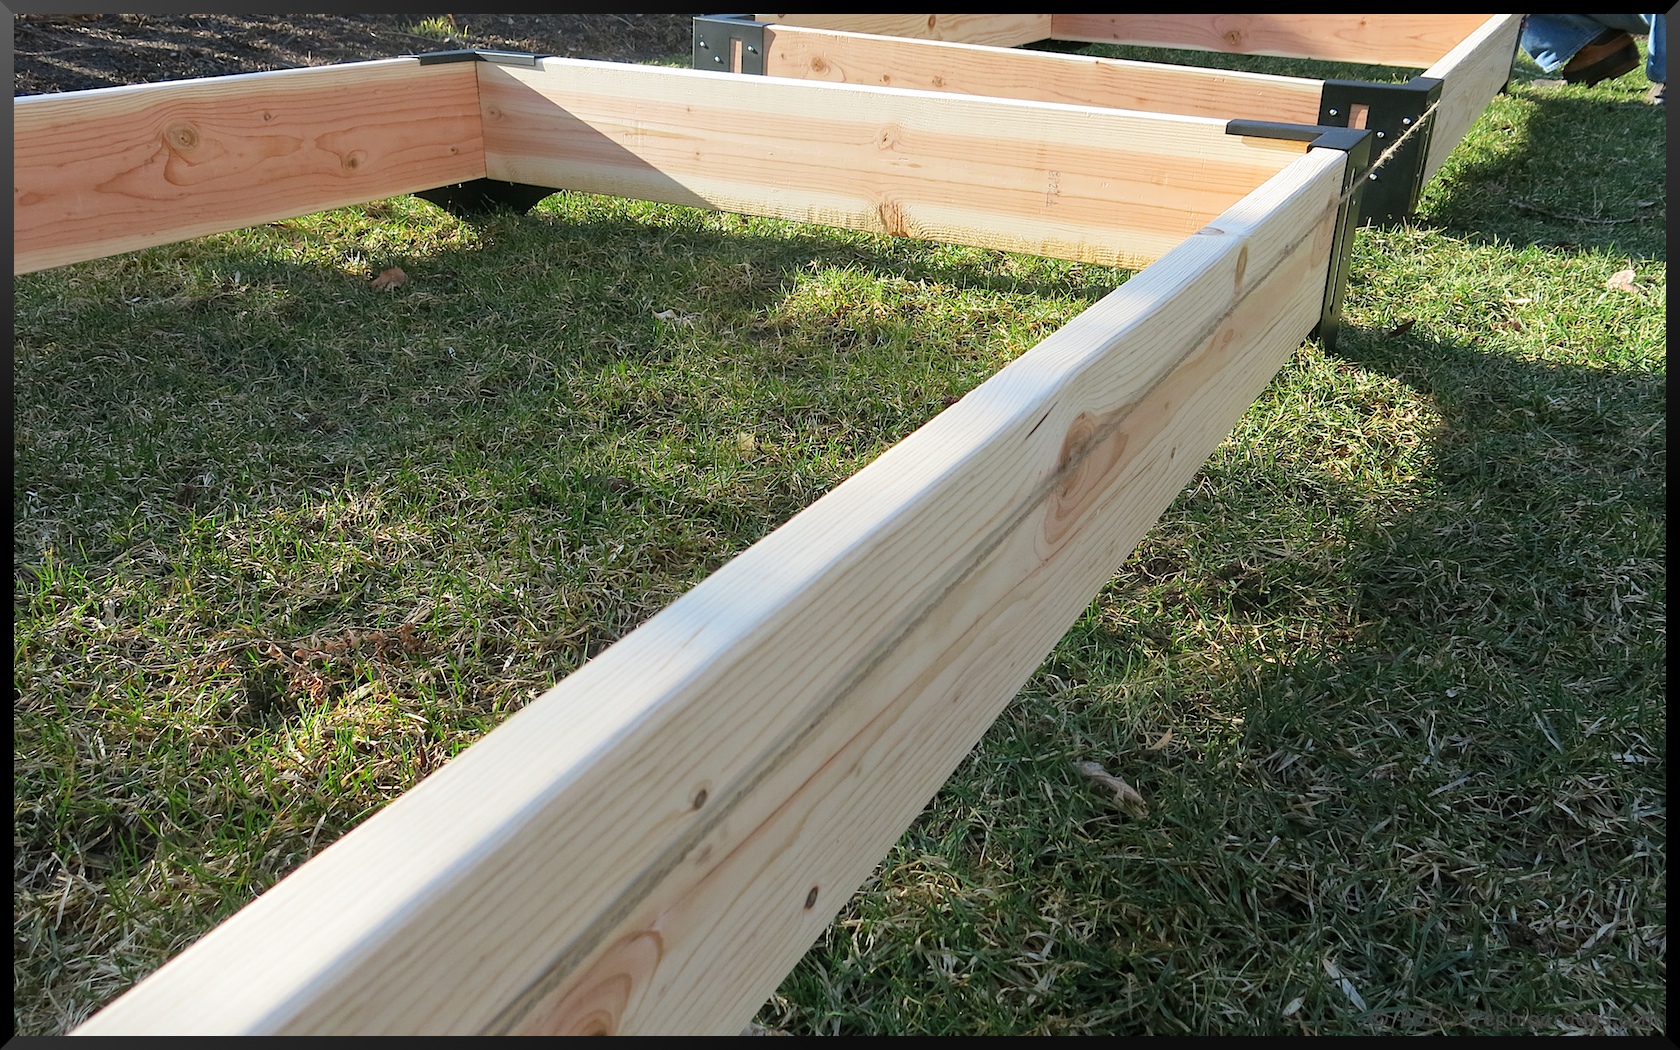
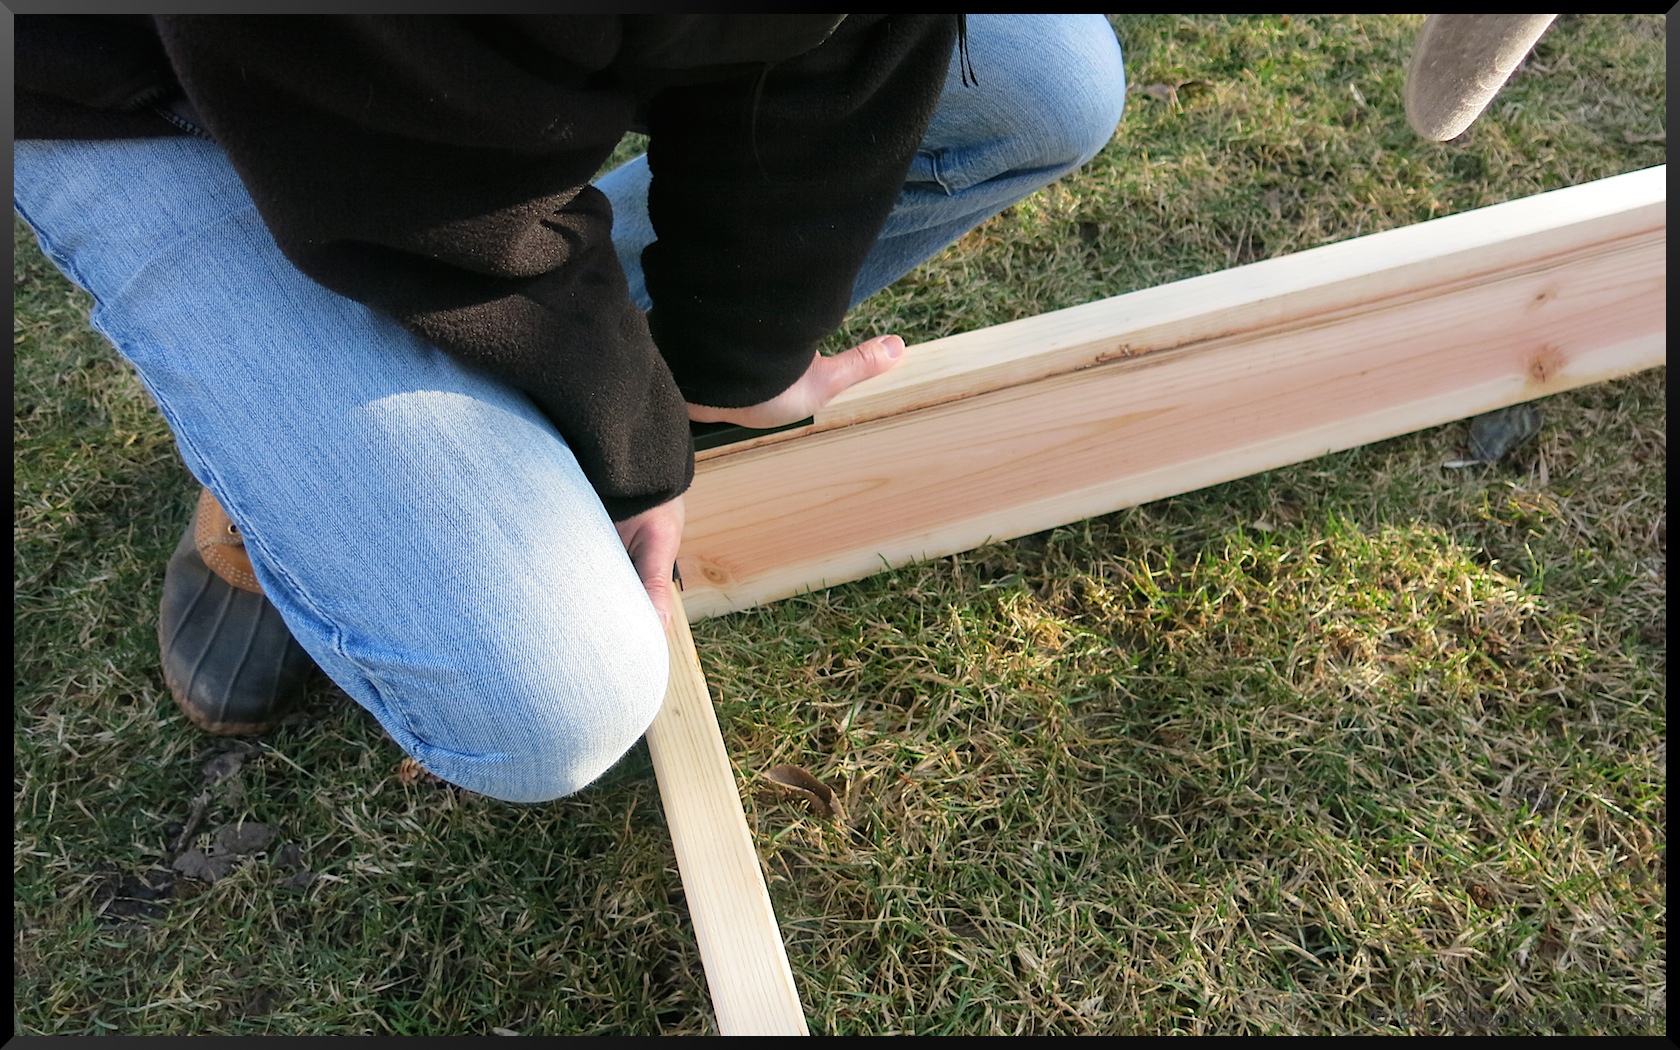
Now the construction began. All the hardware was included in the corner kit, we just had to supply the drill for drilling pilot holes and screwing in all the screw.
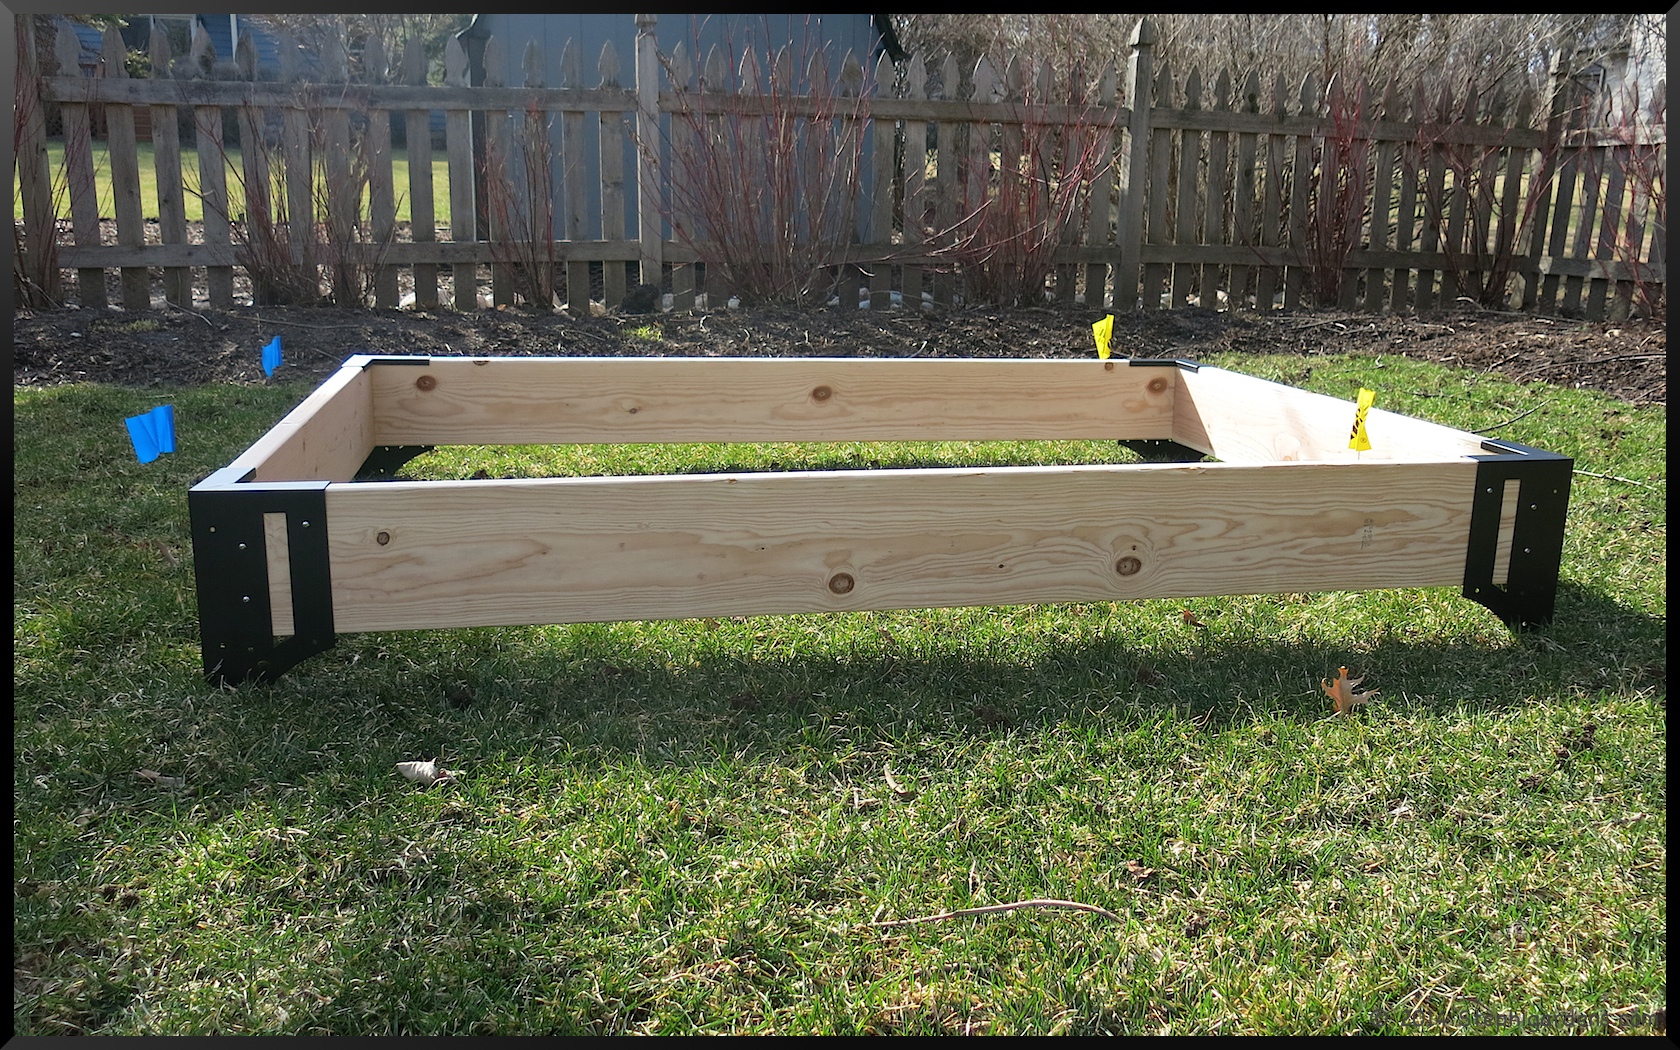
One was done!
Only took a couple of hours to build both, and they couldn’t be easier. We lined them up, leveled them and then pushed them into the ground.
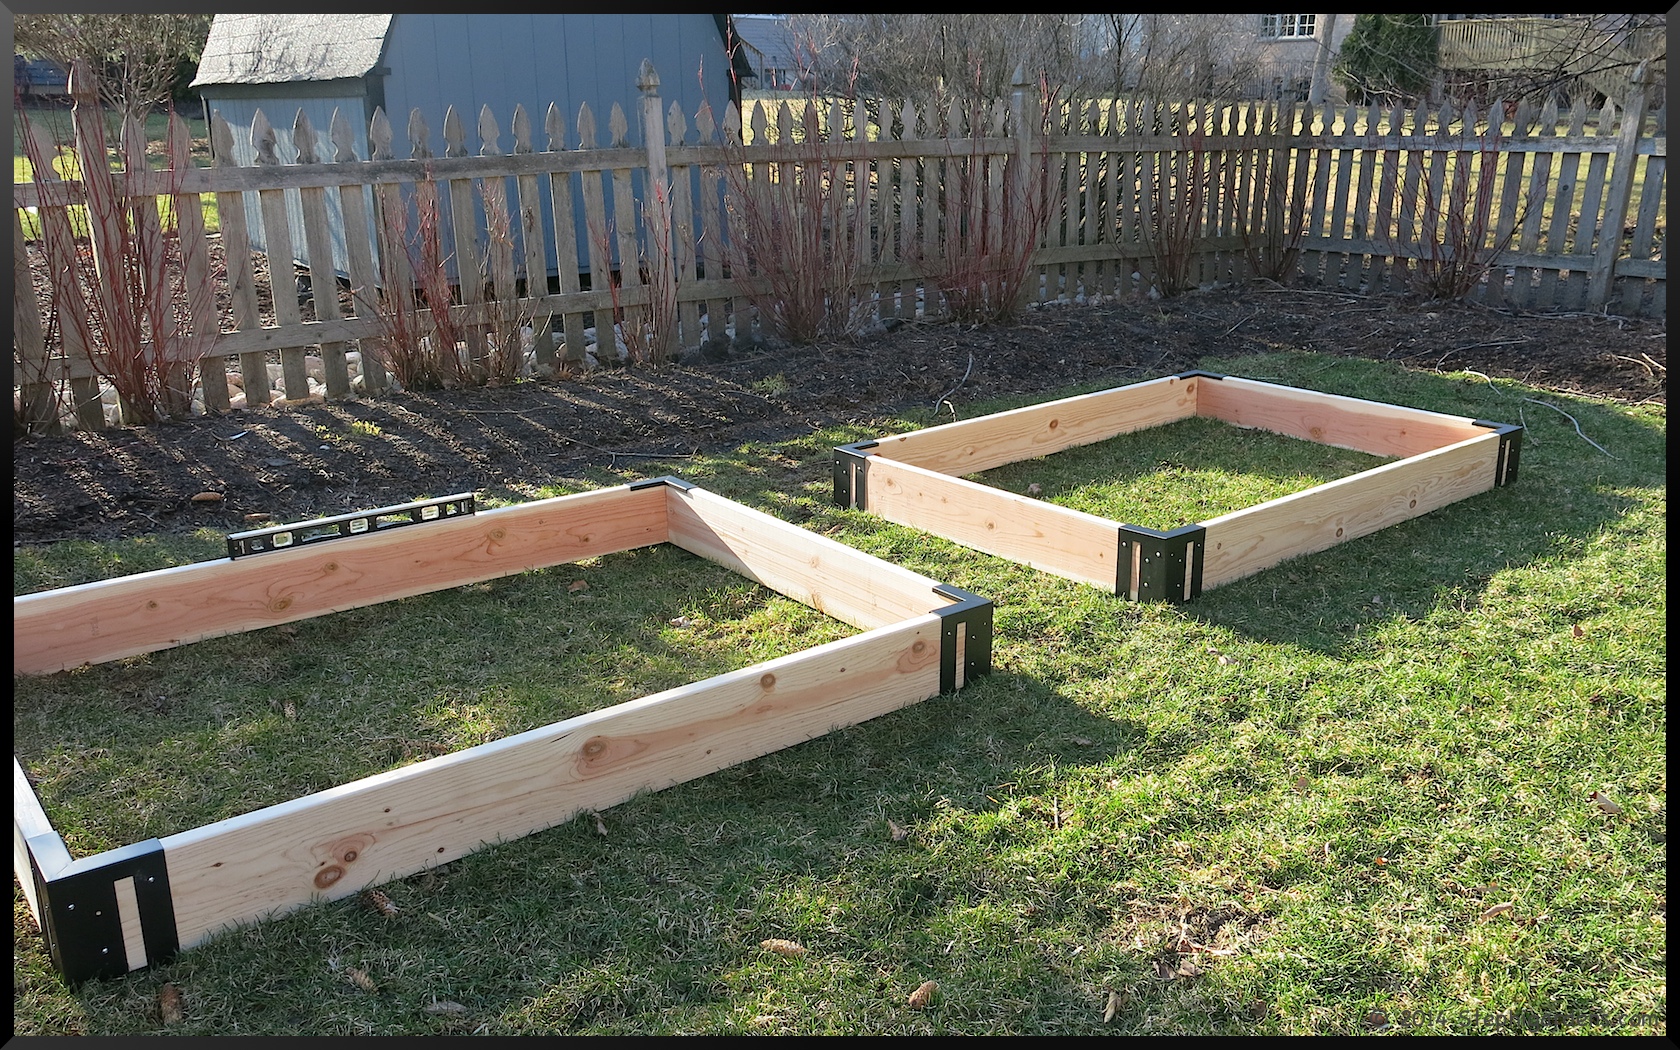
Tomorrow–filling the beds.