Homegrown Spaghetti Squash

I have to be honest, I’m not a huge fan of squash.  I’ll grow zucchini and summer squash and eat them all summer, but don’t necessarily love them.

zucchini

At the grocery store, I pass the pile of winter squashes and look, but they just confuse me.

winter squash

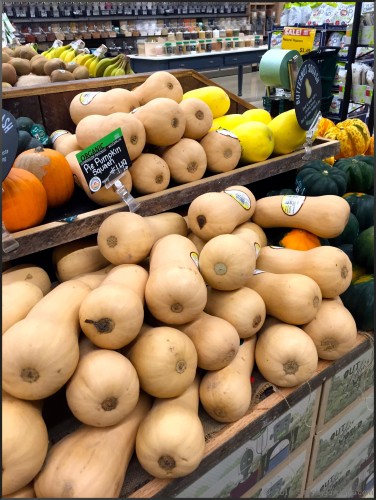
What would I do with it?   Does it need to be peeled?  Which one is which?  I have on occasion brought one or two home and they sat in the kitchen, making me feel guilty until they became rotten and I’d throw it away.  My friends all seem to have great recipes for soups and salads, or just roasting and eating.  Not me.  I realize it’s bordering on irrational.

Two things have conspired to get me to finally cook spaghetti squash.  My husband had a side of spaghetti squash at a restaurant, loved it and suggested I try to cook some at home.   Then my mom grew some in her backyard garden this past summer.  I was really impressed with how great her harvest was and she gave me a couple when I was up visiting in October.

Mom also told me that she had read that as long as part of then stem is attached, it won’t go bad.  So when she harvested her squash, she left a couple of inches attached.  She also cured them for 10 days in the heat of her sun porch.  I think she did a good job hardening them off, since they held up really well without any special storage.

spaghetti squash

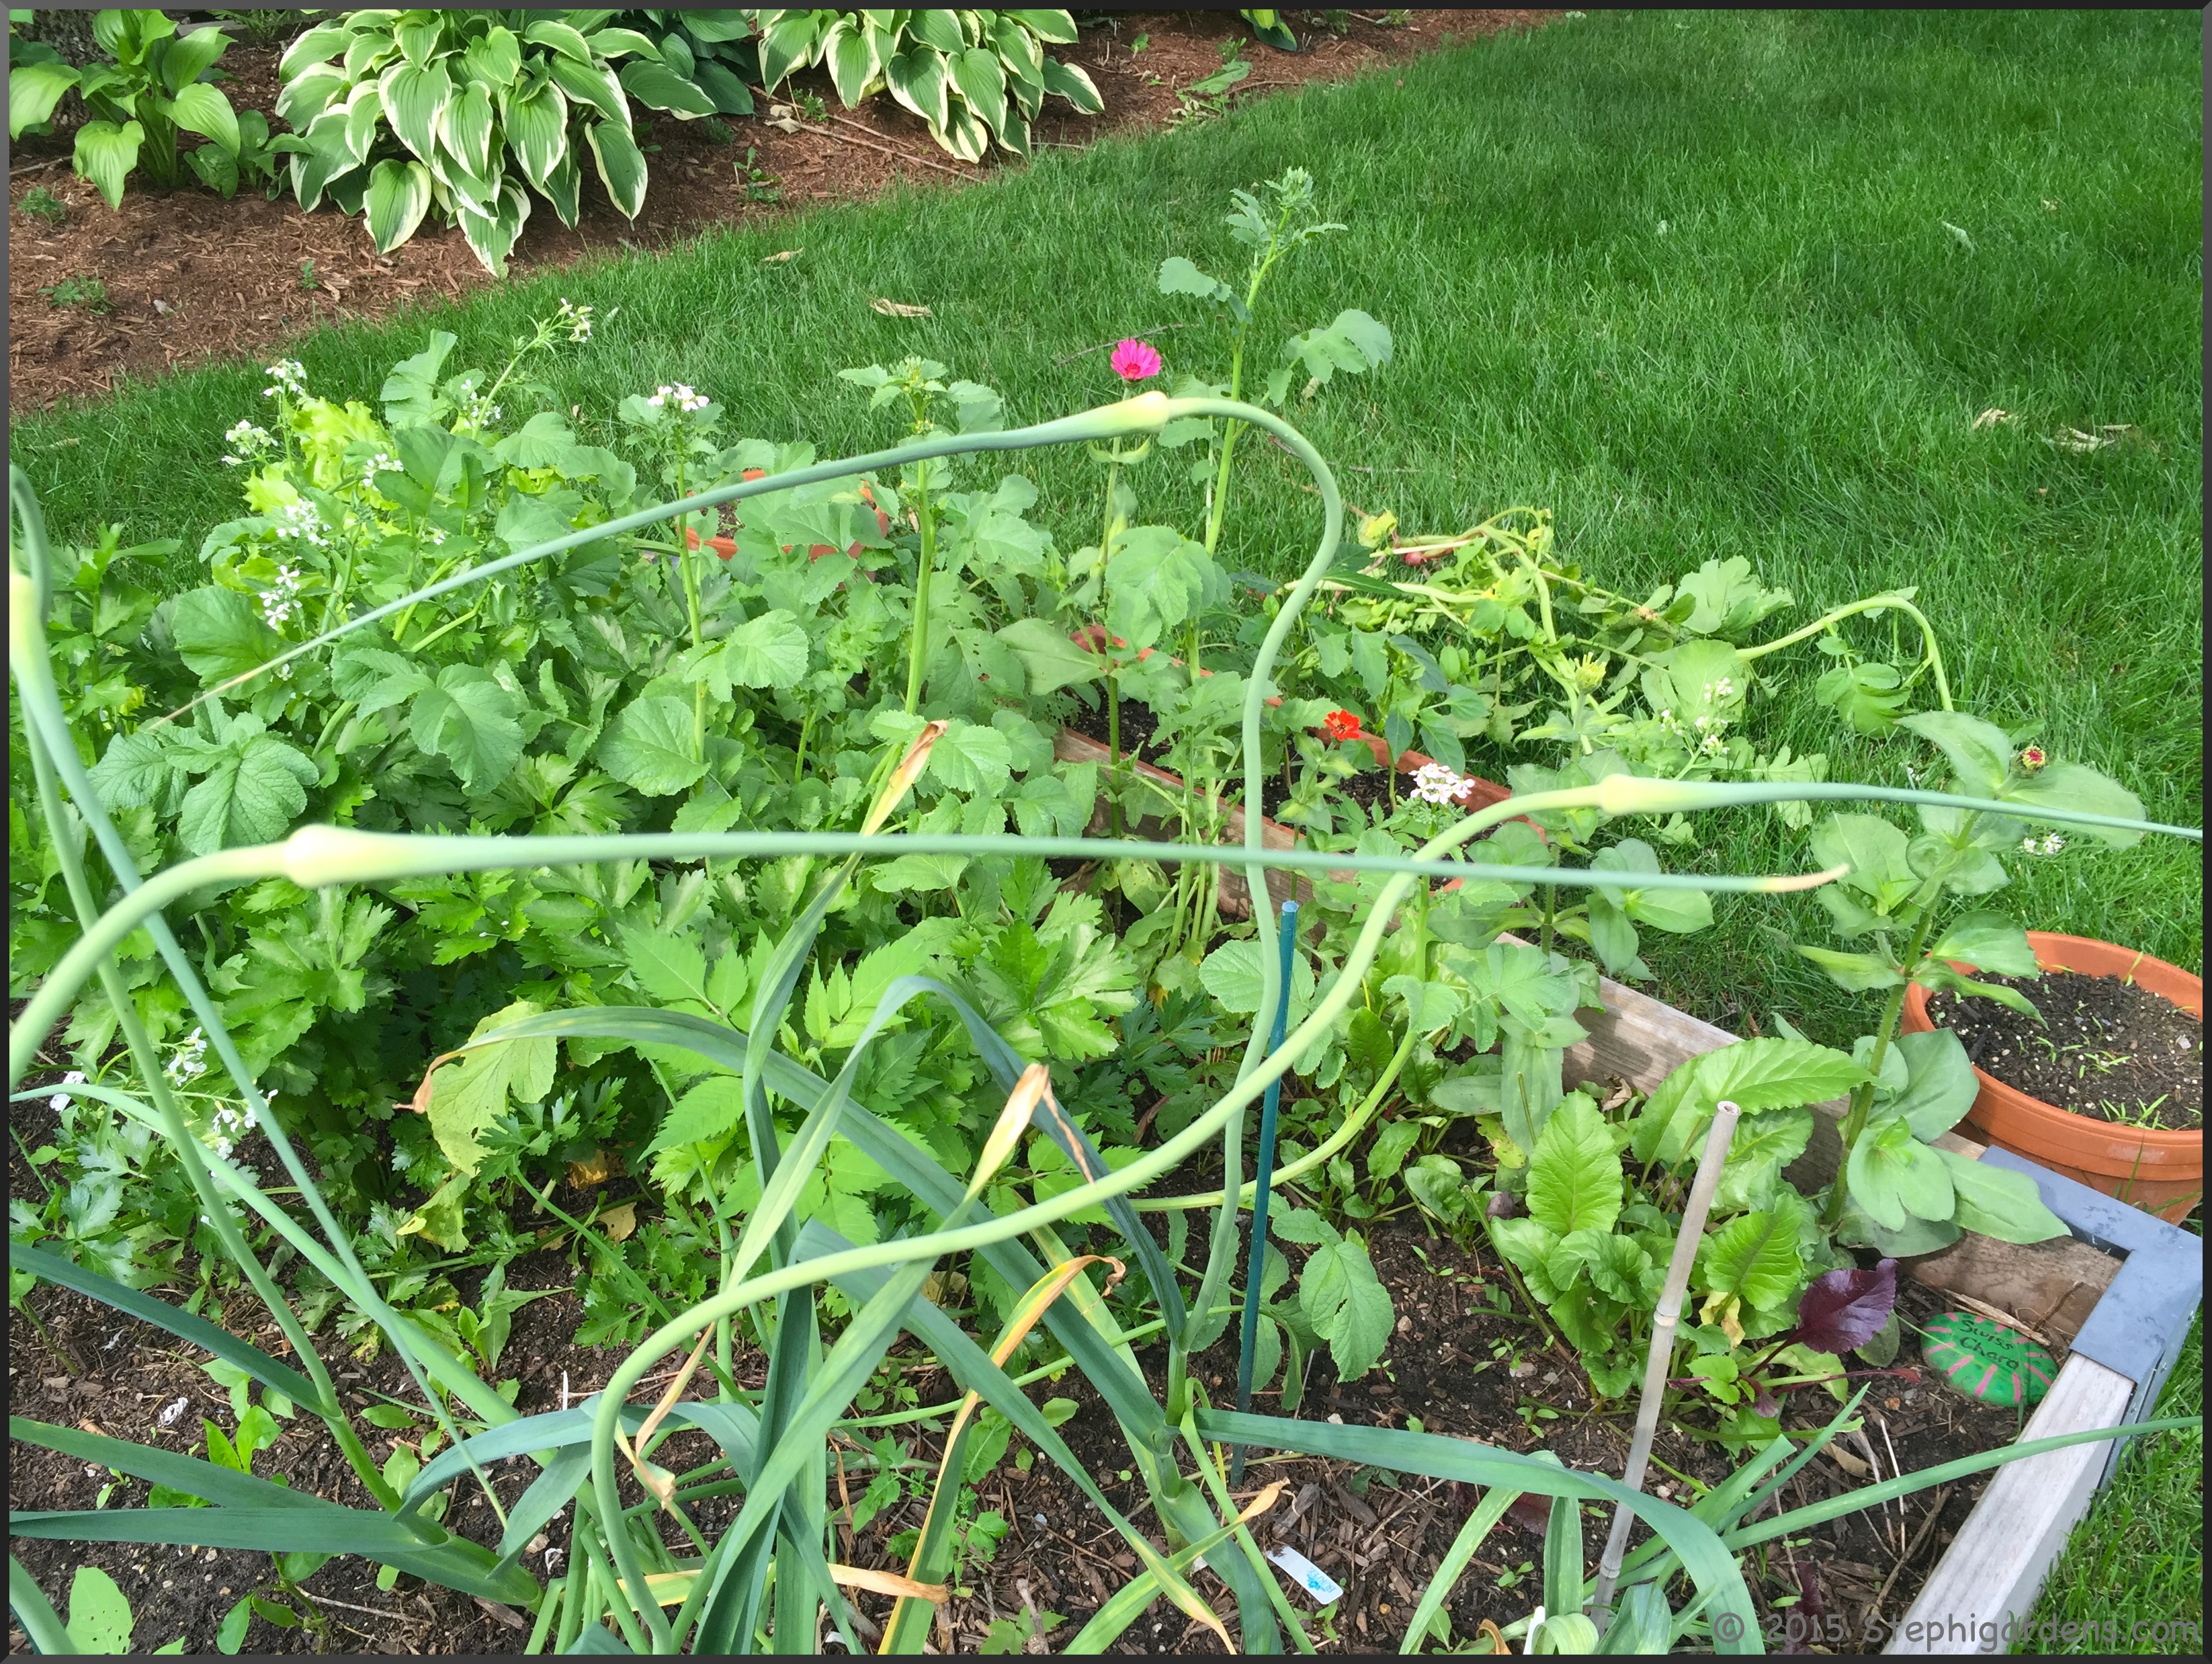
This was the first time she had ever grown any kind of fall squash so were both going to experiment with them.  I was challenged.  I wasn’t going to let these two beautiful squashes go to waste so I needed to figure something out.

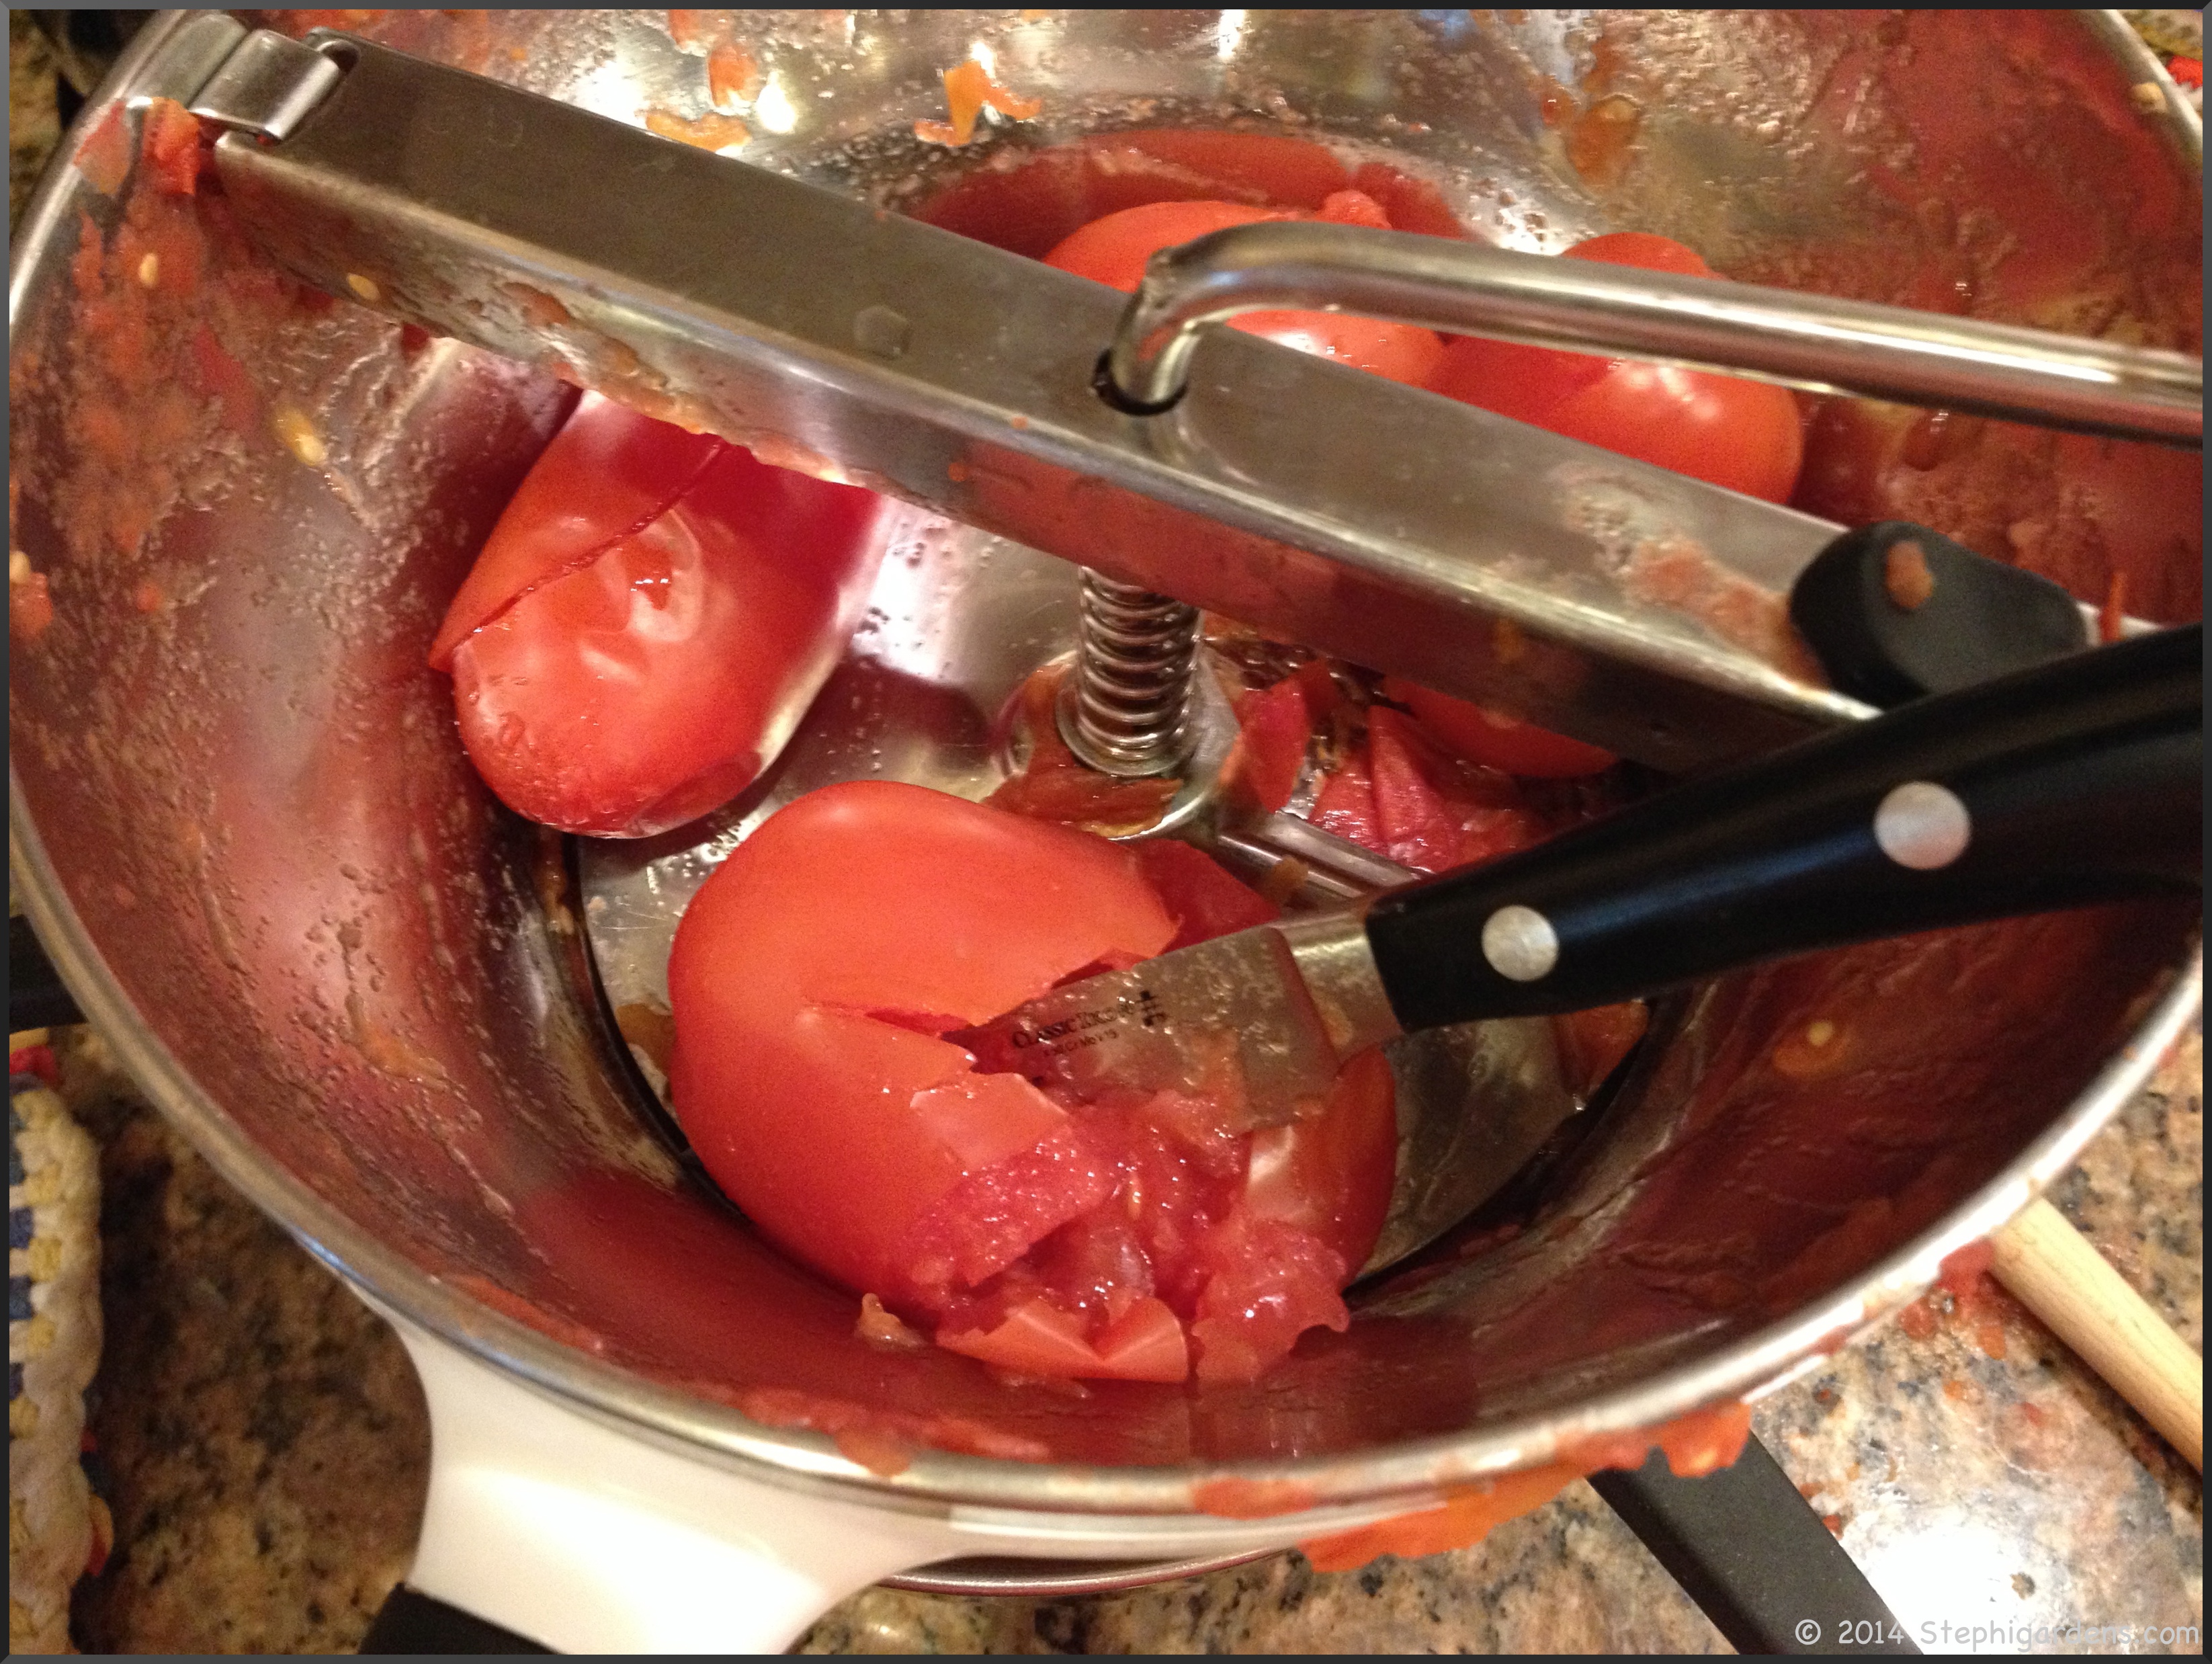
After a very interesting internet search, I found that many recipes were very heavy on cheese, so trying to stick to a low-sodium diet necessitated some creativity.  I finally settled on just a simple roasting, and then sautéing with butter, garlic and parsley for the first time.

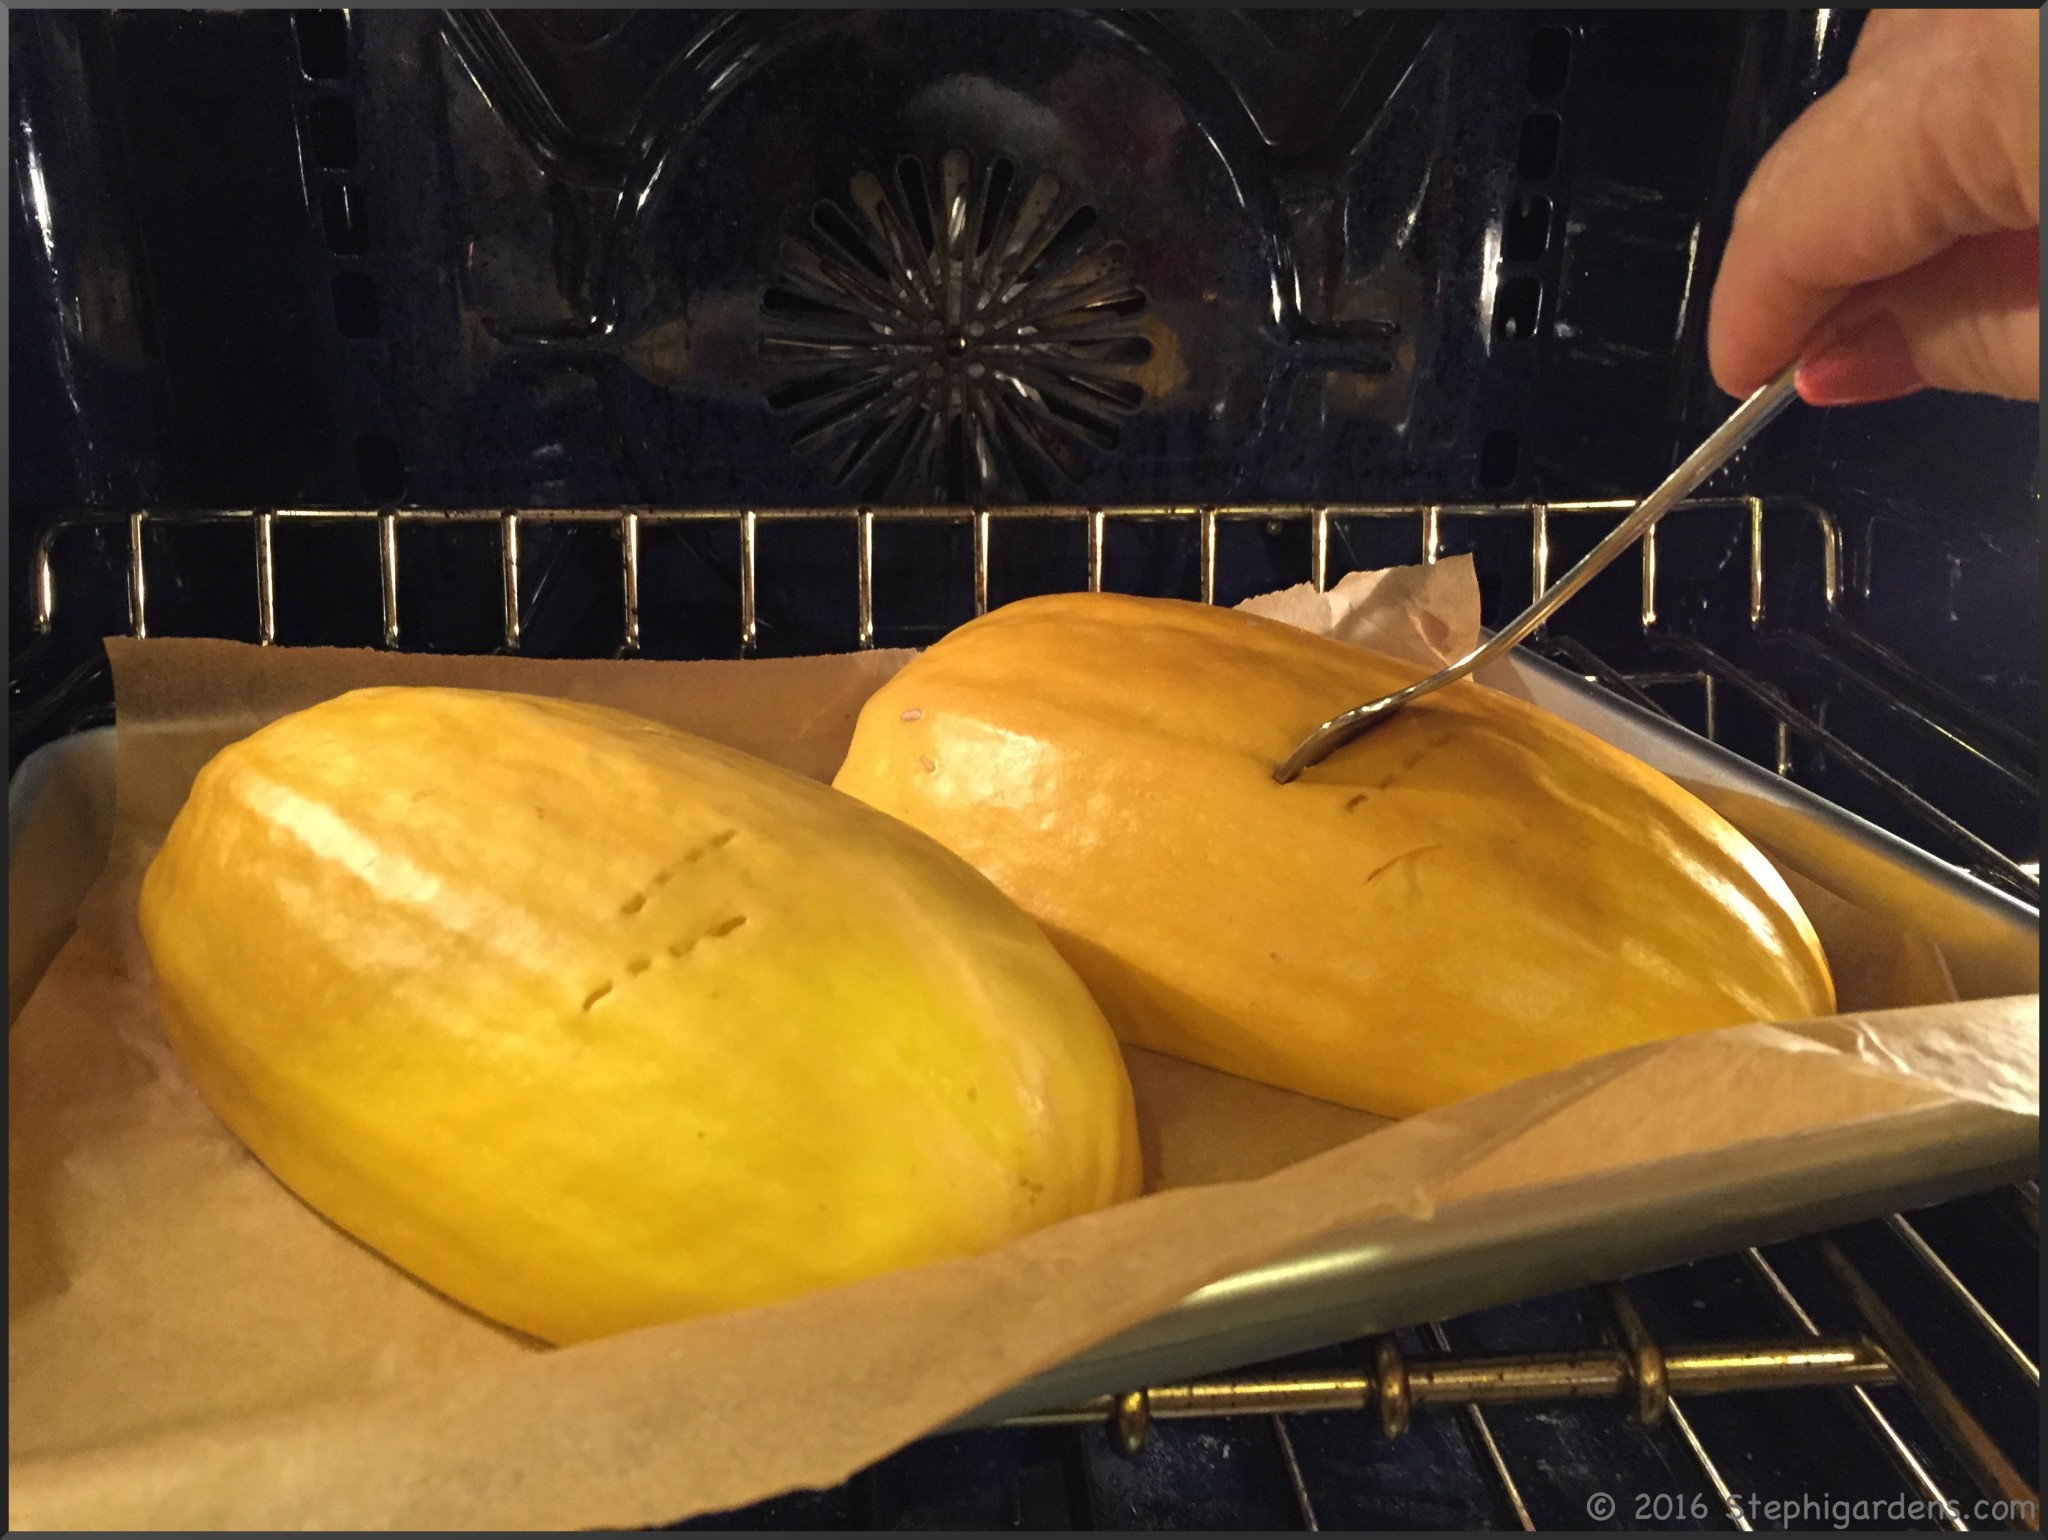
There seemed to be no consensus on how to roast the squash so here’s what I did.

Preheat the oven to 400°F.  Slice the squash in half lengthwise and scoop out the seeds.

spaghetti squash

spaghetti squash

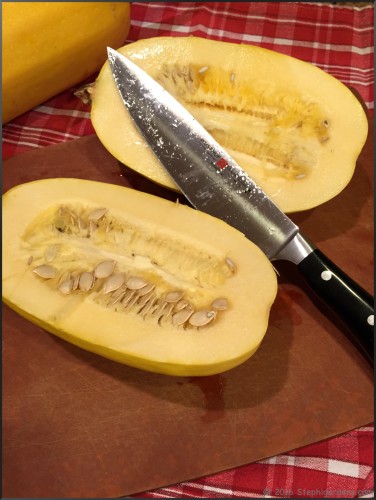
Place the halves cut side down on a roasting pan and roast until softened, about 45 min.  It’s done when you can easily pierce the skin.

spaghetti squash

Remove from the oven.  Using a fork, scrape the fleshy spaghetti strands from the peel.

spaghetti squash

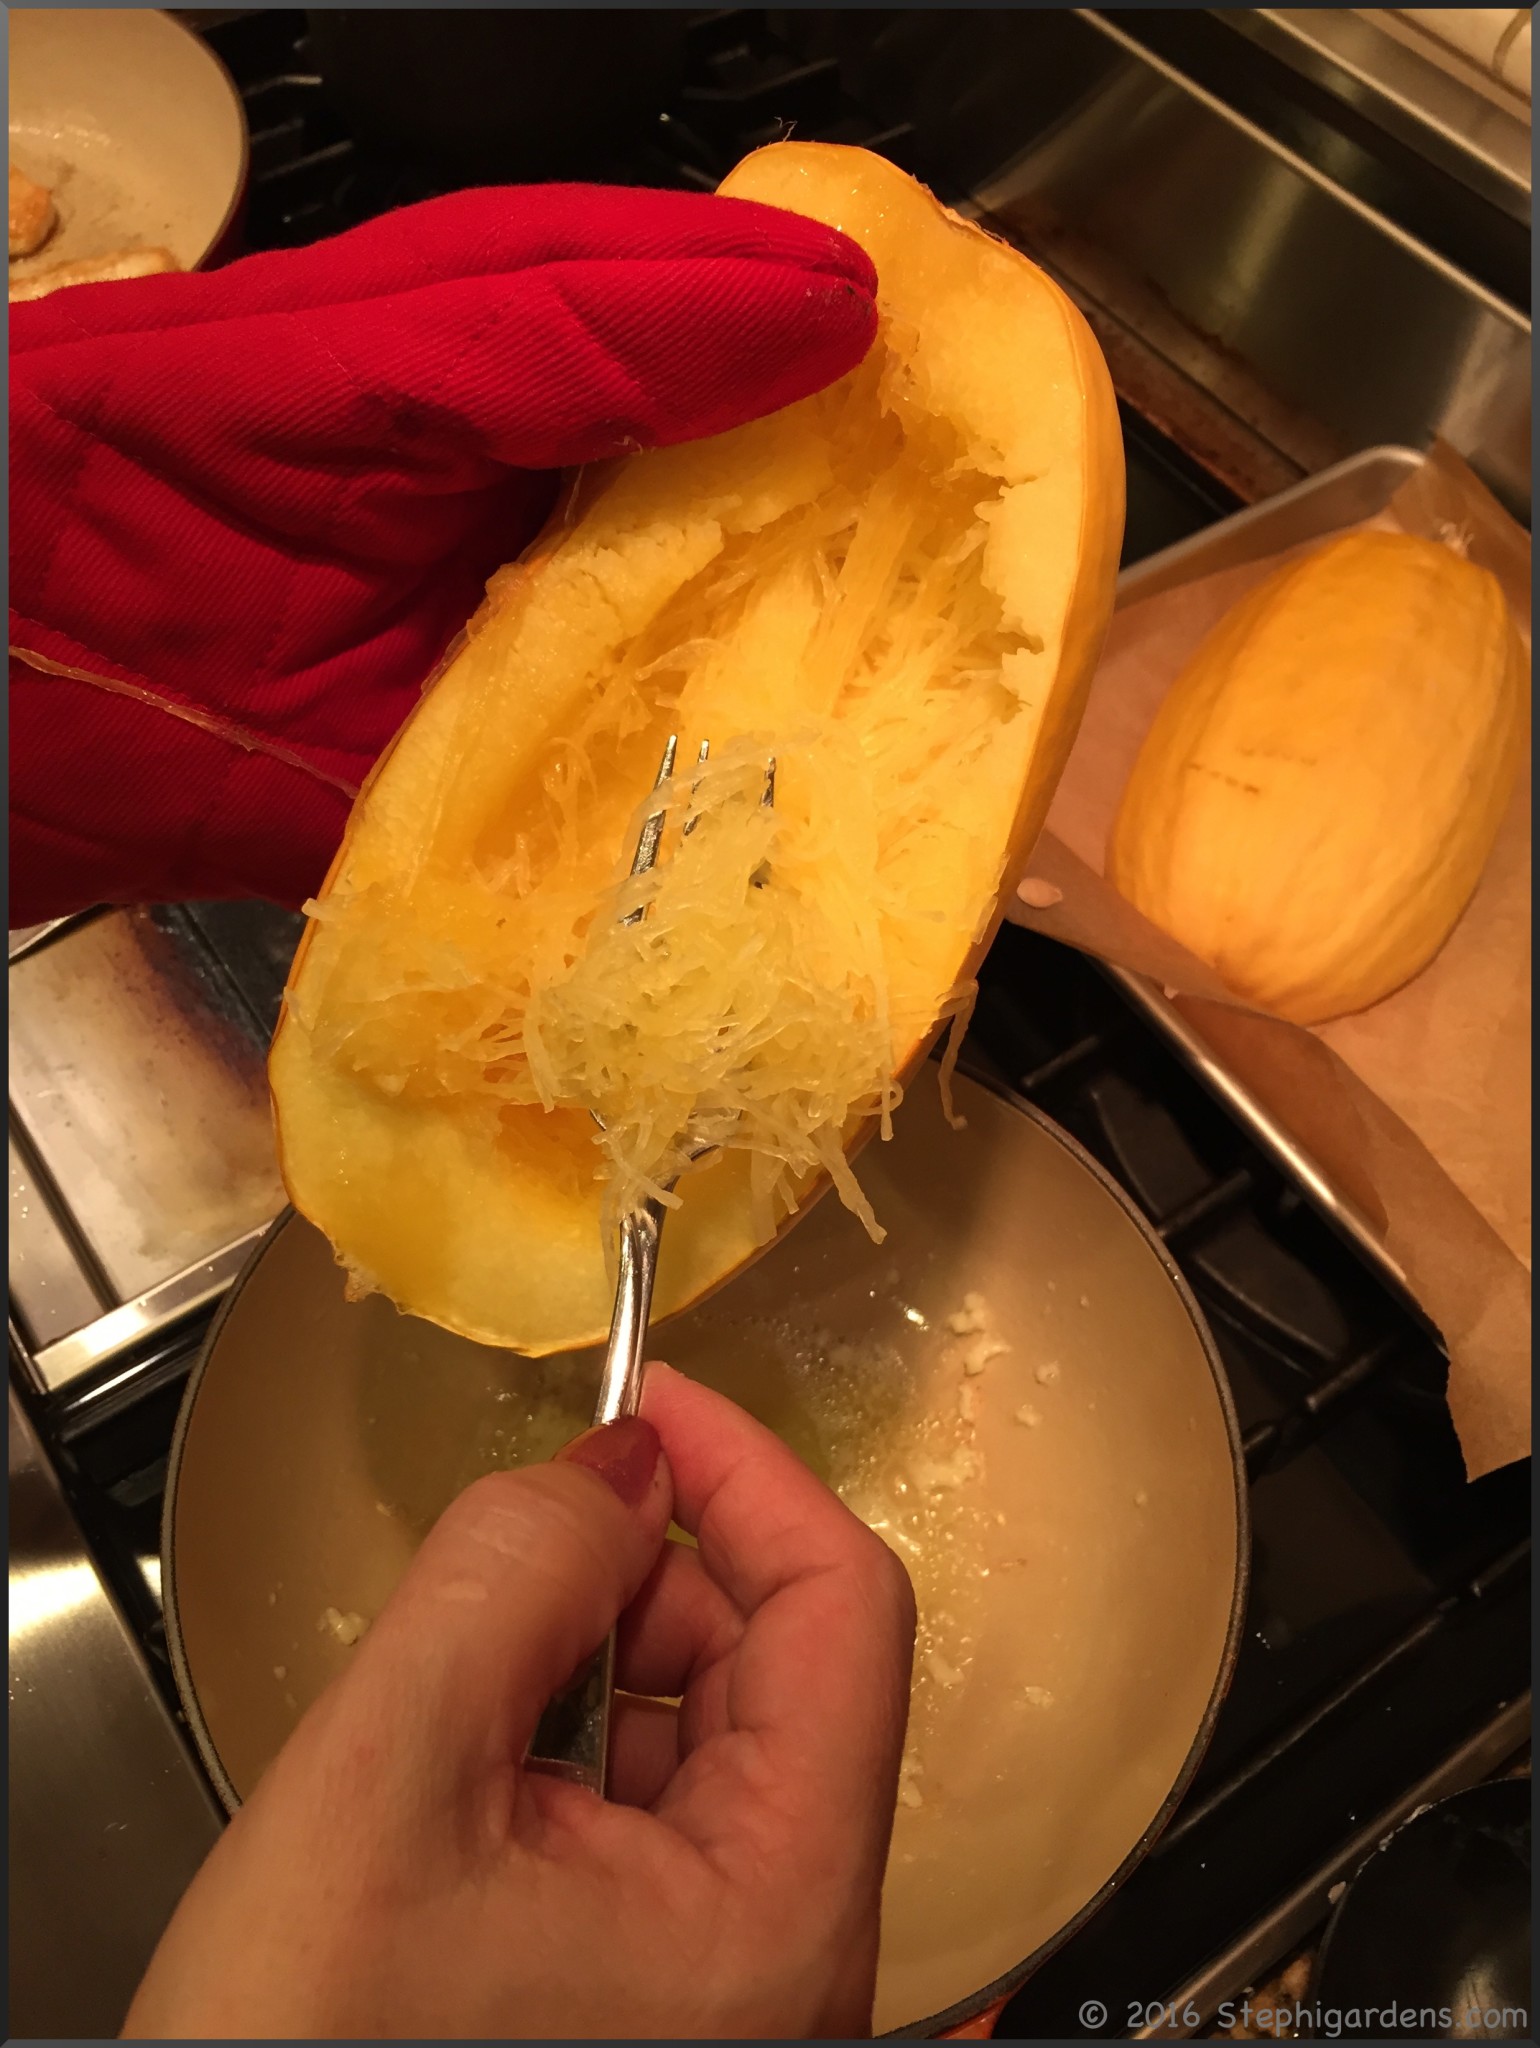
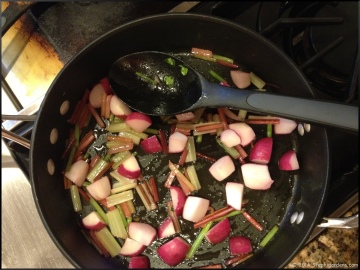
You can serve as is, it has a wonderful mellow flavor all on it’s own.  I sautéed it briefly in some butter, garlic and parsley.  There are so many things you can do with spaghetti squash.  You just need to be willing to try new things 🙂

What’s your favorite winter squash?


Another Fall Garlic Crop In The Ground

Last year, I successfully planted my first crop of garlic.

garlic

You can read about it in “Planting Garlic” and “Warding Off The Vampires“.  I love reaching in the cupboard and pulling out some home-grown, delicious tasting garlic.  I even have a little terra cotta garlic keeper handy right next to the stove.

terra cotta garlic keeper

This past fall I planted another, bigger, crop.  I was a little late in ordering, but was able to get Music, Purple Glazer and Susanville garlic from Territorial Seed Company, as well as French Shallots.

Territorial seed garlic

Next to garlic, I love cooking with shallots!  I’m still using some of last year’s harvest and looking forward to more.

growing shallots

Music and Purple Glazer are hard-necked varieties and Susanville a soft-necked variety.

Planting season is 6-8 weeks before the likely hard frost date for your area, so I planted mine in mid-October, although this winter that was too early.  Can’t plan for crazy weather though.

Last year, I planted in two different locations in the yard, and one was definitely more successful than the other.  Not sure why the difference, but this year I stuck to the raised beds in the backyard where I had success last year.

IMG_3036

I also planted a bunch more in our new property in Door County, WI.  Lucky me–it came with a great raised bed all ready for planting!  I’ll talk more about that another time, but I’m excited to have another place to garden and explore.

stephi gardens

Before the cold and snow came, I was not surprised that I had green shoots coming up from the softneck Susanville garlic.

fall sprouting garlic

Not too worried, the same thing happened last year after planting.   I just covered them with a nice layer of mulch and they should be fine.

Can’t wait for the early spring garlic scapes to appear from the hard-necked varieties.

garlic

I wasn’t sure what to do with them last year, so they went to waste.  Not this year, I’m going have fun experimenting 🙂  In the meantime, I’ll just keep enjoying my harvest from last year.  So far, all the stored garlic is just fine!

Are you still using any of your stored garlic?  Or trying to grow it for the first time?

Save

Harvesting Fall Beets

As I’m getting ready to plan out this year’s vegetables, I know I want to include beets.  Again.

Botanical Interests

I thought I had planted beets last spring for the first time ever, but somewhere along the growing season I forgot, or thought they never came up.  All summer I thought I had grown 2 plots of swiss chard, which actually amounted to a lot of swiss chard.  We just ate them all, never noticing any difference.  When I decided the gardens were done for the season and it was time to harvest whatever was left, out came what I had thought was the swiss chard.  But, lo and behold, there were beets attached to a whole bunch of them.

beets
Hmm, swiss chard or beets (These are beets, I think)

Ok, time to think about that.  It was then I realized these were the beets I had planted.  The same ones that that hadn’t ever grown, and mysteriously turned into swiss chard.

Now this was exciting.  I had quite a few beets from this harvest.

beets

But, beets are not something I ever remember eating.  Maybe we had them from a can when I was a kid, but even then I’m sure I didn’t eat any.

So I headed to the web to figure out how best to cook these little garden treasures…

Since this was the first time cooking them, I kept it simple and just quartered and boiled them for about 20 minutes until they were soft.  I loved the variety of colors and patterns of the beets!  My fingers turned a bit pink too, but that’s ok.

Beets

beets

We ate them just as they were, but I’m sure you could season them to your own taste.

I am definitely growing lots of them again this year, and marking them clearly!  And apparently beet greens taste a lot like swiss chard, so we’ll just continue to eat them as well.

Kitchen Lettuce

I saw on Pinterest lots of pins about how you can grow some vegetables from the remains of store-bought or farm-raised vegetables. I thought I’d give it a try with some green leafy lettuce I bought at the grocery store.

Stephi Gardens

First, I cut off the end off the head of lettuce.

Stephi Gardens

I wrapped the washed lettuce leaves, wrapped in damp paper towels and placed them in the fridge drawer for use this week.  The cut of root end, I placed in a glass of water and put it near the kitchen window.

Within a week or so, the first leaf started to grow.  I changed the water every few days to keep it fresh.

Stephi Gardens

Almost 3 weeks later, I was getting enough leaves to start to think about harvesting the lettuce for some sandwiches.  Along the way, I added another lettuce root and watched them both grow.

IMG_3081

A few days later, it was time.  I just snipped off what I wanted and let the rest continue to grow.

Stephi Gardens

Yummy fresh sandwich for lunch!

Stephi Gardens

It was fresh and tasty, but does take patience to get enough lettuce to use.  I didn’t end up with enough for a salad, but it was great for sandwiches.  A larger container with more lettuce cuttings would easily produce enough for salad.

Have you grown anything on your countertop?

Summer Stir Fry: Swiss Chard and Radish

We’ve tried so many delicious stir fry recipes this summer using vegetables fresh from my garden and the farmers market. One of my favorites is swiss chard and radishes. I’m not really much of a radish fan, but my daughter convinced me to try them sautéed, or in a stir fry. I’m hooked! What a mild, delicious taste the radishes have when sautéed.

Clean and trim the radishes and swiss chard.  
radish and swiss chard stir-fry

Cut the swiss chard stems into 1-1.5 inch pieces.  Quarter the radishes.  

radish and swiss chard stir-fry

Preheat stir fry pan with 1-2 T exra-virgin olive oil.  Add radishes and swiss chard stems.

radish and swiss chard stir-fry

Sauté  over medium heat until soft.  About 5-7 minutes.  While cooking, coarsely chop the swiss chard leaves.

radish and swiss chard stir-fry


radish and swiss chard stir-fry

When soft, add the leaves and sauté a minute more or so until leaves are wilted.  Season with salt and pepper to taste.  

radish and swiss chard stir-fry

Finished!  Yummy and healthy!

radish and swiss chard stir-fry

Making Sauce on a Sunny Day

Now that it’s finally warm, it’s the perfect time to make some tomato sauce with the beautiful garden tomatoes. Well not really, but this has been a great year for my tomatoes and I need to get them harvested. I have lots of tasty San Marzano Roma, Early Girl slicing tomatoes and tons of Super Sweet 100 cherry tomatoes.

I picked about 5 lbs of San Marzano and Early Girl tomatoes and processed them with my new toy, an Oxo Food Mill.

food mill

Last year to prepare the tomatoes, I par-boiled them, removed the peels and seeds, and then processed them in the food processor to puree them for sauce (see 35 Pounds of Tomatoes for directions).

I kept reading about food mills as a better way to prepare tomatoes (and apparently mashed potatoes), so I thought I’d give it a try this year.  It’s actually pretty easy to use and makes perfect puree.  I also think it’s even more efficient at making puree than the way I prepared the tomatoes last year, since it seems like I ended up with a lot more sauce than before (and fewer seeds).

Here’s some tips I learned:

  • The medium grate was just the right size to get a thick puree without seeds.

oxo food mill

  • I found it was faster if I par-boil the tomatoes for about 1 minute.  Then put tomatoes right into the mill.  About 5-6 fit in at a time.

food mill

  • I made a slice in each tomato once in the food mill to make the process even a little easier.

food mill

  • Be sure to go both forwards and backwards.  You need to clear it periodically to get the chunks mixed up and under the press.
  • It’s done when you are only spinning skins under the press.  Be patient, it’ll happen.
  • Scrape out the peels with a fork and put another batch of tomatoes in.
  • It doesn’t really take any strength to use this.  It’s really just spinning the handle.  I was worried with a bit of a bum shoulder this would be hard.  Not at all.

Now I was ready to make my sauce.  Last winter, I used my frozen tomatoes and played around with recipes.  This was ultimately my favorite.  The longer it cooks the better it tastes.

For 8 cups of tomato puree (about 3 lbs of tomatoes):

2 medium onions, grated
2 tablespoons butter
2 tablespoons olive oil
4 teaspoons Penzys Italian Herb Mix
4 garlic cloves, minced
8 cups fresh tomato puree
4 tablespoons fresh basil, chopped
salt and pepper to taste

Melt butter and heat oil in a large stockpot over medium heat. Add grated onion and Italian Herb Mix. Sautee 7-8 minutes over medium heat, until onions are soft and golden minutes. Add minced garlic and cook 30 seconds or so until fragrant. Add tomatoes. Bring to a boil, then cover and simmer on low heat for at least 1 hour. Longer for a richer taste.  Before serving, stir in fresh basil, season with salt and pepper to taste. Serve over pasta.

**If you like a smoother sauce, use a hand blender to blend the sauce when finished cooking.
**If freezing the sauce, leave out basil. Add fresh when warming thawed sauce.
**We eat a fairly low sodium diet. This is flavorful without salt, but if you prefer your sauce with salt, add desired amount to taste with the pureed tomatoes.

tomato puree
Puree is ready to add
Onions and spices are cooking beautifully.  Kitchen smells great!
Braun Stick Blender
Use a hand bender for a smoother sauce

Now that I’ve cooked up all the garden tomatoes, I’ve moved on to the 10 lb box of Roma tomatoes from the farmers market.  Getting ready for winter already 🙁

Fresh Tomato Pasta Sauce
Print
Author:
Ingredients
  • 2 medium onions, grated
  • 2 tablespoons butter
  • 2 tablespoons olive oil
  • 4 teaspoons Penzys Italian Herb Mix
  • 4 garlic cloves, crushed
  • 8 cups fresh tomato puree
  • 4 tablespoons fresh basil, chopped
  • salt and pepper to taste
Instructions
  1. Melt butter and heat oil in a large stockpot over medium heat.
  2. Add grated onion and Italian Herb Mix. Sautee 7-8 minutes over medium heat, until onions are soft and golden minutes.
  3. Add minced garlic and cook 30 seconds or so until fragrant.
  4. Add tomatoes. Bring to a boil, then cover and simmer on low heat for at least 1 hour. Longer for a richer taste.
  5. Before serving, stir in fresh basil, season with salt and pepper to taste. Serve over pasta.
Notes
**If you like a smoother sauce, use a hand blender to blend the sauce when finished cooking.
**If freezing the sauce, leave out basil. Add fresh when warming thawed sauce.
**We eat a fairly low sodium diet. This is flavorful without salt, but if you prefer your sauce with salt, add desired amount to taste with the pureed tomatoes.


Keeping Fresh Berries Fresh

There is nothing tastier than fresh berries from the farmers market. All those lovely strawberries, blueberries and raspberries.  But, there’s also nothing worse than going to the fridge and finding them becoming fuzzy only a day or 2 later.  I tried different ways to try to prolong their freshness, and finally found something that worked–Vinegar.  Simple white vinegar.  Using a dilute vinegar rinse, I’ve had blueberries last up to 2 weeks and raspberries a week in the refrigerator!  (And with no vinegar taste, either)

berry vinegar wash

Place the berries in a colander and put into a bowl containing 3  parts cool water and 1 part white vinegar.

berry vinegar wash

berry vinegar wash

Soak for a few minutes, drain, and rinse under running water.

berry vinegar wash

Place berries onto a towel to dry completely.  Some people suggest placing berries into a salad spinner for 15-30 seconds to dry, but I would only suggest that for firm berries, never for raspberries.

berry vinegar wash

berry vinegar wash

Store the dry berries uncovered (or loosely covered) in the fruit drawer of the fridge.  Enjoy!


Homemade Suet Cakes

I was at my favorite local butcher shop (Prime-N-Tender Meats) the other day, and asked if they had any suet I could have to make homemade suet cakes for the birds.  They went in the freezer and came out with this bag containing a big bag of fatty glop.

Homemade Suet Cakes

I’m not really sure what I was expecting.  This was a bit of a last minute idea that I came up with while I was there.   I thought seemed like an quick, easy project.  Oops.  I really should have thought this through a little better.  But in the end, I did get some really nice looking suet cakes for the birds.  Would I do it again?  Yes 🙂

Making Homemade Suet Cakes

Ask your local butcher for suet.  You may need to ask around, as not all will carry it, and some may charge a nominal fee for it.  Cut it up into small, even chunks.  Put everything in, even the stuff that doesn’t look at all like anything would eat it.  The fat then needs to be rendered.  After trying a couple of different ways, (see below), I found that the best way was to use a crock pot over low heat.  I felt confident that I could safely leave it to cook all day without worries of starting a grease fire.  To get the rendering started, I added a 1/4 cup of water.

Homemade Suet Cakes

Then cover and let it cook all day until the the remaining fat is crunchy and there’s a good amount of liquid fat in the bottom.

Homemade Suet Cakes

Strain out the crunchy remains and place the liquified fat (and little crumbs) in a bowl.

Homemade Suet Cakes

Now it’s time to pull together the ingredients to make the suet cakes.  There’s lots of things to use that the birds will love.  This time I chose:

  • cornmeal
  • peanut butter
  • bird seed
  • sunflower seeds

Homemade Suet Cakes

To the 1 c of liquified fat I ended up with, I added about 1/2 c cornmeal, 1/2 c peanut butter, 1 cup mixed seed and 1/2 c sunflower seeds.  It should be fairly thick.

Homemade Suet Cakes


Homemade Suet Cakes

I then used 2 glass storage containers to make the cakes in.  I don’t have a lot of plastic containers around anymore, but you can use whatever you have in the cupboard–plastic storage containers, plastic tubs, paper cups, whatever you might have around that is the right size.

Homemade Suet Cakes

Place in the refrigerator to harden.

Homemade Suet Cakes

Remove from container and use immediately or store in freezer bags in the freezer.  I got them to release from the glass bowls by putting them in warm water for about 30 sec.  They may also needs a little coaxing with a knife.

Homemade Suet Cakes

Yum!  Now I have 2 very tasty smelling suet cakes ready to be put out for the birds.  Whatever you don’t use you can freeze for later use.

Homemade Suet Cakes

Notes:

**Everything I’ve read says it’s not a good idea to have suet out in the warmer weather.  It can melt, go rancid, start to smell bad or can simply damage birds wings or your patio.  All good reasons to store the leftover suet in the freezer until next fall.

**When I first started to try and melt the suet, I tried the big chunks in a saucepan, and then cut up in the saucepan.  Both terrible ideas from a fire safety standpoint.  If you do want to use a saucepan, a double boiler would be a much better idea.

Homemade Suet CakesHomemade Suet Cakes

**My mom, Peggy, simplifies things even further by just putting the fat from the butcher in a net or cage and let the birds go at it.  They love that, too.


Peanut Butter Candy Cup Cookies

IMG_4589

Here’s another family holiday favorite snack. By changing up the colored M&M’s, this can be made for any occasion. This recipe has been adapted from MyRecipes.com

You’ll need:

Peanut Butter Cookie dough
Mini Snickers Bars (24)
M&M’s

Prepare your favorite Peanut Butter Cookie dough.  This is mine:

1/2 c sugar
1/2 c firmly packed brown sugar
1/2 c margarine or butter, room temperature
1/2 c creamy peanut butter
1 tsp vanilla
1 egg
1 1/4 c all-purpose flour
1 tsp baking soda

  • Preheat oven to 350º. Spray mini muffin pan with cooking spray
  • Combine sugar, brown sugar and butter until light and fluffy.
  • Add peanut butter, vanilla and egg; blend well.
  • Add flour and baking soda

peanut butter cookie dough

  • Roll into 1 inch balls
  • Place each ball into mini muffin pan cup.

Peanut Butter Candy Cup Cookies

  • Bake at 350º for 15-17 minutes, until cookie cups are puffed and golden brown.
  • Remove from oven; press mini Snickers into each one

Peanut Butter Candy Cup Cookies

  • Return pan to oven for 30 sec. to melt the top of the candy bar.
  • Remove pan from open and put 3 M&M’s on top of each mini Snickers bar.

IMG_4589

  • Cool slightly, remove from pan by popping out with a knife.
  • Cool on wire rack.

With any extra dough, make some Christmas Peanut Butter Blossoms

Christmas Peanut Butter Blossoms

  • After rolling dough into 1 inch balls, roll in colored granulated sugar
  • Cook for 9-11 minutes at 350, or until cookies are set and golden.
  • When done, press a Hershey’s Kiss into the center of each cookie.
  • Remove to wire rack to finish cooling.

Peanut Butter Candy Cup Cookies
Print
Recipe type: cookies
Author:
Ingredients
  • ½ c sugar
  • ½ c firmly packed brown sugar
  • ½ c margarine or butter, room temperature
  • ½ c creamy peanut butter
  • 1 tsp vanilla
  • 1 egg
  • 1¼ c all-purpose flour
  • 1 tsp baking soda
  • Mini Snickers Bars (24)
  • M&M's
Instructions
  1. Preheat oven to 350º. Spray mini muffin pan with cooking spray
  2. Combine sugar, brown sugar and butter until light and fluffy.
  3. Add peanut butter, vanilla and egg; blend well.
  4. Add flour and baking soda
  5. Roll into 1 inch balls
  6. Place each ball into mini muffin pan cup.
  7. Bake at 350º for 15-17 minutes, or until cookie cups are puffed and golden brown.
  8. Remove from oven; press mini Snickers into each one
  9. Return pan to oven for 30 sec. to melt the top of the candy bar.
  10. Remove pan from open and put 3 M&M's on top of each snickers bar.
  11. Cool slightly, remove from pan by popping out with a knife.
  12. Cool on wire rack.


Time to be Thankful

I’ve been away for a bit, enjoying time with my family. I was lucky enough to host everyone here for a Thanksgiving gathering, that included my daughter that lives on her own now, my mom and my sister. Thanksgiving is definitely a wonderful time to spend with family, and to remember those who can’t be with us. For many years, Thanksgiving was just the five of us since my husband rarely had time off, so traveling was out of the question. But we still made it special and developed our own wonderful family traditions, mostly centering around food.

We get up to a yummy brunch…

brunch

…and in the last couple of years, one or more of the kids are off to a turkey trot first.

Pie 3.14 Race

After brunch, the turkey gets stuffed with my delicious Leek, Apricot and Chestnut Stuffing and put in to cook, making the house just smell delicious.

[mv_create key=”1″ type=”recipe” title=”Leek, Apricot and Chestnut Stuffing” thumbnail=”http://stephigardens.com/wp-content/uploads/2020/11/IMG_9255-3-scaled.jpeg”]

Then there’s time for a bit of relaxation to catch the end of the parade or maybe kick-off, before the midday appetizers and drinks come out.  On the menu this year was Sage and Prosciutto Stuffed Mushrooms, Prosciutto, Gruyere and Sage Palmiers, Zucchini Casino, Spinach Dip with Vegetables and assorted olives.

We celebrated the holidays this year with delicious, sparkling glasses of Pomegranate Prosecco .

Pomegranate Prosecco

After mid-day appetizers, there’s plenty of time for football and maybe even a walk before the pre-dinner panic sets in. Glad I had so many helpful and willing hands in the kitchen this year.  This year’s dinner consisted of fresh turkey, stuffing, mashed potatoes, gravy, rolls, green beans wrapped with prosciutto, jellied cranberry sauce (from a can, what can I say it’s what everyone wants), celery, carrots, black olives and rolls. Finished off with apple and pumpkin pies.  What a wonderful day!

Thanksgiving


Then of course there’s Daisy who just wants so badly to be part of this all.

Westie

I hope your family had a wonderful Thanksgiving.  Many of the recipes can be found on my Pinterest site

(Many thanks go to Emily, Peggy, Sherry and Steve for helping with the pictures)