Summer Sunflowers

Normally this time of year, I would be commenting on how the summer heat has been taking its toll on the garden.  Not this year, though.  The gardens have responded to these cooler than normal July temperatures by being one explosion of color after another.  Right now it’s the sunflower’s turn to show off.

Sunflower


Sunflower


Sunflower


IMG_8568


Sunflower


Sunflower

While we were enjoying the beauty of the sunflowers, others were enjoying them in other ways…

Considering how far these were dragged, I assume the squirrels feasted on these two heads.

Sunflower

And the birds have been frequent visitors to this “bird feeder”!

Sunflower
 

 Photo credits:  All but the last 2 photo were taken by my husband, Steve!

July Meadow Wildflowers

We were out on a bike ride over the weekend enjoying the meadow wildflowers that were in bloom (or prairie wildflowers as we call them here in Illinois).  I tried to take some pictures, but between the camera lens being dirty, the mosquitos being so ferocious we needed to keep moving, and taking moving shots of flowers don’t work so well, no good shots.  Luckily, my mom Peggy was out hiking in a meadow near her house in Michigan and saw many of the same flowers.  Here’s some great shots of what she saw.

Photos by Peggy
Common Milkweed
Photos by Peggy
Yellow Goatsbeard
Photos by Peggy
Oxeye Daisy
Photos by Peggy
Queen Anne’s Lace
Photos by Peggy
Bladder Campion
Photos by Peggy
Crown Vetch
Photos by Peggy
Common St. Johnswort and Spotted Knotweed
Photos by Peggy
Prairie Fleabane
Photos by Peggy
Everlasting Pea

If I had been able to show my pictures, I would have added Wild Bergamot, Tall Bellflower, Red Clover and Yellow Coneflowers.   It was also a day for interesting birds in the bike path.  We scared off Robins (of course), a Catbird, a Brown Thrasher and Red-Winged Blackbirds.  Maybe next time I’ll get some prairie pictures! In case you’re wondering what mine turned out like…

IMG_7038

Next bike ride, I’ll clean my lens and bring bug spray !


Keeping Fresh Berries Fresh

There is nothing tastier than fresh berries from the farmers market. All those lovely strawberries, blueberries and raspberries.  But, there’s also nothing worse than going to the fridge and finding them becoming fuzzy only a day or 2 later.  I tried different ways to try to prolong their freshness, and finally found something that worked–Vinegar.  Simple white vinegar.  Using a dilute vinegar rinse, I’ve had blueberries last up to 2 weeks and raspberries a week in the refrigerator!  (And with no vinegar taste, either)

berry vinegar wash

Place the berries in a colander and put into a bowl containing 3  parts cool water and 1 part white vinegar.

berry vinegar wash

berry vinegar wash

Soak for a few minutes, drain, and rinse under running water.

berry vinegar wash

Place berries onto a towel to dry completely.  Some people suggest placing berries into a salad spinner for 15-30 seconds to dry, but I would only suggest that for firm berries, never for raspberries.

berry vinegar wash

berry vinegar wash

Store the dry berries uncovered (or loosely covered) in the fruit drawer of the fridge.  Enjoy!


A Macro Look at the July Garden

IMG_8570

My husband (and mom and daughter) are much better photographers than I am, so I’m always excited when one of them wants to shoot some photos of my gardens.  Here’s some of what my husband saw the last couple of days through his macro lens.

Brilliant Zinnias

cut and come again zinnia


cut and come again zinnia


zinnia

One of my favorite annuals–Marigolds

marigold

More asiatic lilies are blooming.  I didn’t miss them all.

asiatic lily


IMG_8541

The Ballon Flowers are getting ready to bloom (Platycodon grandiflora).

Platycodon grandiflorus Ballon flower

Jeana Garden Phlox 

Jeana Garden Phlox


Jeana Garden Phlox

Hostas are in bloom.  Maybe they’ll attract the hummingbirds or sphinx moths.

The huge, stunning Primal Scream Daylily.

Primal Scream Daylily


IMG_8570

After Vacation

Stephi Gardens

After a wonderful beach vacation and some college tours, we’re finally back home. As expected, the weather has been crazy while we were gone. The temperatures were just about average, but rainfall was almost double the normal amount. Included in this total was a single storm that dumped almost 2 inches of rain in under 2 hours and knocked out our power for almost 15 hours. Nothing like being on vacation and getting the call that the basement is flooded. Thank goodness for friends who went above and beyond to help.

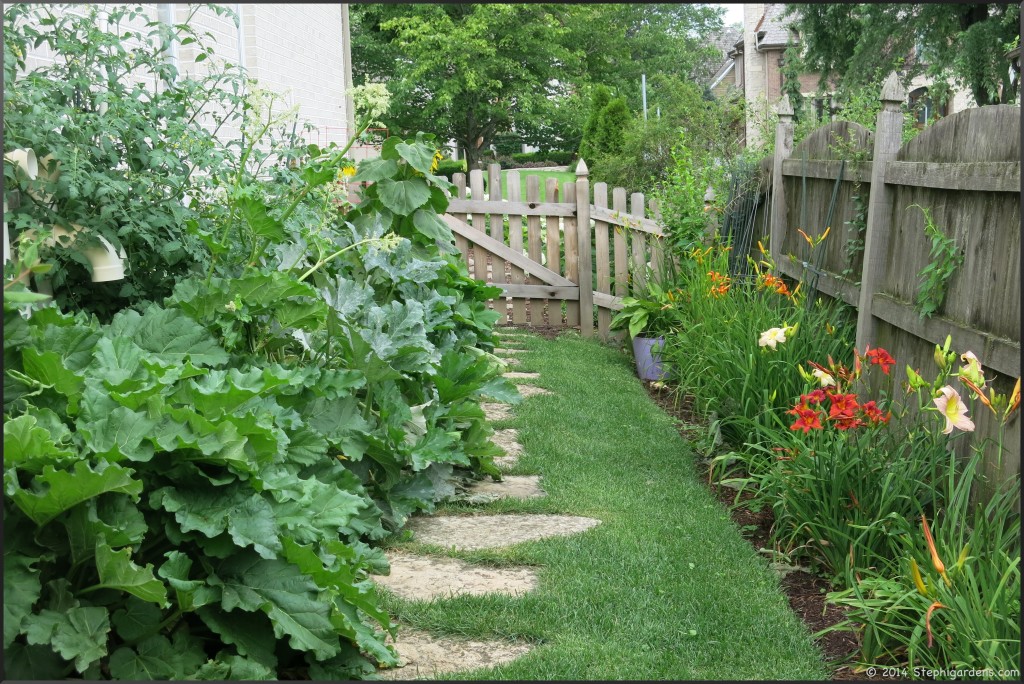
So how did the garden fare? Quite well actually. With the fairly constant rain and average temperatures (and in some cases even a bit below average), I came home to a bit of a jungle. The last few years, by July we’ve been struggling with hot/dry conditions and the plants begin struggling. Not this year! I think I’ve had the sprinklers on once and that was just to test the system. Here’s some after vacation shots…

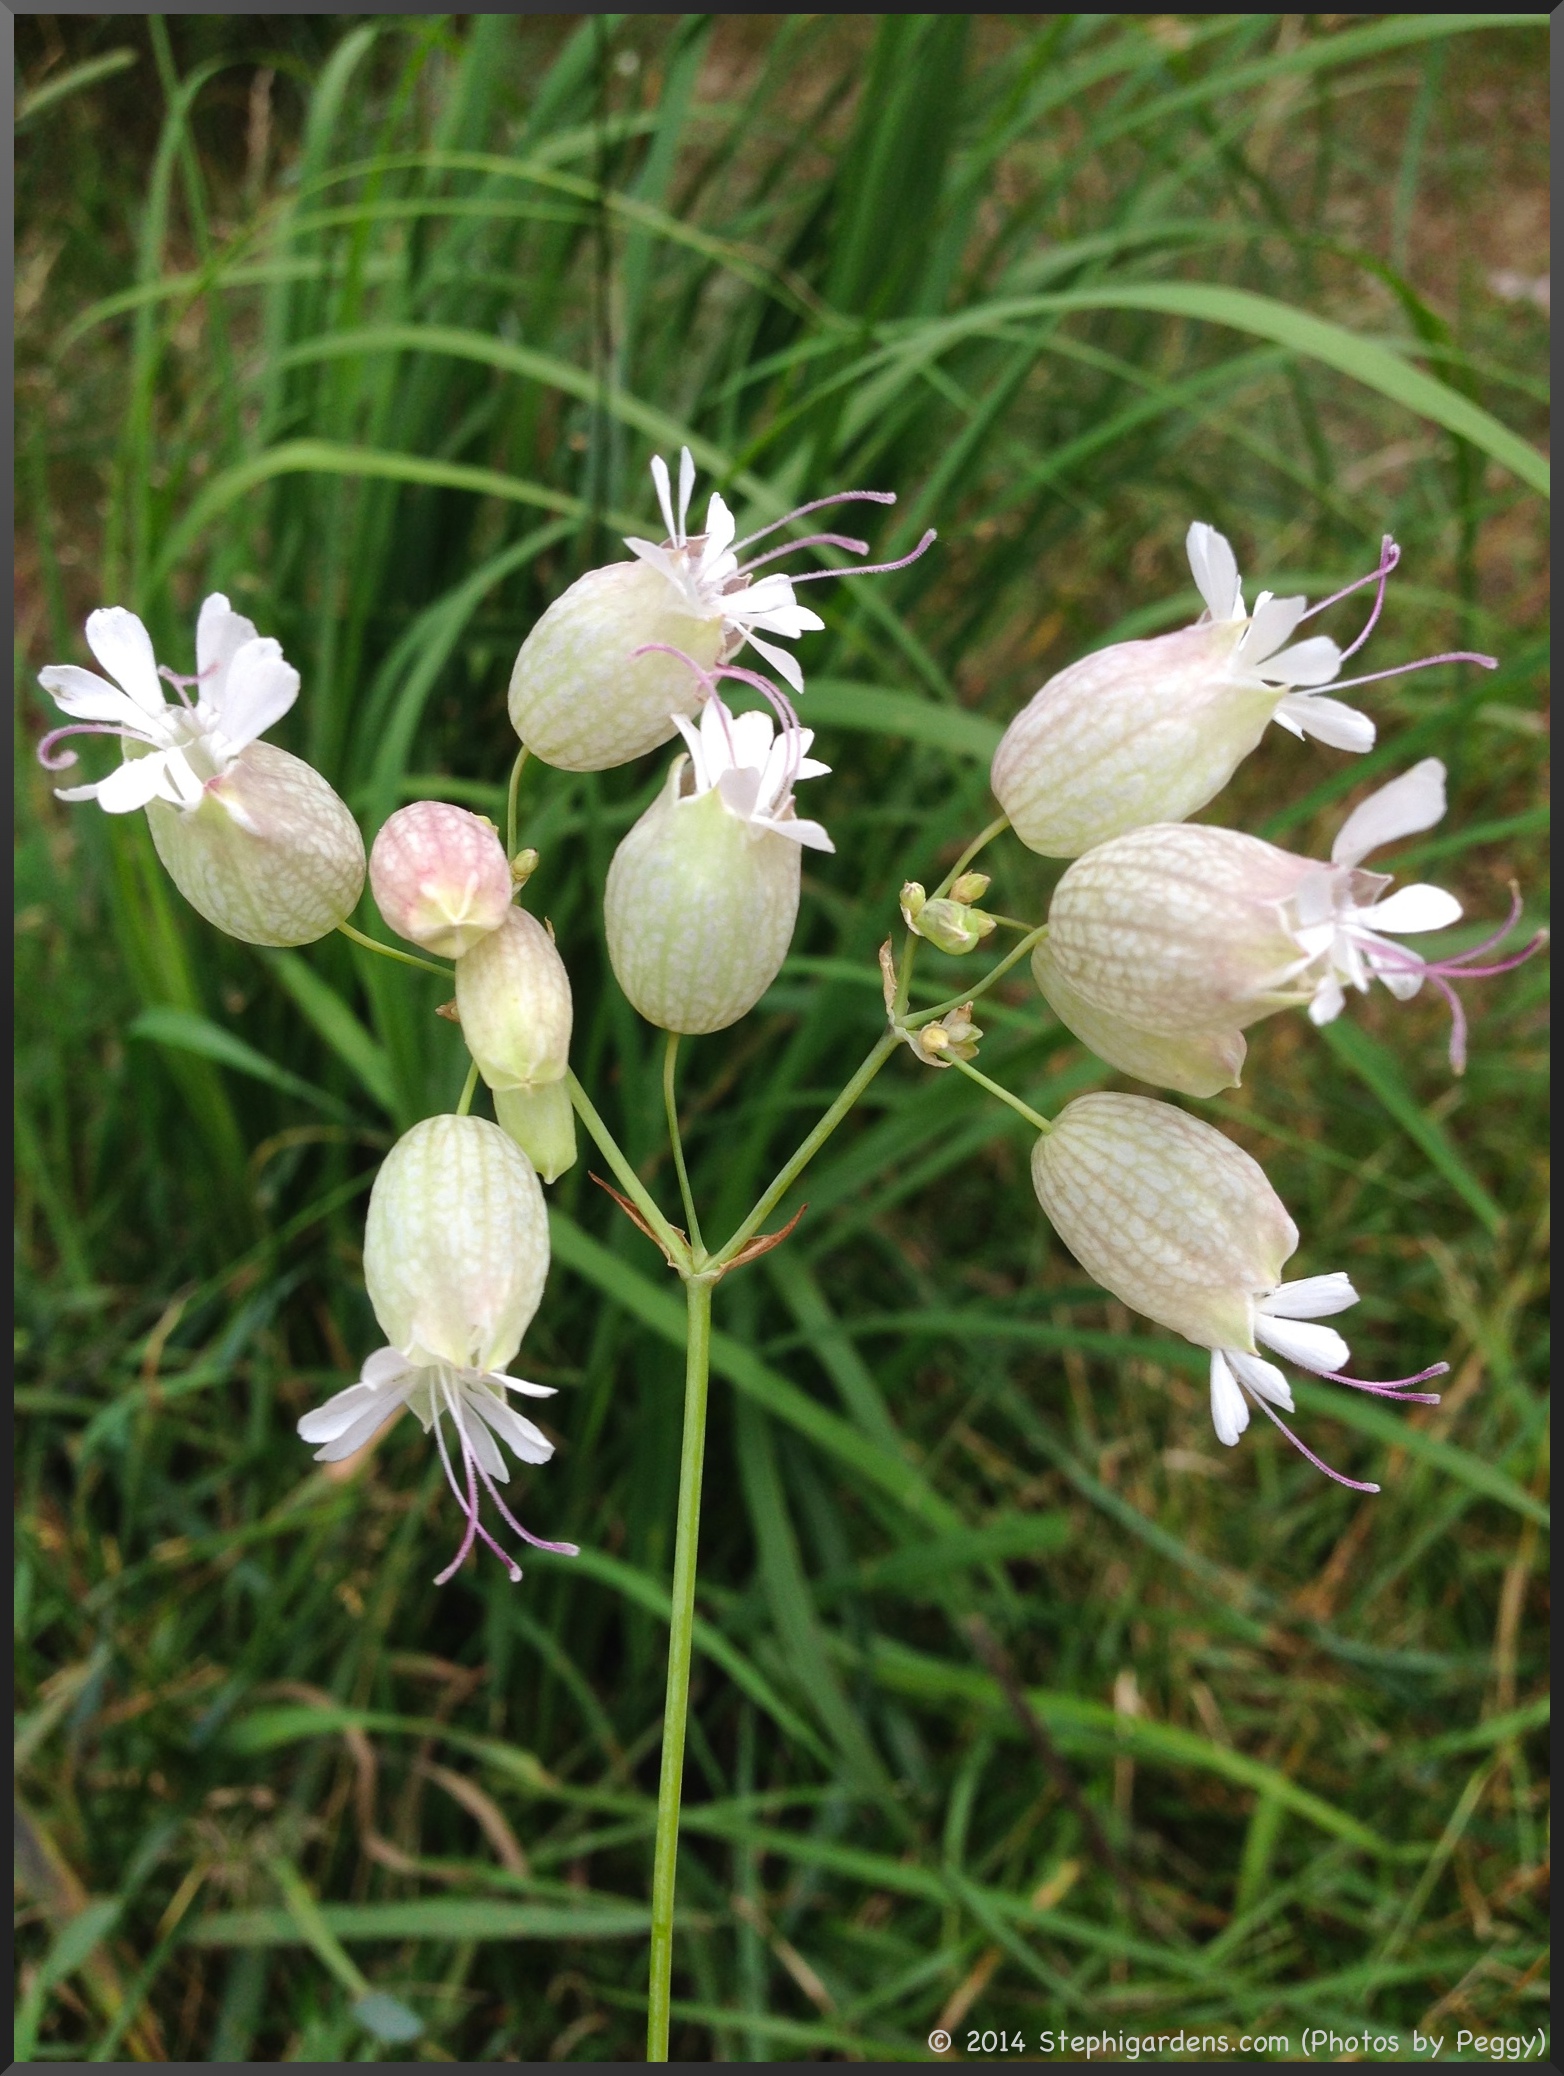
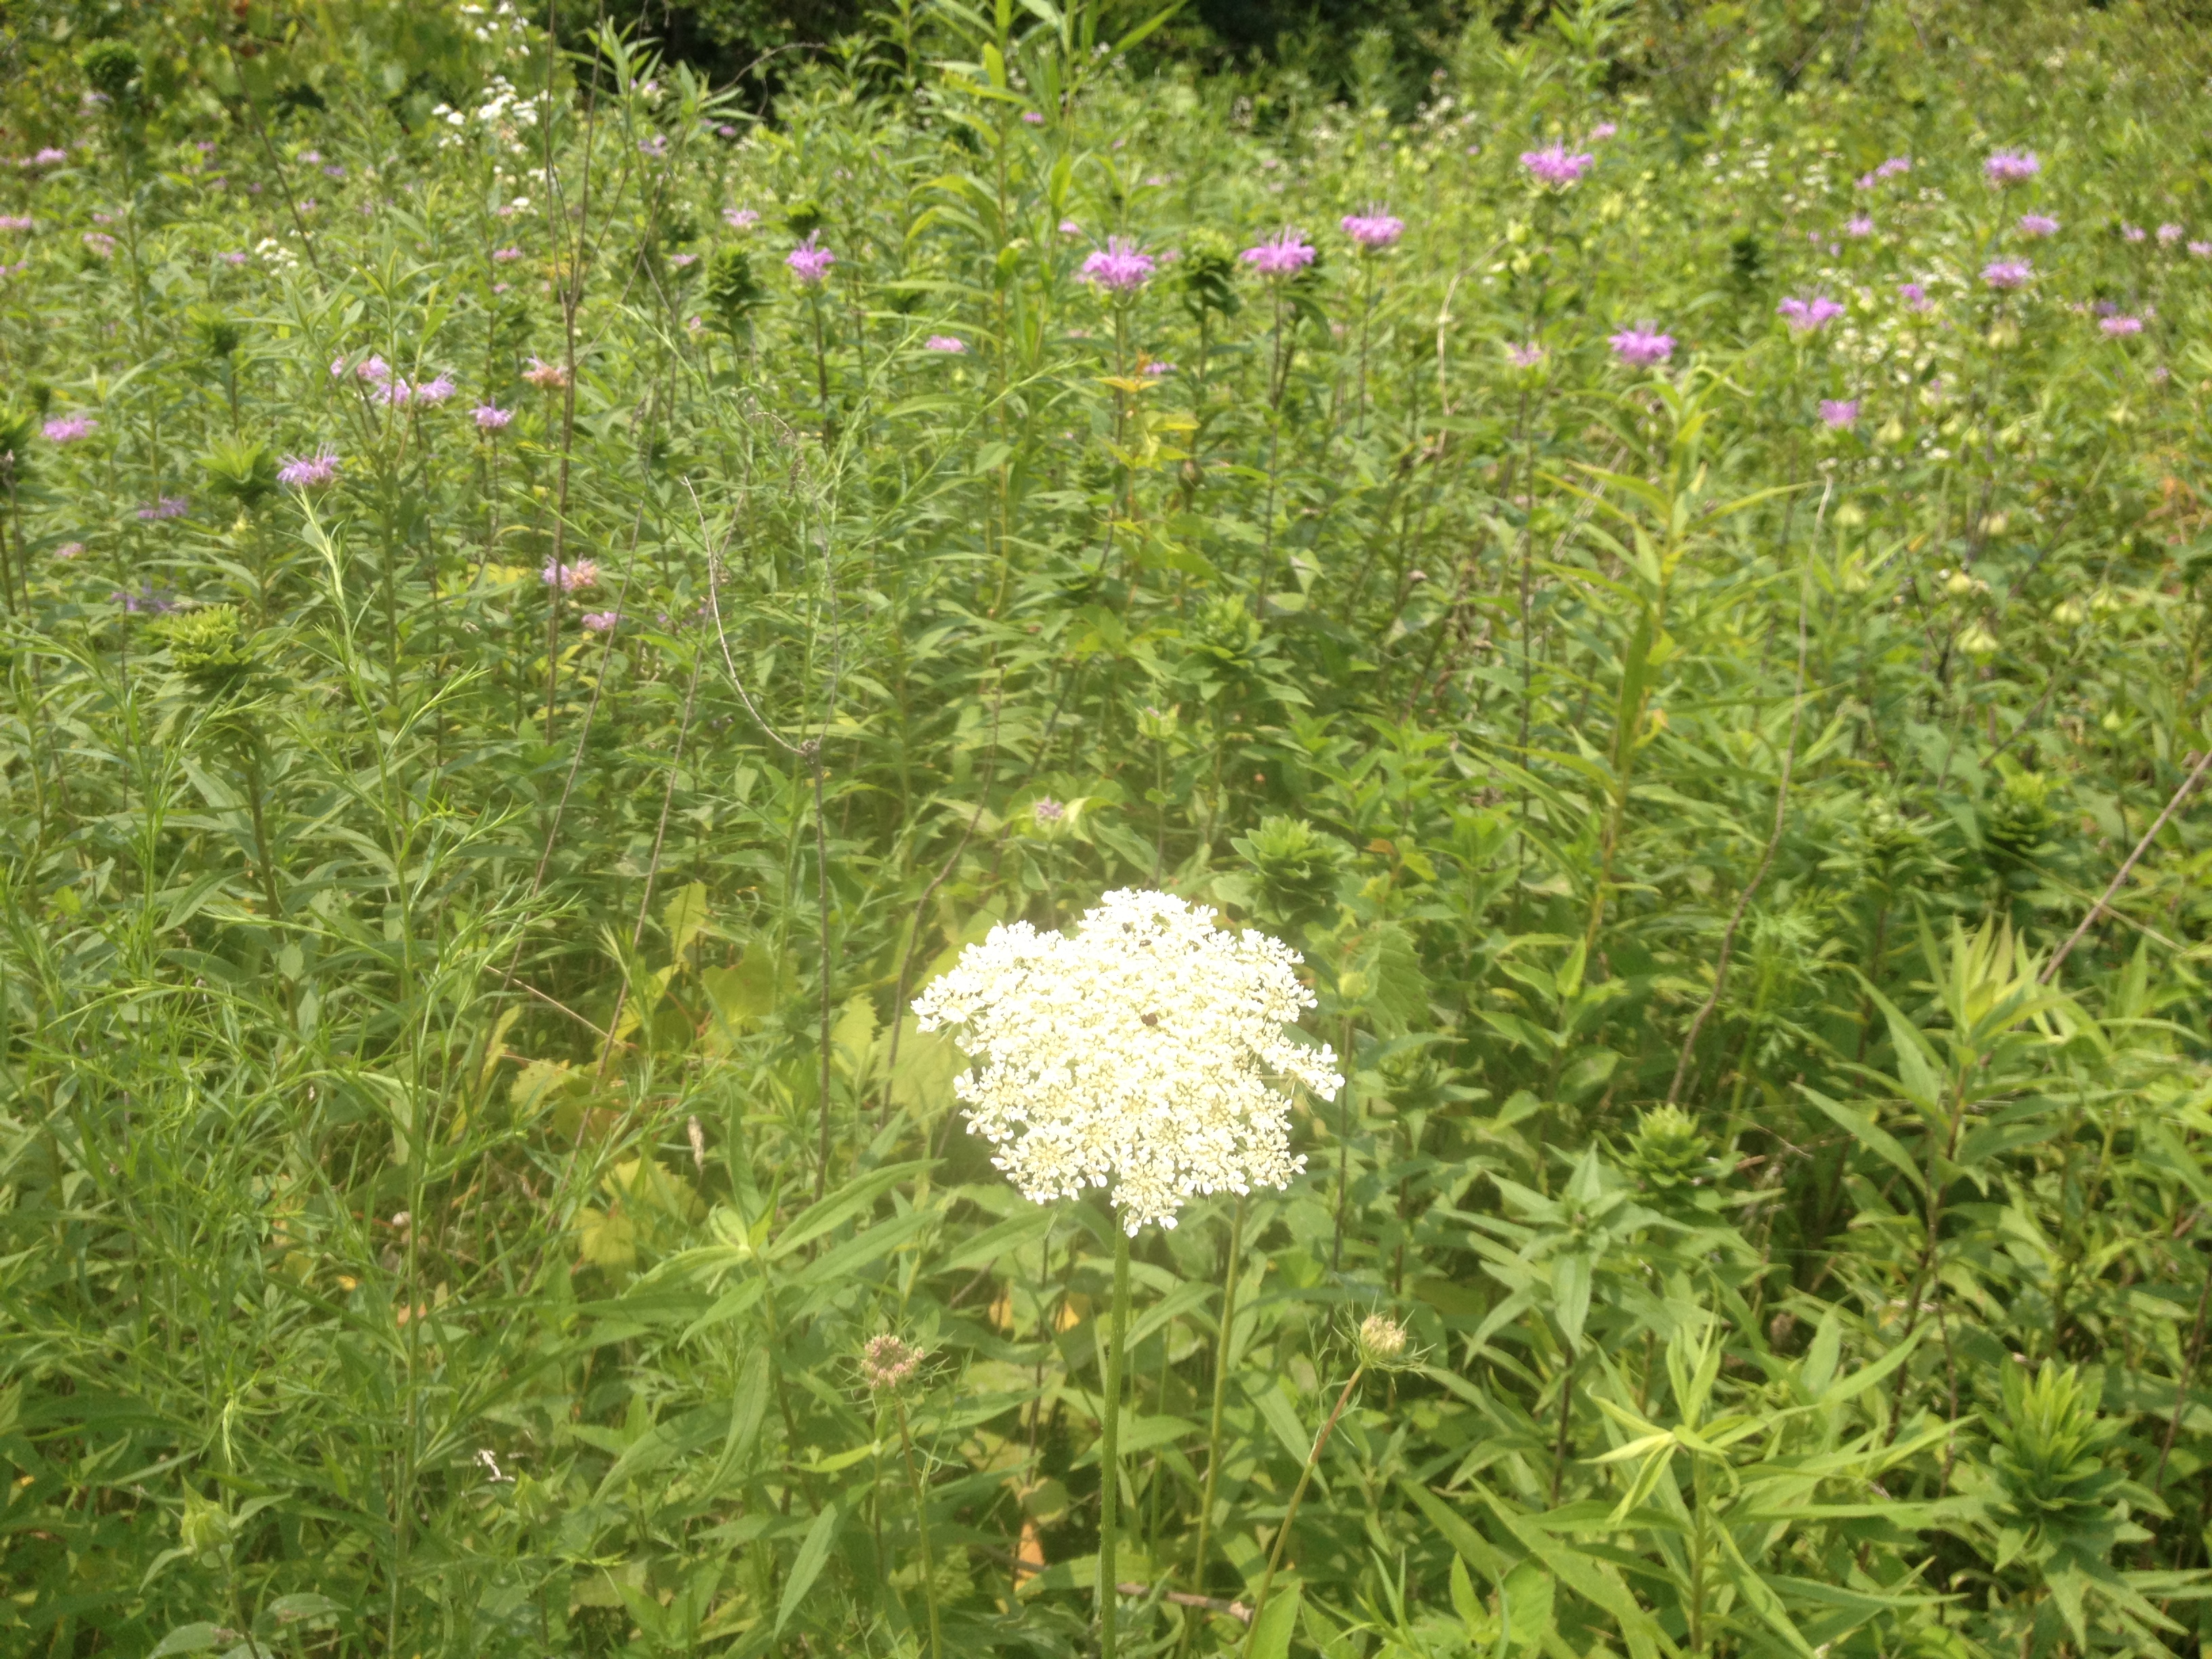
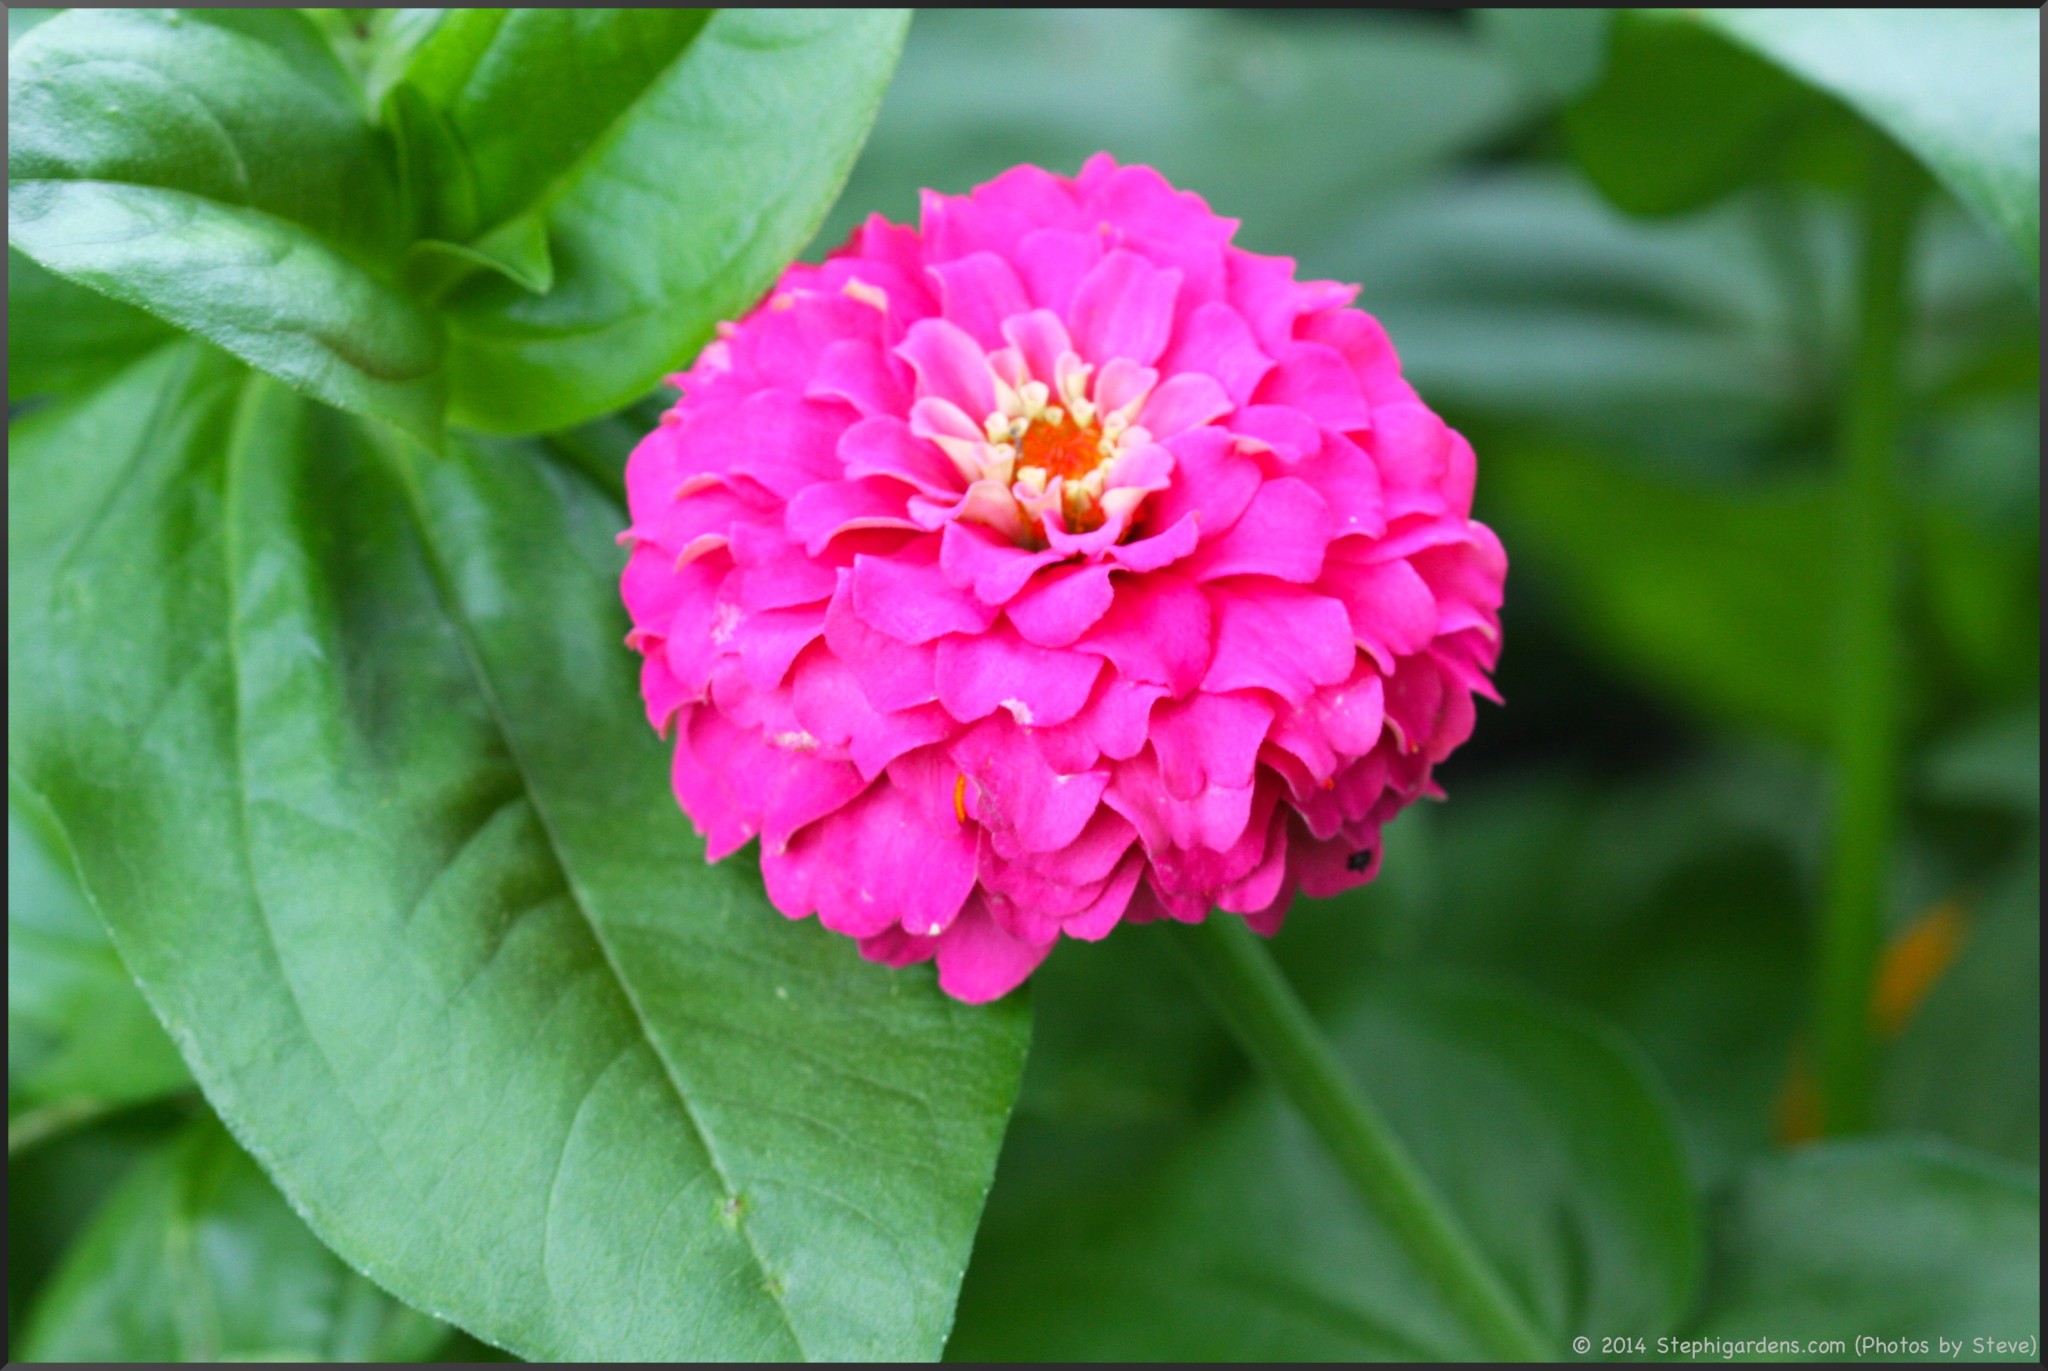
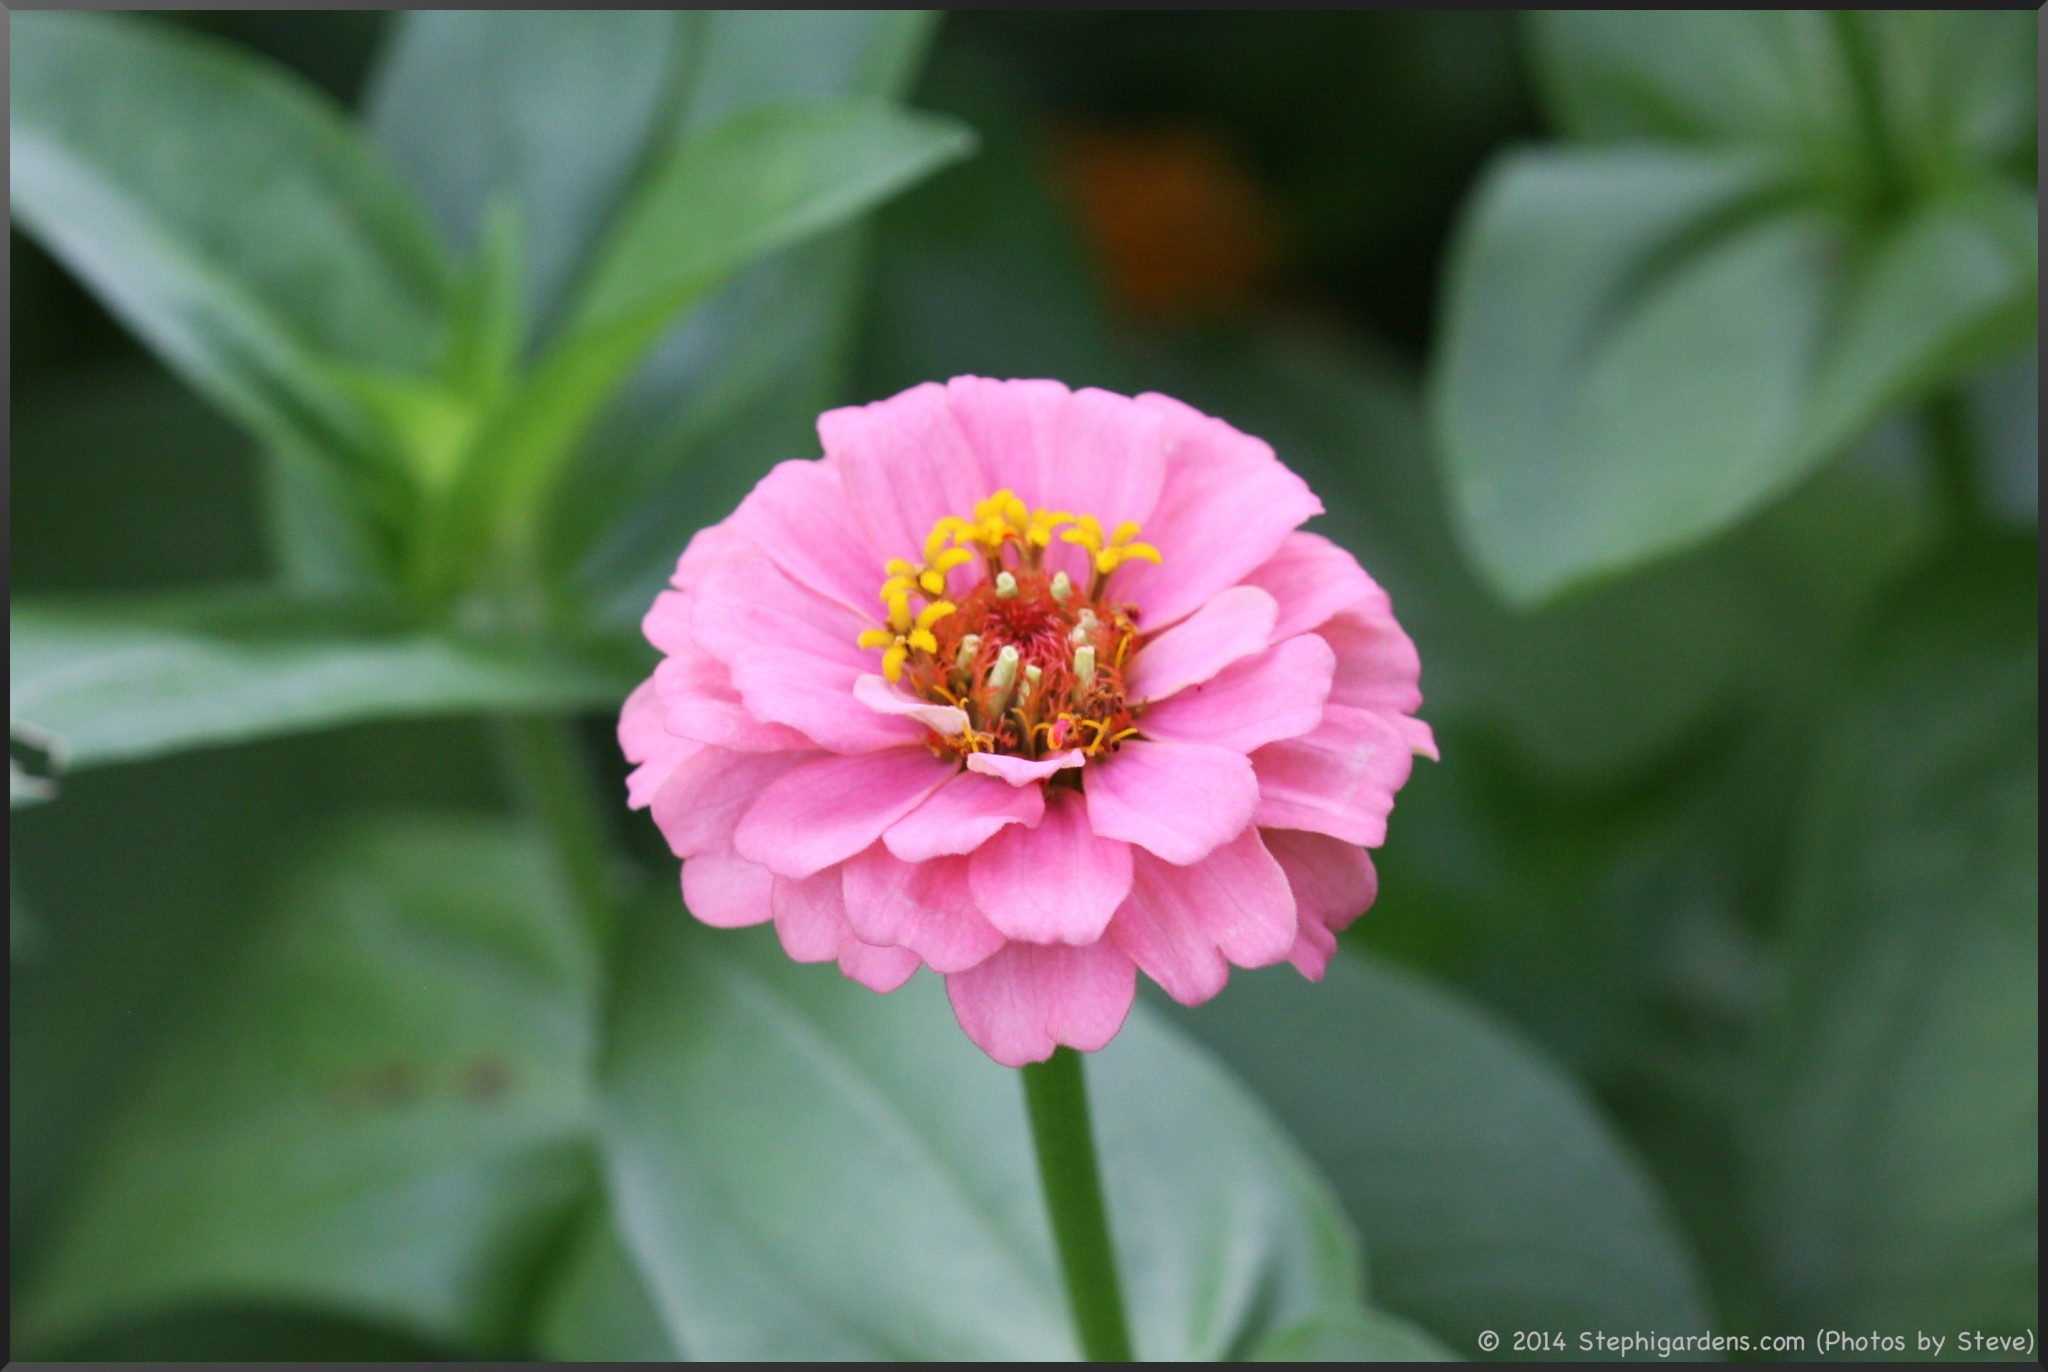
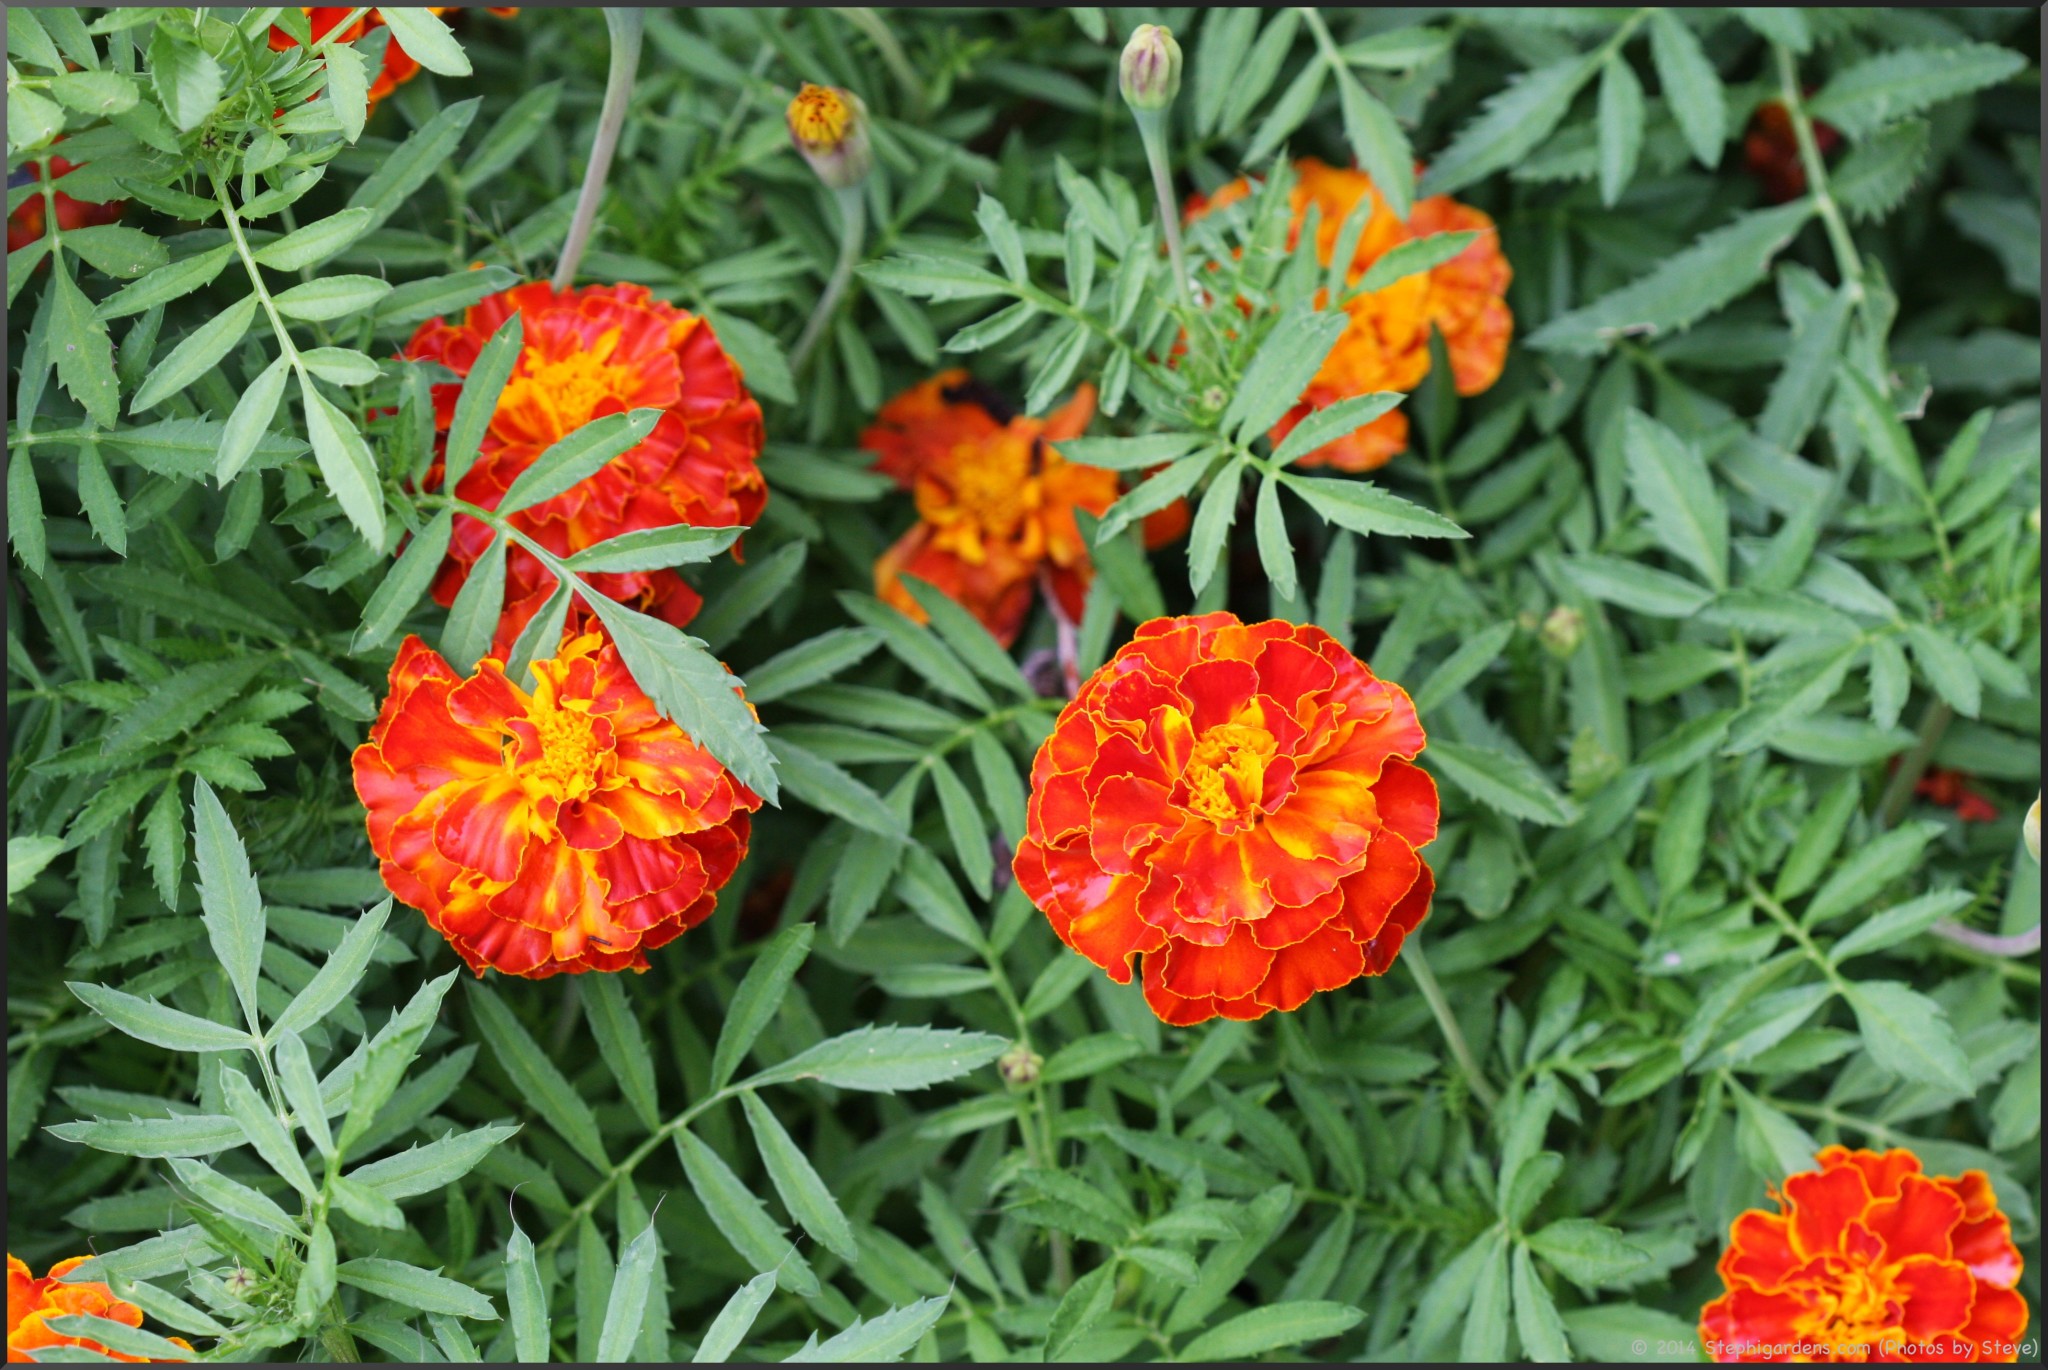
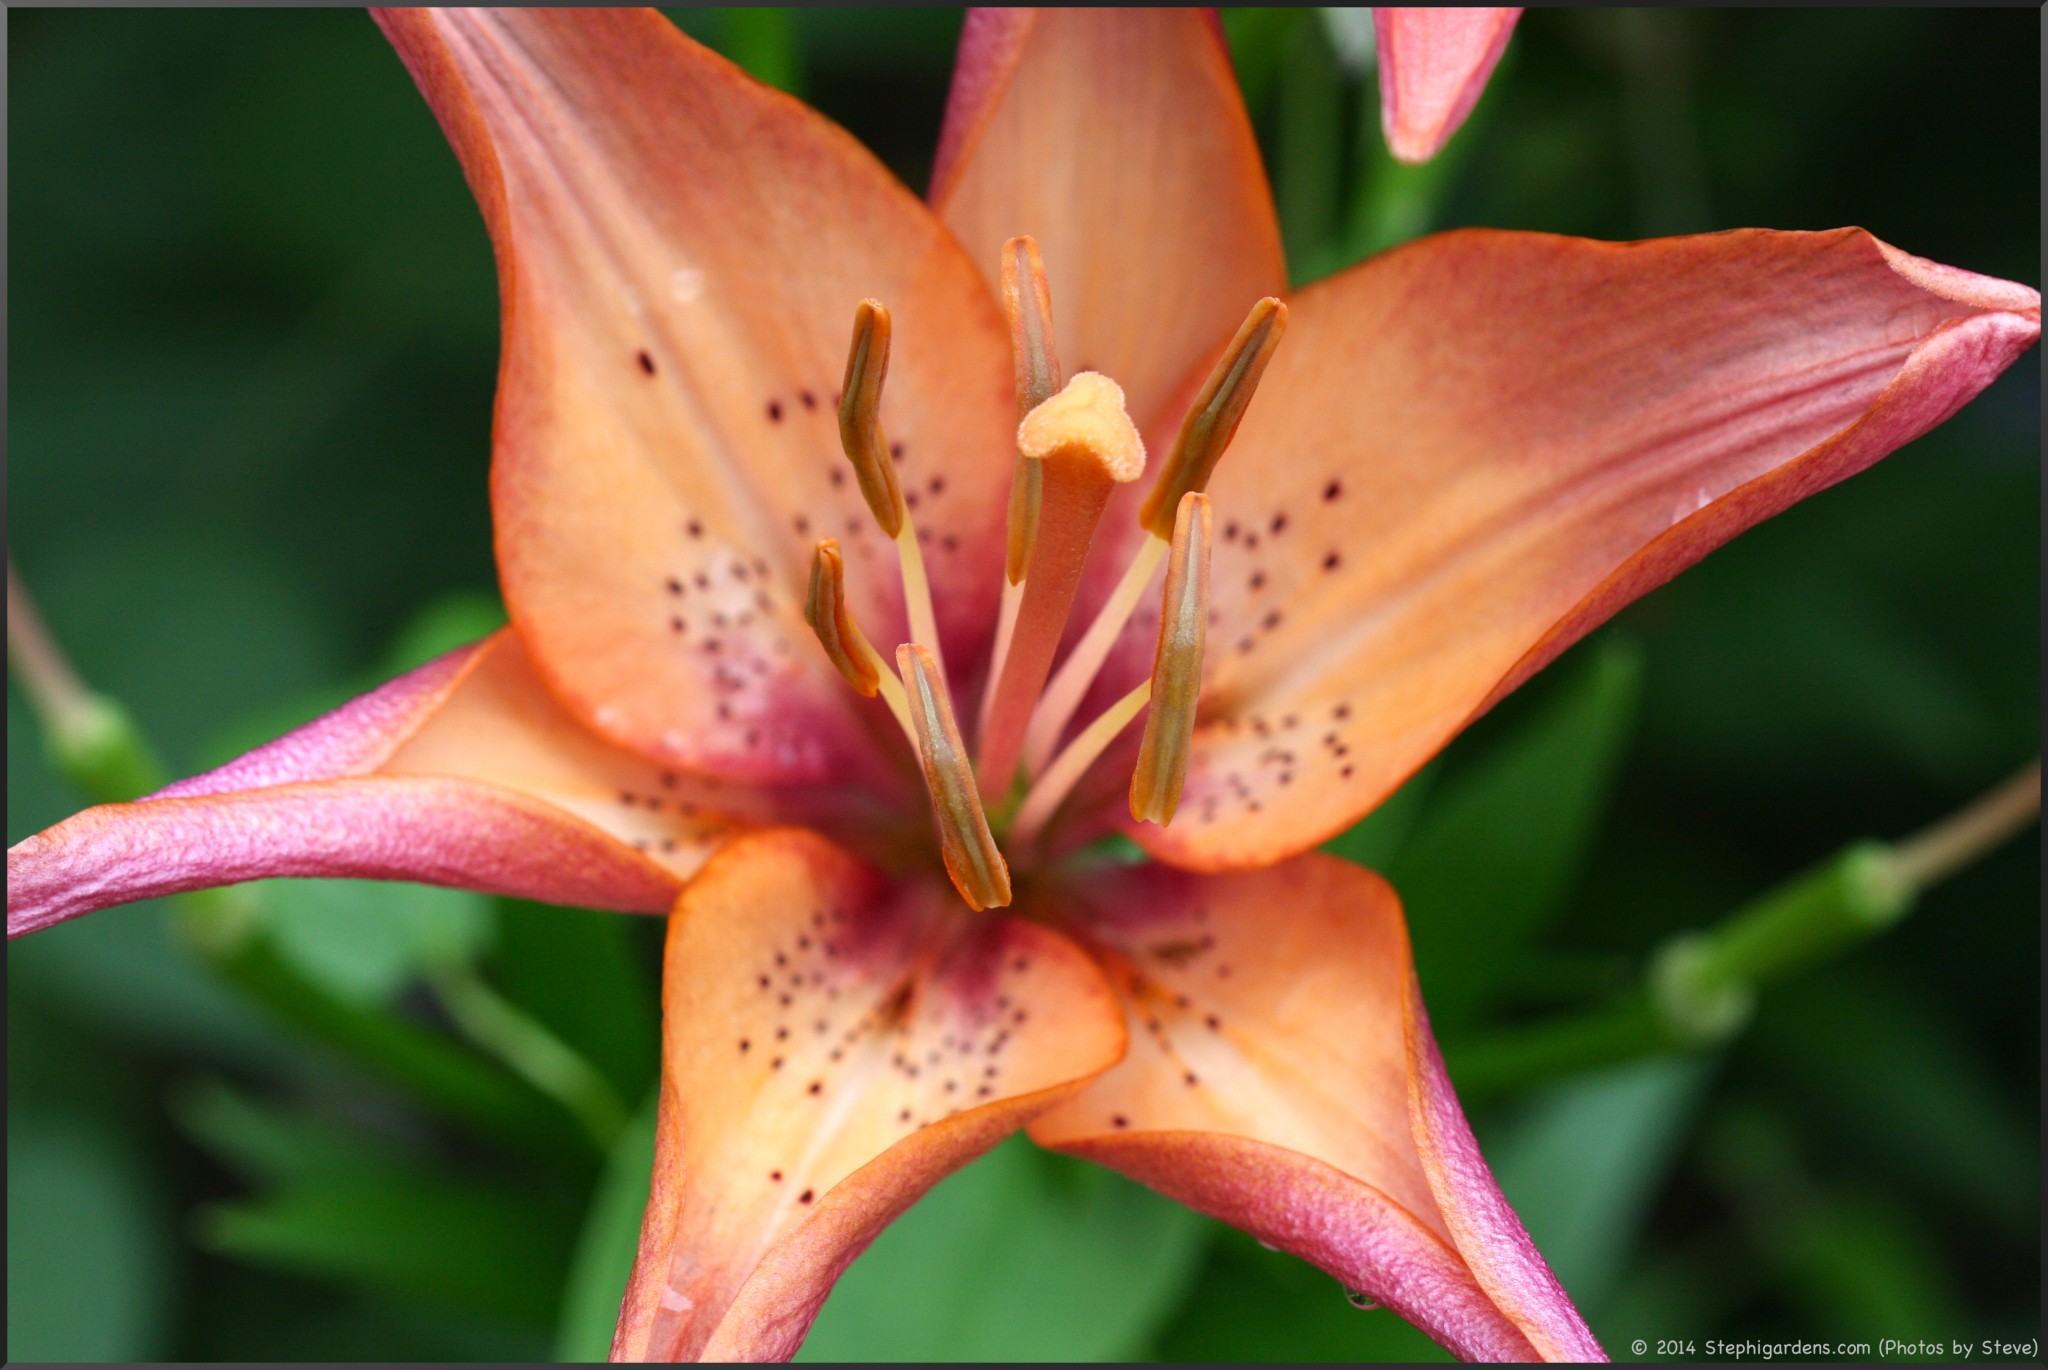
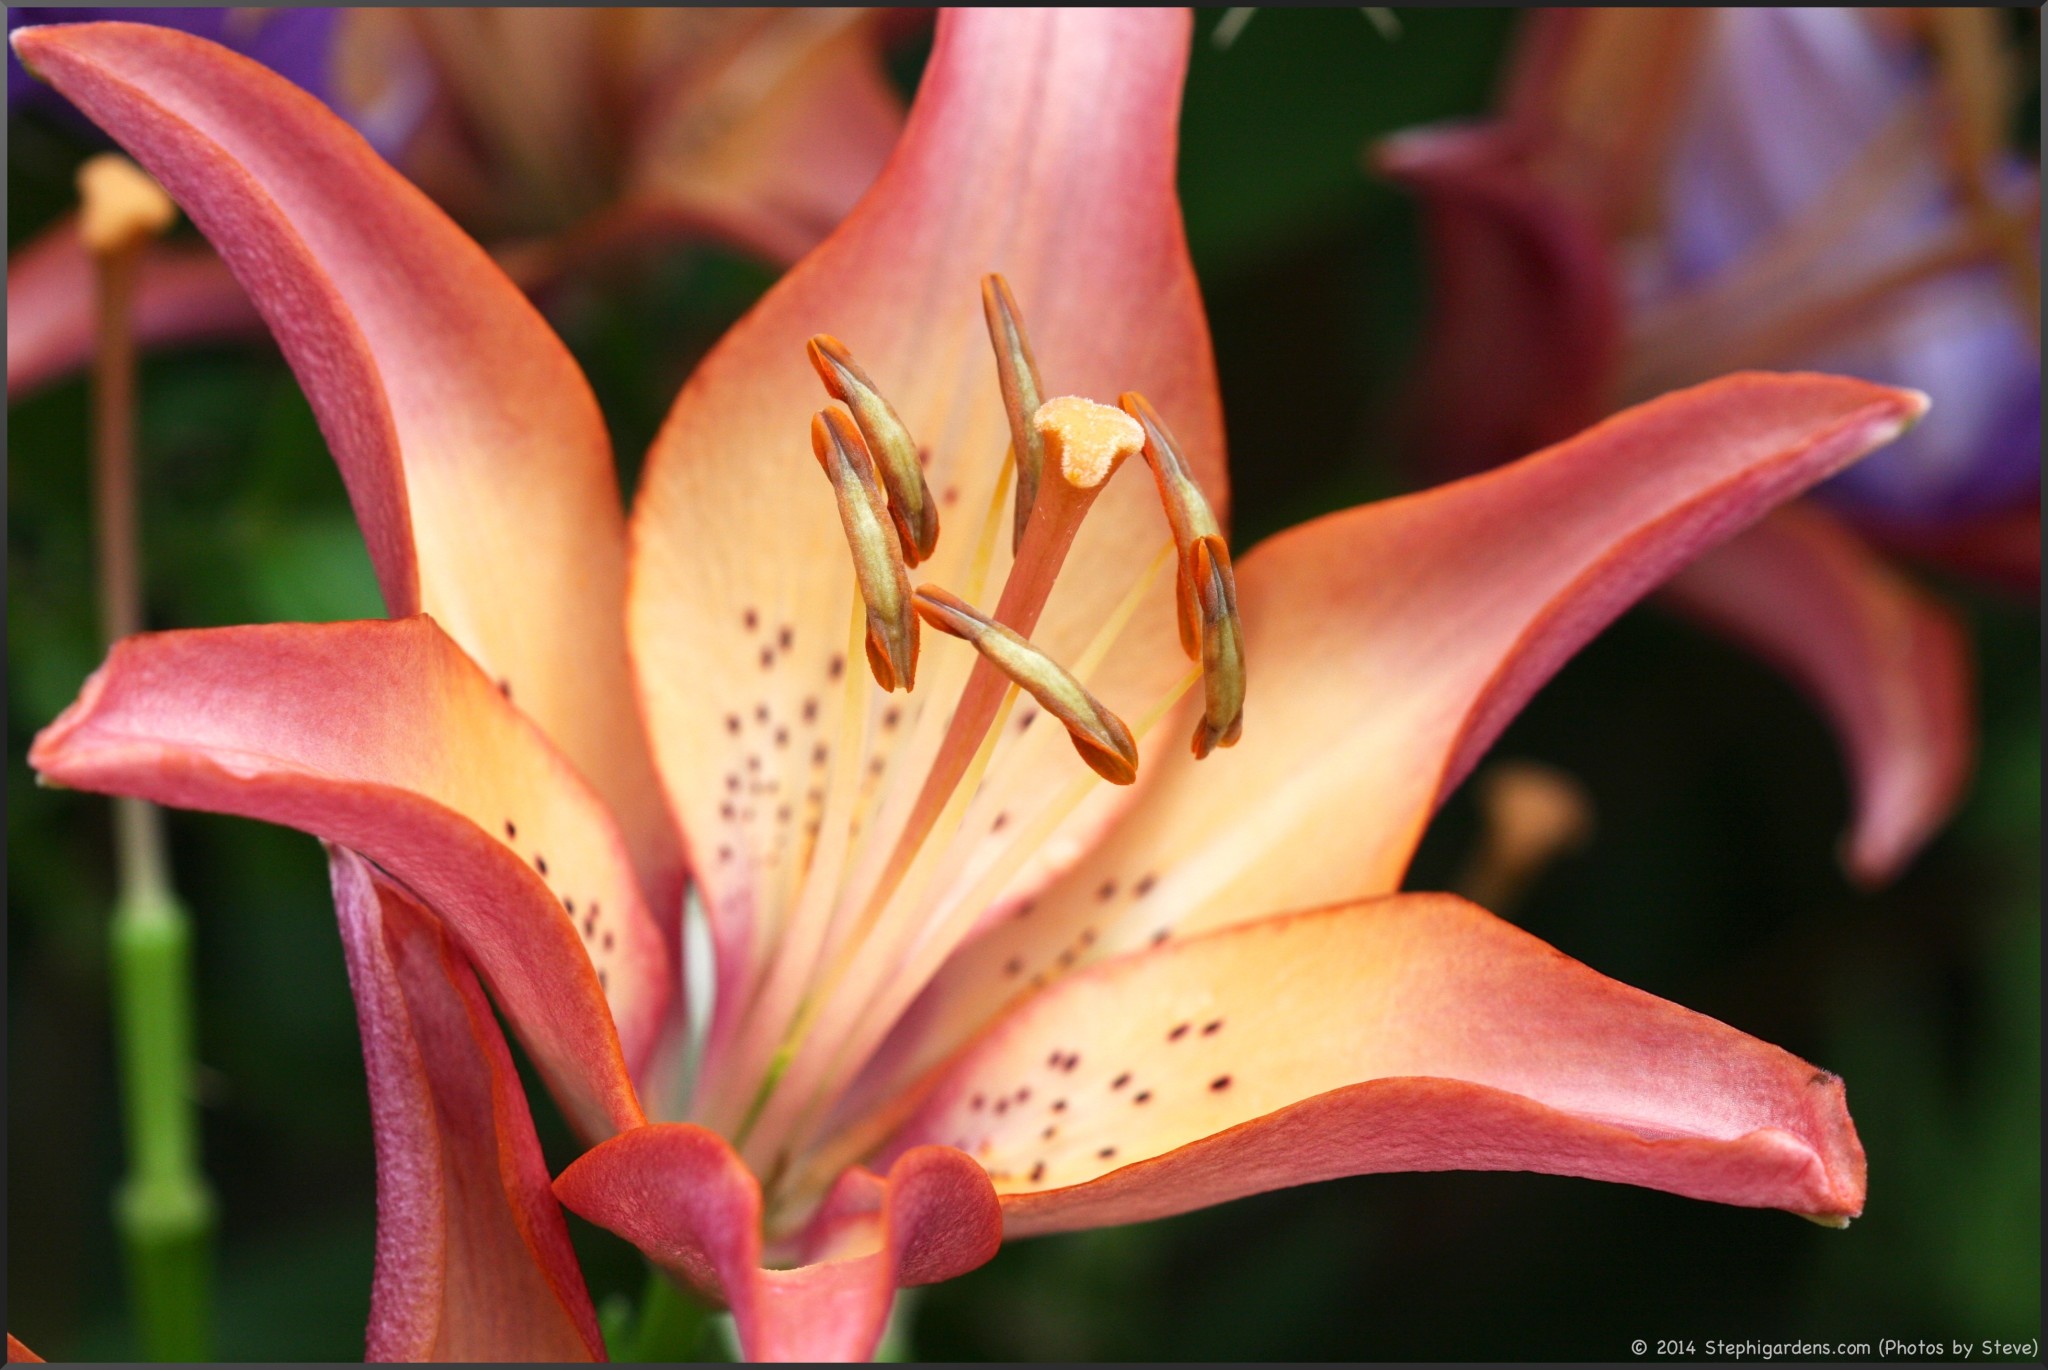
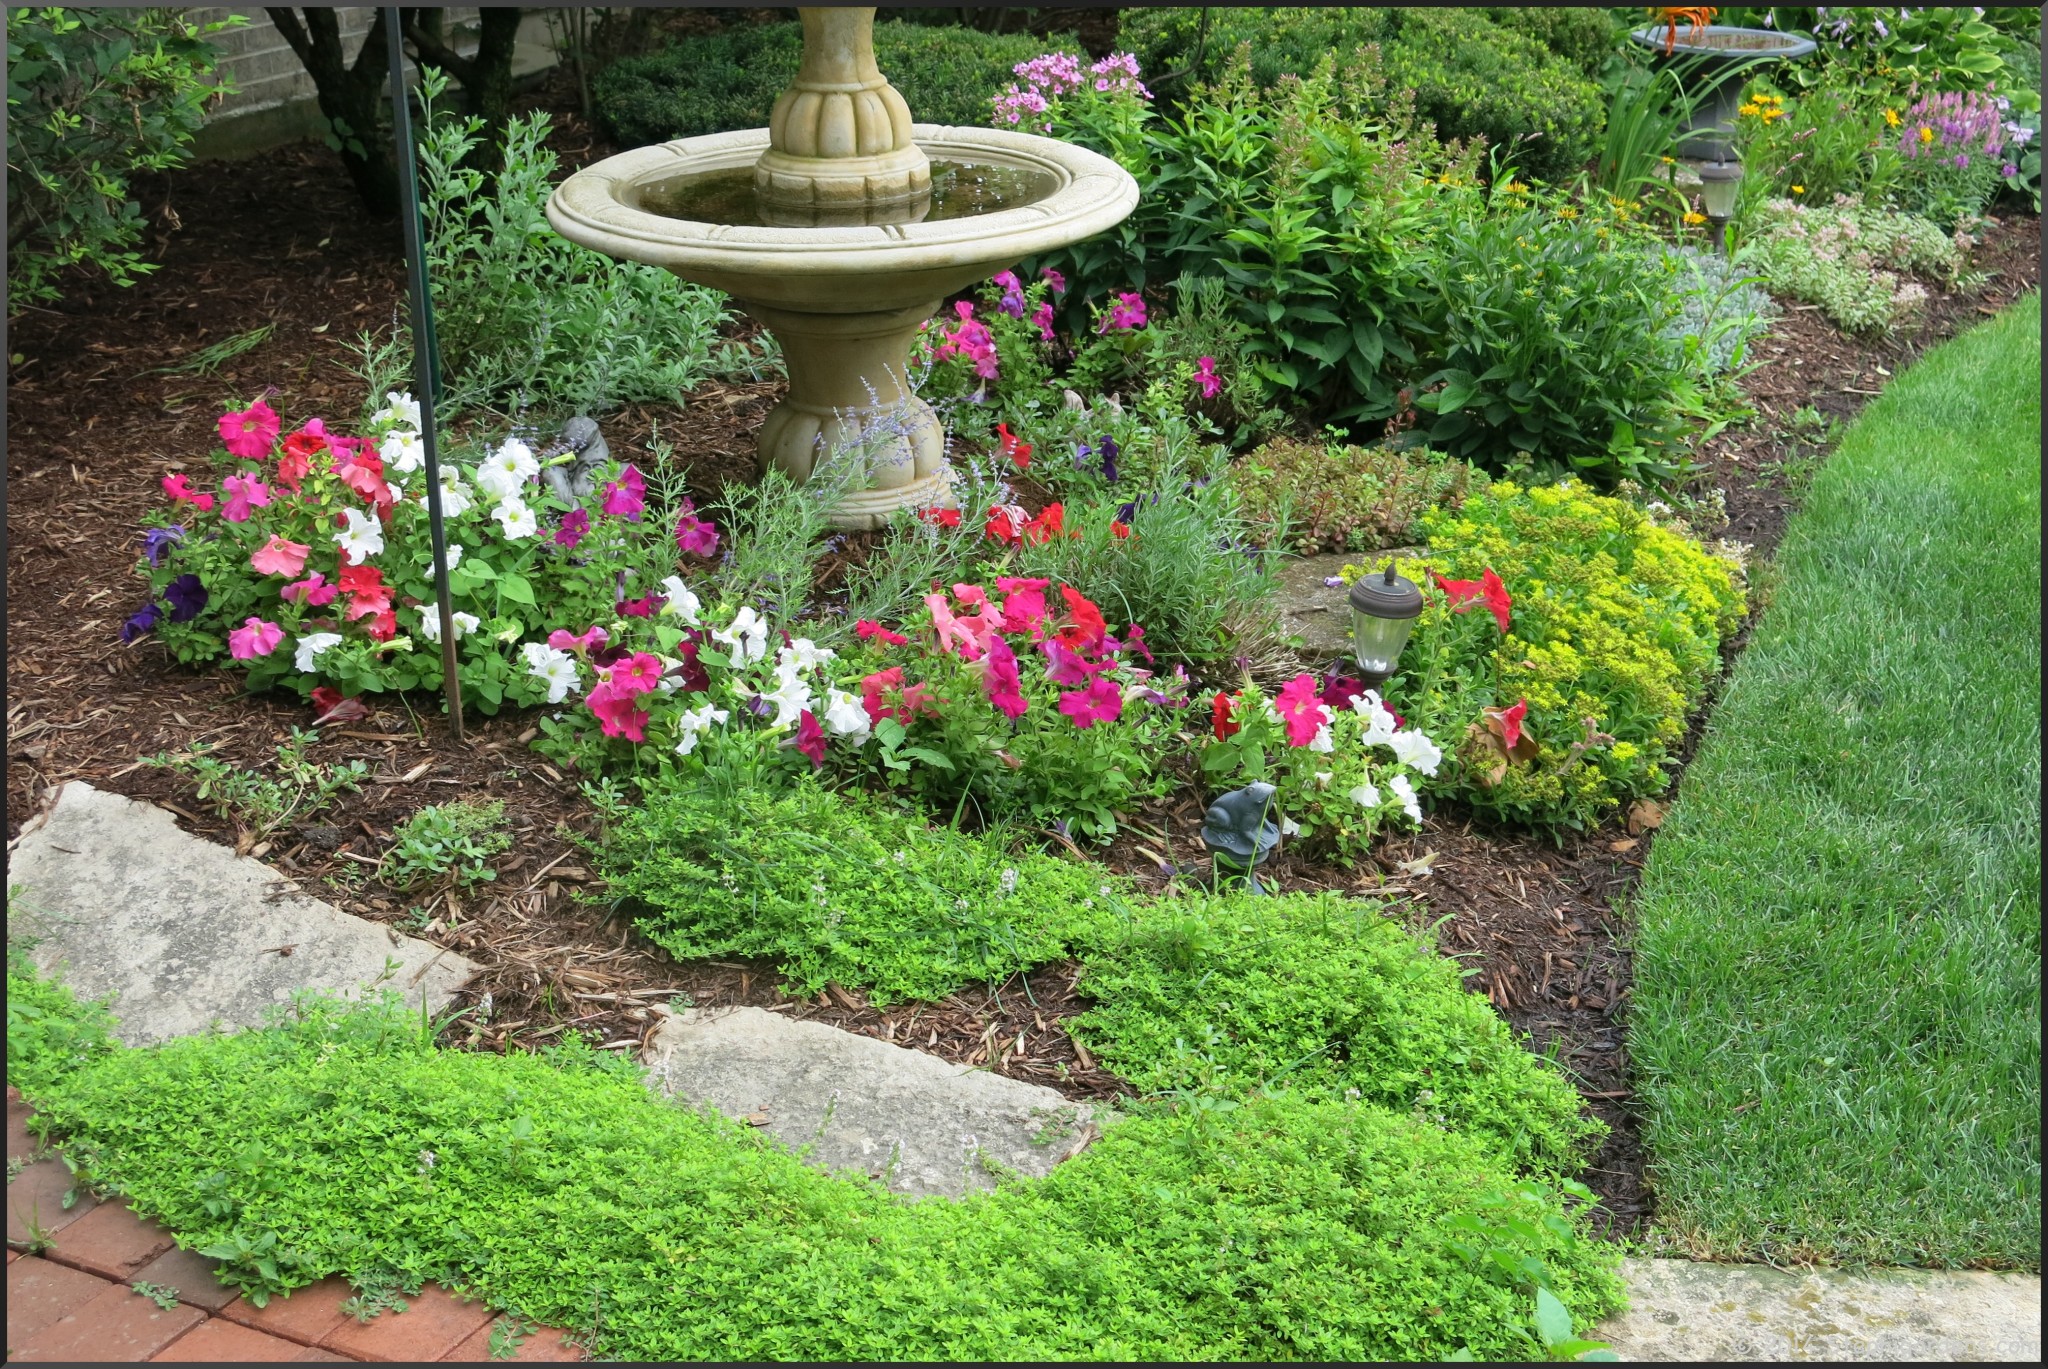
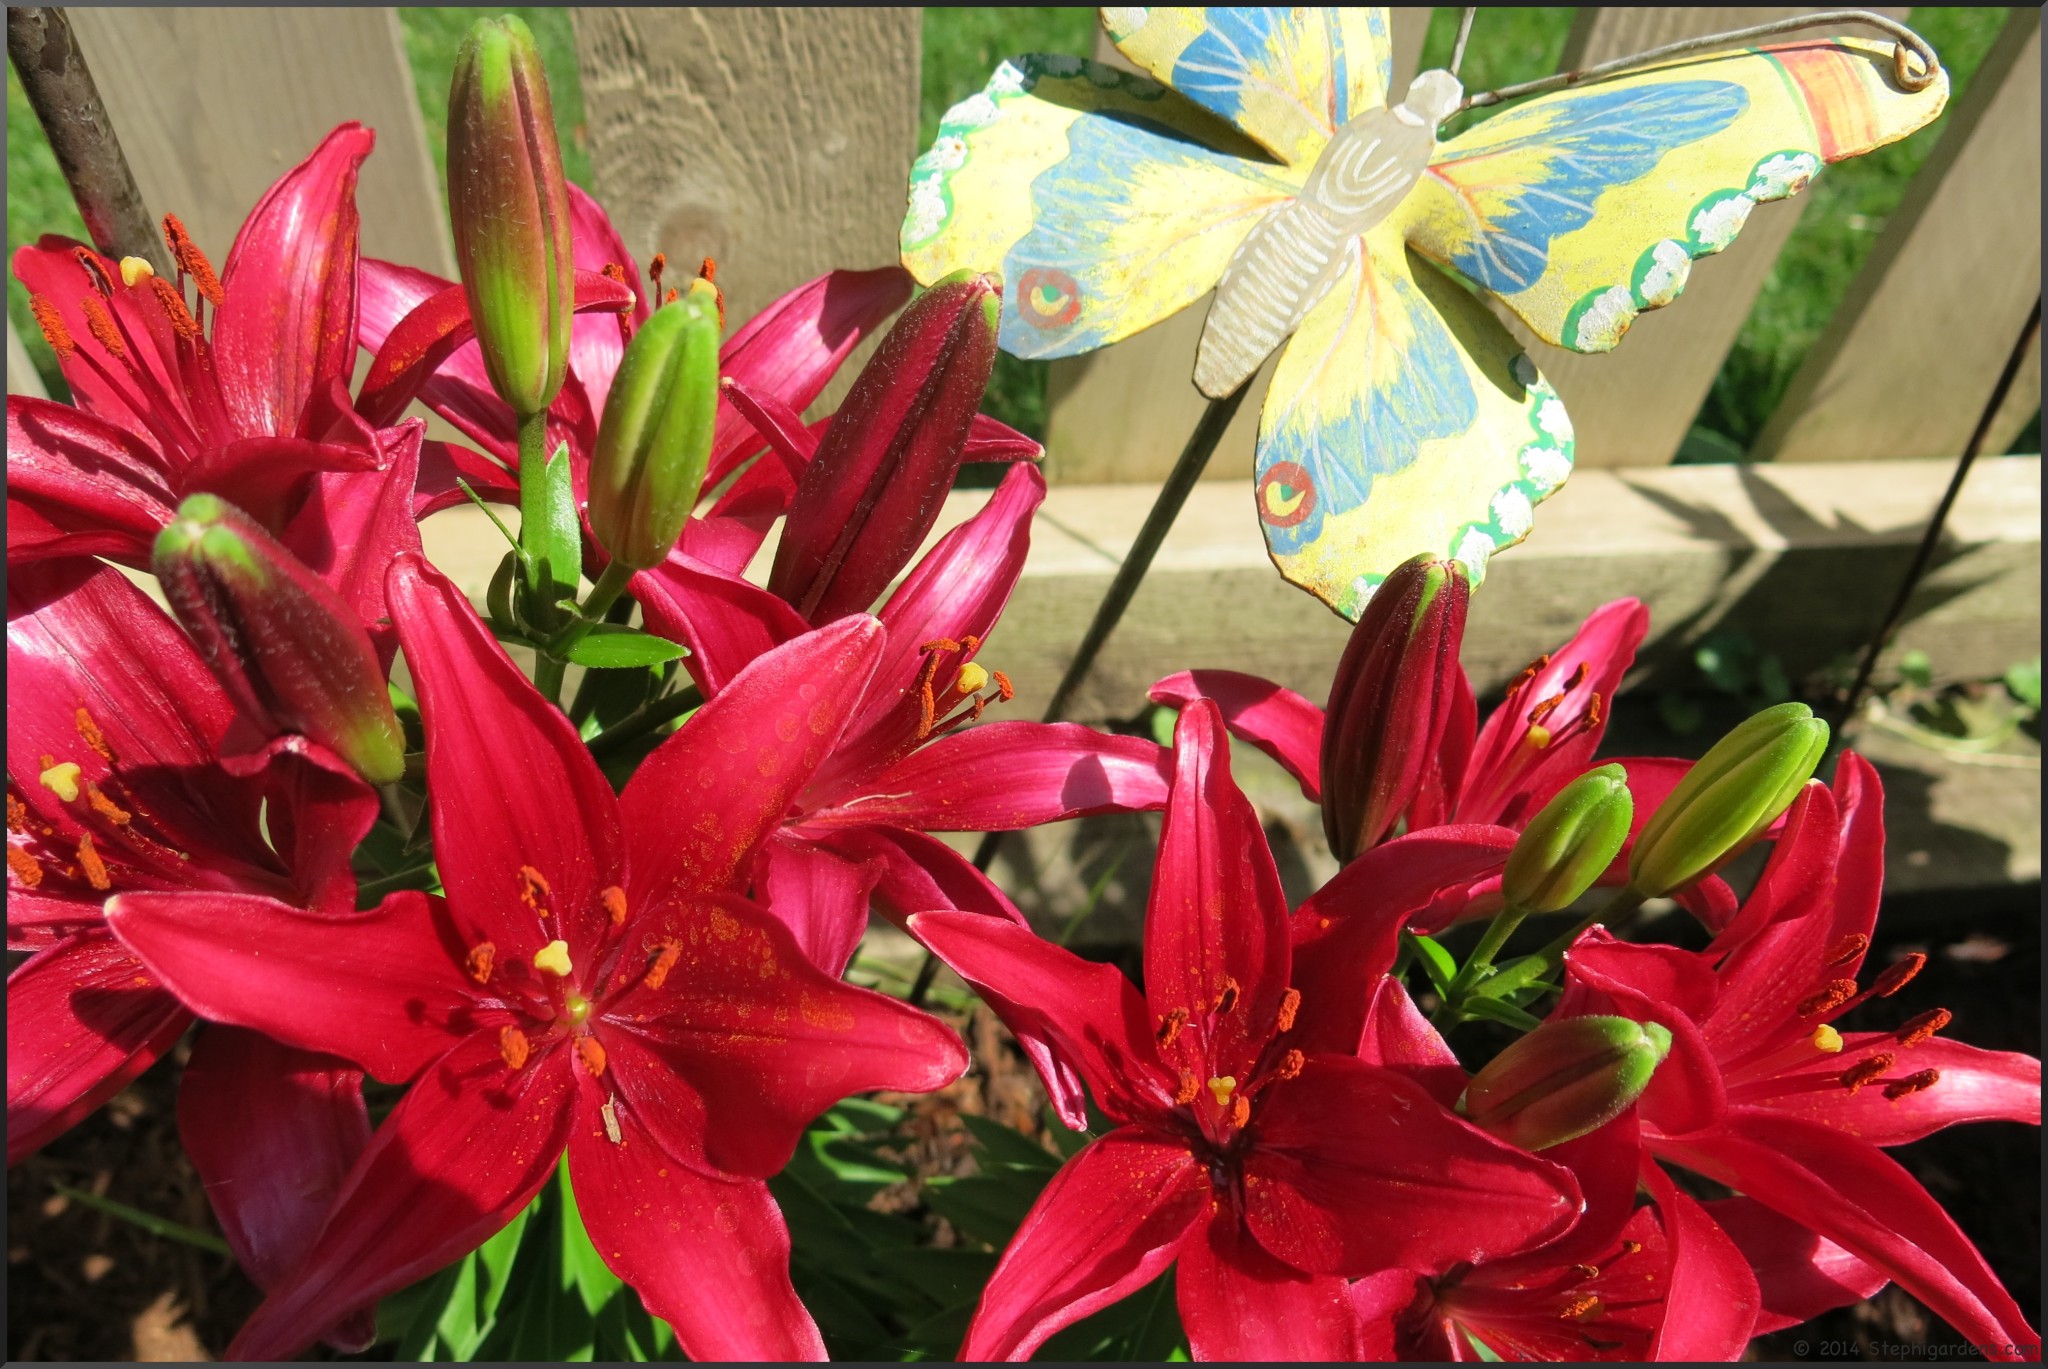
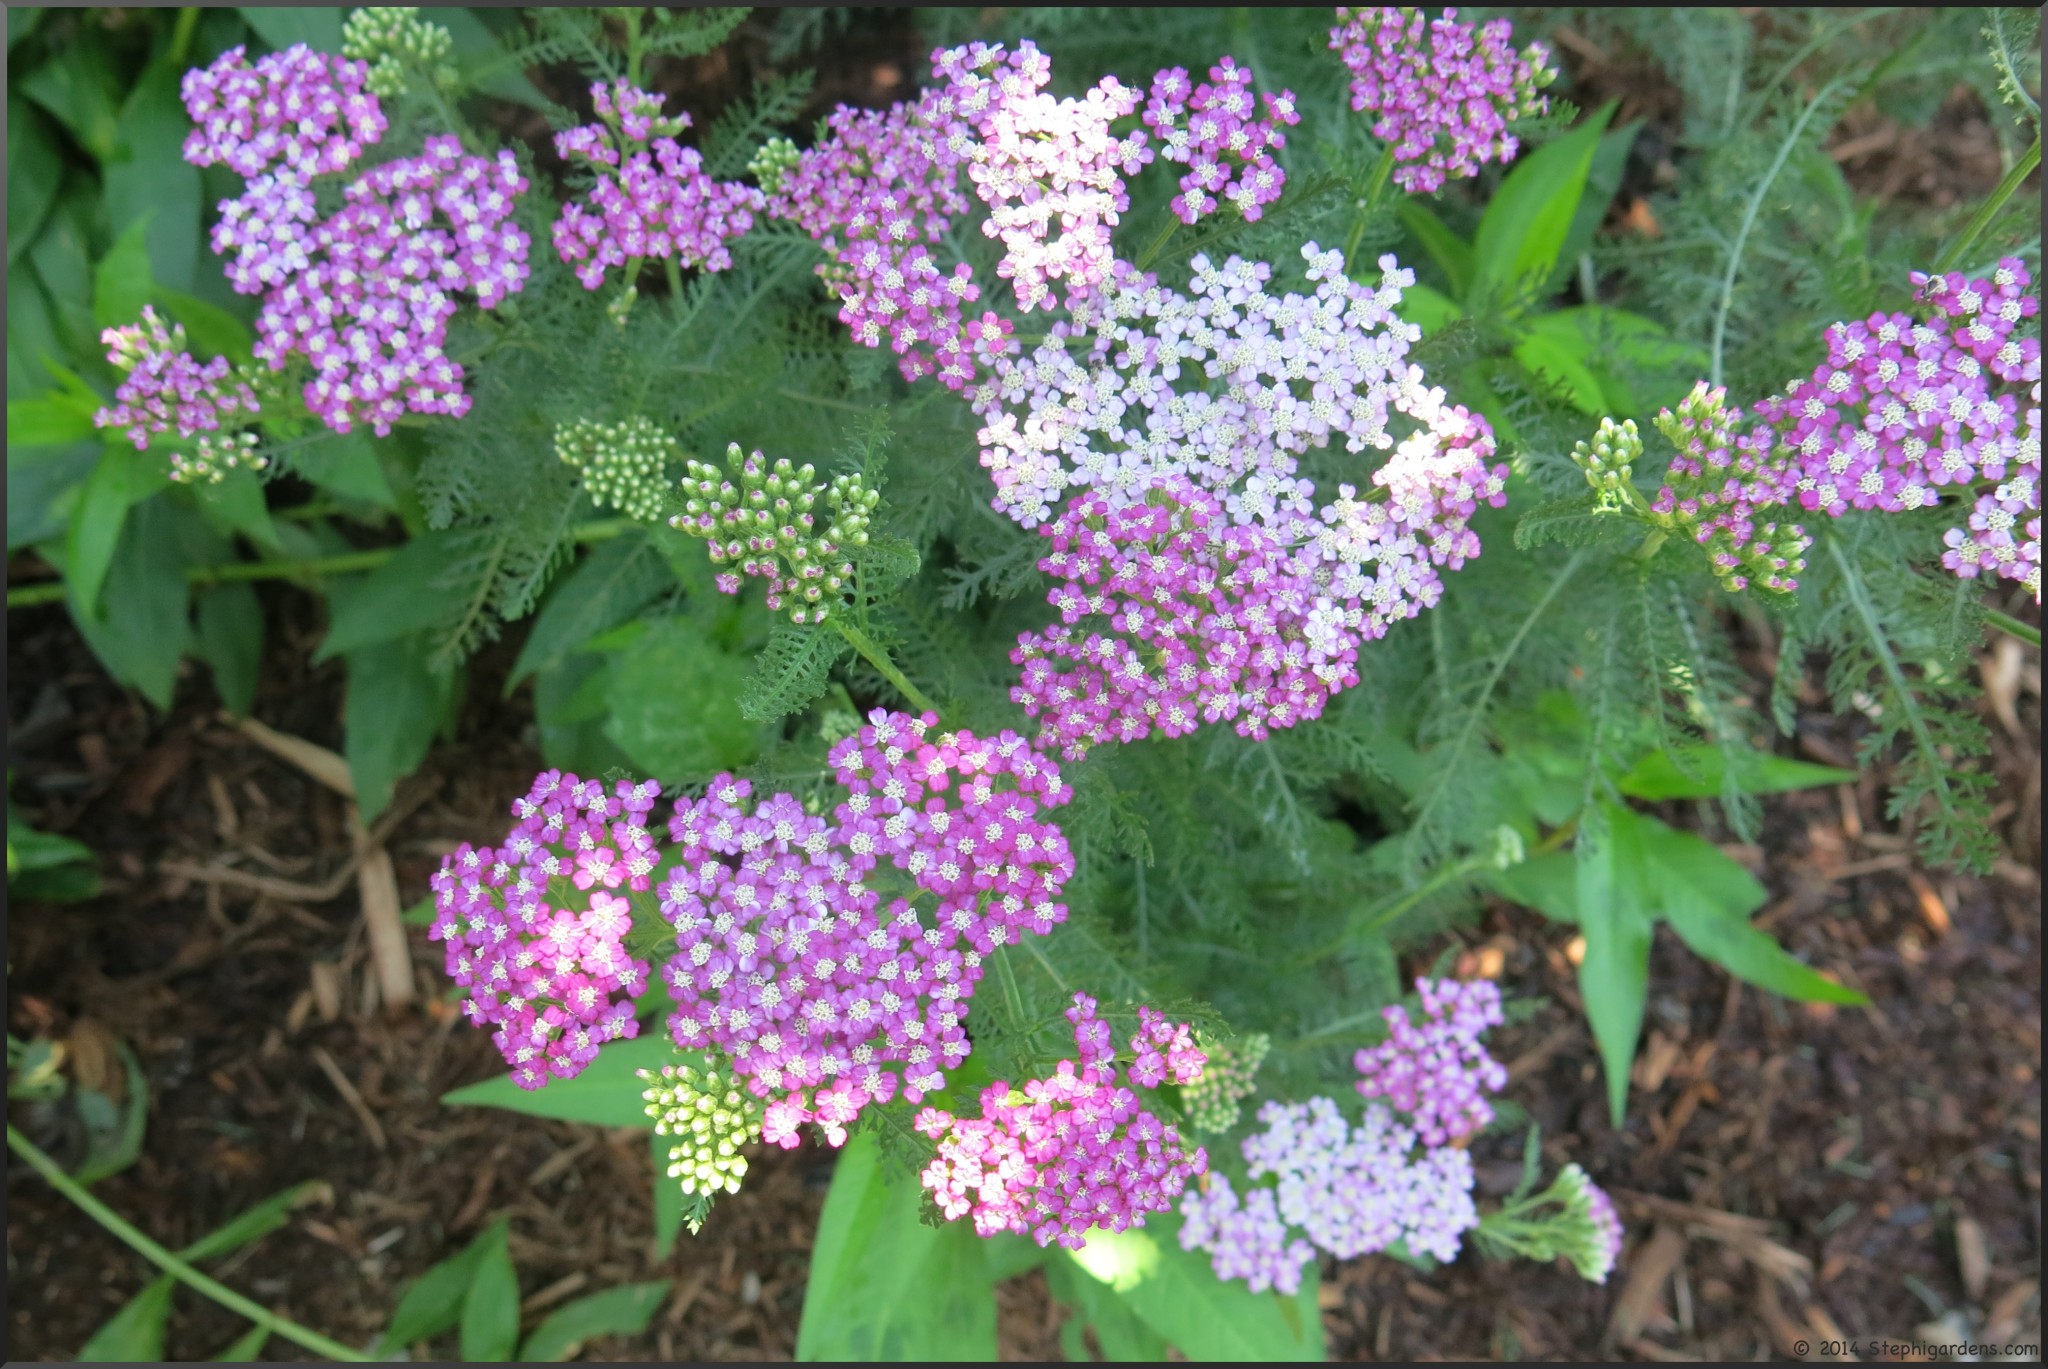
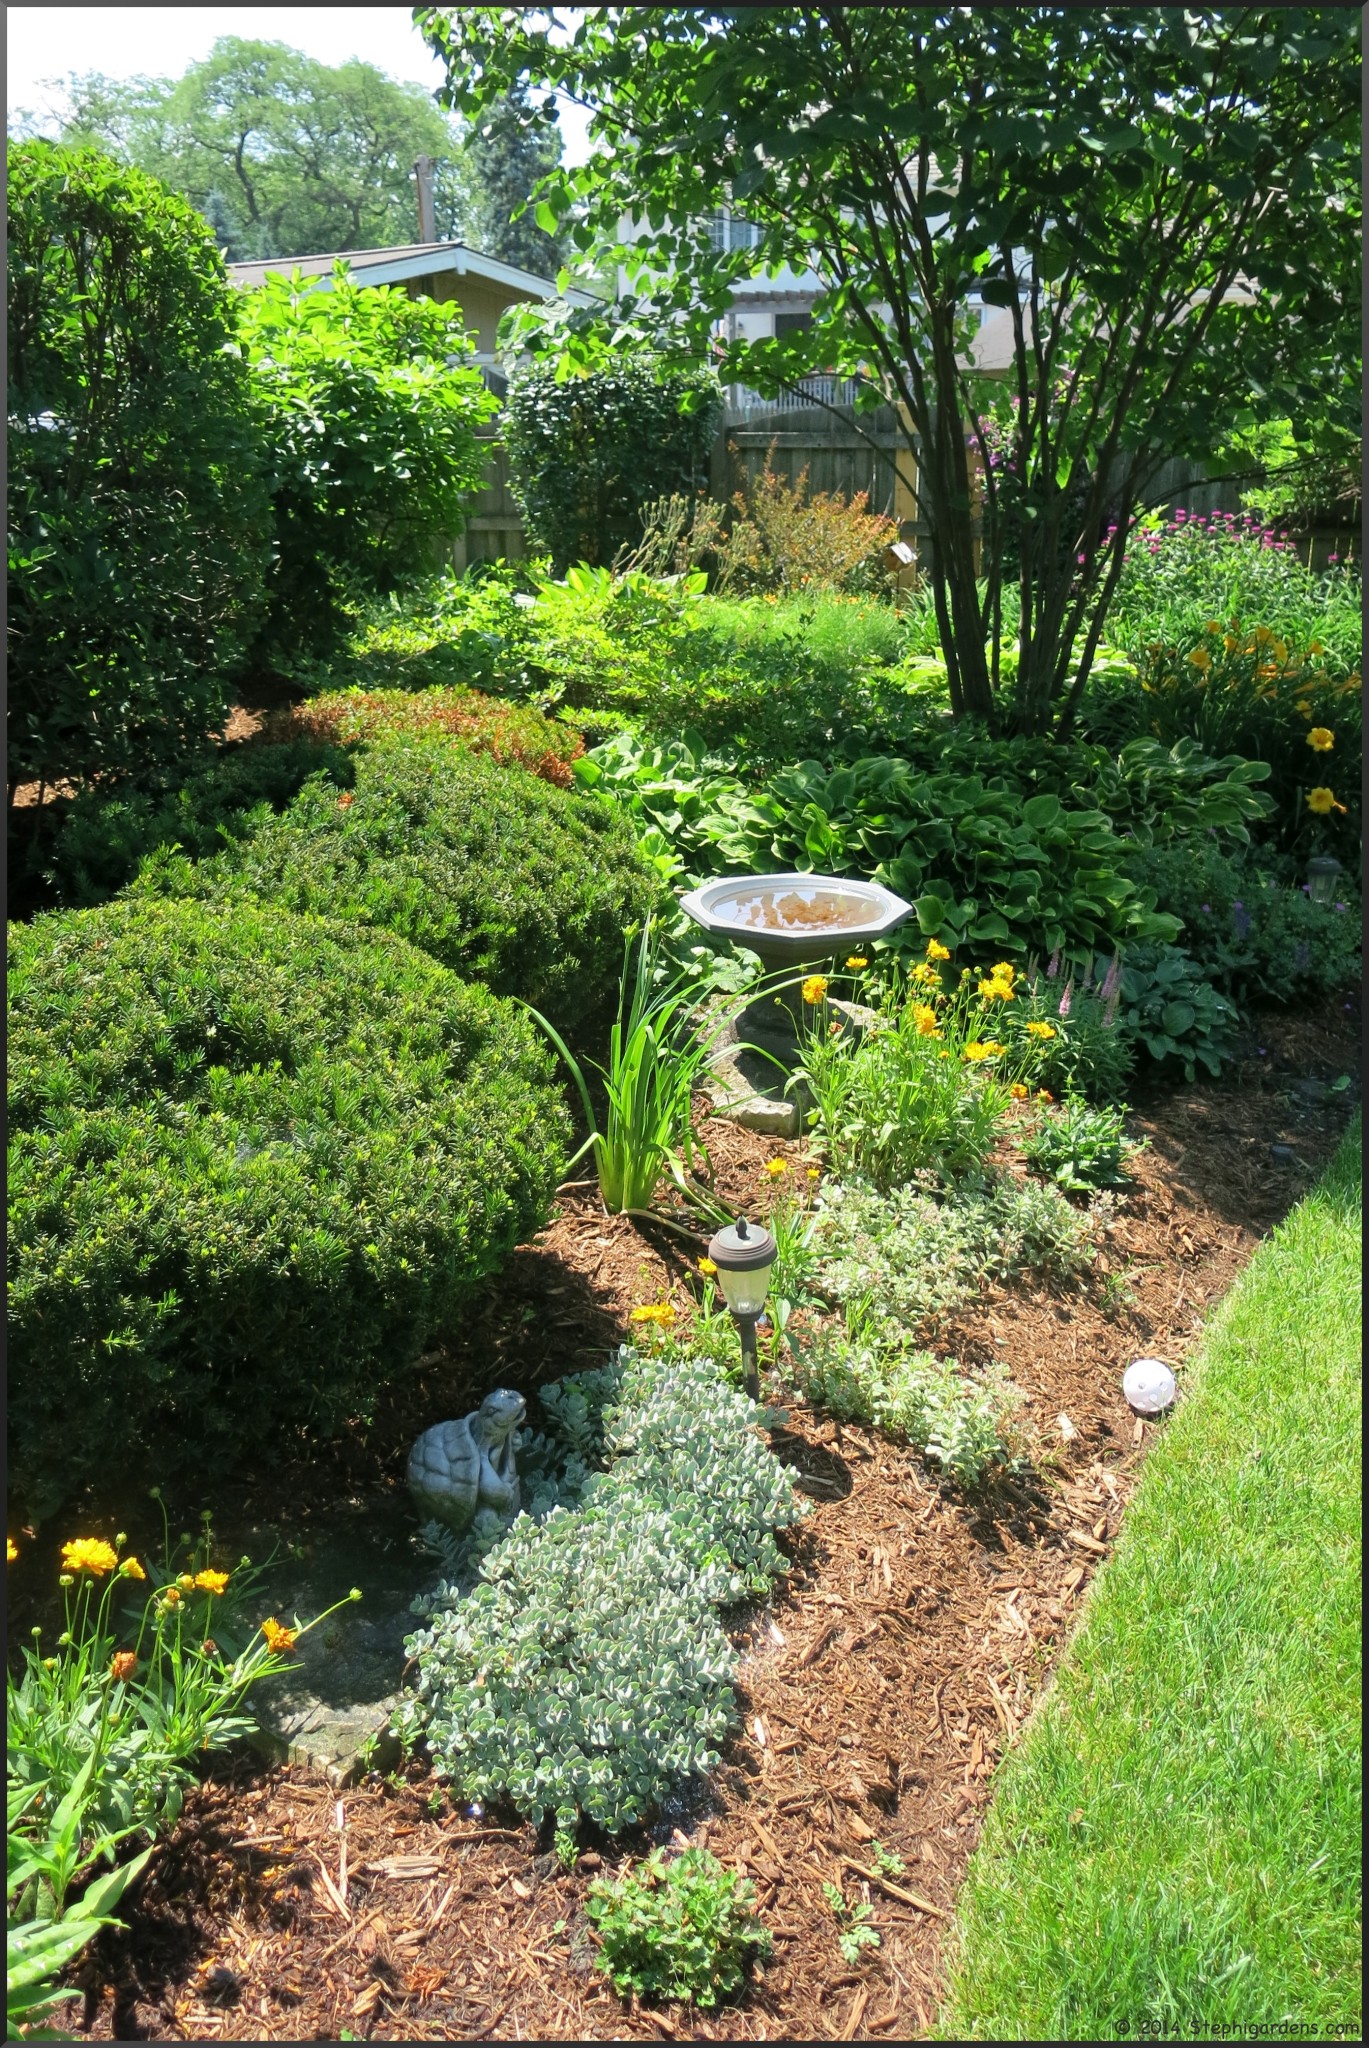
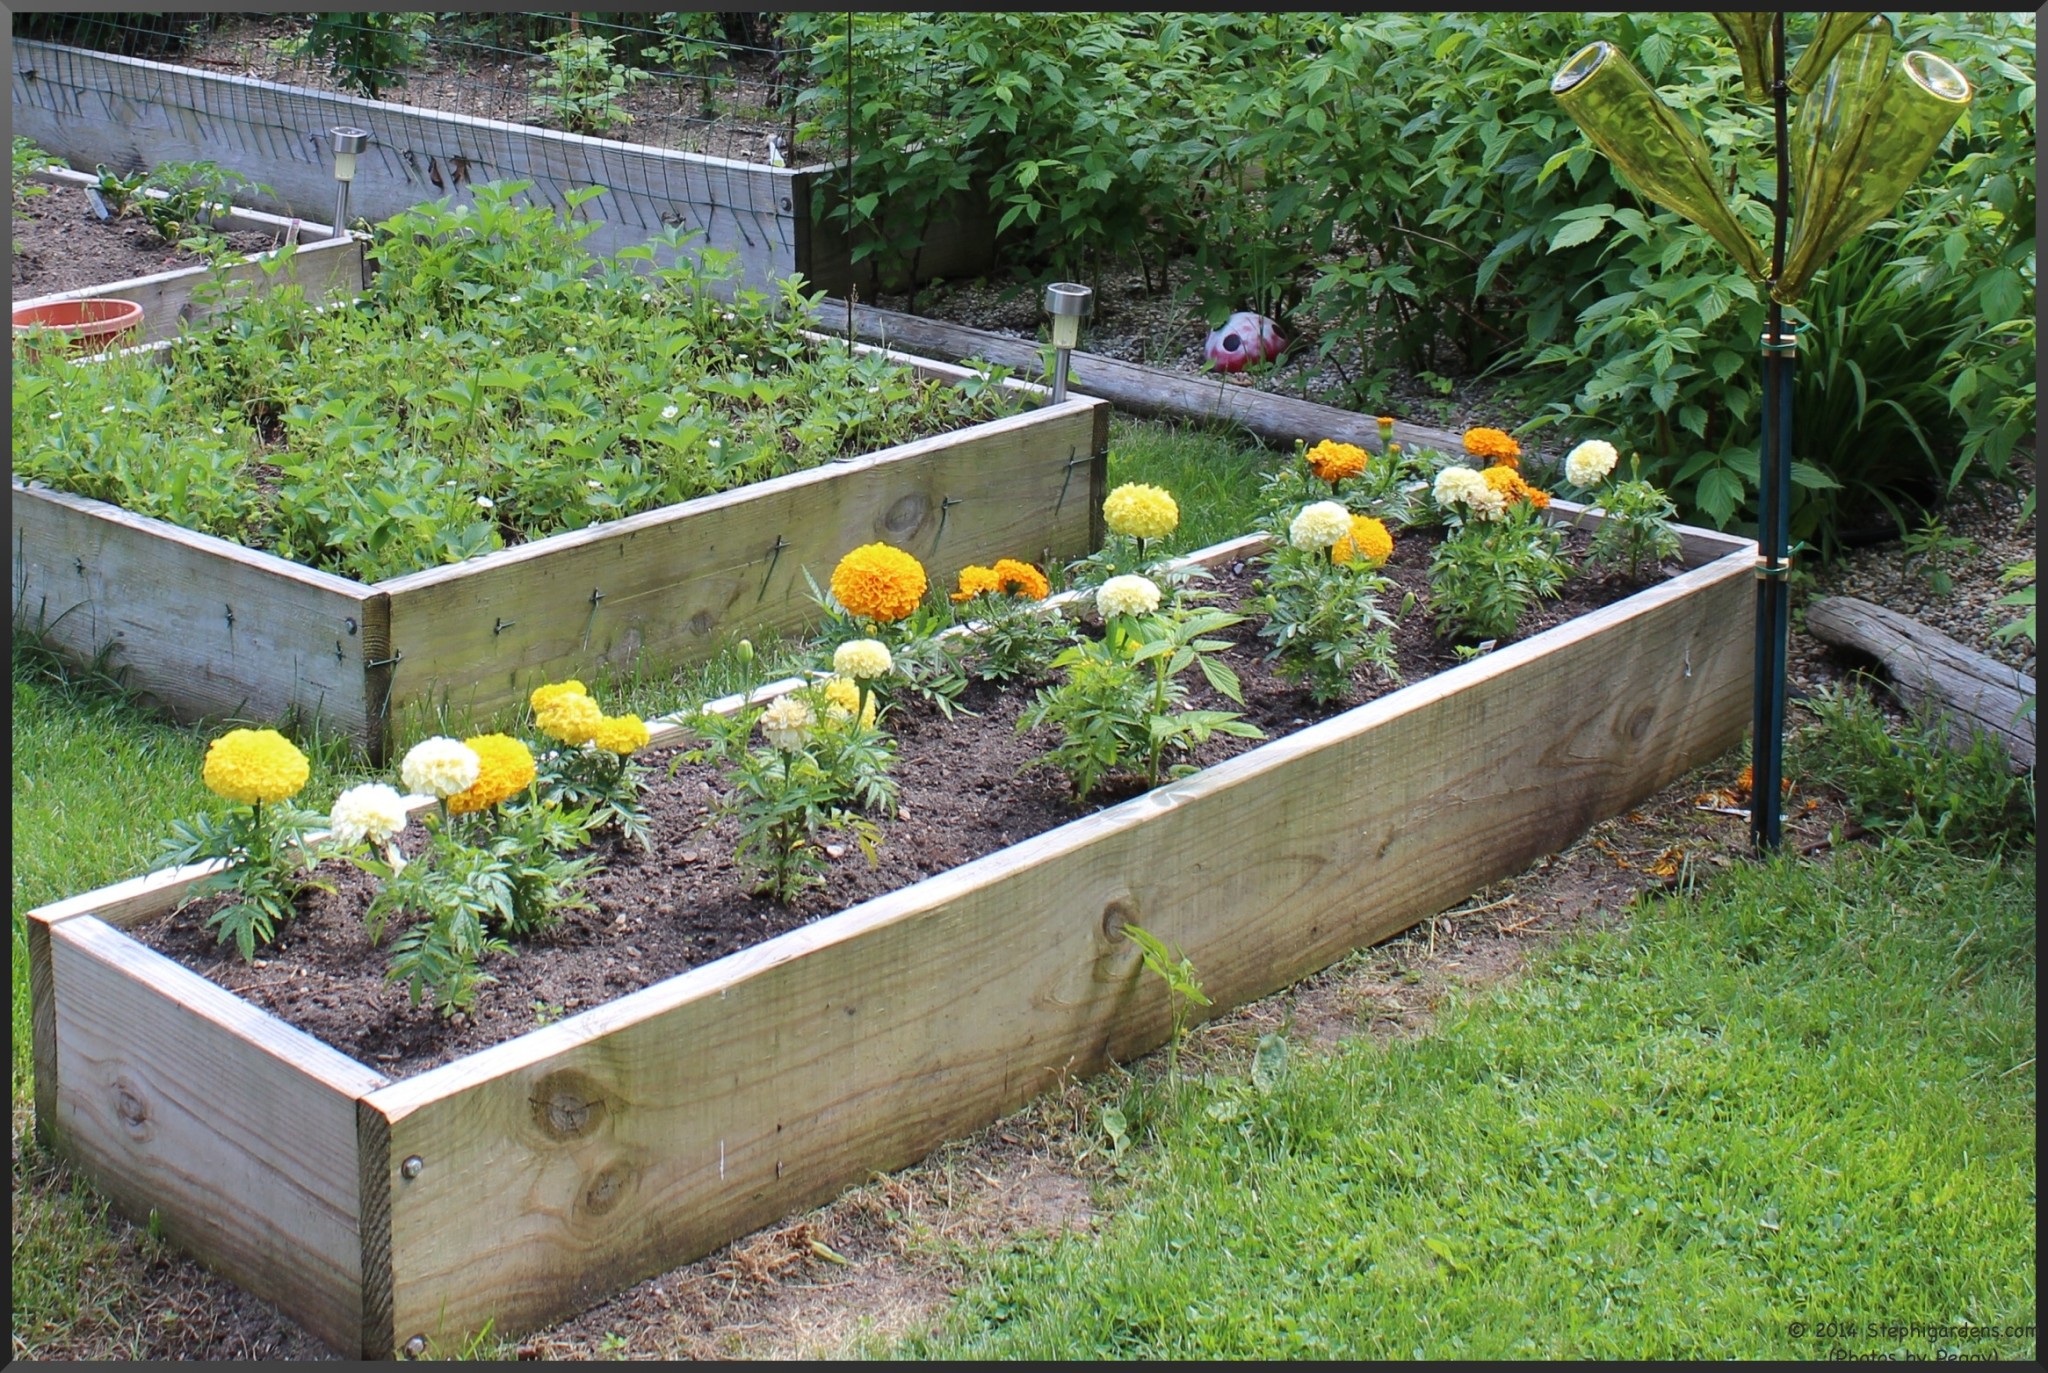
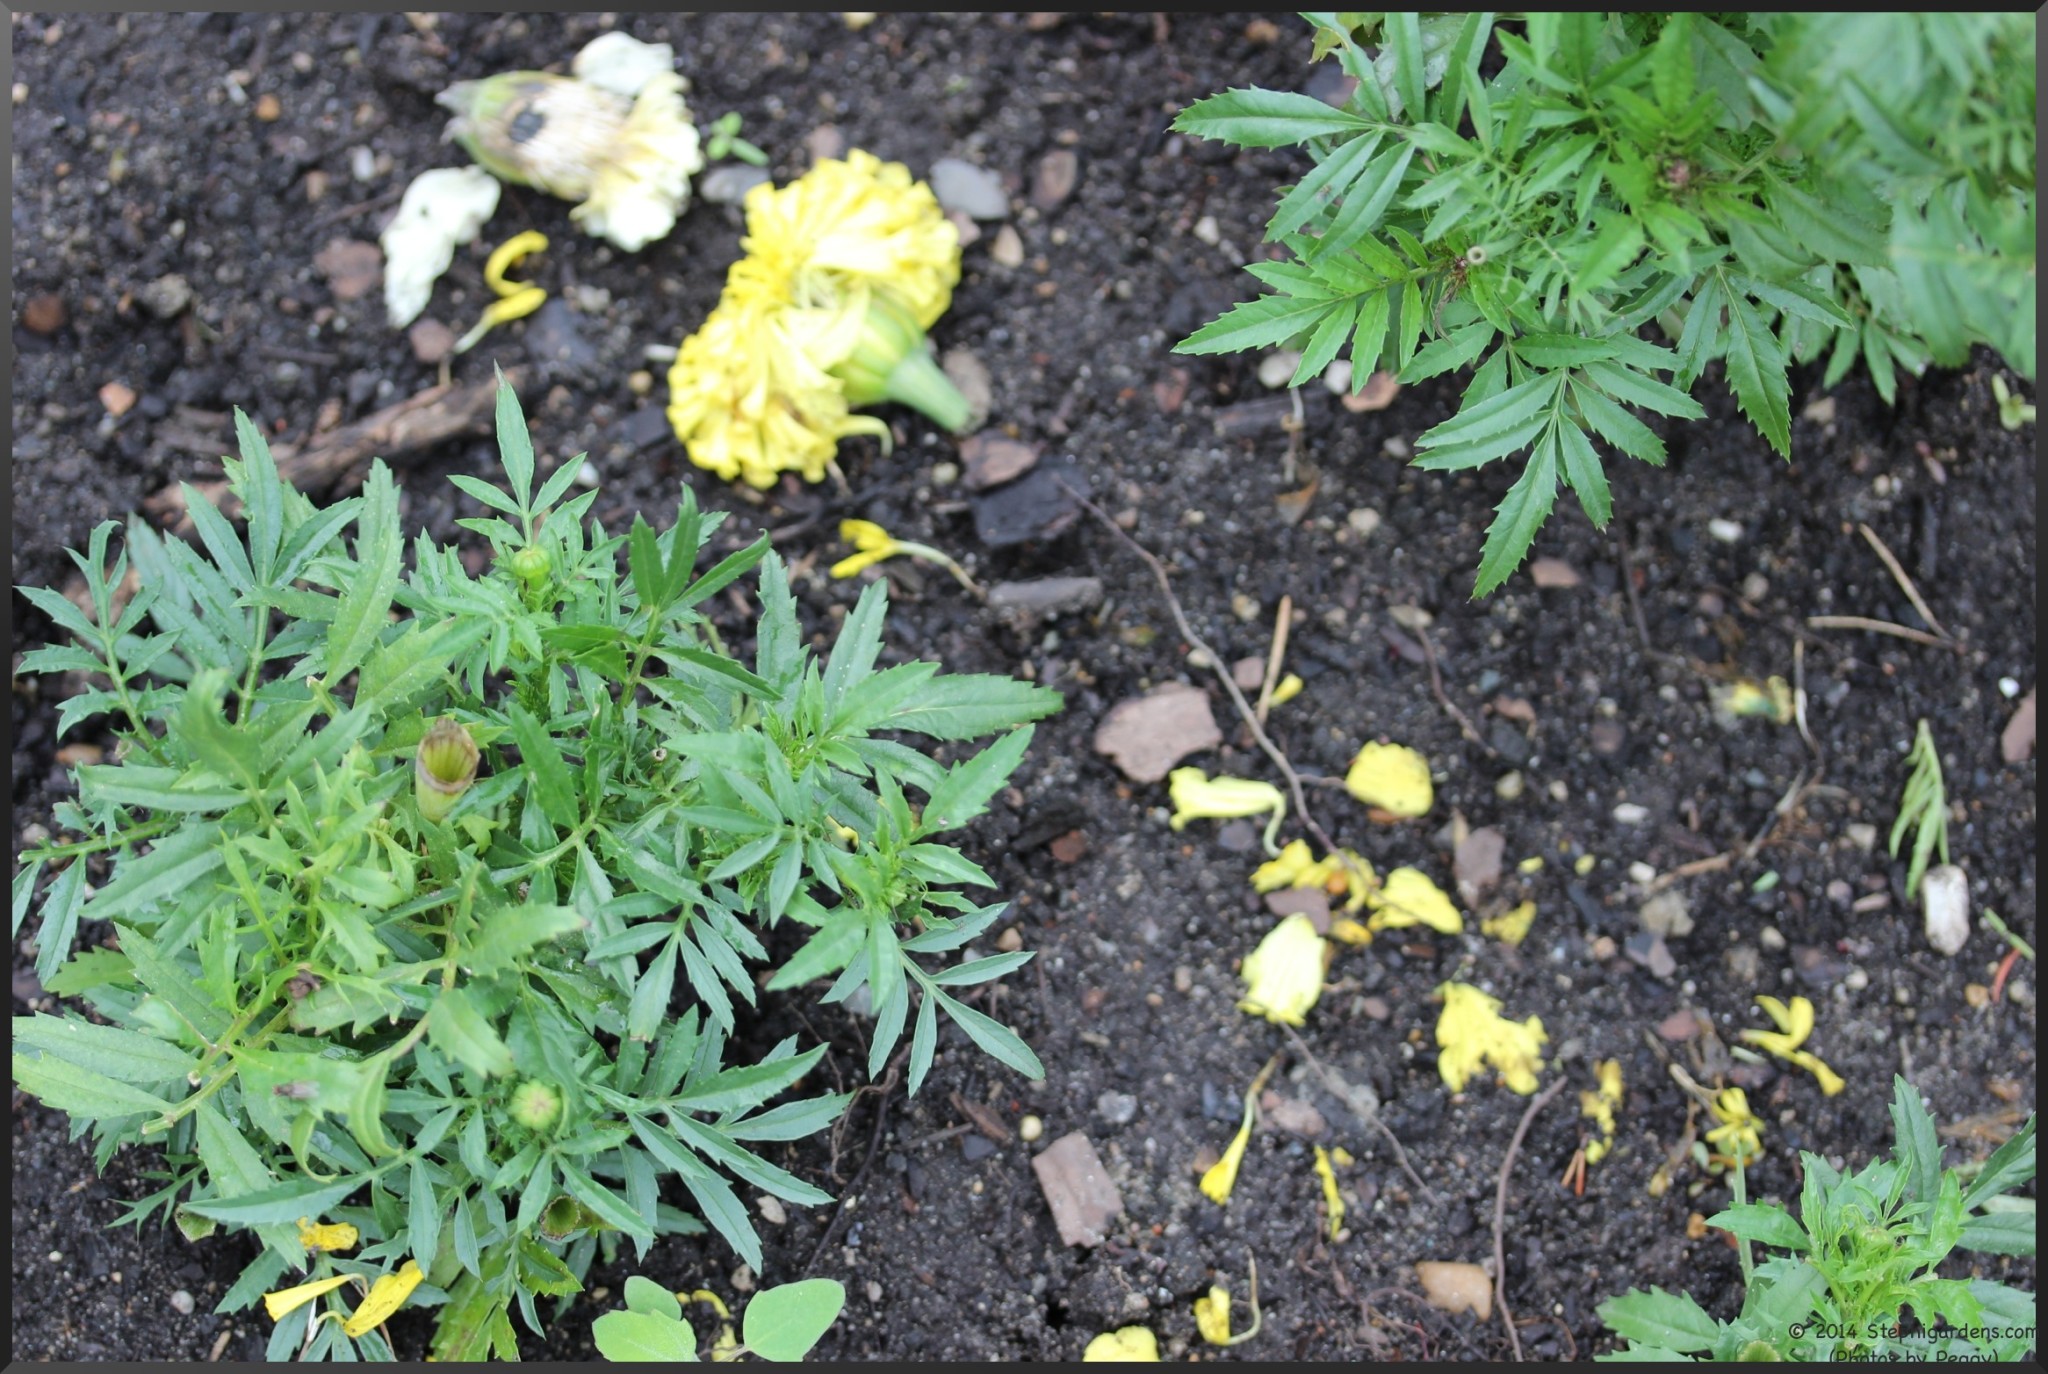
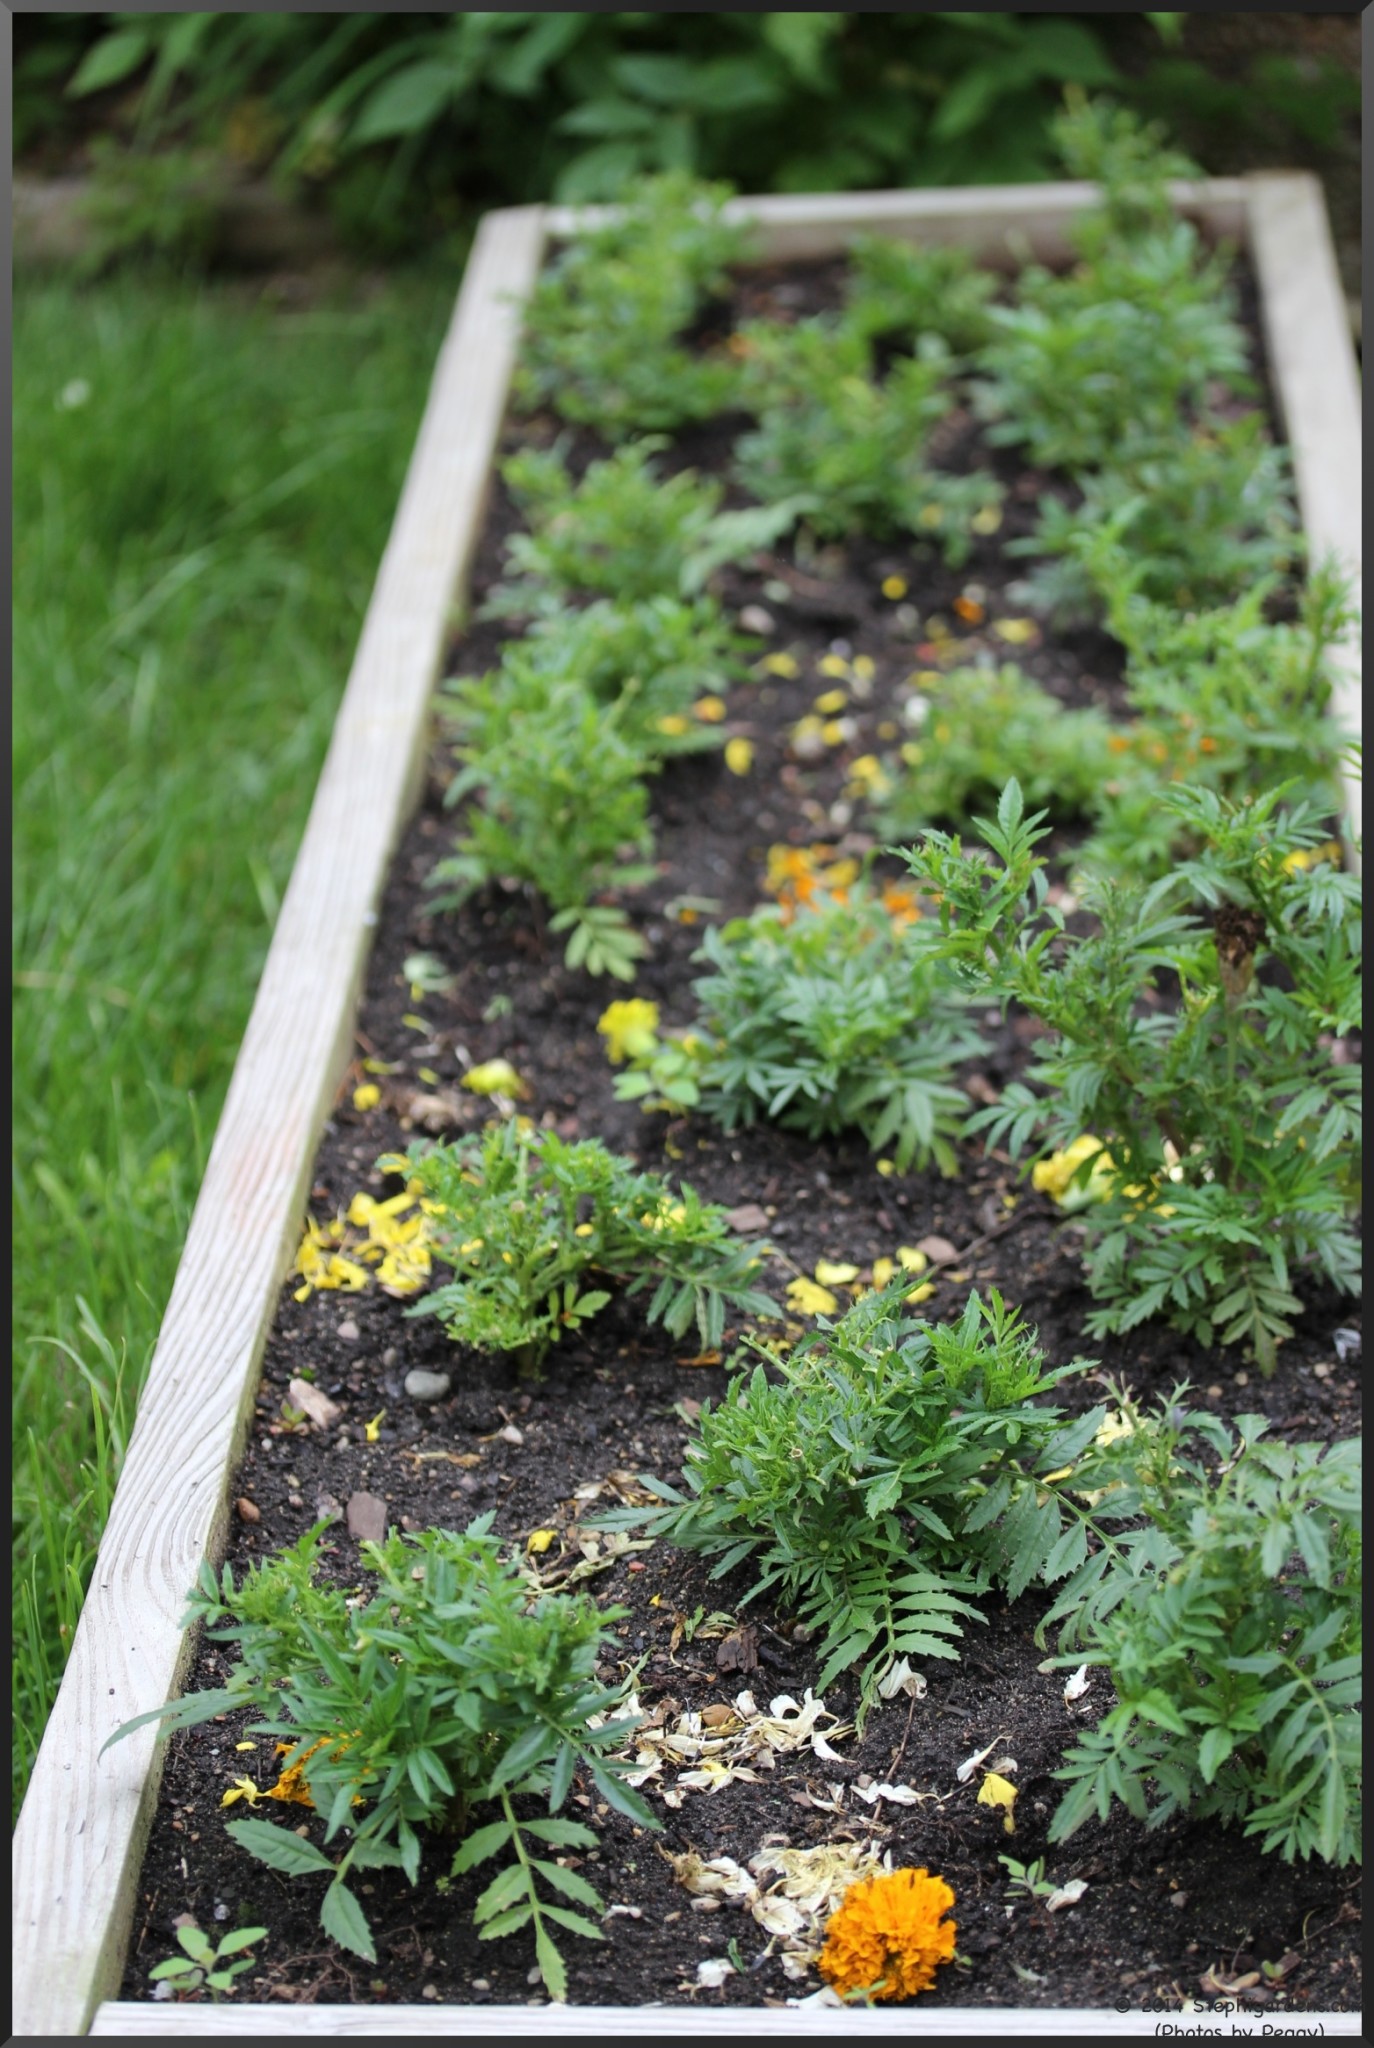
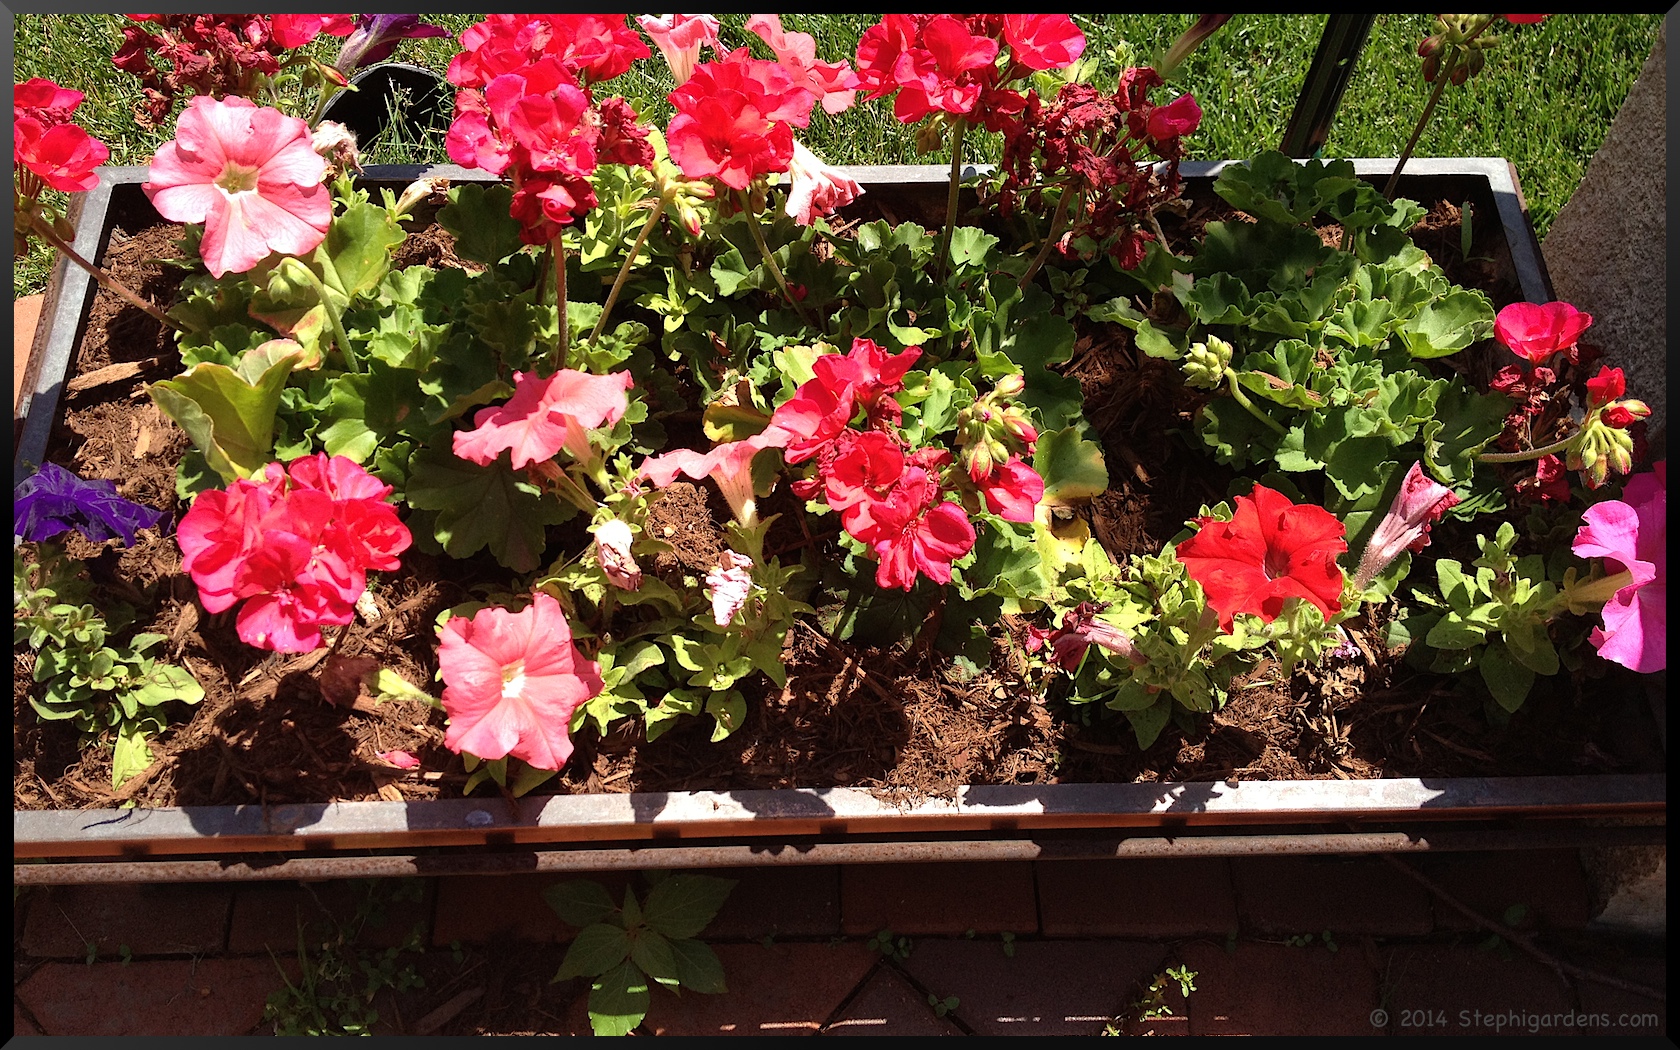
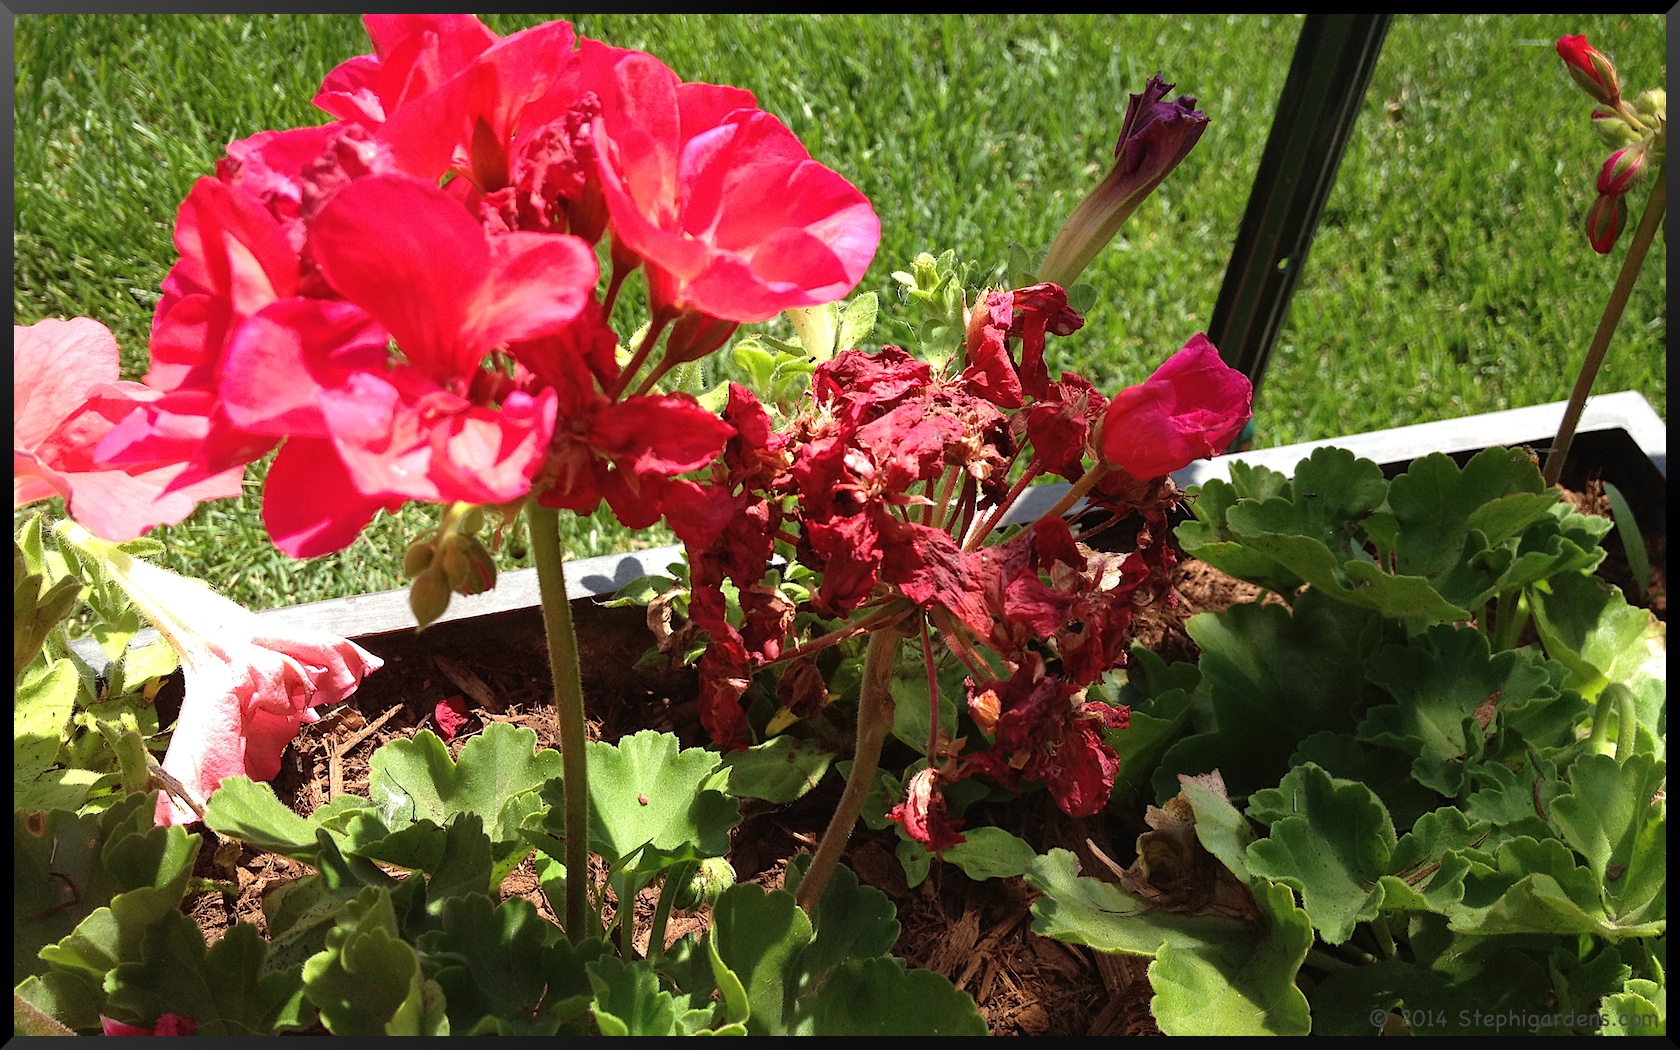
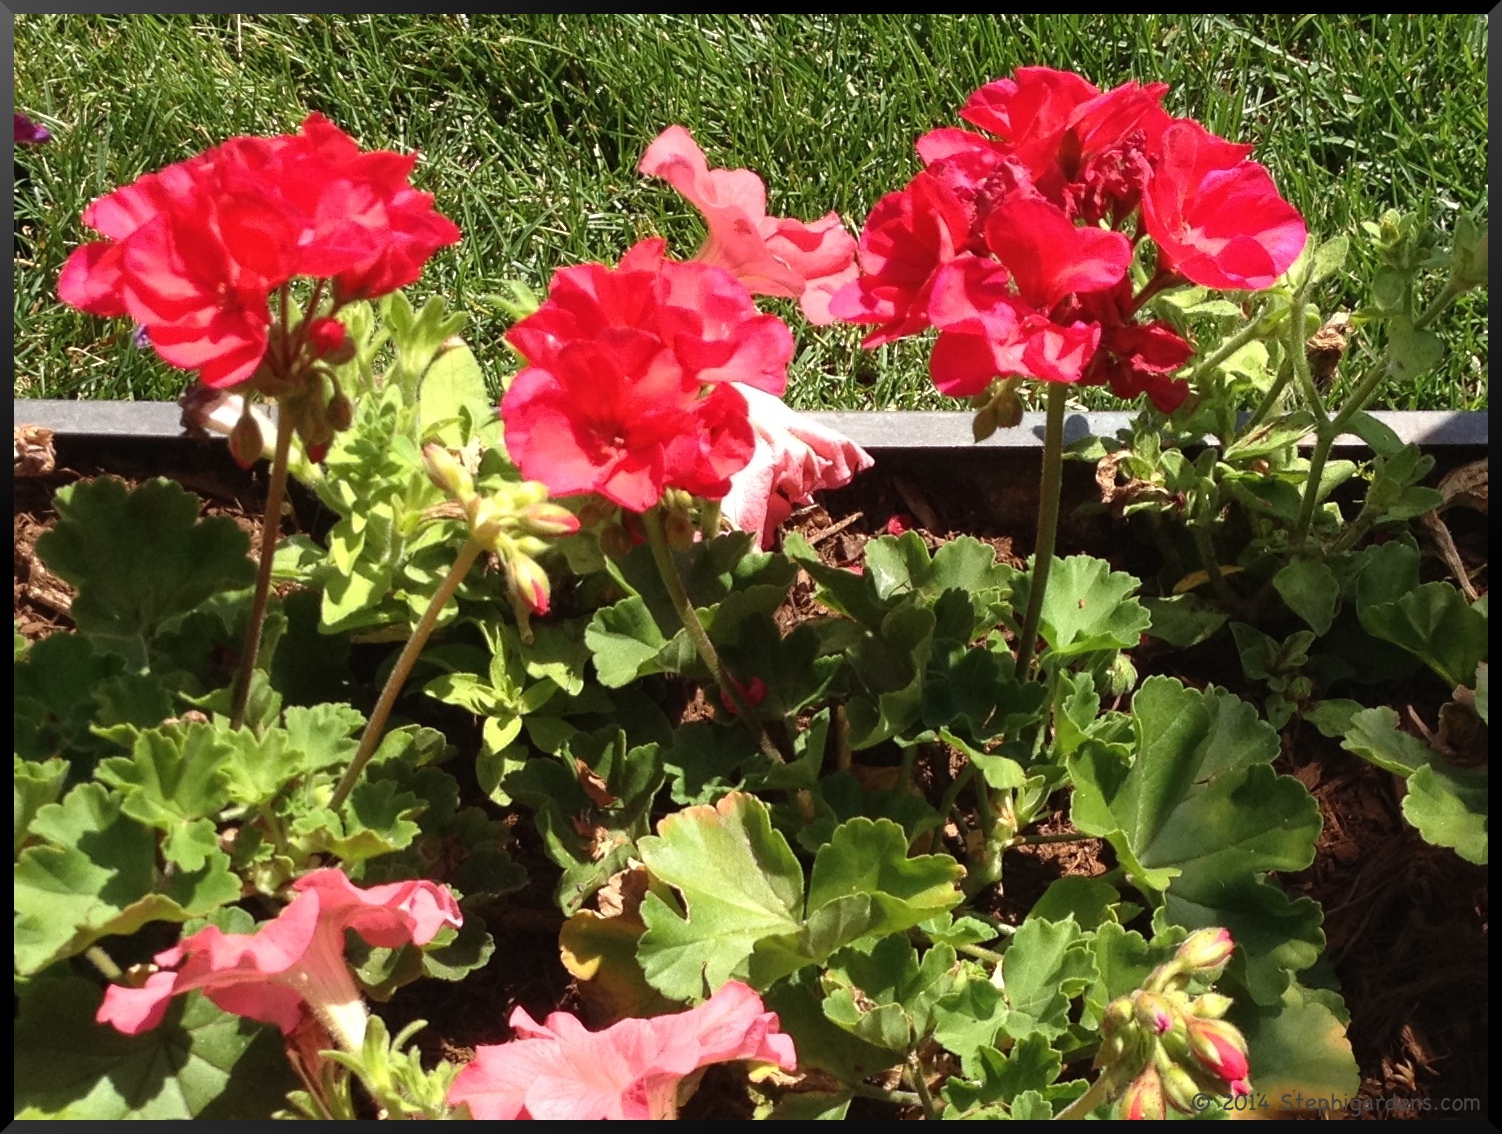
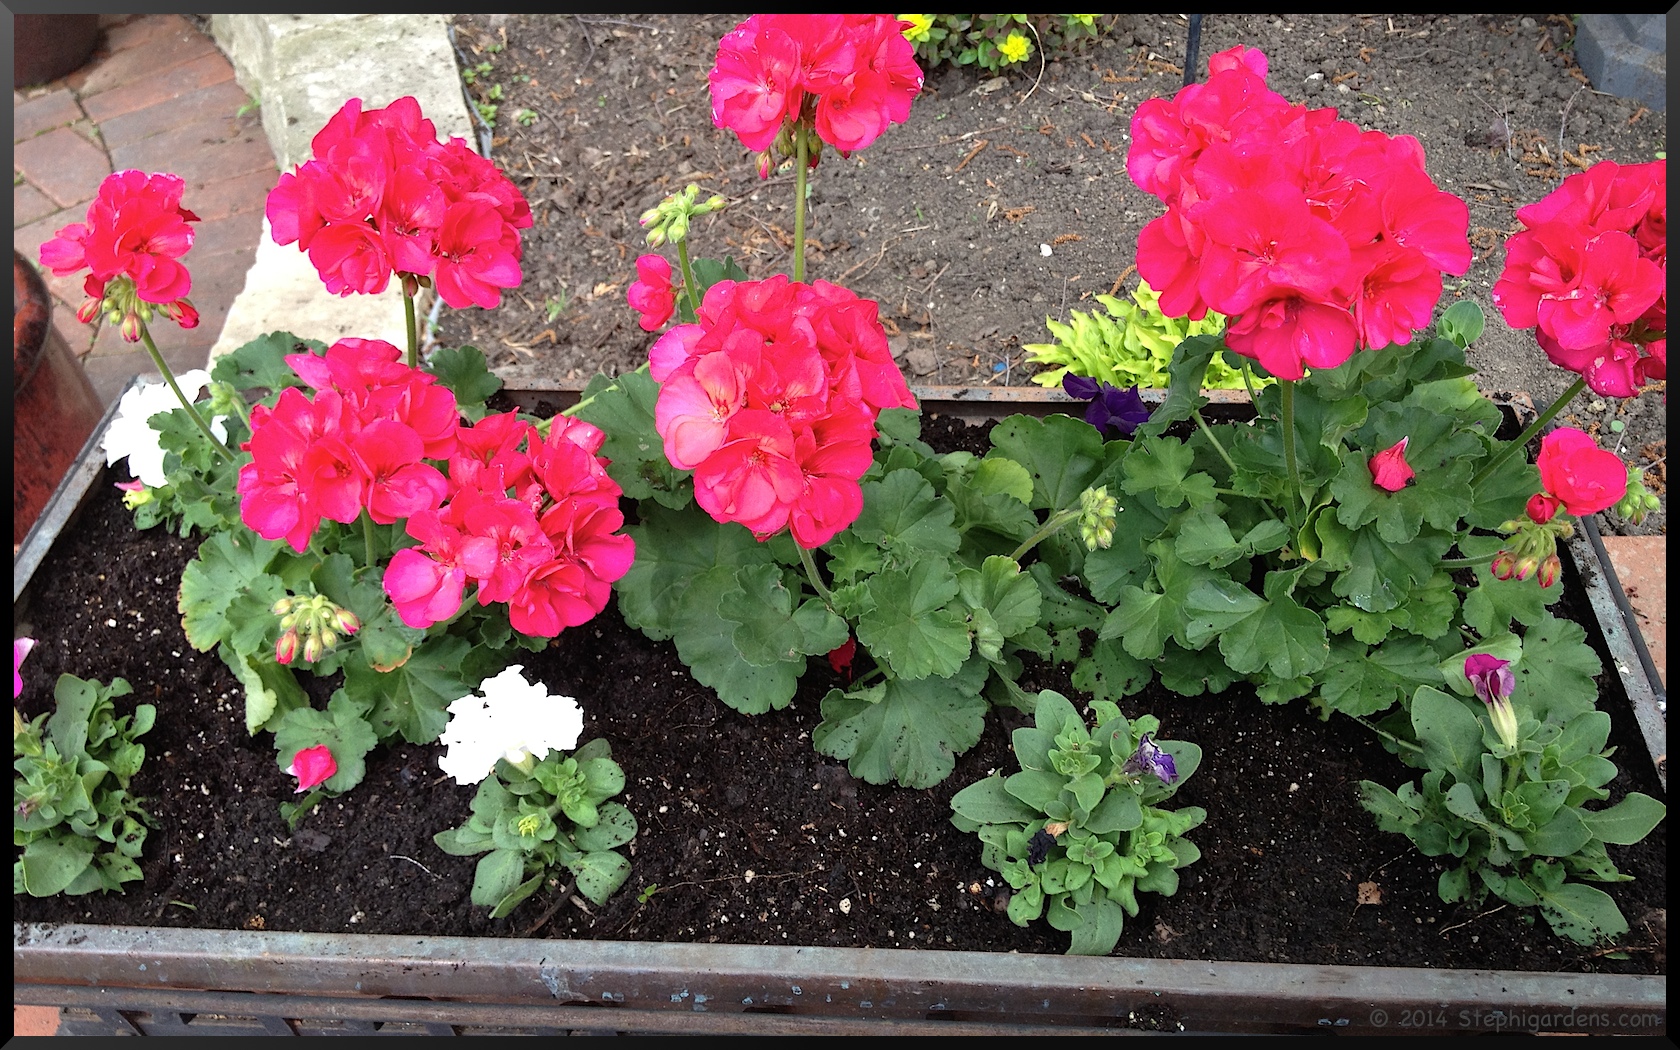
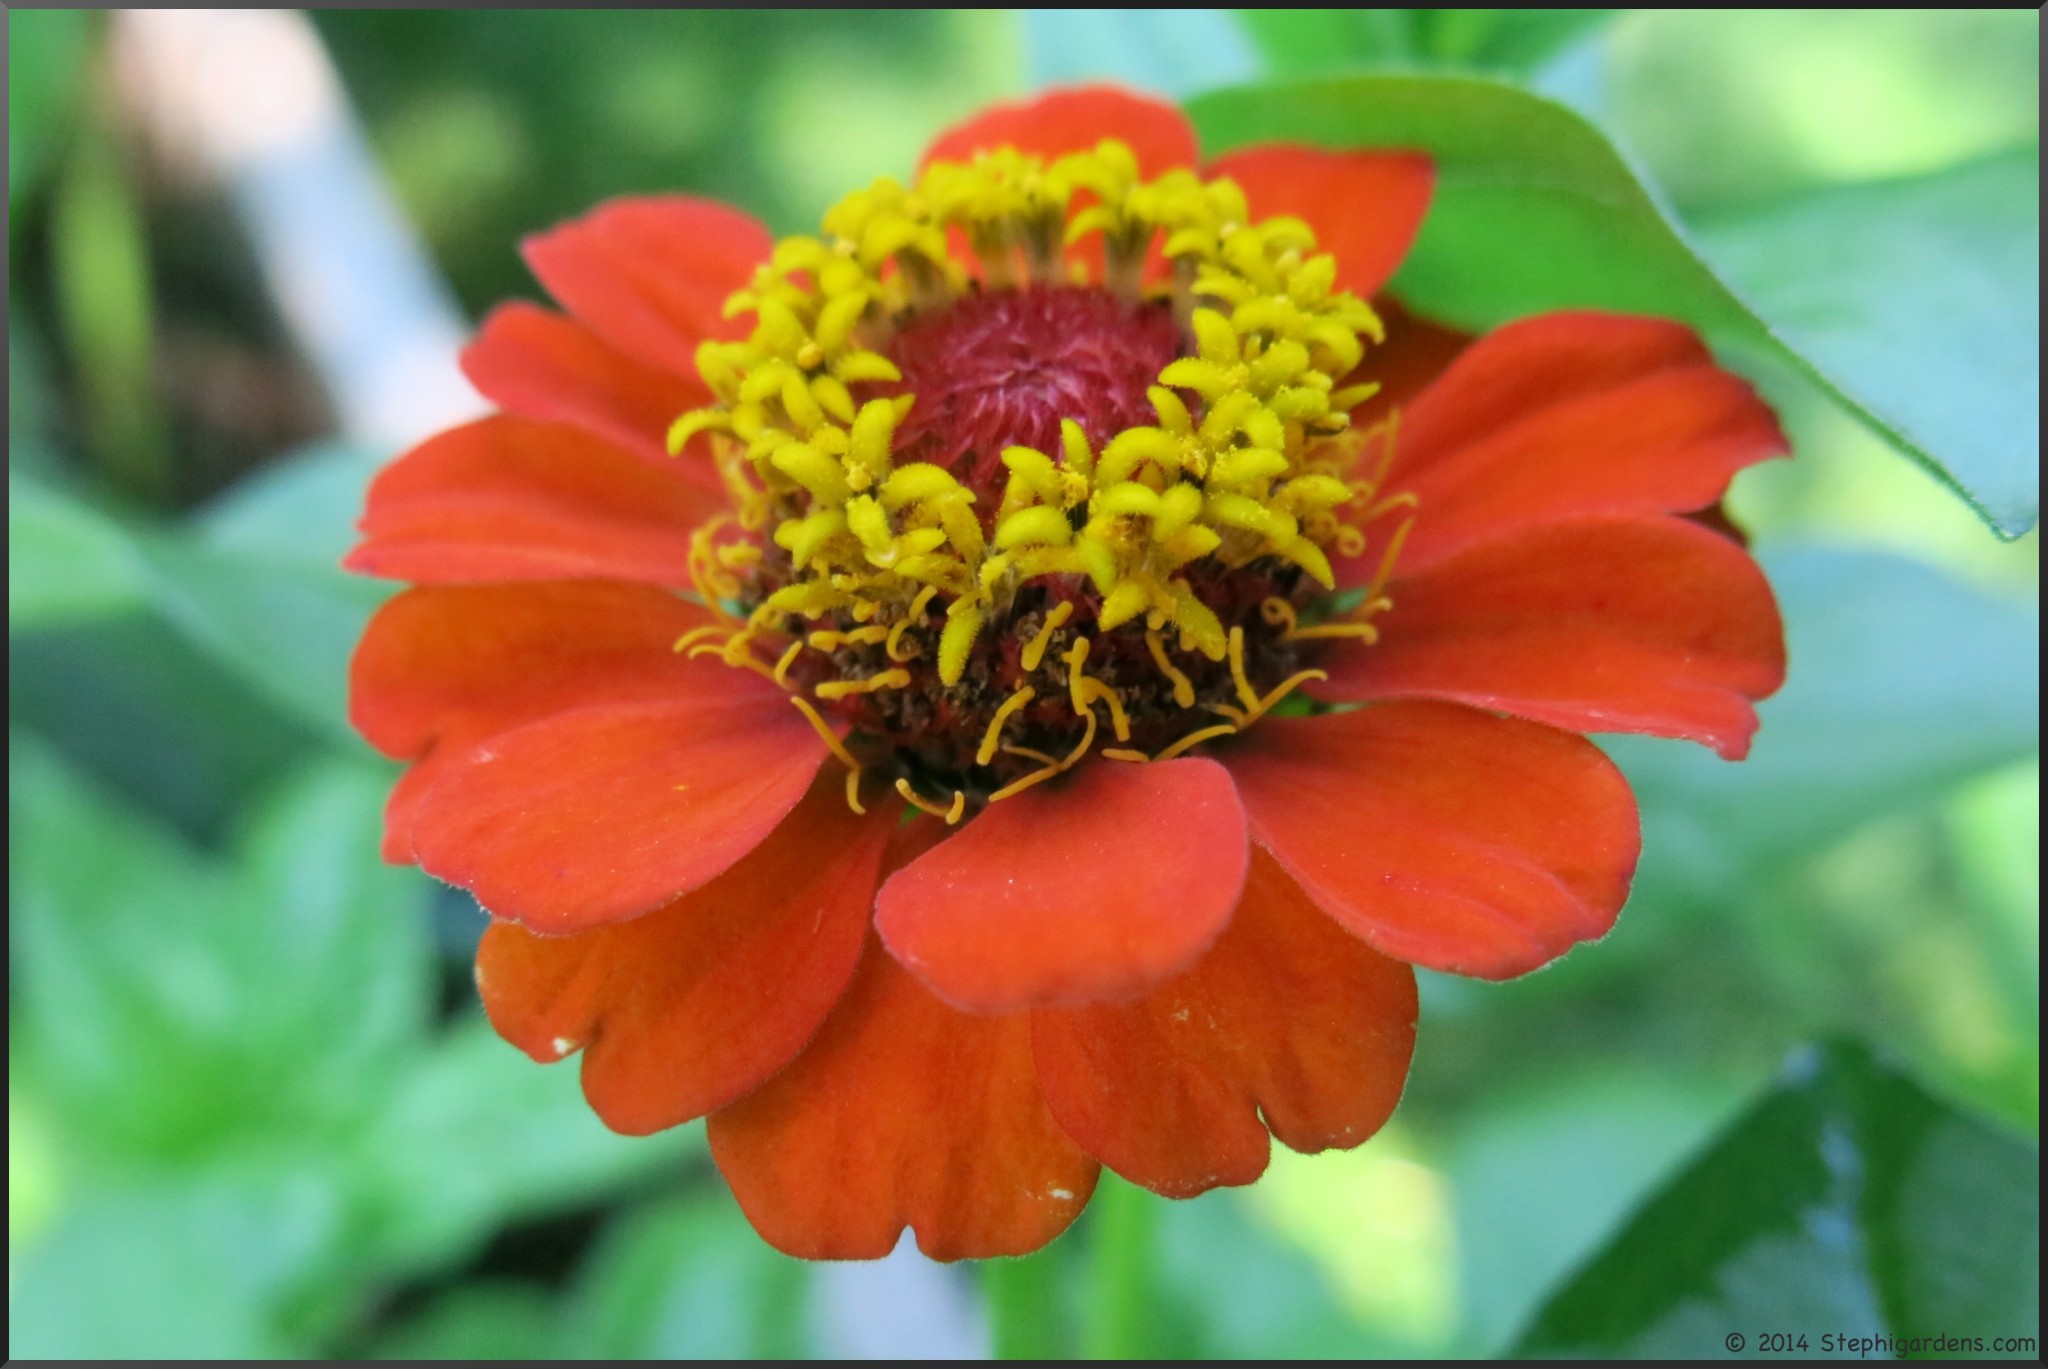
Many of the flowers are in full bloom and flourishing with the moderate temperatures and plenty of rain.  Although, I did miss most of the asiatic lily’s blooms.  They are mostly finished for the season.

zinnia

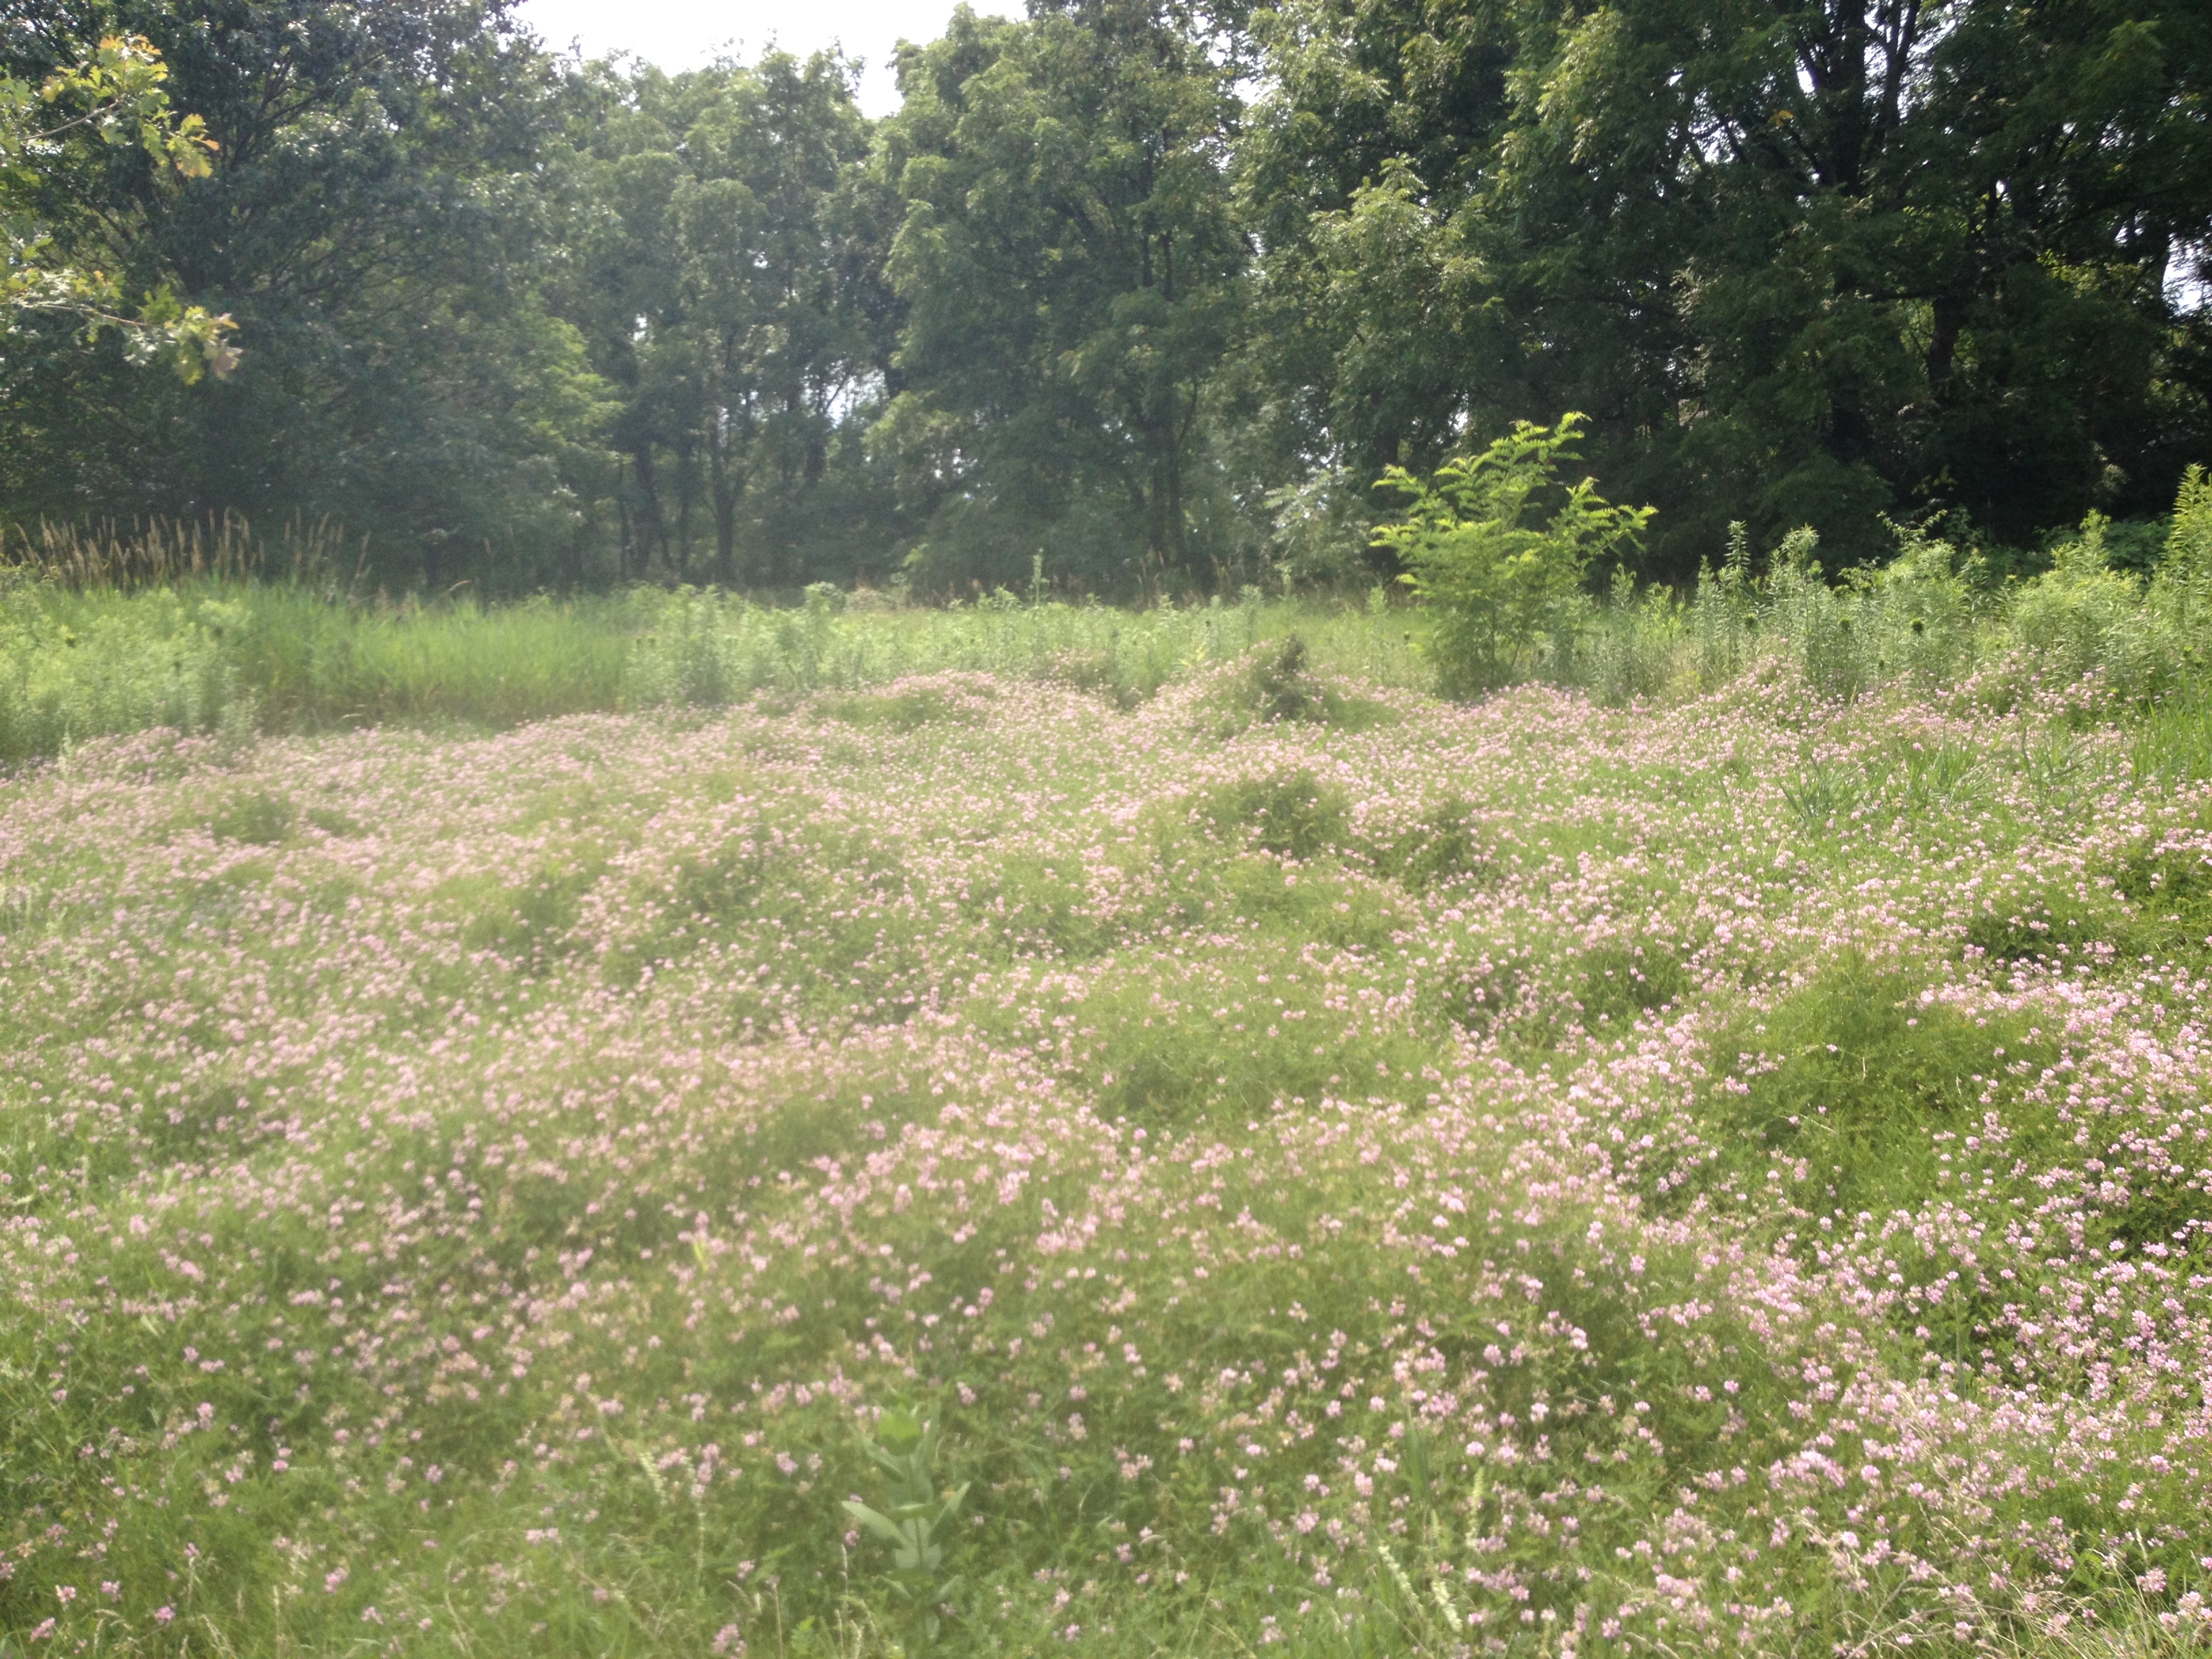
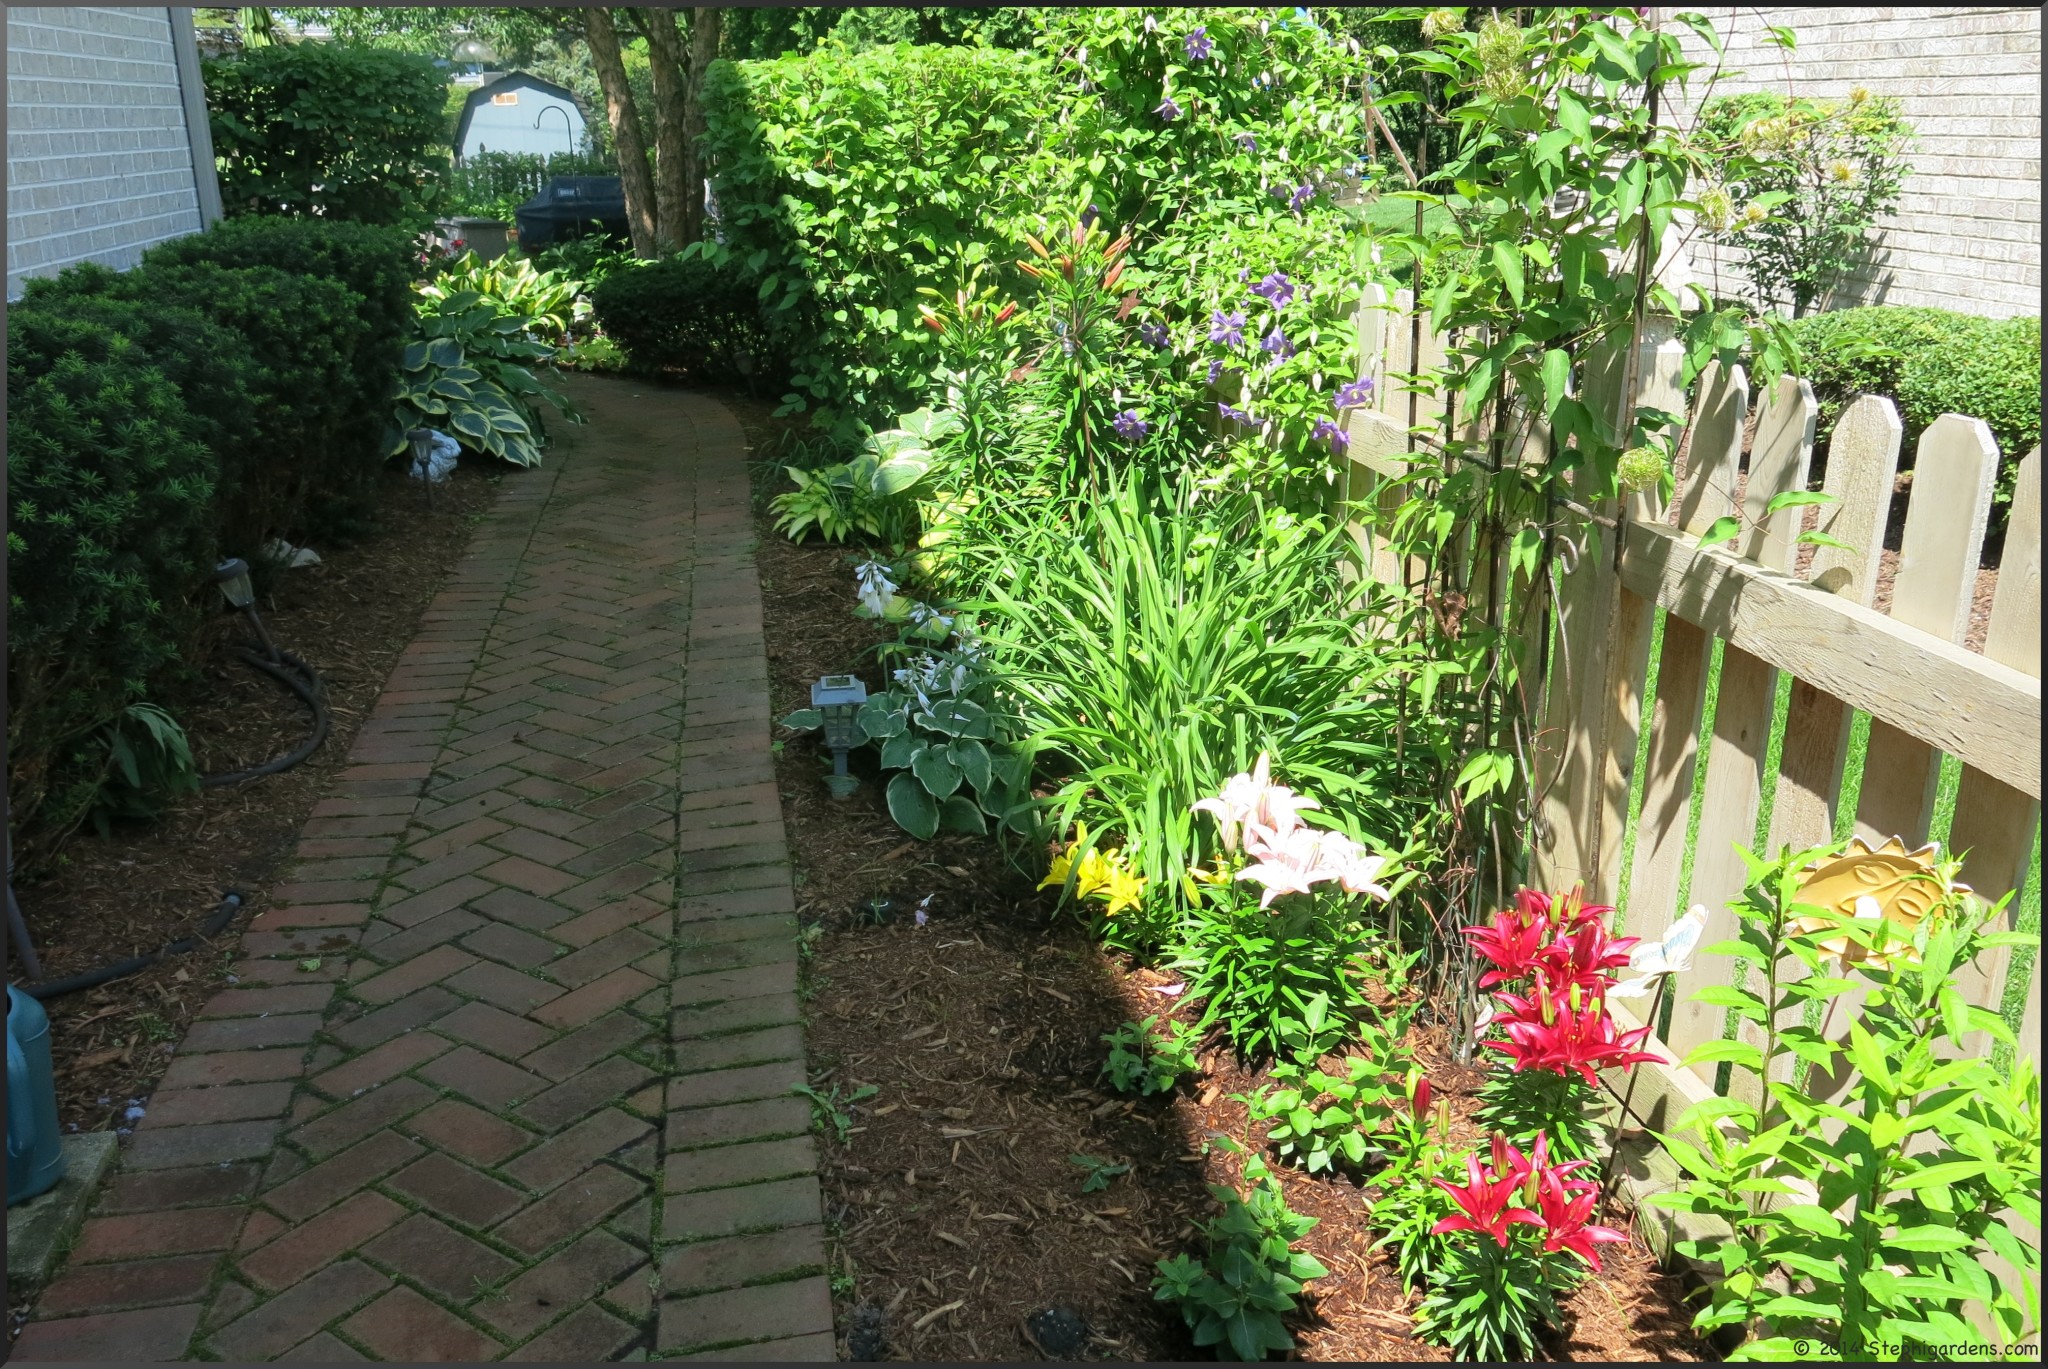
Notice how beautiful the creeping thyme looks (Problems with Creeping Thyme).  Still waiting for the hummingbirds to find my flowers and feeder.

Stephi Gardens

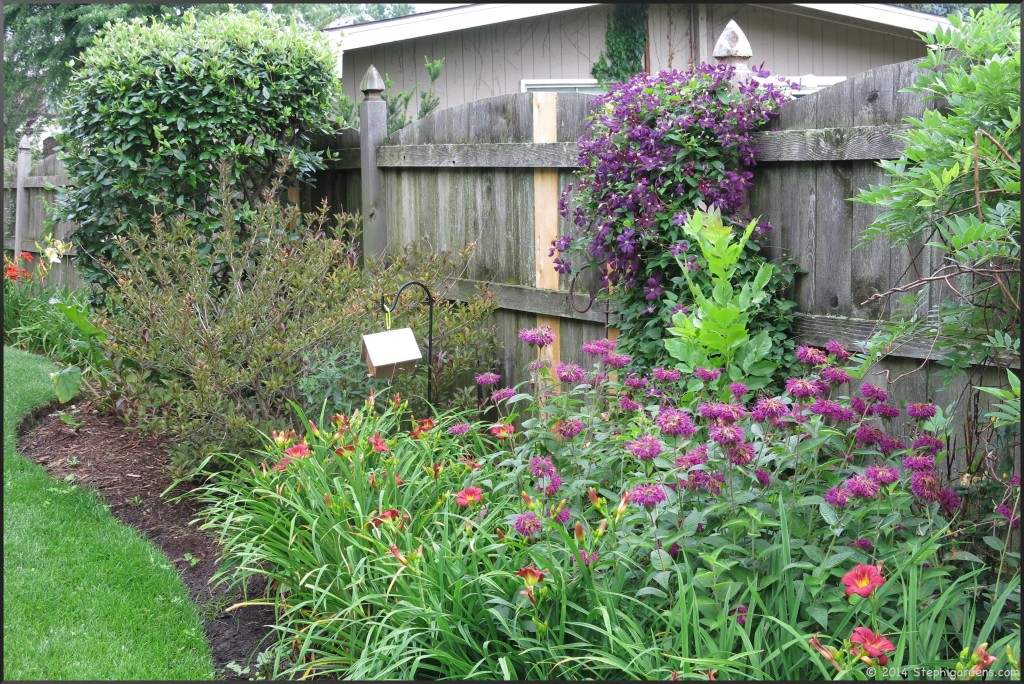
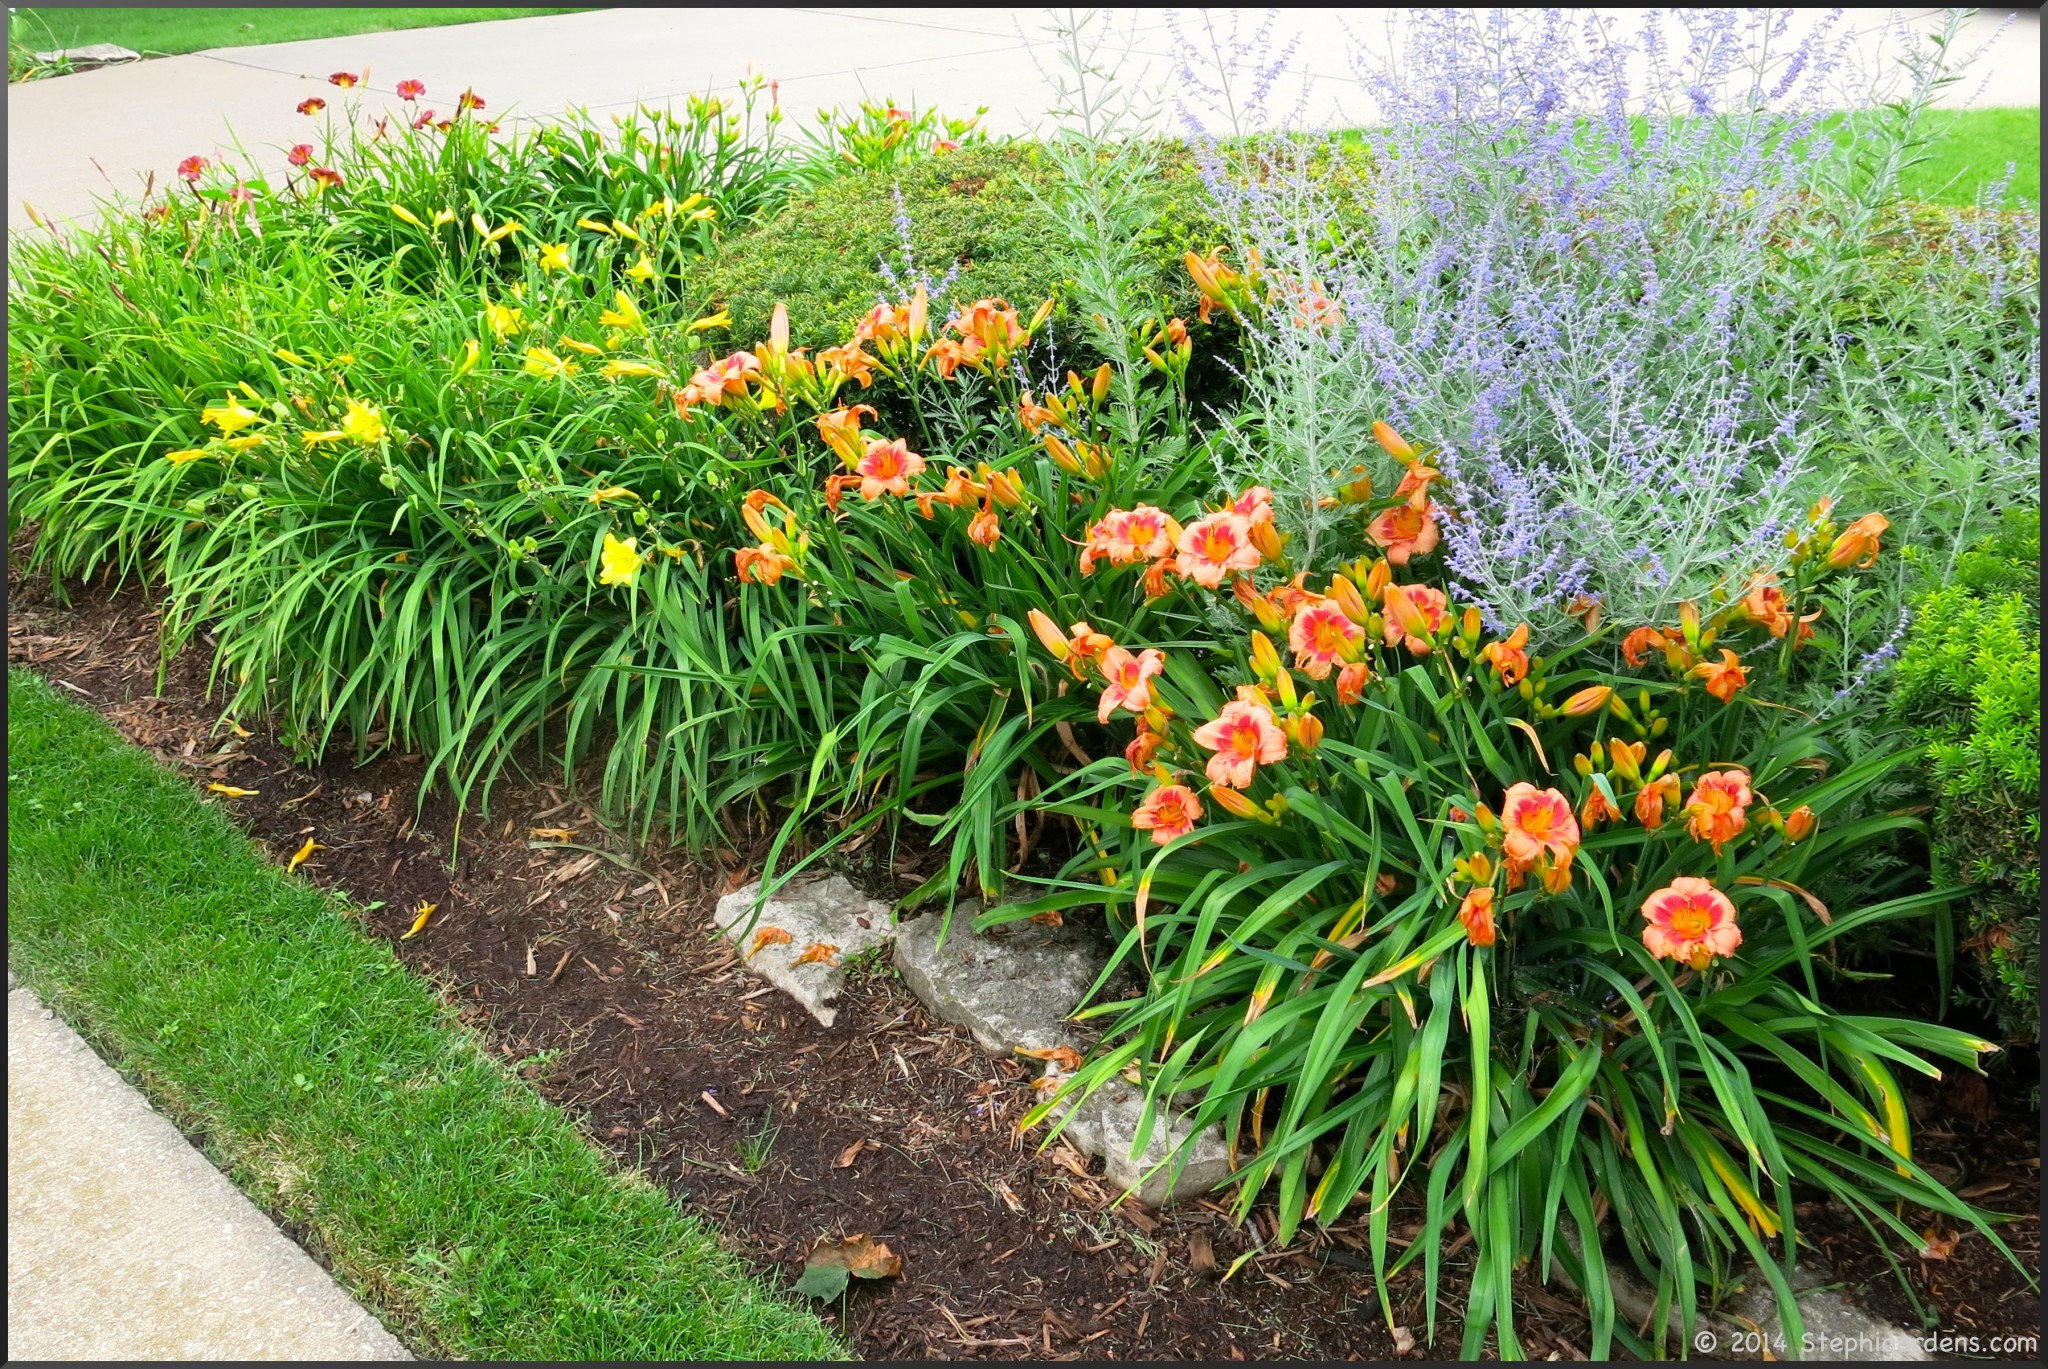
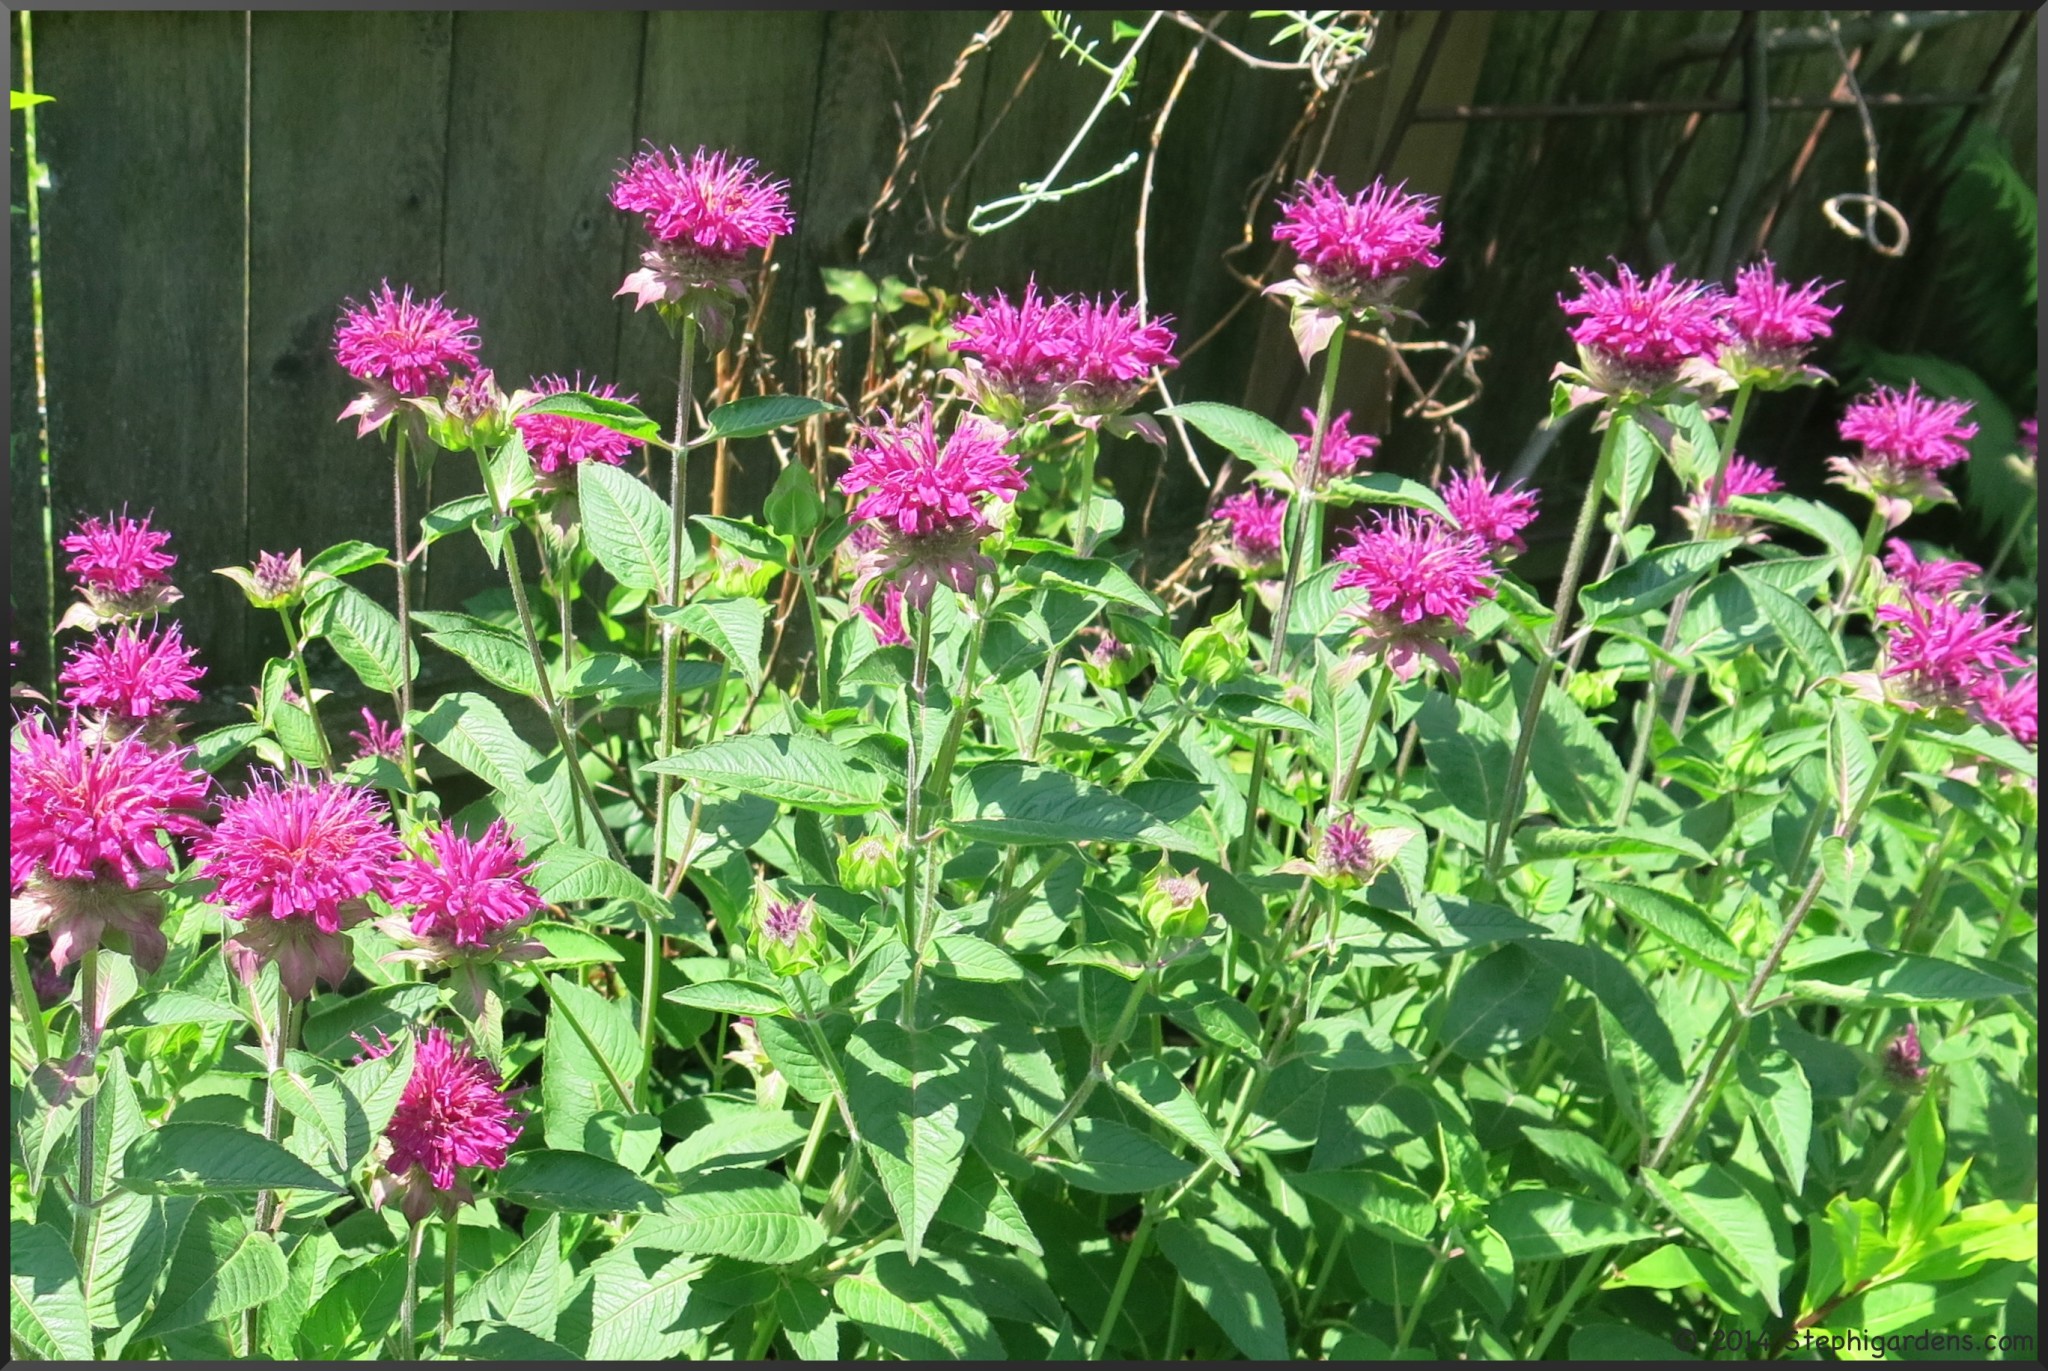
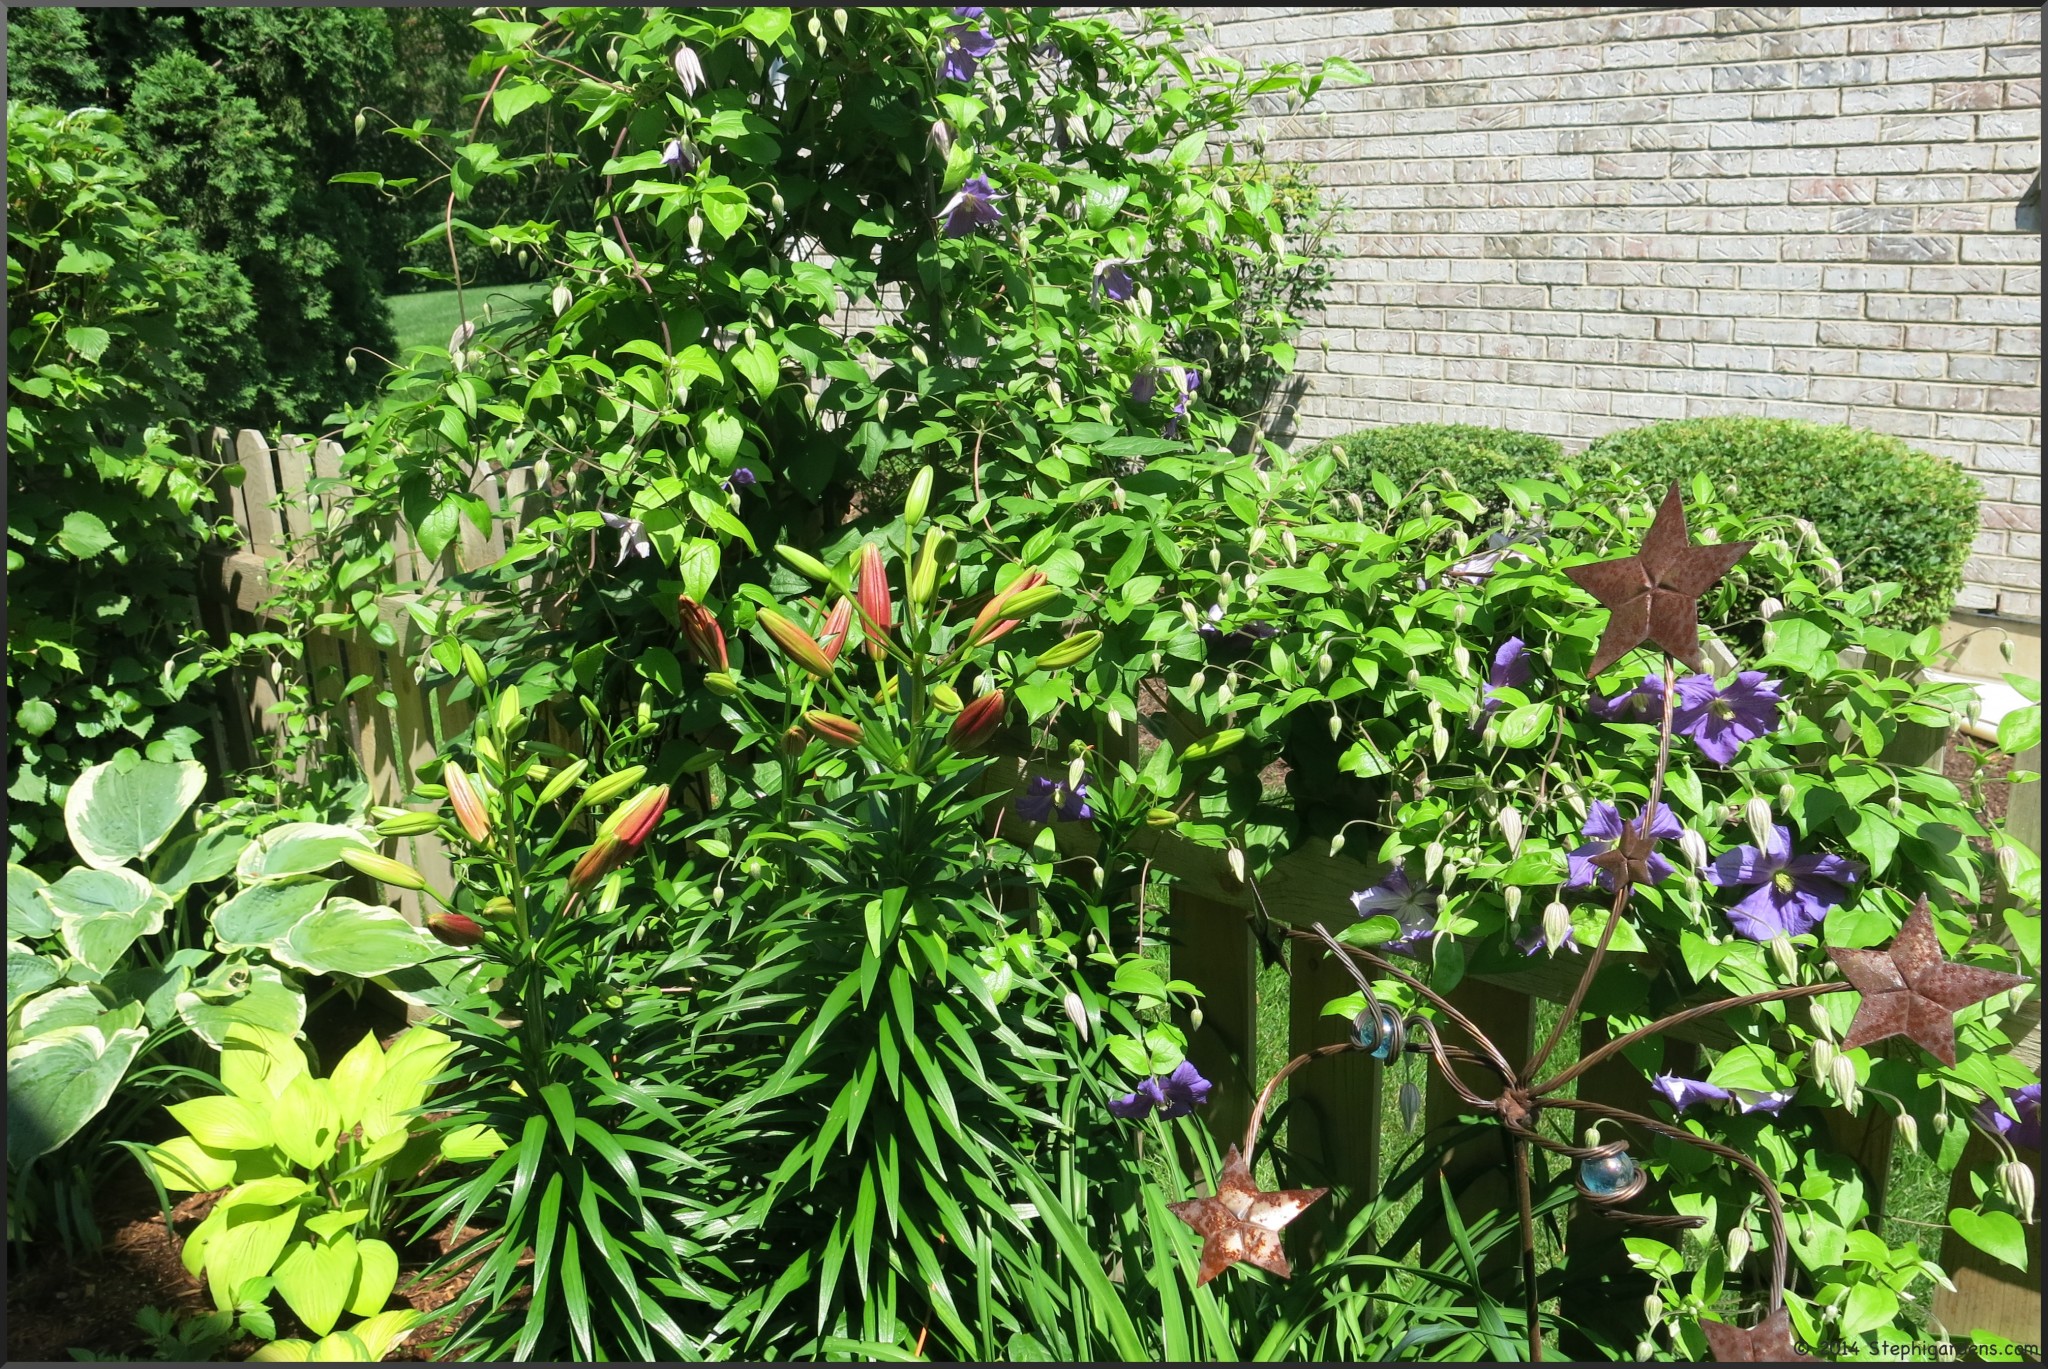
The Purple Rooster Bee Balm is still blooming and attracting bees.   But now the accompanying Jackmanii Clematis and Pardon Me daylilies are also blooming.

Stephi Gardens


Stephi Gardens


daylilies and Russian sage

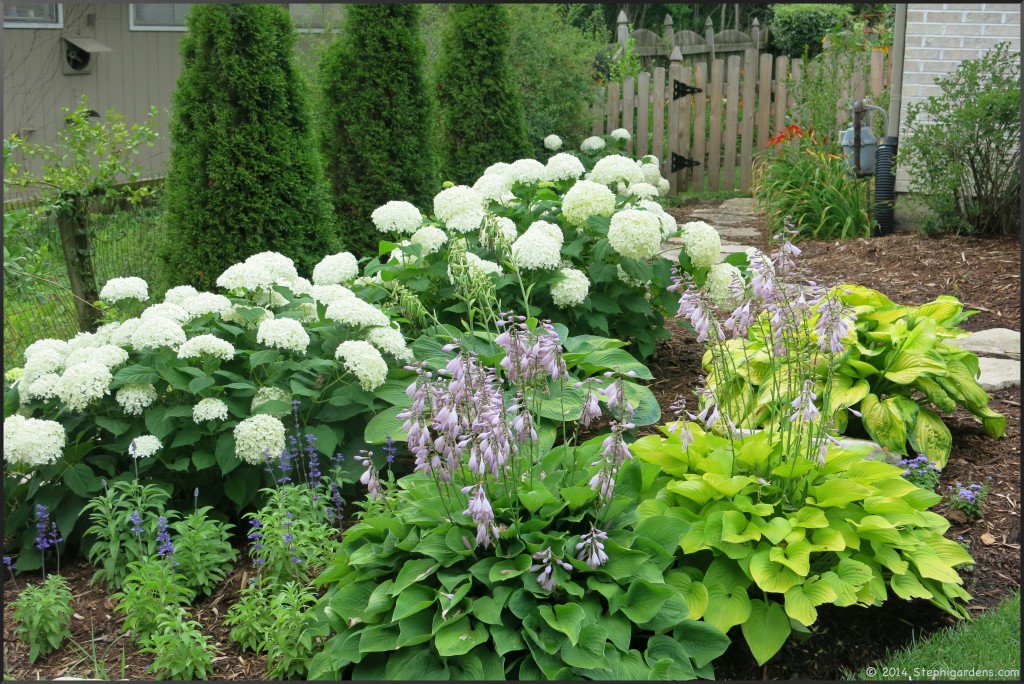
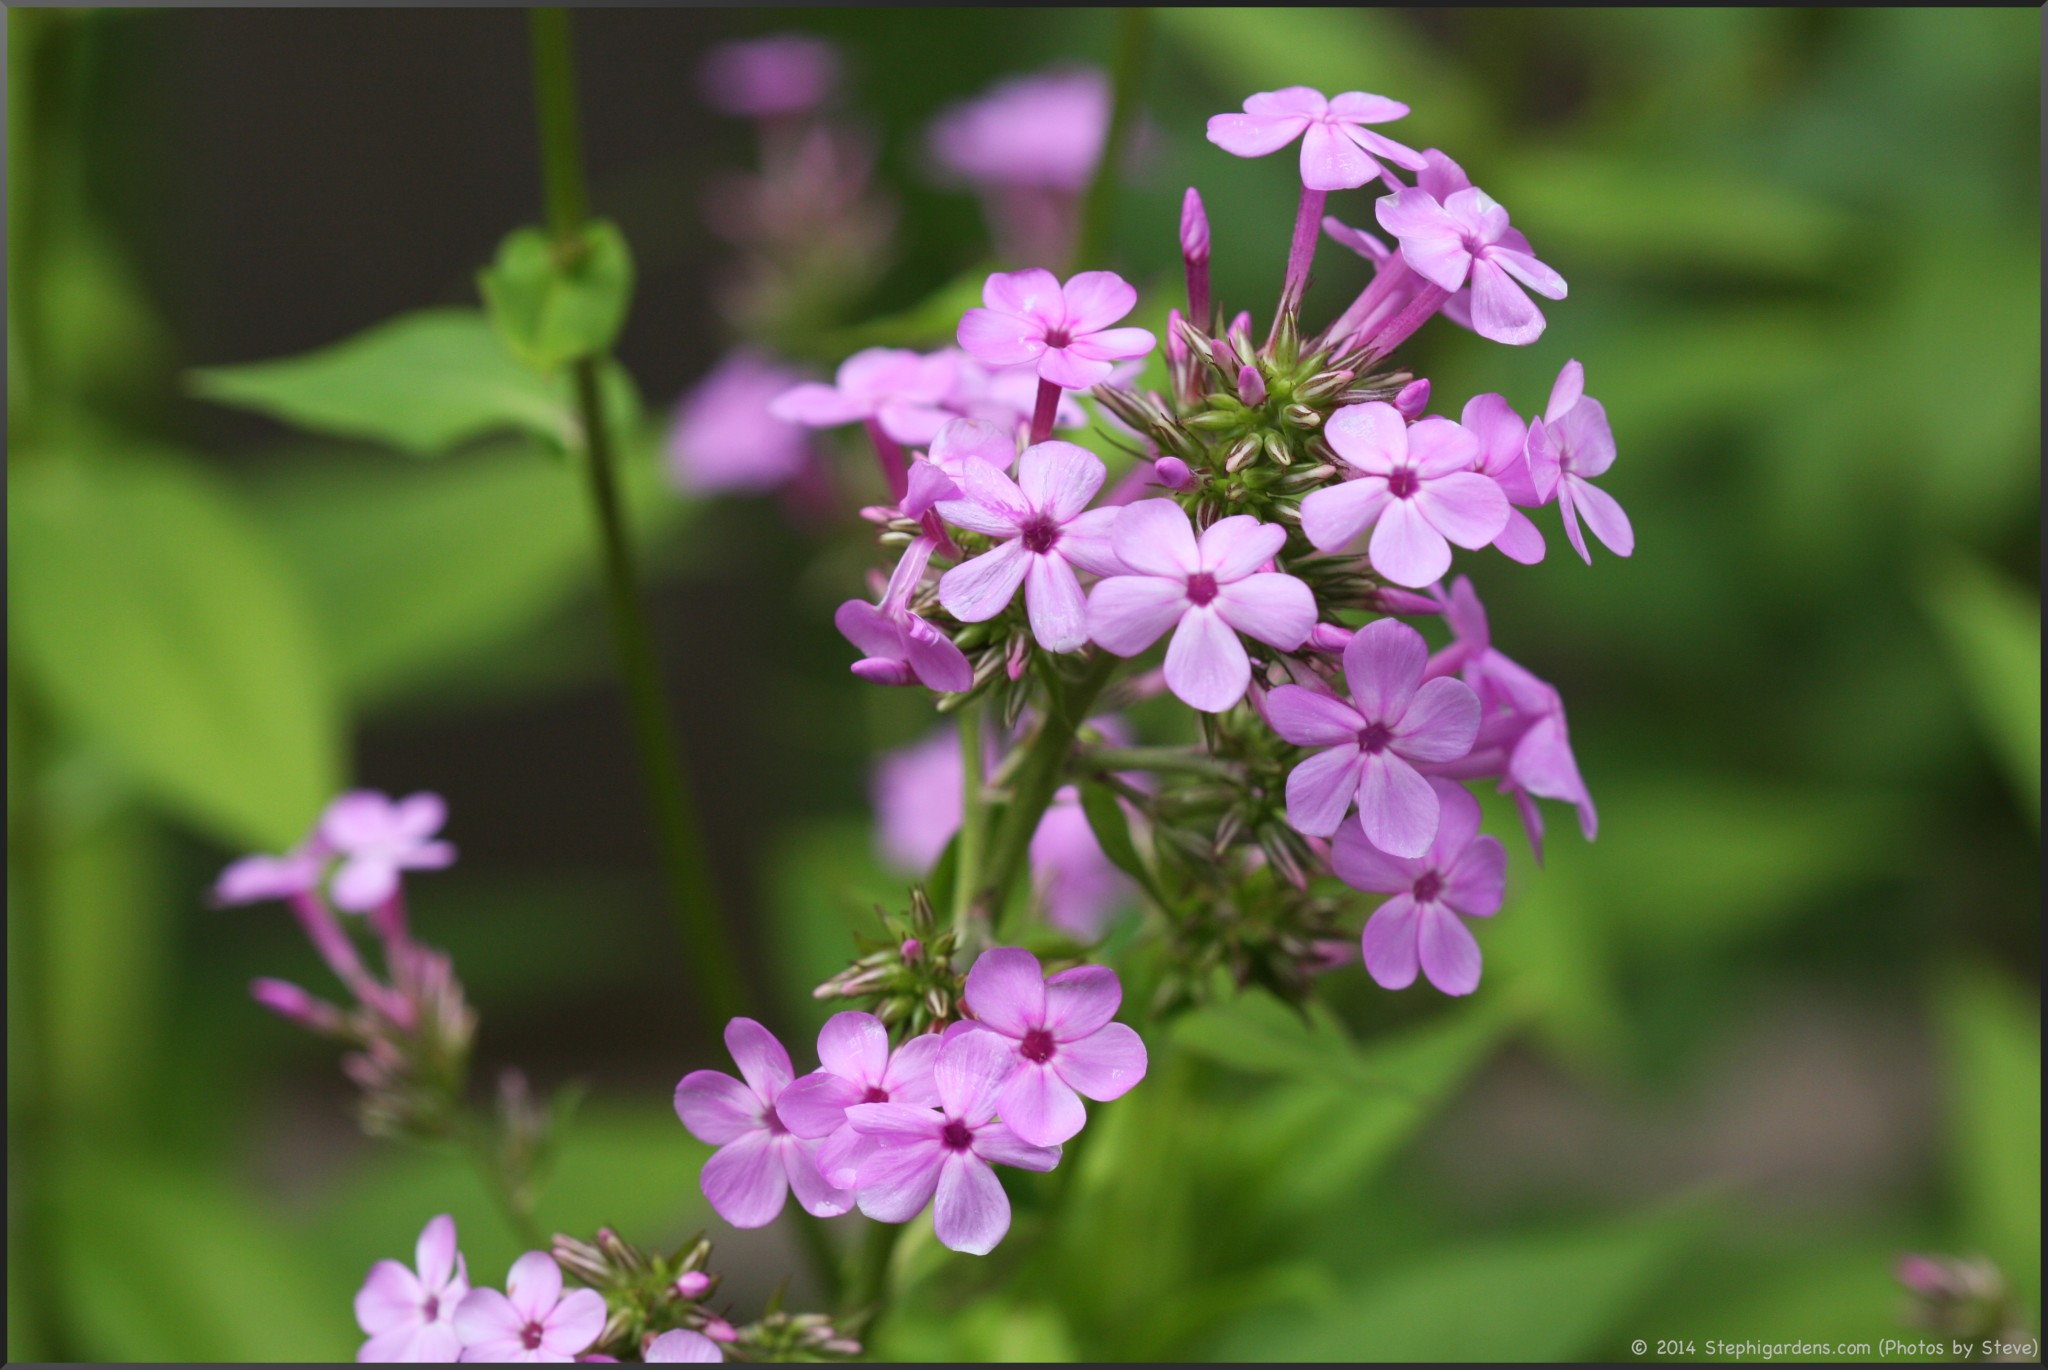
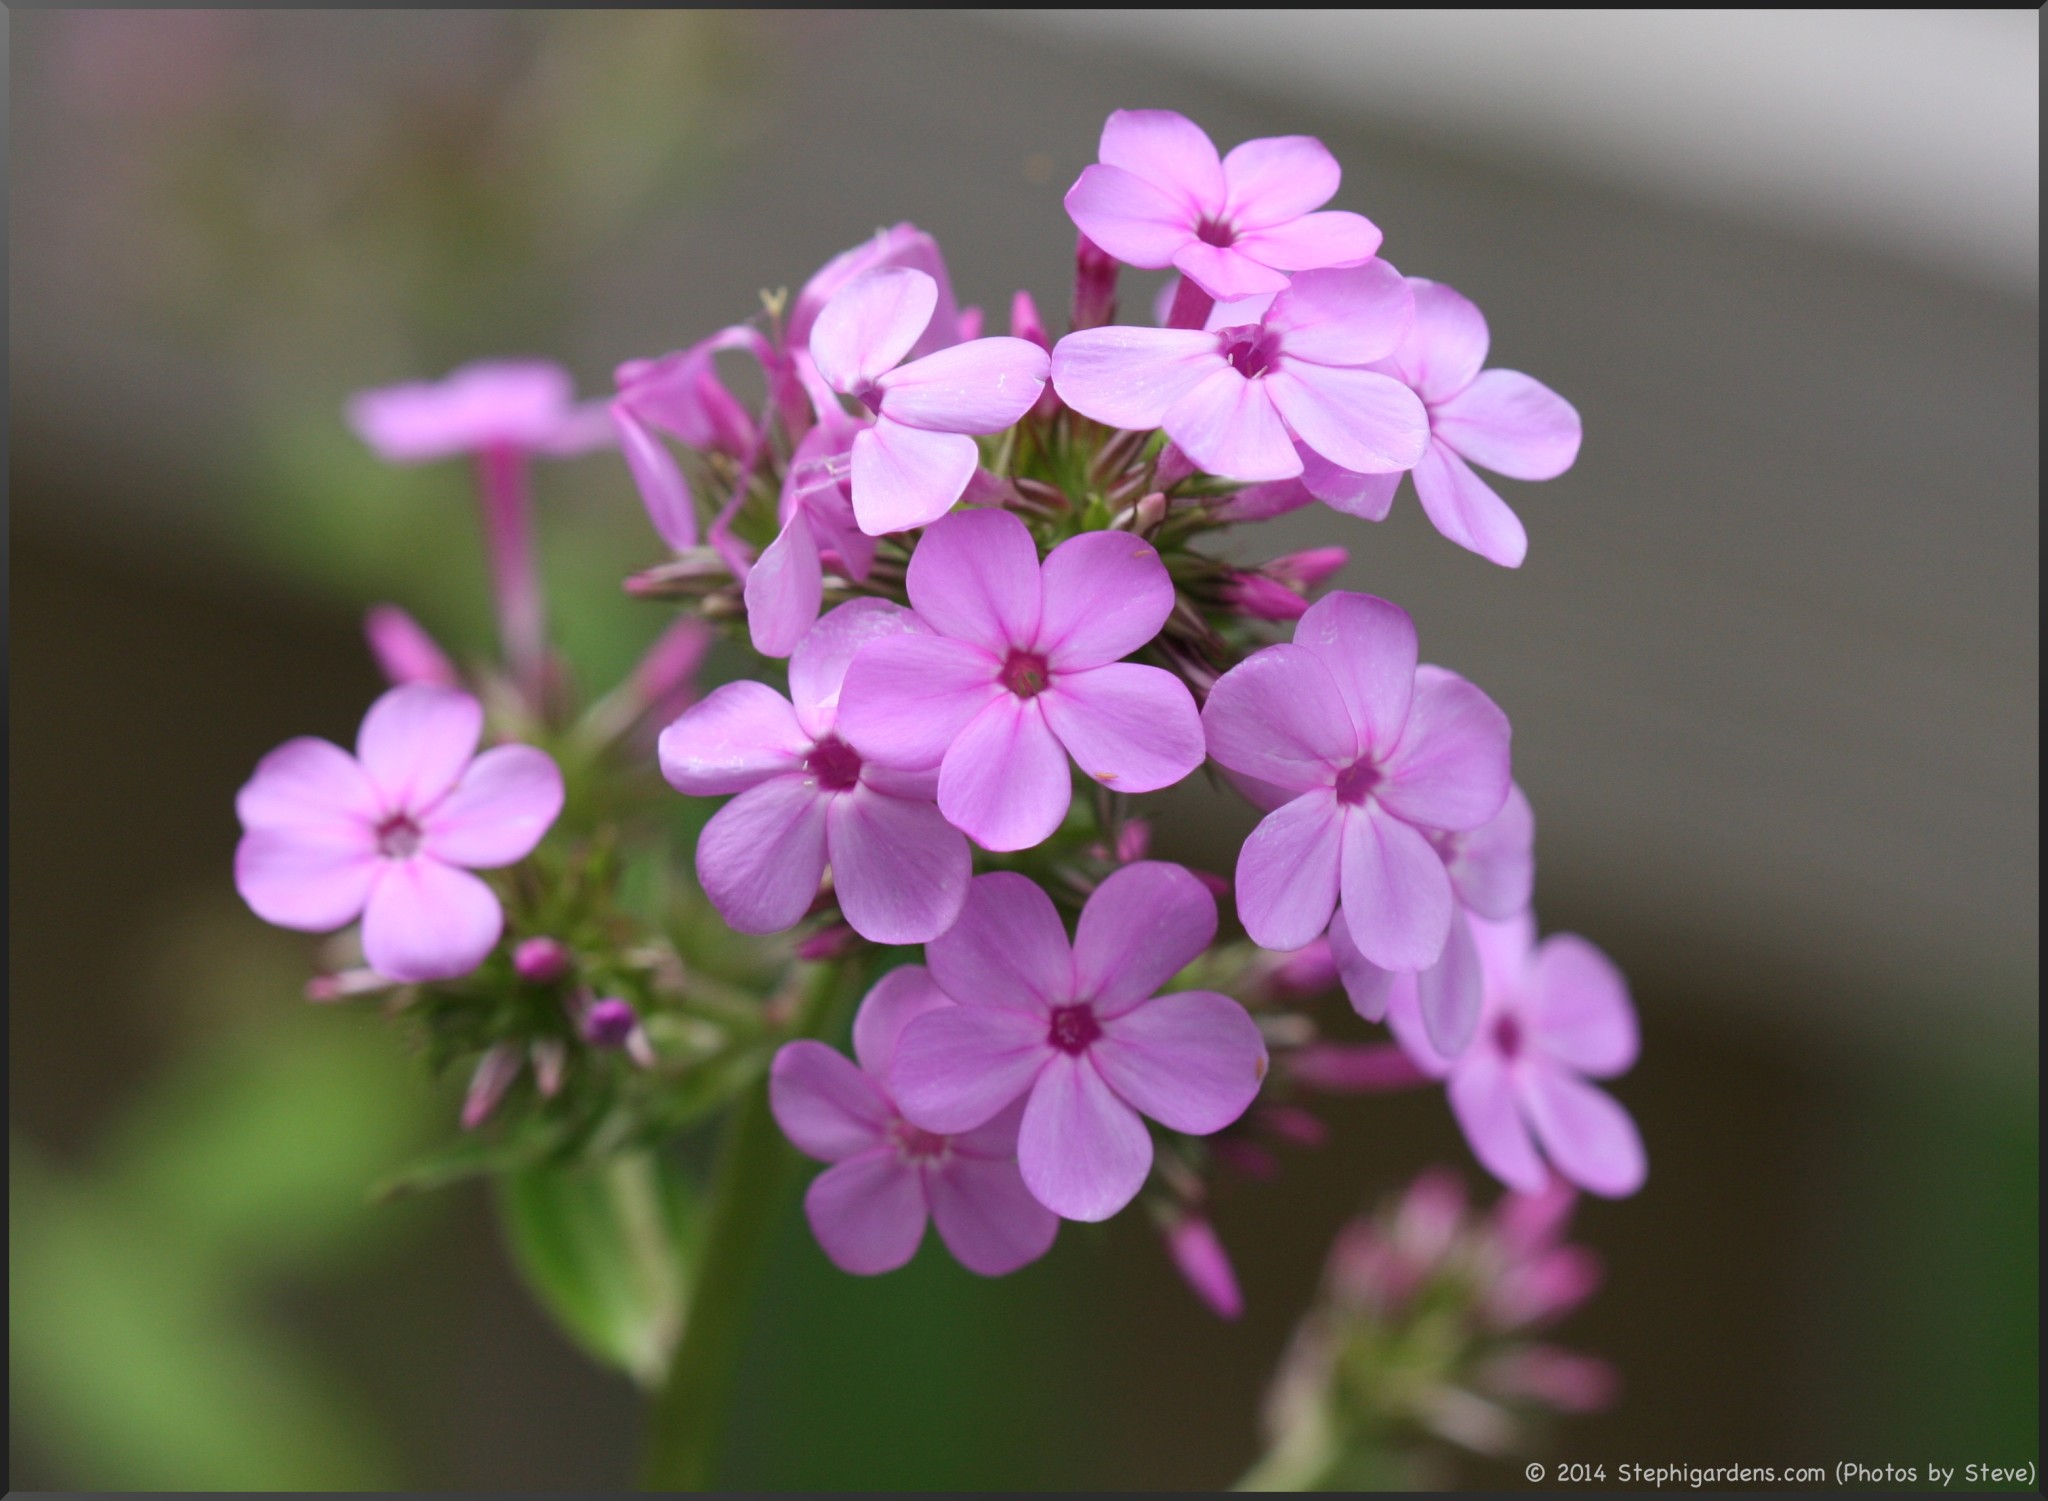
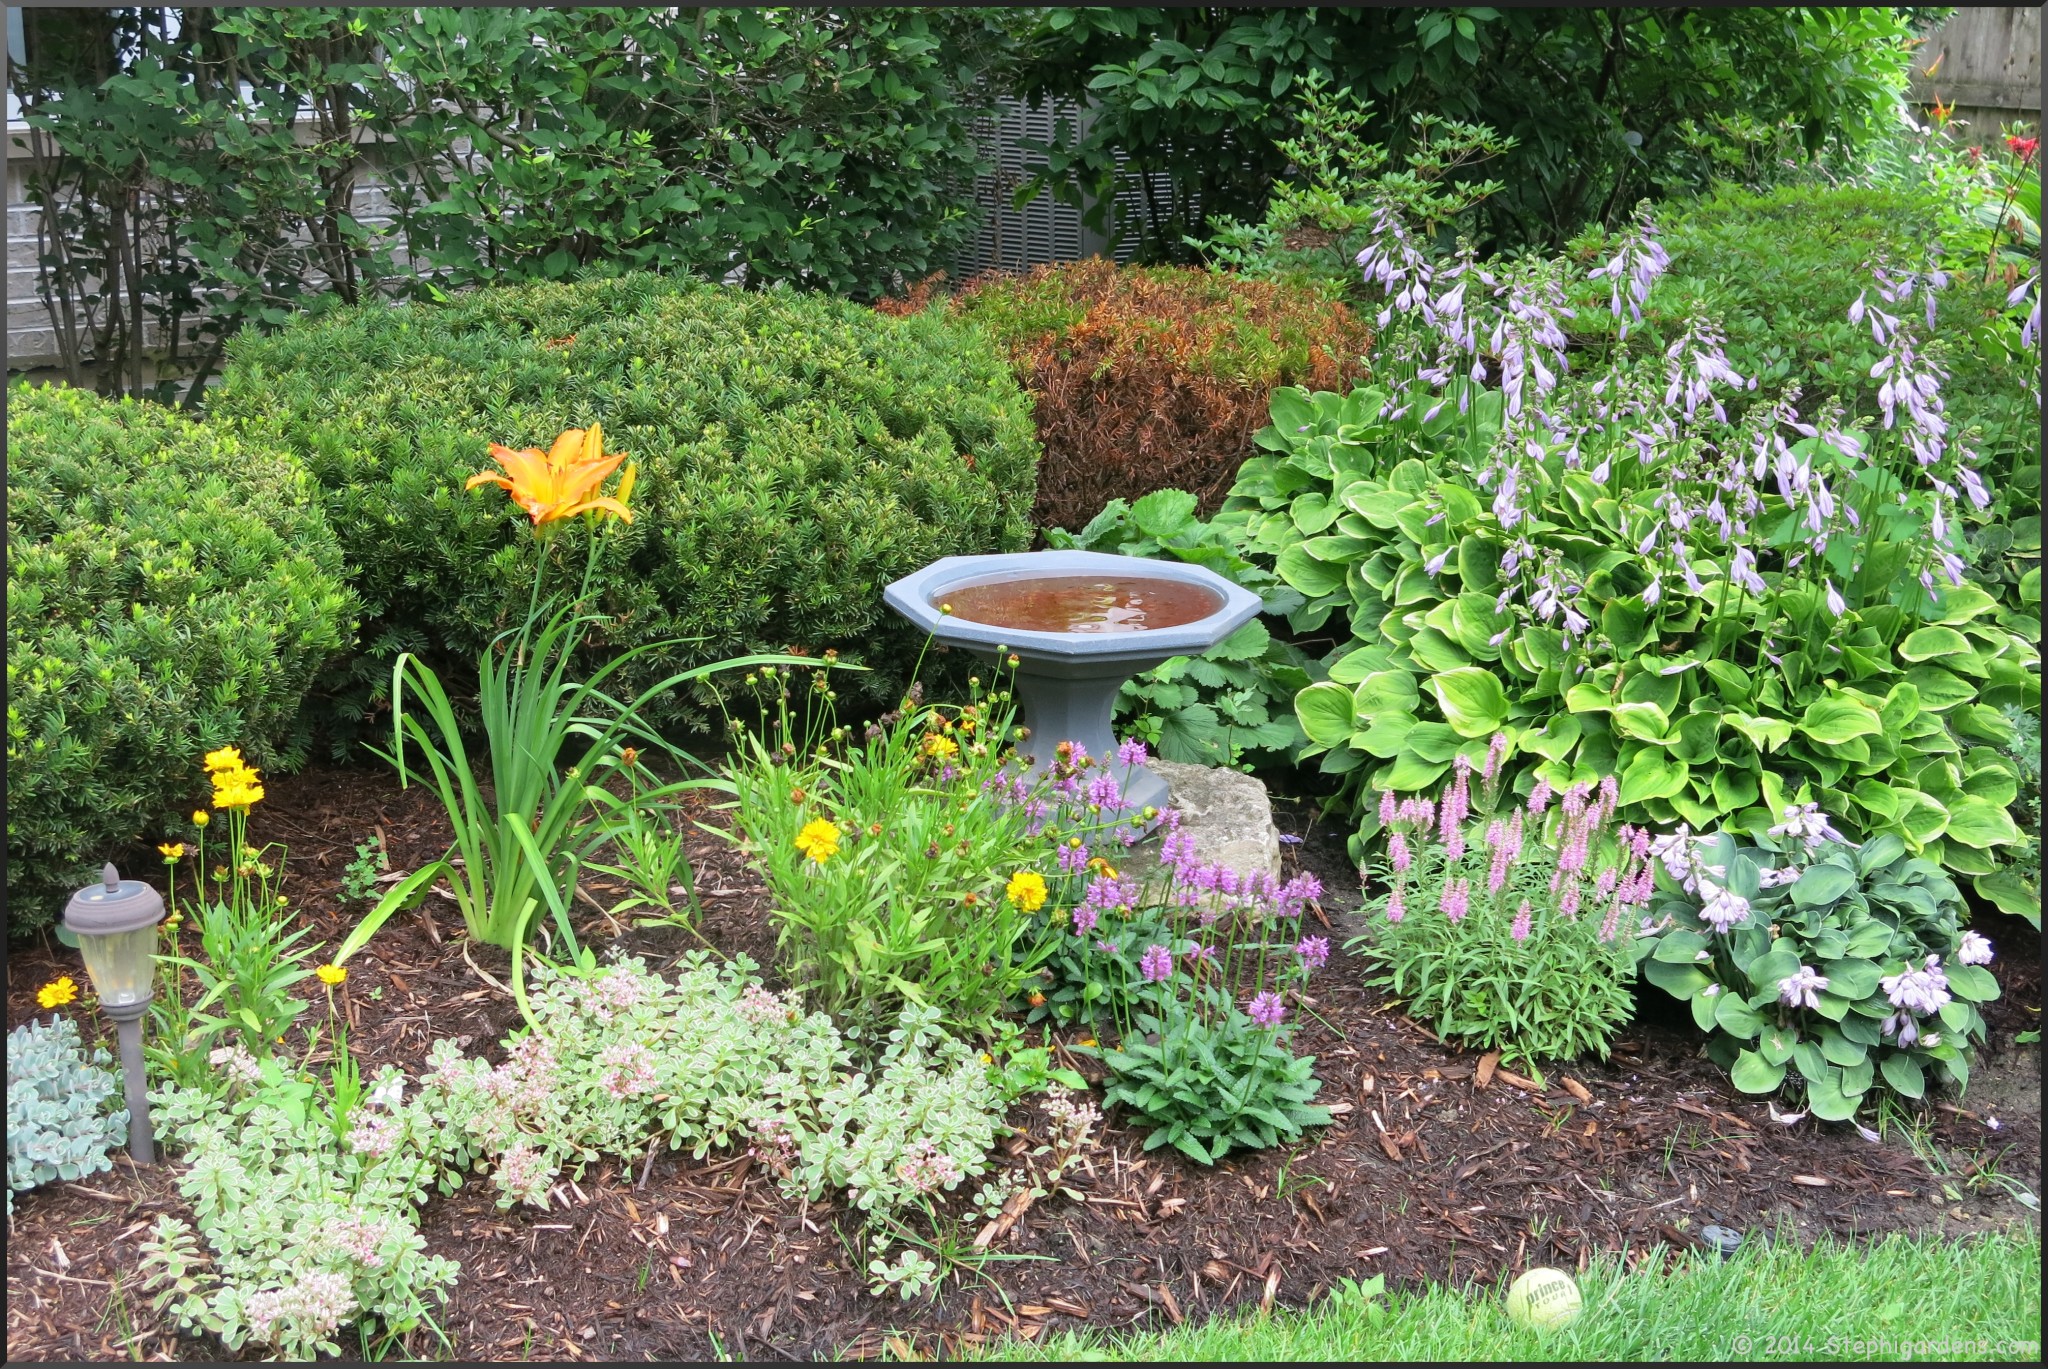
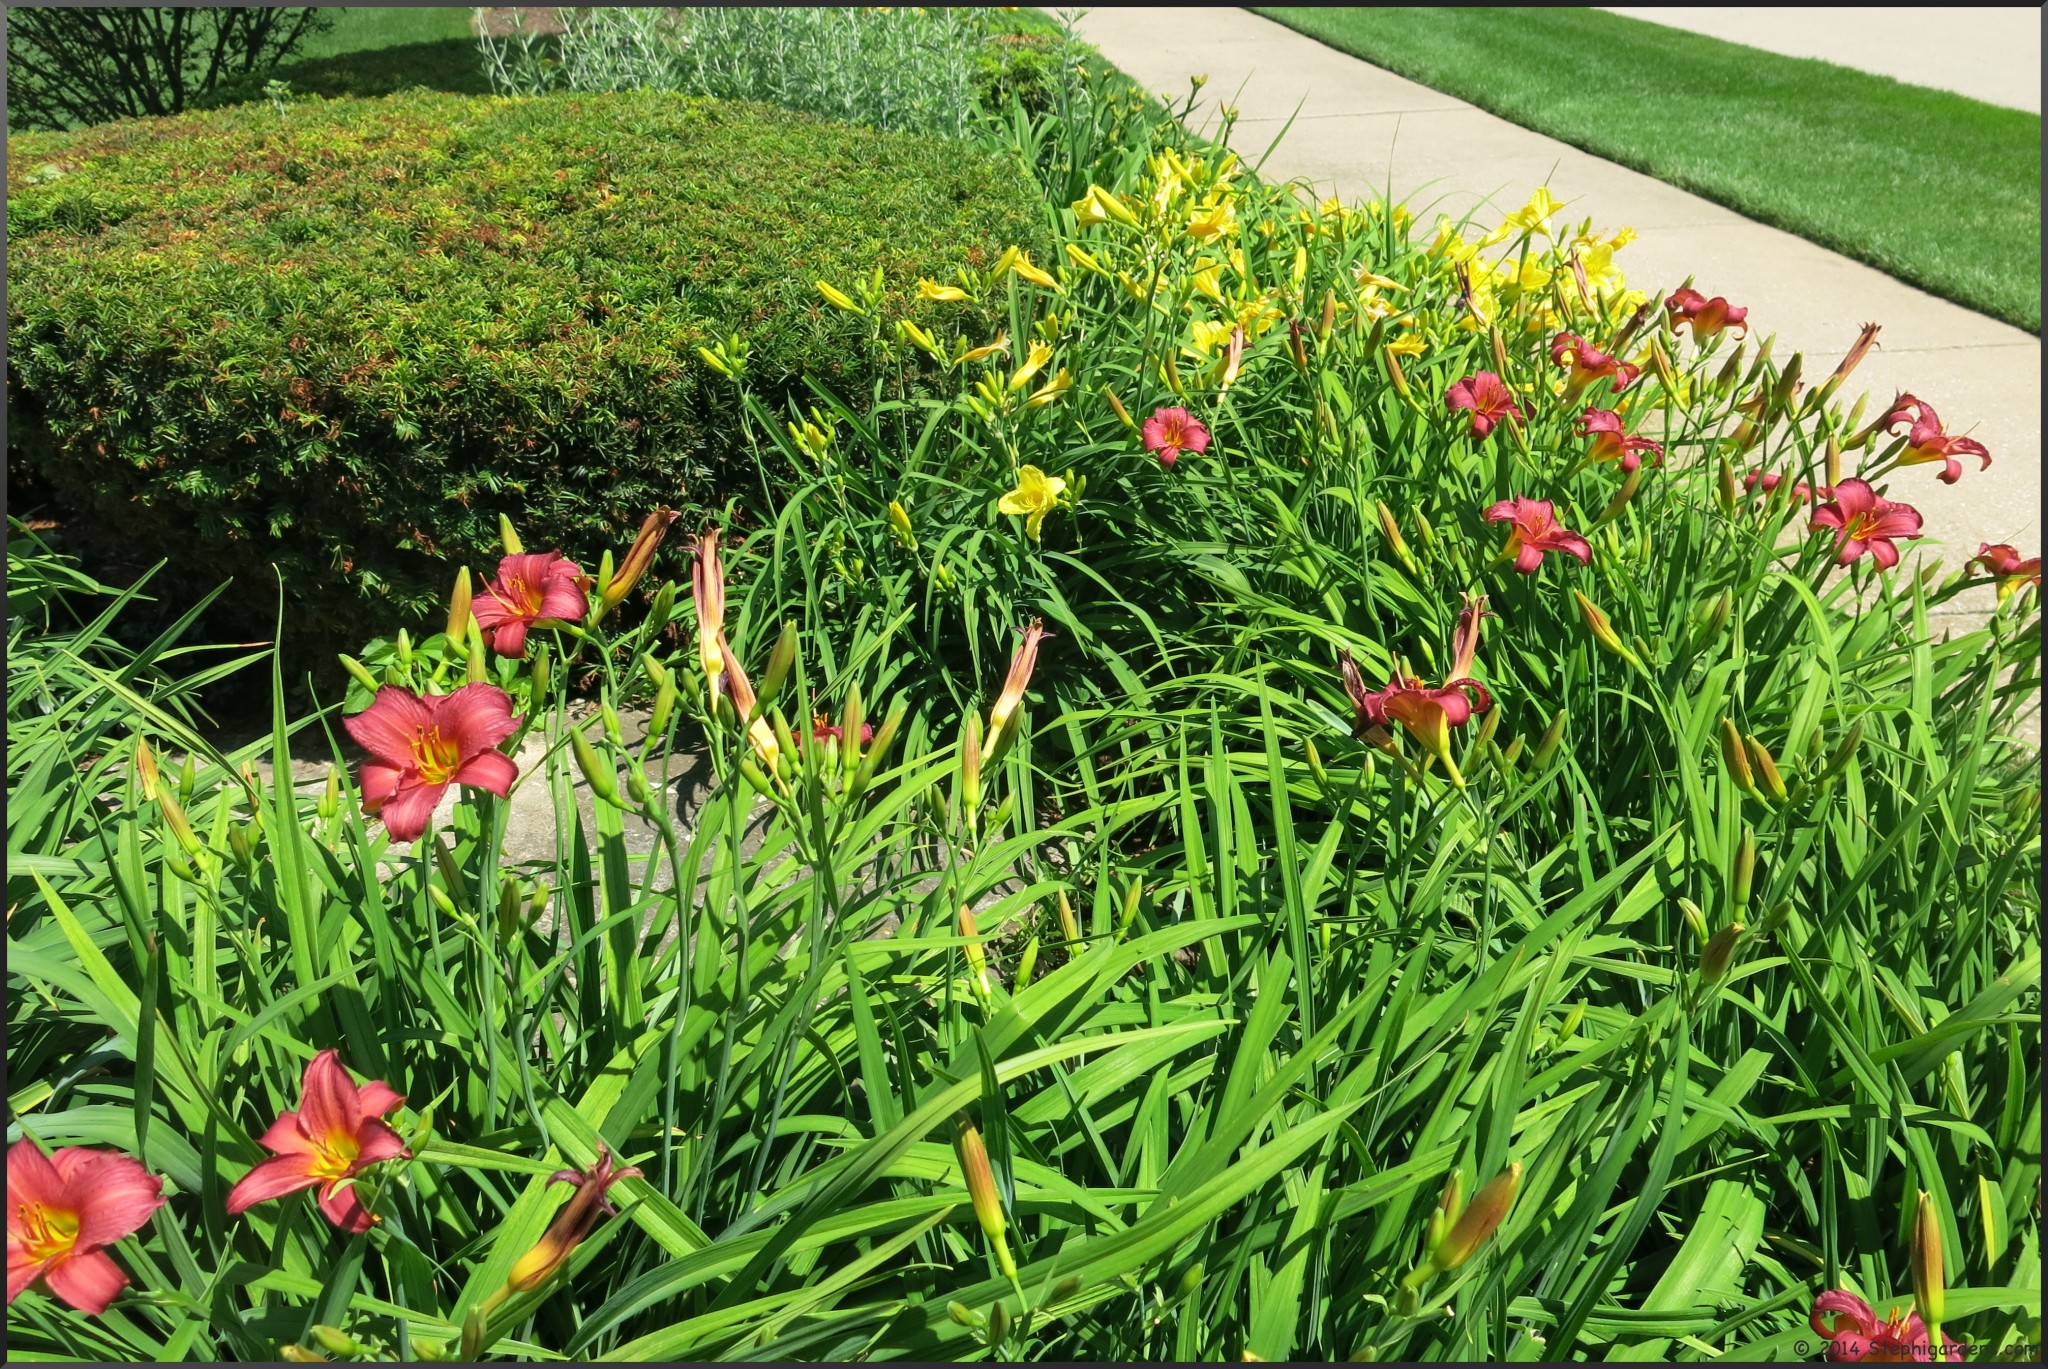
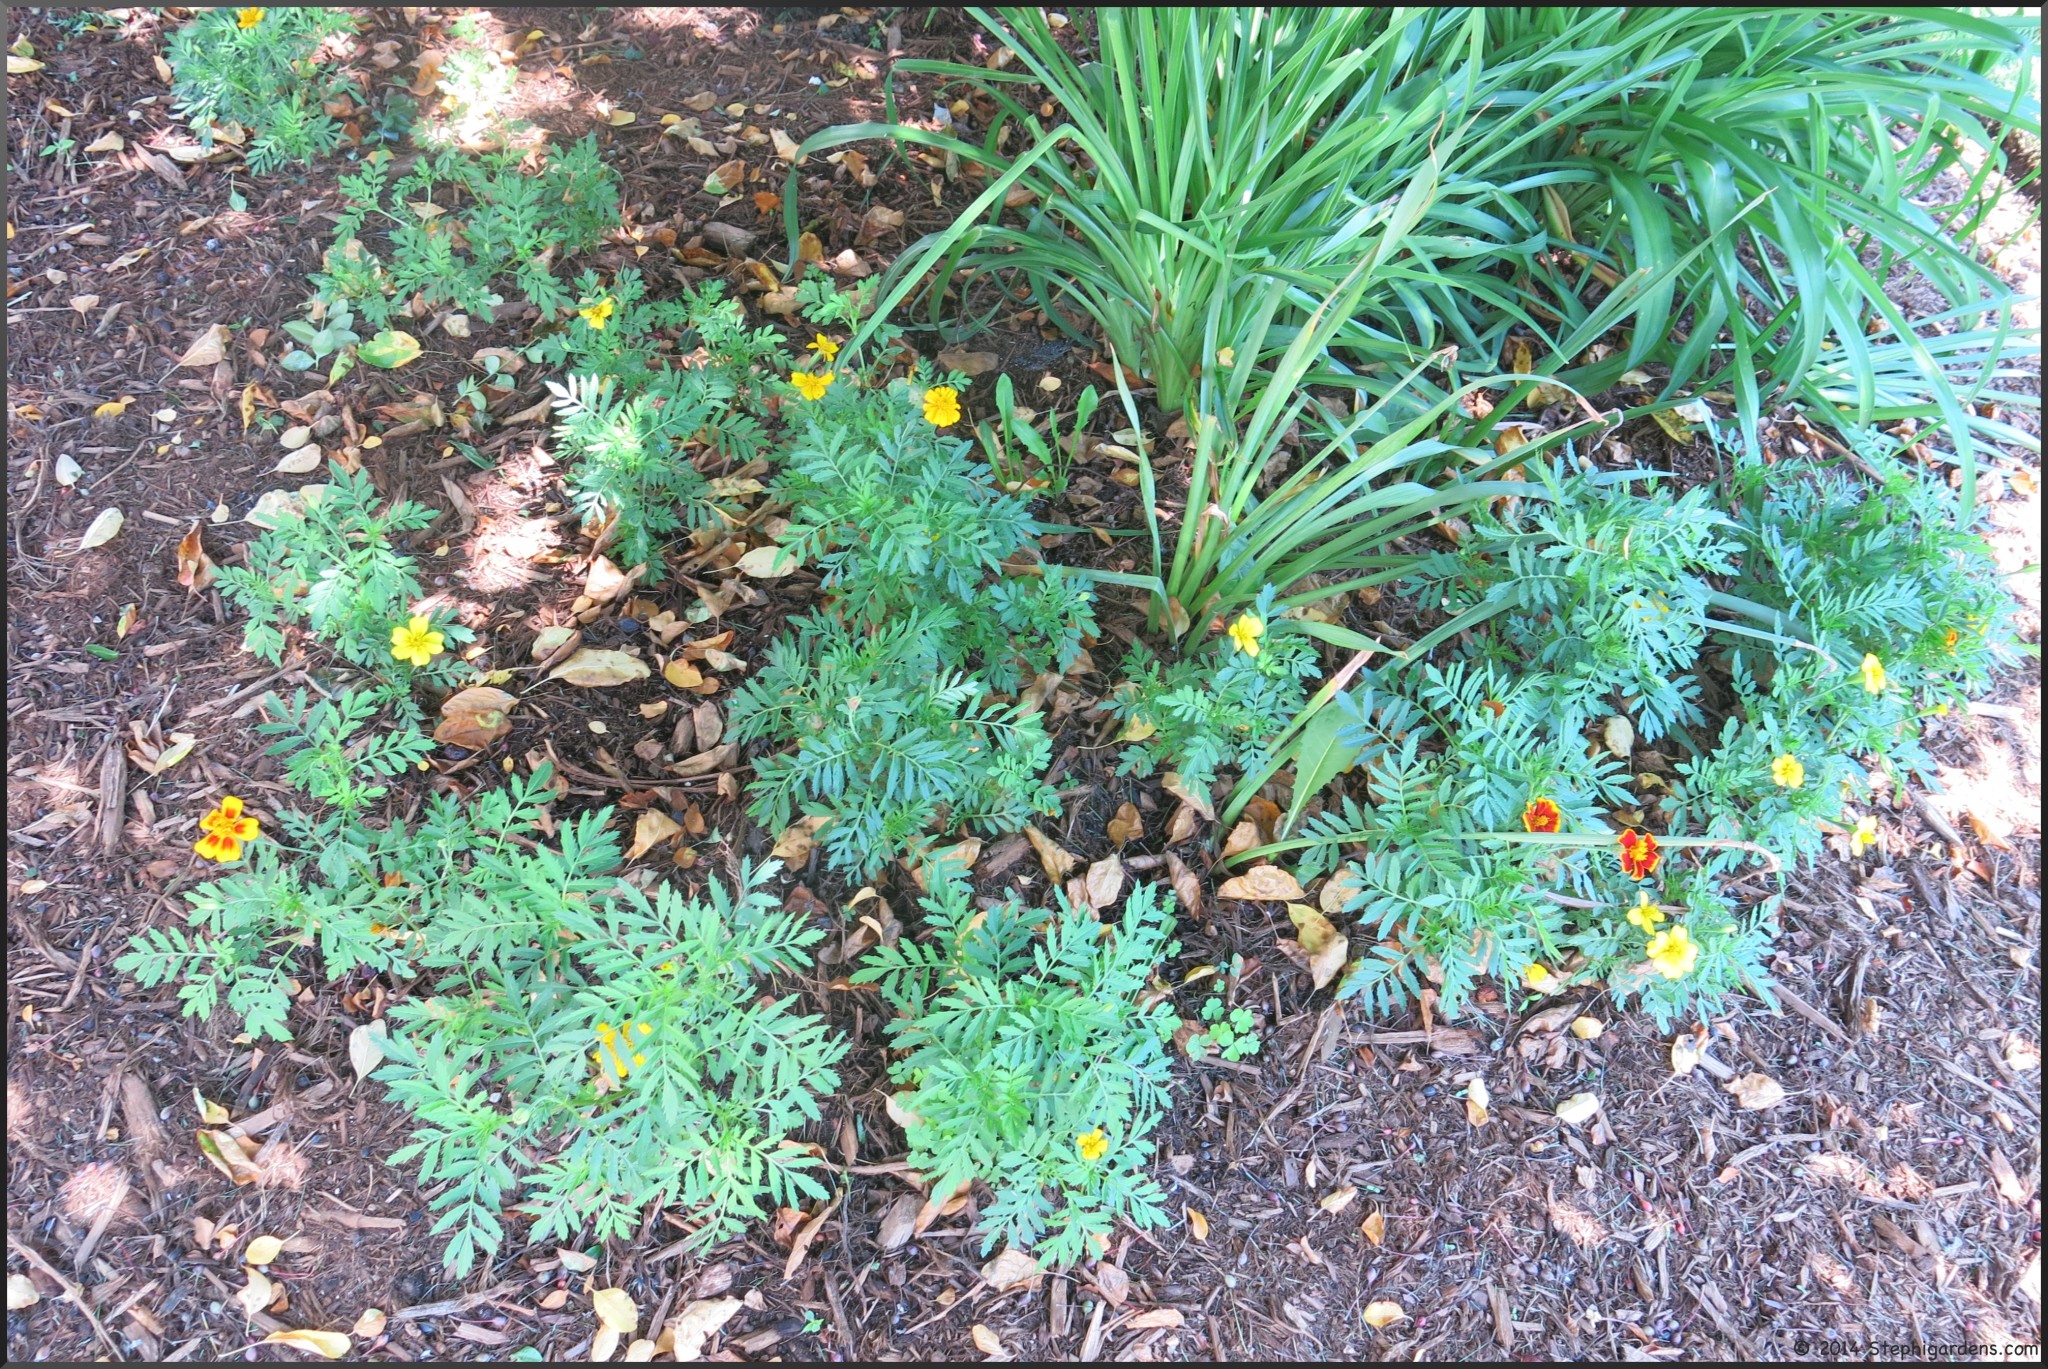
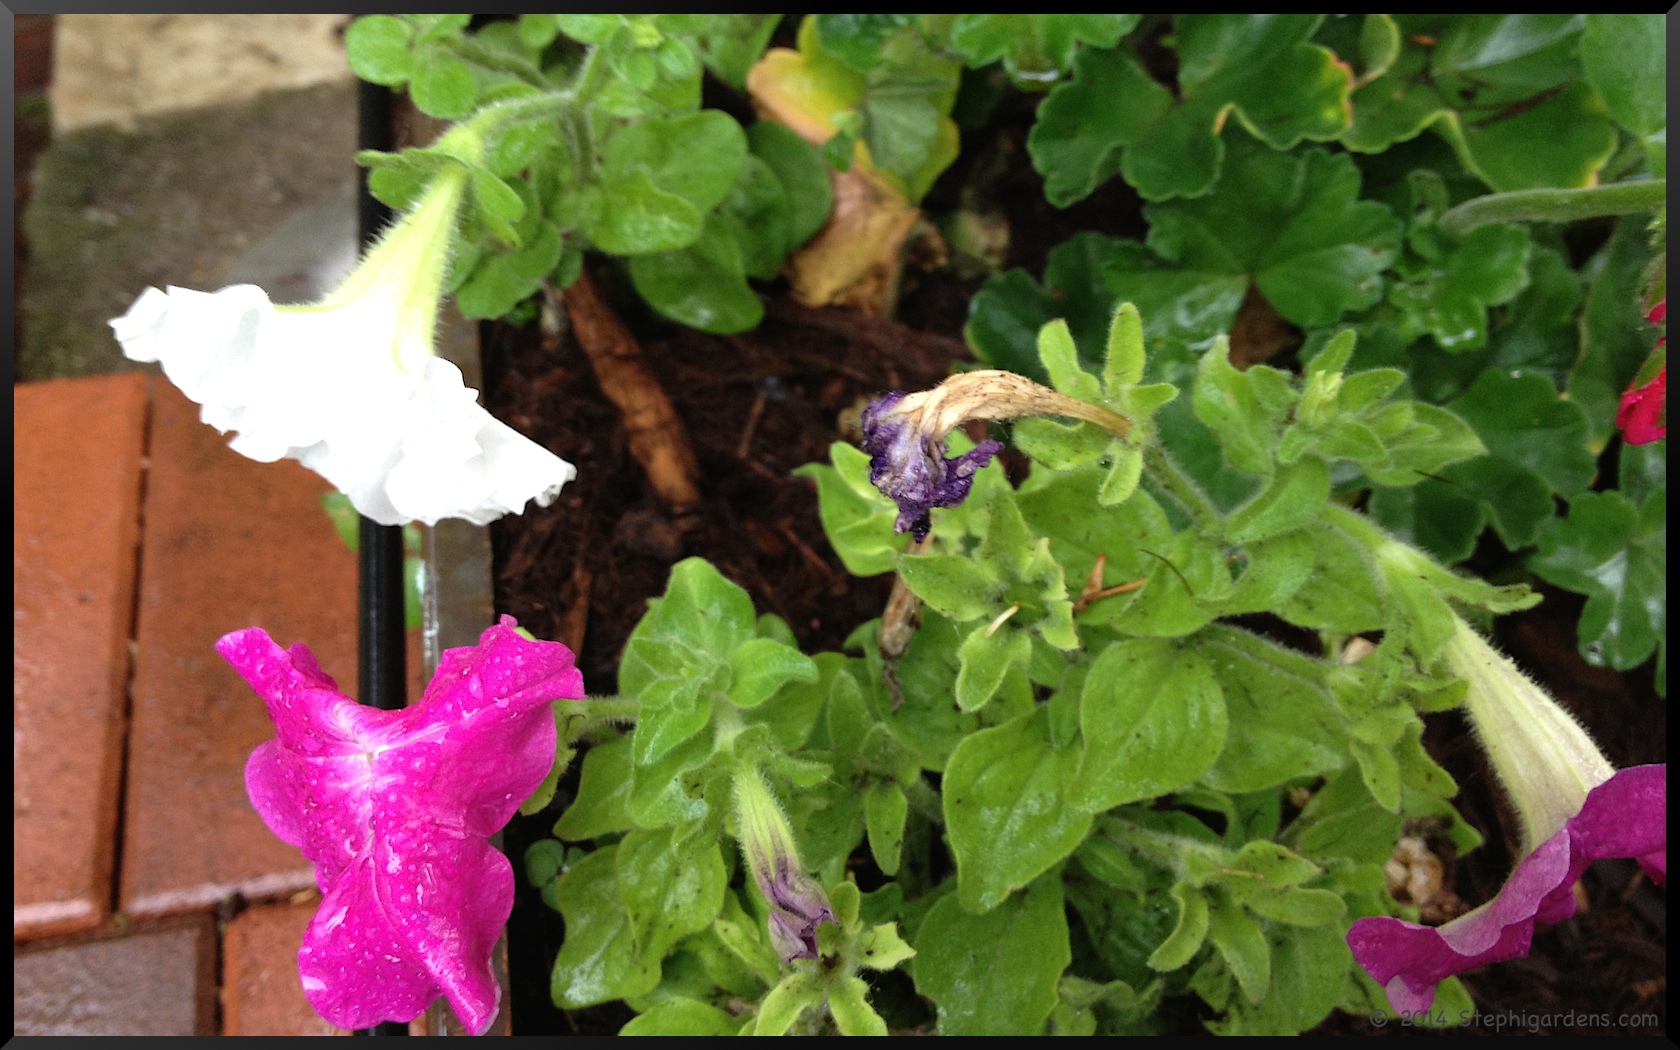
With all the rain , this garden is doing well despite the change from full shade to full sun.

annabelle hydrangea

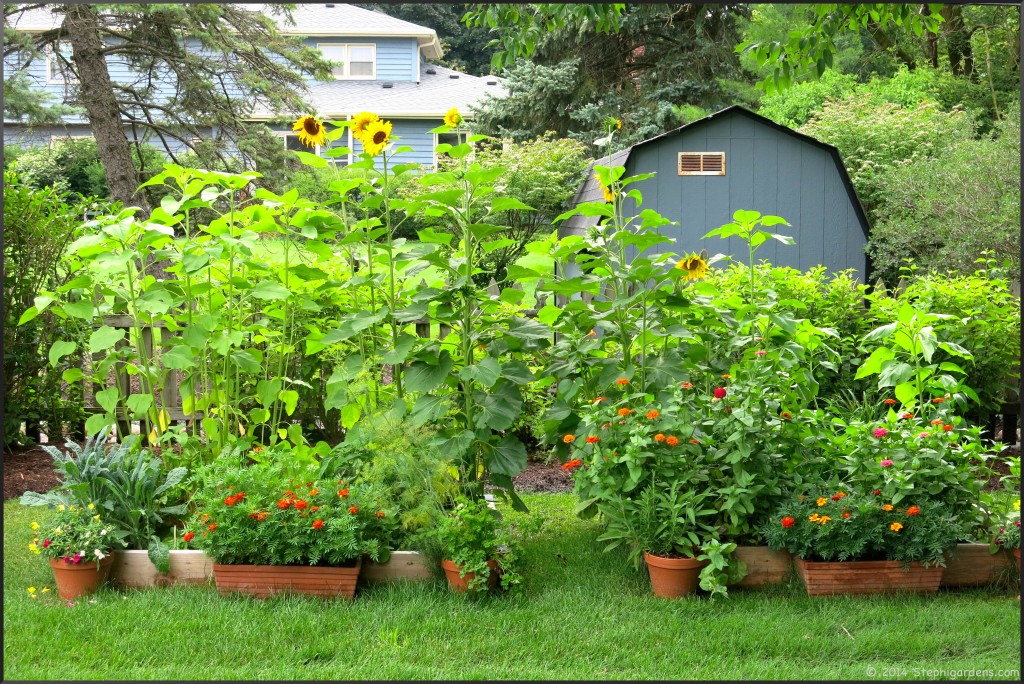
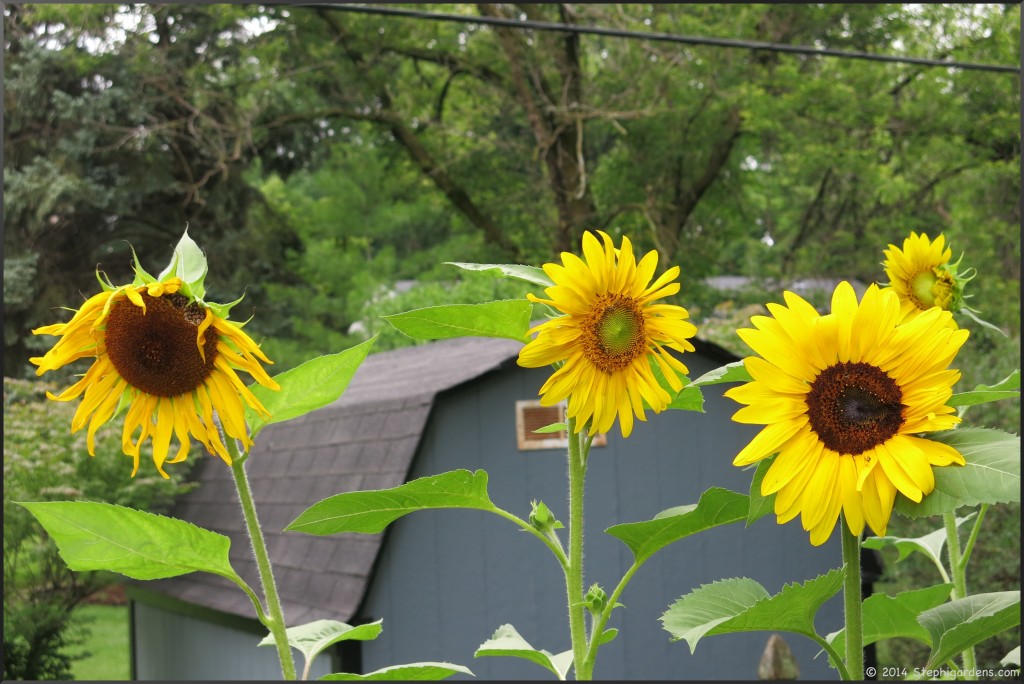
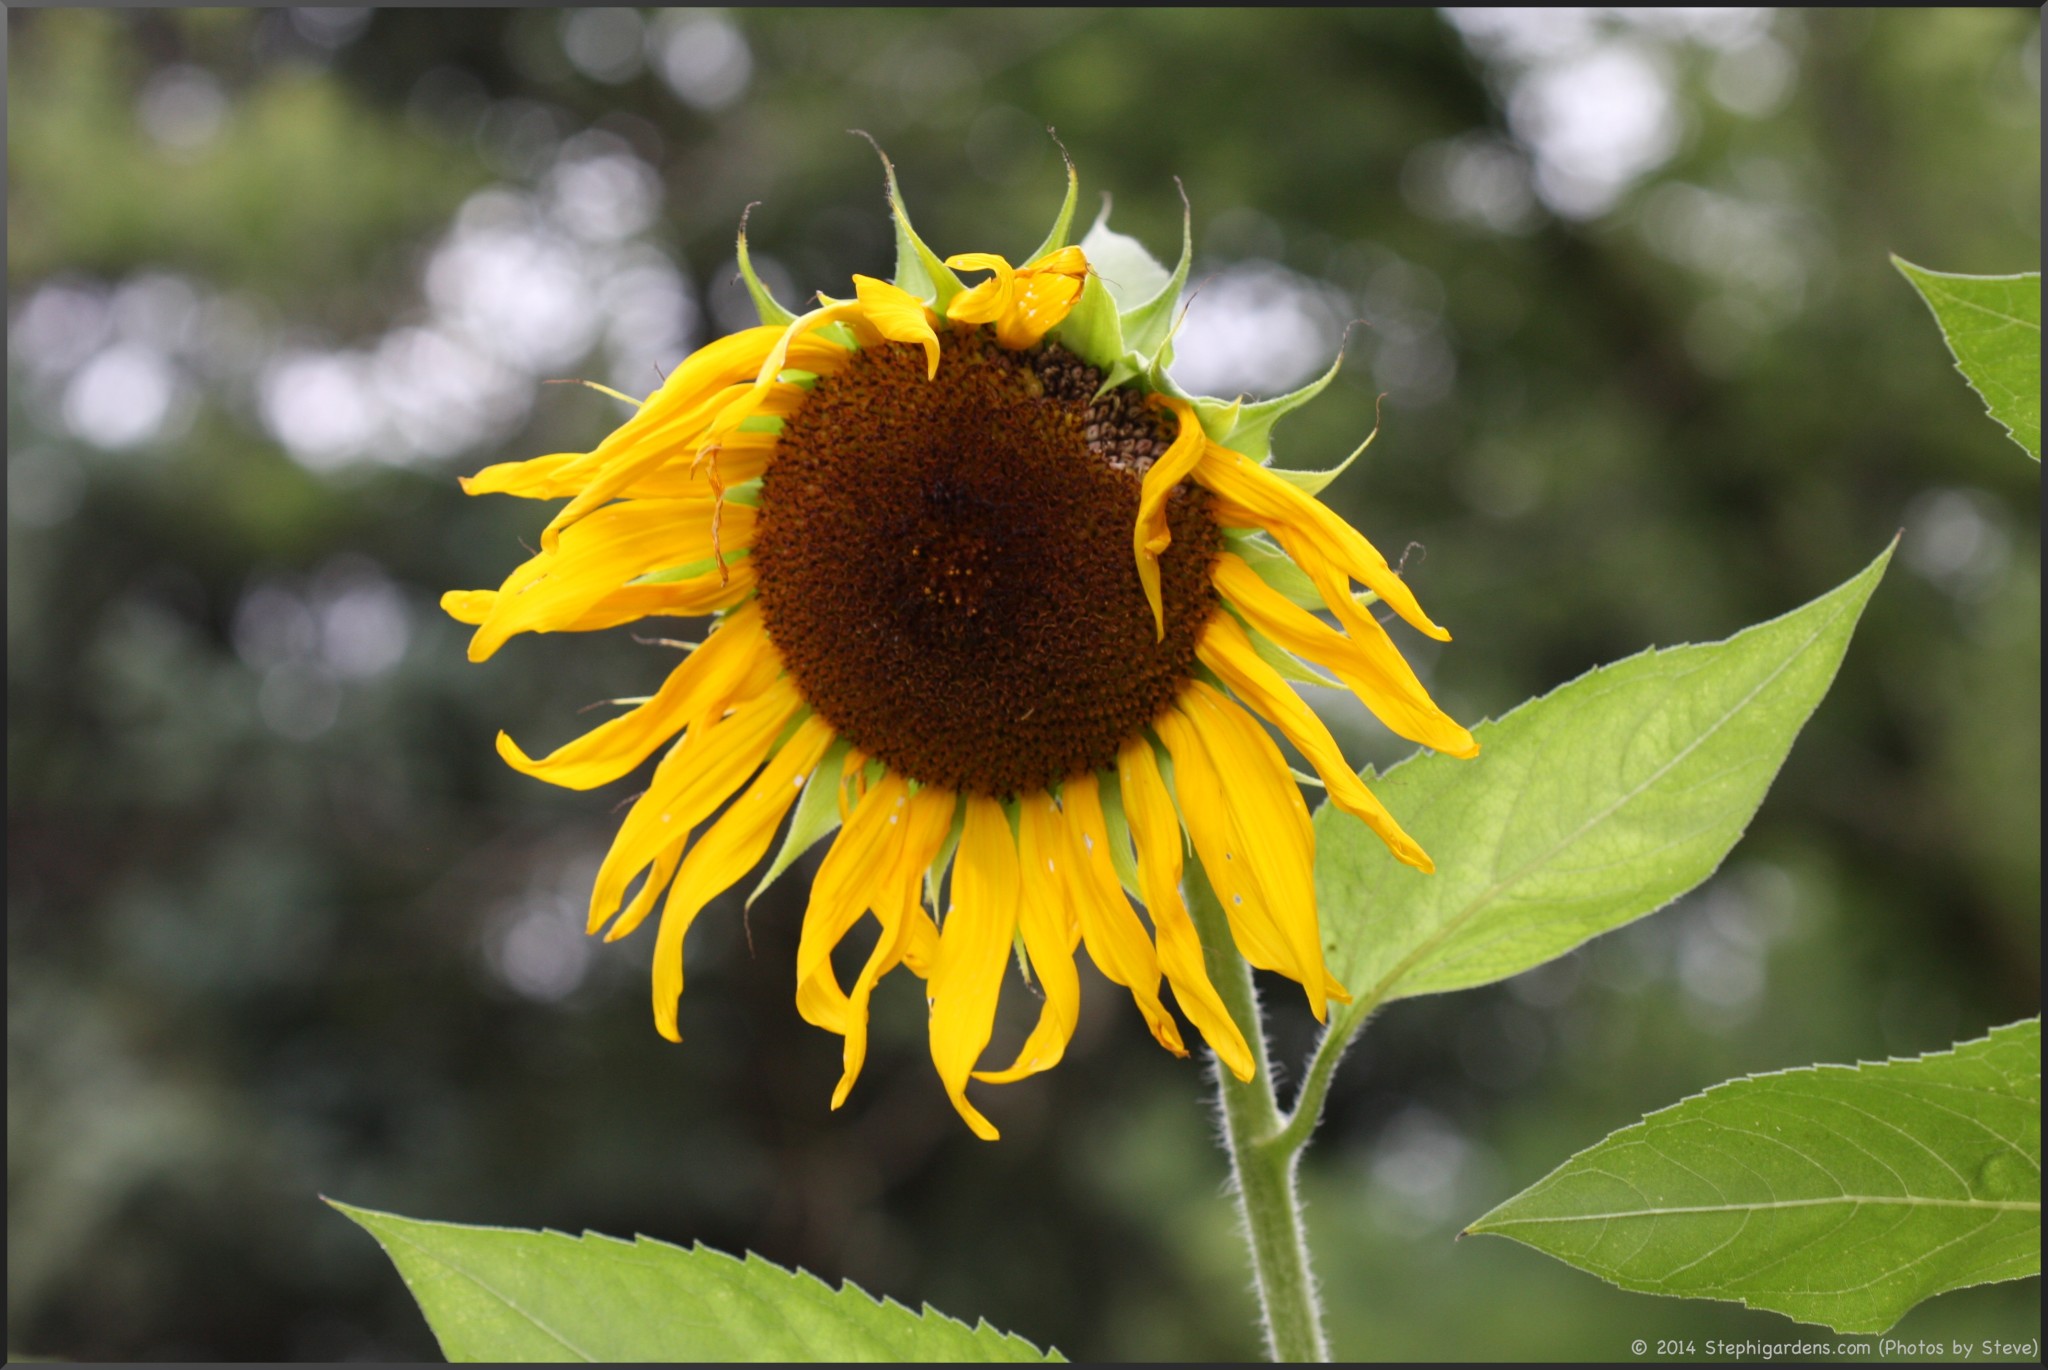
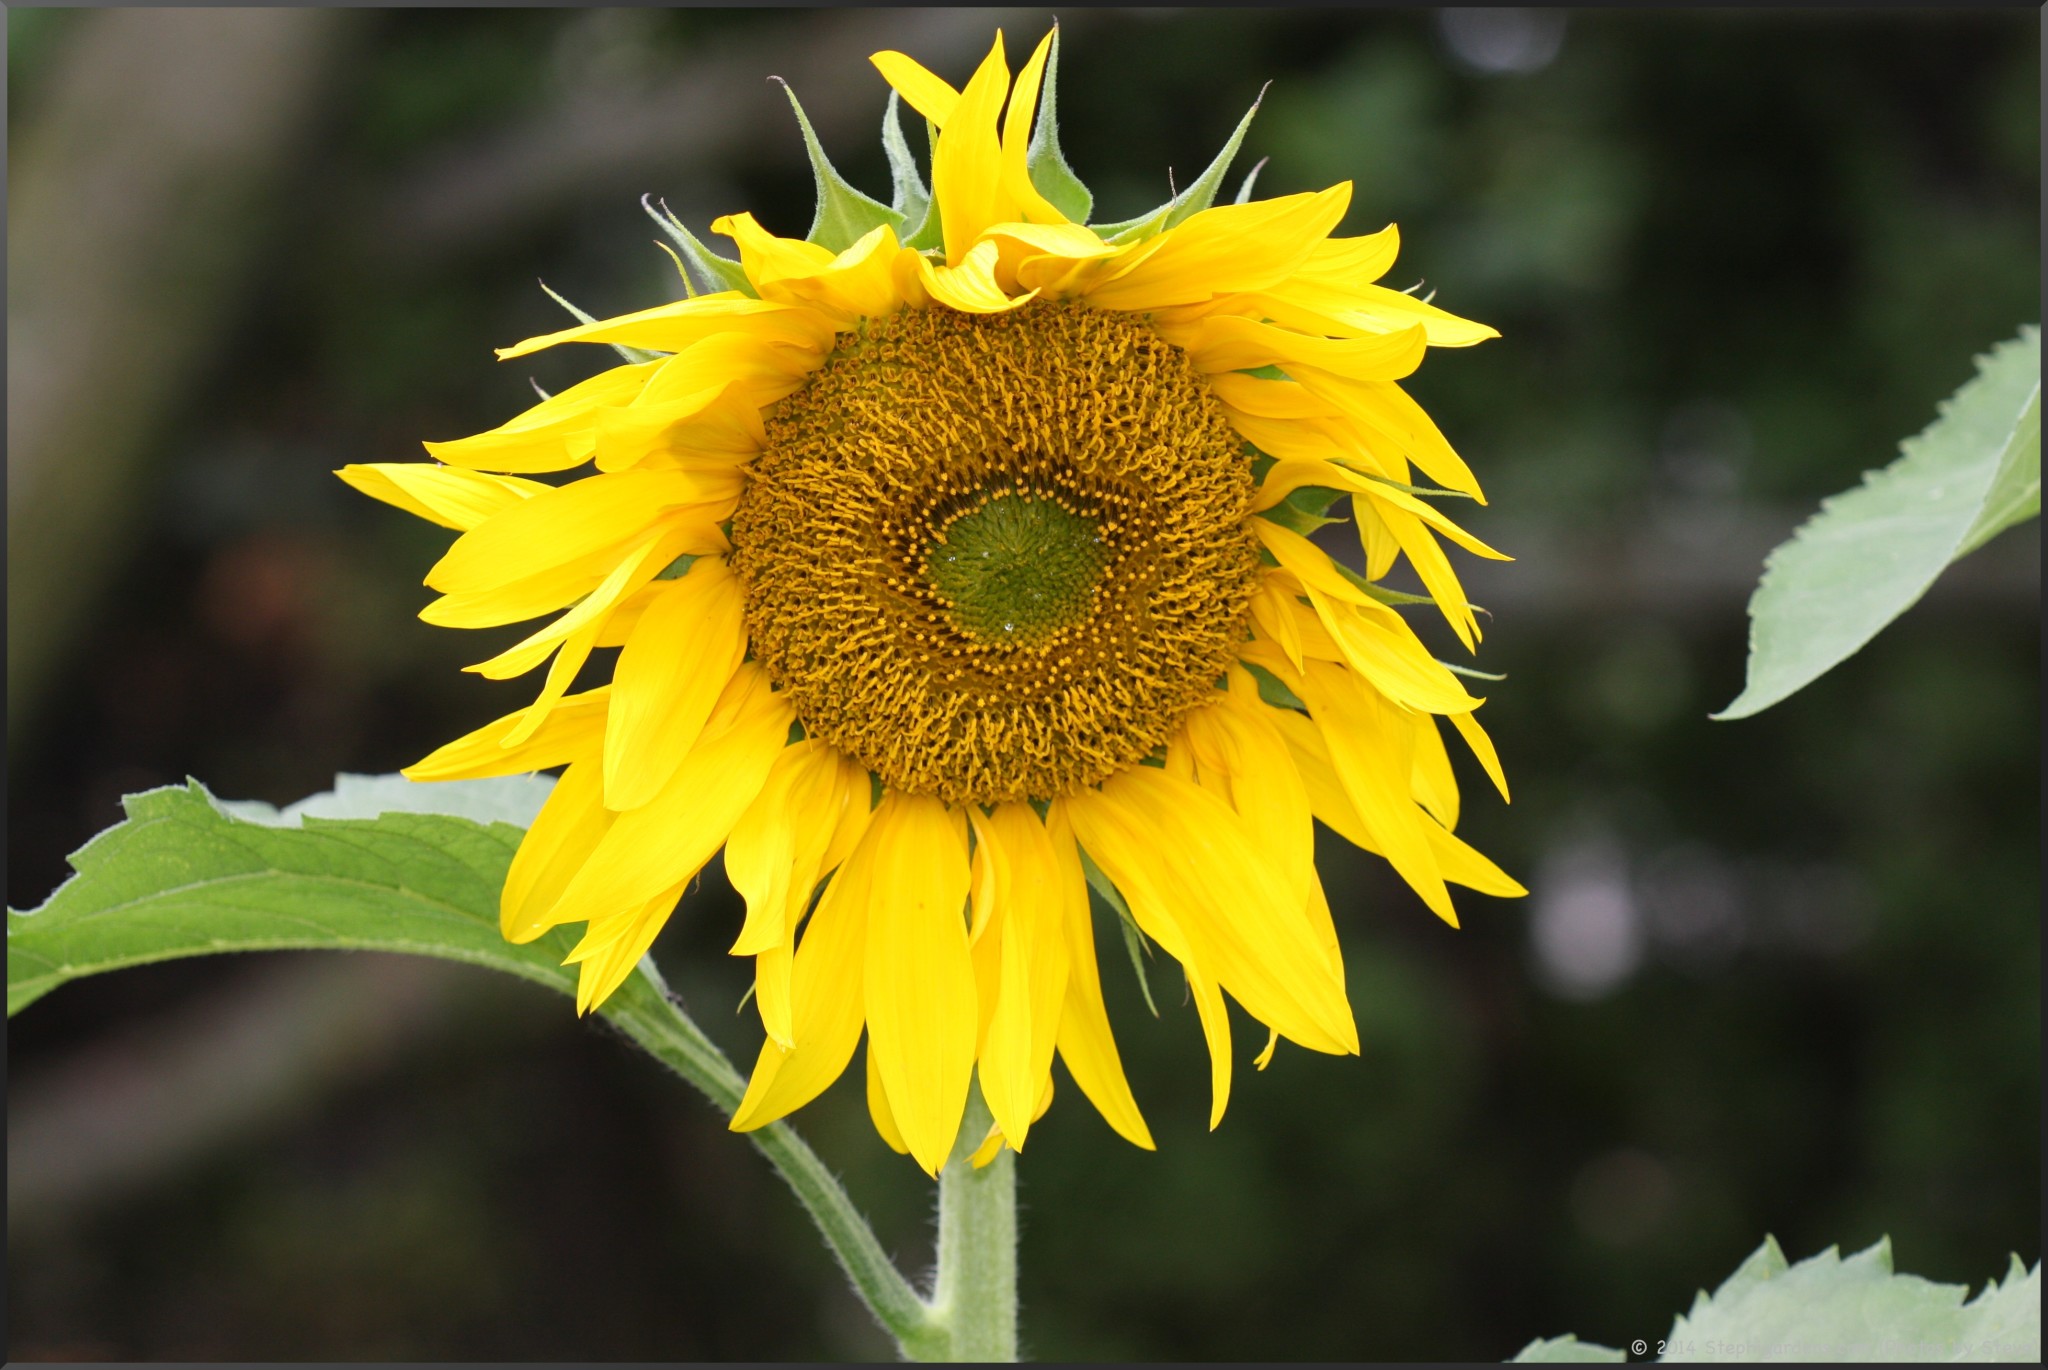
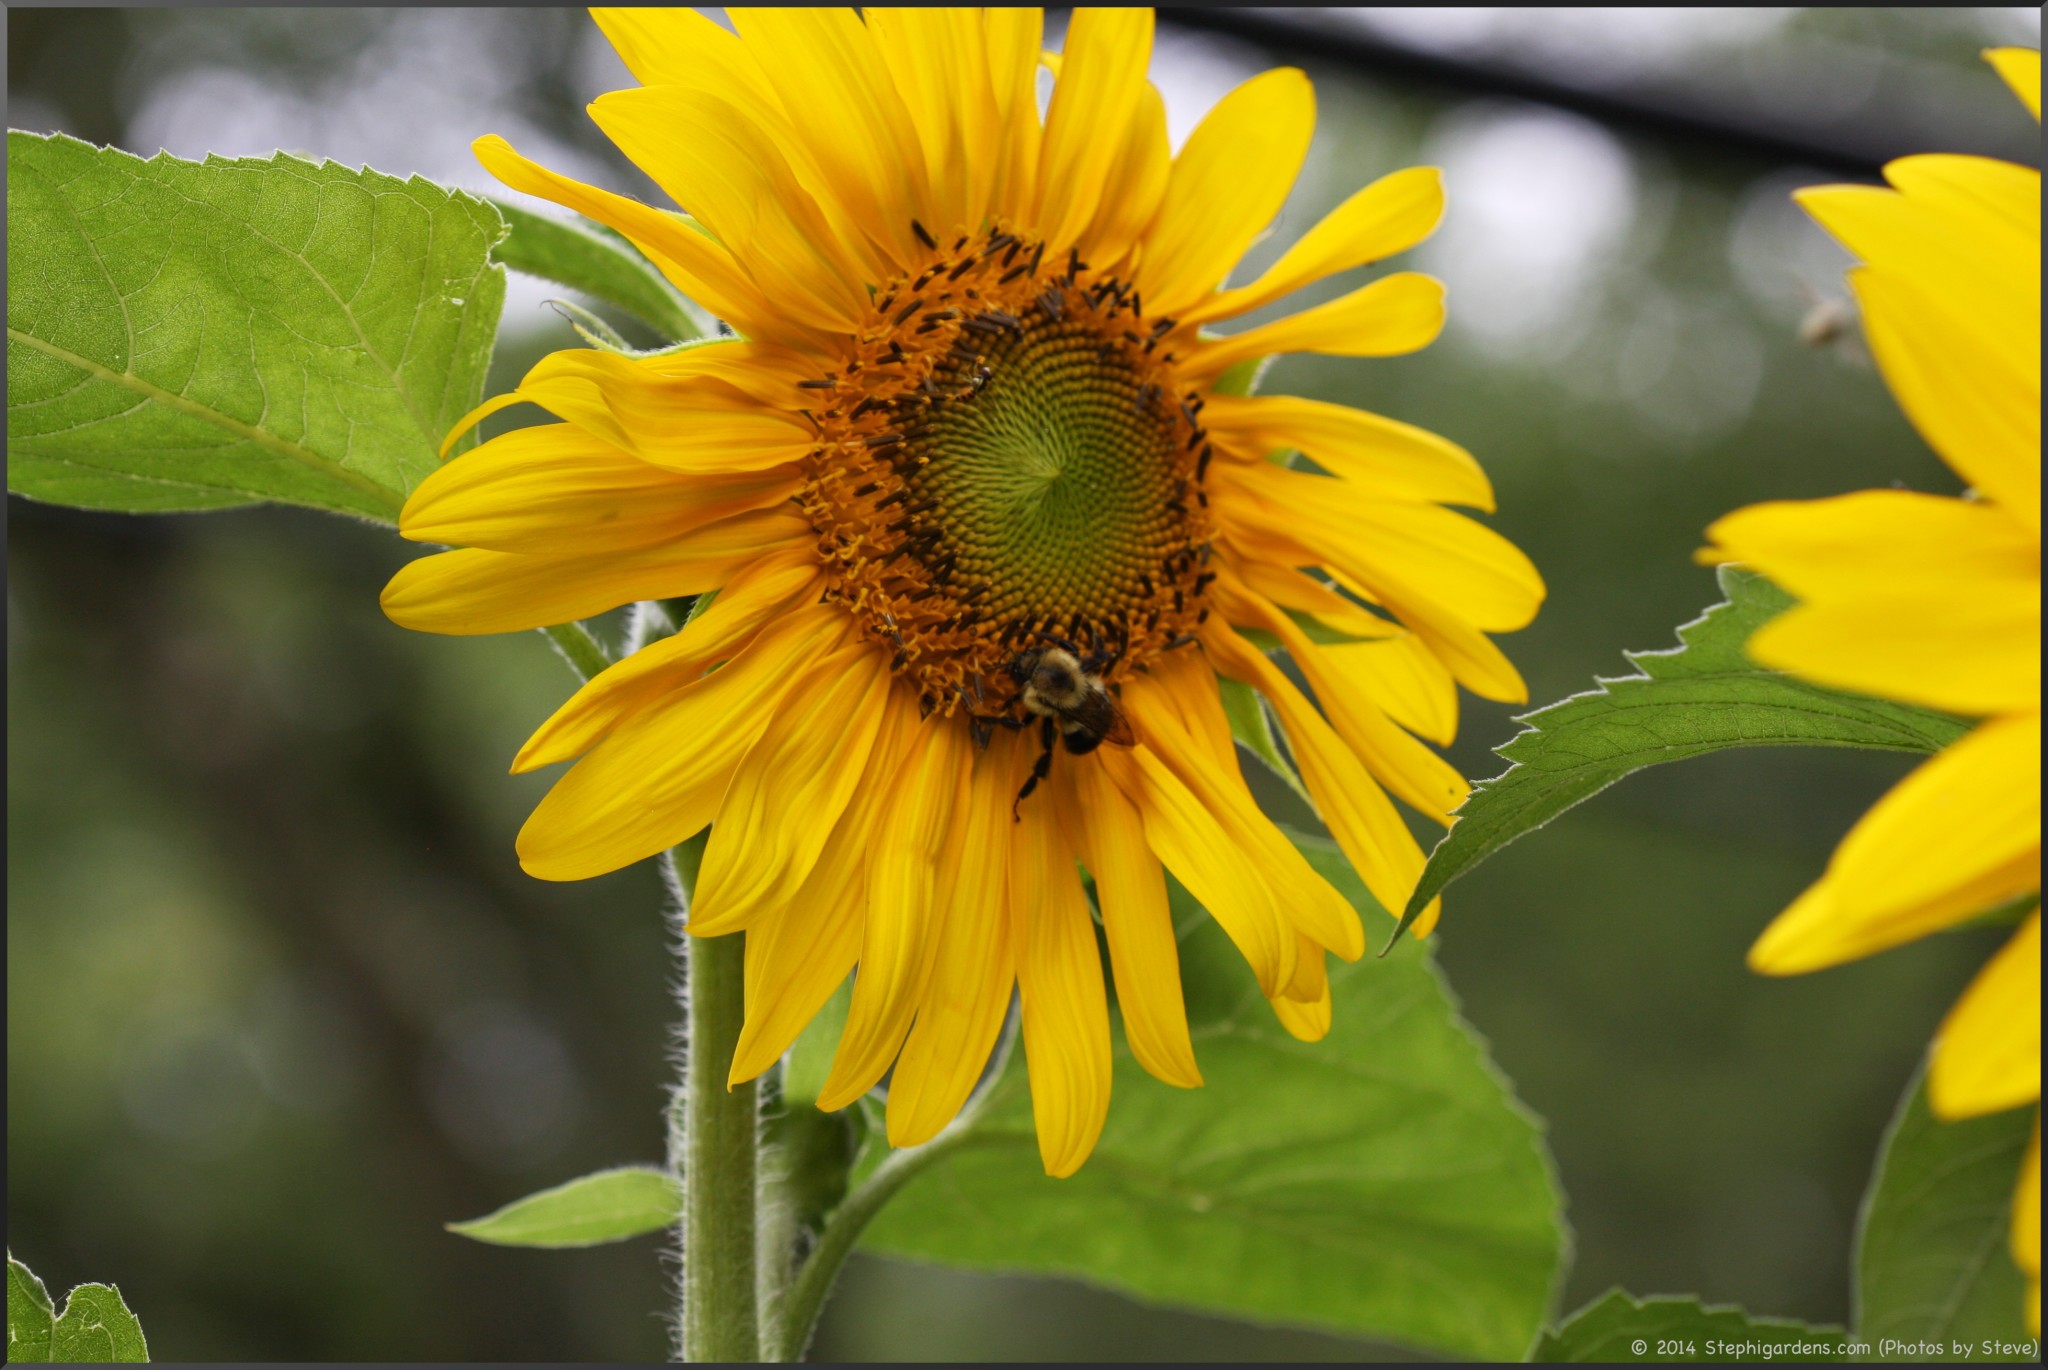
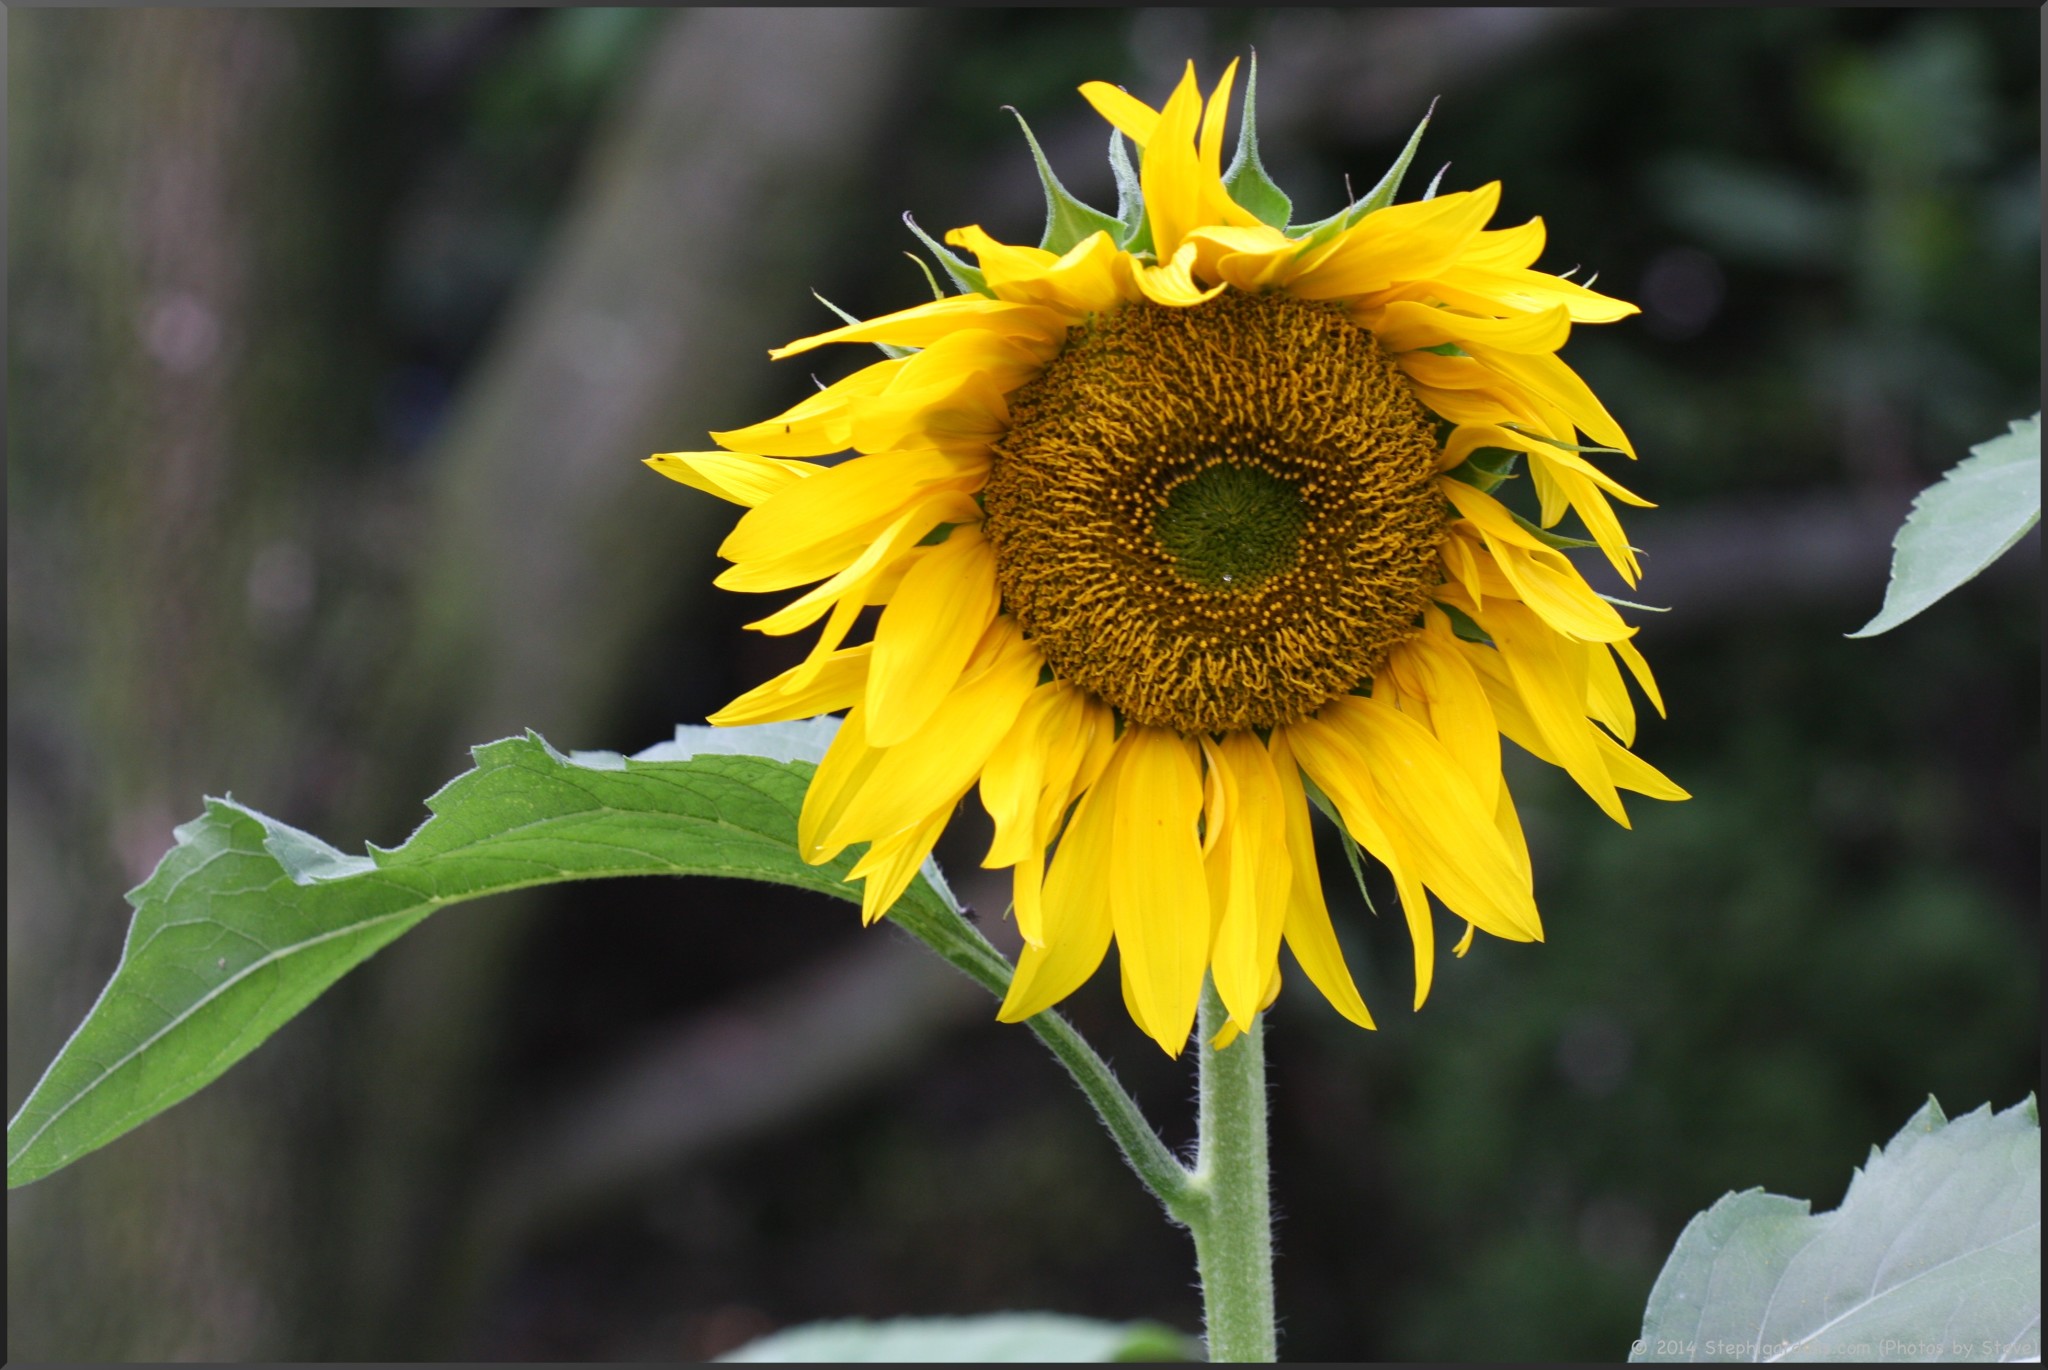
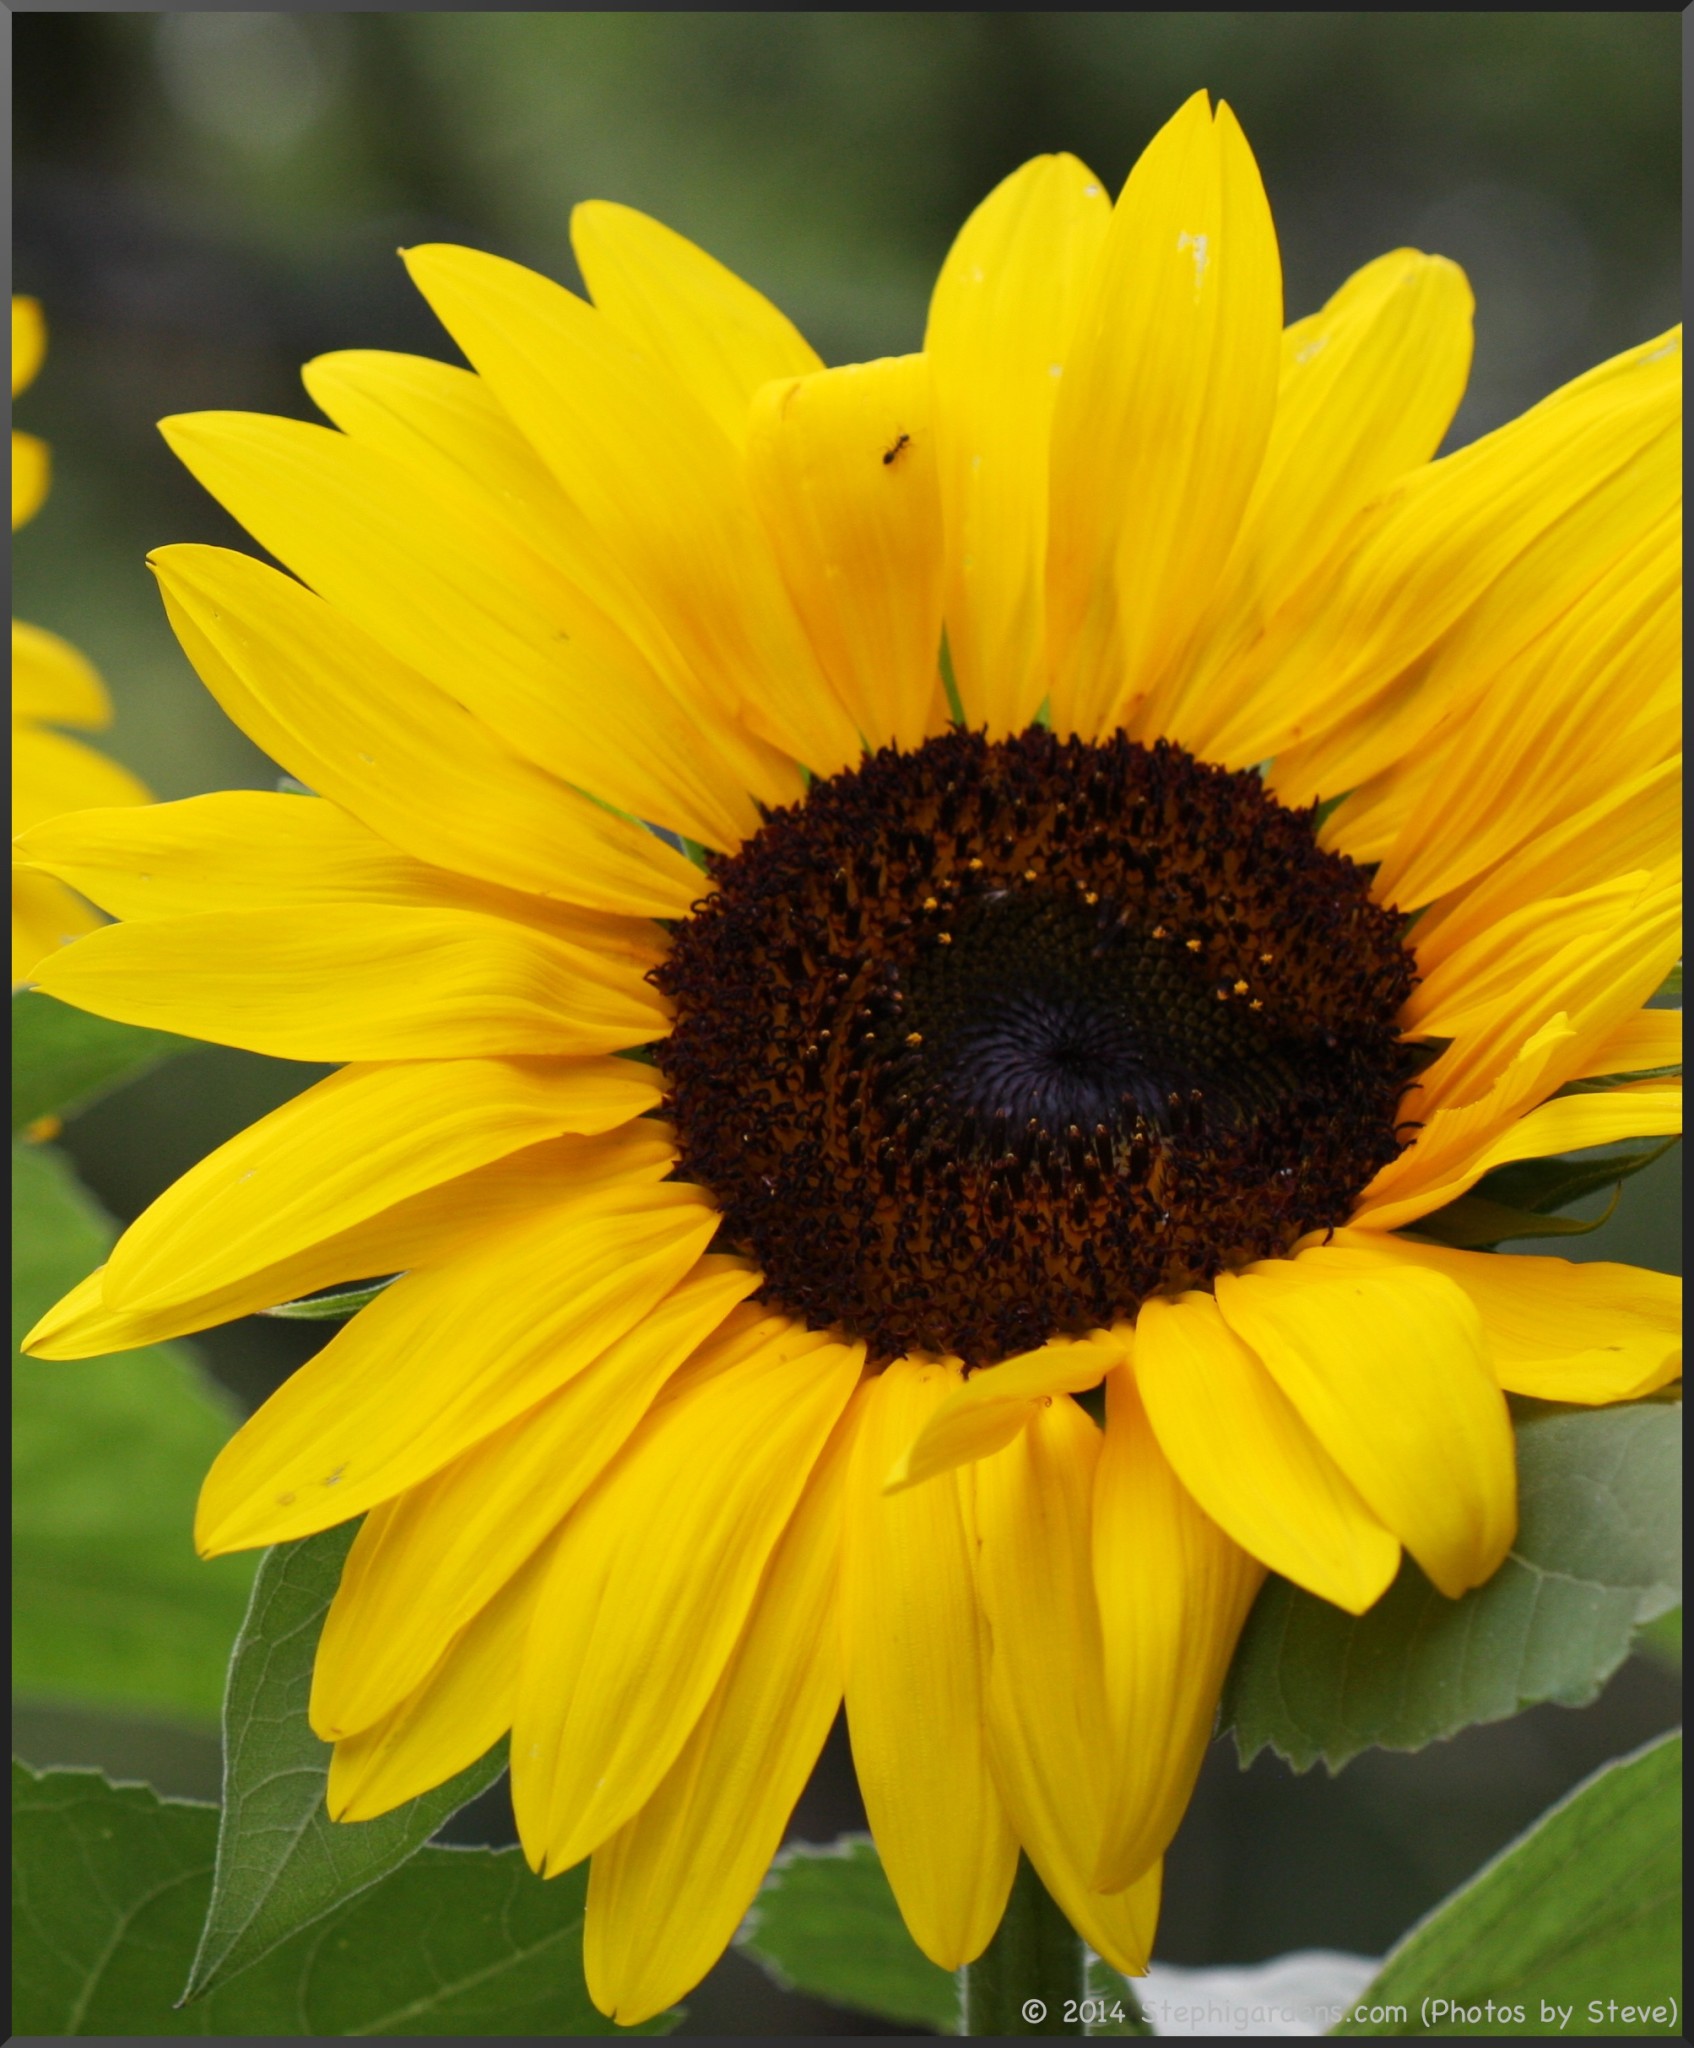
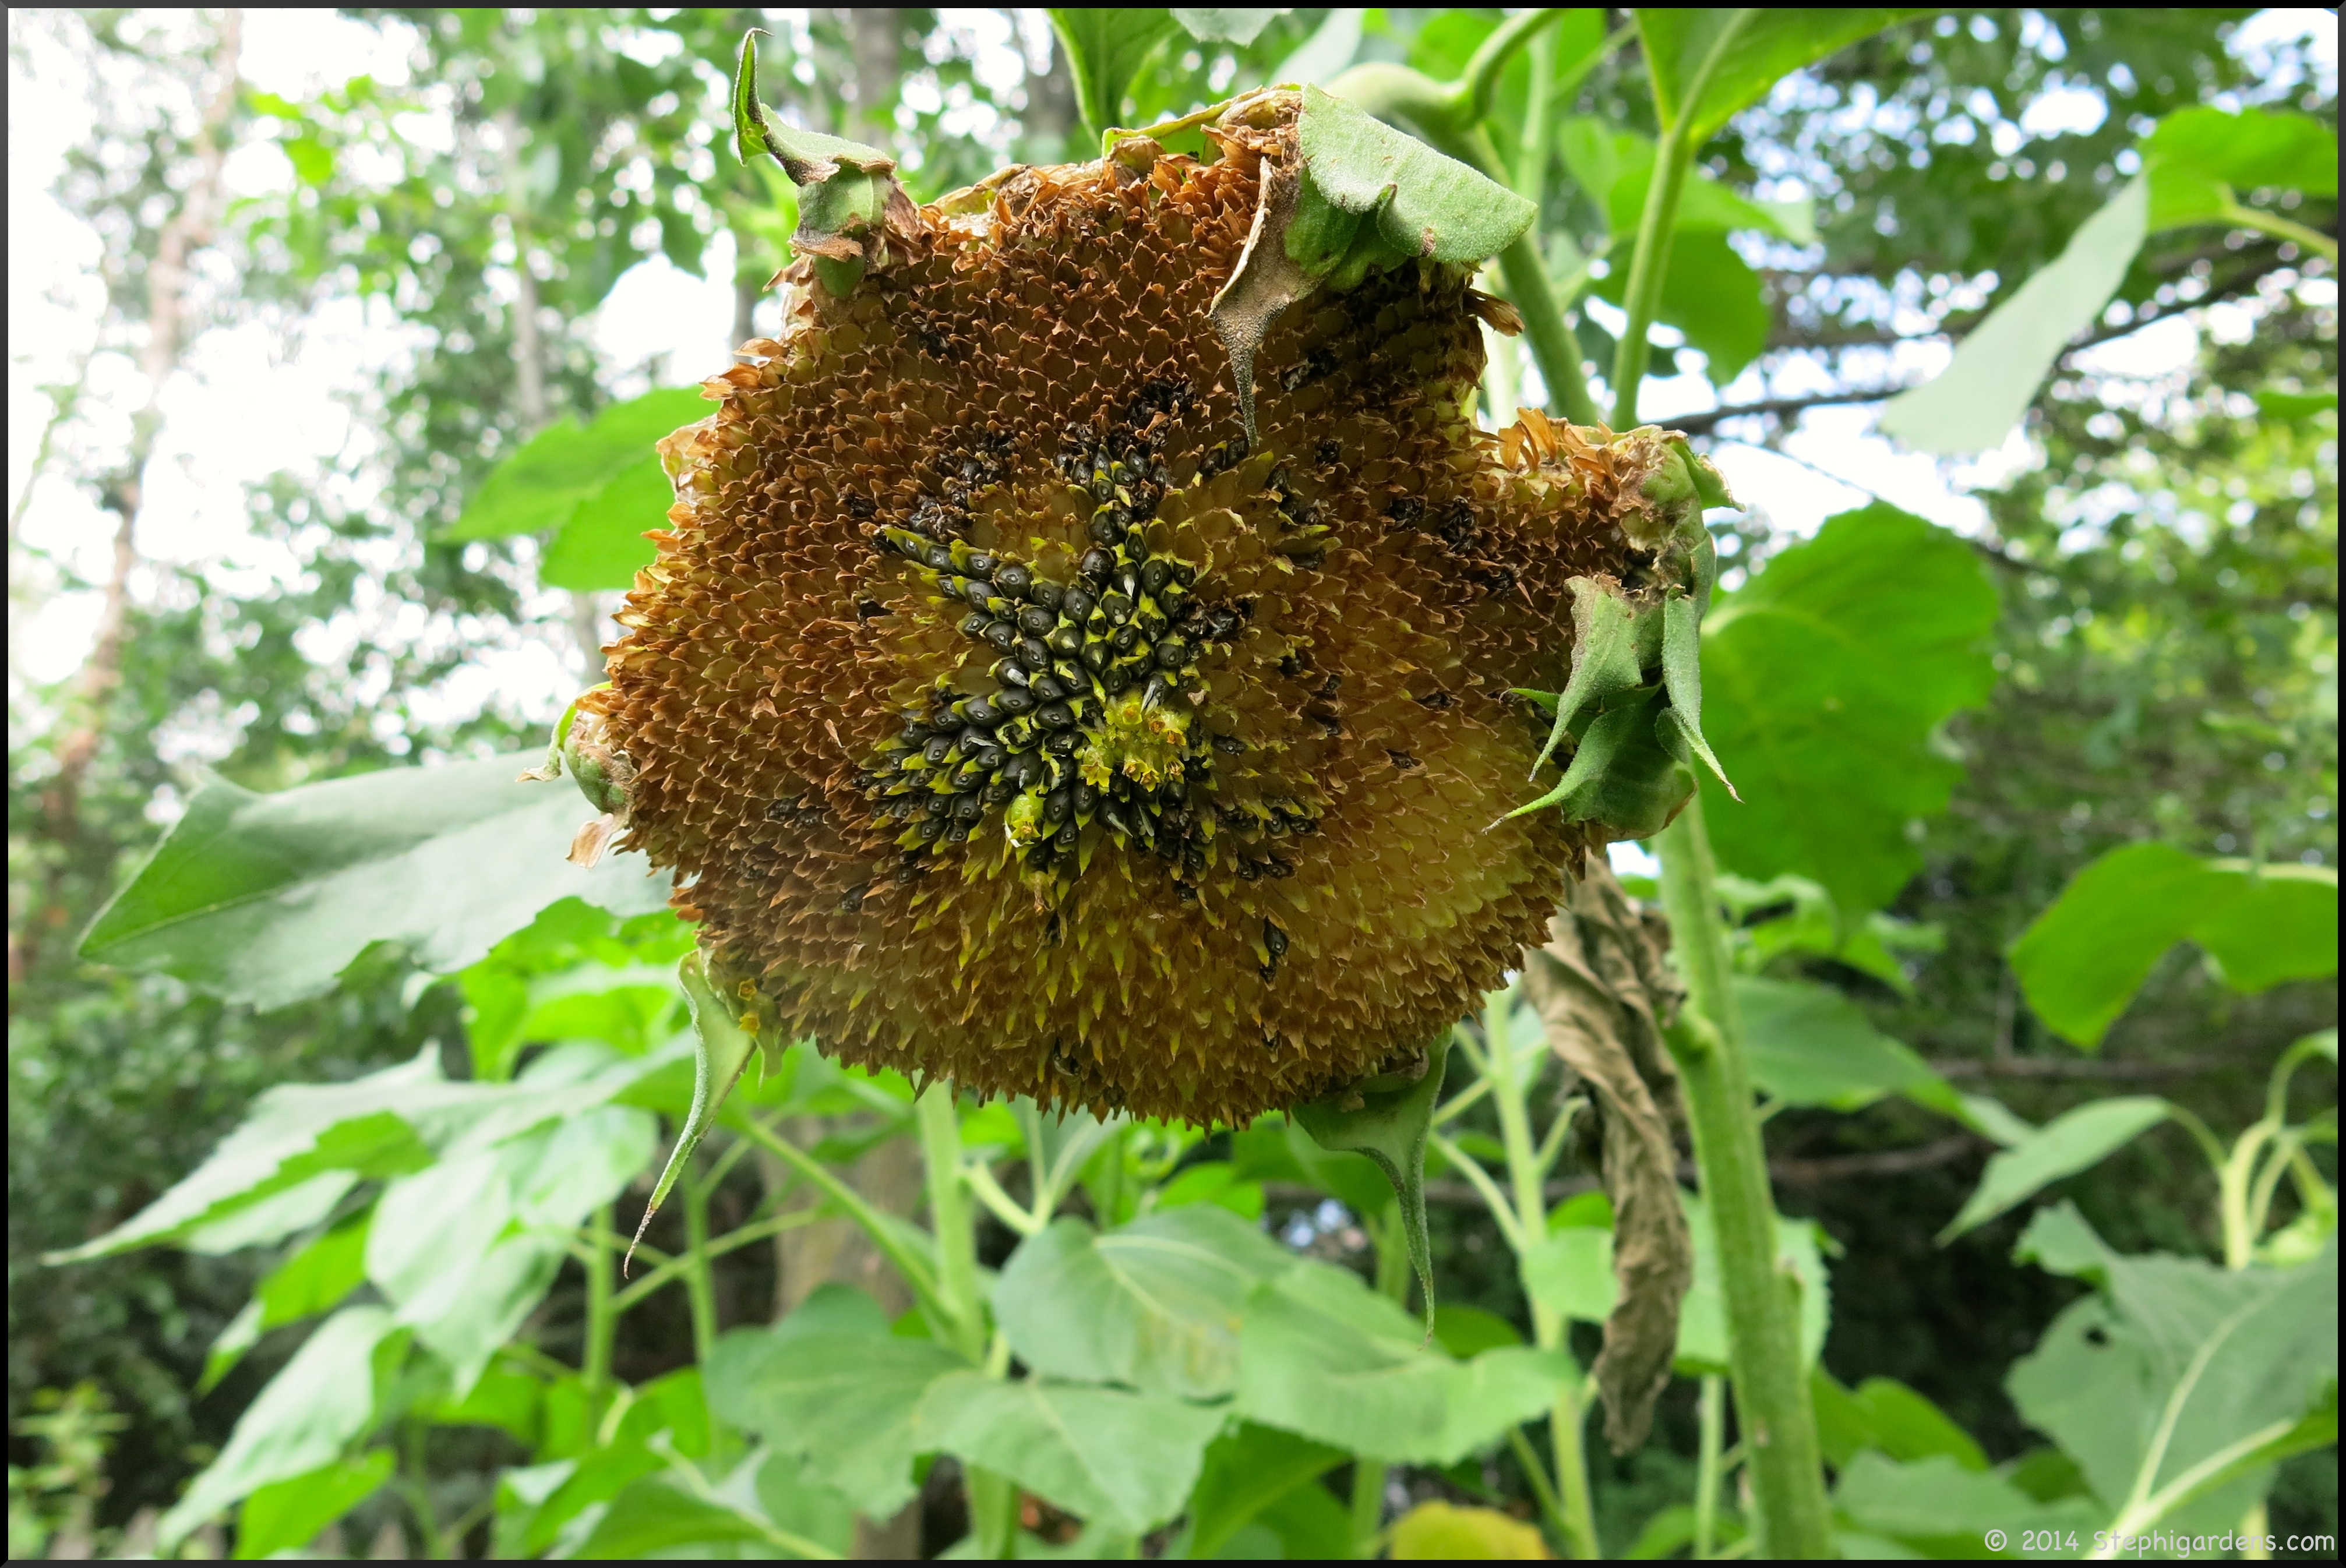
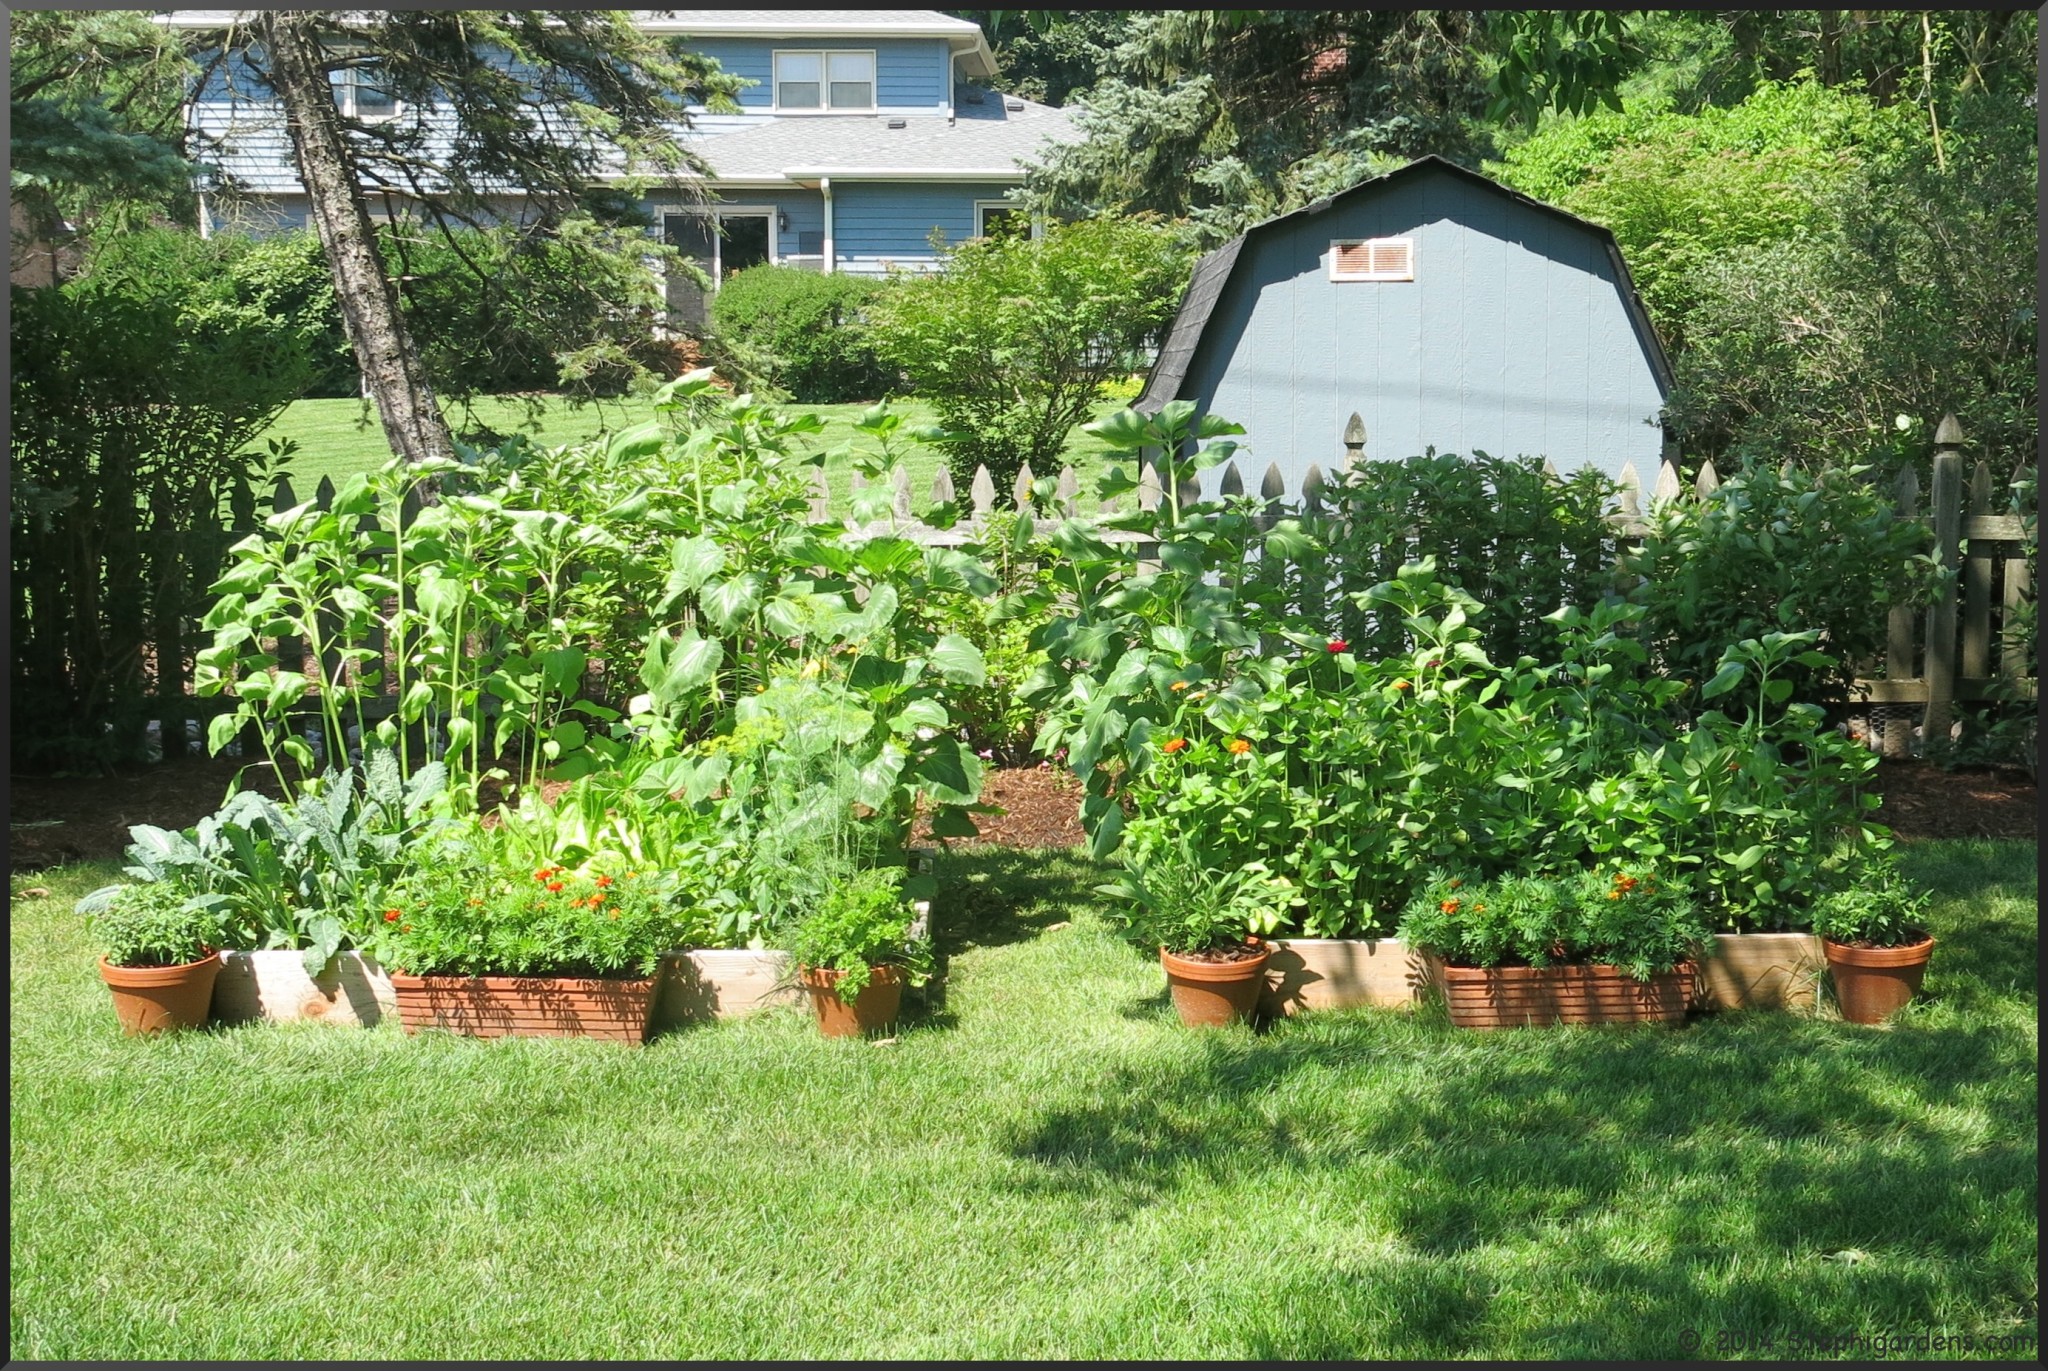
The sunflowers have become gigantic!  Before we left they were probably only about 4 ft tall (see Before Vacation), now they are easily 7 ft-8 ft and attracting lots of bees.

sunflowers

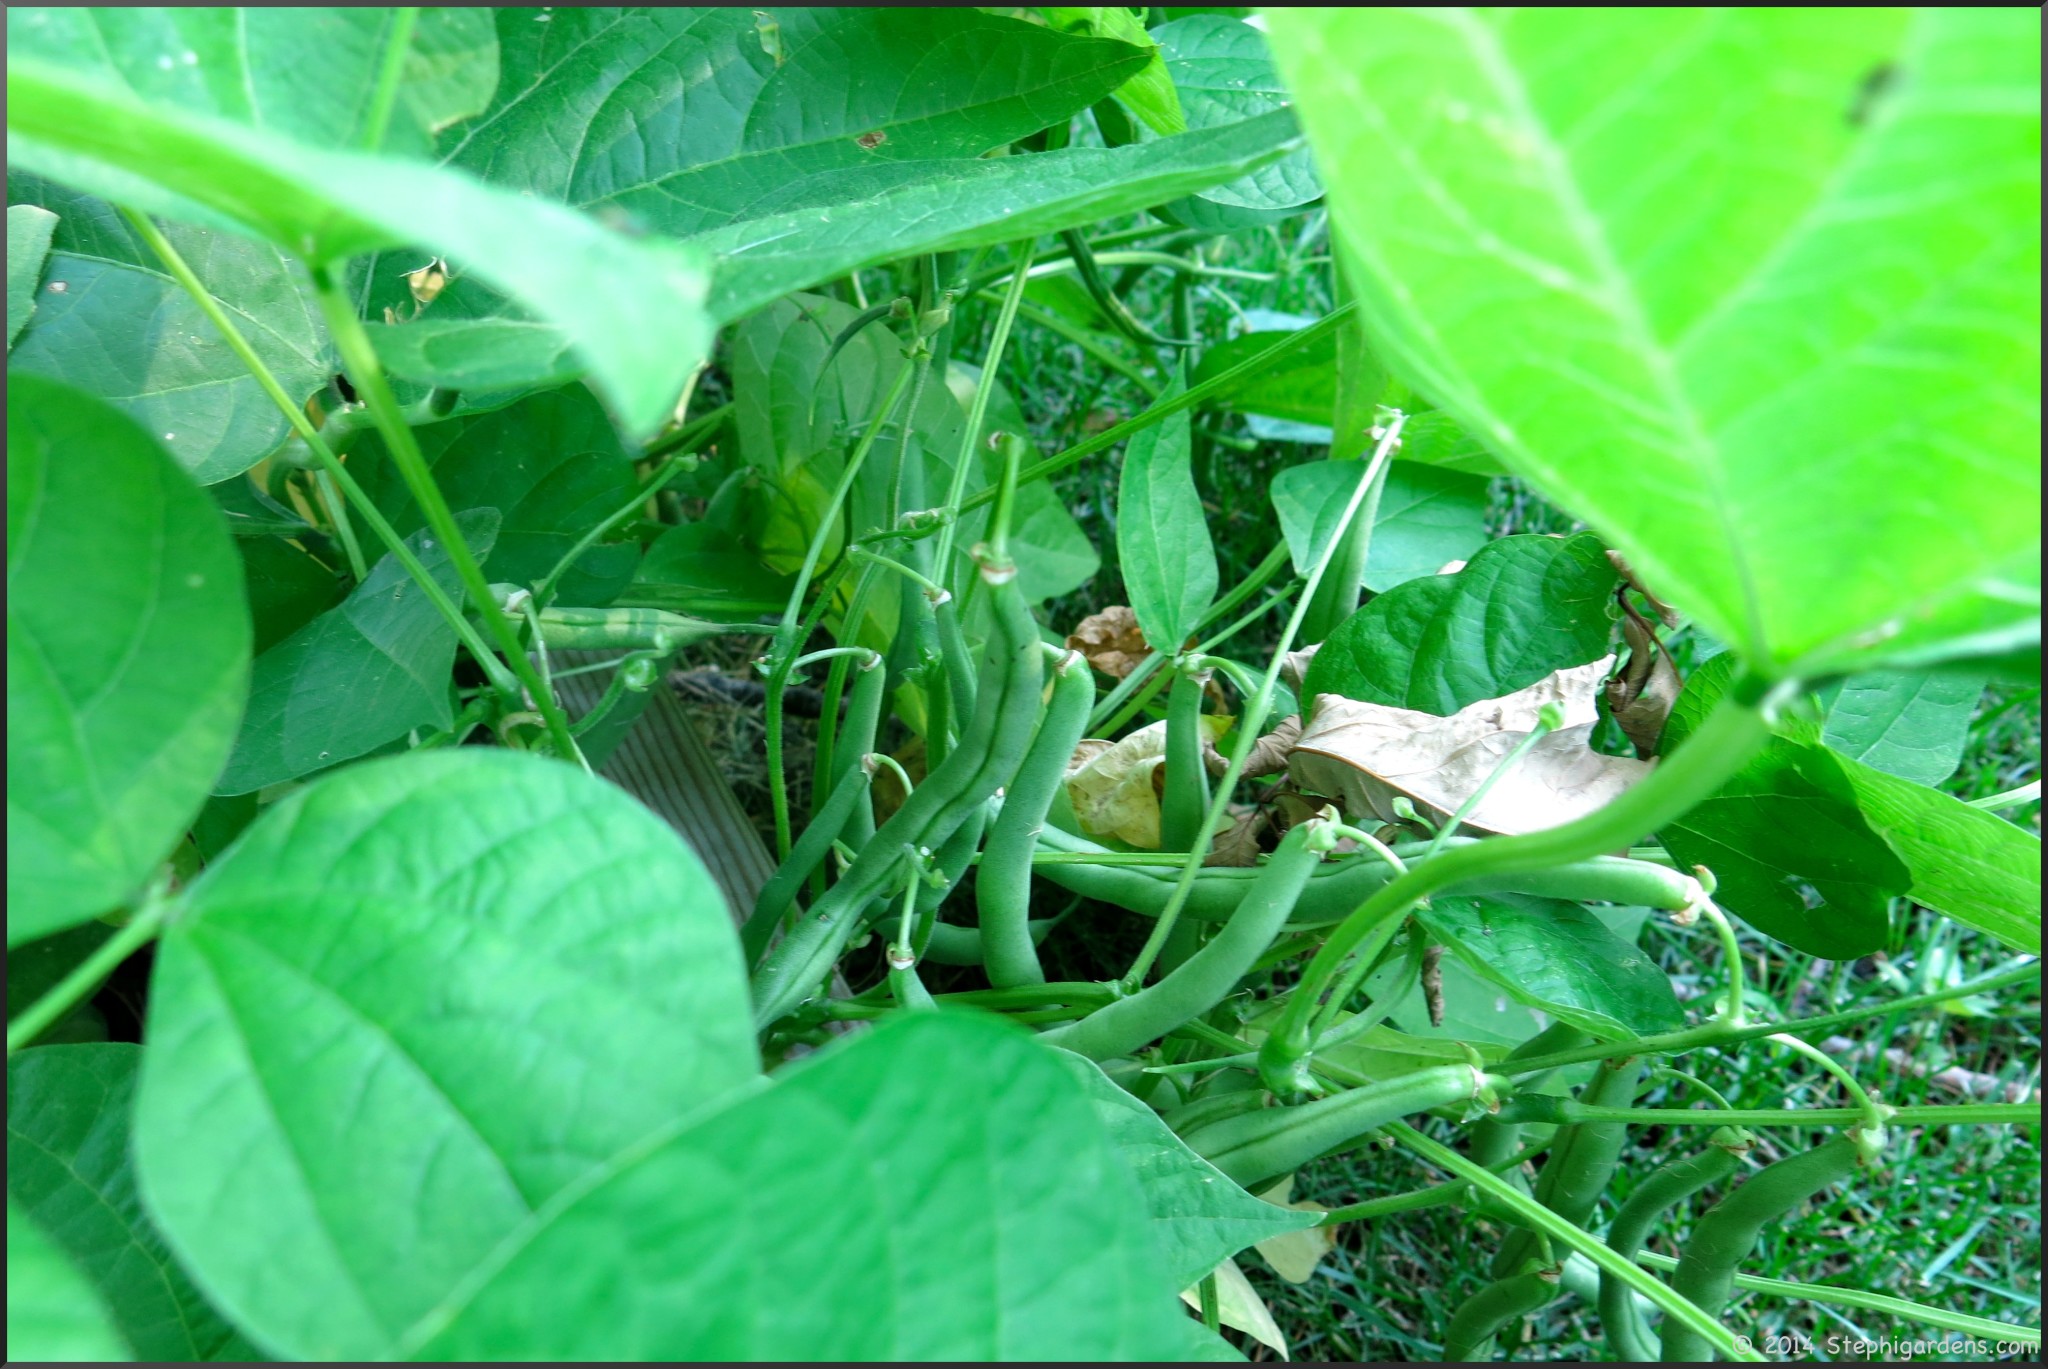
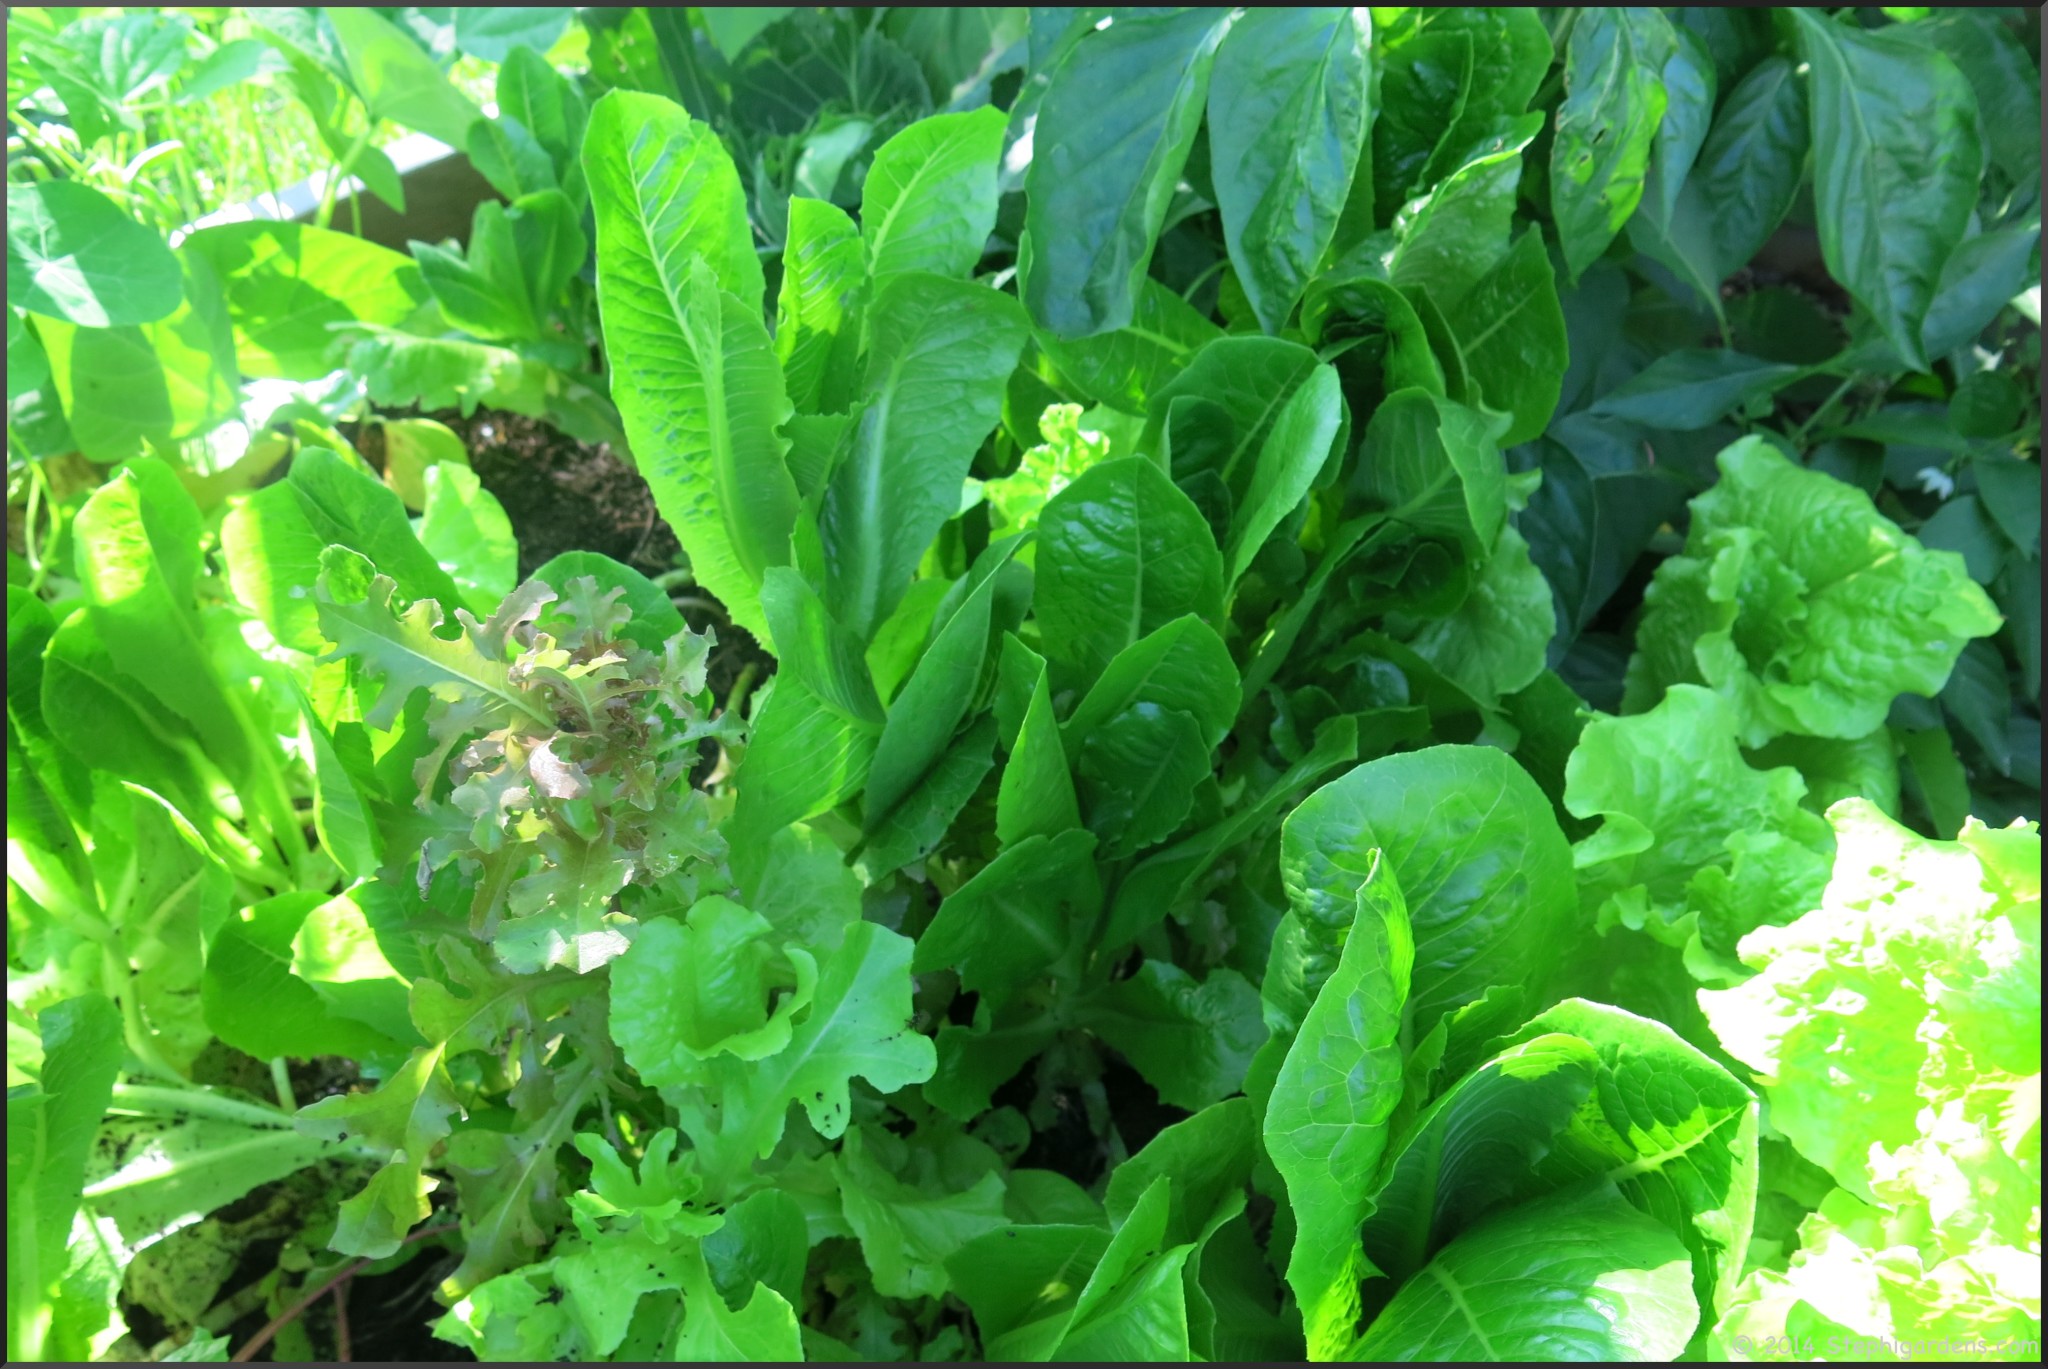
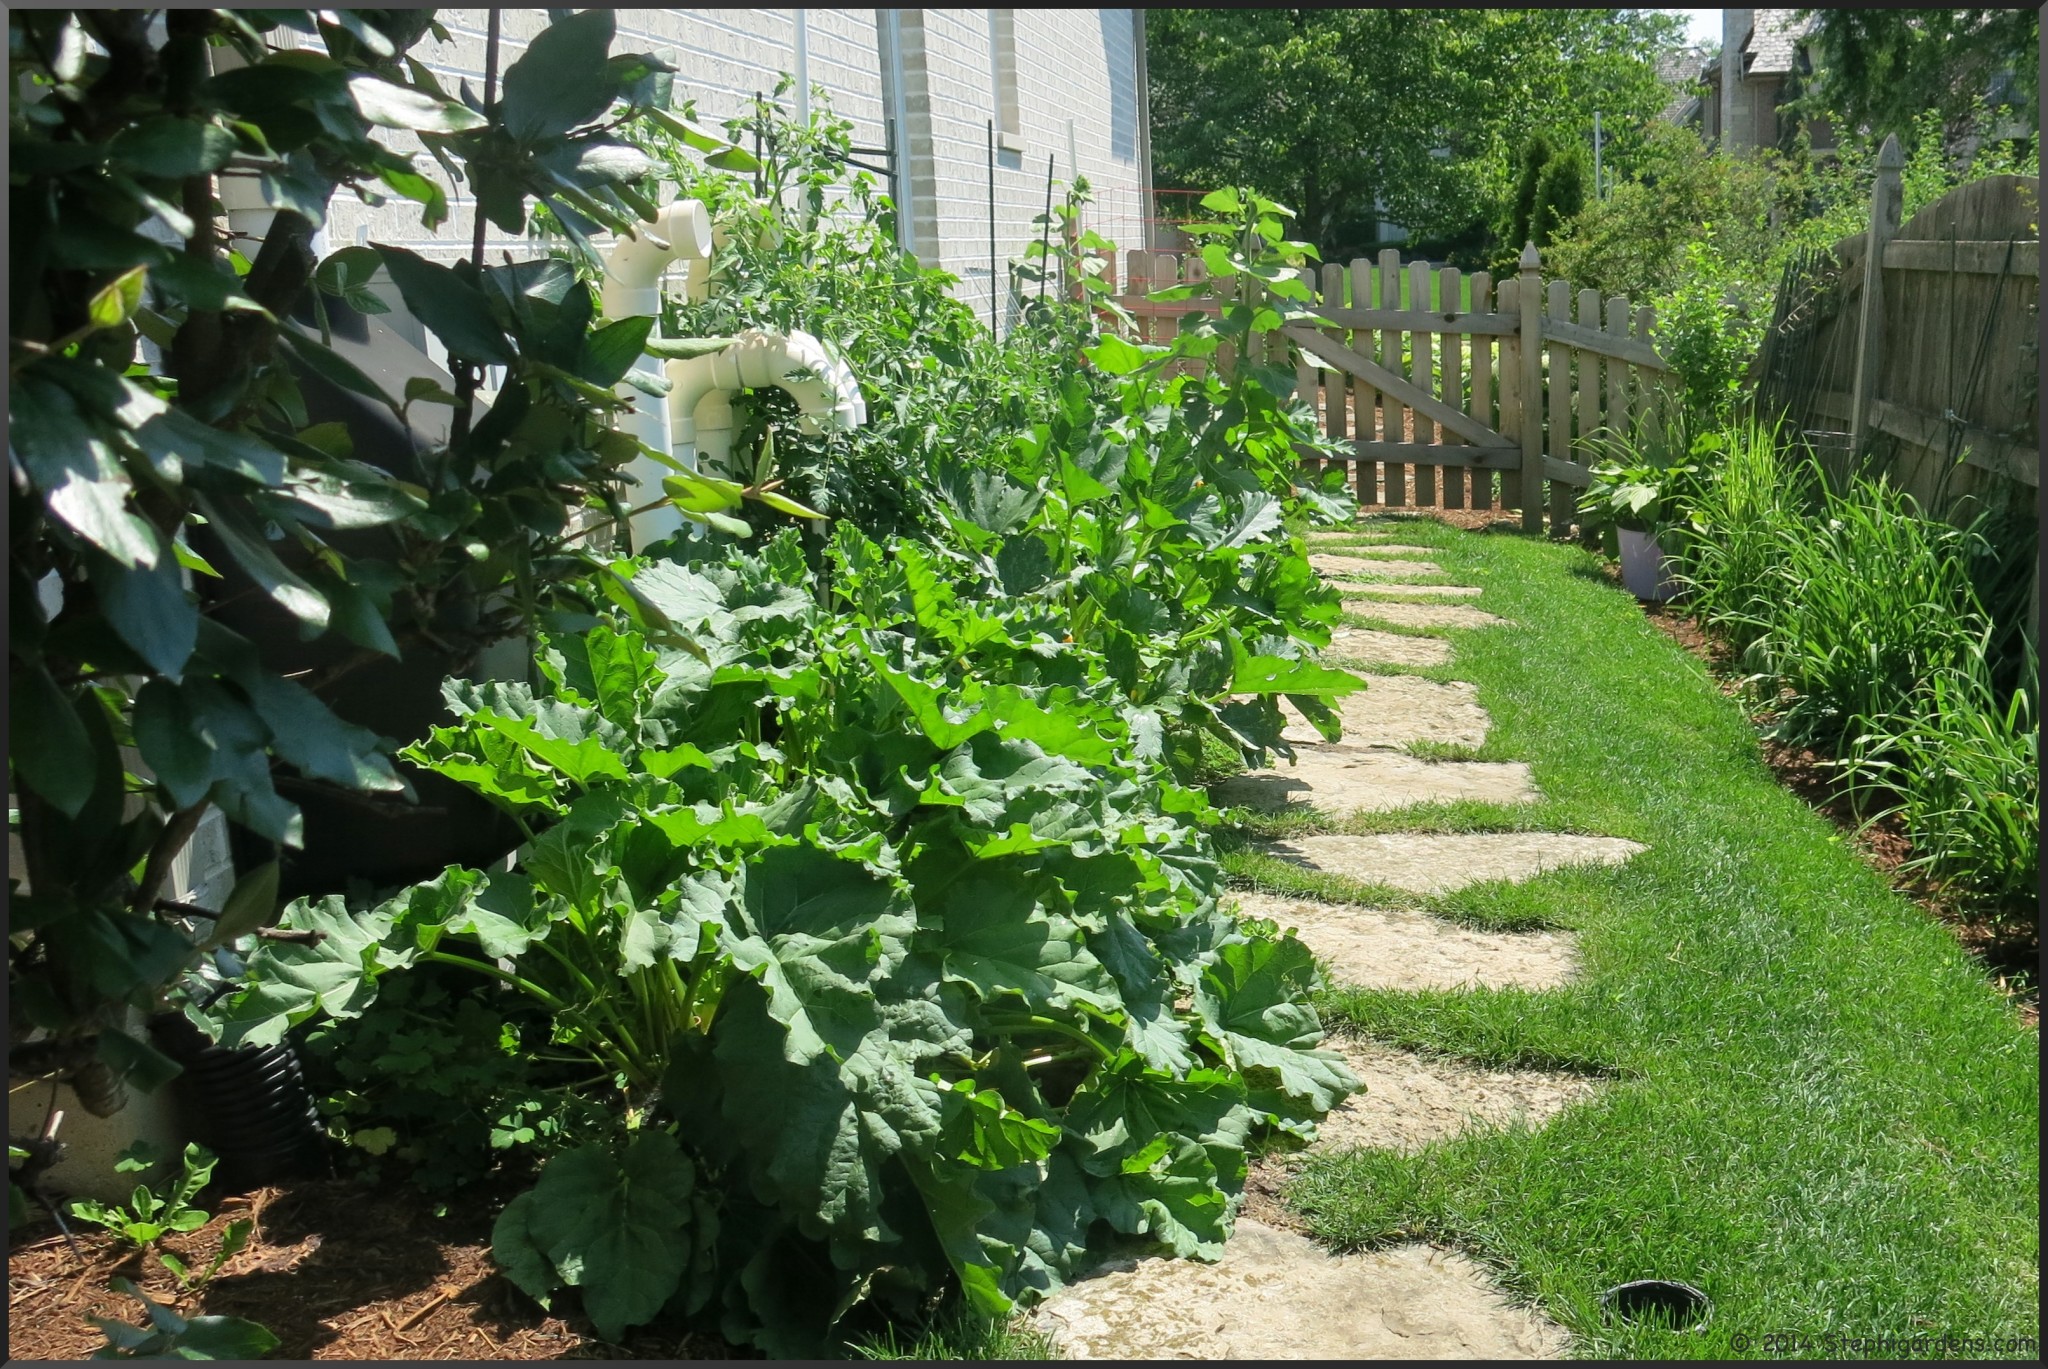
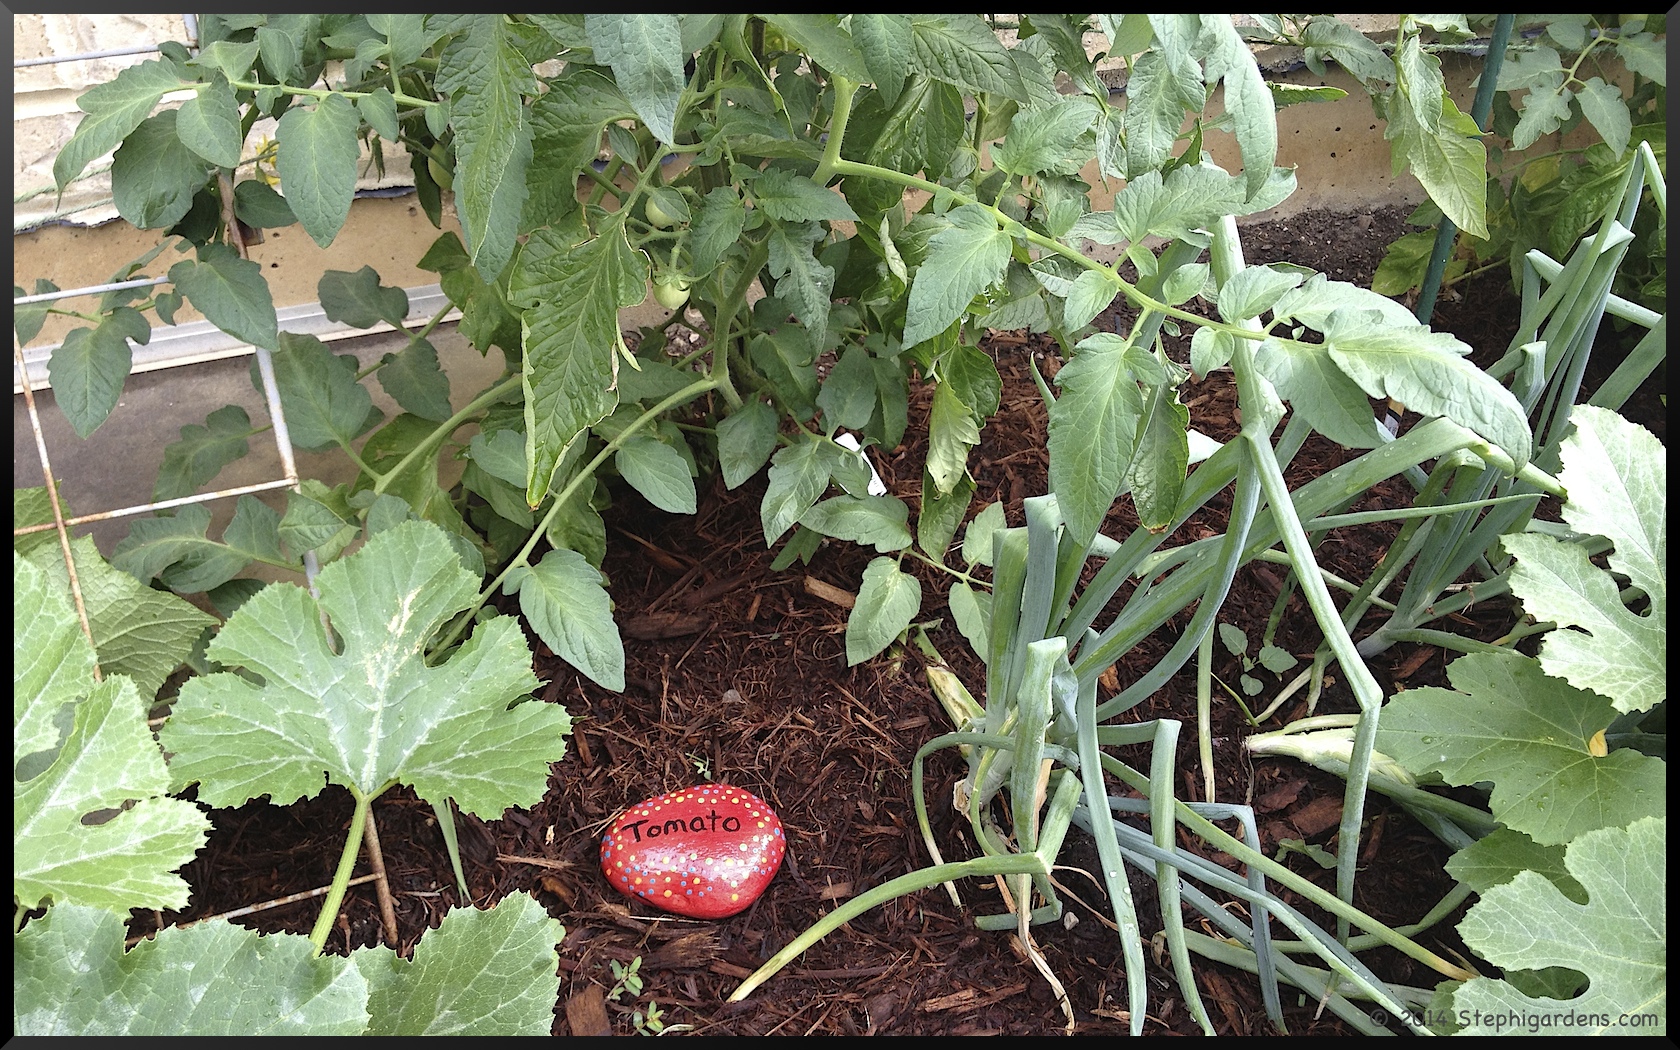
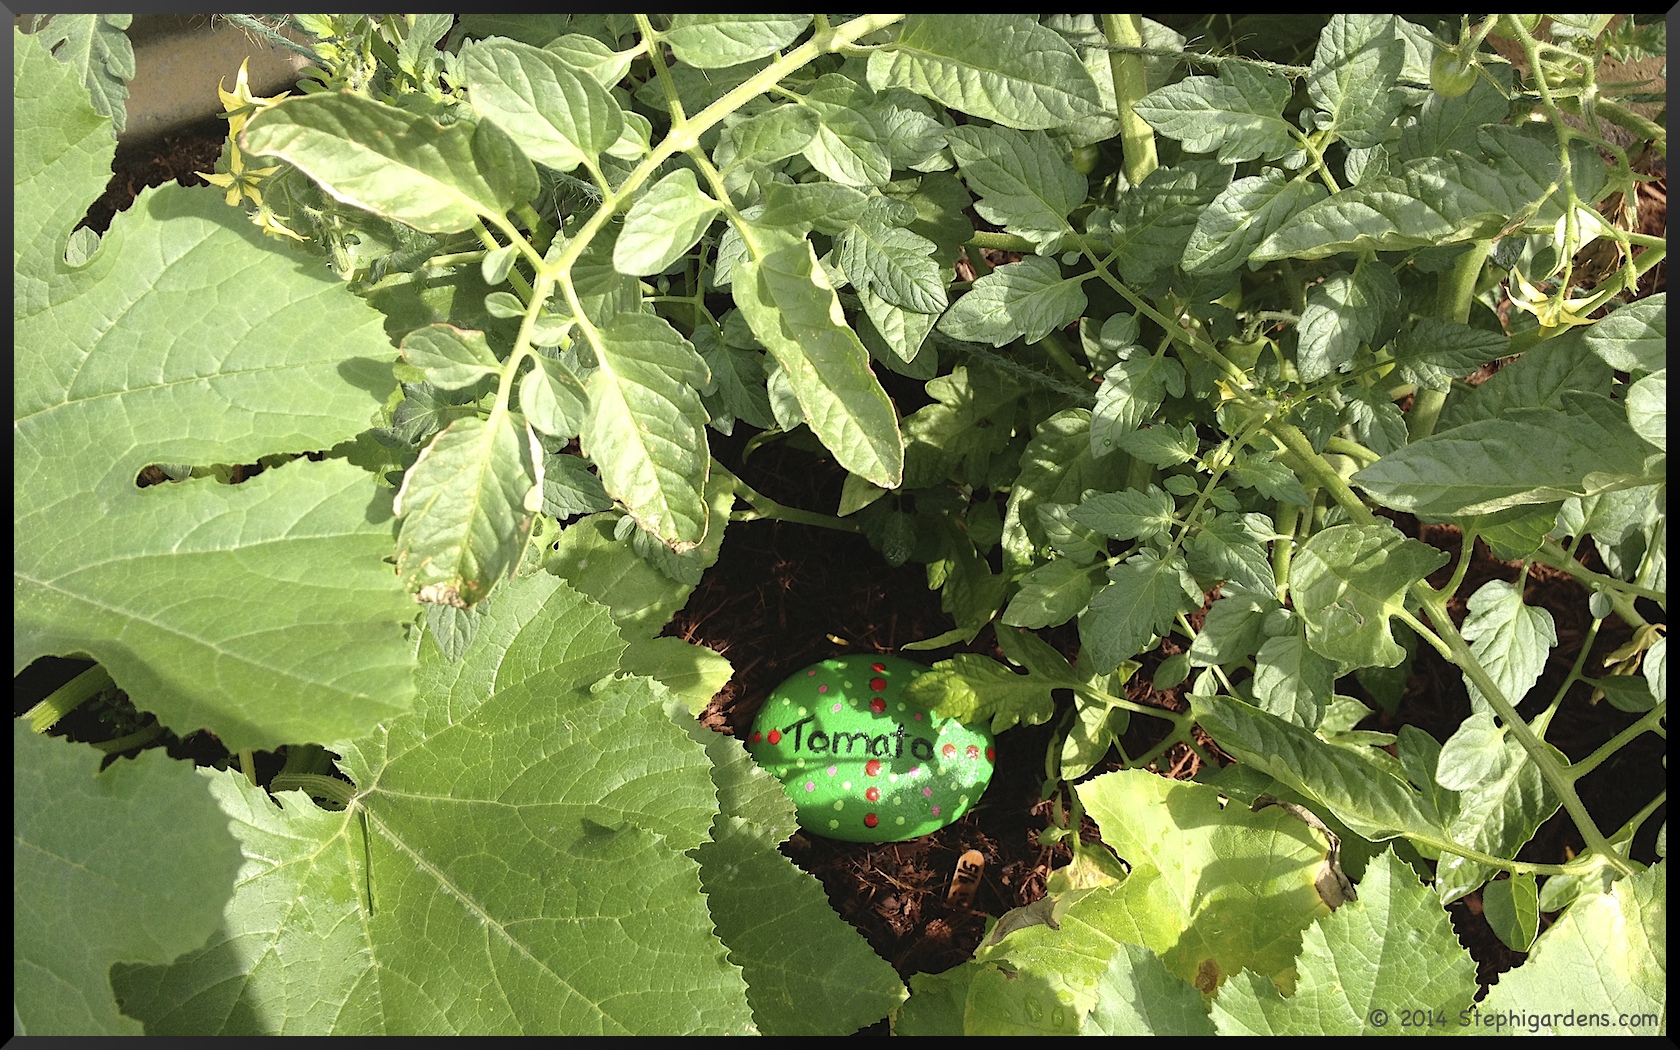
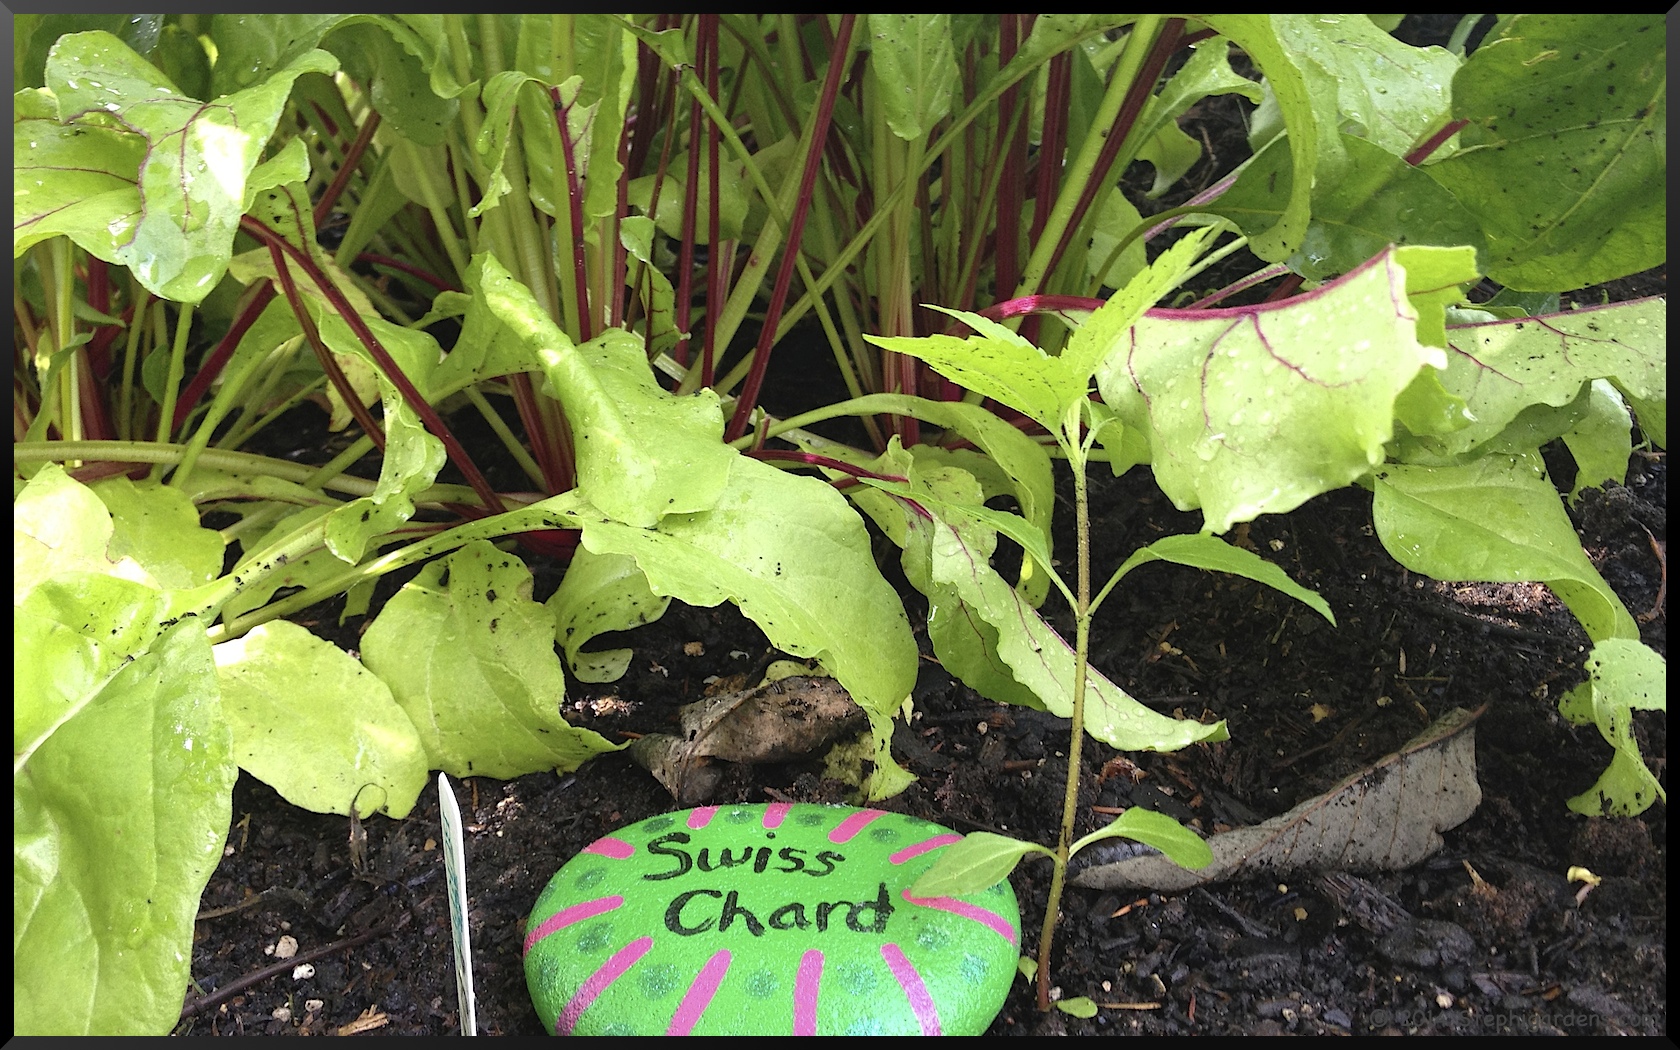
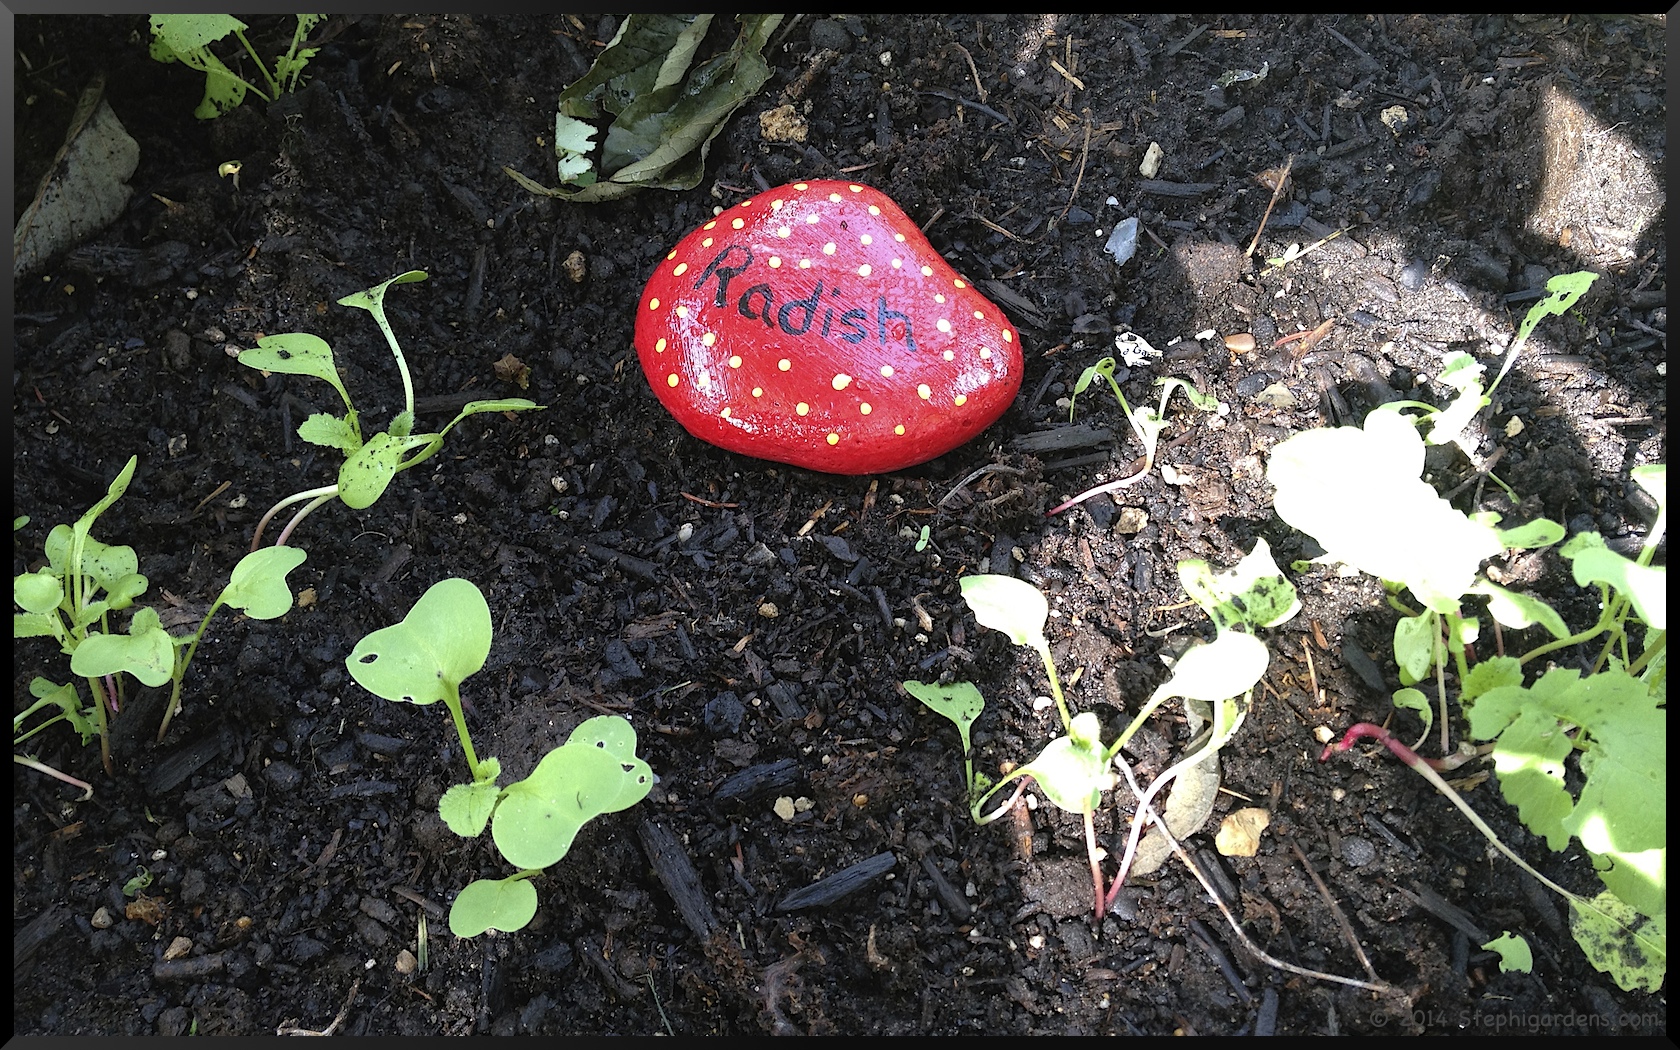
The vegetable gardens are flourishing, but need some attention to prune back some of the wildness.

Stephi Gardens


Stephi Gardens

I have a nice bunch of bush beans to harvest.

bush beans

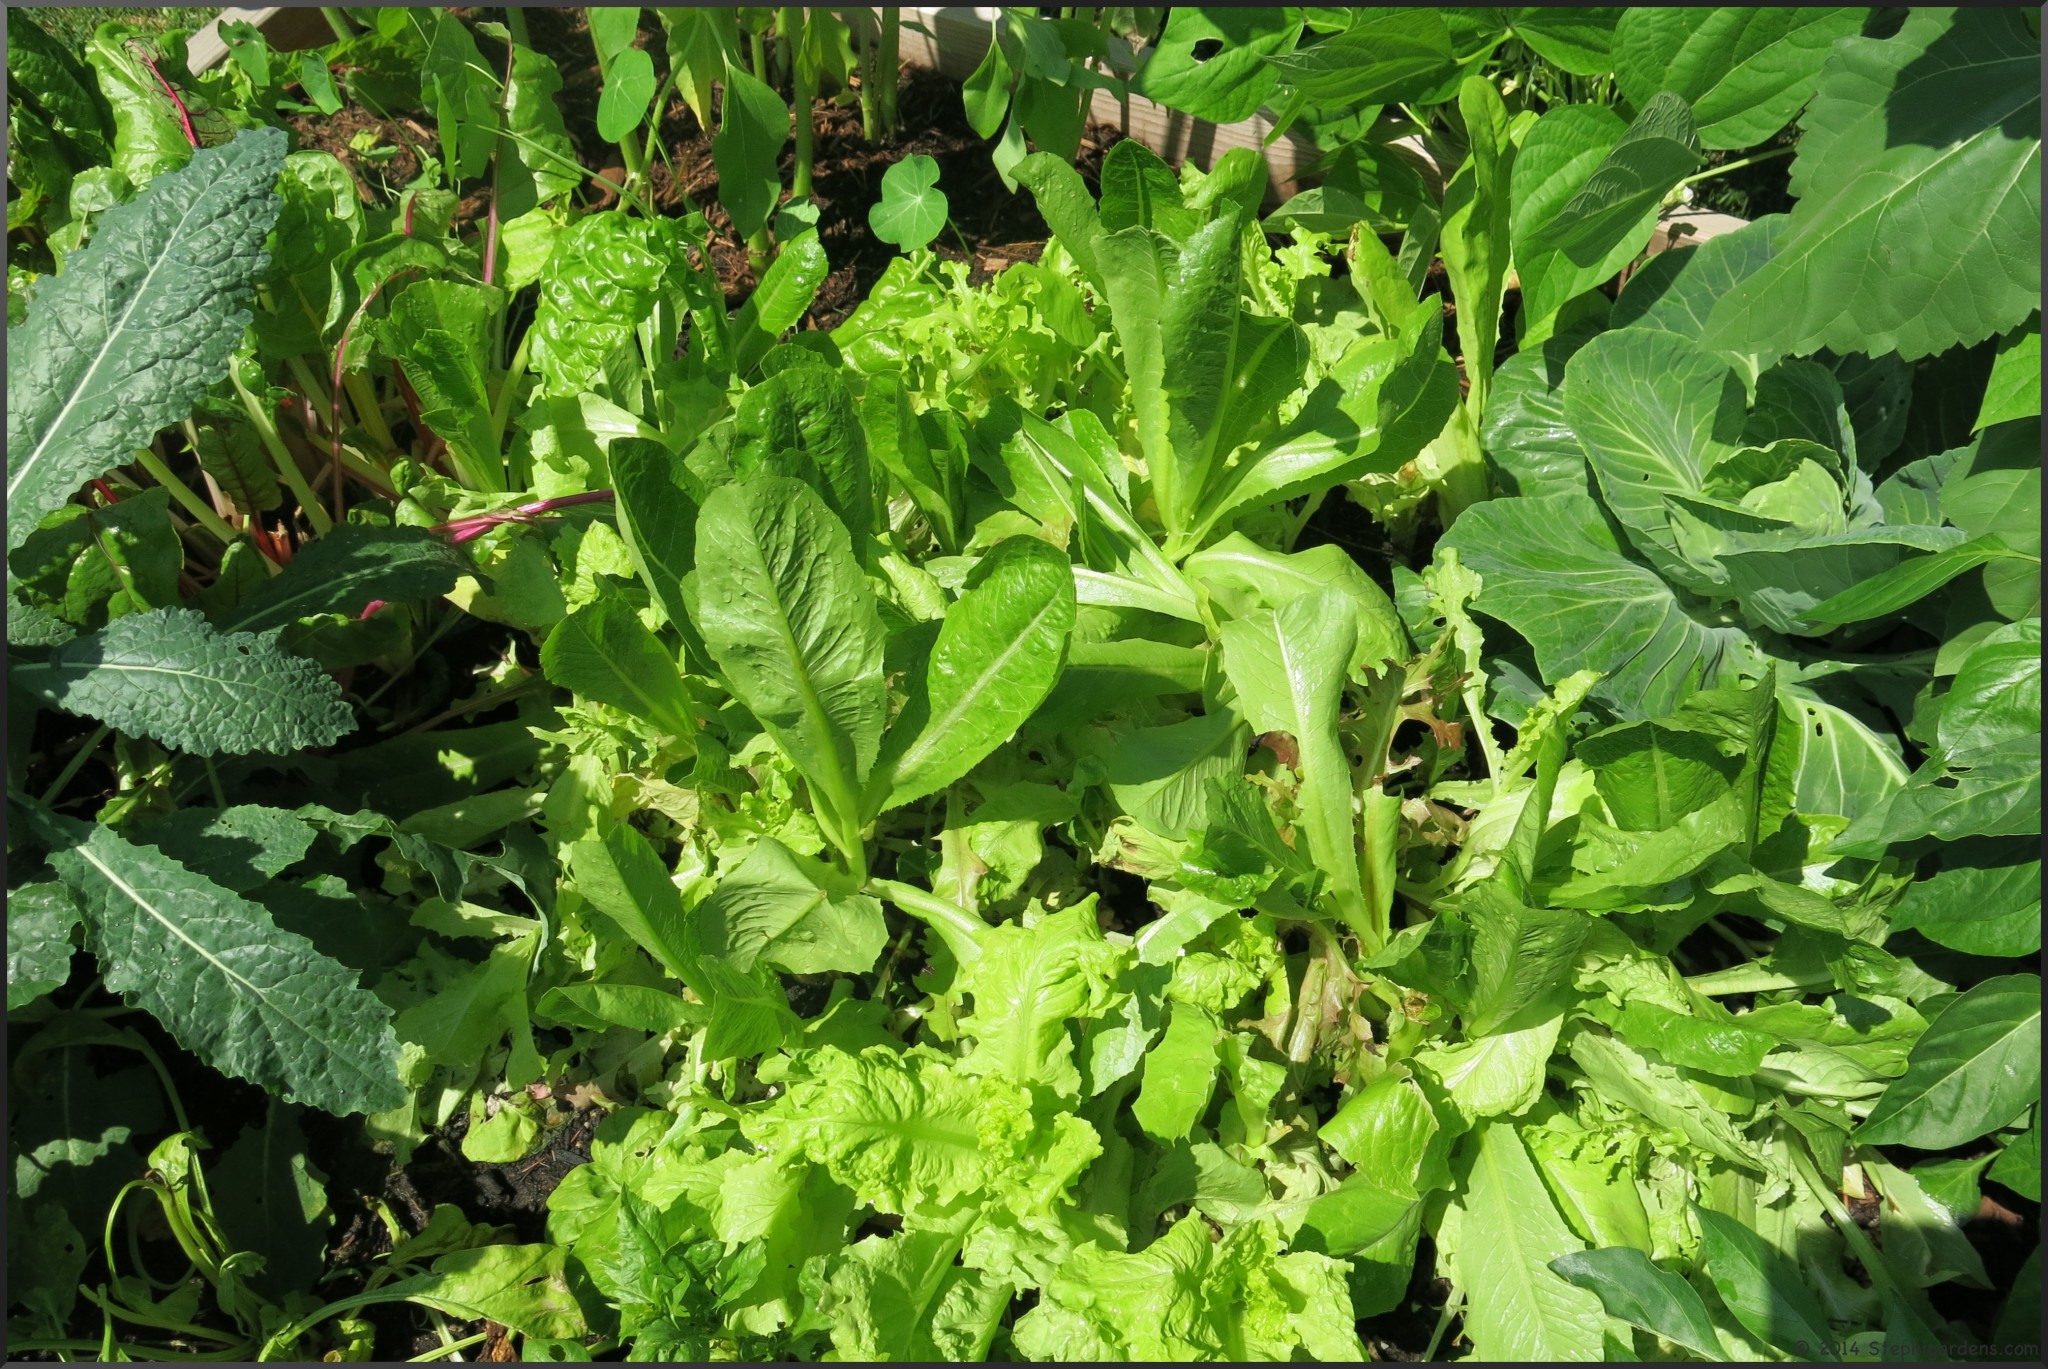
The lettuce is still hanging in there. My idea to plant them in the partly shady corner of the garden has paid off.

lettuce

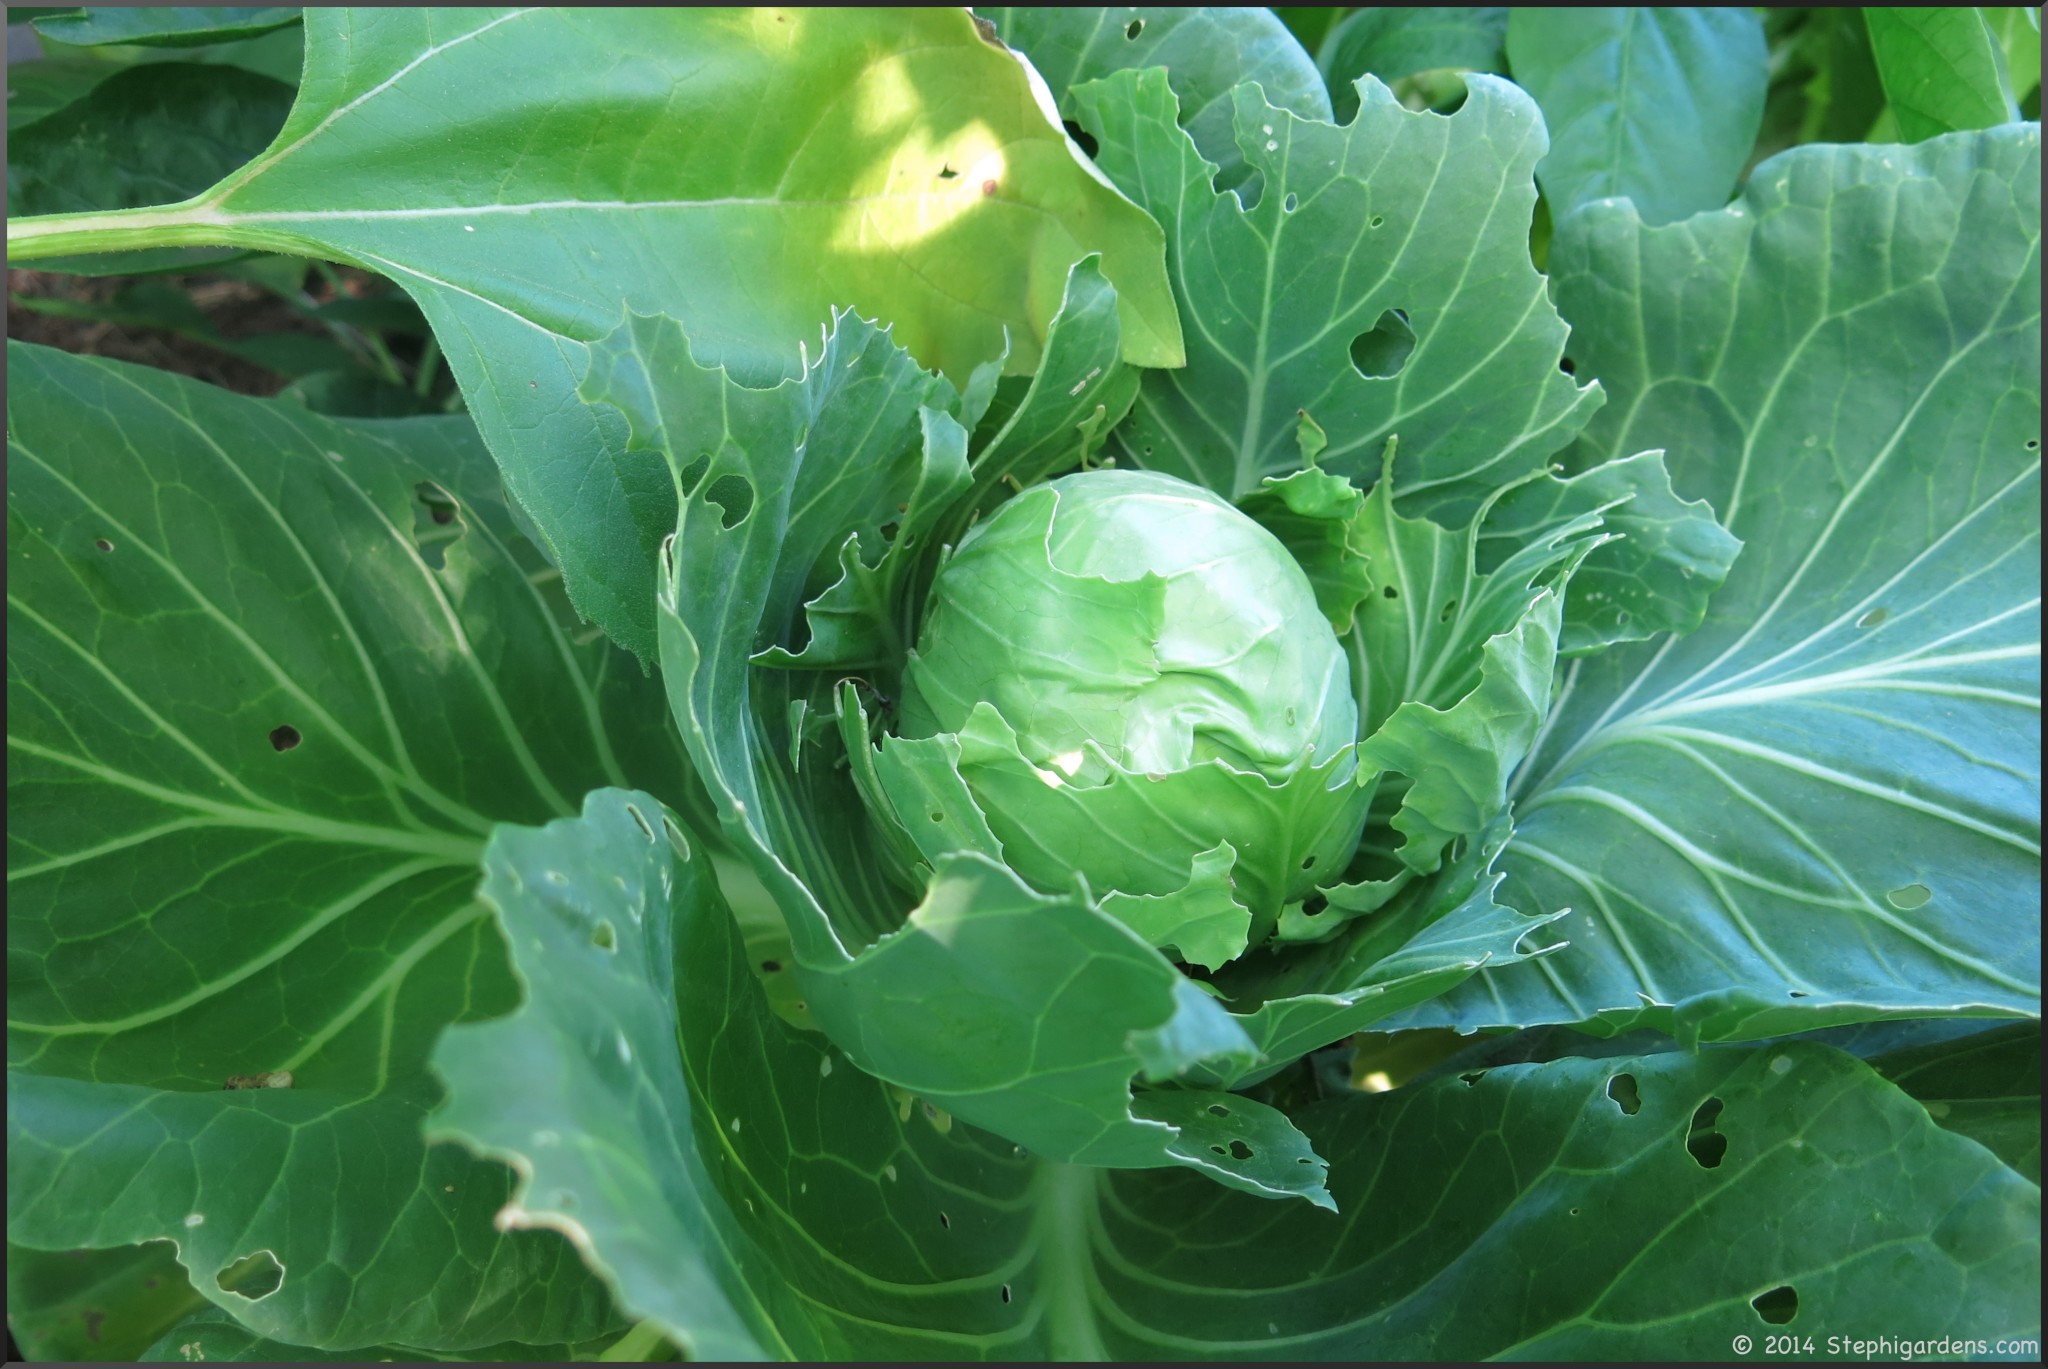
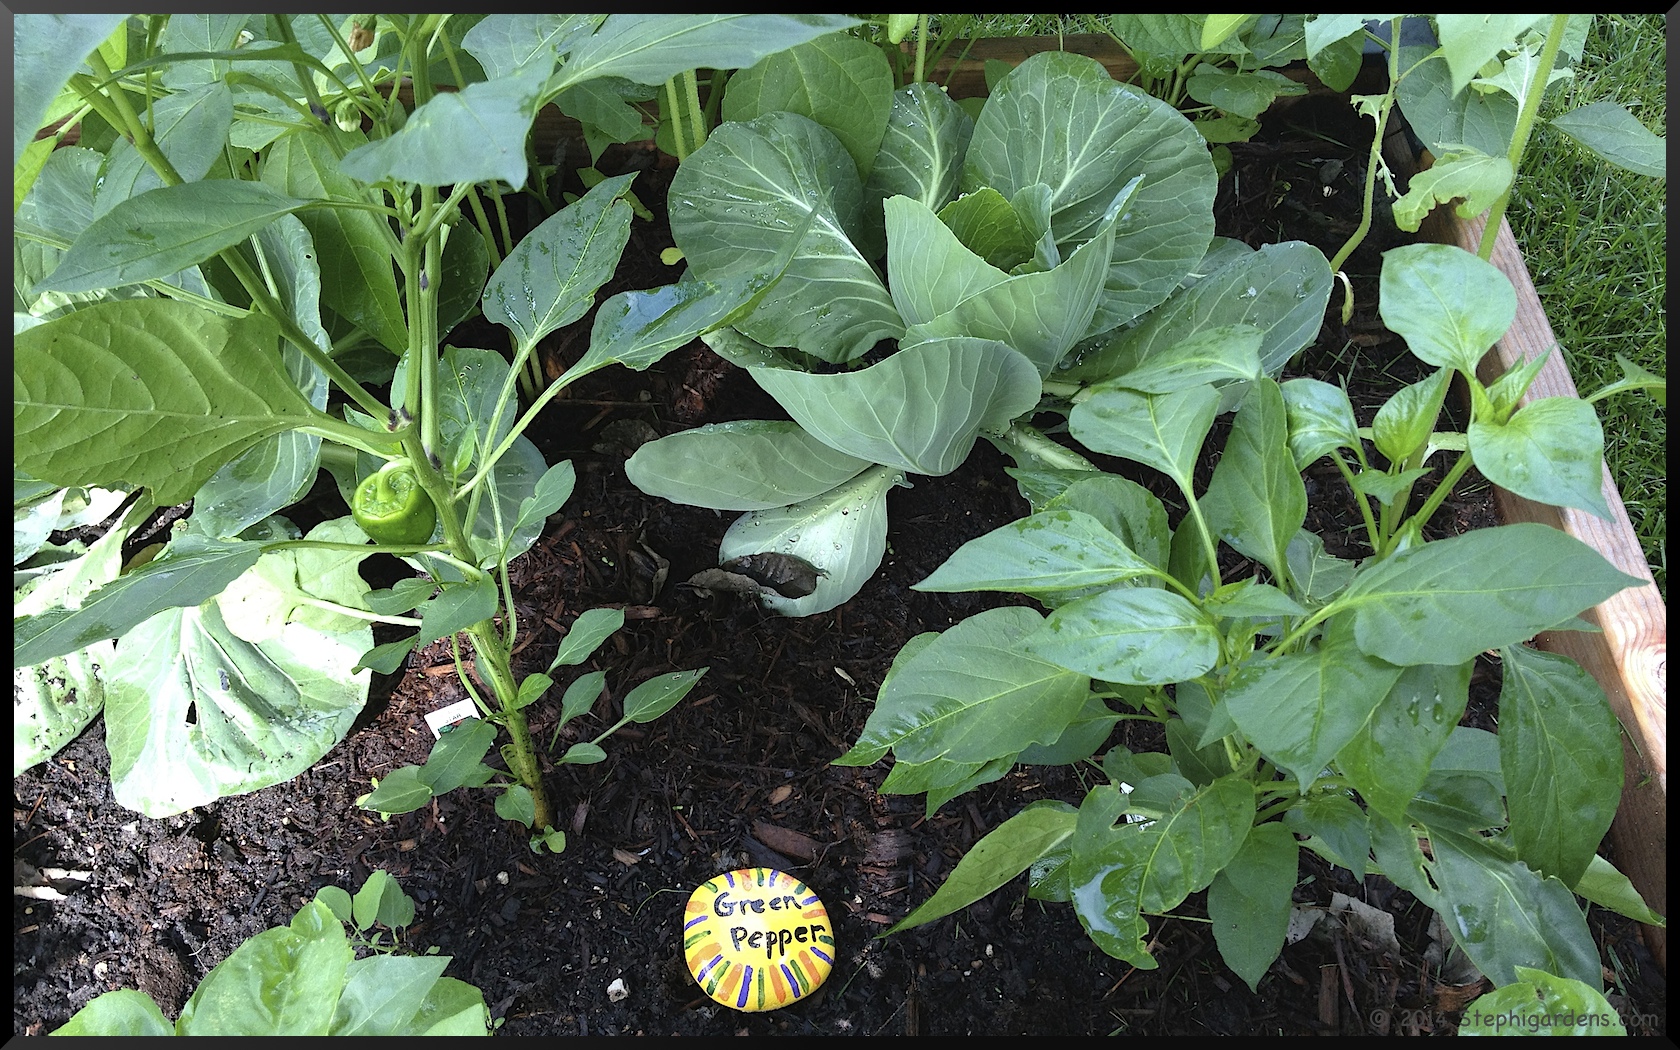
First time for cabbage and they’re looking great.

cabbage

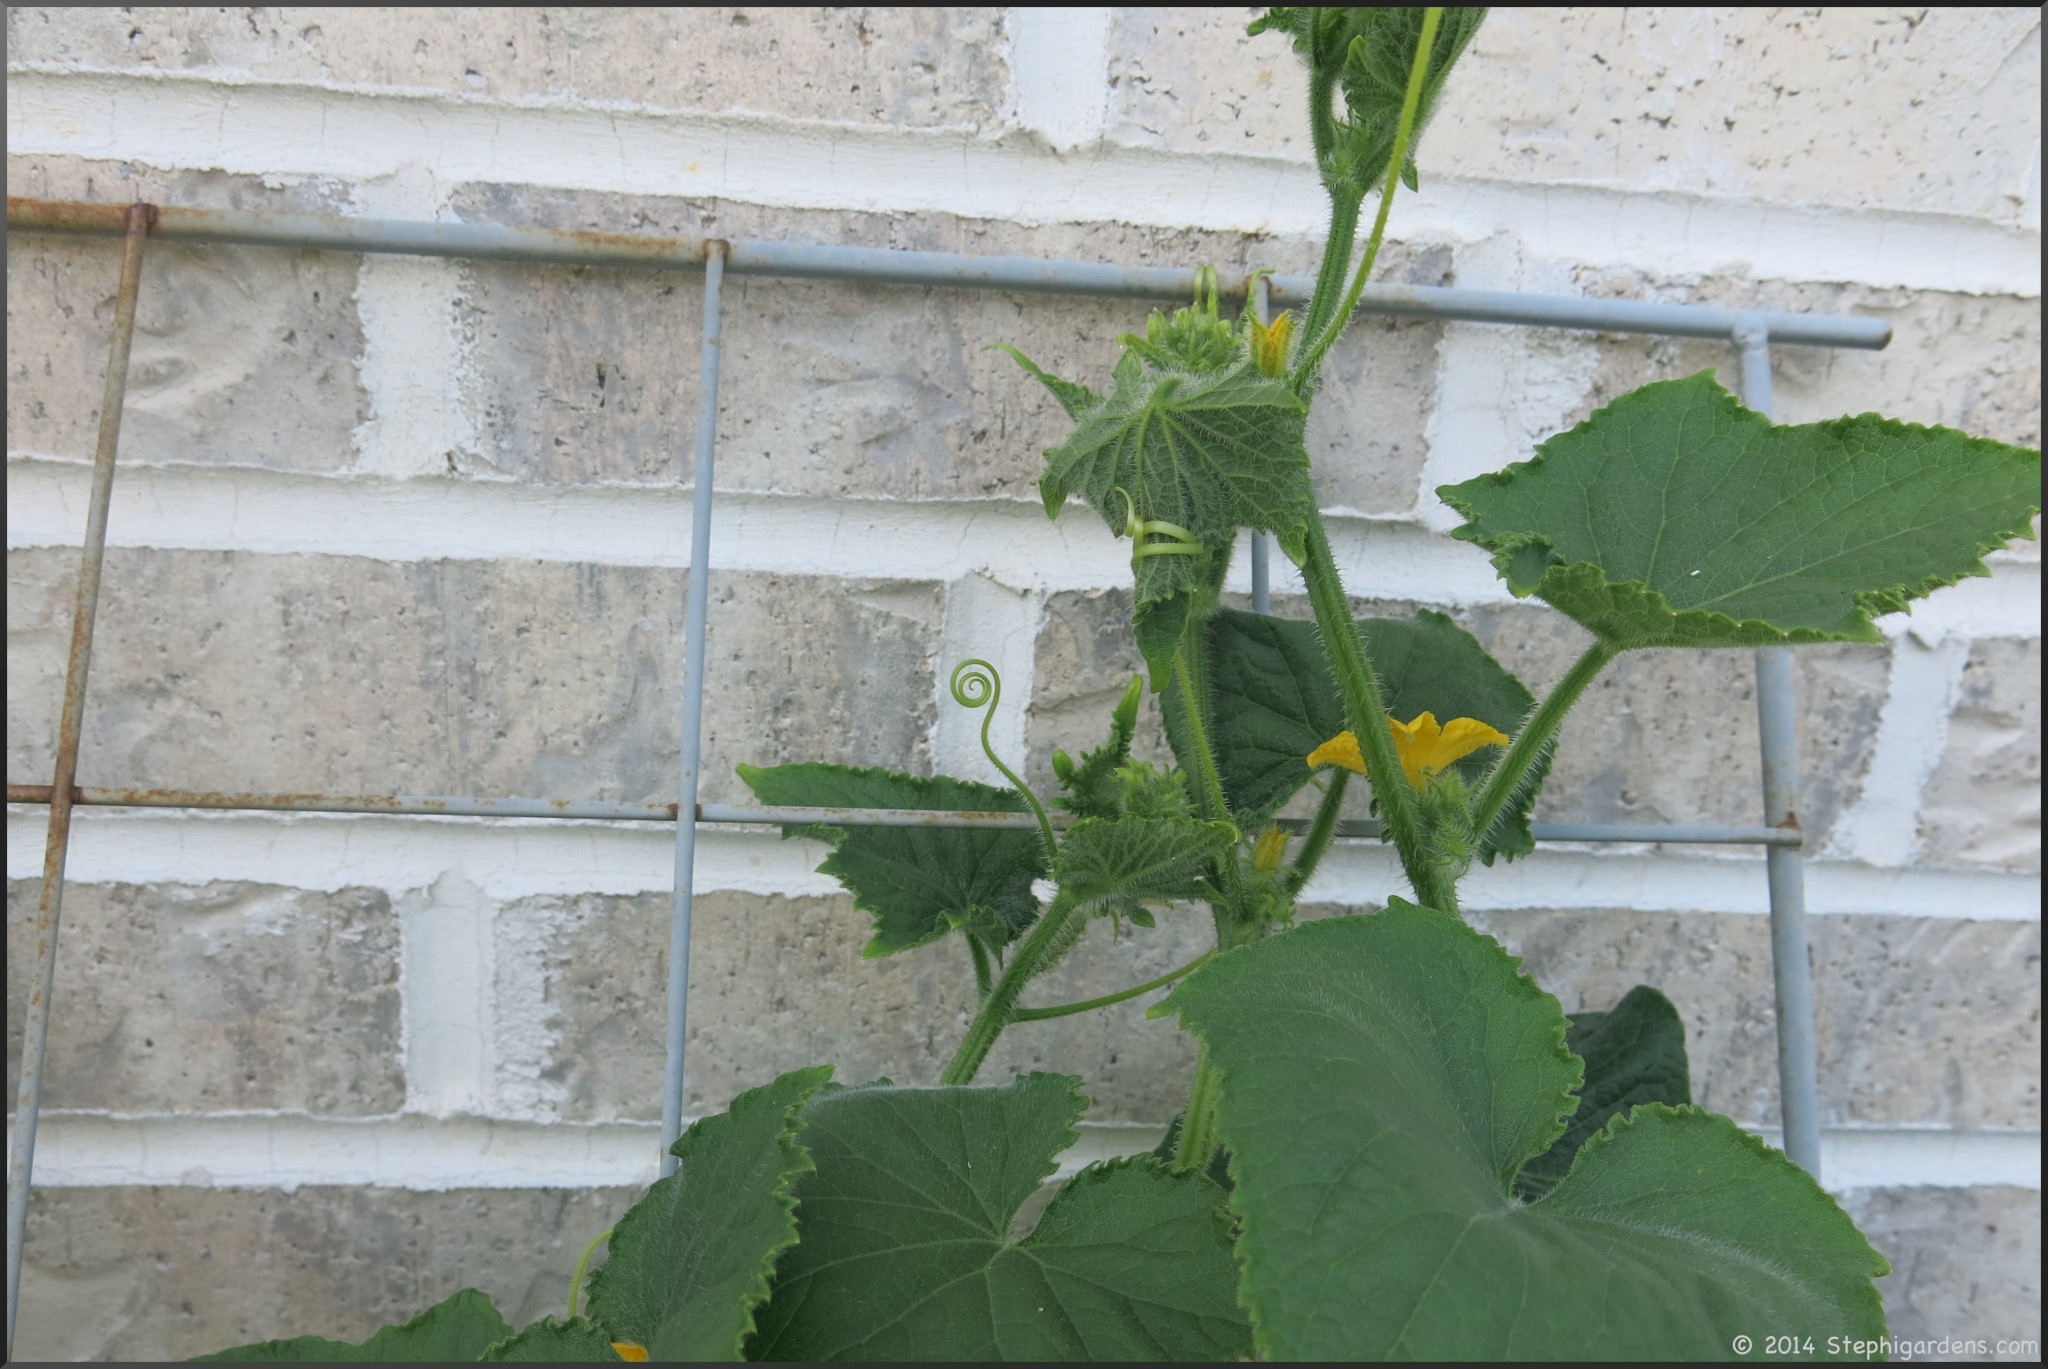
Cucumbers were slow to get going, but I’ll have plenty soon enough.

cucumber

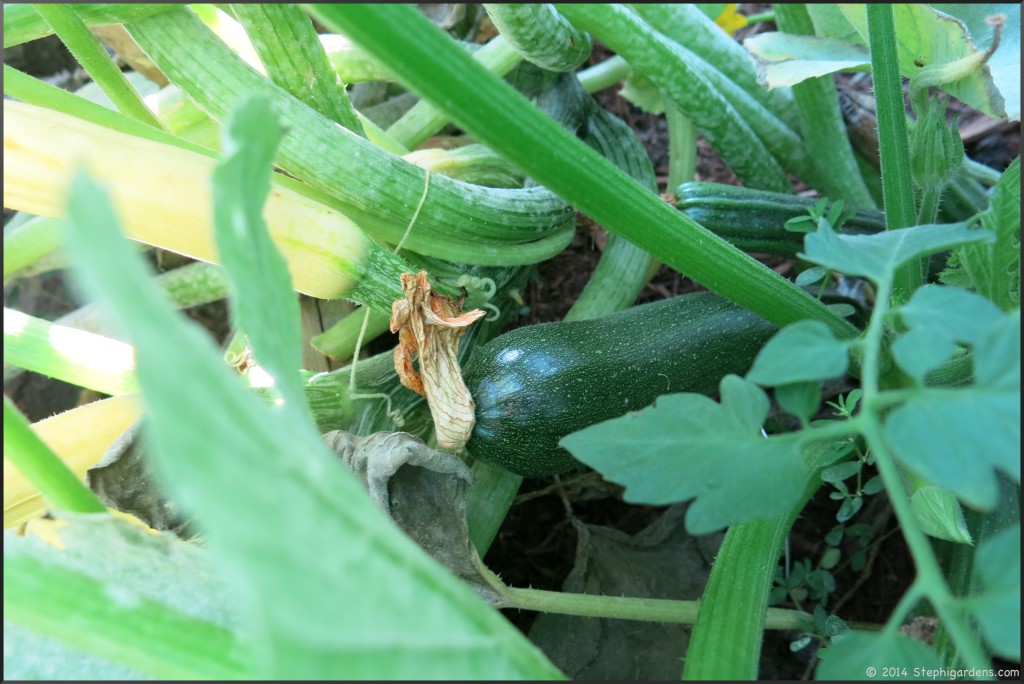
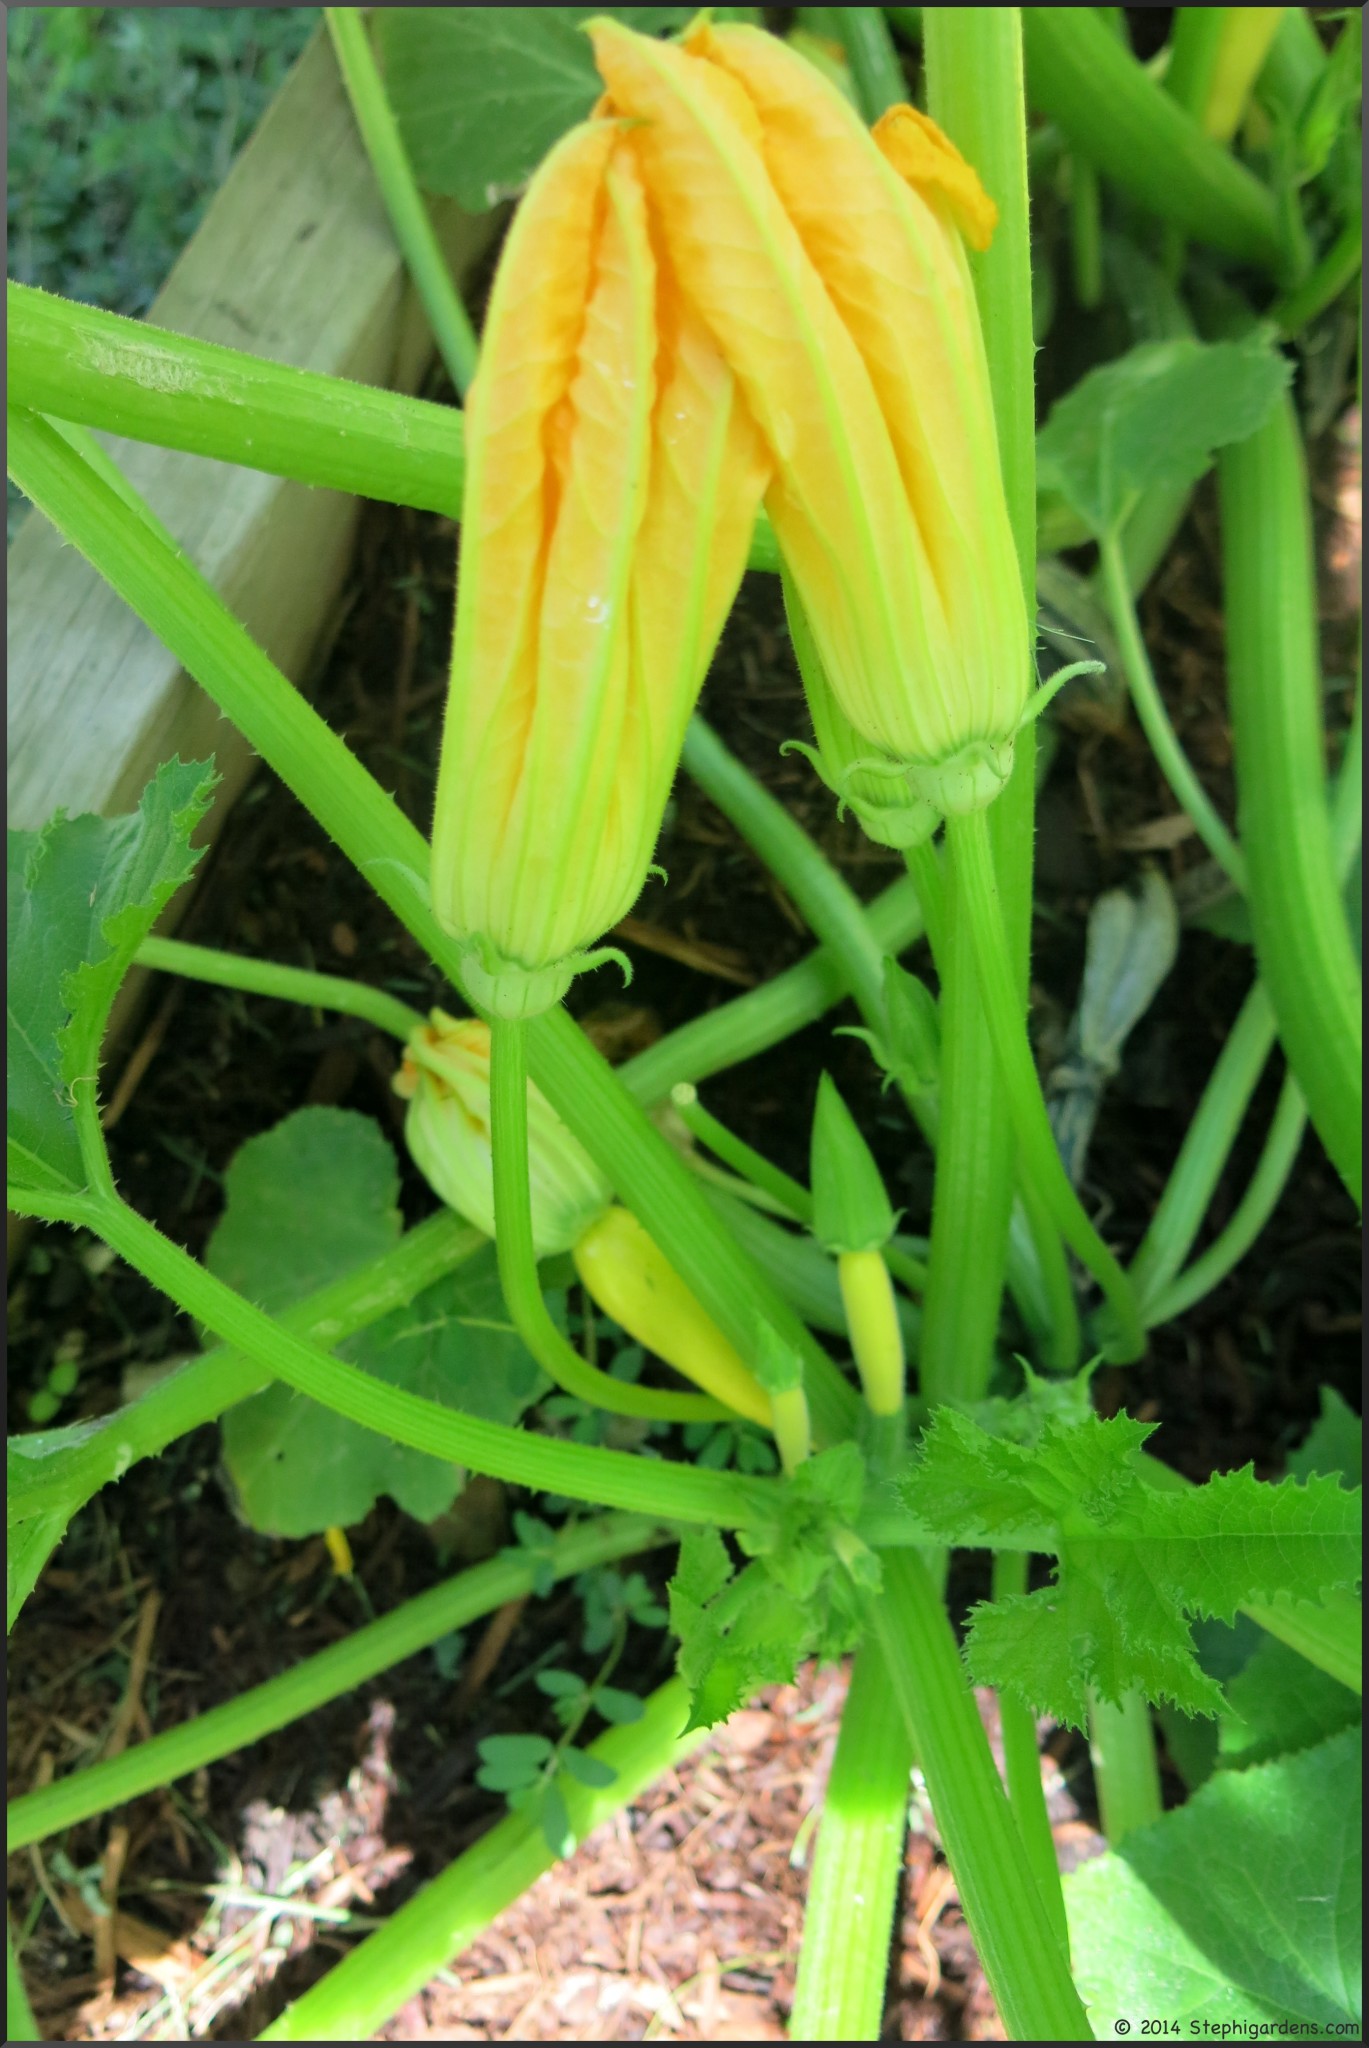
Zucchini and summer squash are plentiful.  Hoping to get some small tender ones harvested before they turn into baseball bats (see Giant Zucchini).  Somehow I’ve lost the garden markers labelling the squash varieties, so it’s a bit of a mystery what all the different squashes are.

zucchini

So, overall, I’d say everything fared pretty well this year (definitely better than the basement).   Looking forward to the continued blooms and vegetable harvests!

Me and my giant sunflowers!

sunflowers

Before Vacation

It’s always tough to go leave the garden and go on vacation.  It seems like something (or everything) is ready to just burst out in color or ripen just in time to go away. Or the weather can you throw you a curve ball and get crazy hot/cold or dry/wet. Very unpredictable. I assumed this year was no different, so right before we left I had my daughter Emily take some pictures to do a little before and after.

Some of the flowers were already in full bloom and likely will be past peak before we get back…

asian lily


yarrow


Bee balm


daylilies

Some were ready to bloom and I can only hope I don’t miss the show…

Stephi Gardens


Stephi Gardens


marigolds


Jackmanii clematus

The vegetables were flourishing.  The cooler weather vegetables were starting to show signs of stress and looking ready to bolt, but still fine to harvest for a little while longer.  Peppers, squash and beans were almost ready, so my friend who is helping with dog sitting and plant watering should get some treats.  I’d hate for them to go to waste and there’ll be plenty more.  Tomatoes are growing like gang-busters, but not expecting any ripe ones quite yet.

Stephi Gardens


lettuce


summer squash


Stephi Gardens

Vacations are always a little tricky to be sure everything stays healthy in the garden.  Right before we left for almost 2 weeks, I gave everything a watering with Miracle-Gro fertilizer and dead-headed everything that would benefit from it.  I set the sprinkler to try and optimize waterings, and had a friend also check on things and keep the pots watered.  I also tried to be sure the plants that needed staking were supported so things wouldn’t be too out of hand when I got back.

How do your gardens fare when you go on vacation?

Not the Marigolds!

Photos by Peggy

In one of my mom Peggy’s raised beds she had the beginnings of a beautiful bed of huge African Marigolds (Tagetes erecta).  If you love marigolds like I do, I couldn’t wait to see how this was going to look in the next few weeks.  Then, one morning she woke up to this…

Photos by Peggy

…and I got a frantic text outlining what had happened.  Many of the flowers had been cleanly nipped off and petals strewn everywhere.  We were puzzled as to how this happened.  Weren’t marigolds supposed to repel most garden varmints?Apparently not, after some research and this first hand experience.  This could have been the work of rabbits, chipmunks, squirrels, deer and even birds.  Based on critter observations and the bed being a little high for rabbits to get in, our best guess is the chipmunks.

We were hoping this was a one night event and the critters would move on, but no such luck.  This was the bed the next day.

photos by peggy

All the flowers cleanly cut off and many shredded.  Very disappointing and frustrating.  Might be time to put a fence around the bed like some of the others that attract rabbits.   But, if it is chipmunks, a fence is not going to help.  She’ll need to be even more creative to keep them out, or throw in the towel on the marigolds.

While I haven’t had the same problems with my marigolds, through the years I’ve had more issues with slugs and earwigs.  They go more for the foliage, and can really do a lot of damage to the leaves.  Best way to diagnose these pests is to go out at night with a flashlight and see what’s going on.   When I had smaller gardens I had good luck with a pie plate of beer put out at night.  It is a bit gross in the morning, but it does work.  These days I have more issues with my hostas being attacked by slugs than I do my marigolds.  Because of the larger garden size, I now I use the organic Sluggo slug bait instead when things get bad.

Earwigs (which I just hate probably only second to palmetto bugs) can be beneficial in small numbers but a pest in larger numbers.  I’ve had luck trapping them in the beer filled tins with the slugs, or by placing rolled up damp newspapers in the garden at night.  In the morning, grab the newspapers and dunk them in a pail of water.  Some others have reported that using small tuna sized cans with about a 1/4 inch of cooking oil in it as traps works well too.

Have you ever woken up to find one of your gardens destroyed overnight?

Save

Geranium and Petunia Planter: Summer Maintenance

In my last post, I showed you how I planted my geranium and petunia planter (Geranium and Petunia Planter).  Aside from watering and fertilizing as needed, there’s a little bit more maintenance to do to keep the plants bushy and pretty. Basically you need to pinch off the dying flowers before they turn to seed.  This keeps the plant putting its effort into making more flowers instead of focussing on going to seed.

Every few days, check and look for dead or dying flower stalks.

 geranium

Not only are they ugly, they are sucking plant energy into finishing seed production rather than into flower production.  

geranium

Pinch down low, where the stem meets the plant and pull downward.  The flower stalk will break right off.  If this seems tricky, or you’re not getting a clean break, you can use clippers. 

geranium

Now it looks prettier and there’s lots of new buds ready to burst forth.  

geranium and petunia planter

Now for the petunias… These are the old fashioned types, so you need to pull off all the dead and dying flowers to keep the flowers blooming all season.  Be sure to not just remove the petals, but pinch back to the base of the flower, or to just above the first leaf below the flower.  Otherwise, you’ve left the seed pod to mature.

Some of the new hybrids either don’t need dead heading at all, or the dead flowers just drop off with a breeze or a shake.  Very convenient!

petunia

Don’t forget your hanging geraniums either!  They need the same attention.

hanging geranium


Geranium and Petunia Planter

geraniums and petunia planter

In my experience, to have a successful planter or pot, there’s a few tricks you’ll want to use.

  • First, be sure your planter has a drain hole.  If not, try to drill some if the planter material allows
  • Add a layer of something to keep the soil from washing out (and can cut down on the amount of soil needed if the planter is large).  Depending on the size of the pot (therefore weight), you can use stones, styrofoam peanuts, a layer of newspaper, etc.  I’ve even used pinecones in some.
  • Only use potting soil!!  It’s specially blended to avoid soil compaction and retain moisture.  I usually use Miracle Gro Potting Mix.  If it’s the first year of using the soil, fertilization isn’t usually needed, after that be sure to fertilize on a regular basis.
  • What kind of plants you add is up to you.  There’s lots of resources to come up with interesting combinations.  Use what you like!

On to planting… Geraniums and petunias are one of my favorite combos.  It’s simple, but gives a great splash of color in this low rectangular pot that sits on my patio.

First, decide how the plants will be arranged.

geraniums

It’s easiest to remove some of the soil first.  Set the plants in, the pack the soil back in the plants.

IMG_5870

Remove the plant from the pot.  This is easiest done by grabbing the stem down low next to the soil and turning the plant over.  Tap, twist or squeeze the container and pull gently.  Be careful to get the dirt with the roots.

geraniums

If the roots are root bound, squeeze the root gently to allow some of the roots to separate out.  This allows the roots to come in contact with the new dirt and grow.  If really root bound, physically pull the root ball apart at the bottom  to get root growth started again.

IMG_5872

Plant the root ball level with the surface of the soil.  Pack the soil back in around the root ball.  Be sure to get as many roots in contact with the potting soil to grow for a healthy plant.  Water generously to soak the roots and push out any air spaces that will block soil and root contact.

geraniums

Now time to add the petunias.

petunia

Be especially careful removing the plants.  Grab low and push from the bottom.  Plants in these small 6 packs can easily be pulled right out of the soil if you’re not careful.

petunia

Plants in cell packs are often quite root bound.

petunia

Give them a squeeze to open the roots up.

petunia

Finished product!

geraniums and petunia planter

Do you have a favorite simple plant combo you keep coming back to?