Potatoes Part 2: Growing and Harvesting

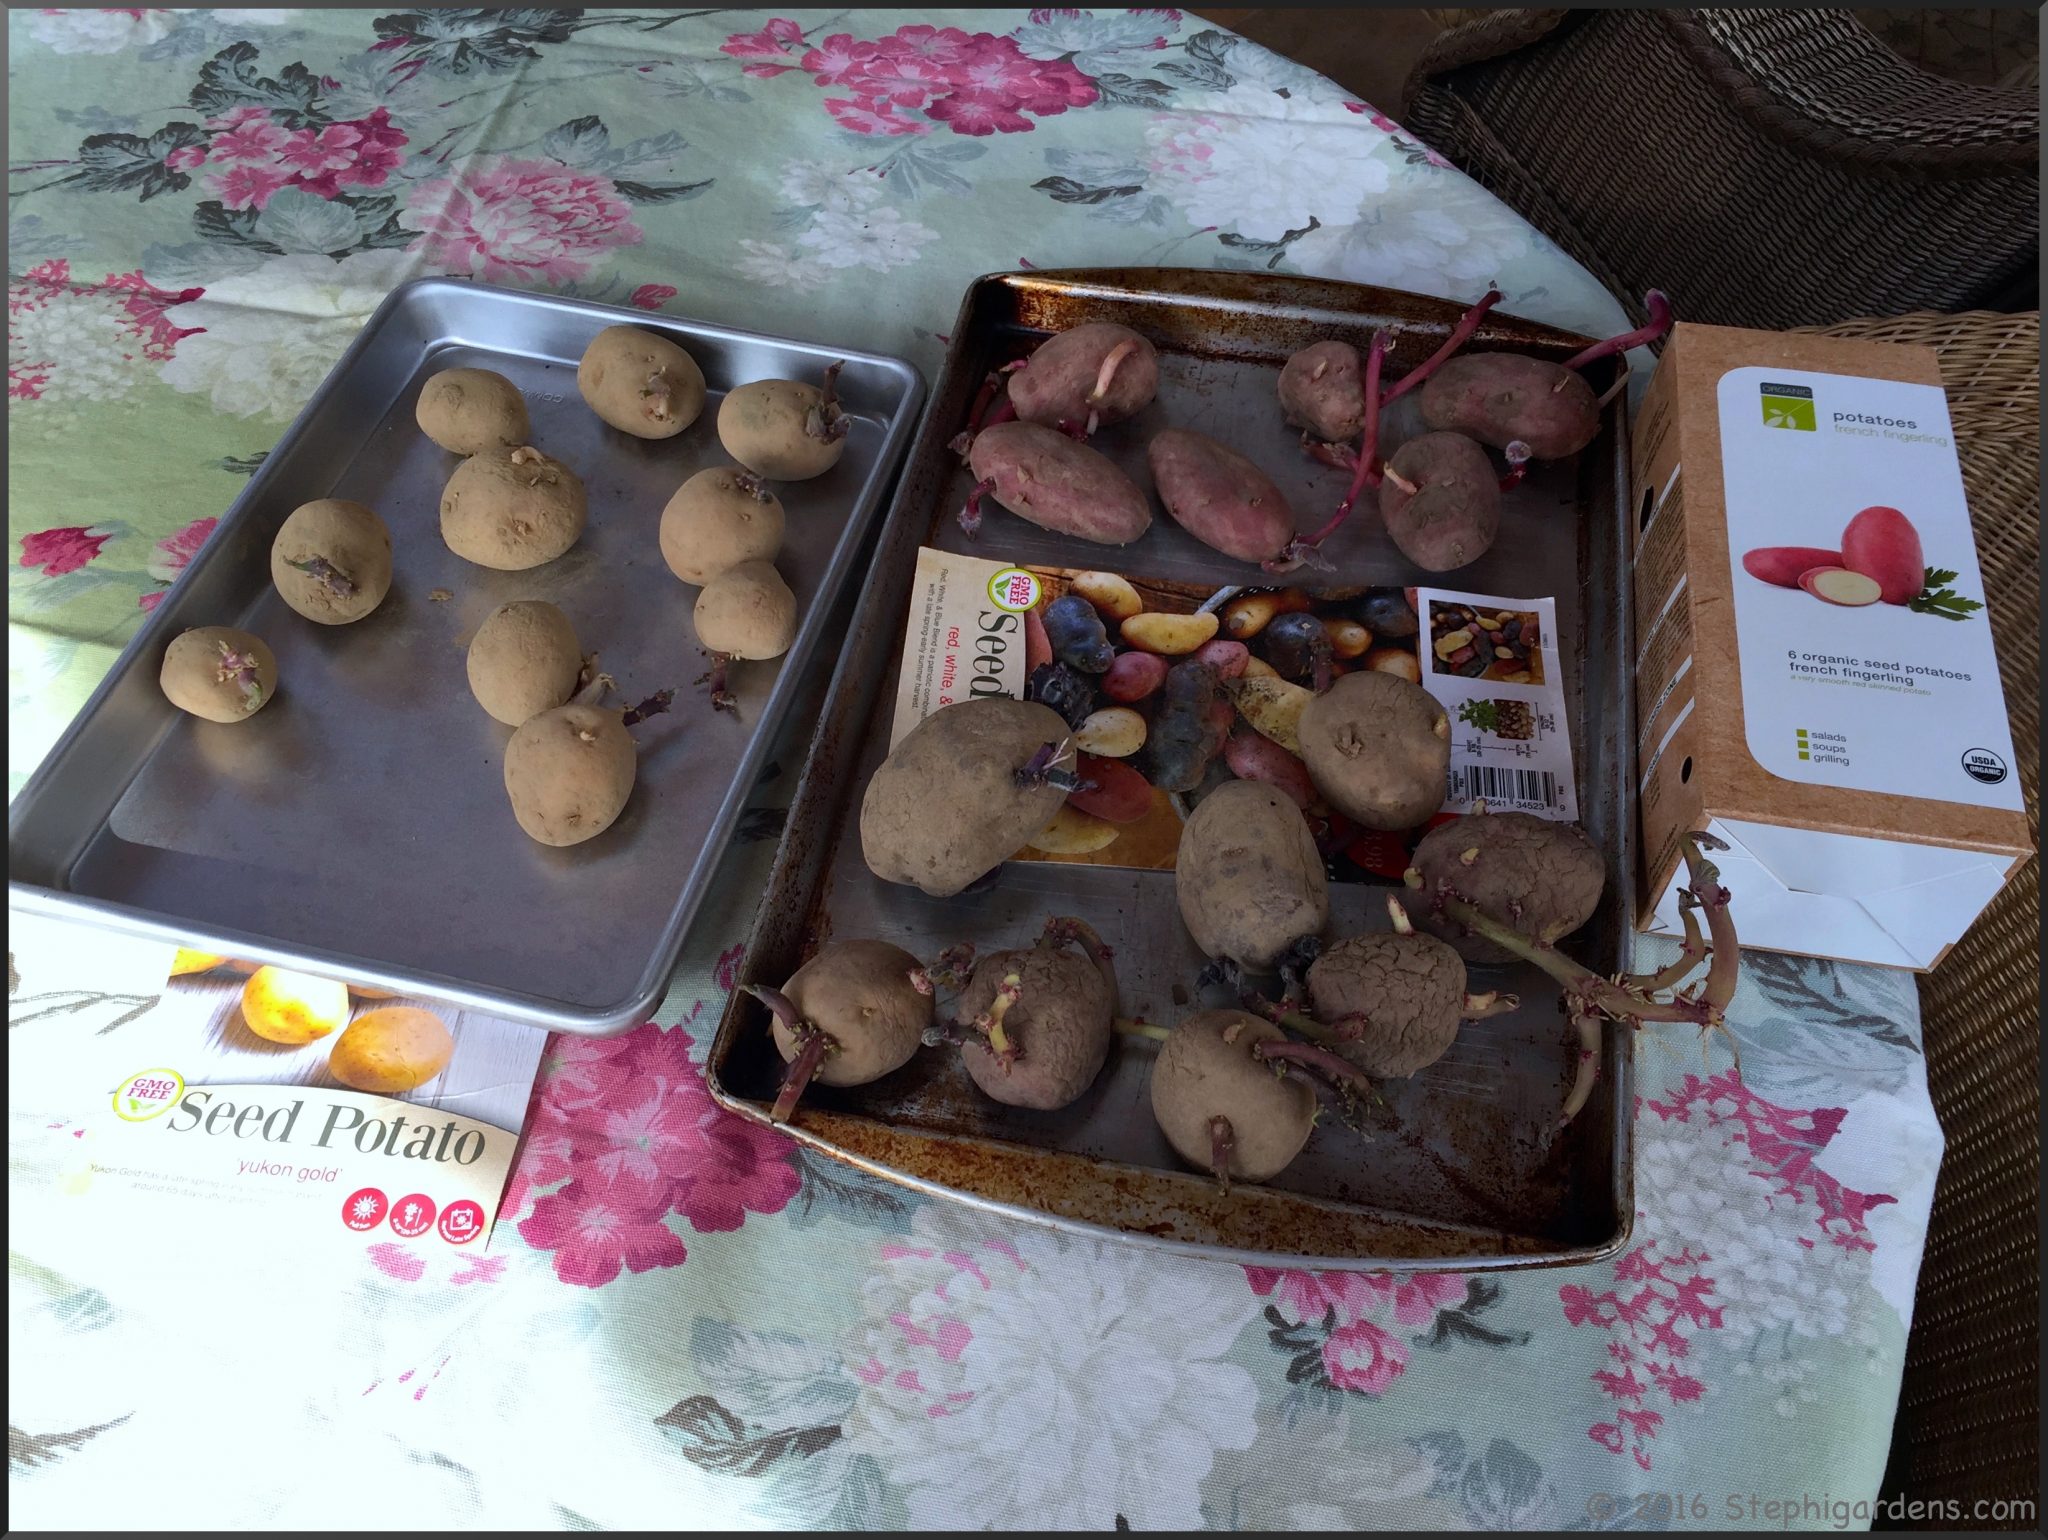
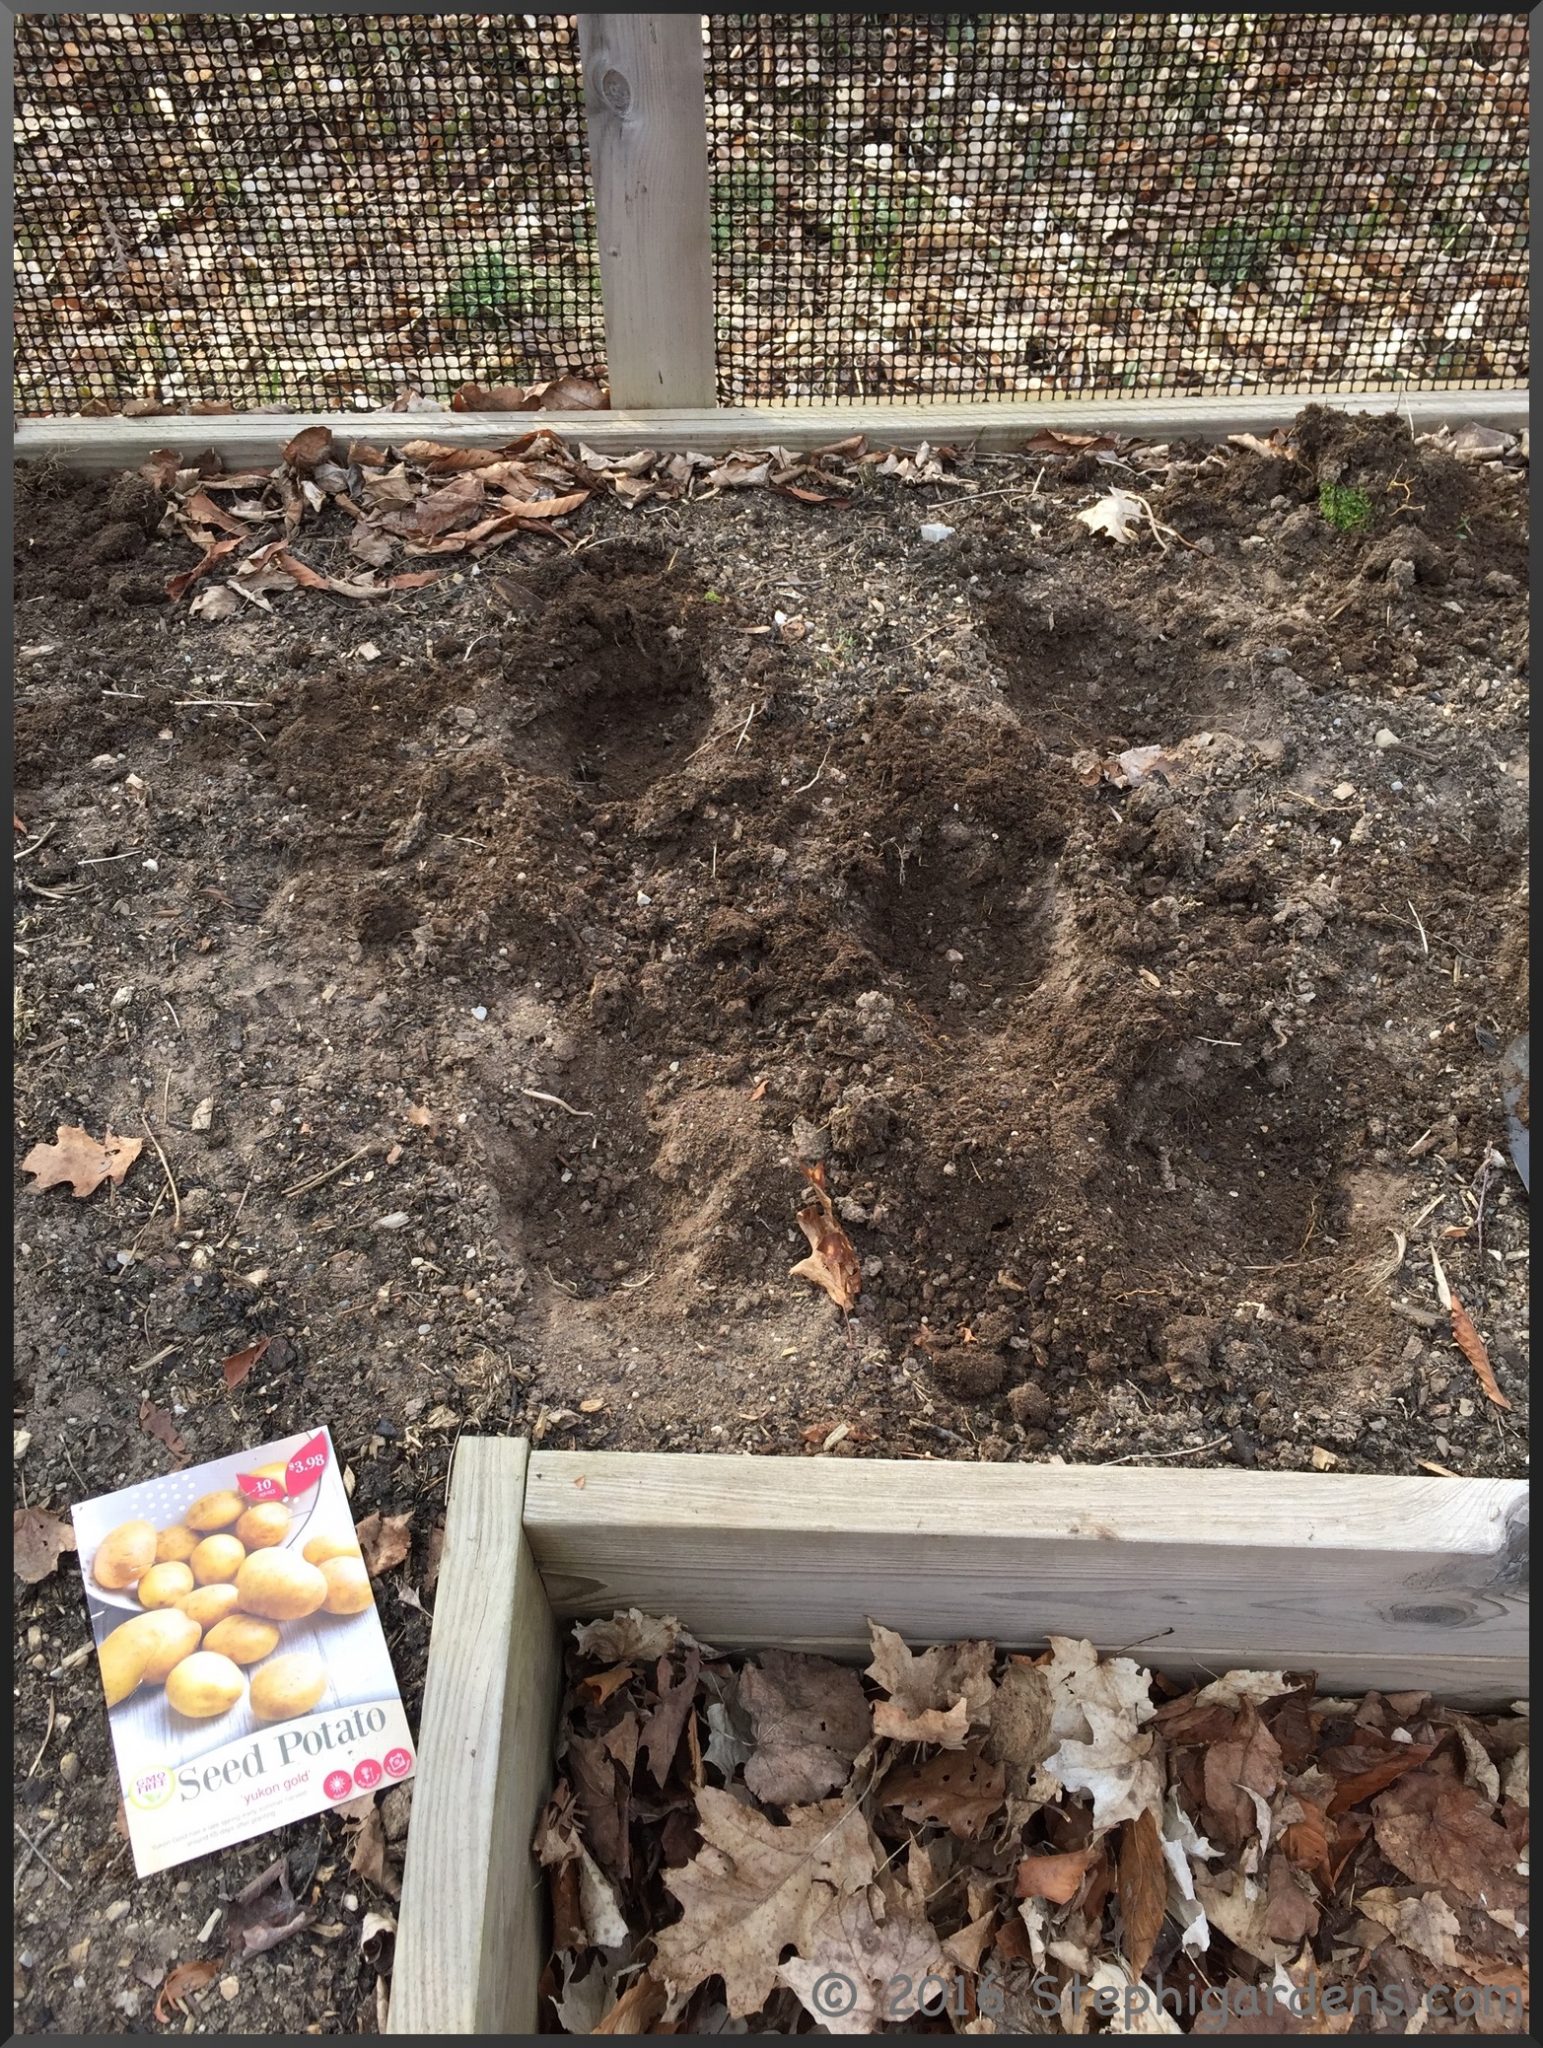
Earlier this week, I wrote about planting potatoes in both in bags and potato hills (Growing Potatoes Part 1: Preparation and Planting). That was the work part, watching them grow and harvesting was the easy part.

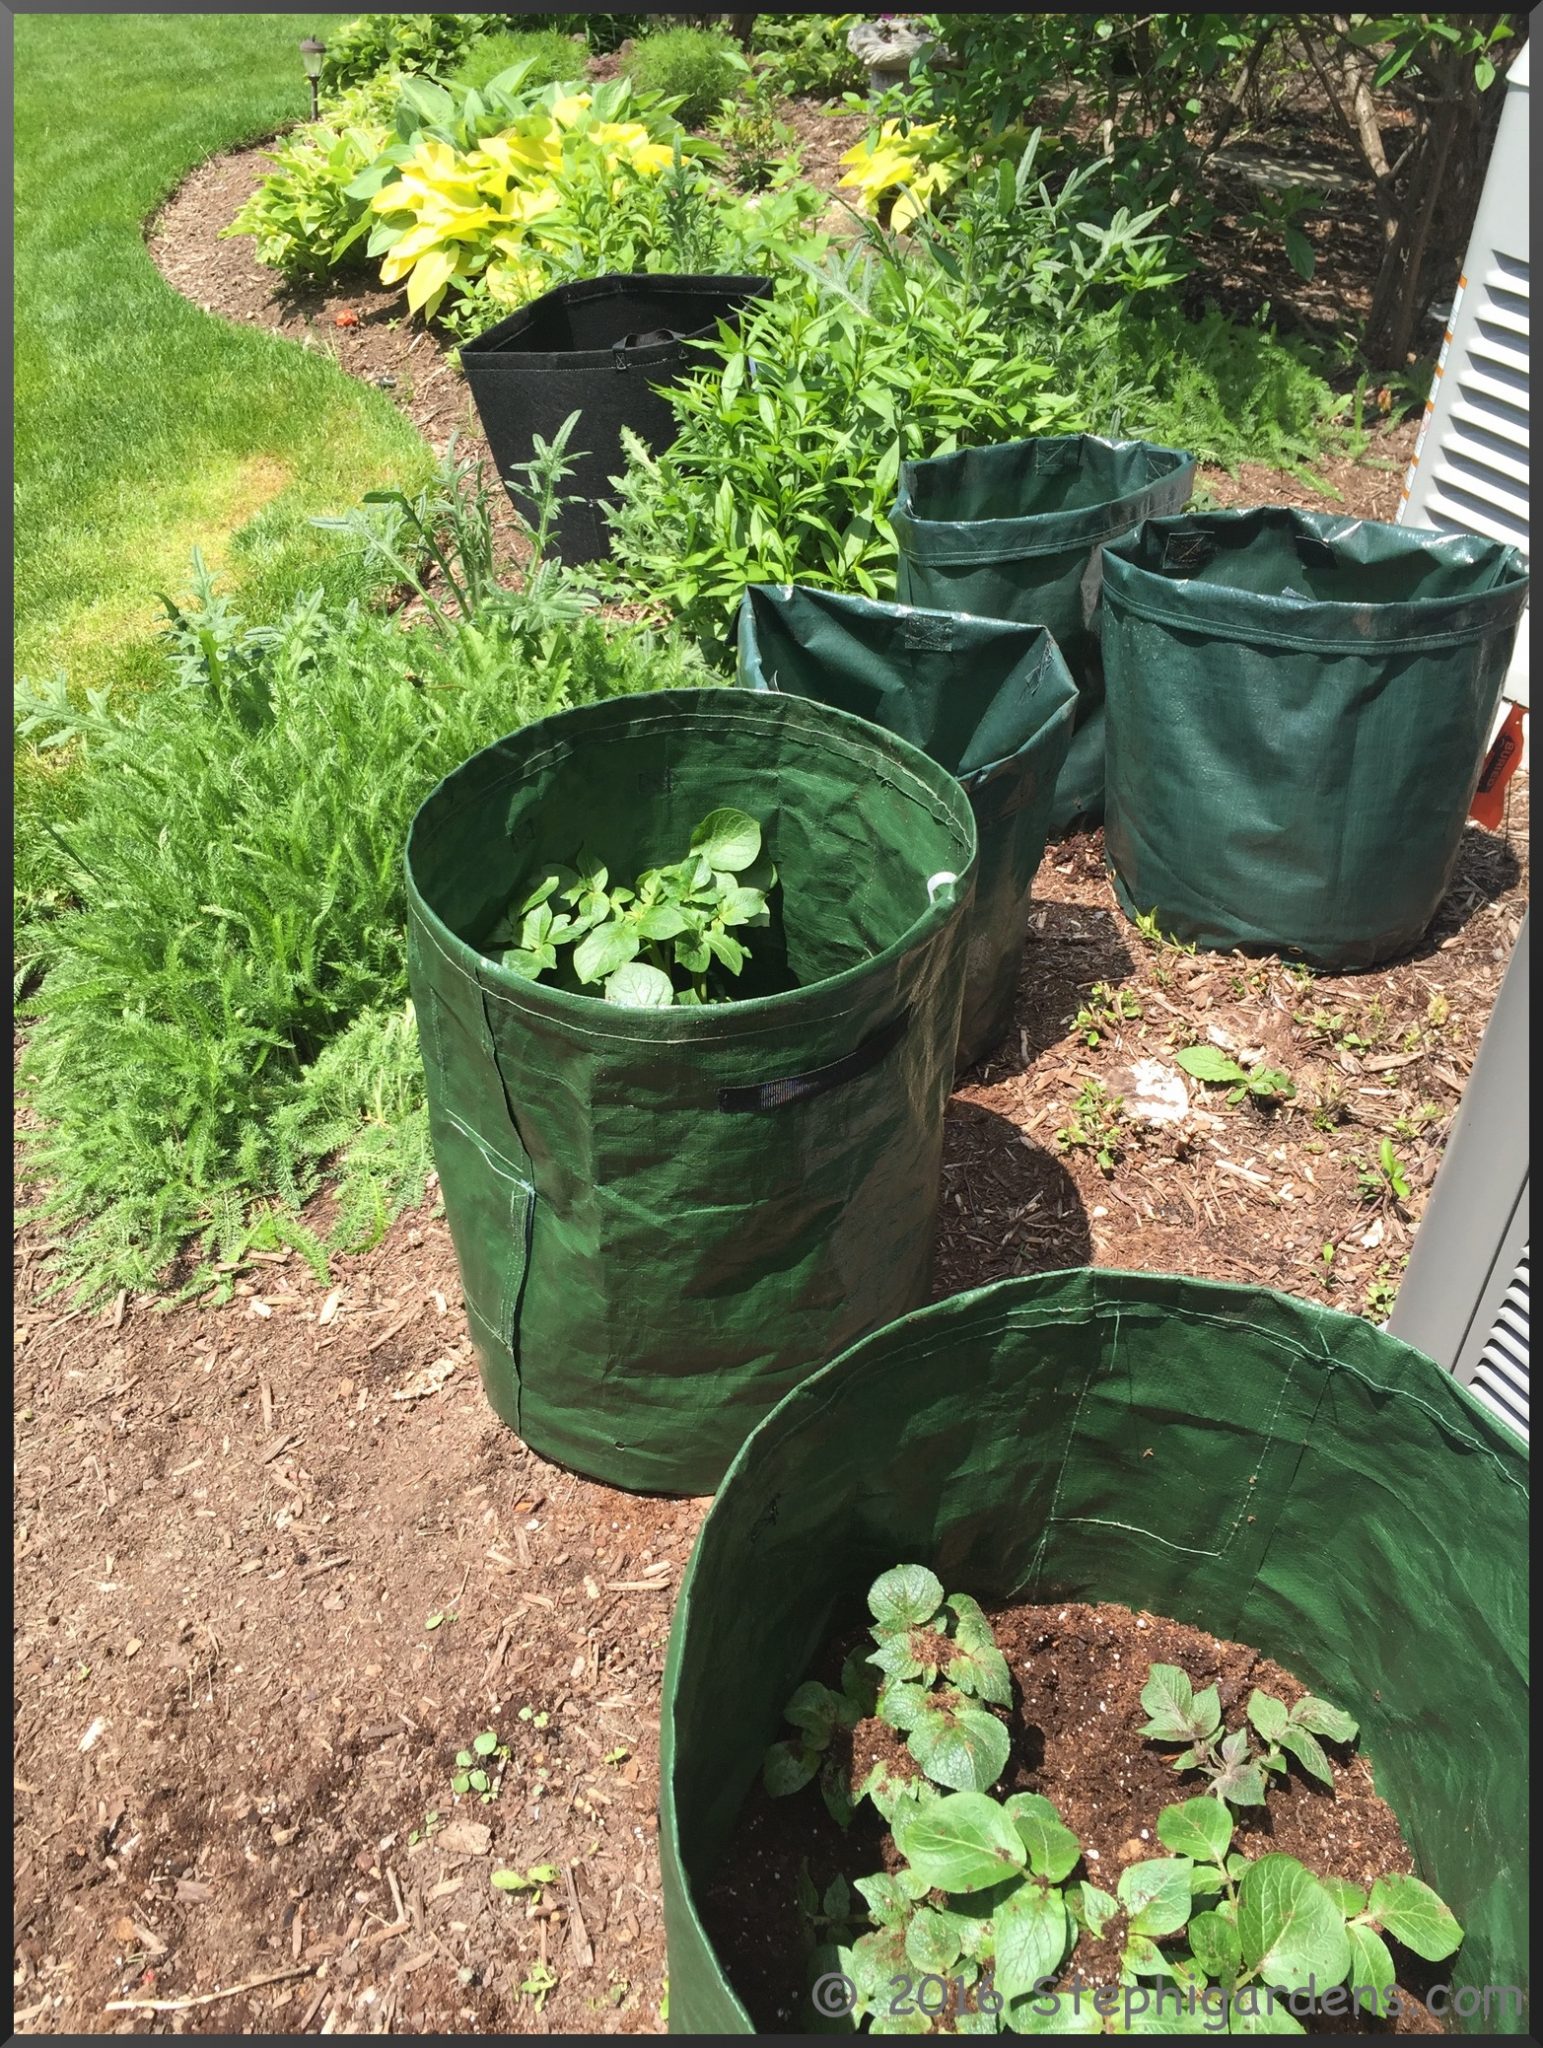
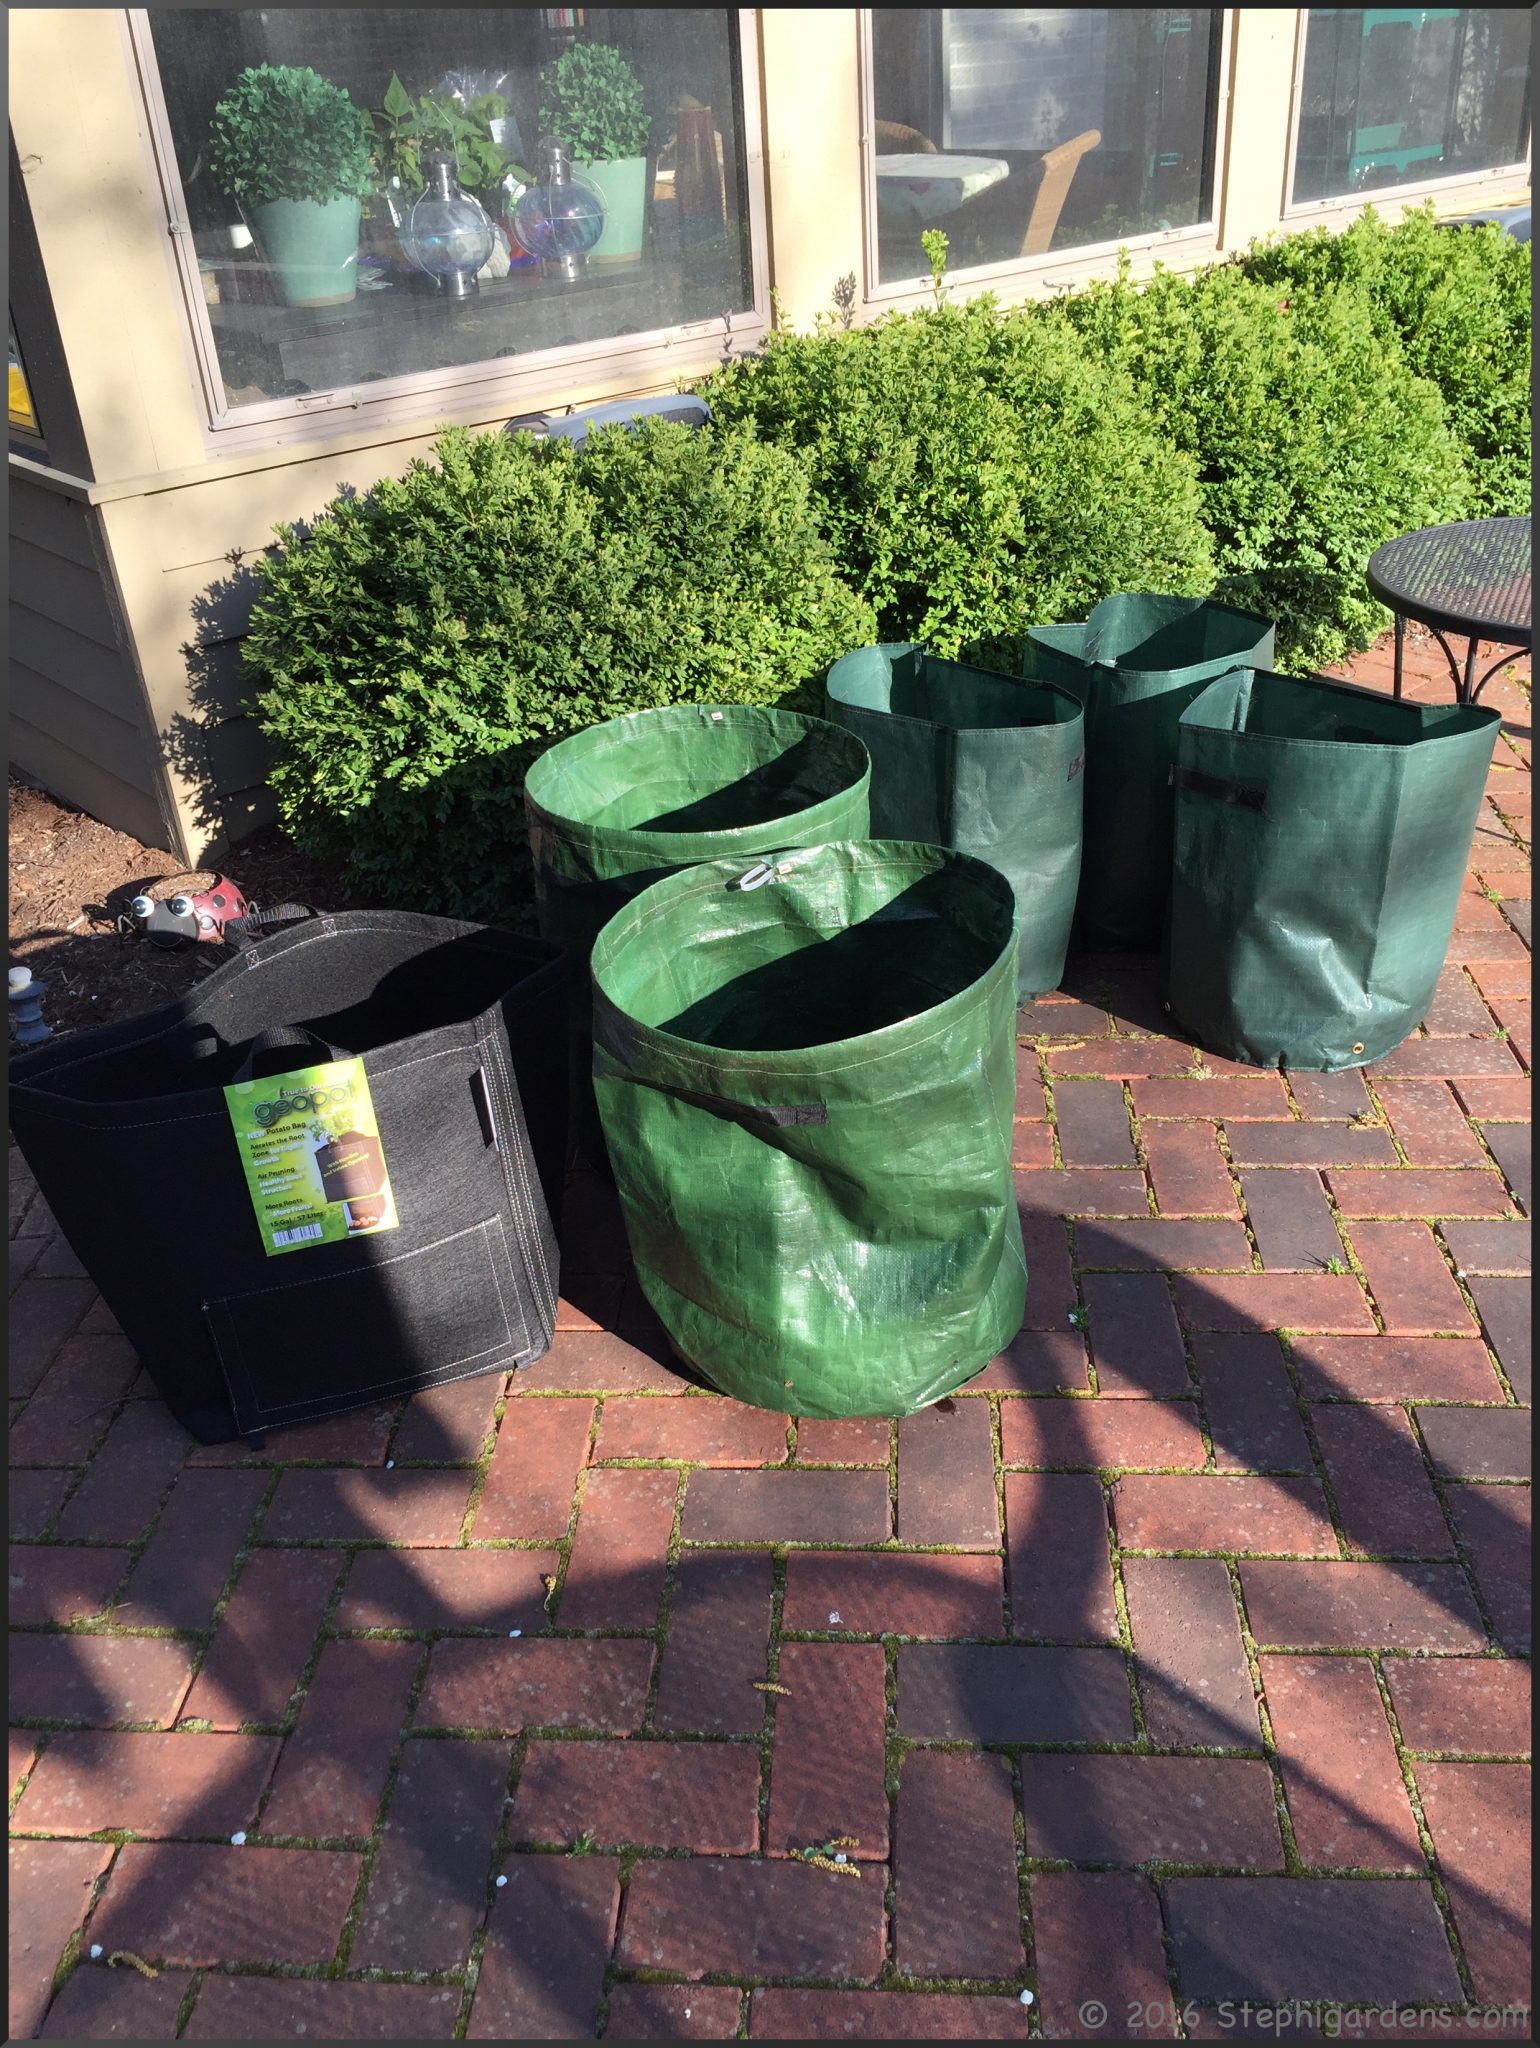
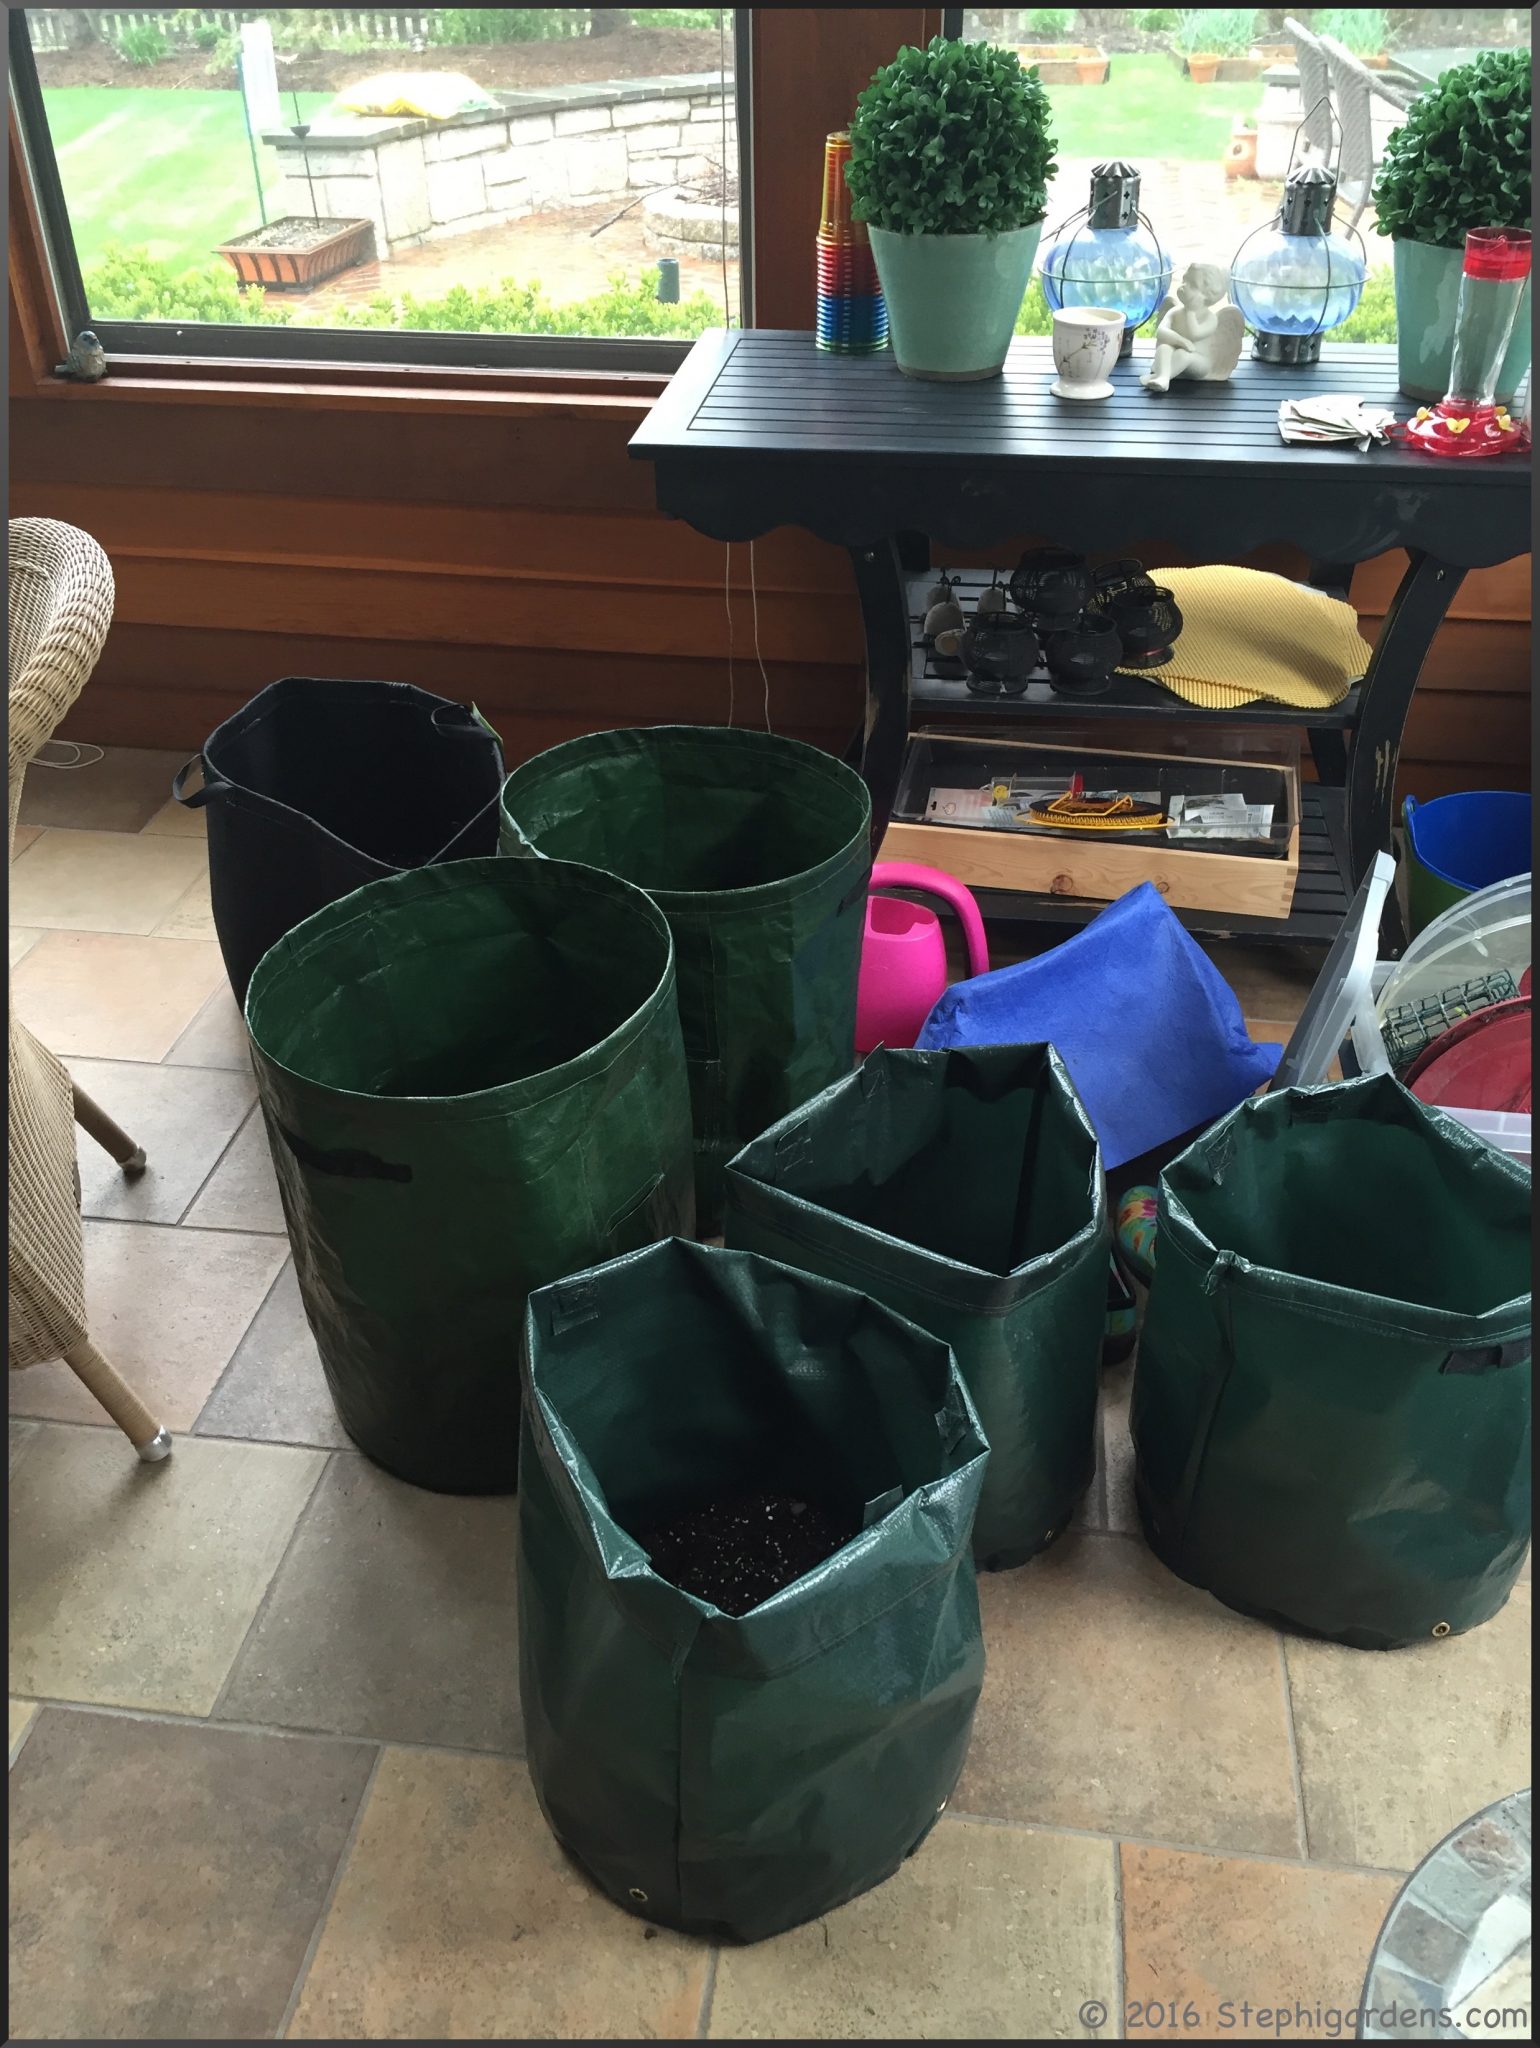
Two important things to remember as the summer wore on. Keep them watered (!)  and keep adding soil periodically until the bags are full. They do get a bit messy, so I’m glad I had them in an out-of-the-way spot in the yard.

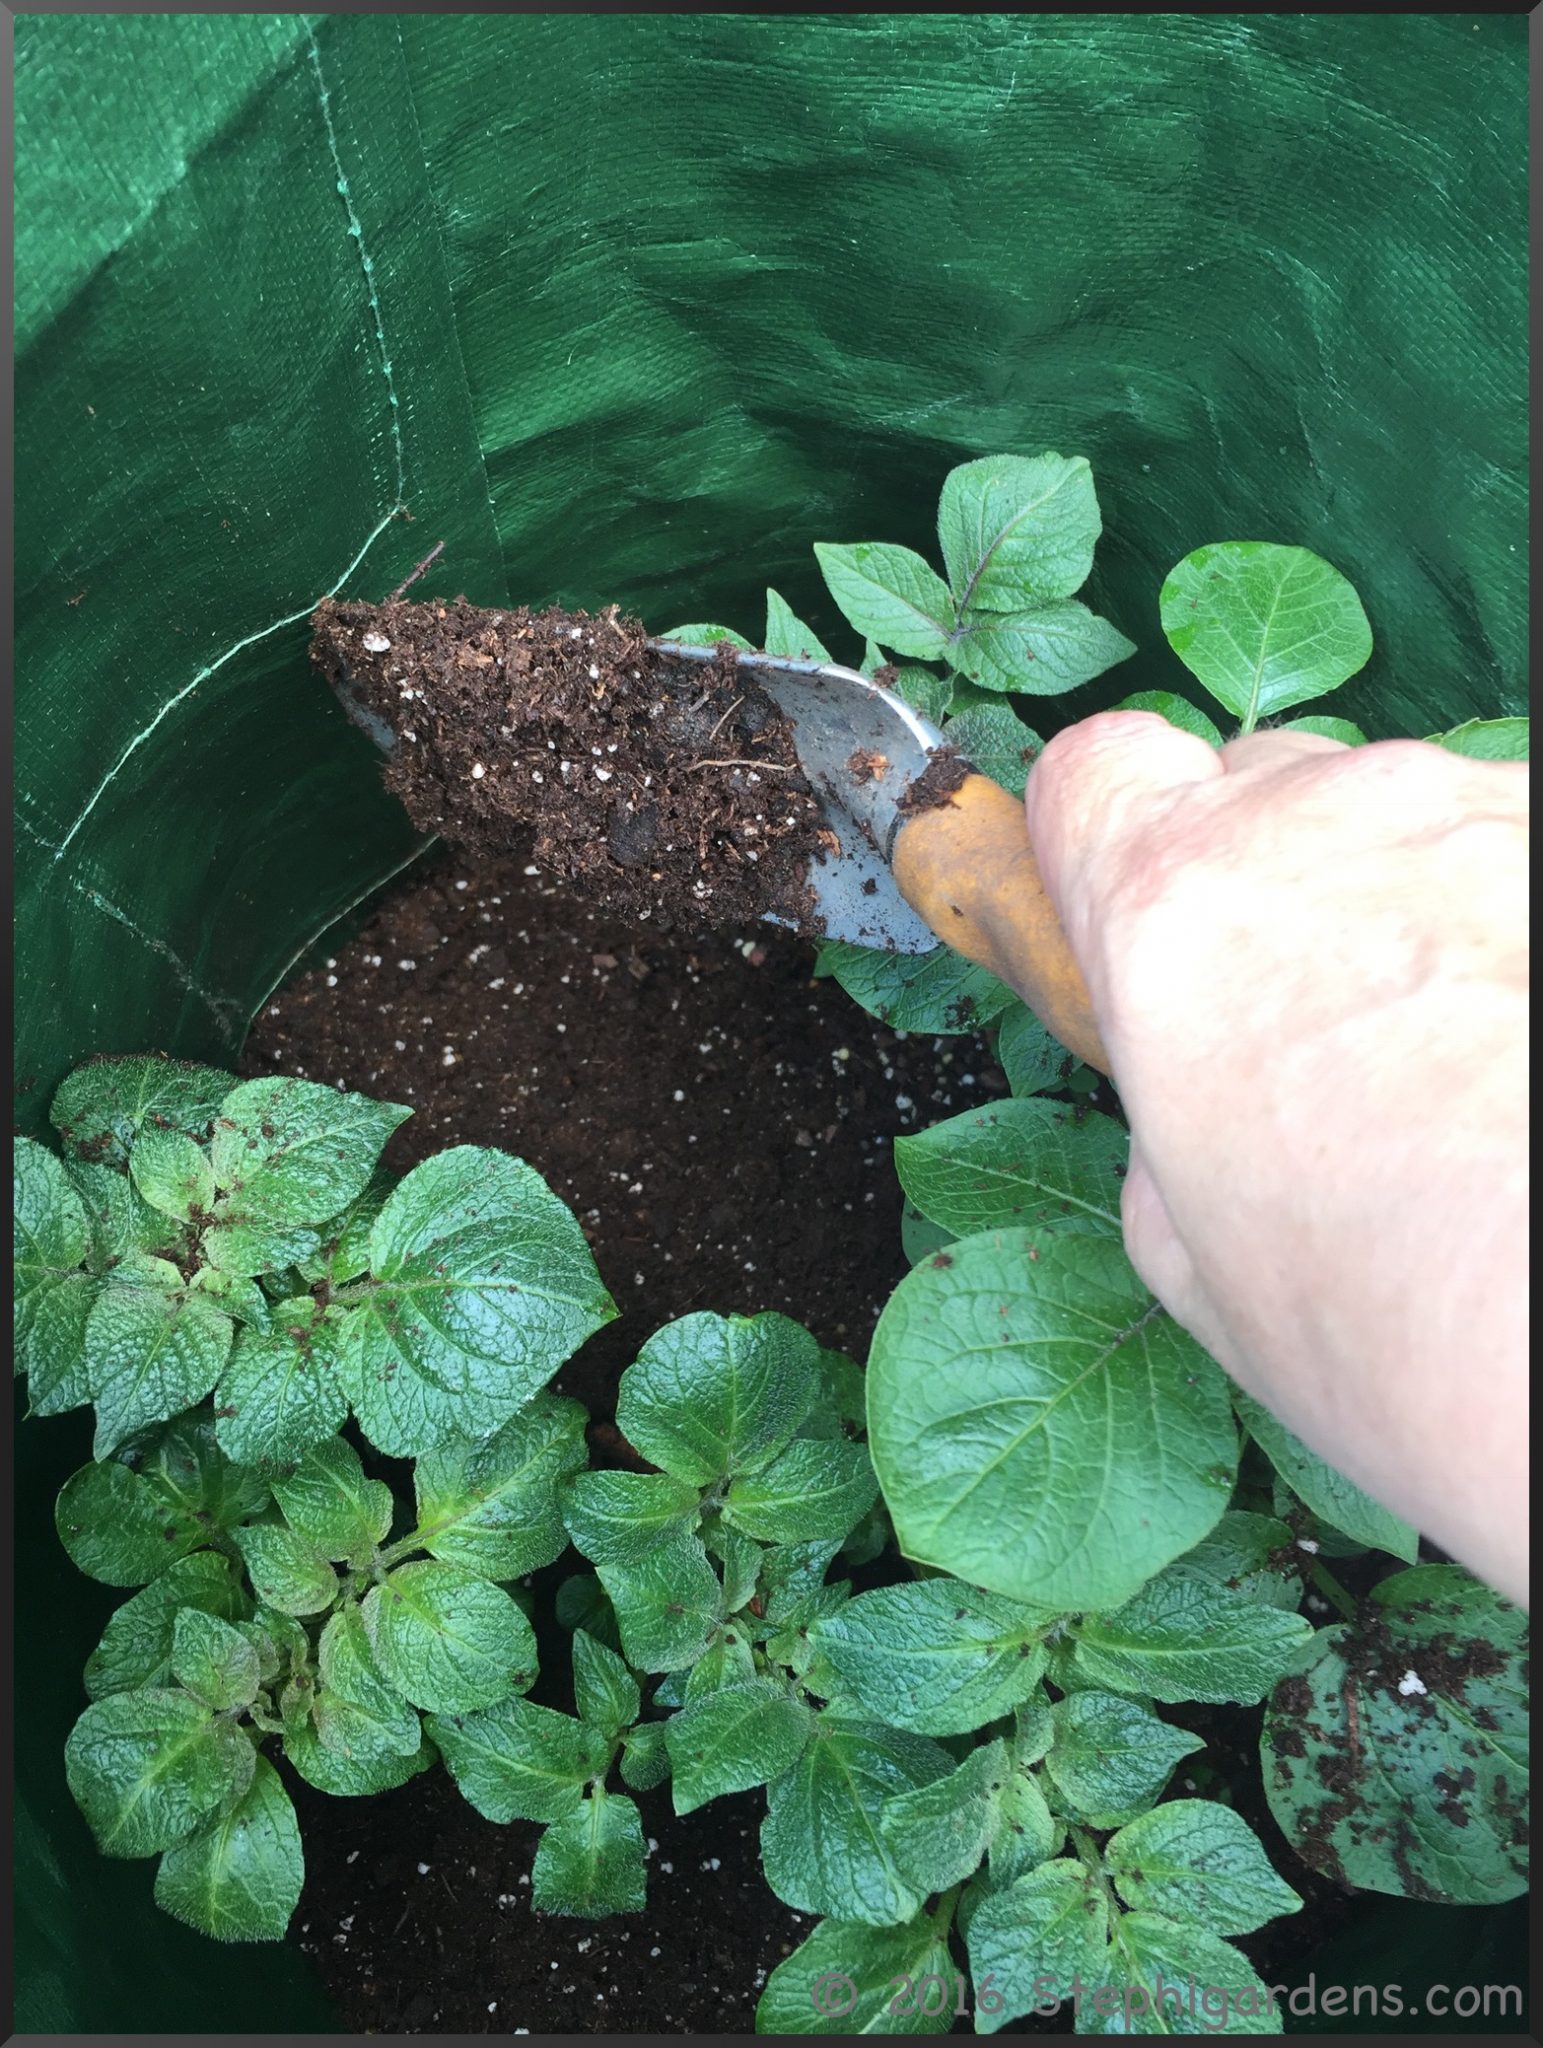
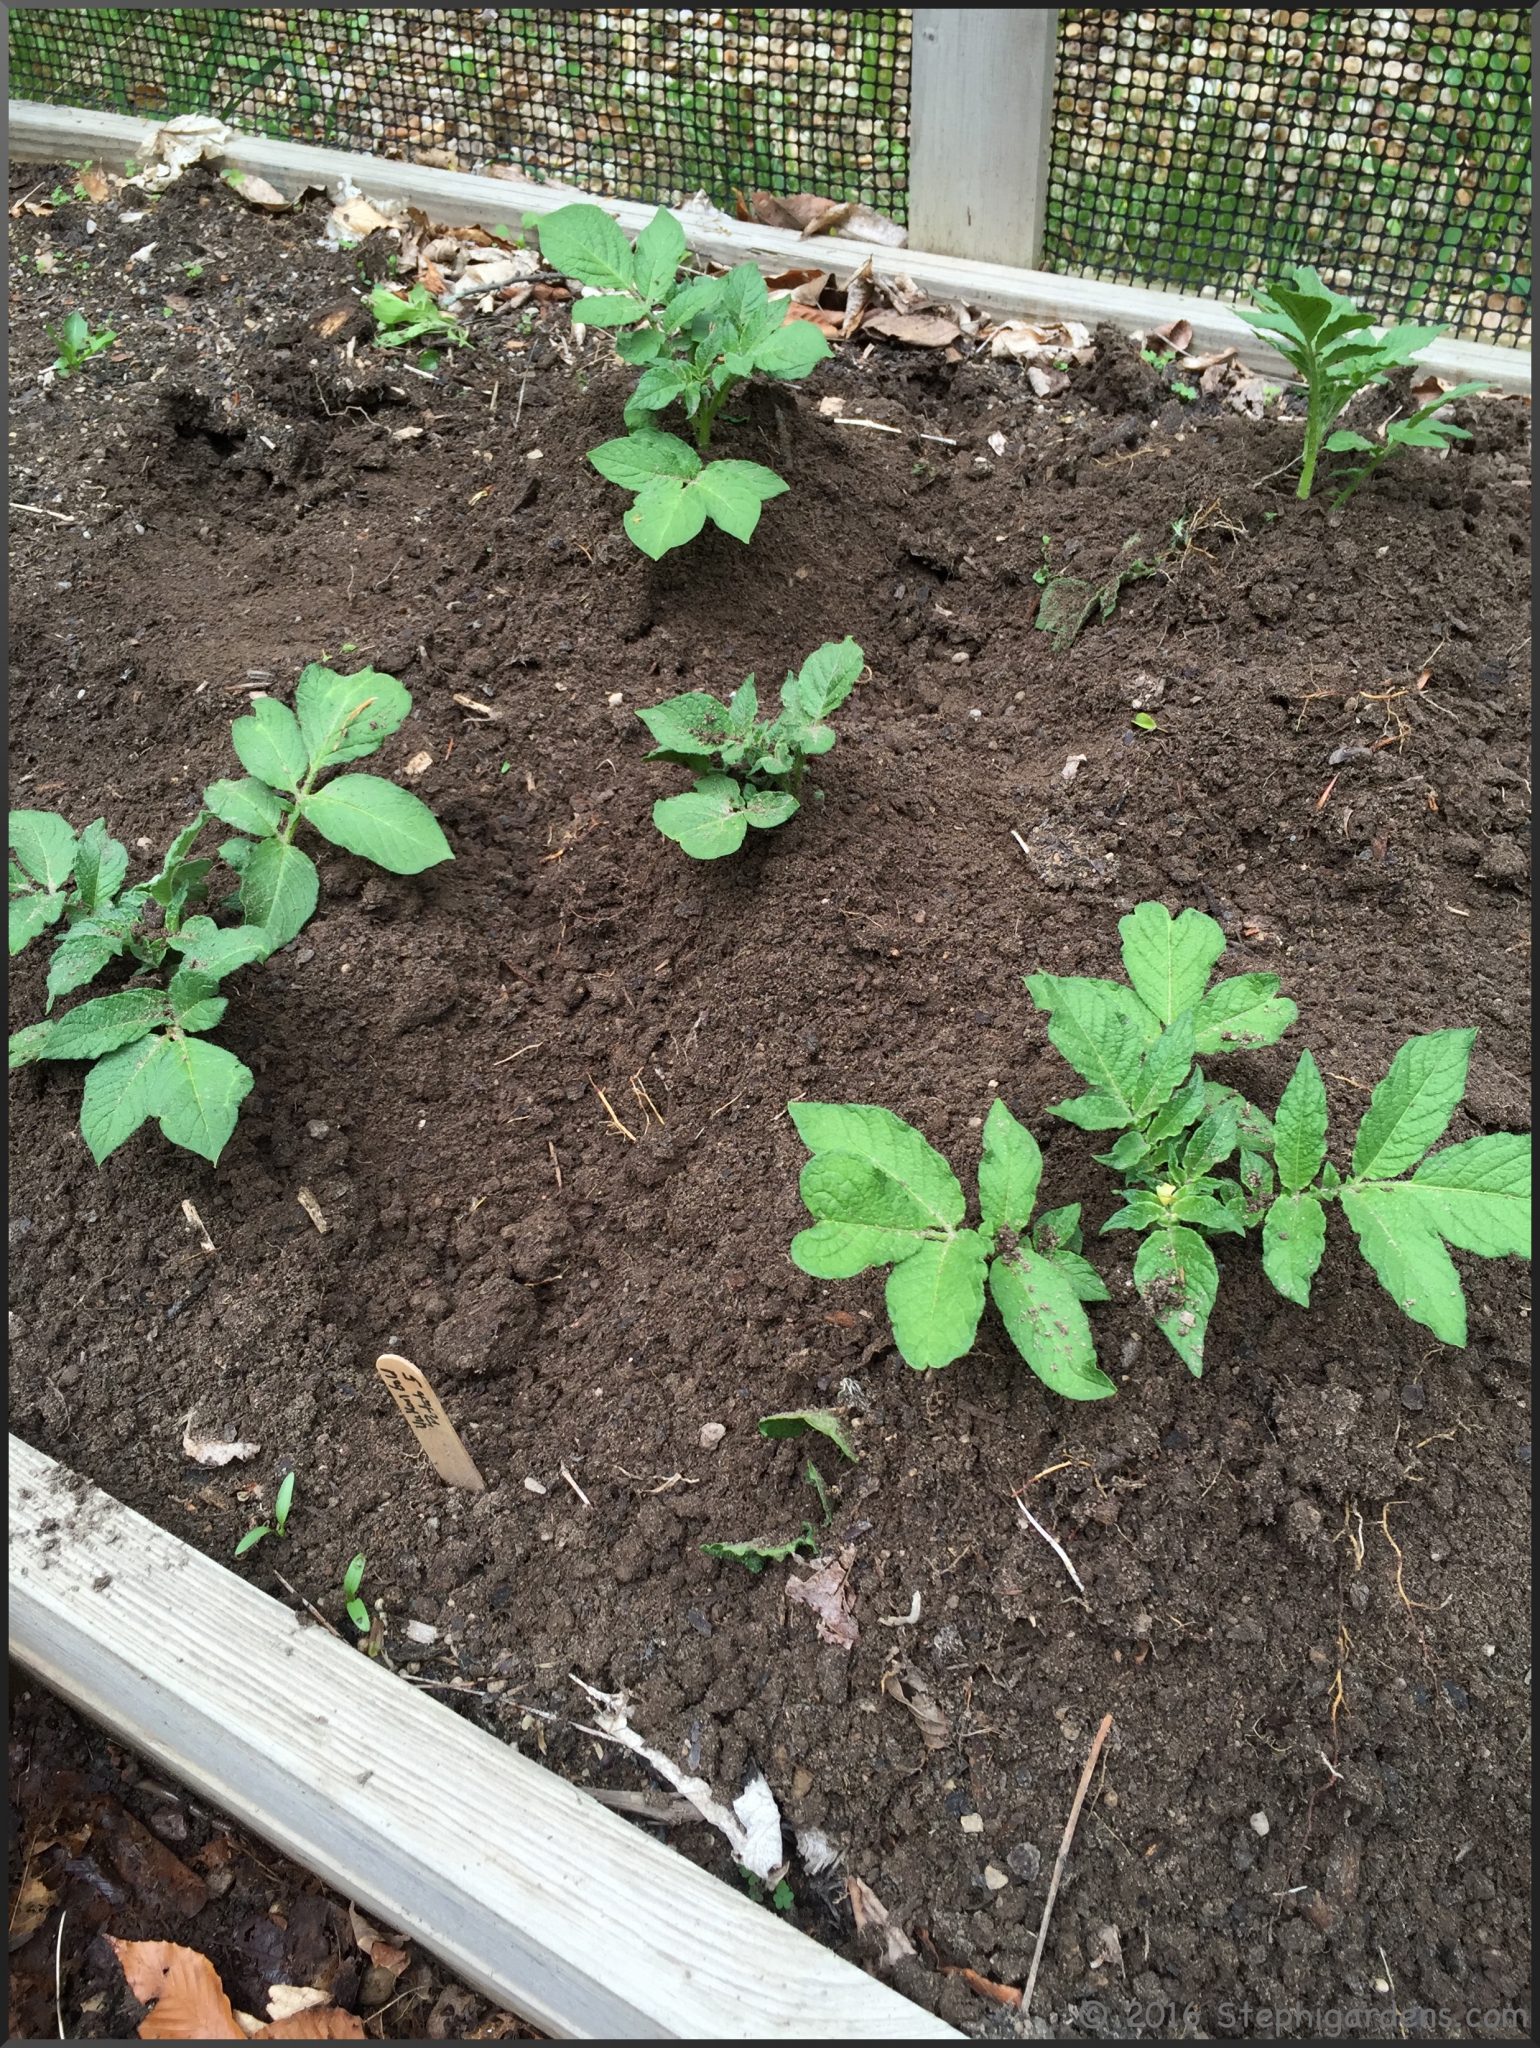
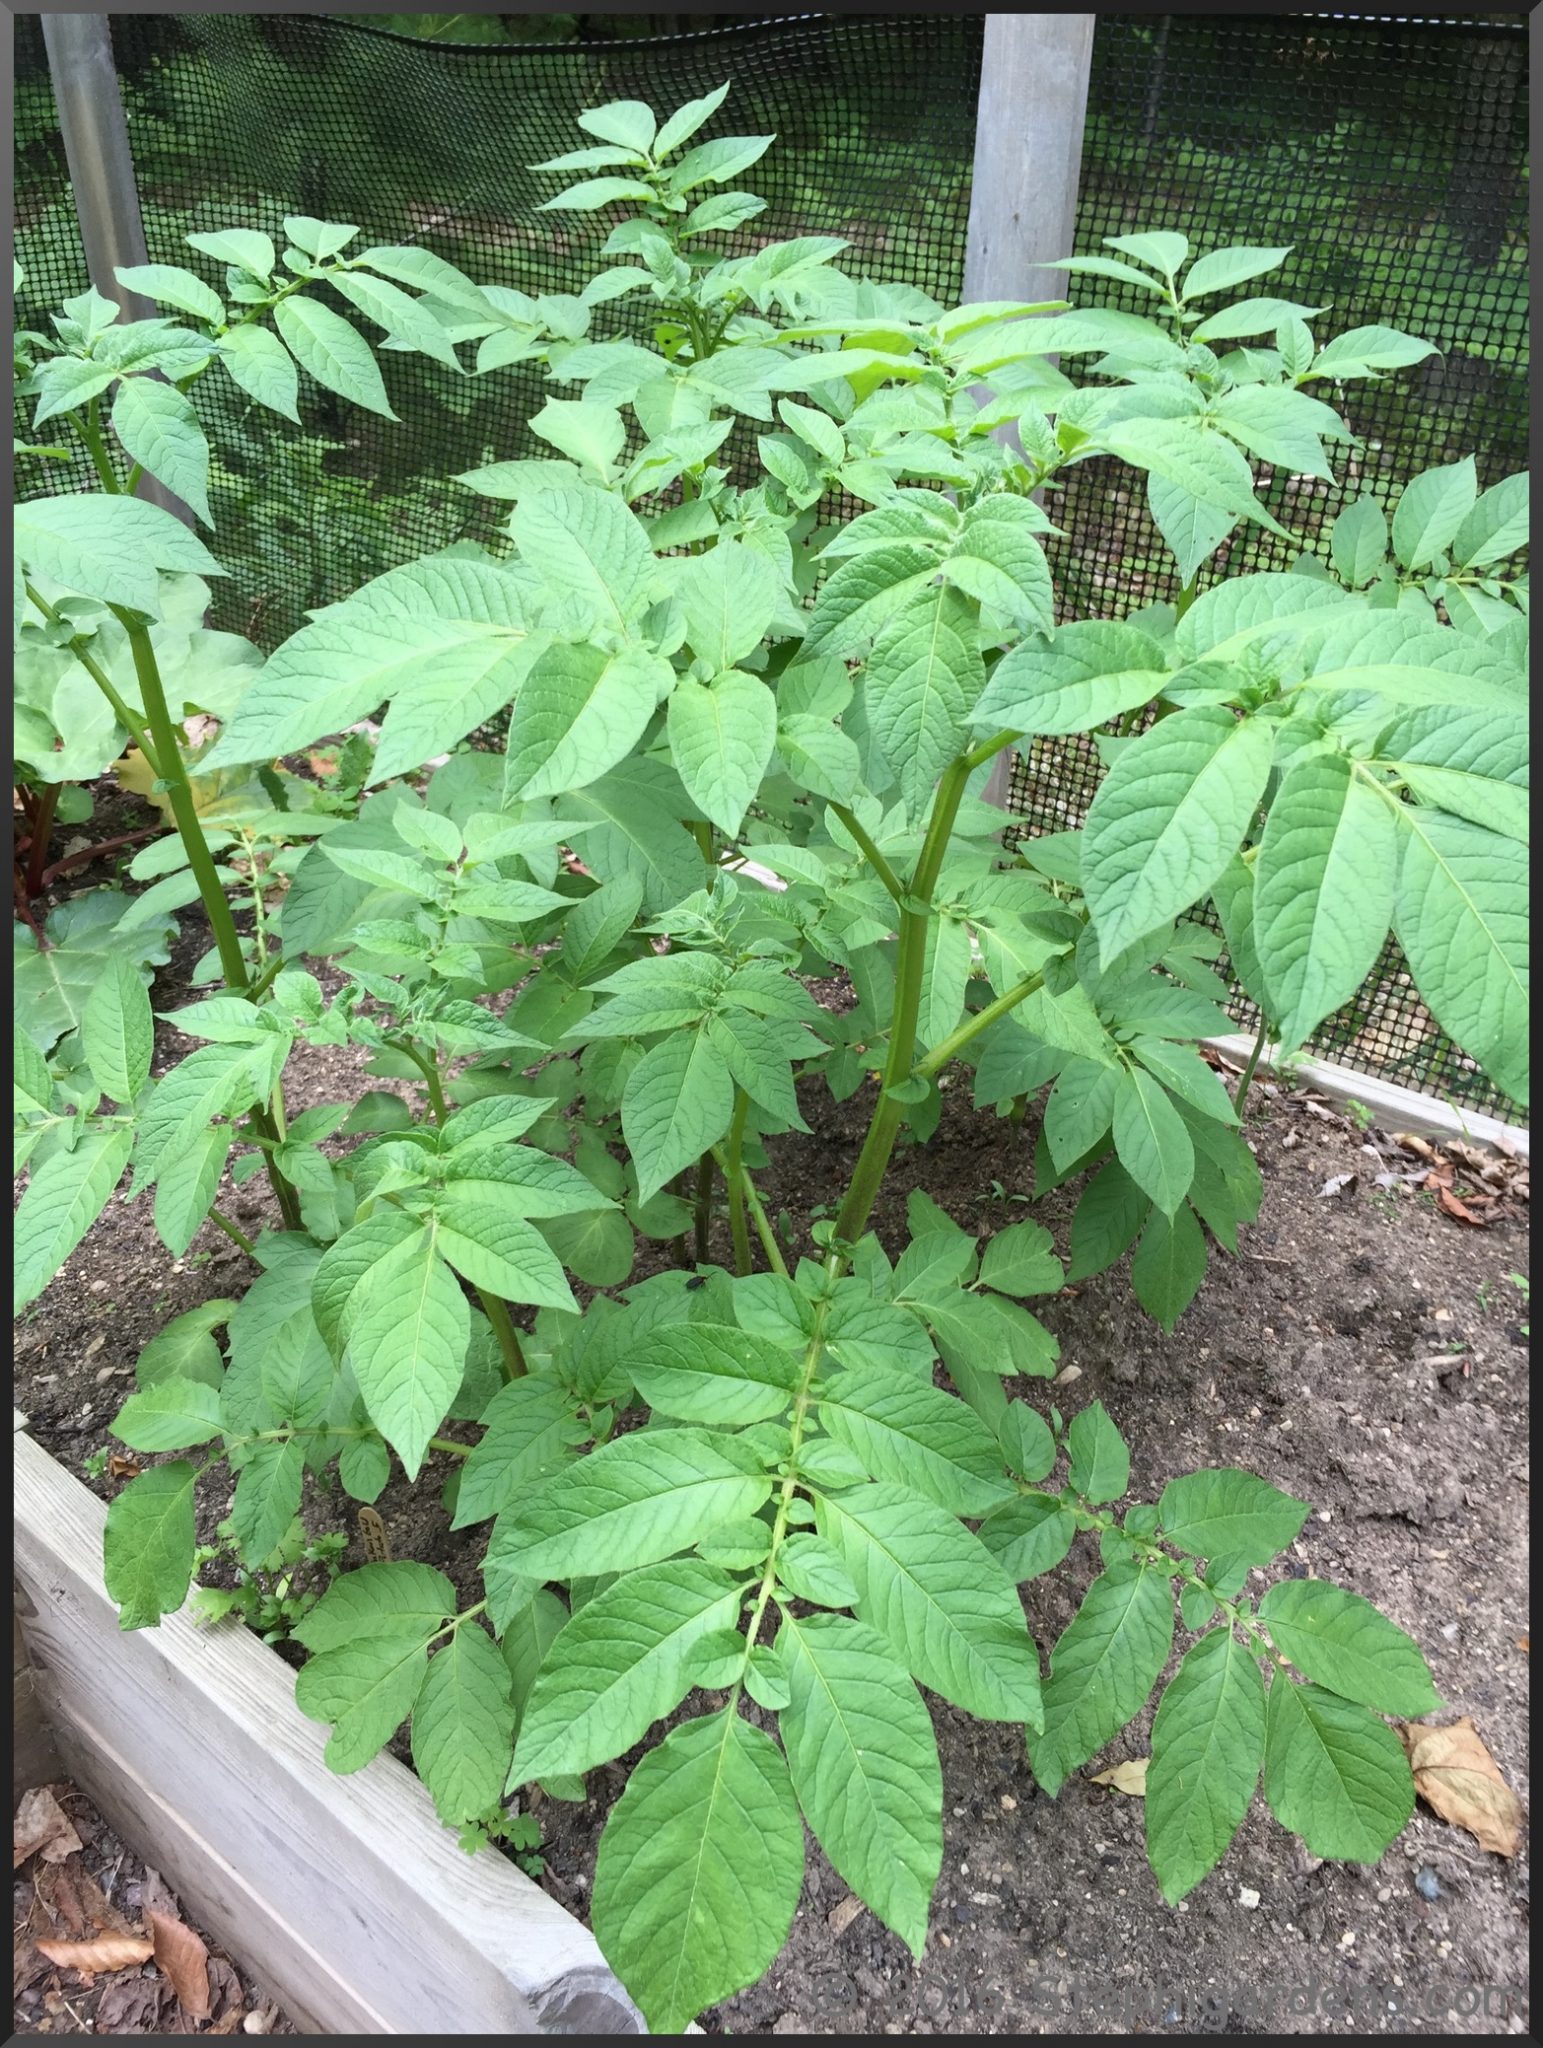
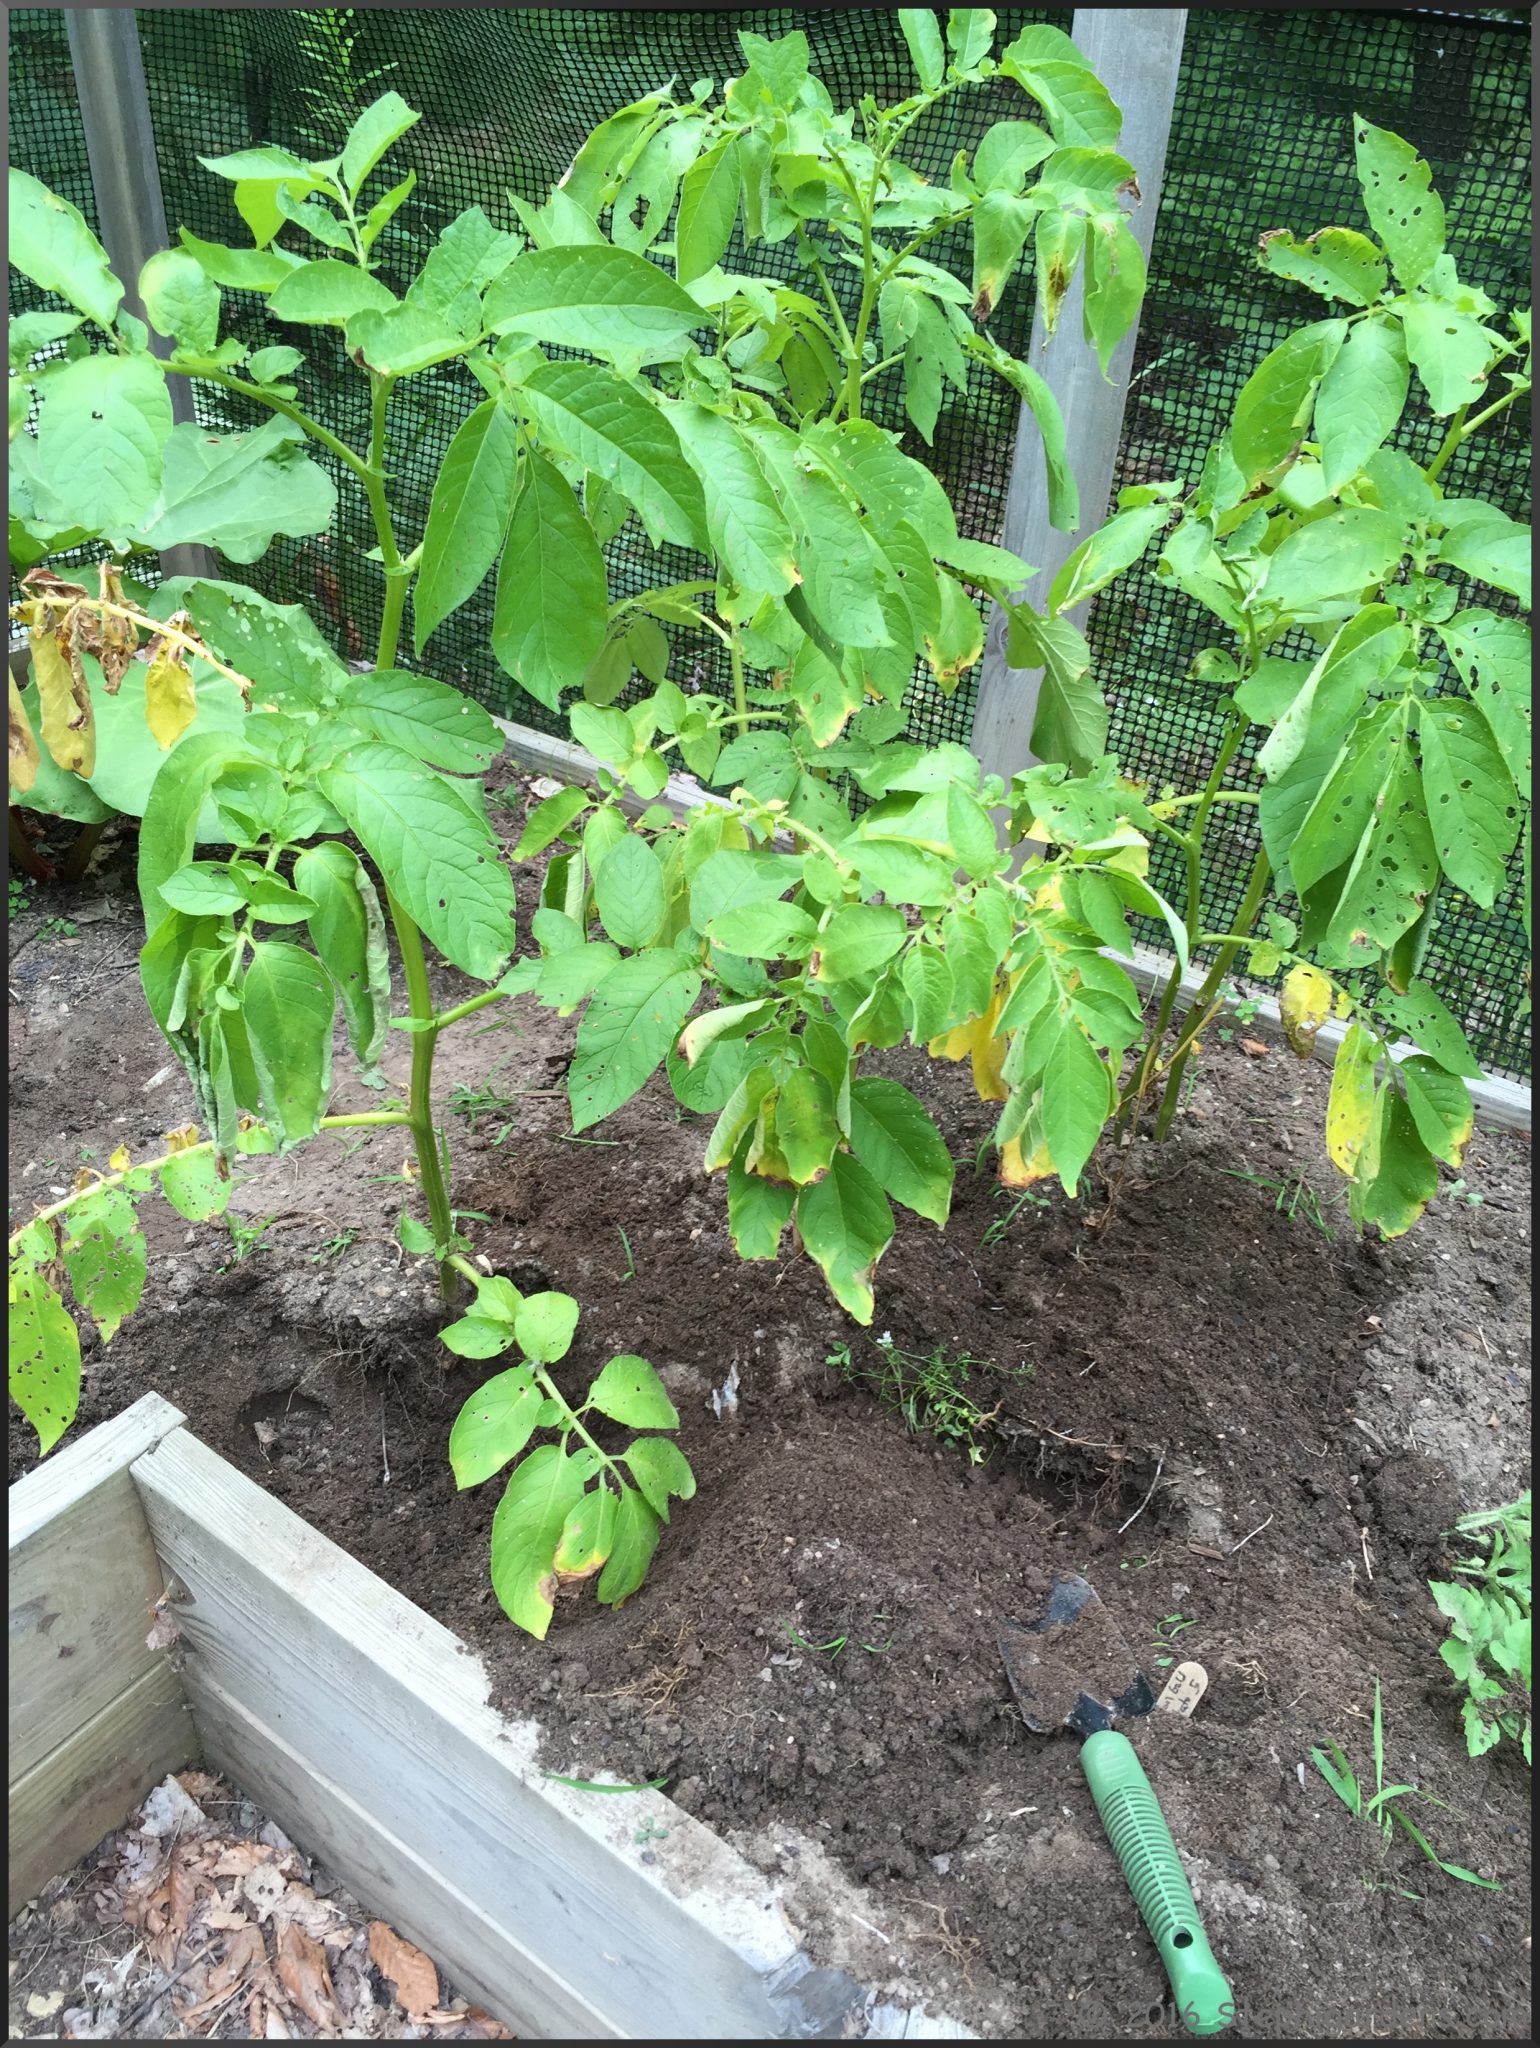
Nice healthy plants…

Hmm, mid-July and probably need a little more water….

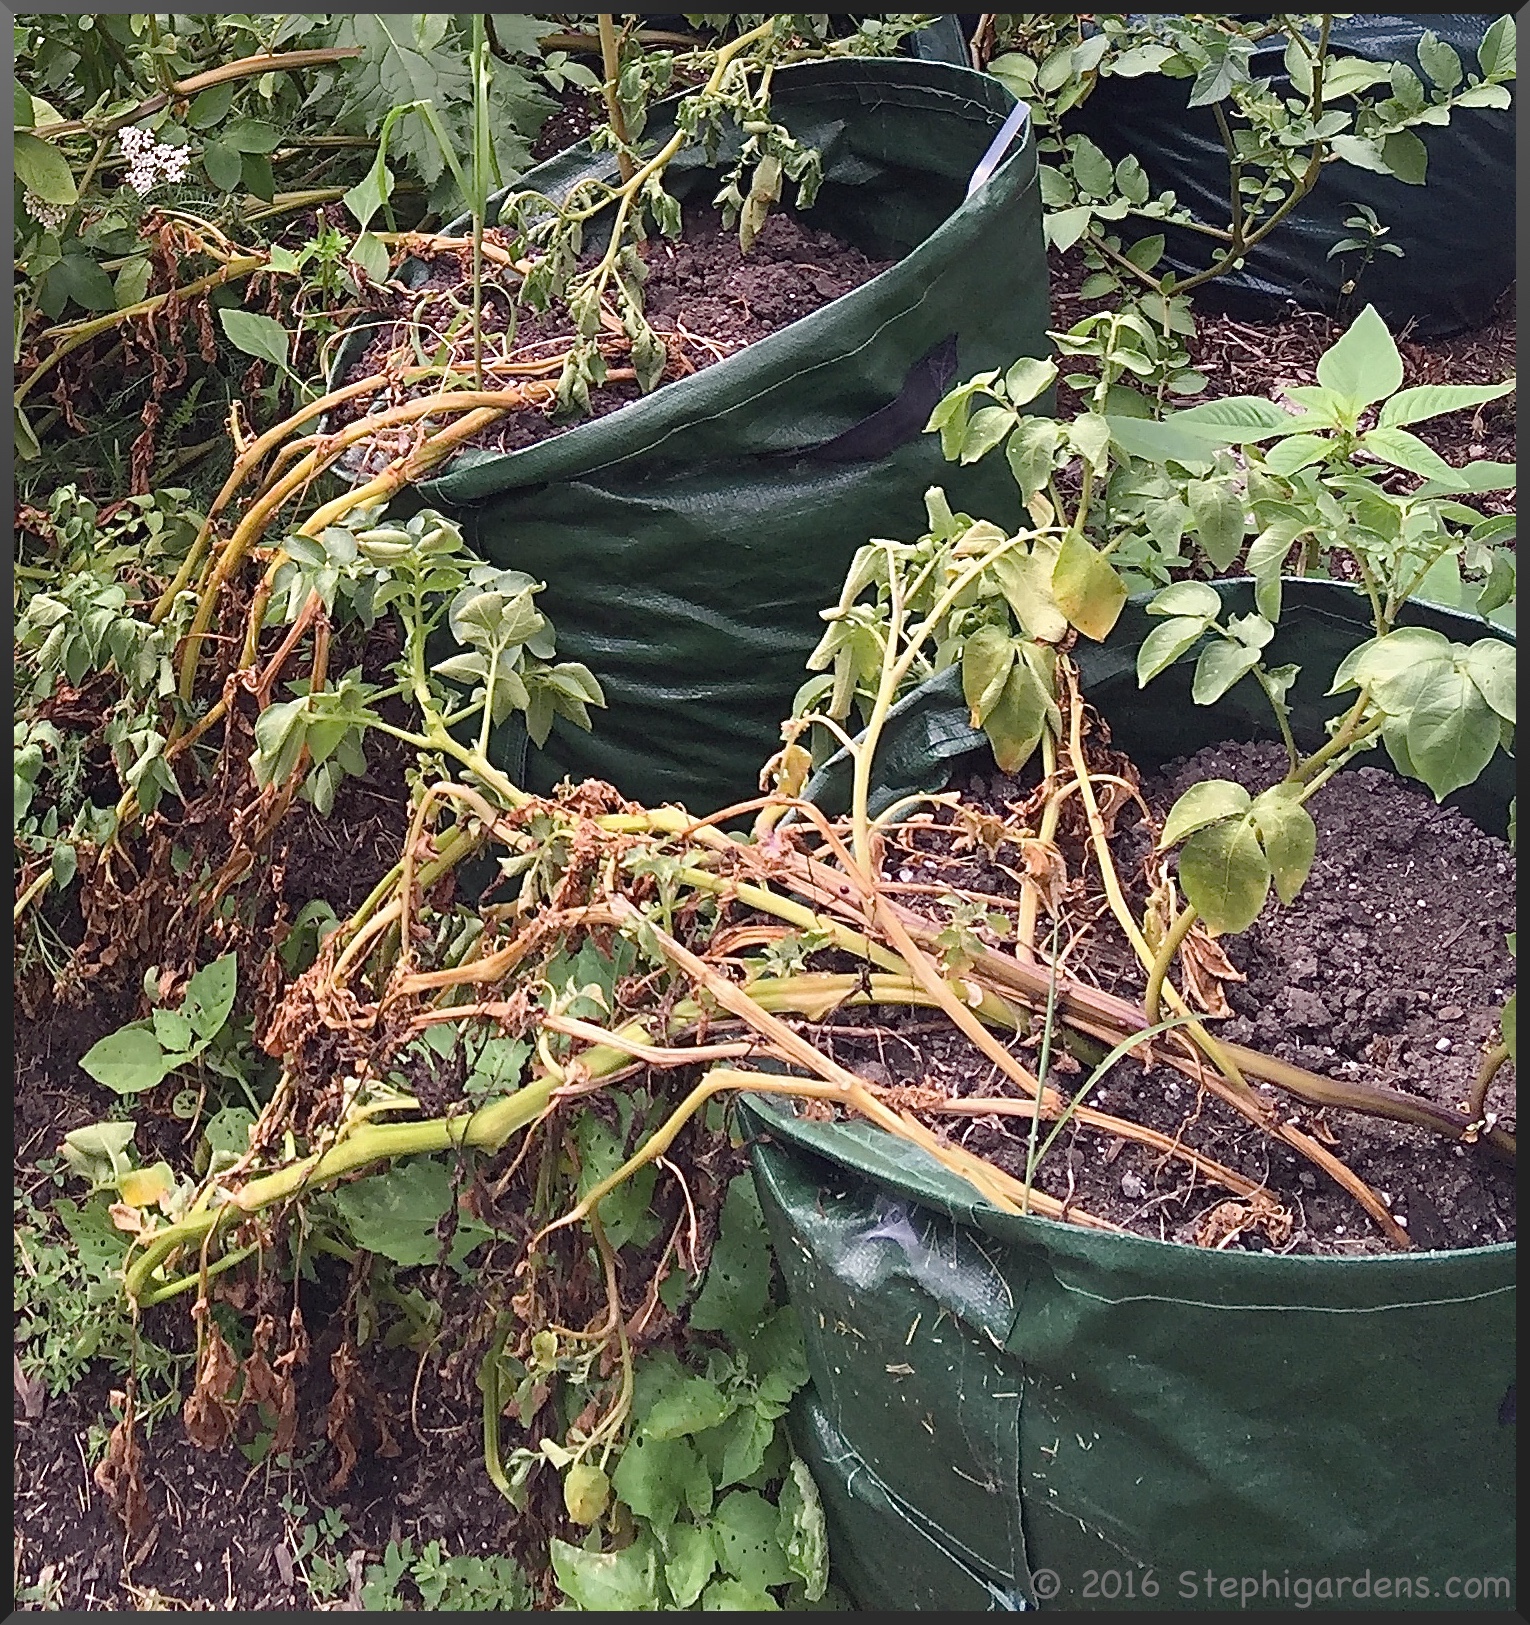
Very uneven watering…Mid-August and the different bags all performed fine, but I didn’t pay enough attention to them. Bags in general need more watering than ground gardening, and potatoes take a lot of water.

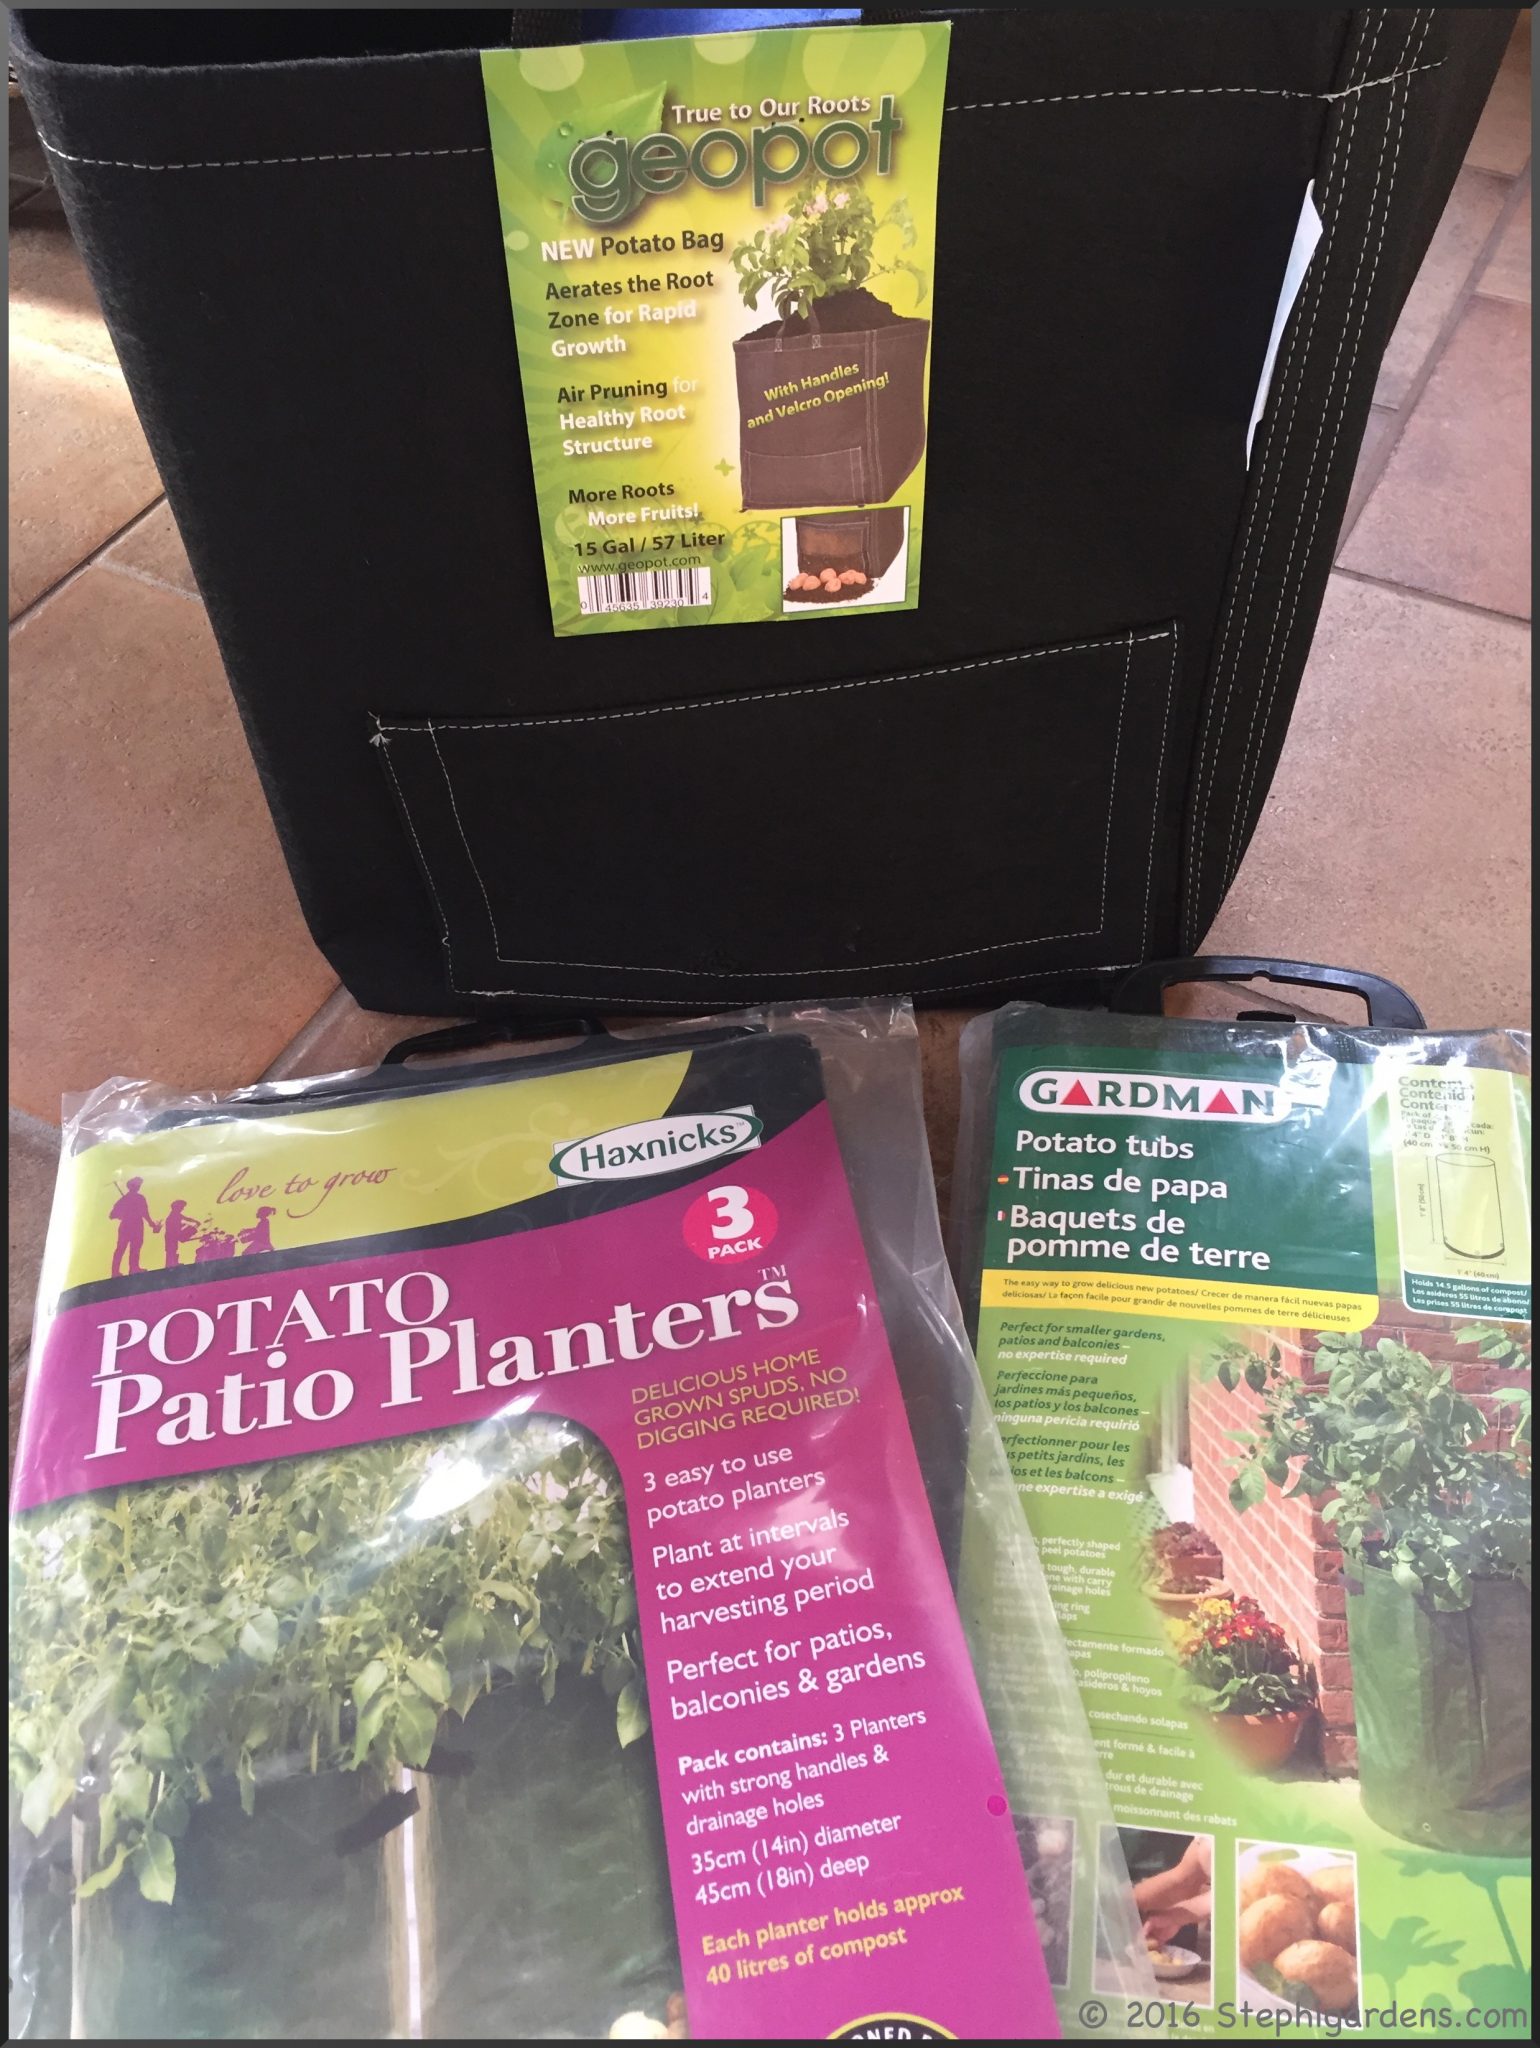
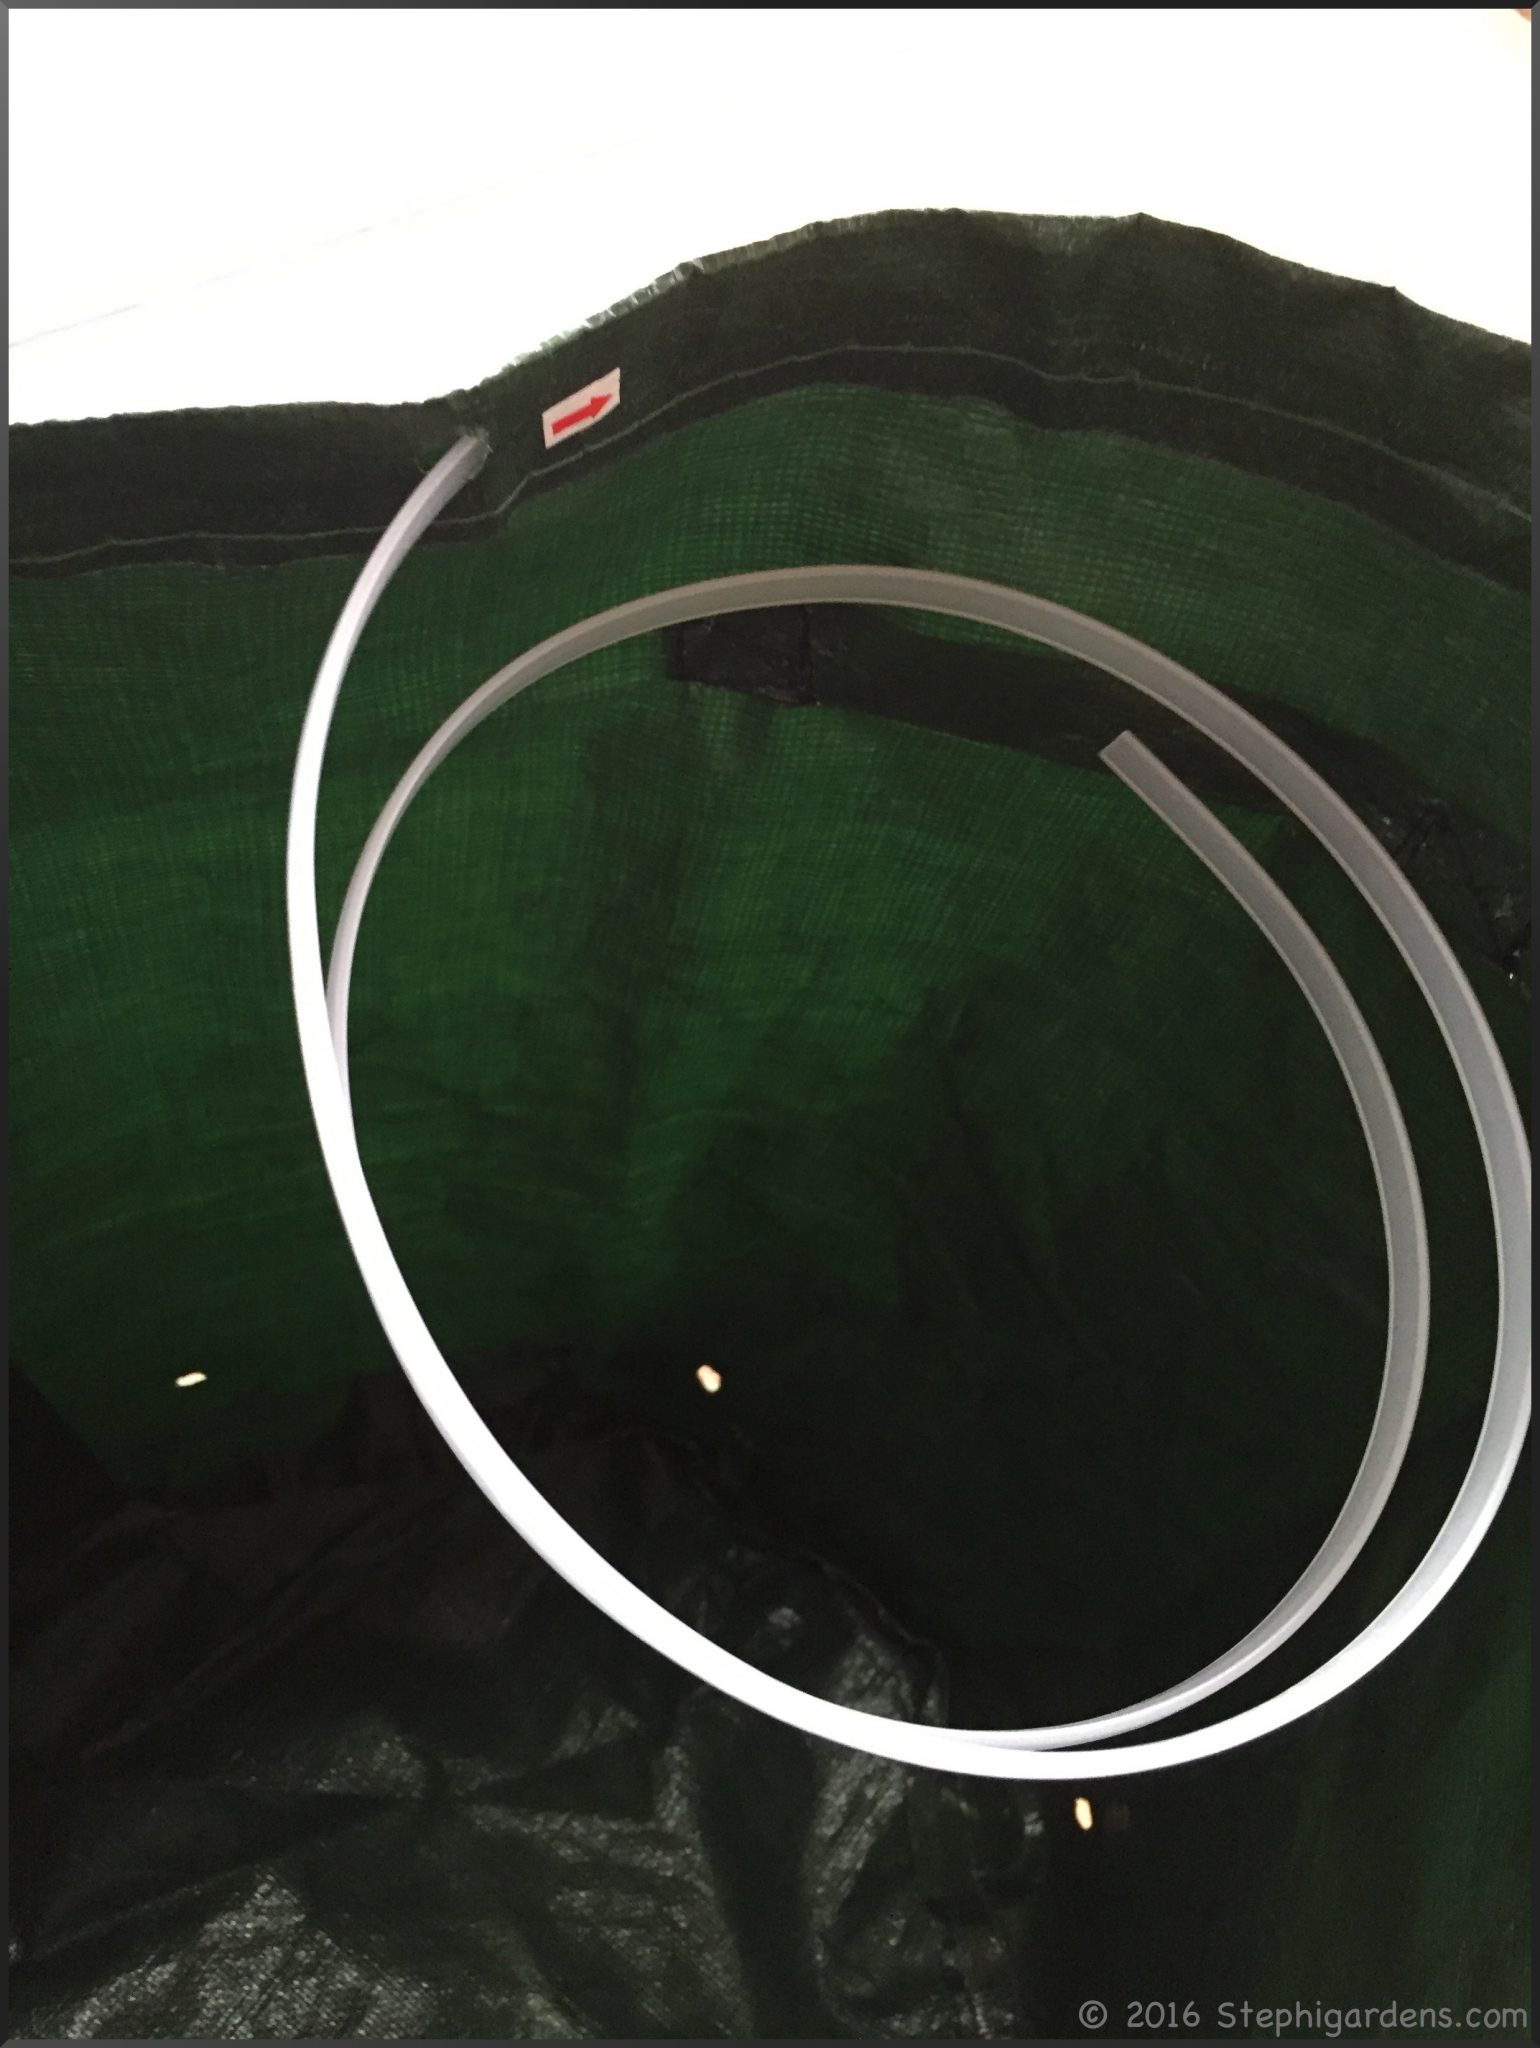
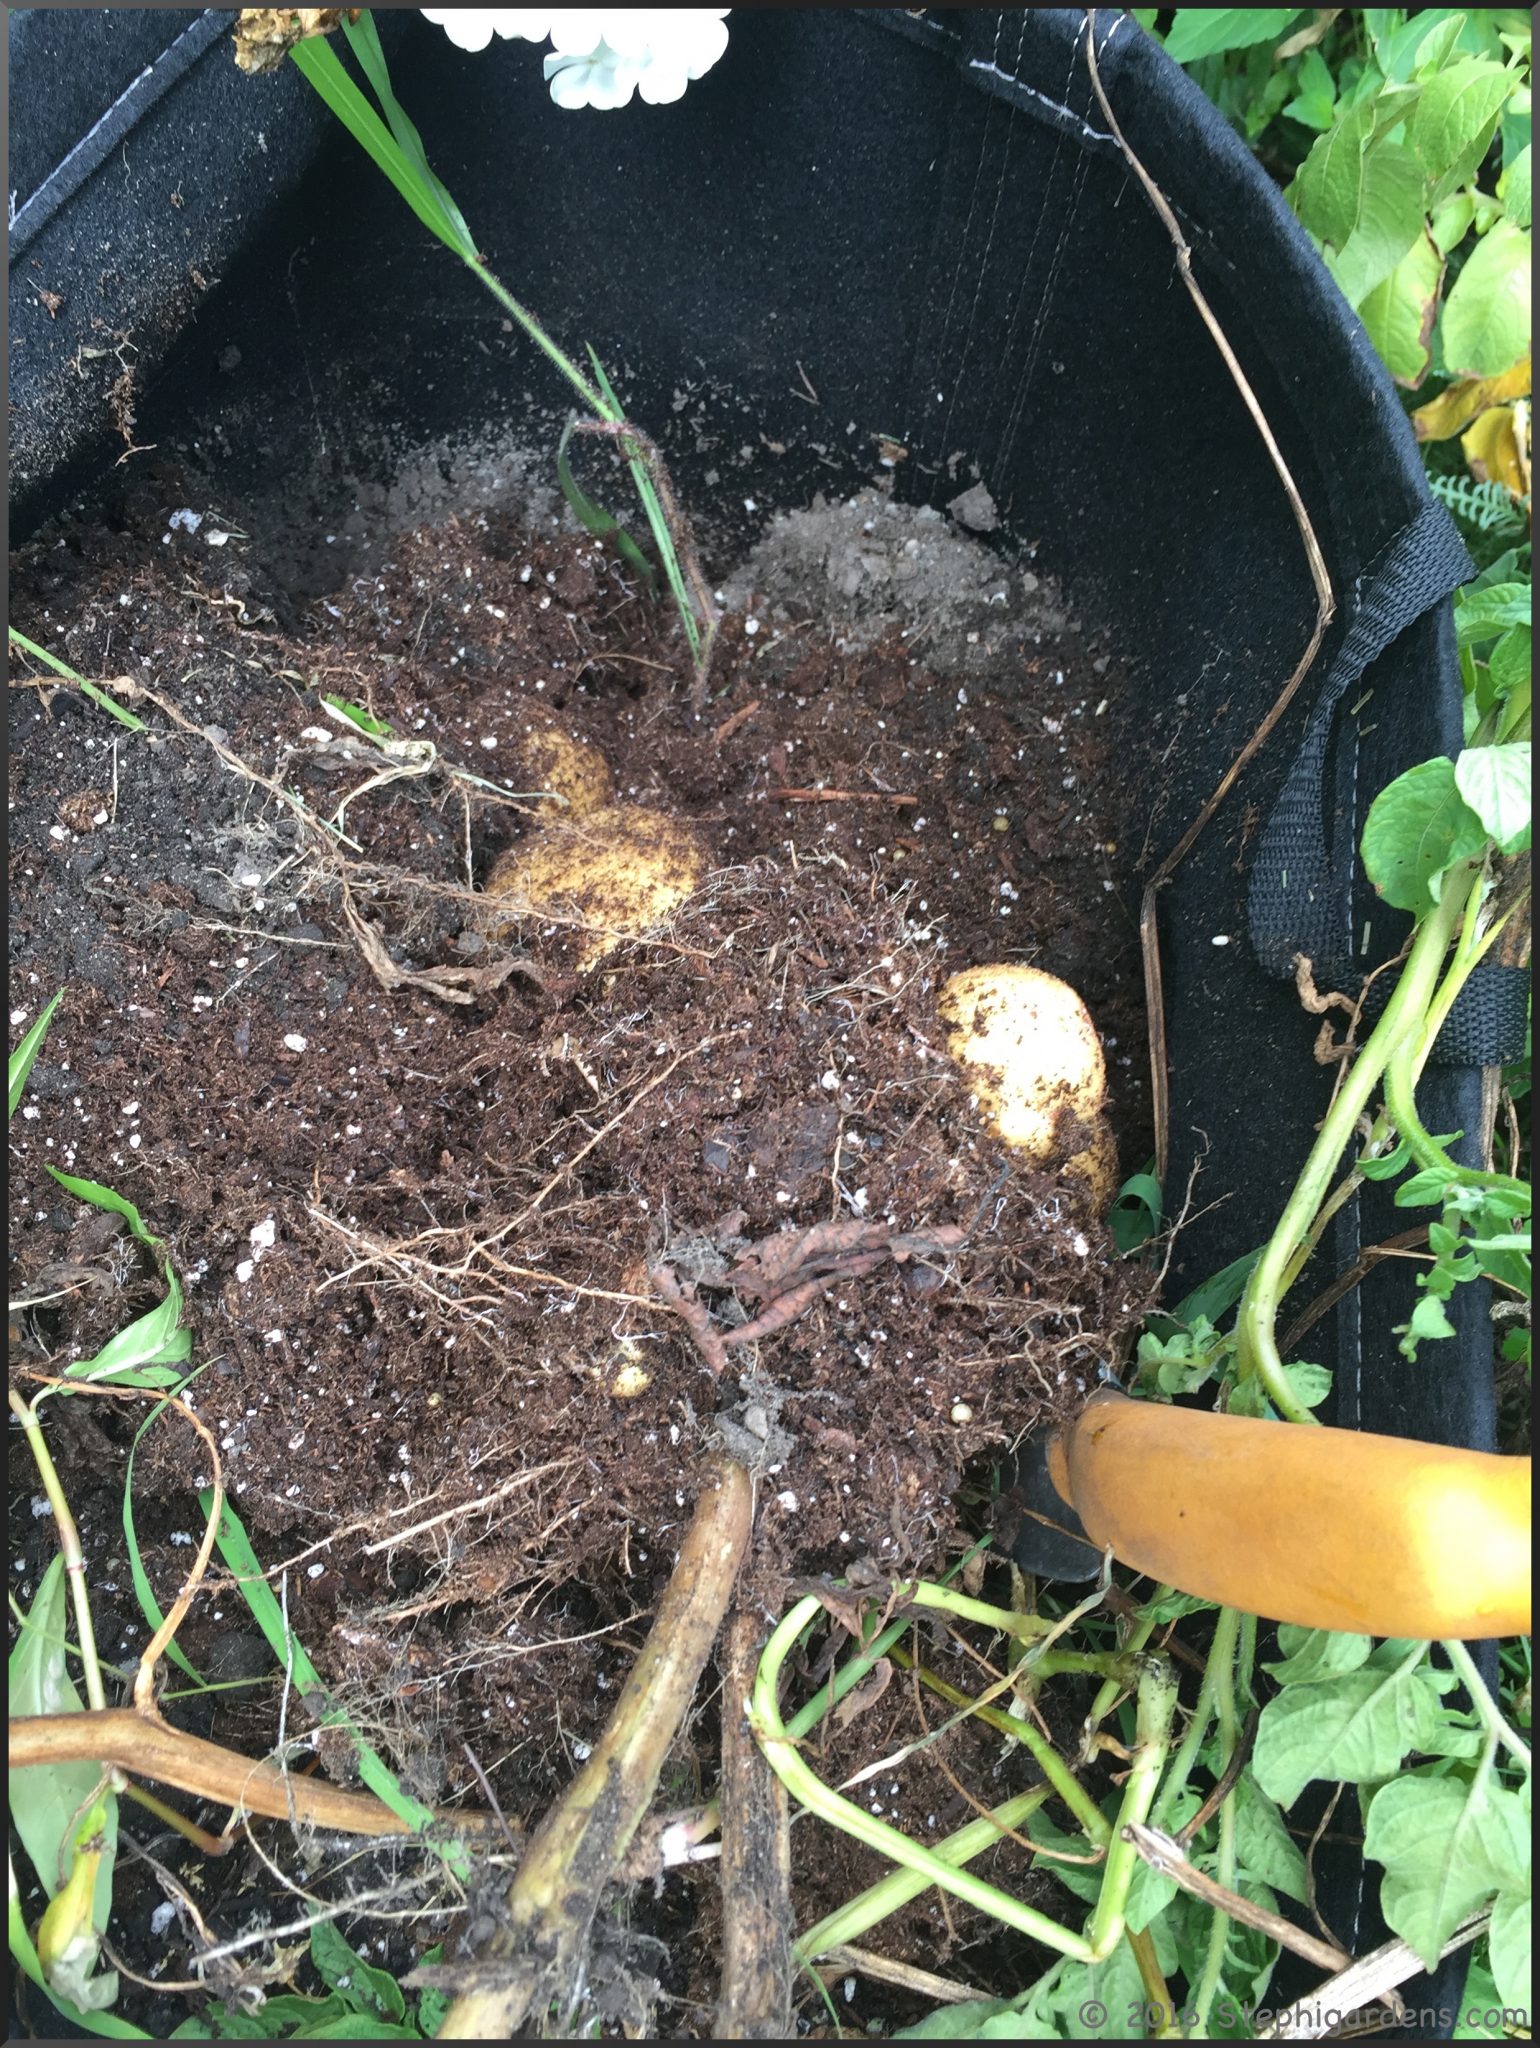
Two of the bags, the Geopot Geo-potato bag and polyethylene Gardman bags had velcro openings so that you could harvest baby potatoes out of the bottom while the plants are still growing. Maybe I waited too long so the bags were completely full of dirt, but I found that I mostly just spilled a lot of dirt and didn’t get that many potatoes. After trying once, I decided to just let the potatoes grow.  Anyone have better luck with early harvests?

Potatoes are ready to harvest in early fall when the leaves start yellowing and the stems wilting.  At this point, stop watering and wait a week or two. Then it’s harvest time!

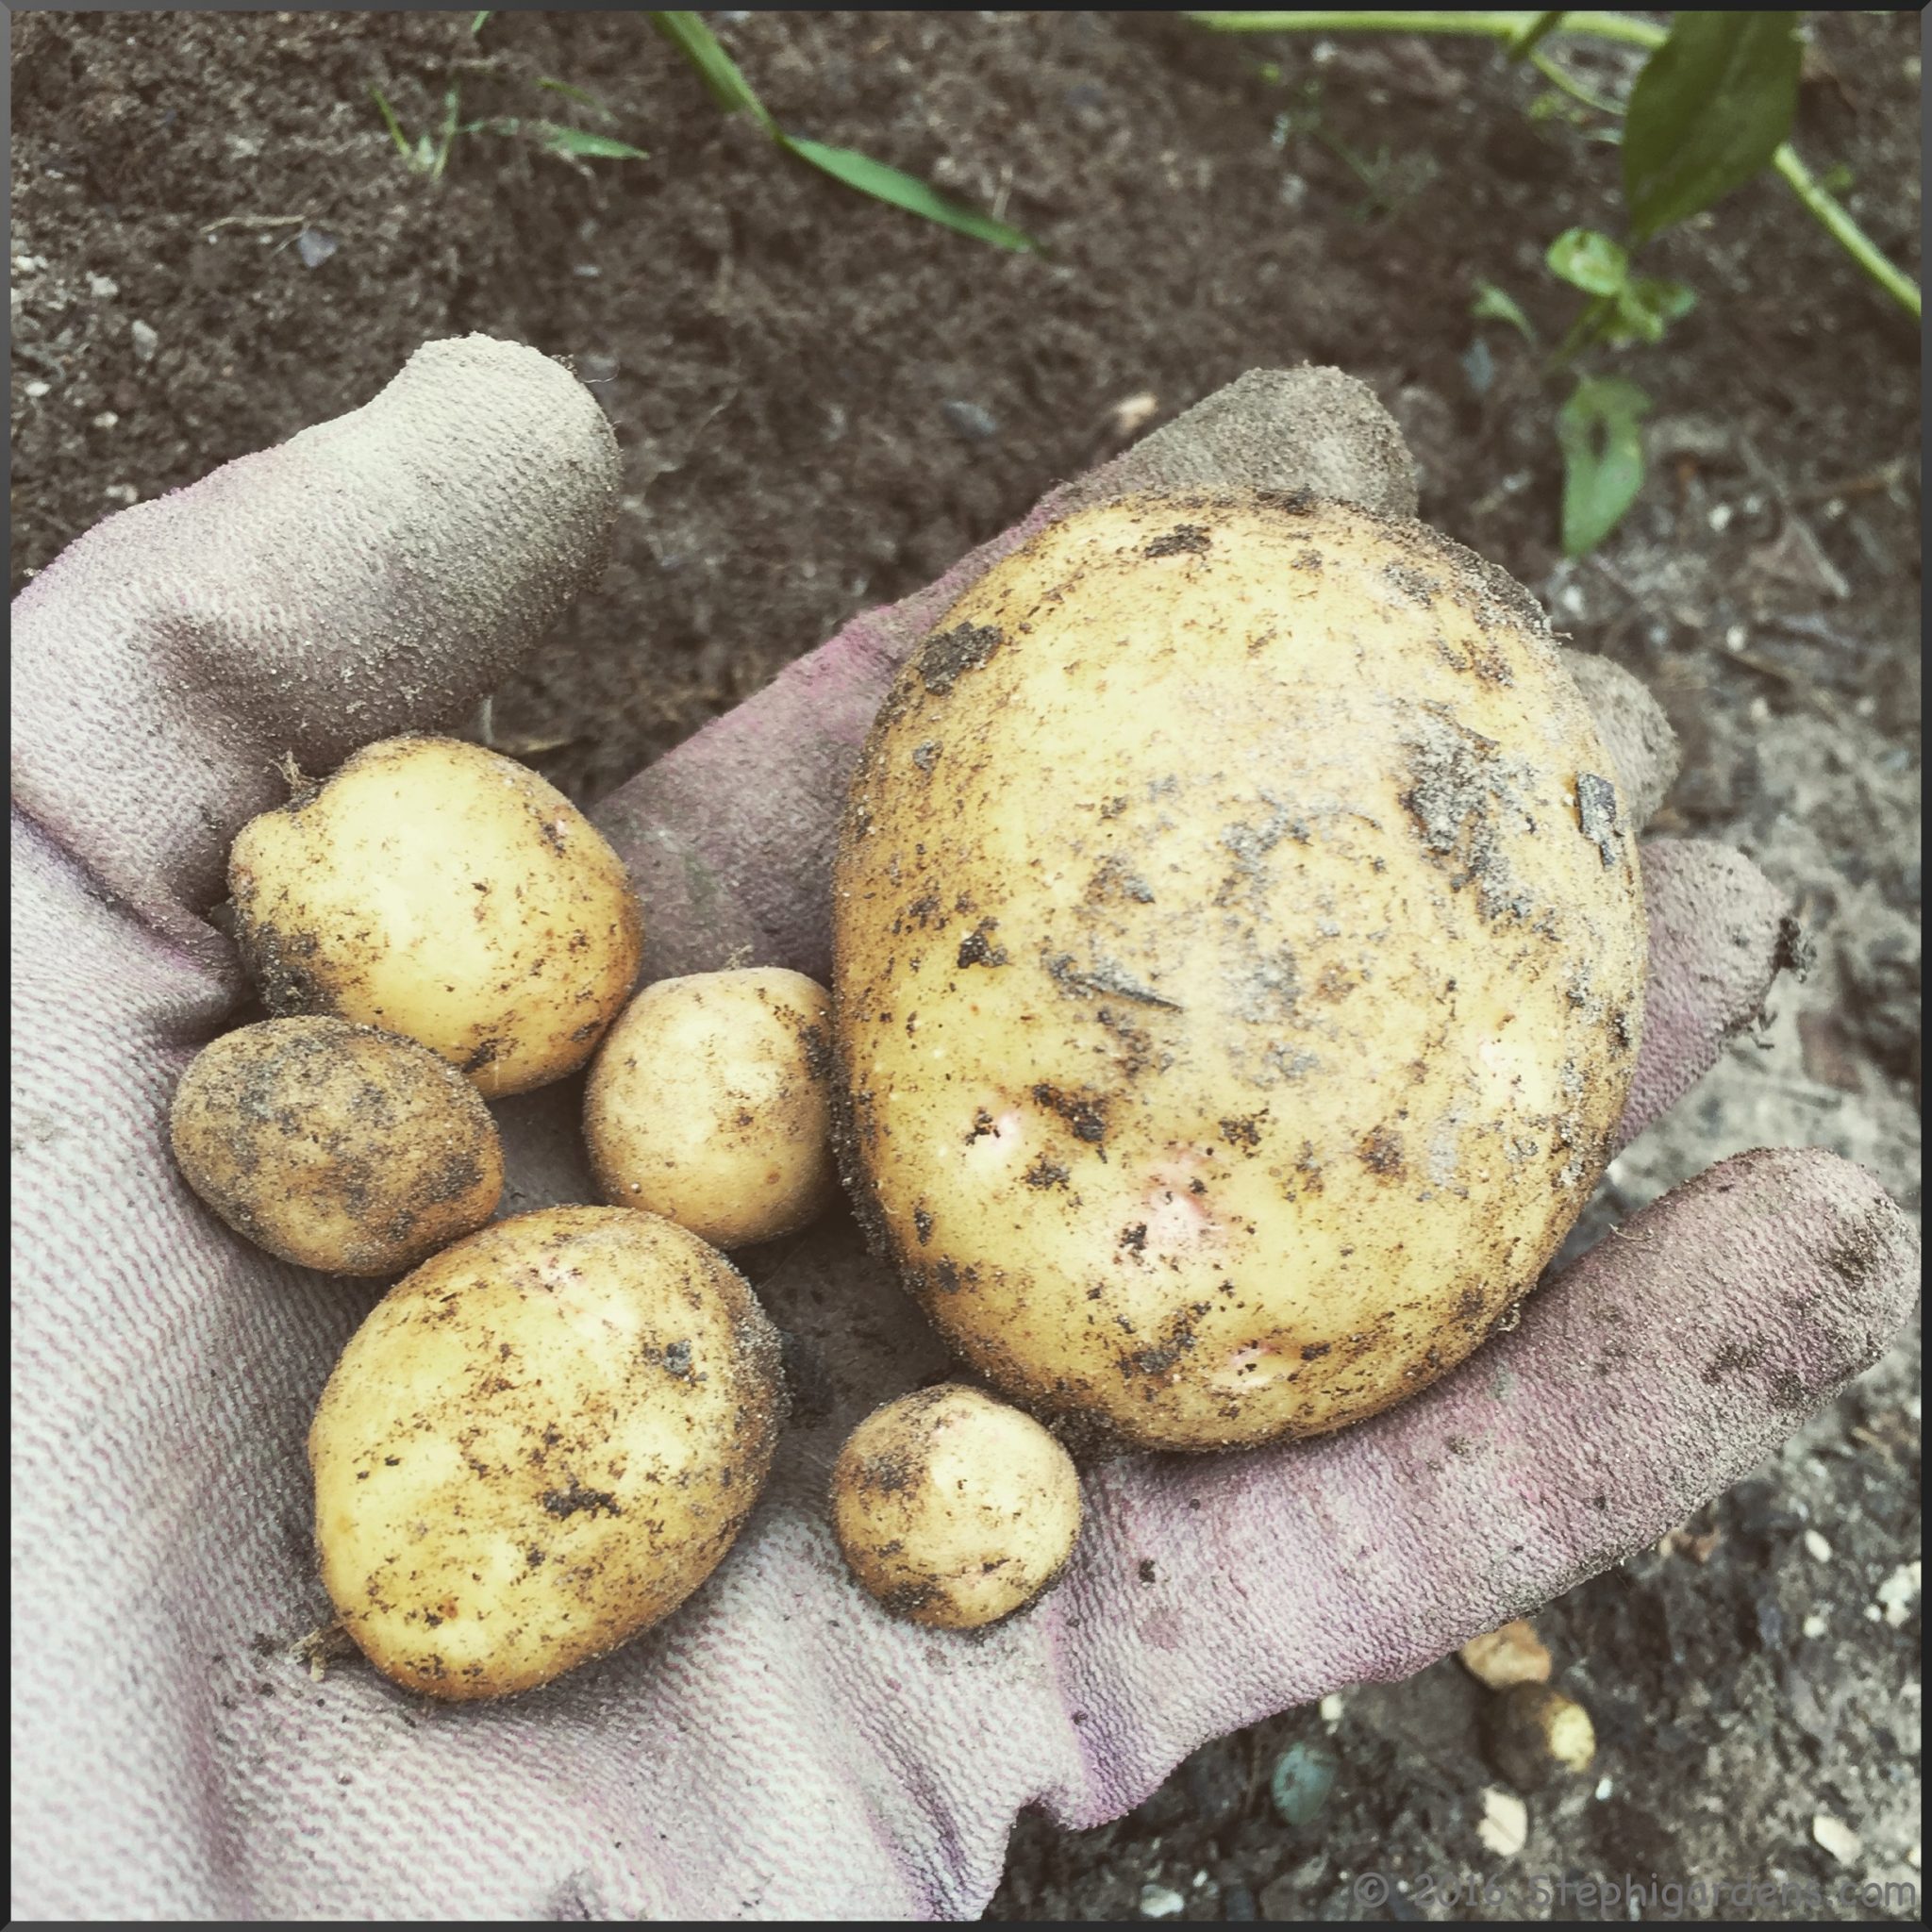
To harvest potatoes from a bag, I pulled out the plant and emptied the remaining dirt into a garden cart and began searching. This was fun! Kind of like a treasure hunt.

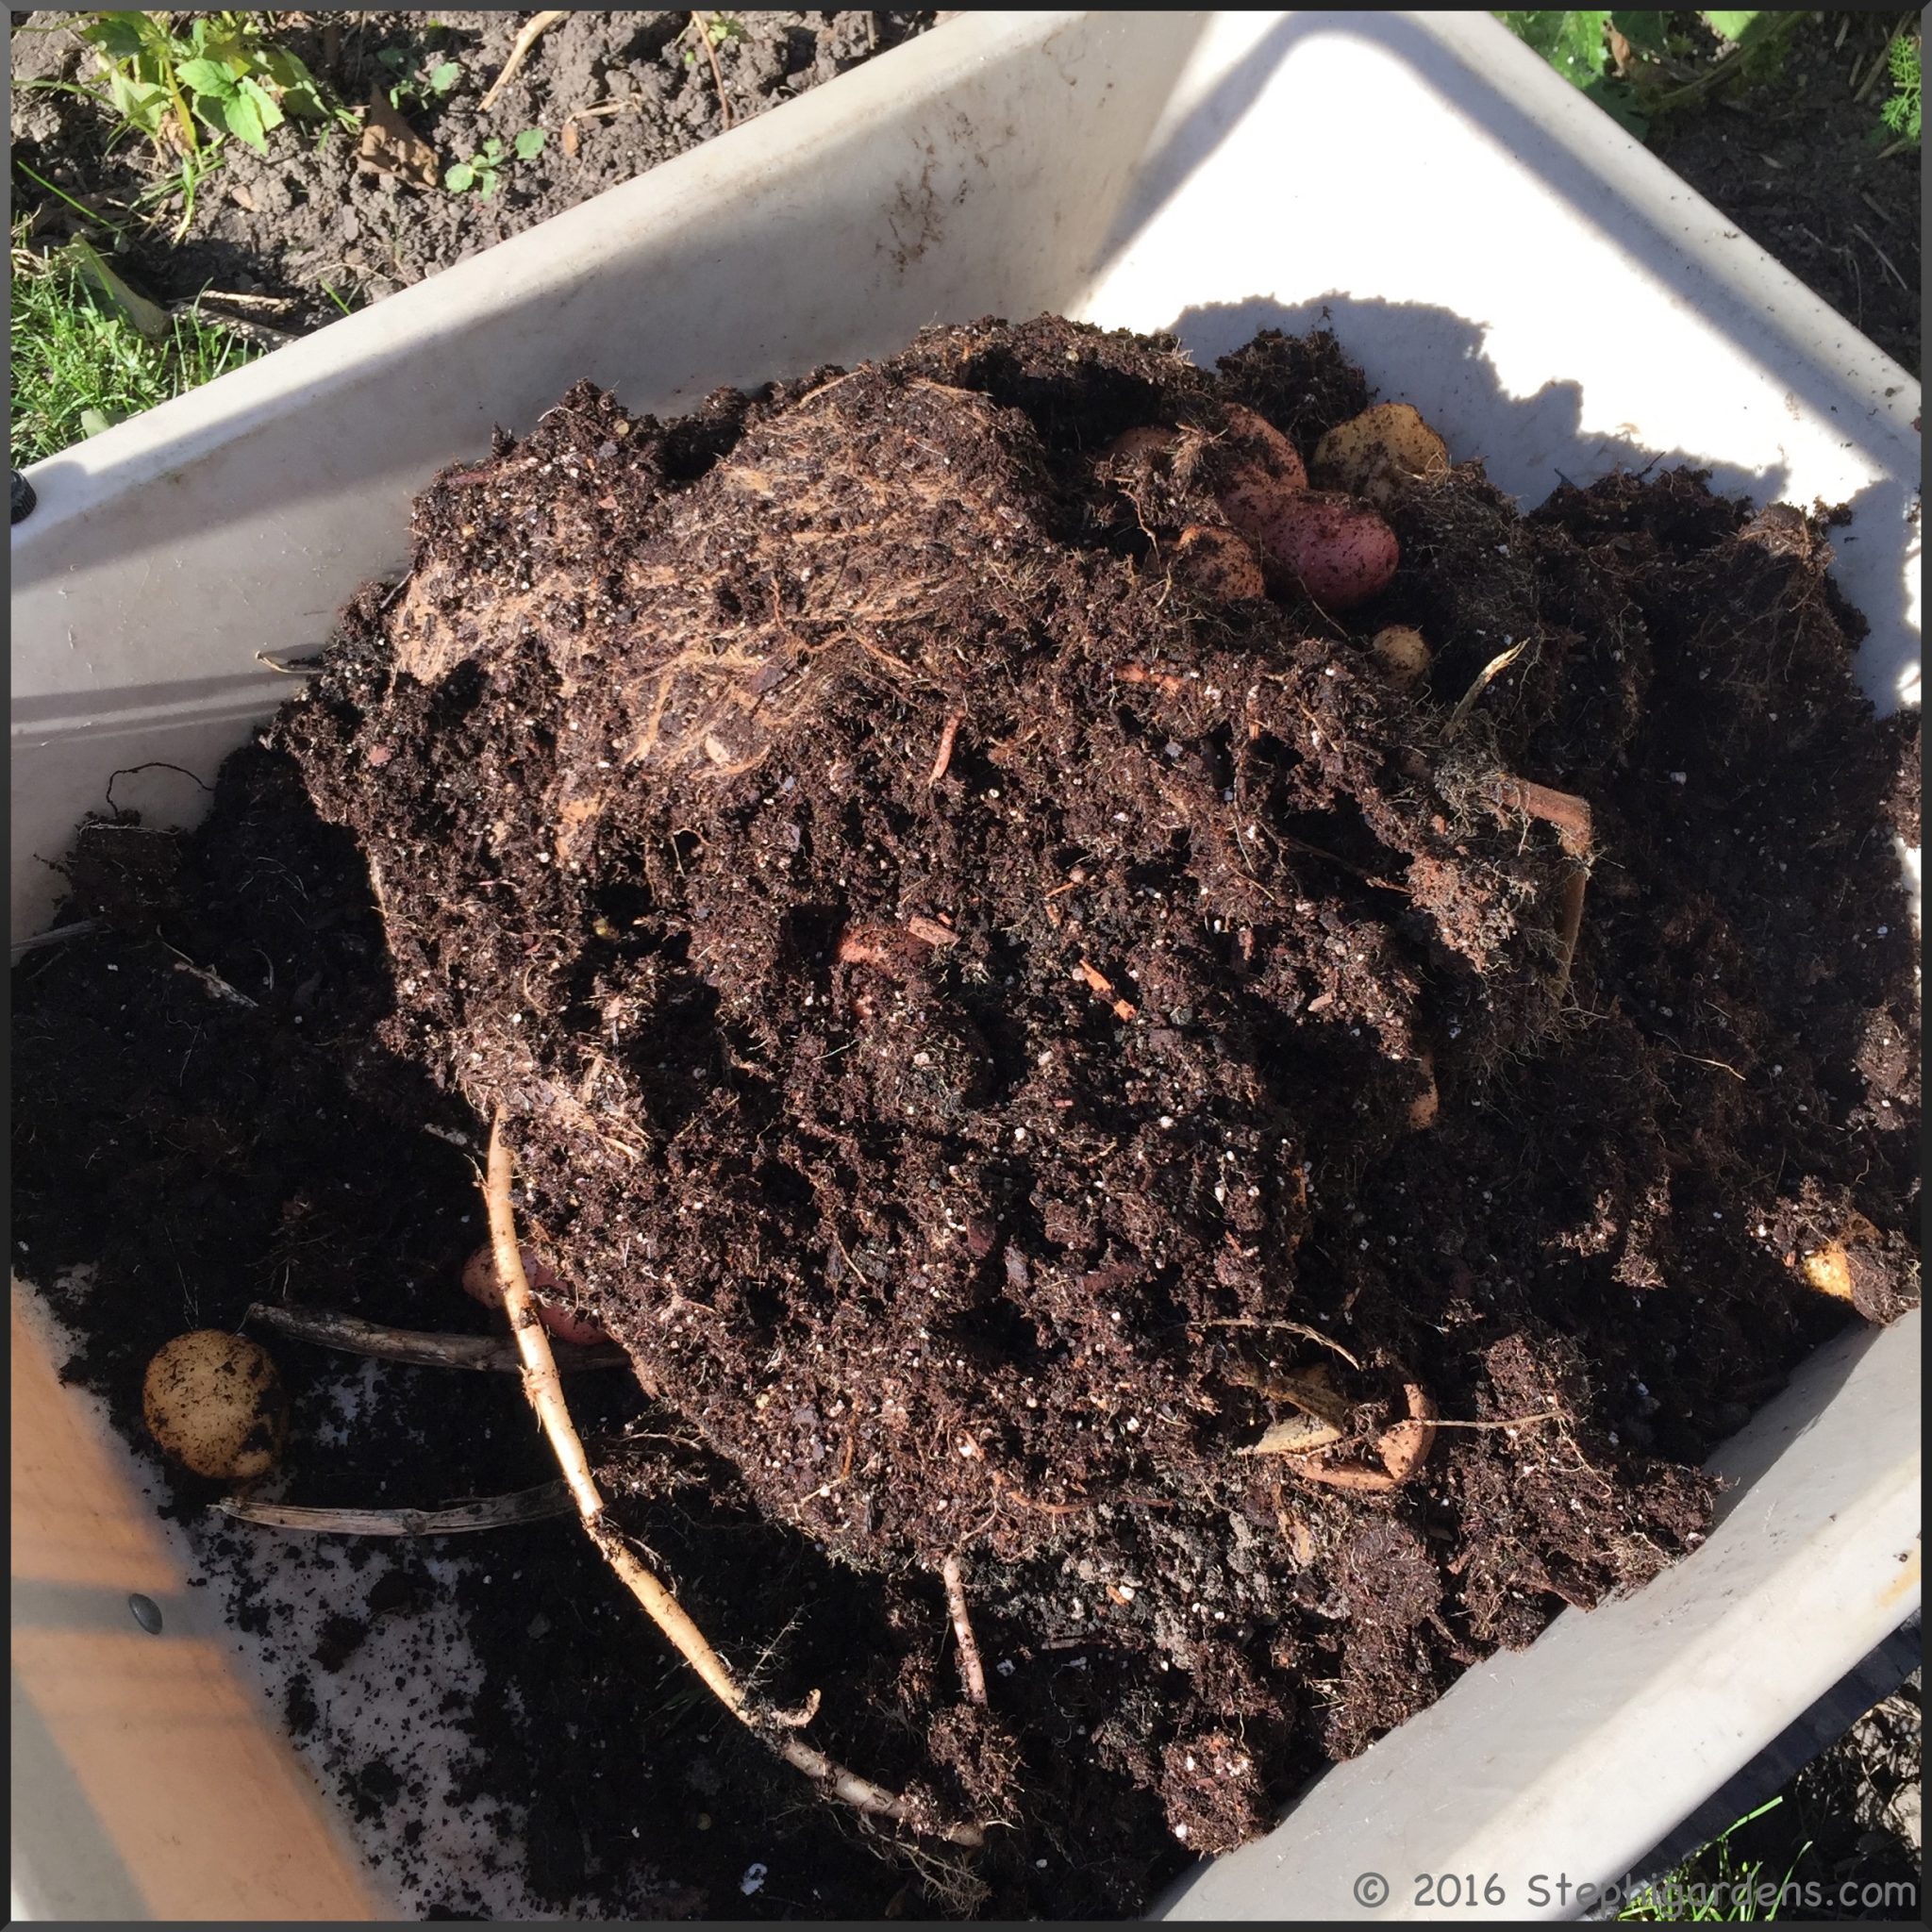
You can store and reuse the dirt for next spring, or in my case, my raised beds needed more soil so I emptied the dirt into them and blended it in. Be sure to look closely, every time I thought I was done, there were more.

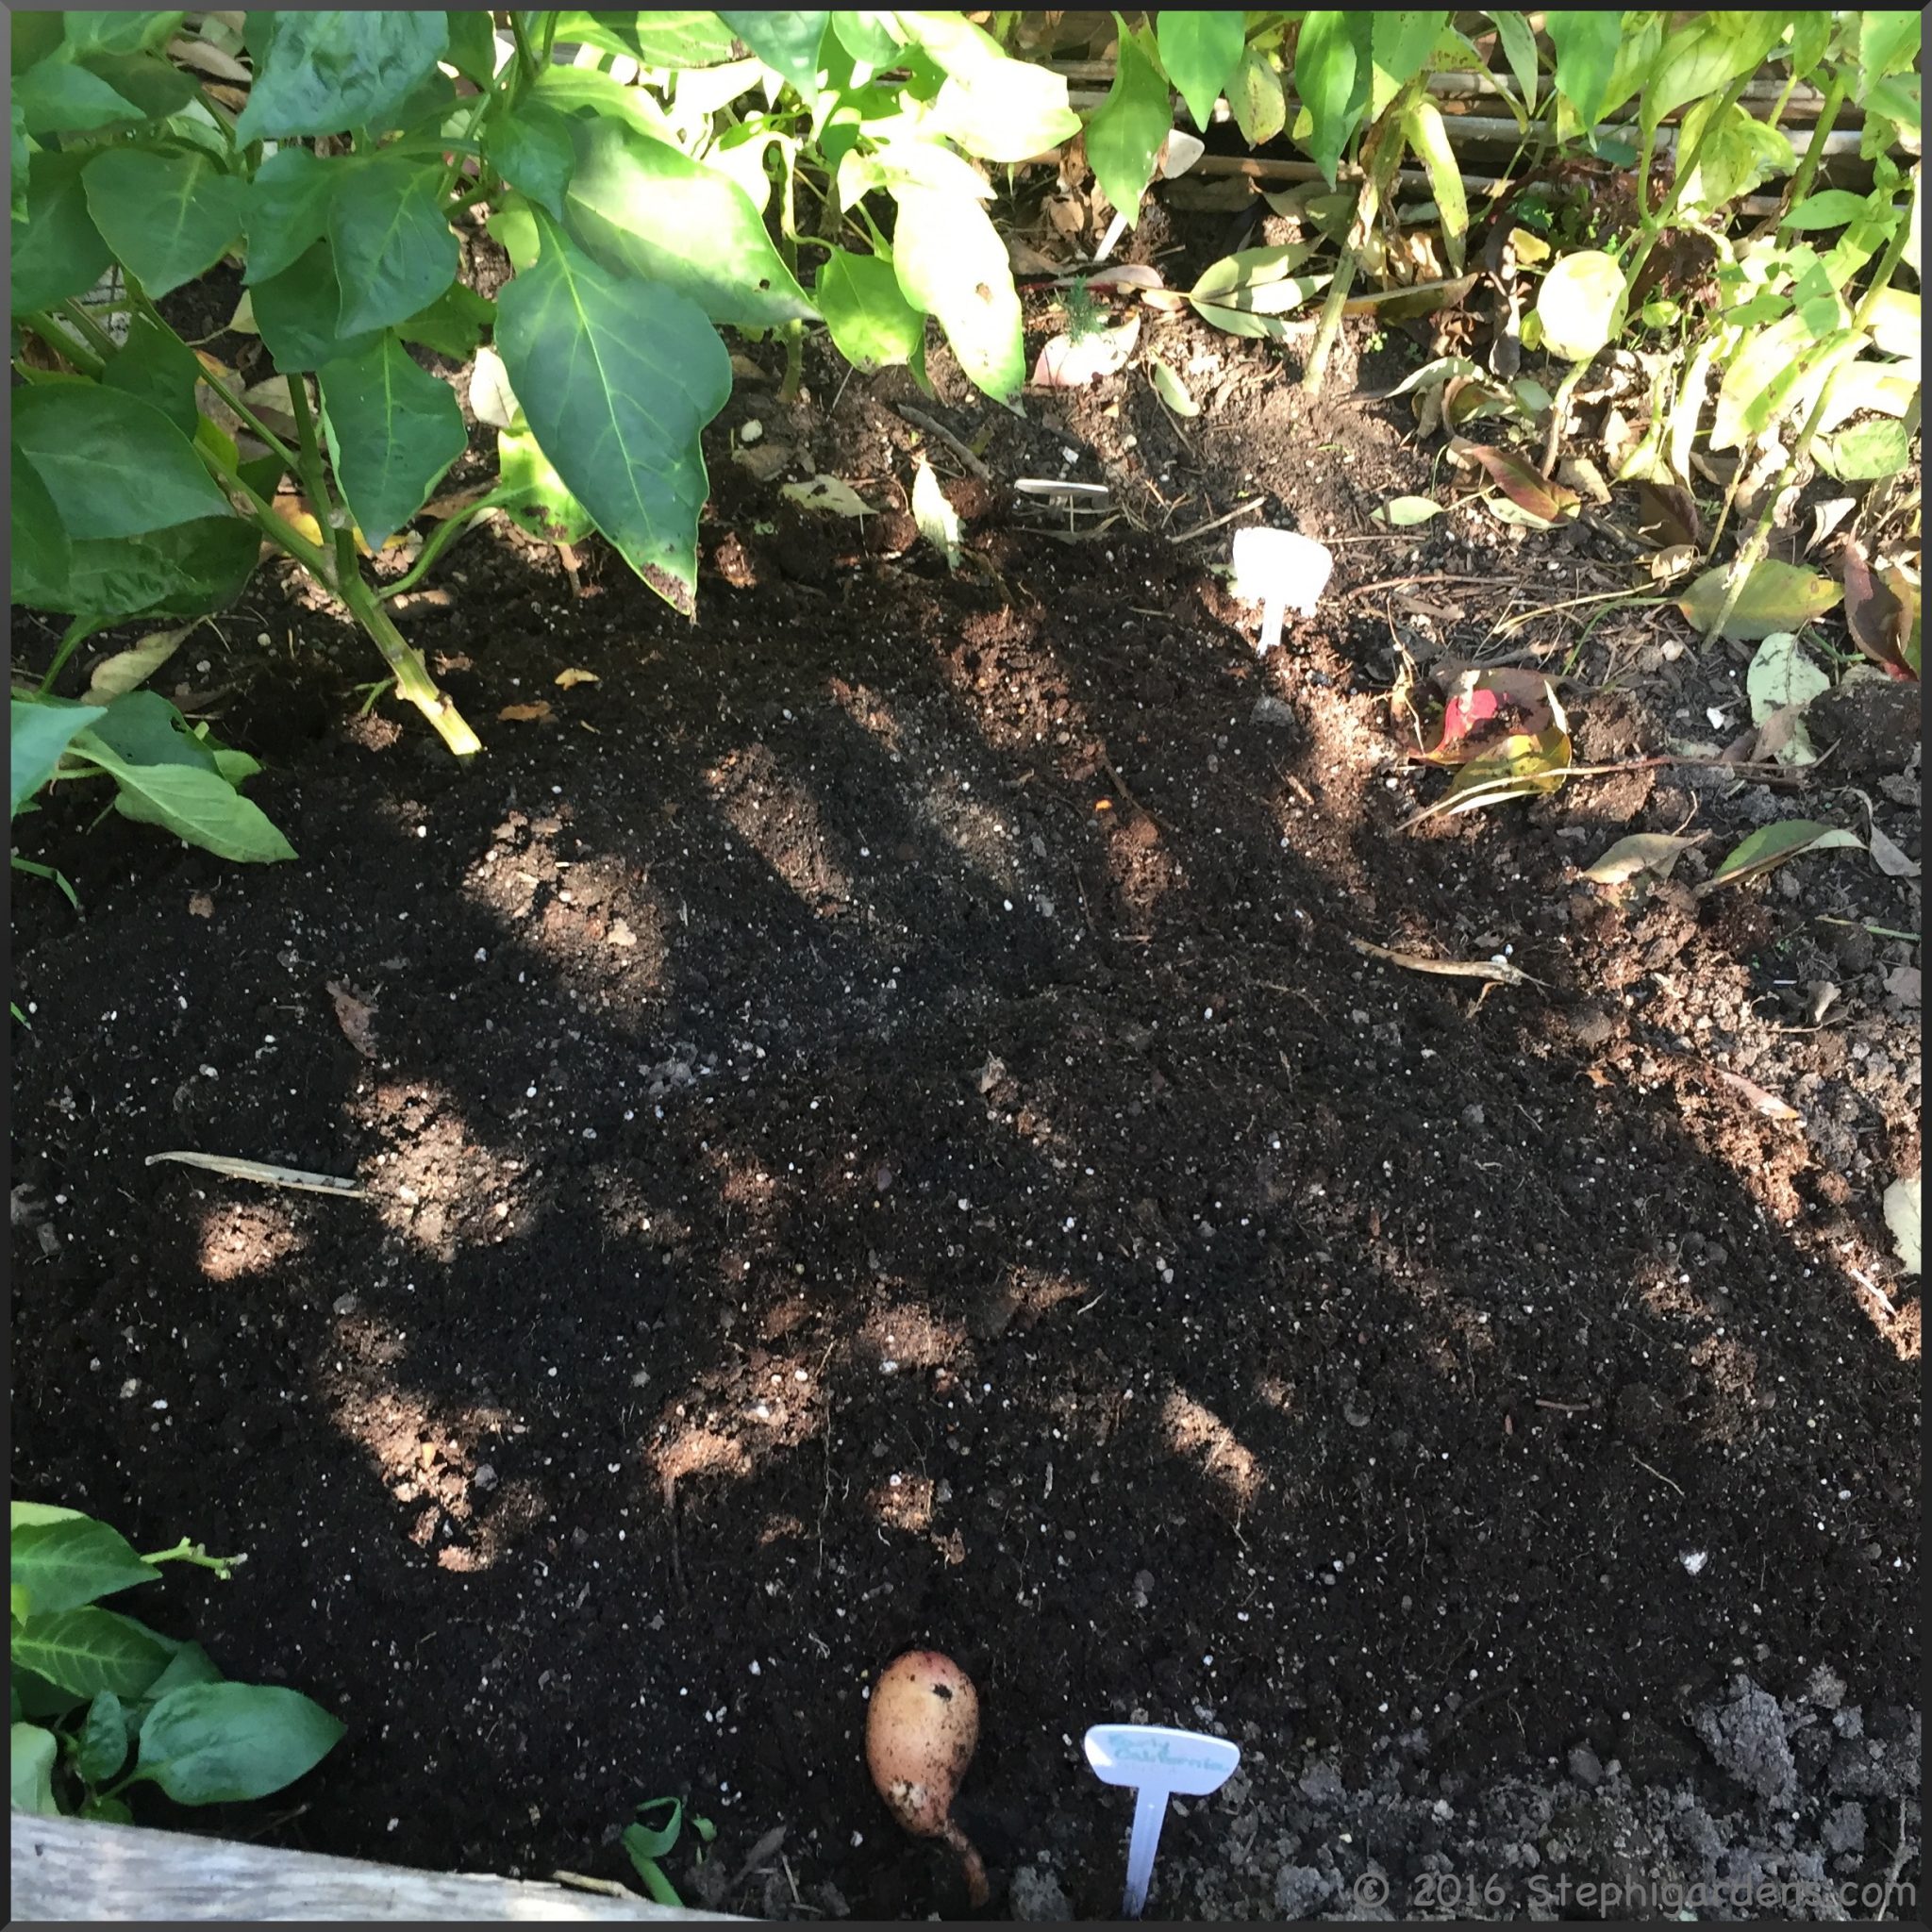
In the garden, I again pulled out the plants and then carefully started turning over the dirt with a shovel. This was a little tricky since I didn’t want to damage any potatoes.

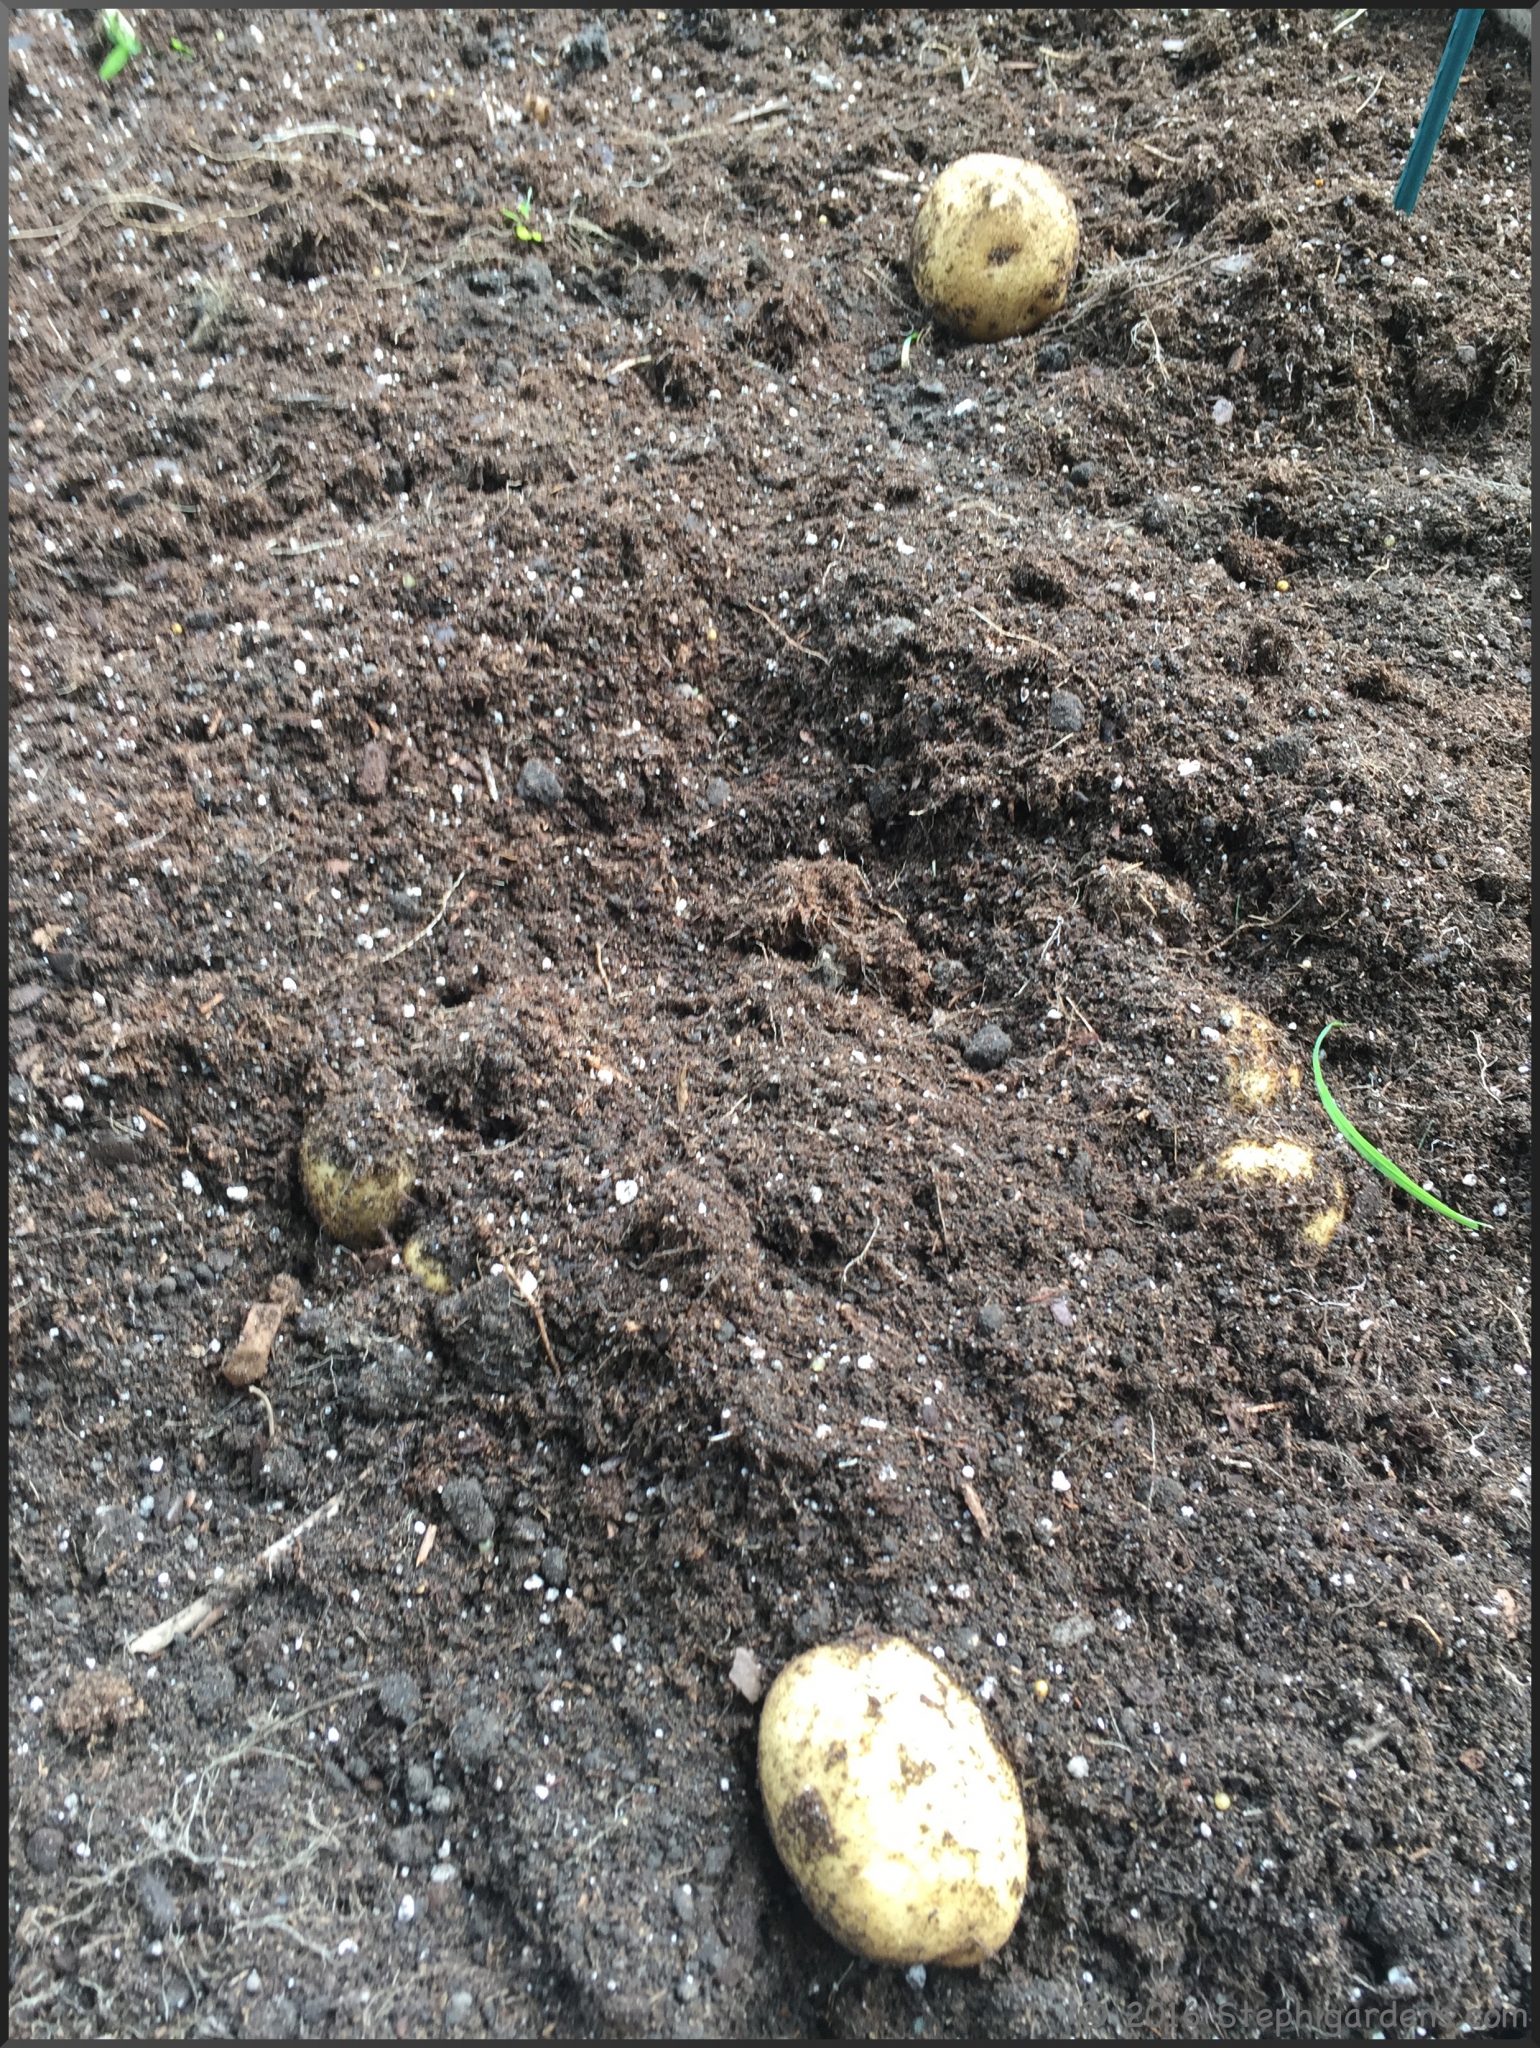
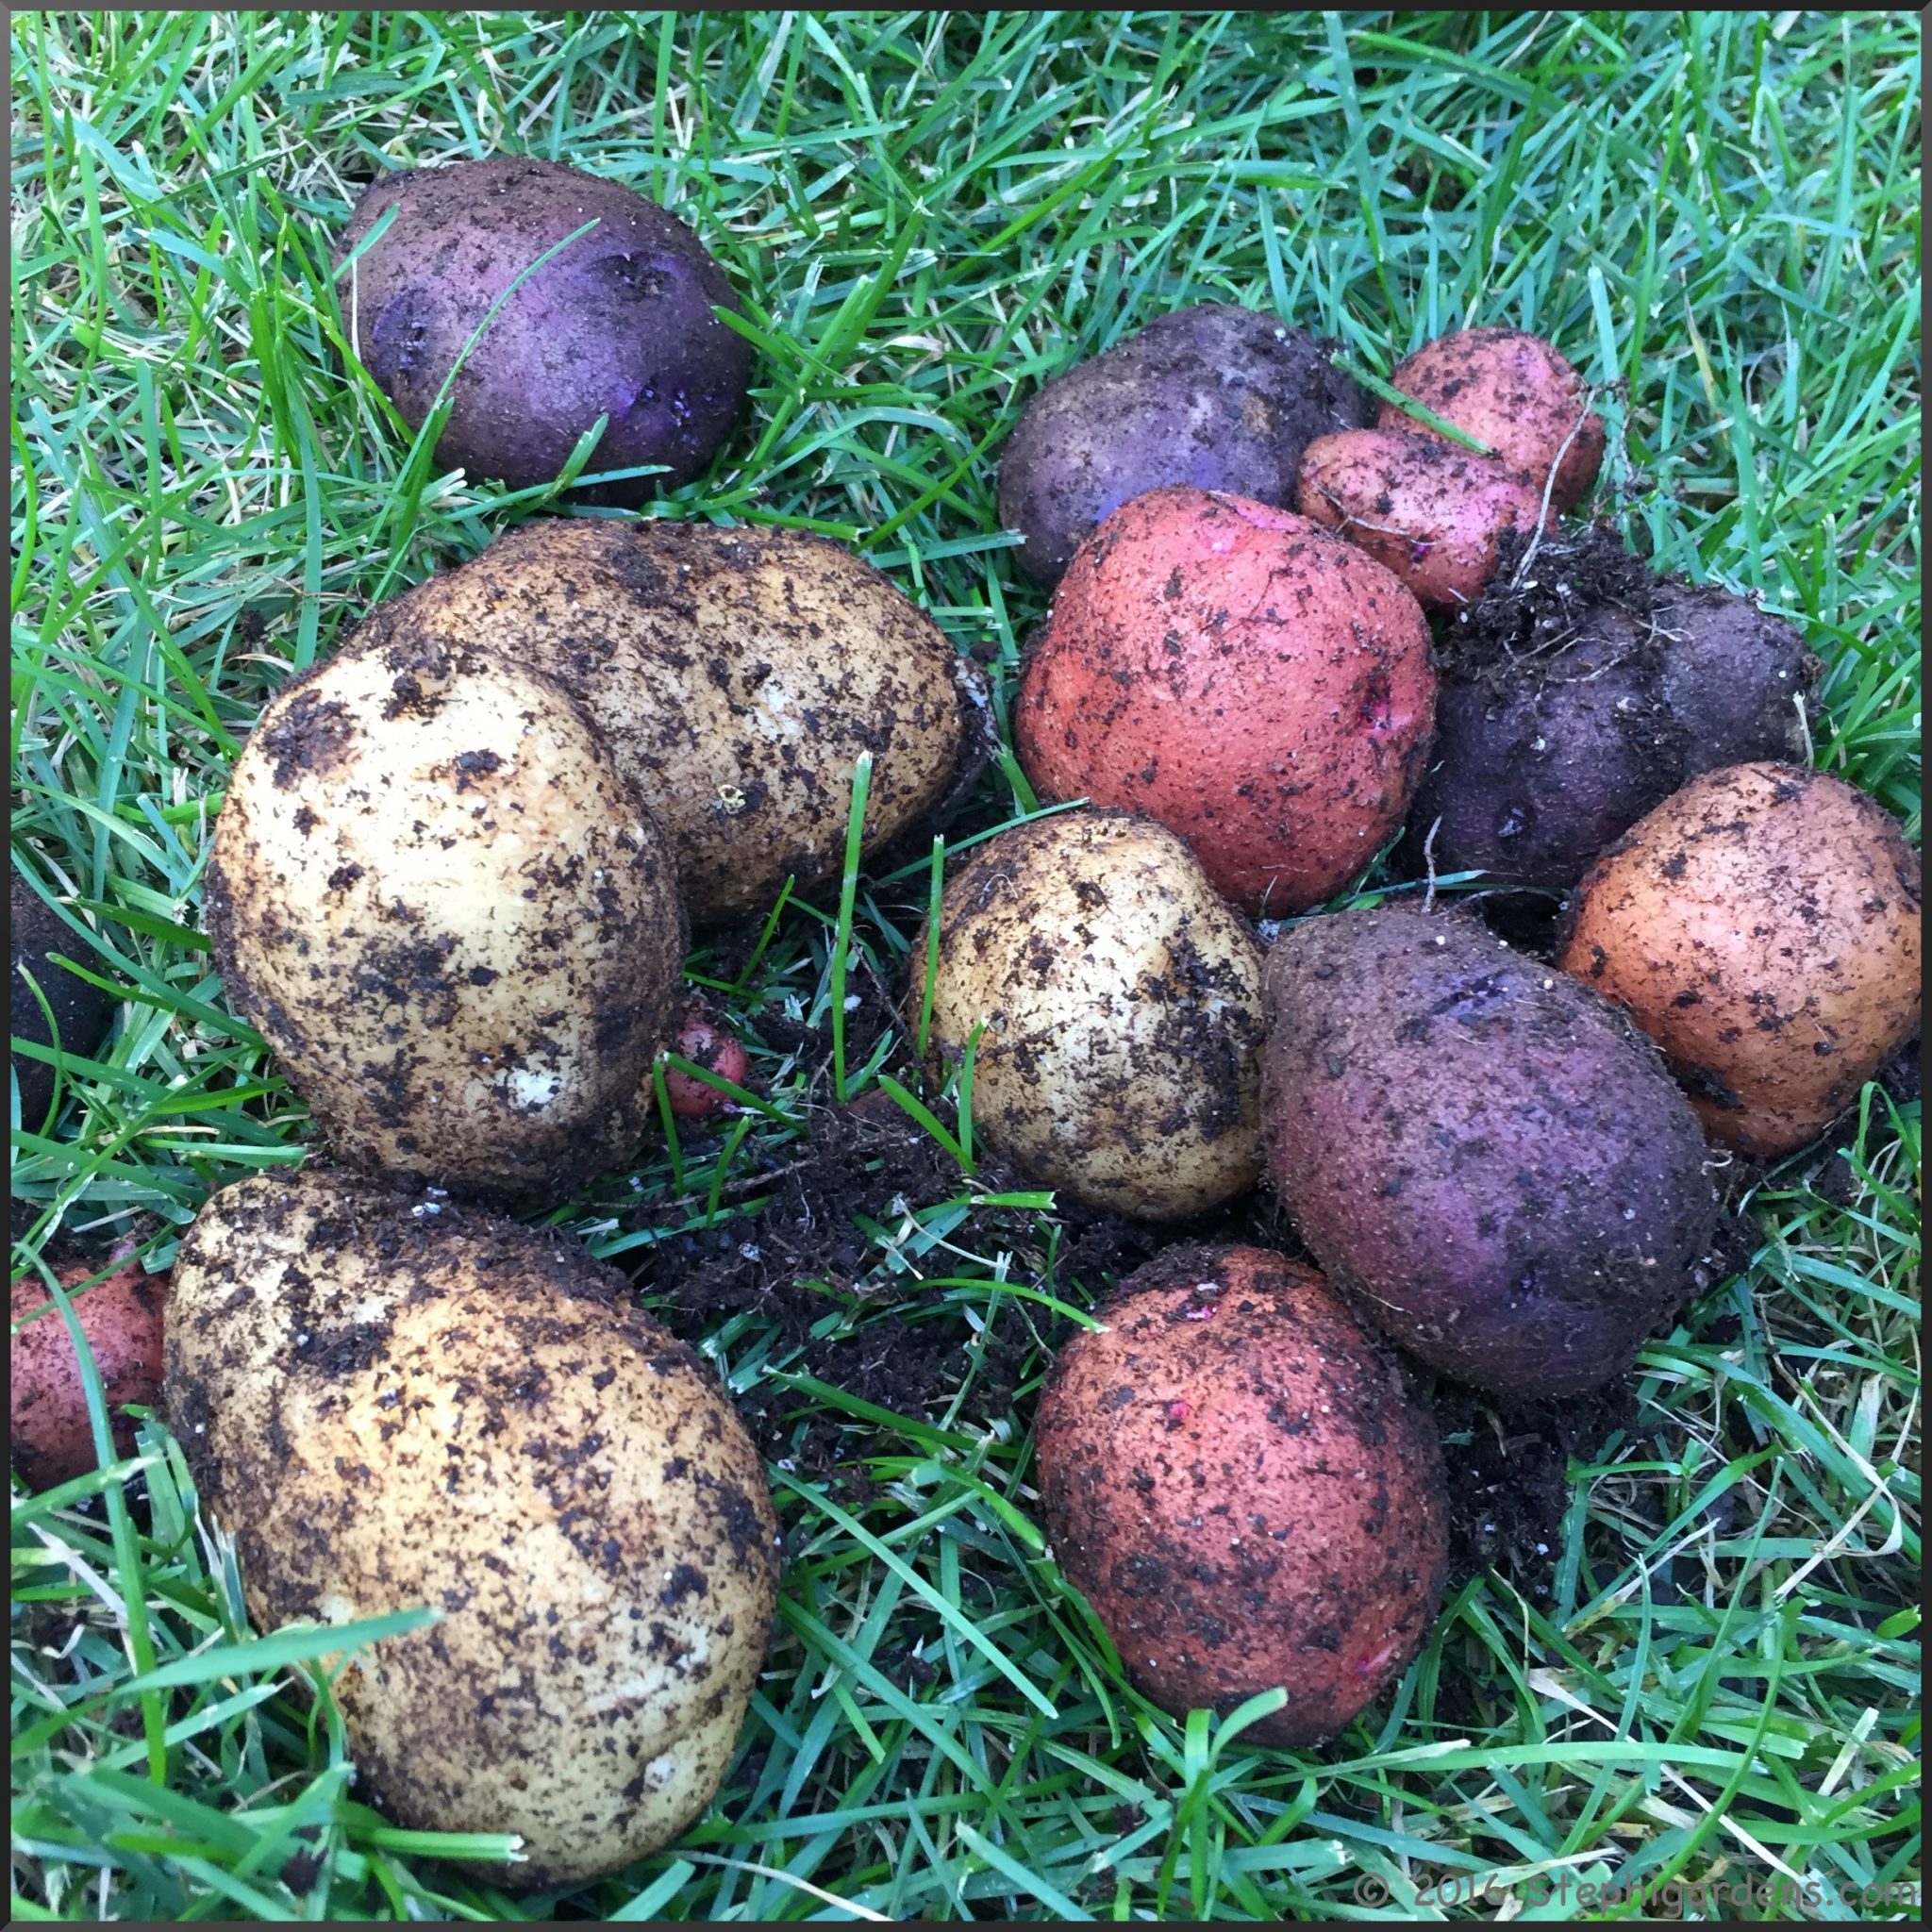
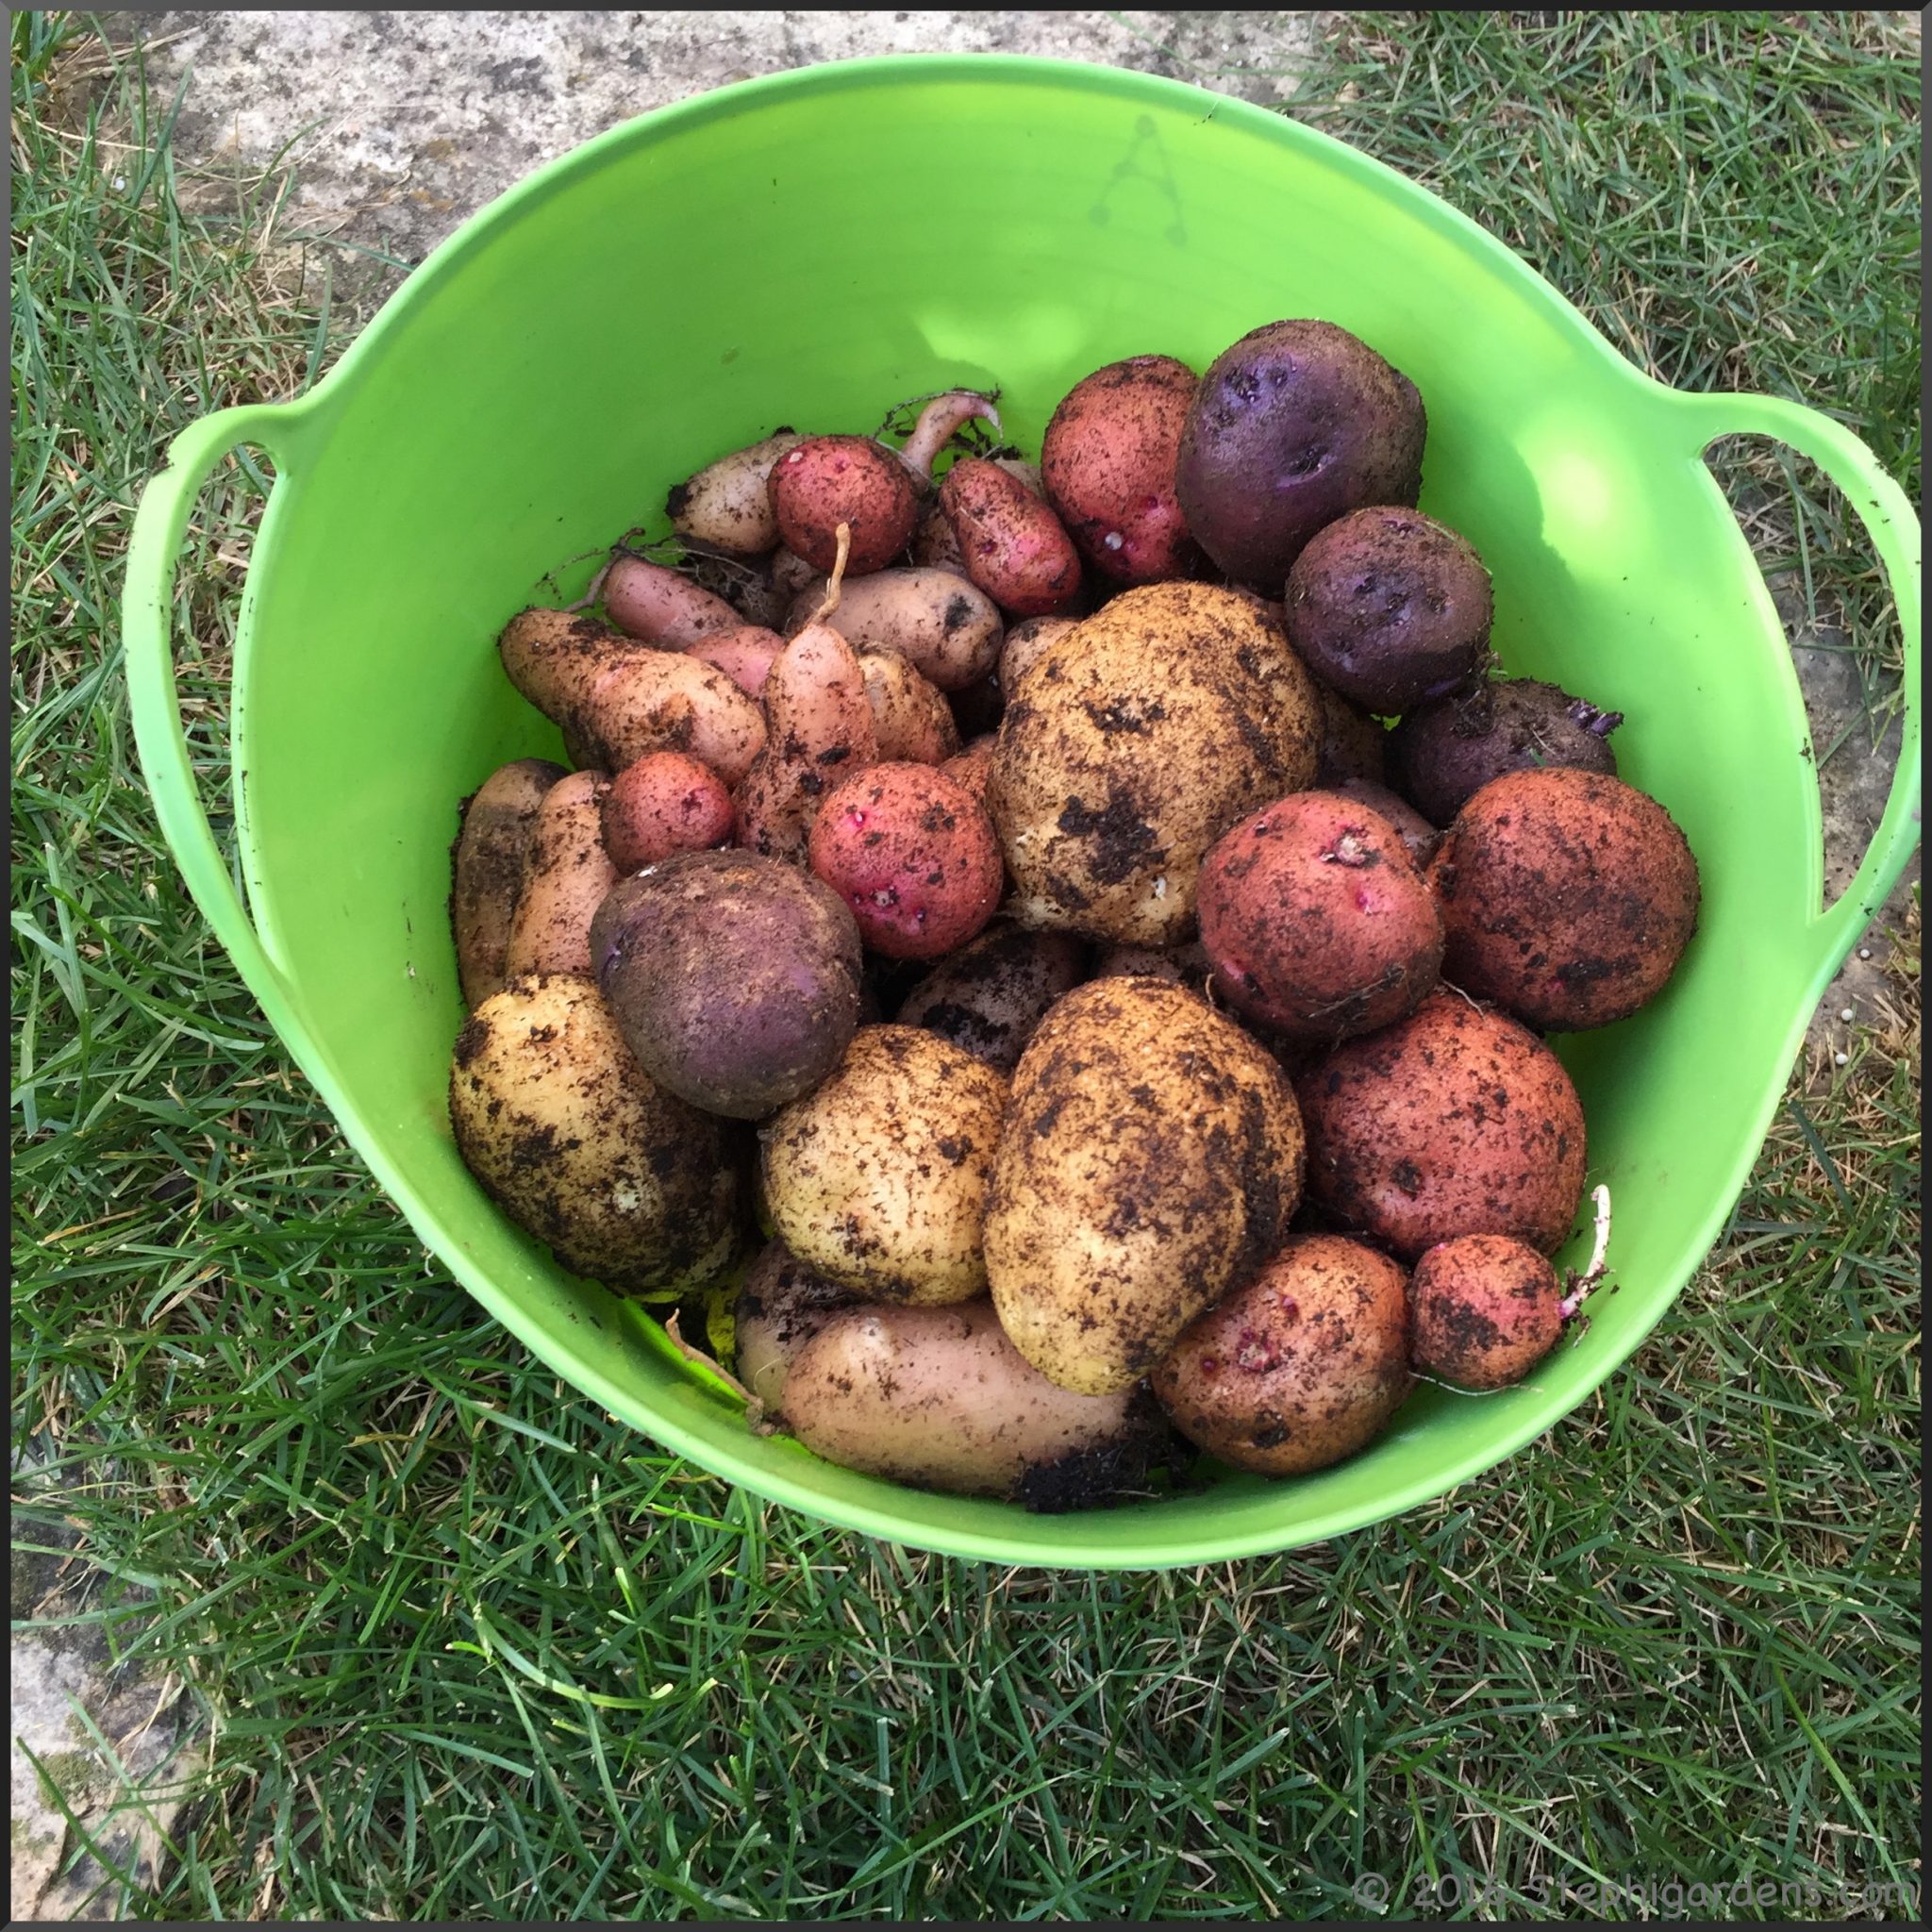
So many yummy potatoes!

Once the potatoes are harvested they need to cure for a couple of weeks to improve their storage life. I laid mine in a shallow box, still covered in dirt and all, in a cool (50-60°) location covered with dark towels to allow for air circulation but keeping them in the dark.  Sunlight at any time will cause the potatoes to turn green. As I mentioned before, the green color is actually chlorophyll which is harmless, but it signifies that there is a high level of the toxin solanine. A little green isn’t harmful, but it’s generally a good idea to peel off any green skin or cut away green sections before cooking.

After a couple of weeks, rub off any clumps of dirt, but don’t wash.  Separate out any bruised or damaged potatoes and use them immediately since they won’t store well. Finally, put them into a container like a bushel basket, paper bag or cardboard box with ventilation holes punched into it to allow air flow. Potatoes should be stored in the dark between 40-50°. Be sure to check them frequently, remove any rotting potatoes and they’ll stay good for a few months.

It’s now January and I still have plenty of delicious homegrown potatoes to eat!


Potatoes Part 1: Preparation and Planting

Each year I like to try something new in the garden. Potatoes sounded like a fun and pretty easy experiment, so I became a potato farmer last spring.

I bought Yukon Gold and a Red, White and Blue blend of seed potatoes from Home Depot and French Fingerlings from a local nursery.  Like garlic, you can’t grow potatoes from grocery store potatoes since they’ve been treated to prevent sprouting. You also want certified seed potatoes to be sure you are getting a healthy disease free and healthy variety. I kept them cool and dark until it was warm enough to plant. Potatoes are cool weather plants, but I still needed to wait for the soil temperatures to be above 45.

About two weeks before planting, it’s time for “chitting” the potatoes.

Chitting is the process of growing shoots on the potato tubers prior to planting. This helps ensure faster growth and heavier crops. Lay the seed potatoes on a tray or in egg carton in a cool, frost free location out of direct sunlight. Set them so that the “rose end”, or the end already sprouting immature shoots, is facing upwards. After a week or so, it’s time to cut the tubers into pieces and let the cuts heal for 3-4 days.

Each piece should have at least one eye with sprouts at least 1 inch long.

Where to plant? Potatoes can be grown either in the garden or in bags. I decided to try it both ways. Here at home where I have less space I grew them in bags. In my Wisconsin garden, I planted them in hills in the garden.

Growing in Bags

I bought three different bags, each having different features. I got one large 15 gallon canvas Geopot Geo-potato bag, a pack of 2 polyethylene Gardman bags, and a pack of 3 polypropylene Haxnicks Potato Patio bags.

The first 2 types had velcro access flaps, all 3 had handles and drainage capabilities and all seemed very sturdy.

The Gardman bags had a plastic reinforcing ring to keep the bag upright. Some reviewers mentioned they had trouble feeding it through, but I had no problems.  It helped keep the bag open until the soil was high enough to push out the sides. The Haxnicks Potato Patio bags didn’t have the additional support, so I just rolled down the top a few inches to keep it open.

I used a 1:1 moistened potting soil and compost mixture in the bags. Add about 4 inches of soil in the bottom of the bag and lay your cut seed potatoes, eye side on top, evenly spaced. I put 5-8 seed potatoes pieces in each bag.

Cover with about 3 inches of moist soil.

Soon after I planted my potatoes we had a late frost, so into the porch the bags went for a few days. Luckily they were still light enough to move easily. Not so easy later in the season when they were full of dirt!

Finally, I placed the bags in a sunny location and kept them watered.

The soil should be kept moist, but not soggy. After the sprouts get to be about 8 inches high, add about 4 more inches of soil to cover.

Continue until the bag is full of dirt. Potatoes grow along the underground stems, so keeping more stem underground increases yield. Keep the bags in full sun, keep the soil moist and let them grow.

To be continued….

Planting in Hills

As an alternative to growing in pots, if you have the space potatoes can be grown directly in the garden using a hill method. Dig troughs (or holes if only a few potatoes) about 4-6 inches deep and lay the prepared seed potatoes in them about 6-8 inches apart. I planted Yukon gold potatoes by this method.

As the plants grow, continue to cover the foliage with surrounding soil creating hills to bury as much stem as possible. This increases yield, and keeps the potatoes from sunlight which causes them to turn green. The green color is actually chlorophyll which is harmless, but it signifies that there is a high level of the toxin solanine. A little green isn’t harmful, but it’s generally a good idea to peel off any green skin or cut away green sections before cooking.

to be continued….

Next post–How did they turn out????

SaveSave

This Was The Summer of Wasps!

This was our first summer in Door County, WI, so when the hornets and wasps appeared we thought it was normal.  Then more came, and everyone in line at the hardware store was buying wasp spray.  We had the normal small nests that appeared in the eaves and under the deck rail, and we seemed to be able to keep them in check.

But the mother ship was in the kindling box.

wasp nest

Early in the summer we saw a few wasps coming in and out of the box, but by midsummer it became apparent that we really shouldn’t open it any more until it got cold.  Fall came and it seemed like it was finally time to inspect what was going on.  What a treasure we found!

wasp nest

Because of how it had been built inside the box, we were able to pull the whole nest out intact and see some of the interior architecture.

This was the front.  Such beautiful scalloping and shades of color.  To the touch it was soft, papery and deceivingly strong.

wasp nest

wasp nest

The wasps entered from the canal at the top that spiraled down into the interior layers.

wasp nest

When the nest was pulled away from the box, it exposed some of the interior scaffolding where the young are hatched and food is stored.

wasp nest

wasp nest

Since this seemed so interesting, we dropped it off at a local nature center so all can enjoy.

wasp nest

I’m not entirely sure if this was a yellow jacket or bald-faced hornet nest, both of the wasp family Vespidae.  They are closely related social wasps and build similar nests.  There were just so many flying stinging insects around, I didn’t pay close enough attention to what was actually going in and out of the wood box.  We also had plenty of paper wasps, but they build very different types of nests.

After finishing our little nature exploration, we’ve had enough of raising wasps so the box was partially dismantled and used as frame to corral my expanding composting pile.

Want to learn more?  Here’s some useful links from local midwestern university extensions:

Happy New Year’s To My Backyard Birds!

Happy New Year! I hope this day finds you all well and looking forward to this new year. I’ve been away a bit from blogging, but one of my goals for this year is to keep up much better. So much has happened this summer and fall with great gardening and travel, so I’ll spend the winter catching up!

On to the birds

Like most people, I have a heck of a time finding balance between feeding the birds and feeding the pesky squirrels. I really love my squirrel-proof pole, but it’s only as good as your placement.

Stephi Gardens

In my case, for me to have it in a perfect viewing spot from the kitchen window, it is just too close to the tree. Since squirrels are quite the acrobats, the pole really needs to be at least 10 feet from any object than can jump from. BTW, I have never seen a squirrel successfully climb up the pole! Since I’m not willing to move it, I either need to put up with feeding the squirrels or try some other feeders or shields.

I tried the clear dome feeder covers and decided those were really only good to keep the finch socks dry. I tried tying shiny ribbons around the tree to distract the squirrels and that only made it look like trash had become trapped on the tree somehow. I also tried the Squirrelaway Baffle, which also got great reviews.  But, alas, my squirrels finally outwitted it 🙁  It did work pretty well with the suet feeder tucked up there, but regular feeders it was able to s-t-r-e-t-c-h and reach around to grab it.

My last attempt was to try some of the squirrel proof feeders. Since it was recently Christmas, I added a couple to my Christmas wish list. I also had a couple around that I dusted off.

Here’s what I’m trying:

Peanut Feeder– I’ve had this one a couple of years and the nuthatches and downy’s just love it. I’m not sure the brand, but I got it at a Tractor Supply Store.  No squirrels can get into it. But, the other day I must not have screwed on the top as tight as I should have since it was missing one morning. I found it quite a ways away from the pole, so someone had quite a feast!

squirrel proof peanut feeder

Sunflower Seed Feeder–I just put out this Perky-Pet Squirrel-Be-Gone®Wild Bird Feeder and hope it lives up to it’s name. If a squirrel gets onto it, the outer wire cage lowers and closes the feeder slots.

Perky-Pet® Squirrel-Be-Gone® Wild Bird Feeder

My only concern is the plastic tube. Hope my squirrels aren’t chewers.

Perky-Pet® Squirrel-Be-Gone® Wild Bird Feeder

The top seems really good and tight to keep them out.

Perky-Pet® Squirrel-Be-Gone® Wild Bird Feeder

My new suet feeder– I’ve really tried to used shields with my suet feeders and they worked for a while. Then this happened. Maybe I just didn’t figure out how to get the feeder hidden in their well enough, or I just have super smart squirrels. Either way a new approach was needed.

squirellbuster baffel

I’m now going to try the Stokes Select Squirrel Proof Double Suet Feeder. Seems to be well reviewed, so we’ll see. Looks pretty solid.

Stokes squirrel proof suet feeder

Stokes squirrel proof suet feeder

Black Oil Sunflower Feeder– And lastly, my new favorite! A Brome 1057 Squirrel Buster Standard Wild Bird Feeder. This seems to be everyone’s favorite brand, and I was pleasantly surprised at how well it seems to be made. Comes with really good instructions in case you want to adjust the closure weight.

Brome 1057 Squirrel Buster Standard Wild Bird Feeder

Brome 1057 Squirrel Buster Standard Wild Bird Feeder

Brome 1057 Squirrel Buster Standard Wild Bird Feeder

I chose this one because it has perches that Cardinals seems to like. They were the trickiest to find a squirrel proof feeder for since they like to perch instead of cling. Worst case scenario, they seem to be happy with the spills.

So here we have it. All ready for the birds and hopefully will have outsmarted the squirrels.

img_1520

I’ll keep you posted!  How do you outsmart the squirrels?

P.S. To help keep the sparrows and house finches away from my more expensive seeds, I usually place a couple of other feeders farther away in the yard filled with a cheaper wild bird seed mixtures. That seems to keep them happy!

Last Remnants of a Gorgeous Fall

This has been quite an unusual fall for many of us.  Seems like the winter was in no hurry to arrive, so we’ve been treated to one of the warmest and longest falls in a long time.  With that, many trees are still showing colors and many plants in my garden are still going strong.  All this is going to come to a screeching halt tonight as we drop from almost 70 this morning to the 30’s overnight.  Yikes!

Until then, here’s  some of what’s still been going strong in my garden.

Tomatoes, carrots, cucumbers, hot and sweet peppers and hardy herbs are still there for the picking.

stephi gardens

img_0841

hot peppers

img_0848

Even the heat loving zinnias are still hanging in there!  Their colors are blending beautifully with the fall garden colors.  I think after today, I’ll be dead heading them for next year (Fall Seed Gathering Means Beautiful Summer Zinnias).  If you look closely behind the zinnias, you can see the fall garlic shoots indicating next year’s garlic harvest.

zinnias

Despite the abundance of fallen leaves, the geraniums aren’t looking like they’re ready to be done anytime soon.

geranium

The cosmos are still blooming strong.  But, the hydrangeas behind them are ready to add winter interest to the garden.

cosmo

The Victoria Blue Salvia is in the same bed as the cosmo.  Usually this area is all salvia, but due to a mix up (well my mix up) when I ordered the annuals from a local plant sale, I didn’t actually buy any this year.  These are self seeded from last year and added a nice splash of purple to the pink of the cosmo.

cosmo

While the Purple Beautyberry bush (Callicarpa x NCCX1) is expected to look great this time of year, I thought I’d add it since it’s a fairly new shrub and thankfully doing great!  I can’t get enough of those fall purple berries and each year I’ve had more.

purple beautyberry bush

How’s your garden been this fall?

Chickens of Kauai: Good or Bad???

Chickens and Kauai. Not really two things I would have ever thought go together.

Kauai chickens

Hibiscus, beautiful ferns and gorgeous views, but not chickens. But they were everywhere.  I should have known something was amiss when there were chickens and roosters in the rental car parking lot at the airport.  We thought it cute and other than thinking it was odd, didn’t give it much thought.  Then they were in the garden outside our hotel room, and again thought they were a novelty.  That is until the rooster started crowing at the full moon around 3 am.  We were already a bit delirious from the jet lag and that just added to the fog we were feeling.

But off we went to explore the island.  We found this guy at the Iliau Nature Loop hike.

Kauai chickens

We were greeted when we left the car and actually escorted us down the trail a good ways.

Kauai chickens

We had another trail mascot hiking on the Cliff trail in the Waimea Canyon.

Kauai chickens

There were whole families on Poipu Beach.

Kauai chickens

The strong winds at Lydgate Beach didn’t blow them away.

Kauai chickens

At the Wailua River State Park overlook, the parking turnout was overrun and we were actually in danger of running them over…

Kauai chickens

…or having them try to jump in the car.

Kauai chickens

At Pu’u Poa Beach in Princeville, I think we were in this guys territory.  He seemed ok with us there, but when another rooster wandered too close he was none too happy.

Kauai chickens

Hey, this isn’t a chicken!  Finally got to see some Nene, the Hawaiian state bird.

Nene

So why so many chickens?  The story goes that “mua” or red junglefowl were originally brought to Kauai by the Polynesians when they arrived in Hawaii.  All seemed pretty much ok and in some kind of natural balance.  That was, until hurricanes Iwa in 1982 and Iniki in 1992 wiped out pretty much everything and released domesticated chickens into the jungles to mate with the junglefowl.  This resulted in the feral chickens we see everywhere today.  The problem is certainly compounded by the lack of any natural predators like the mongoose found on all other Hawaiian Islands.

They can be quite a nuisance.  Crowing at all hours of the night and day, scratching and damaging gardens and trees, leaving droppings everywhere and these feral birds are no good for eating unlike their ancestors. But on the flip side, they eat a lot of bugs, are important in keeping the nasty Hawaiian centipede in check and do provide entertainment, great photos and business opportunities for the locals and tourists.  Plus researchers at Michigan State are studying them to find ways to develop hardier breeds of domesticated chickens.

For more information Nature.com has a great visual and article.

Interesting Plants of Kauai

While we were visiting Kauai, in addition to all the gorgeous Hibiscus there were lots of other interesting plants to see and learn about.  I wish I had more time to go plant exploring, but there was so much to do in so little time.  Here’s a little of what we saw.

Uluhe fern (Dicranopteris linearis)

This old world fern is widespread across Kauai and other islands.  It is a quick growing, thick and woody fern found on the sloping mountainsides.  It serves an important function to prevent erosion and keep weaker rooted weeds and invasive species to a minimum.  It is also one of the most dangerous plants a hiker can encounter.  It’s not at all poisonous, but aside from the the woody stems that will scratch the heck out of anyone trying to bushwhack through it, it’s growth habits can give a hiker a false sense of where a cliff side may be.  One step onto what looks like a soft mat of plant growth, can turn out to be a nasty fall down a cliff side.  It’s new growth continues to grow on top of any plant, including itself.

Uluhe fern

Uluhe fern

In areas where it’s been sheared, it’s easy to see all the dead growth underneath.

Uluhe fern

Strawberry Guava (Psidium cattleyanum)

Strawberry Guava

Strawberry guava is native to Brazil and considered a very dangerous invasive species in Hawaii.  Like many invasive species, it interferes with the native ecosystem and is exceedingly hard to eradicate.  On the positive side, the deep, red ripe fruits are edible and can be used for juice, jams, or just a tasty treat on a hike.  I did try a few, but maybe mine weren’t quite ripe since I thought they were little tart.

Iliau (Wilkesia gymnoxiphium)

Iliau is an ancient plant only found on Kauai.  We came across it on the Iliau Nature Loop trail, a pretty hiking trail on the scenic drive through the Waimea Canyon.  Even if you only have a few minutes on your drive, this 0.3 mi scenic loop is well worth doing.  Placards along the path describe many of the native plants you’ll find in this unique ecosystem.  On the plaque at the beginning of the trail, the trails namesake plant the Iliau, is described as an ancient member of the sunflower family.  It is a monocarpic plant, meaning it will only flower and bear fruit once, then it dies.  It lives an average of 2-10 years, and the spectacular flowers can be seen from May to July.

Since we were there in August, we didn’t see any flowers, but the leaf stalks were nonetheless interesting.

Iliau (Wilkesia gymnoxiphium)

There were also plenty of seed stalks rising up across the horizon.

iIlau (Wilkesia gymnoxiphium)

In addition to the plants along the way, the views of the canyon were just breathtaking.  We were lucky to have a relatively clear day.

img_0968

At least depending on the direction you are facing 🙂

img_0962_2

There were also plenty of “tree orchids” to add color just about everywhere.

img_9055

At dinner one night we had enjoyed this window box growing pineapples and crotons.

img_8940

When in Hawaii is there anything better than a real flower lei?   We got to make our own and learn about some of the customs associated with the tradition one afternoon while hanging out at the pool.  Mine was made from the very fragrant plumeria, but unfortunately it didn’t stay fresh very long.   Still smelled wonderful anyway.

img_8673

There was plenty more to see and enjoy, but these were some of my favorites and most interesting!


Beautiful Hibiscus of Kauai

I was fortunate to recently spend a week on the Hawaiian Island of Kauai.  As you would imagine, the flowers are gorgeous and I especially loved all the hibiscus growing everywhere.  No wonder they are the State Flower of Hawaii.

There are seven wild hibiscus found on the Hawaiian islands.  We came across the Hawaiian White Hibiscus or Koki’o ke’oke’o  (Hibiscus waimea) while visiting the scenic Waimea Canyon drive.  These can be found natively only in the higher elevations of Kauai from the gorgeous Waimea Canyon to the ocean-facing valleys in the west and south-west.

koki'o ke'o ke'o Hibiscus waimeae

koki'o ke'o ke'o Hibiscus waimeae

Most of the other hibiscus found in Hawaii are Chinese hibiscus and other hybrids. But, they are no less beautiful and add gorgeous splashes of color to the gardens of roadsides, homes and hotels.  Actually most everywhere on the island.

img_9118

img_9122

img_9119

img_9177

img_9178

img_9179

I might need to look into growing some hardy hibiscus back at home.  Bring a little of the tropics to Chicago 🙂  Have you had luck growing hibiscus as a perennial in colder climates?

Fall Seed Gathering Means Beautiful Summer Zinnias


zinnia

Zinnias are a great splash of color in the dog days of summer.

My friend Susan has a fabulous hedgerows of zinnias and she shared her secret as to how it looks great year after year.

zinnia

Every fall she gathers the dead seed heads, dries them and stores them in a bag over the winter in a cool, dry location. I kept mine on my unheated porch.

When the temperature is warm enough in the spring, generally not for a couple weeks after the last frost date, she coarsely separates the seeds from the rest of the dead flower heads.   Then in a shallow trench, she thickly spreads the coarse seed mixture, covers lightly with dirt and once the seedlings begin to come up, does not thin them.  Zinnias thrive best in full sun and are quite drought resistant.

zinnia seeds

I had to try it!  We collected seeds last fall from our gardens, and anywhere we could find lovely zinnia beds in need of dead-heading, including from the golf course we play at.  This spring, when the soil temperature was warm enough (usually not until after Mother’s Day here at my zone 5 home) we planted our overwintered seeds by spreading the coarse seed mixture into shallow rows.

Zinnias everywhere!  I need to find more places to plant them to enjoy all the color, but it worked.  Not as nicely as Susan’s, but I’ll get there.

Susan was kind enough to send me some more photos of her yard.  Enjoy!

zinnia

zinnia

zinnia

zinnia

I’m not the only loving the colors!

zinnia and monarch

zinnia and monarch

Soon she’ll be harvesting next year’s seed head before the first frost sets in.

zinnias

zinnias

zinnias

All ready for another year of gorgeous color!

Many thanks to Susan for sharing her photos with me. And for enticing me to make my zinnia garden even bigger next year. 

A Fun Garden to Table Kitchen Gadget-A Countertop Spiralizer

zucchini spiralizer

I’m almost embarrassed to admit I bought a Paderno World Cuisine Spiralizer Pro last winter and then promptly let it sit in its box until this week.  As much as I thought it looked so cool to use, it just sat there taunting me because it also looked so complicated.  I couldn’t have been more wrong!!

I was finally prompted to get it out of the box when I began to be overwhelmed by a very large zucchini harvest and was getting tired of zucchini au gratin.  (Can’t spiralize the “baseball bats“, so those will be shredded for zucchini bread).

zucchini

I was truly surprised as to how easy this was to use.

Paderno World Cuisine Spiralizer Pro

Just take out the very neatly and conveniently stored parts, pick your blade (I used the “fine shredder” blade) and prepare the zucchini.

Preparation is pretty simple.  Peel if you’d like, but it’s not necessary, and cut off the ends to make 2 flat surfaces.

spiralizer

Push onto the pronged wheel and line up on the circular coring blade.  Then start turning with the hand crank.

spiralizer

Out comes beautifully spiraled zucchini “noodles”!

spiralized zucchini

Start to finish was less than 5 minutes.  What have I been waiting for?

zucchini spiralizer

This was so fun I decided to add spiralized beets to the sauté.  With beets, you want to use gloves to keep from staining your hands.  Just cut off the ends, peel and it’s ready. Be sure to clean your spiralizer immediately to keep from staining it.

spiralizer

beet spiralizer

Because the beets are so hard, I think I need a little more practice to get perfect spirals.  But even these less than perfect, spiralized beets were just fine.

There’s lots of spiralizer recipes on the web and I also recommend Inspiralized, The Spiralizer Cookbook, and The Spiralizer Cookbook 2.0 if you like “real” cookbooks like I do.

Tonight’s sauté was simple, yet tasty and low-sodium for those looking to lower your sodium intake. I heated olive oil over medium high heat, added the beets to just barely soften them.  About 3-5 minutes stirring frequently.  Add the zucchini for about 3-5 minutes more.  Finish with balsamic vinegar.  I used Lucero’s Winter Spice Balsamic Vinegar, but there’s lot of flavored EVOO and balsamic vinegar combos to try.

spiralized zucchini beet saute

I also have a bounty of cucumbers this year so we also had a yummy cucumber salad.

cucumber spiralizer

Have you ever spiralized your vegetables?  What’s your favorite?