I’ve had a lot of time during this pandemic to plan and tend to this year’s garden. I can’t say I’ve minded this part, I’ve actually really enjoyed the time to get back to basics in the garden.
Like usual, I started a number of vegetables in the house from seeds and shopped for the rest at the local nursery (shout out to Vern Goers Greenhouse that was thankfully open, with appropriate restrictions of course).
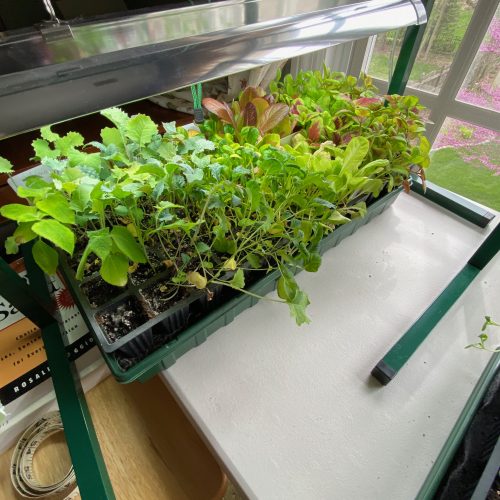
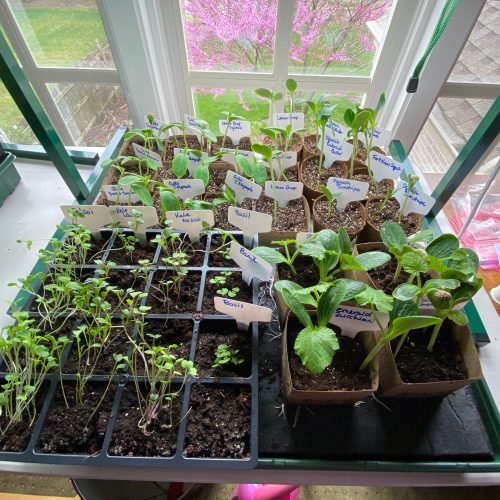
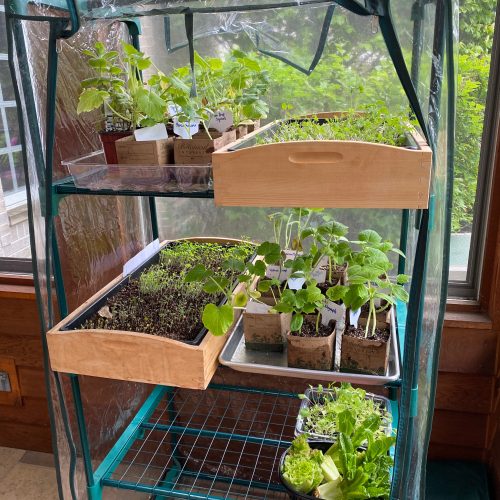
We had a bad cold snap in early May, so I kept everything nice and cozy under grow-lights in the house and in the mini greenhouse on the porch.
I am so looking forward to a summer of fresh vegetables straight from the garden.
What did I grow this year from seeds in the house?
- Red Russian Kale* (Botanical Interests)
- Tom Thumb Butterhead Lettuce* (Botanical Interests)
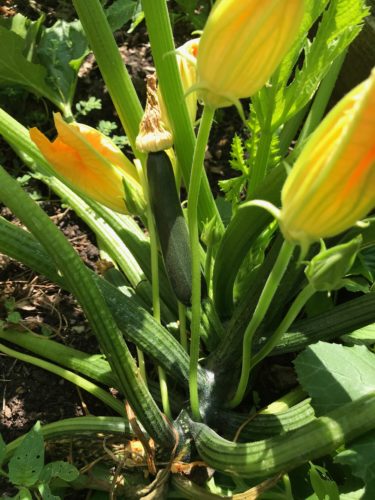
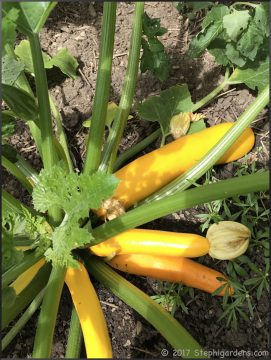
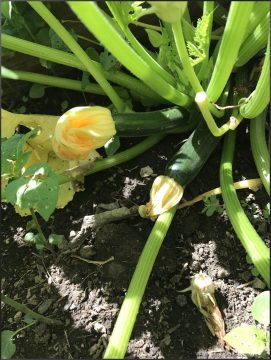
- Emerald Delight Summer Squash (Botanical Interests)
- Lemon Drop Summer Squash (Burpee)
- Squash, Summer, Fort Knox Hybrid (Burpee)
- Lacinto Kale* (Burpee)
- Fort Knox Summer Squash (Burpee)
- Sweet Success Cucumber(Burpee)
- Telegraph Cucumber (Baker Creek Heirloom Seeds)
- Green Tatsoi* (Baker Creek Heirloom Seeds)
What seeds am I starting outside?
- Sugar Daddy Snap Pea (Botanical Interests)
- Danvers 126 Carrot (Botanical Interests)
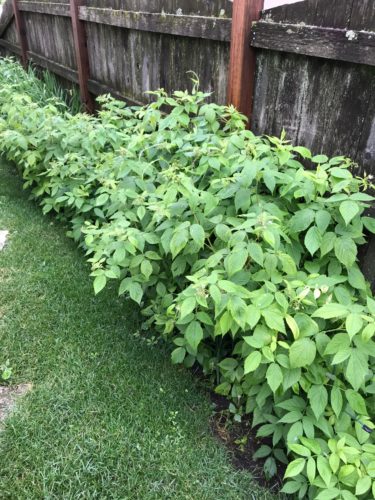
- Desperado Bush Bean (Burpee)
- Autumn Giant Leek (Baker Creek Heirloom Seeds)
- Carentan Leek (Baker Creek Heirloom Seeds)
- St. Valery Carrot (Baker Creek Heirloom Seeds)
- plus all the * items above as a second harvest
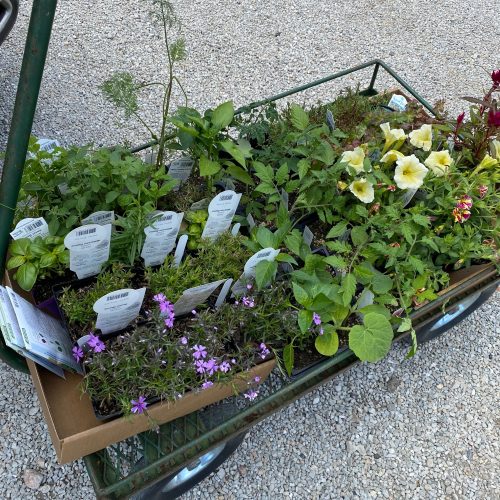
What plants did I buy?
- Redarling Brussel Sprouts
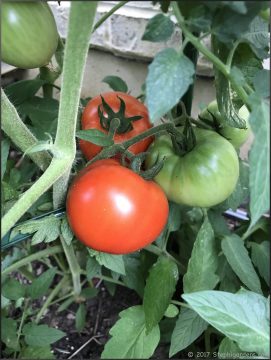
- Sun Gold Tomato
- Early Girl Bush Tomato
- Juliet Tomato
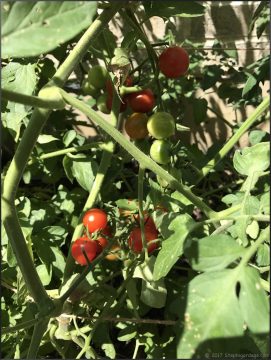
- Sweet Million Cherry Tomato
- San Marzano Tomato
- California Wonder Sweet Pepper
- North Star Sweet Pepper
- Habanero Peppers
- Kohlrabi
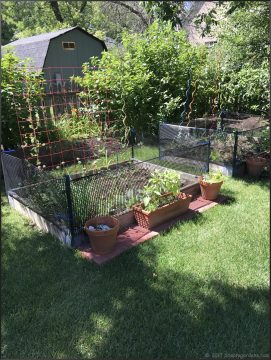
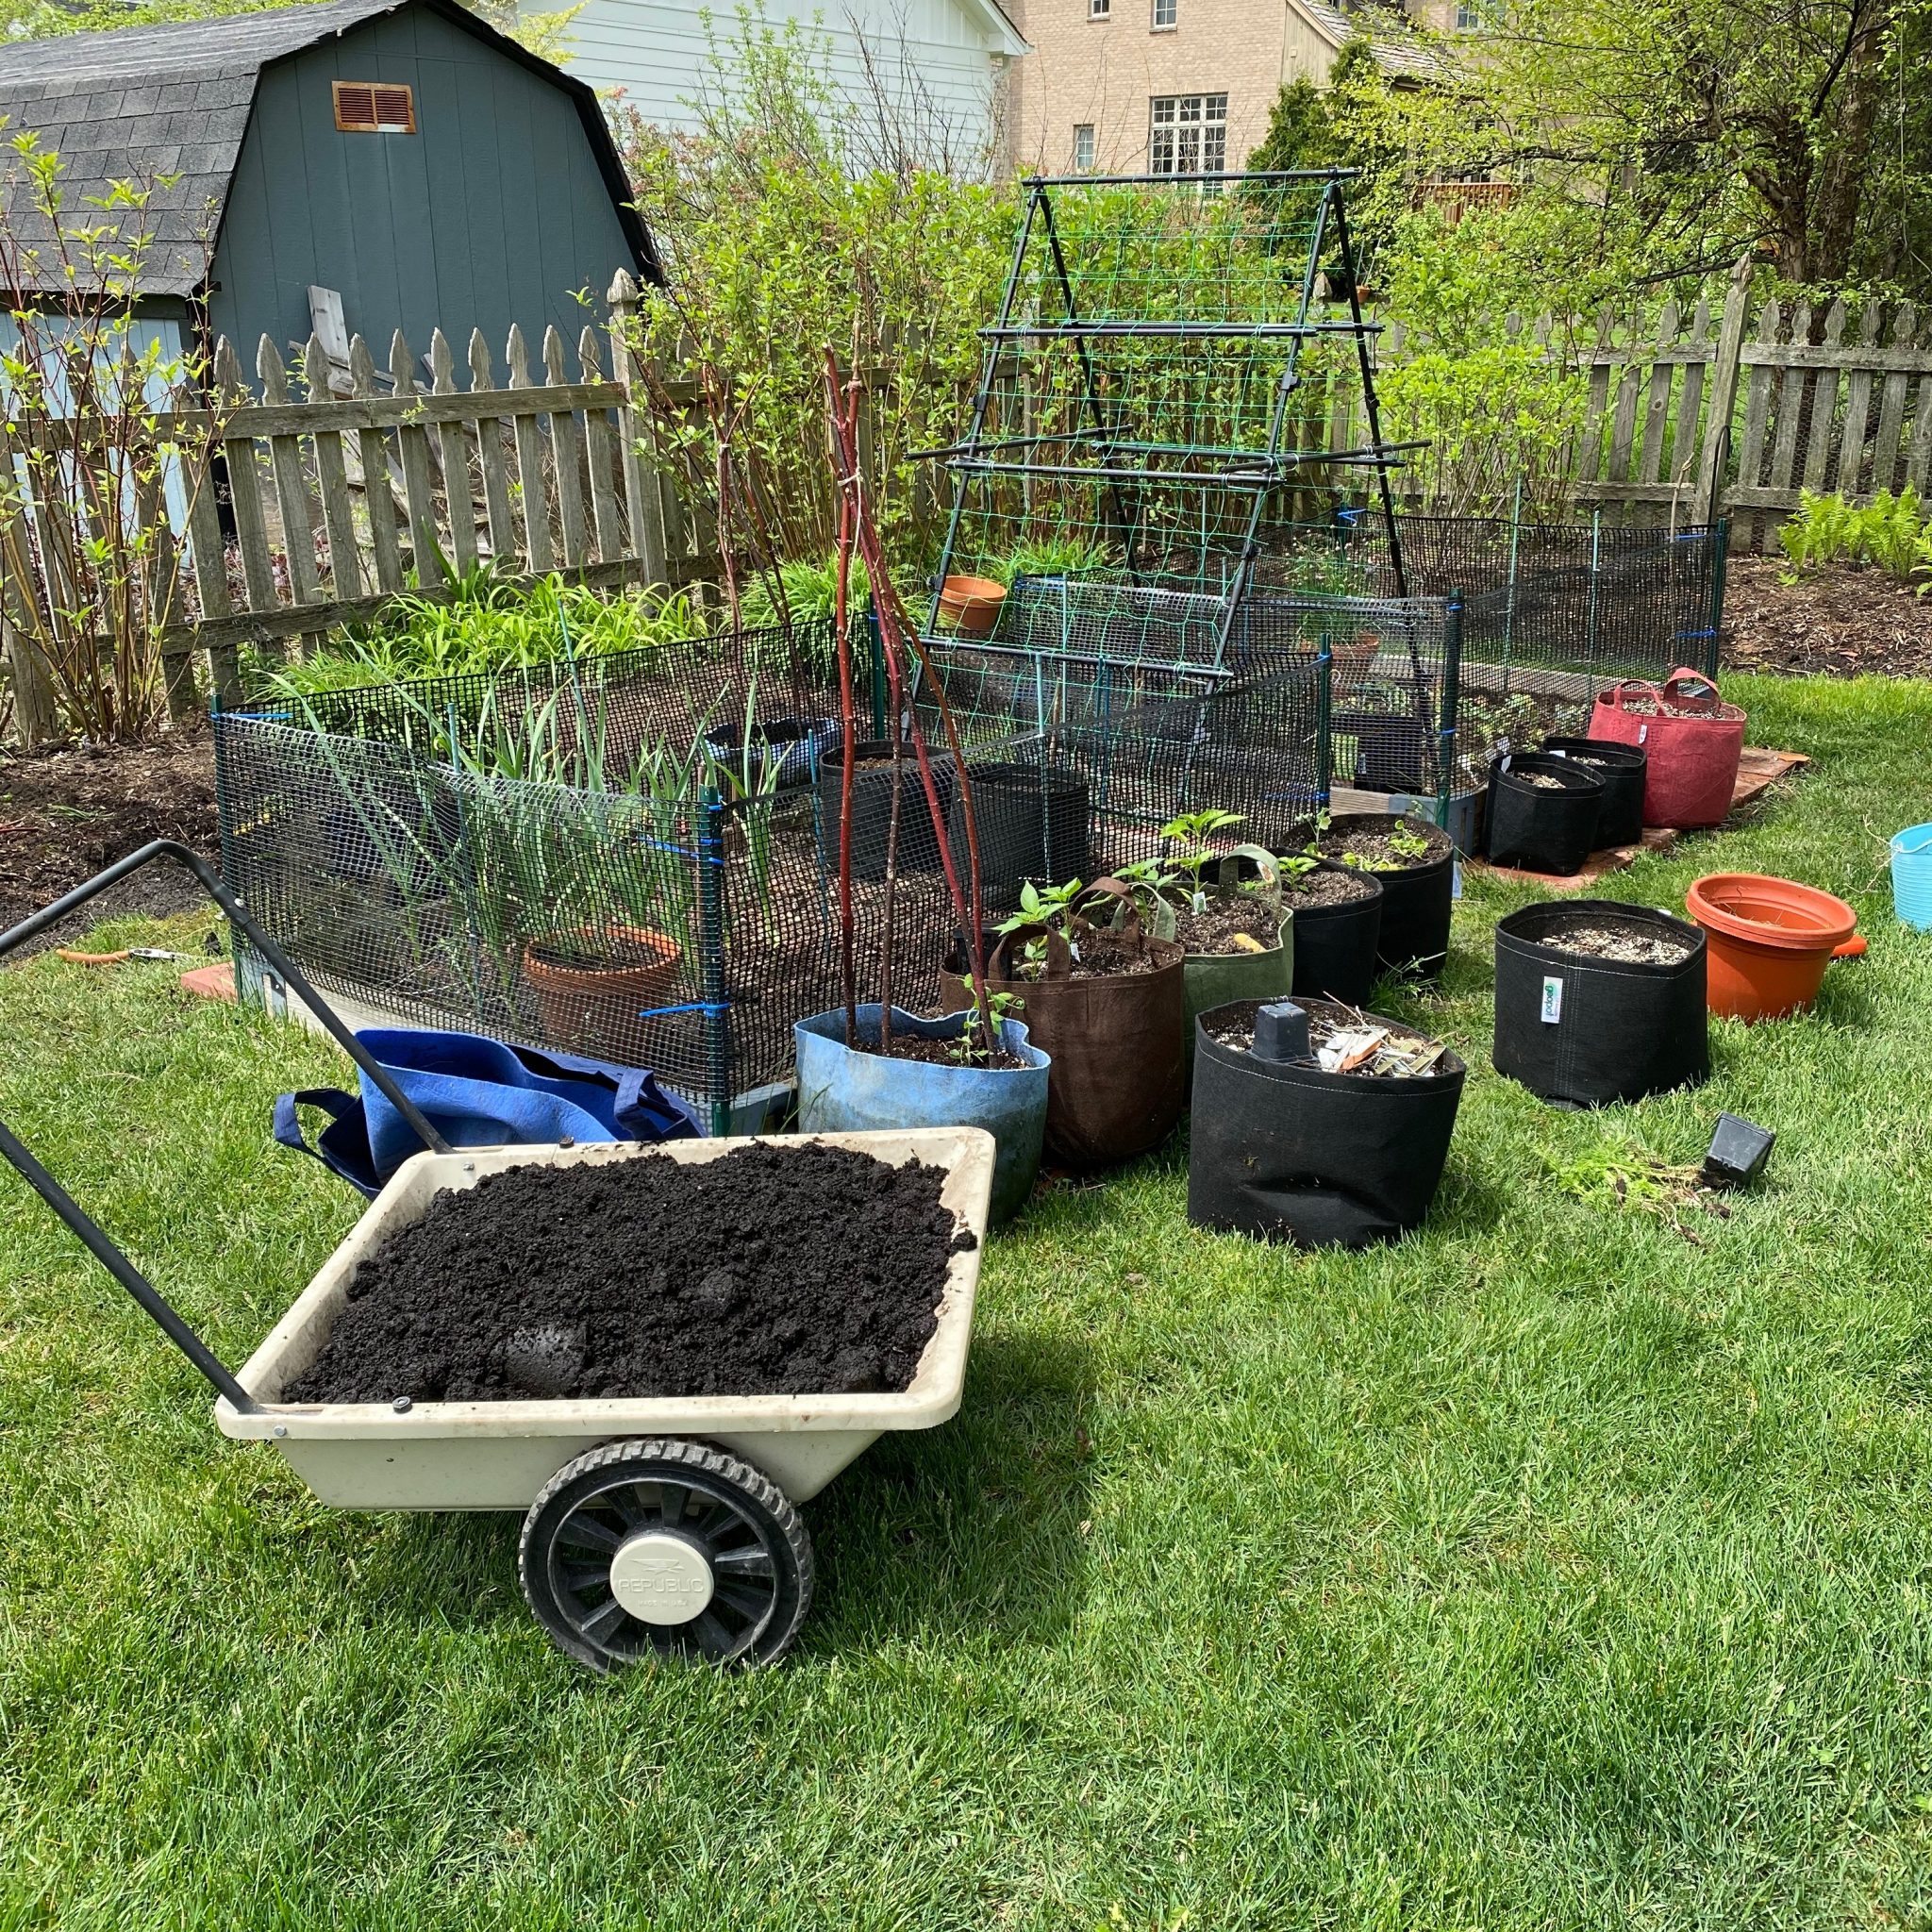
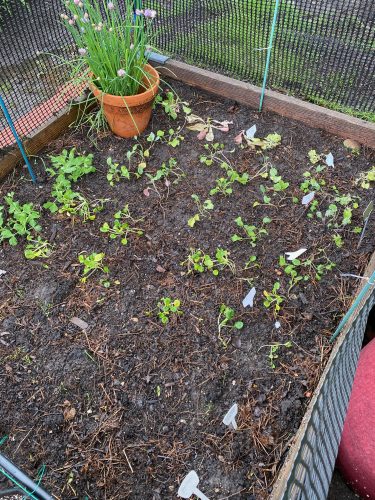
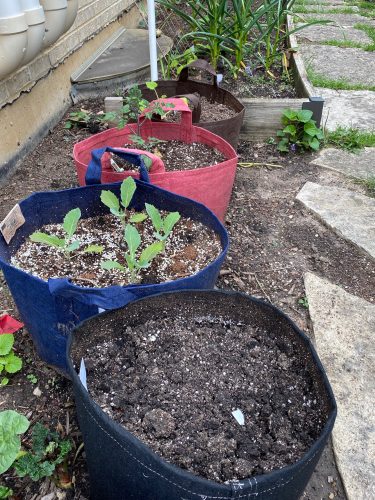
Here’s some of the seedlings I grew in the house, all ready to plant. Some I planted in one of the raised beds, others in my new fabric root bags.

What did I try new this year?
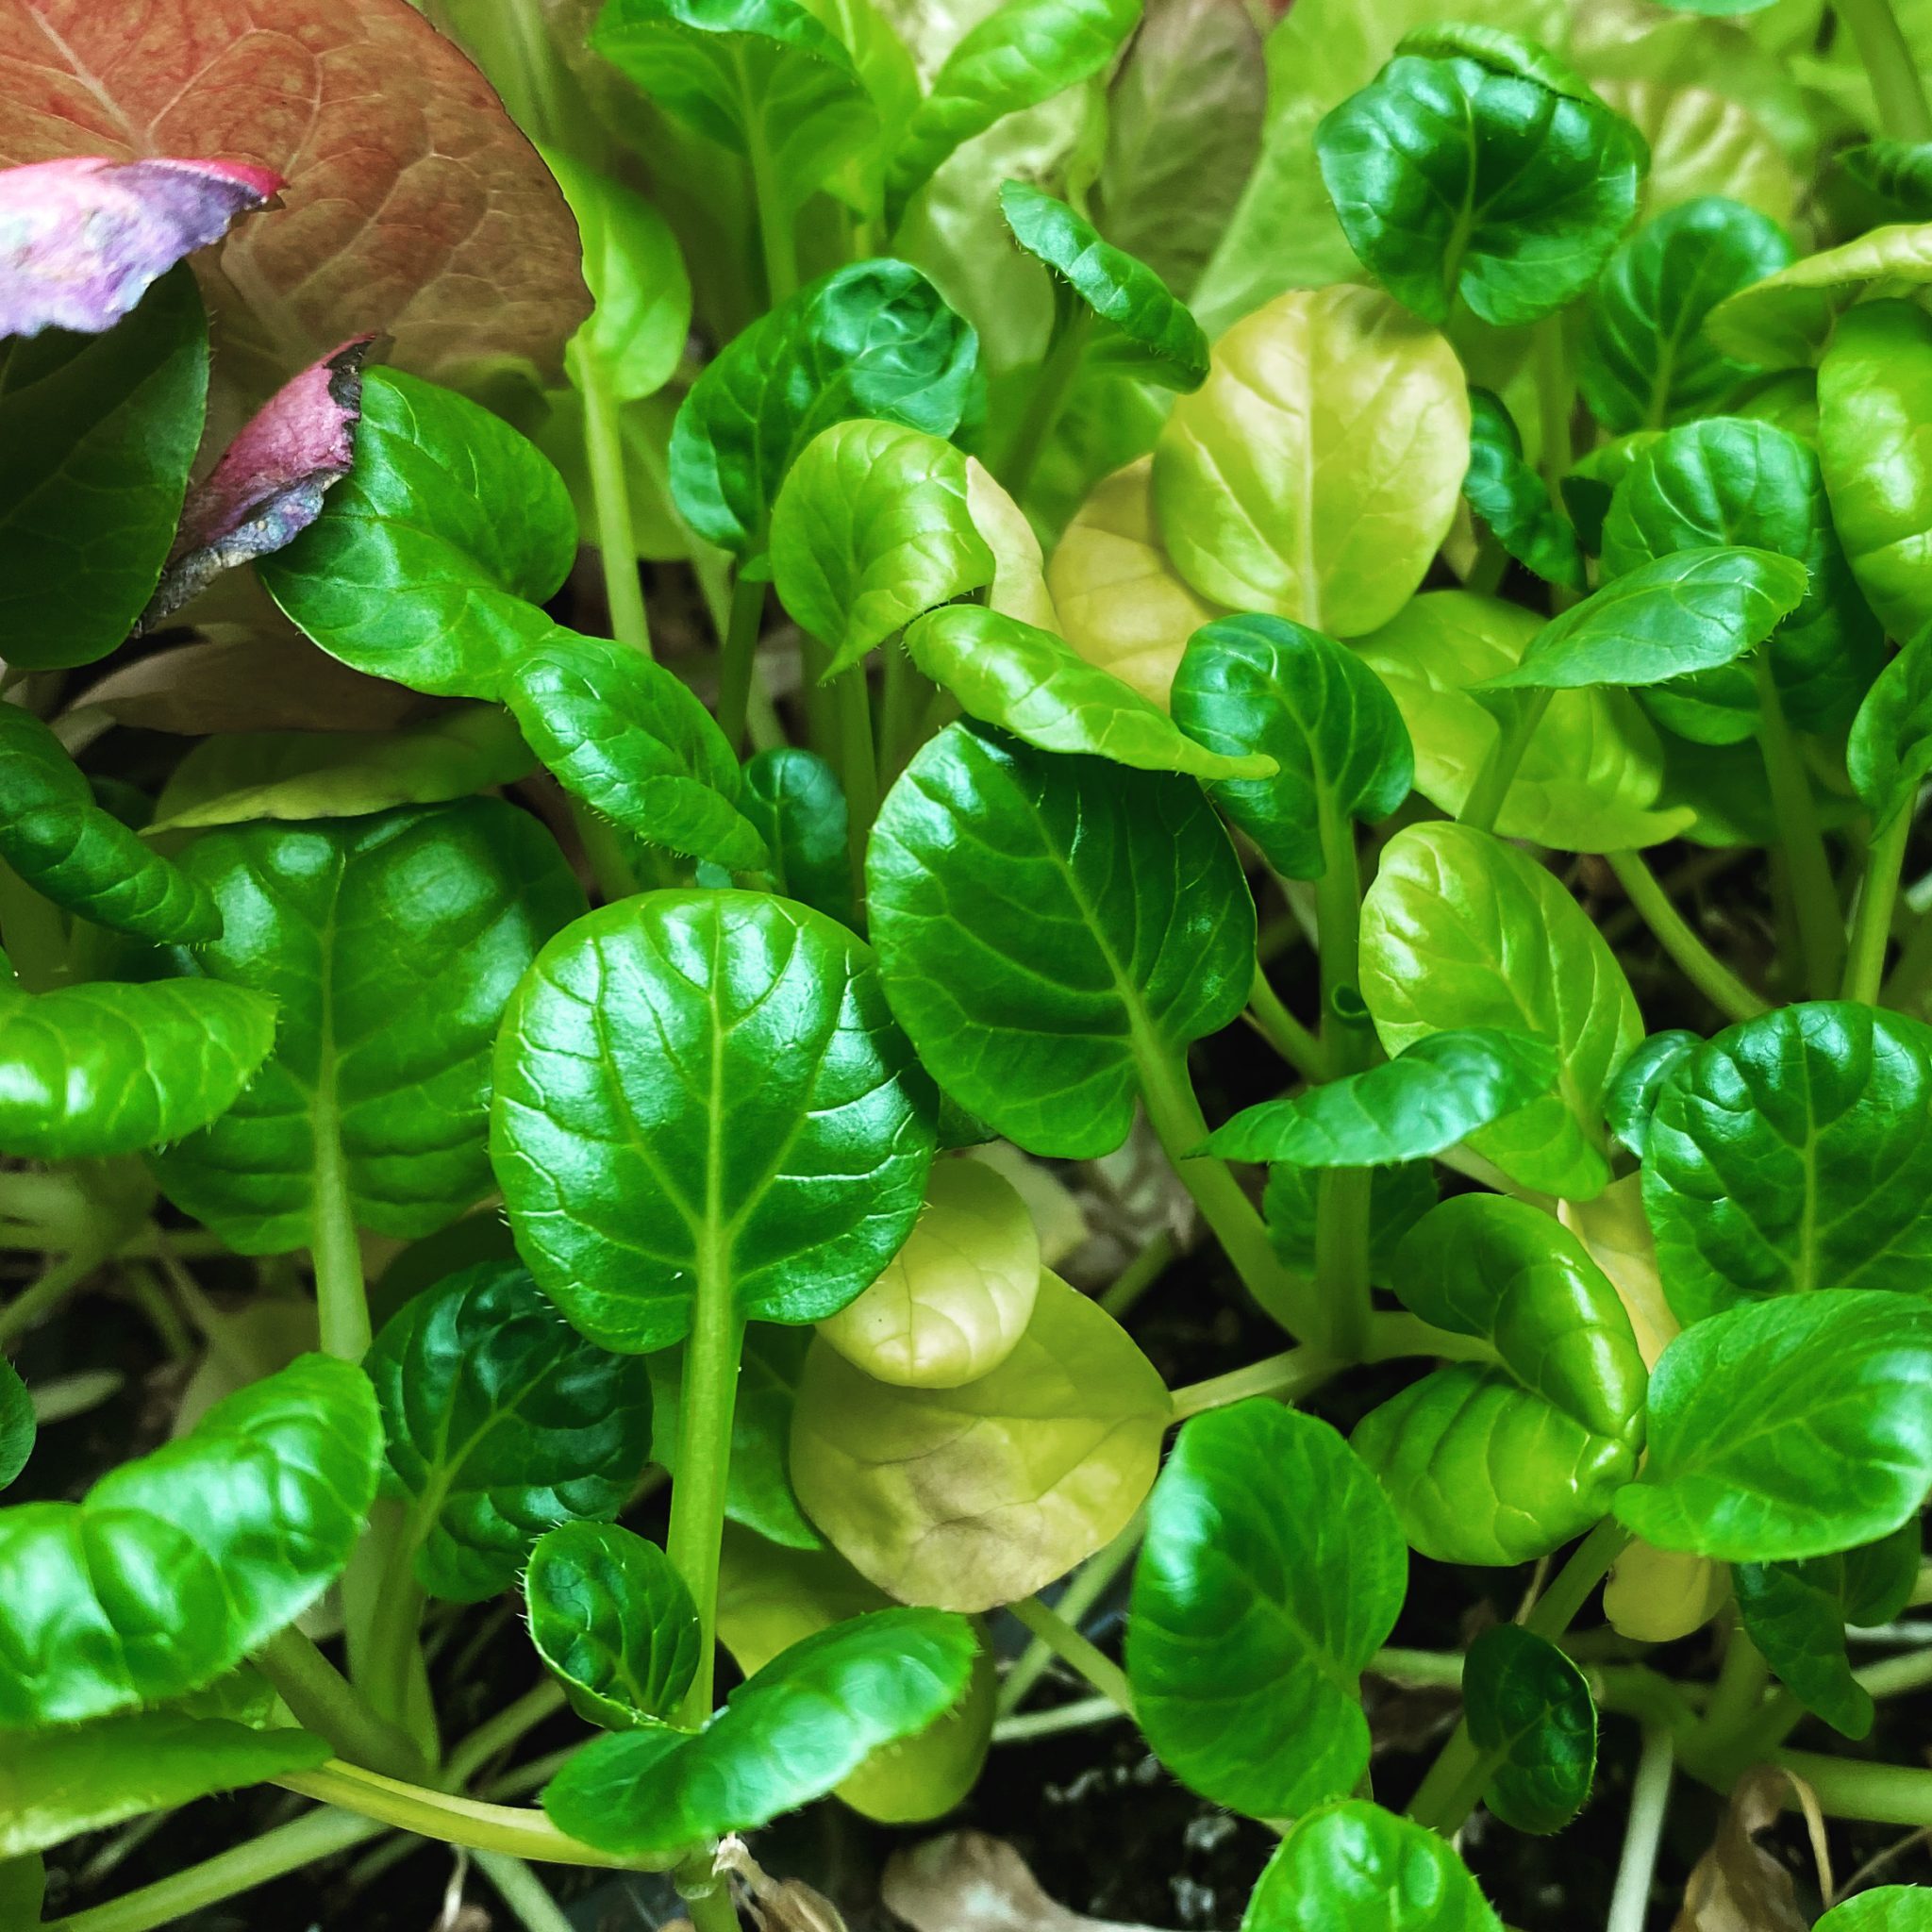
Tatsoi! I didn’t even know this was a thing until it popped up on an Instagram post by Baker Creek Heirloom Seeds. We’ve had to change up our diet a bit to eliminate high oxalate foods like rhubarb, spinach and swiss chard because of kidney stones. 🥺 So out of the garden they went. Instead, I am growing an abundance of kale (which I’m not a huge fan of but learning to like it), lettuce, microgreens, sprouts, brussel sprouts and this new tatsoi green.
According to Baker Creek Heirloom Seeds, “Tatsoi is nicknamed Vitamin Green, and rightfully so. This gourmet green is known as one of the richest sources of vitamin C and it is replete with other incredible vitamins, minerals, and health-promoting compounds! It’s super sweet and easy to love, with a mild and refreshing flavor. The low-growing rosettes are comprised of tiny, glossy spoon-shaped leaves that boast crisp and juicy mouth-feel.” As a bonus for us, it’s related to cabbage/mustard, so low in oxalates! I can’t wait to try it out.
What else is new?
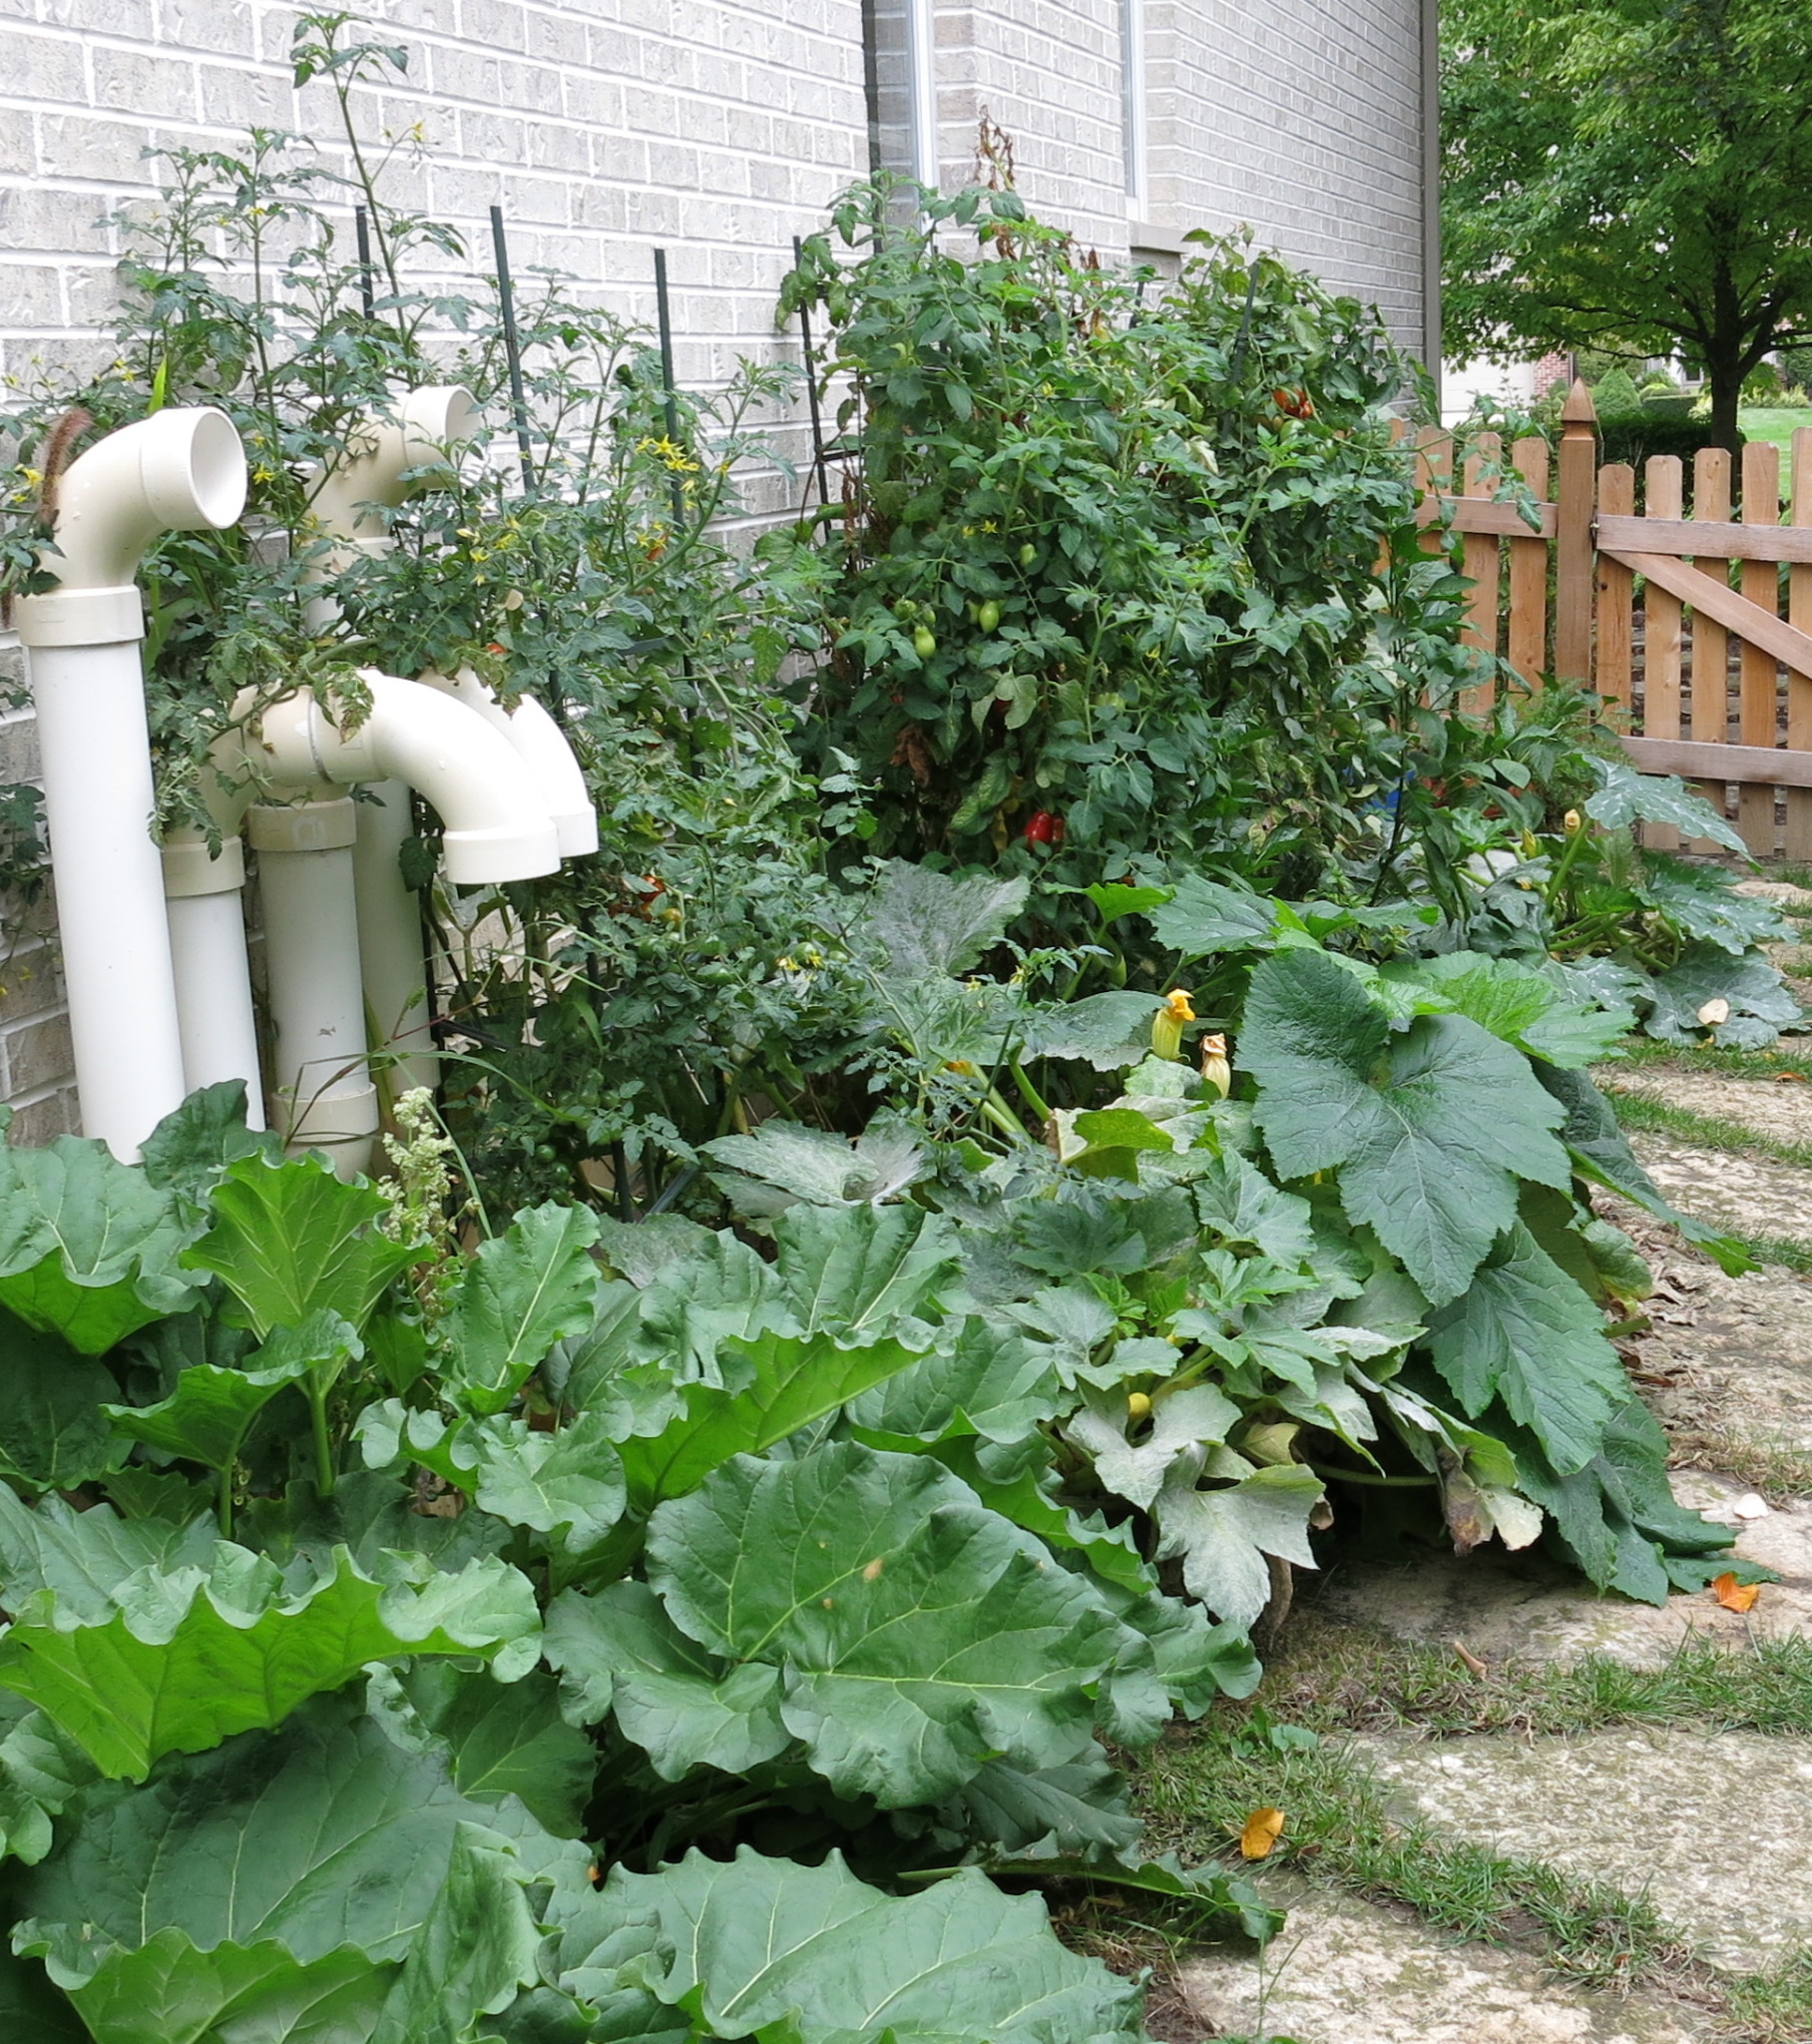
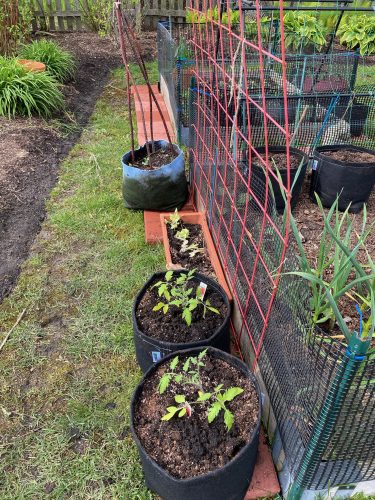
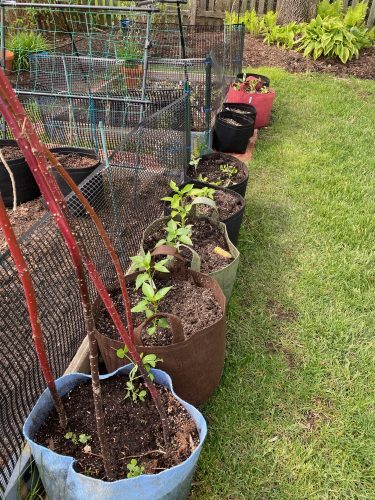
Lots more fabric grow bags! I couldn’t really expand my gardens very easily, so went in a different direction. I bought a variety of sized bags from A.M. Leonard and GeoPot and a LOT of potting soil/compost/peat. Watch for a future post on this adventure. I have so much more garden space, I’m making another trip to the nursery!
One more thing…
My herb garden has always been on the north side of the house. right outside the side door. Very convenient. The herbs grew “fine”, but they really could have used more sun. I finally decided to move them since I had the time to think where they should go.

They are a little further away near the grill, but still convenient. Definitely will get a lot more sun. On either side are the coleus pots I plant every year. They add some pretty interest to the area and attract pollinators. I started then from seeds inside this year instead of buying them. Much less expensive and easier under the circumstances. But I think I should have started them earlier. They’re a little small right now, but with some sun and heat, they’ll take off.
How is your vegetable garden this year?