
When I was a teenager, growing sprouts was all the rage. Then came an e. coli problem and they went away. My mom mentioned to me a few weeks back that she was growing sprouts (mostly for her chickens but that’s another story). I was a bit concerned based on my memories, but soon realized that growing sprouts was now safe and easier than ever to do.
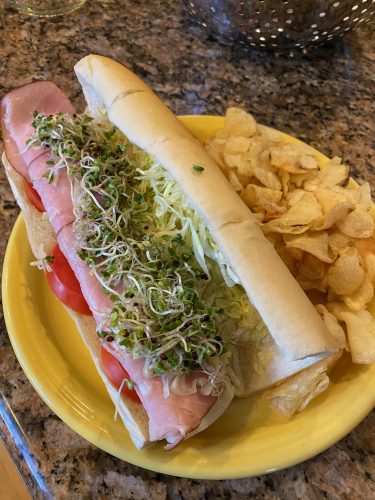
It also couldn’t have been better timing with our Stay at Home situation right now. What’s better than some fresh sprouts on your salad, sandwich, or even scrambled eggs? A healthy, nutritious, tasty addition to almost everything!
I’ve been growing mine in mason jars with mesh lids. Here’s how:
Supplies:
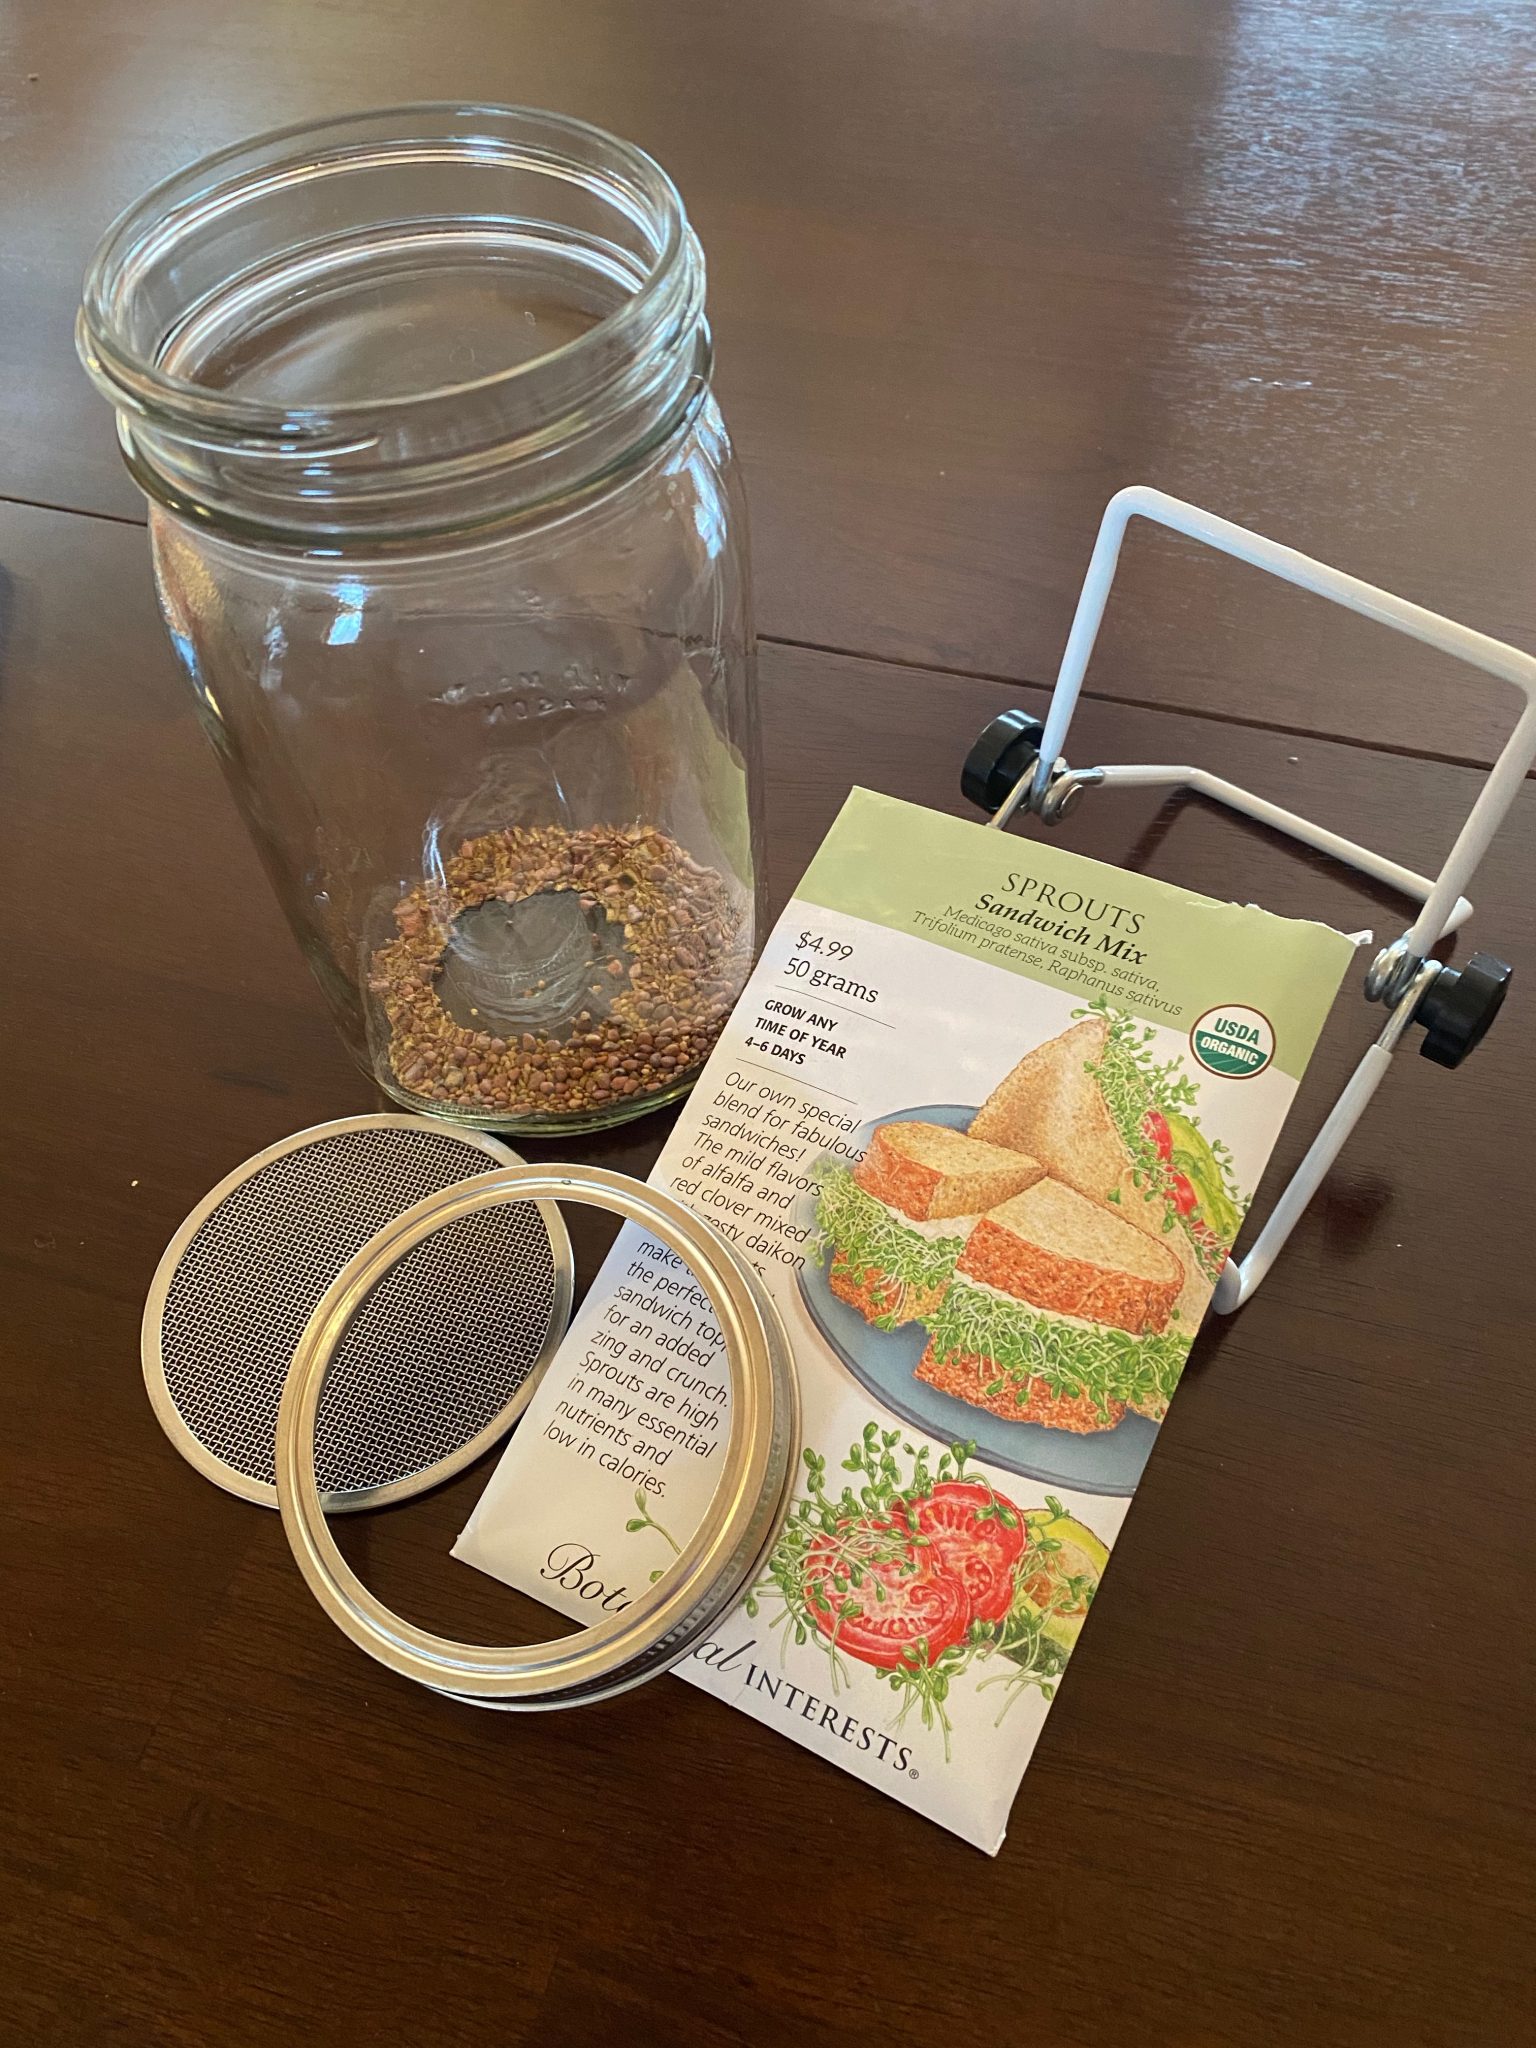
- Wide mouth mason jars, 32 oz works best, but 16 oz is fine
- Stainless steel mesh sprouting lids, be sure to get stainless steel lids and screens, otherwise it’ll rust
- Sprouting stands
- Sprouting seeds, I order mine from Botanical Interests
- Storage container, I use Rubbermaid FreshWorks Produce Saver Containers, 2.5 cup size
- optional: Kitchen Mesh Strainer and/or mini colander
And of course sprouting seeds!.
It’s extremely important that you use specifically labeled seeds for sprouting to prevent an e. coli infection. They’ll be listed as “sprouts”, “sprouting seeds” or “for sprouting”. They should also have a clear description of how the seeds have been tested for dangerous food-borne pathogens. I’ve bought my seeds from Botanical Interests and they have a clear safety explanation. They also mention that the seeds can be further disinfected if you desire. I haven’t done this, but it is an option.
Now you are ready…
Growing Your Sprouts:
- In the wide mouth mason jar, place 1-2 tablespoons of seeds and cover with 4 inches of warm (not hot) water. Screw on the mesh screen and stainless lid.
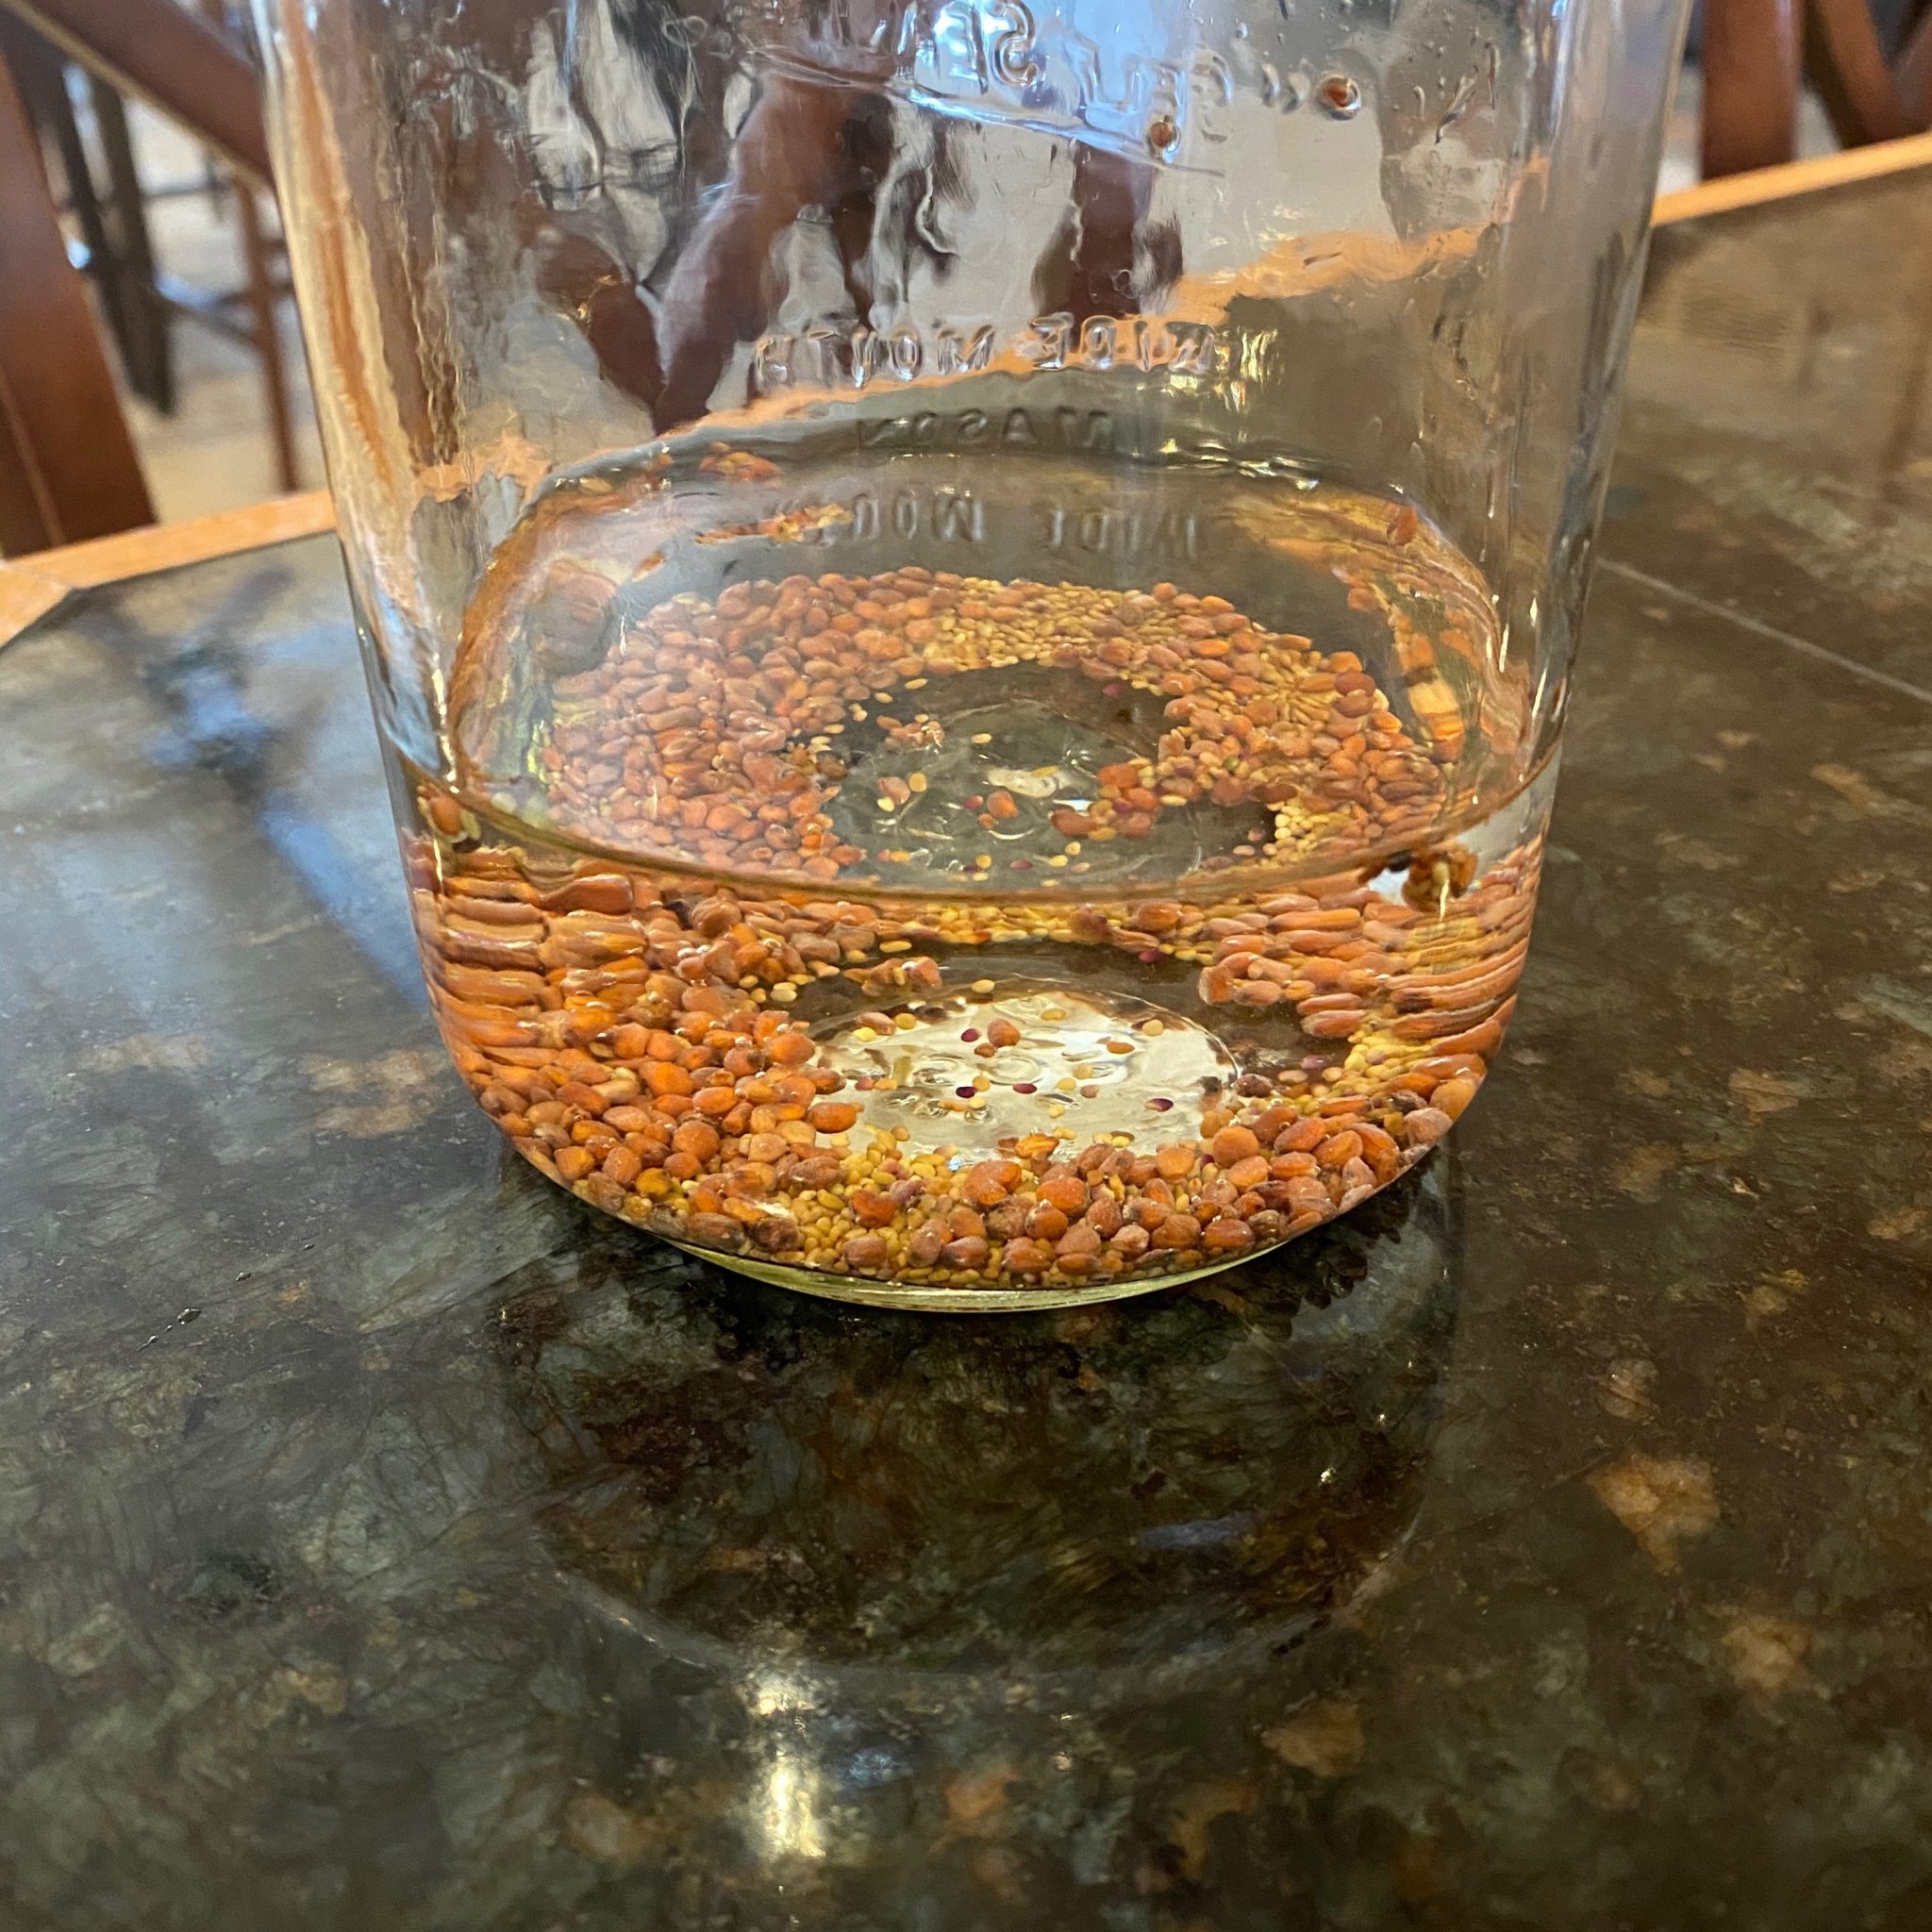
- Let sit overnight.
- Drain the water through the mesh screen, rinse by adding more water, then drain again. Give it a good shaking to break apart the sprouts to rinse thoroughly
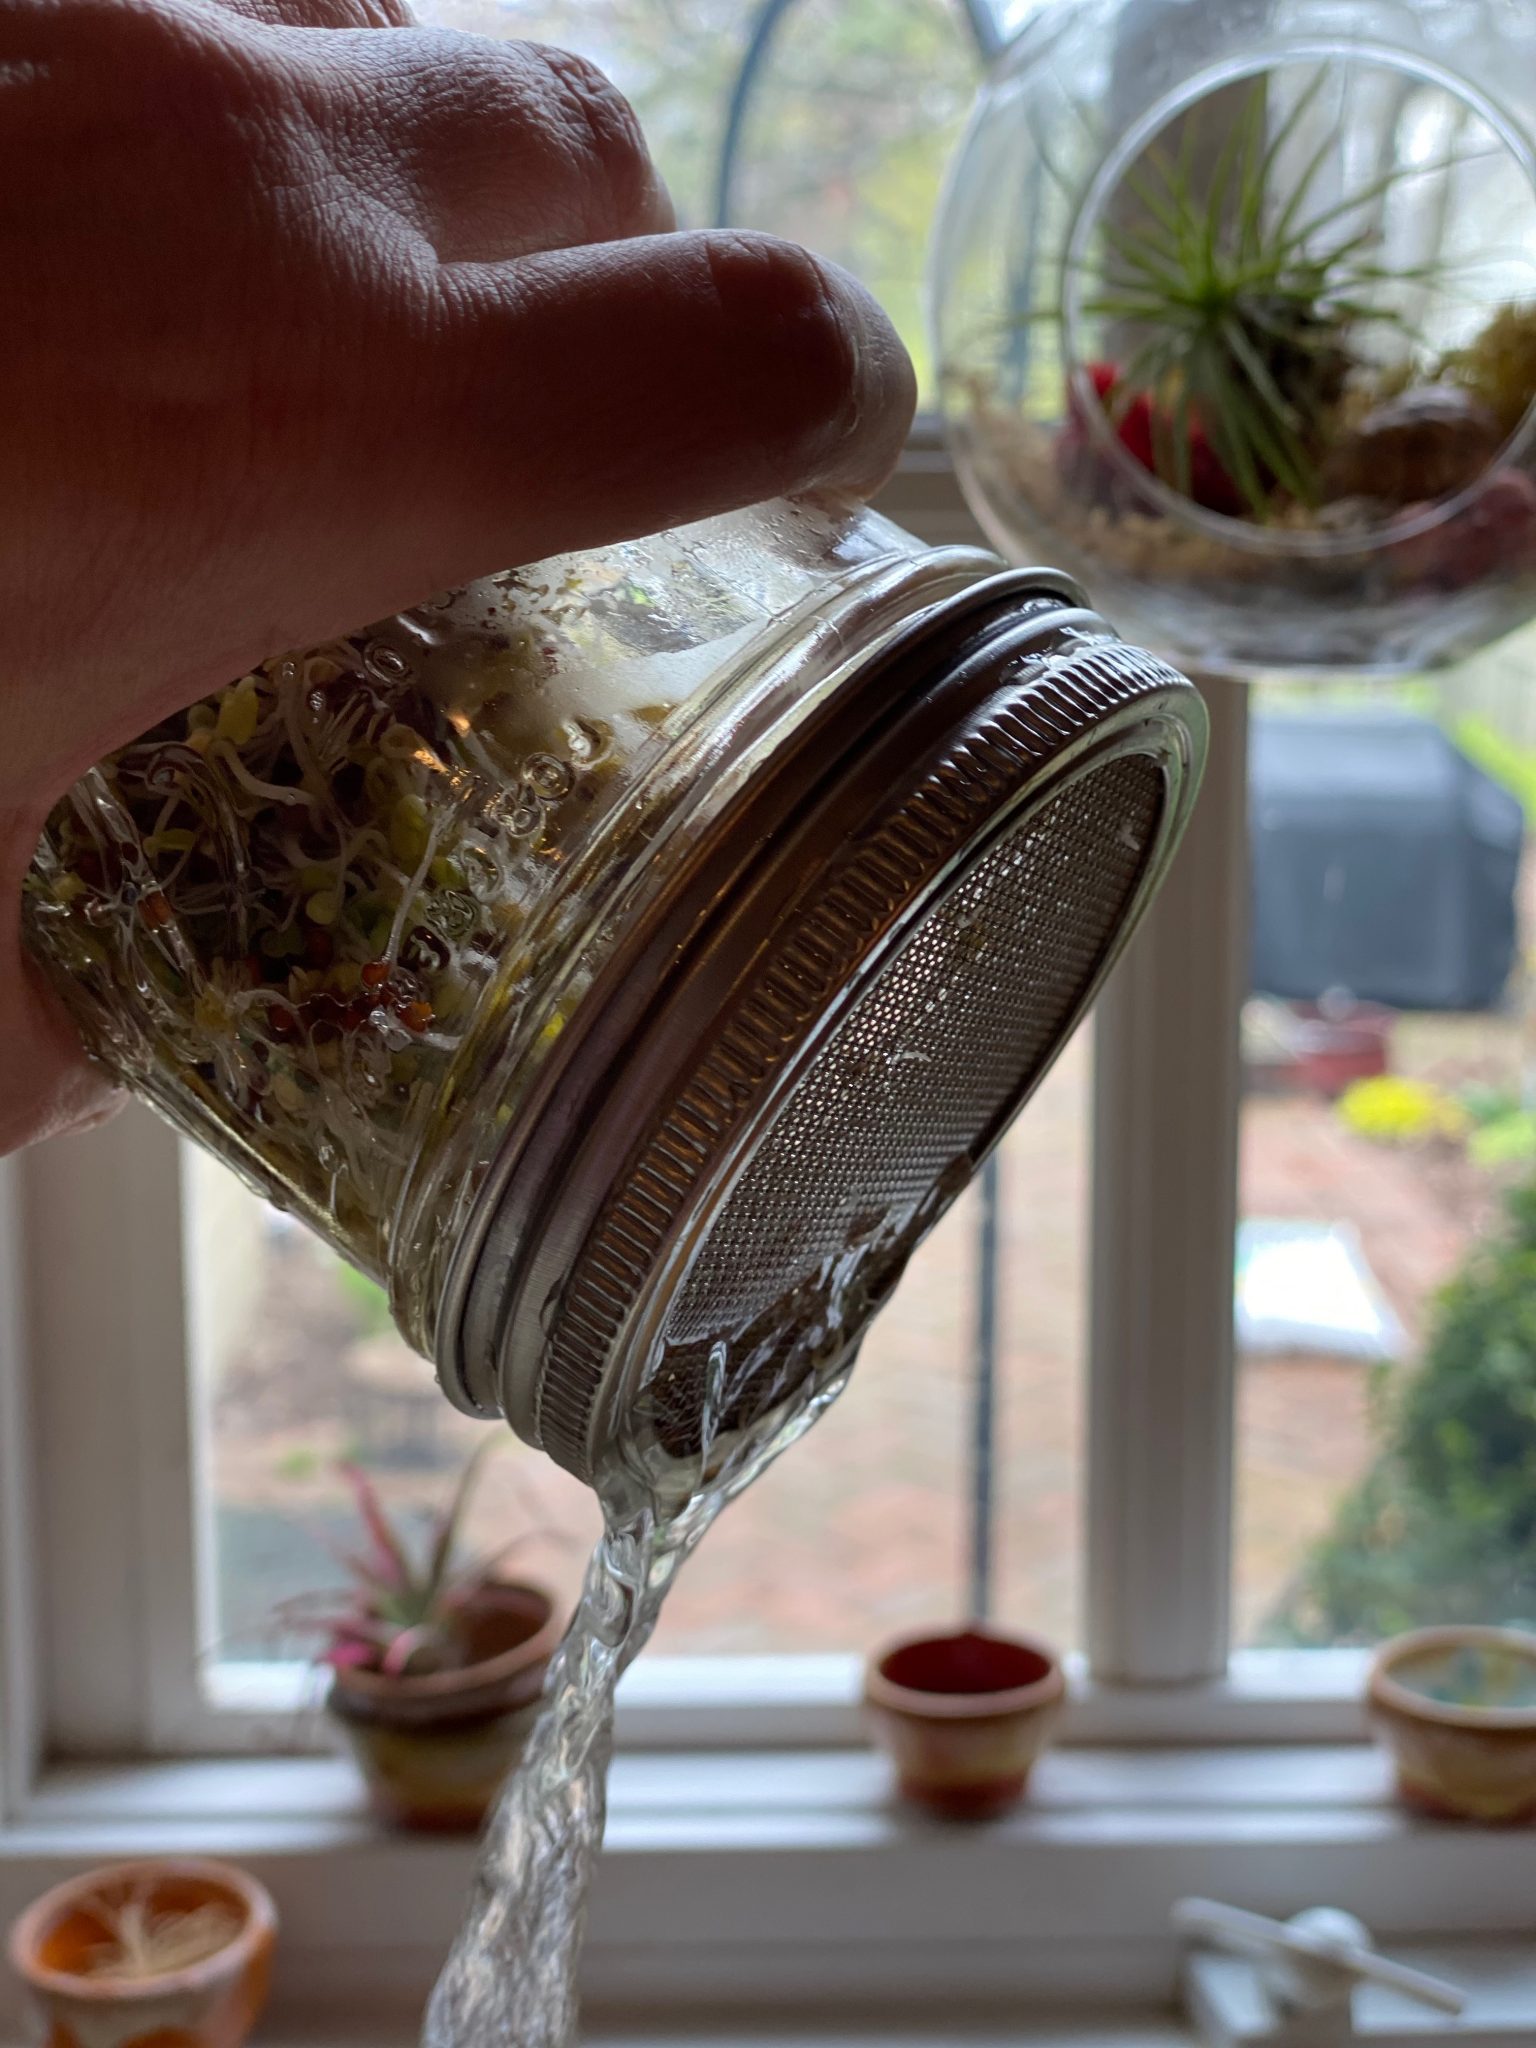
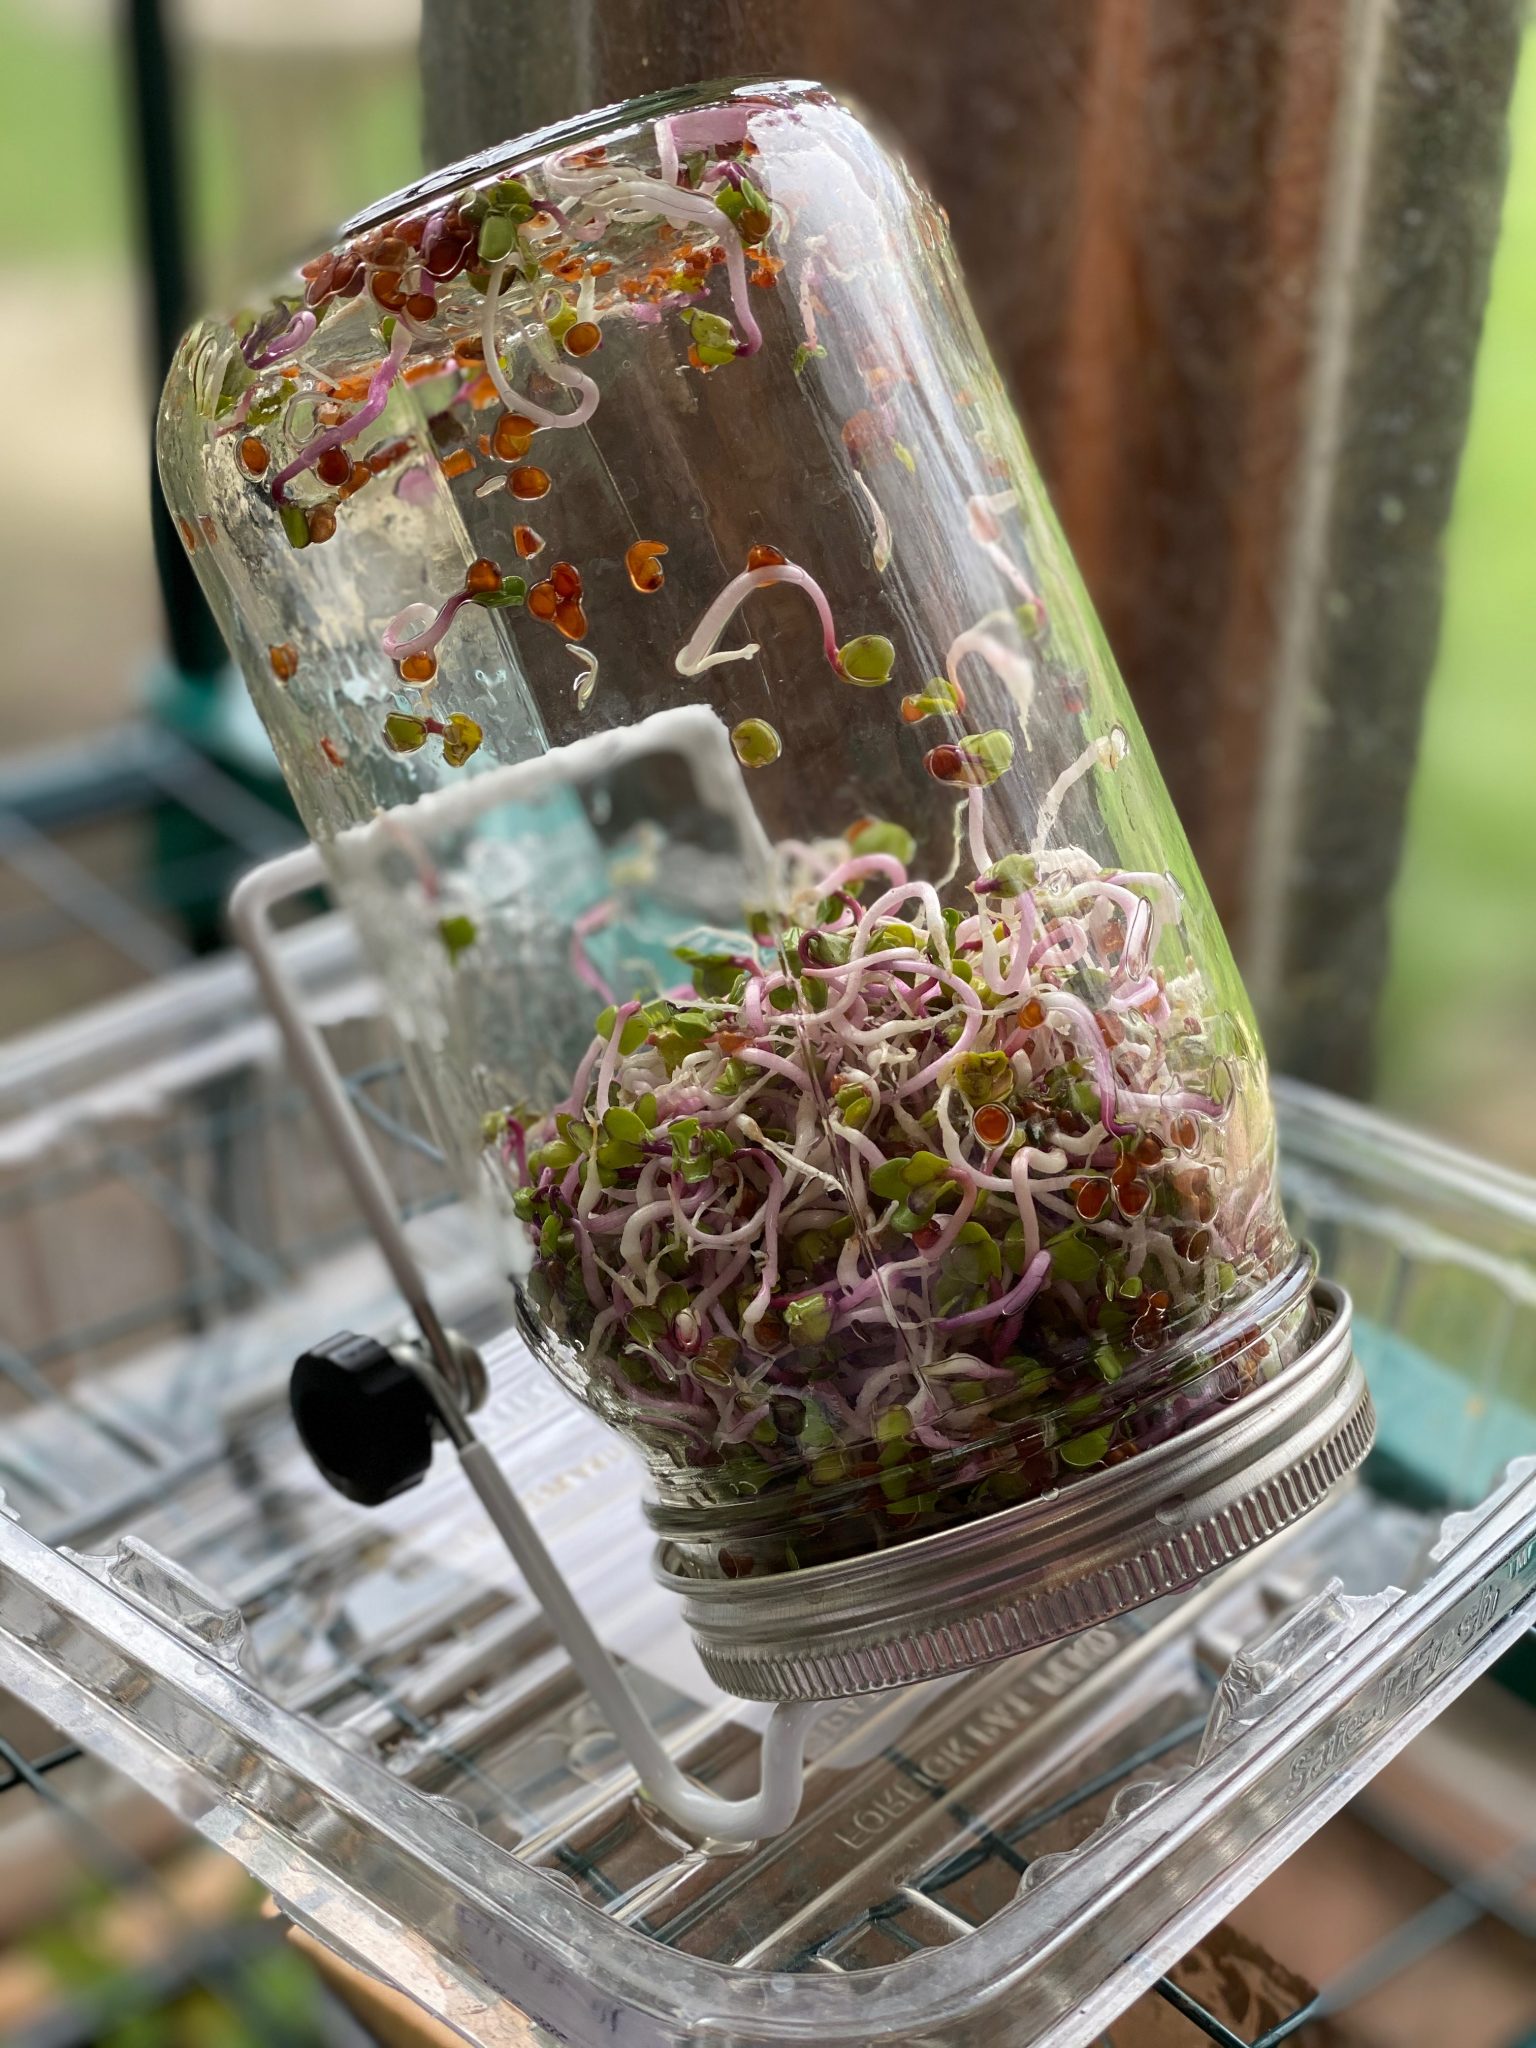
- Place the jar, mesh screen down, on the sprouting stand in indirect sunlight. I put the stand in a cleaned plastic to go container to catch the water that drips.
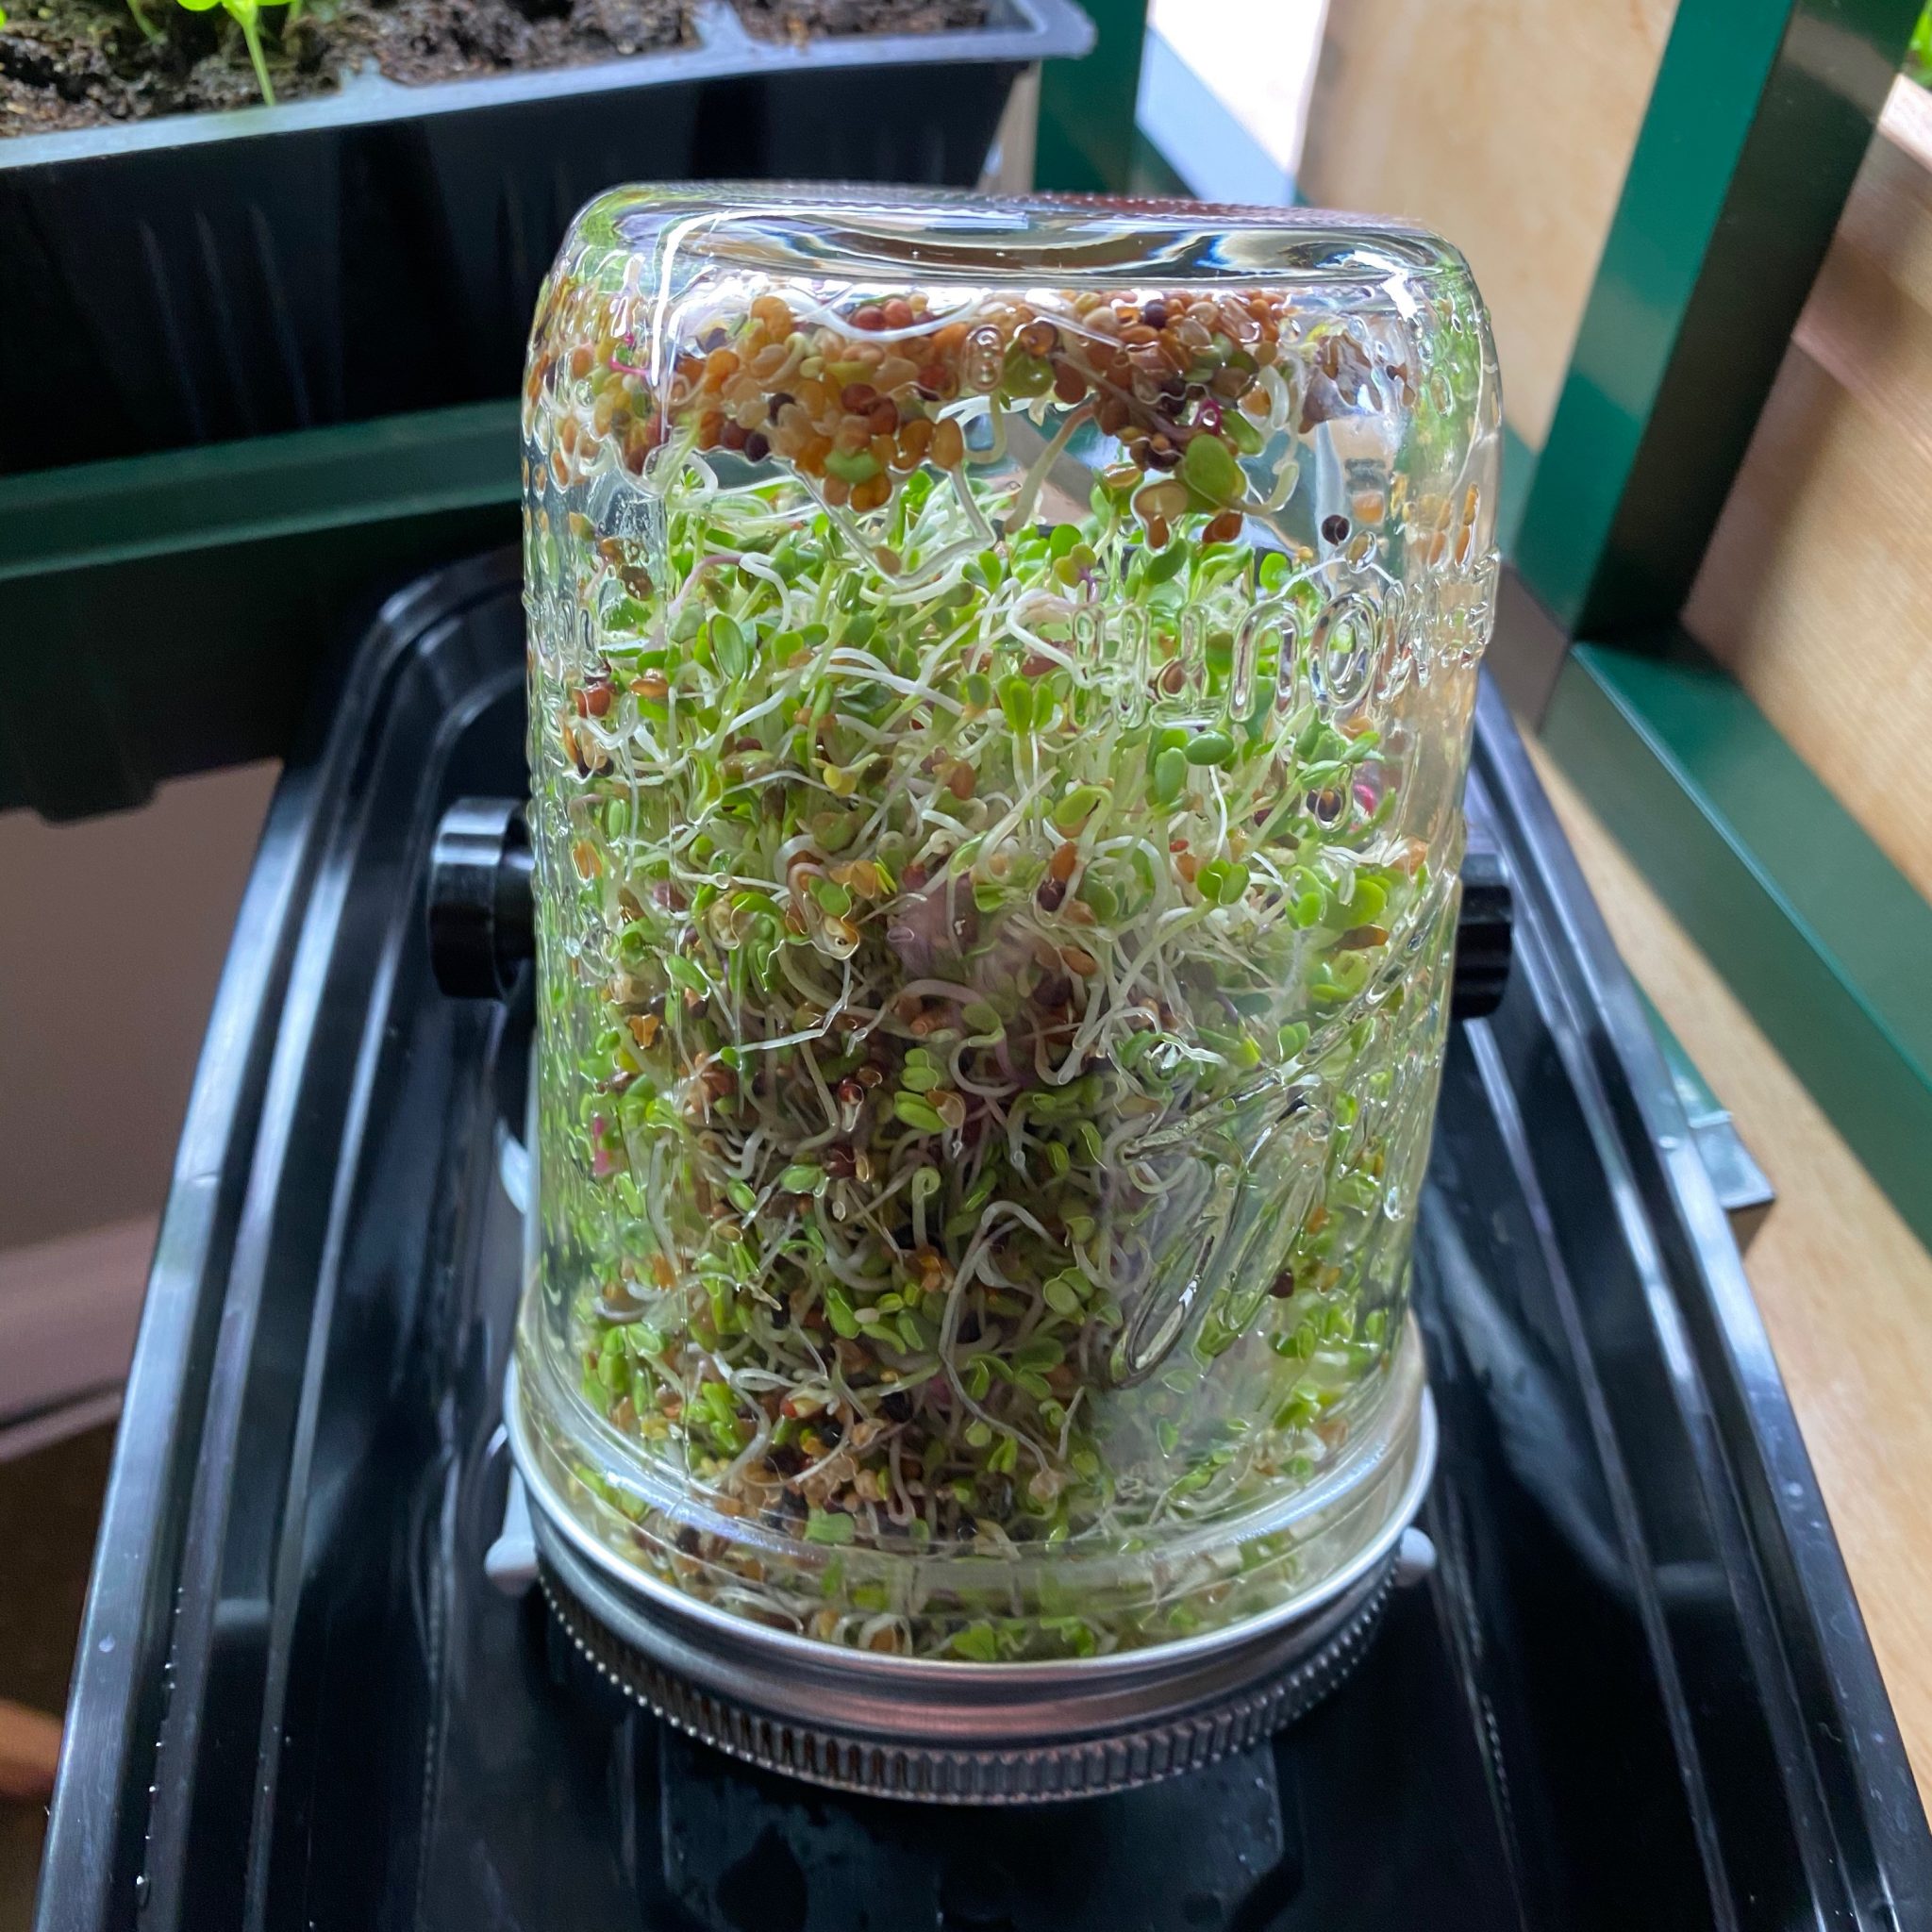
- Repeat the rinsing and draining 2x per day until sprouts are the size you want, which can take three-seven days depending on the seeds and what size sprouts you like.
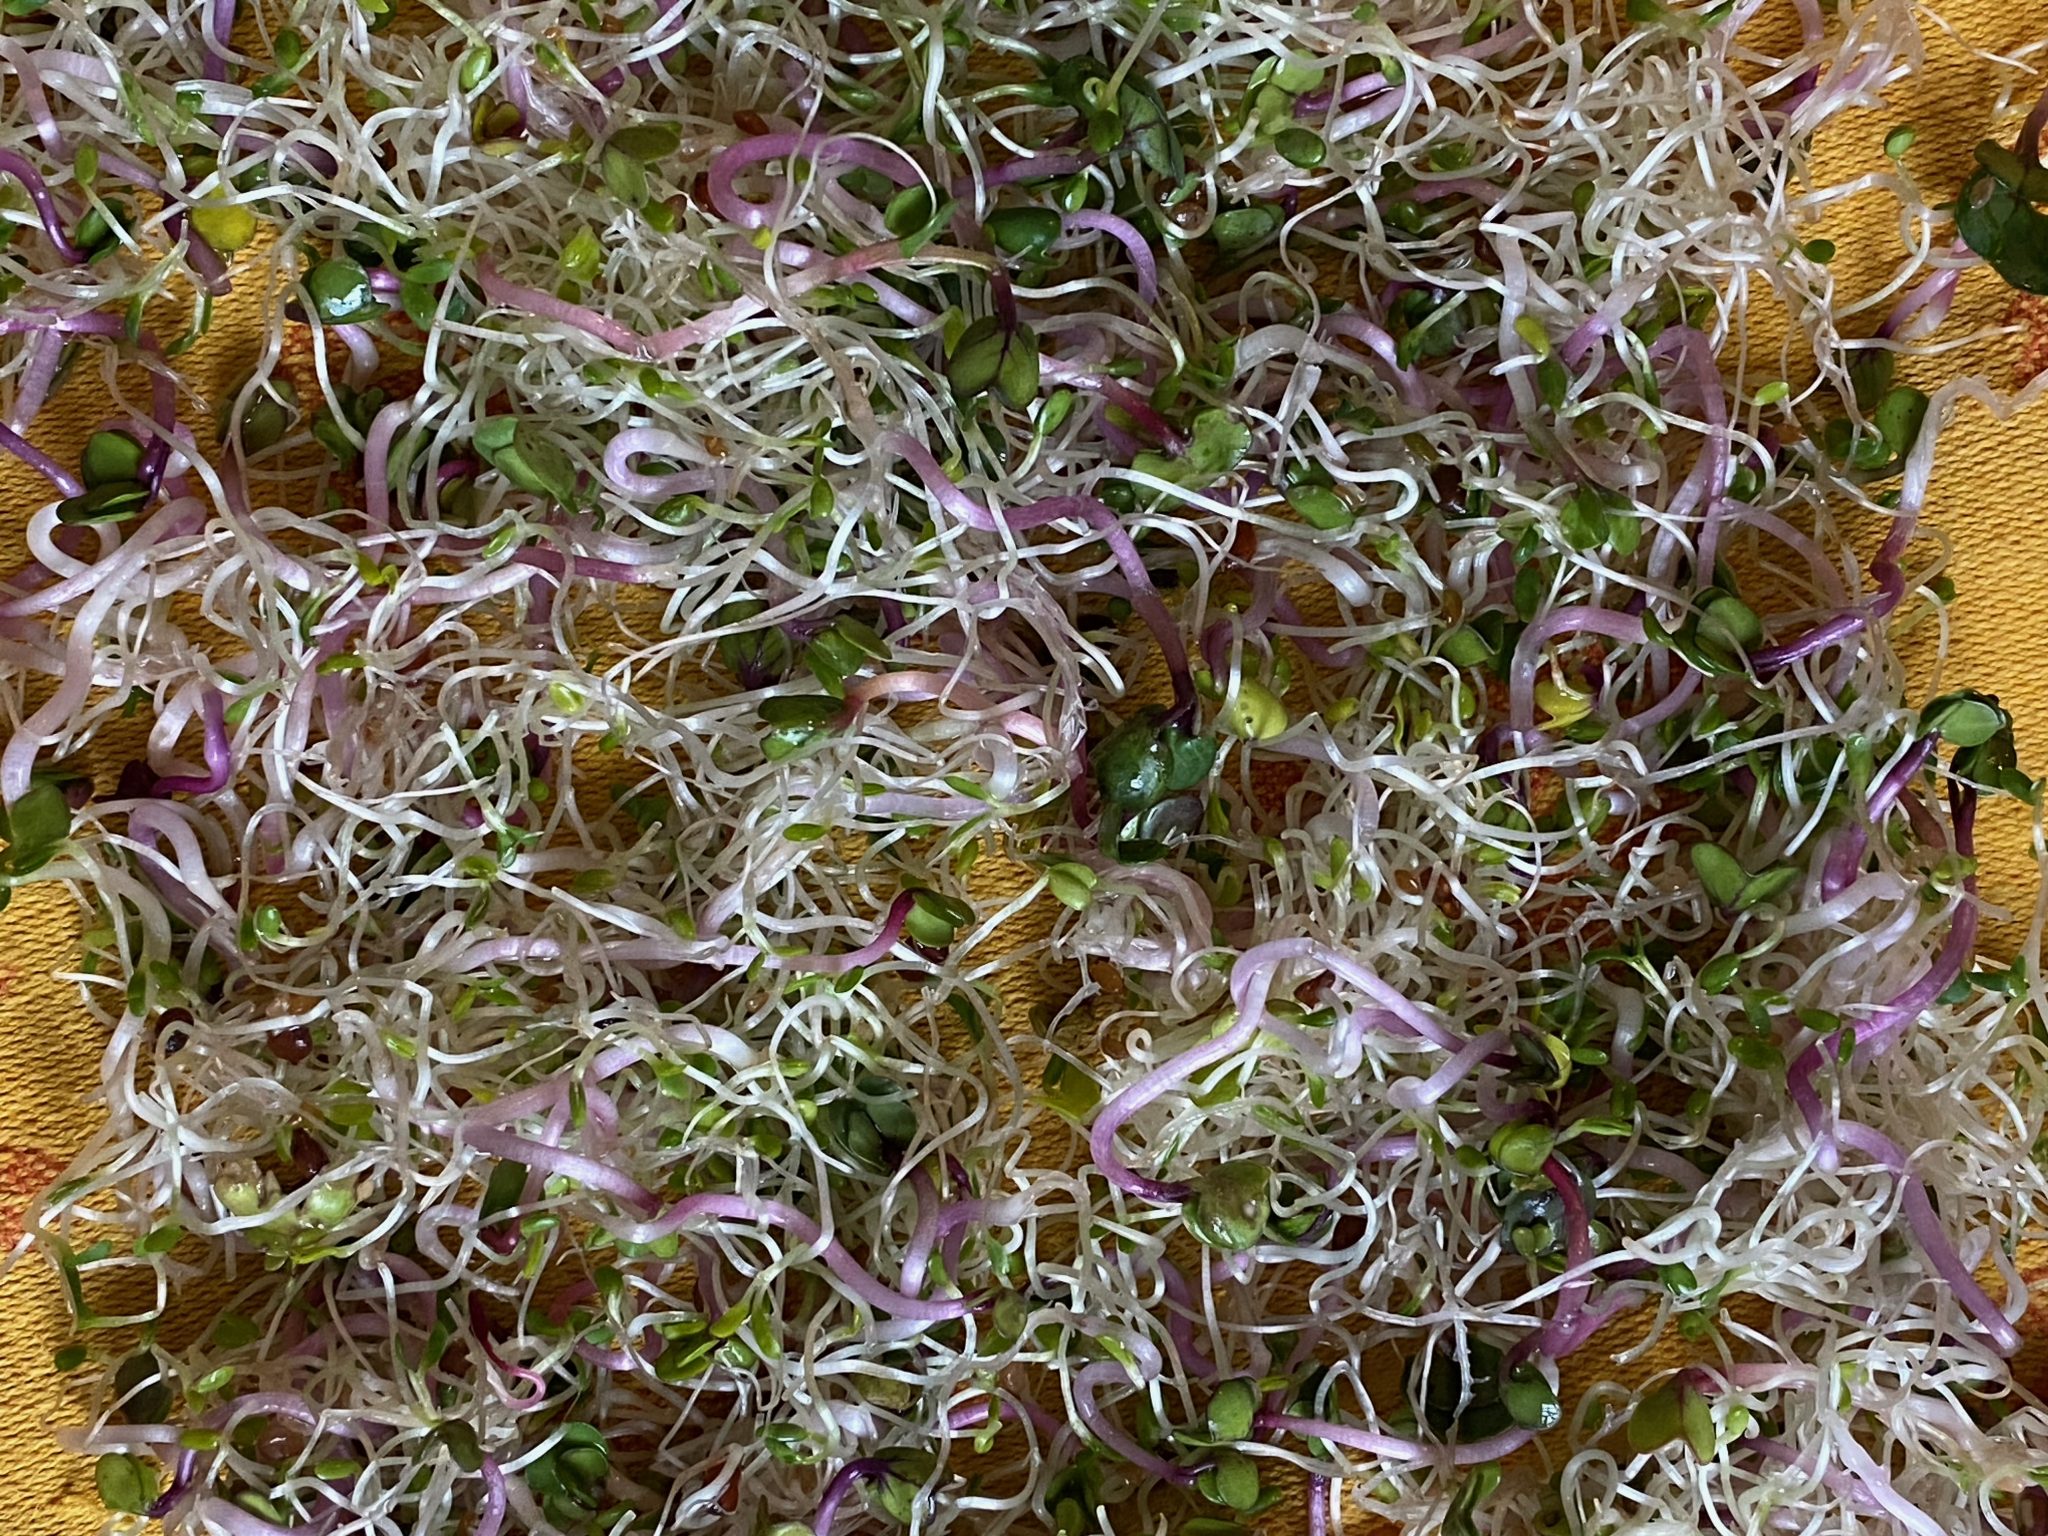
- Harvest your sprouts when they have two small leaves. Sometimes I’ll put them in a sunnier location for a day to green them up right before harvesting
Harvesting and storing your sprouts:
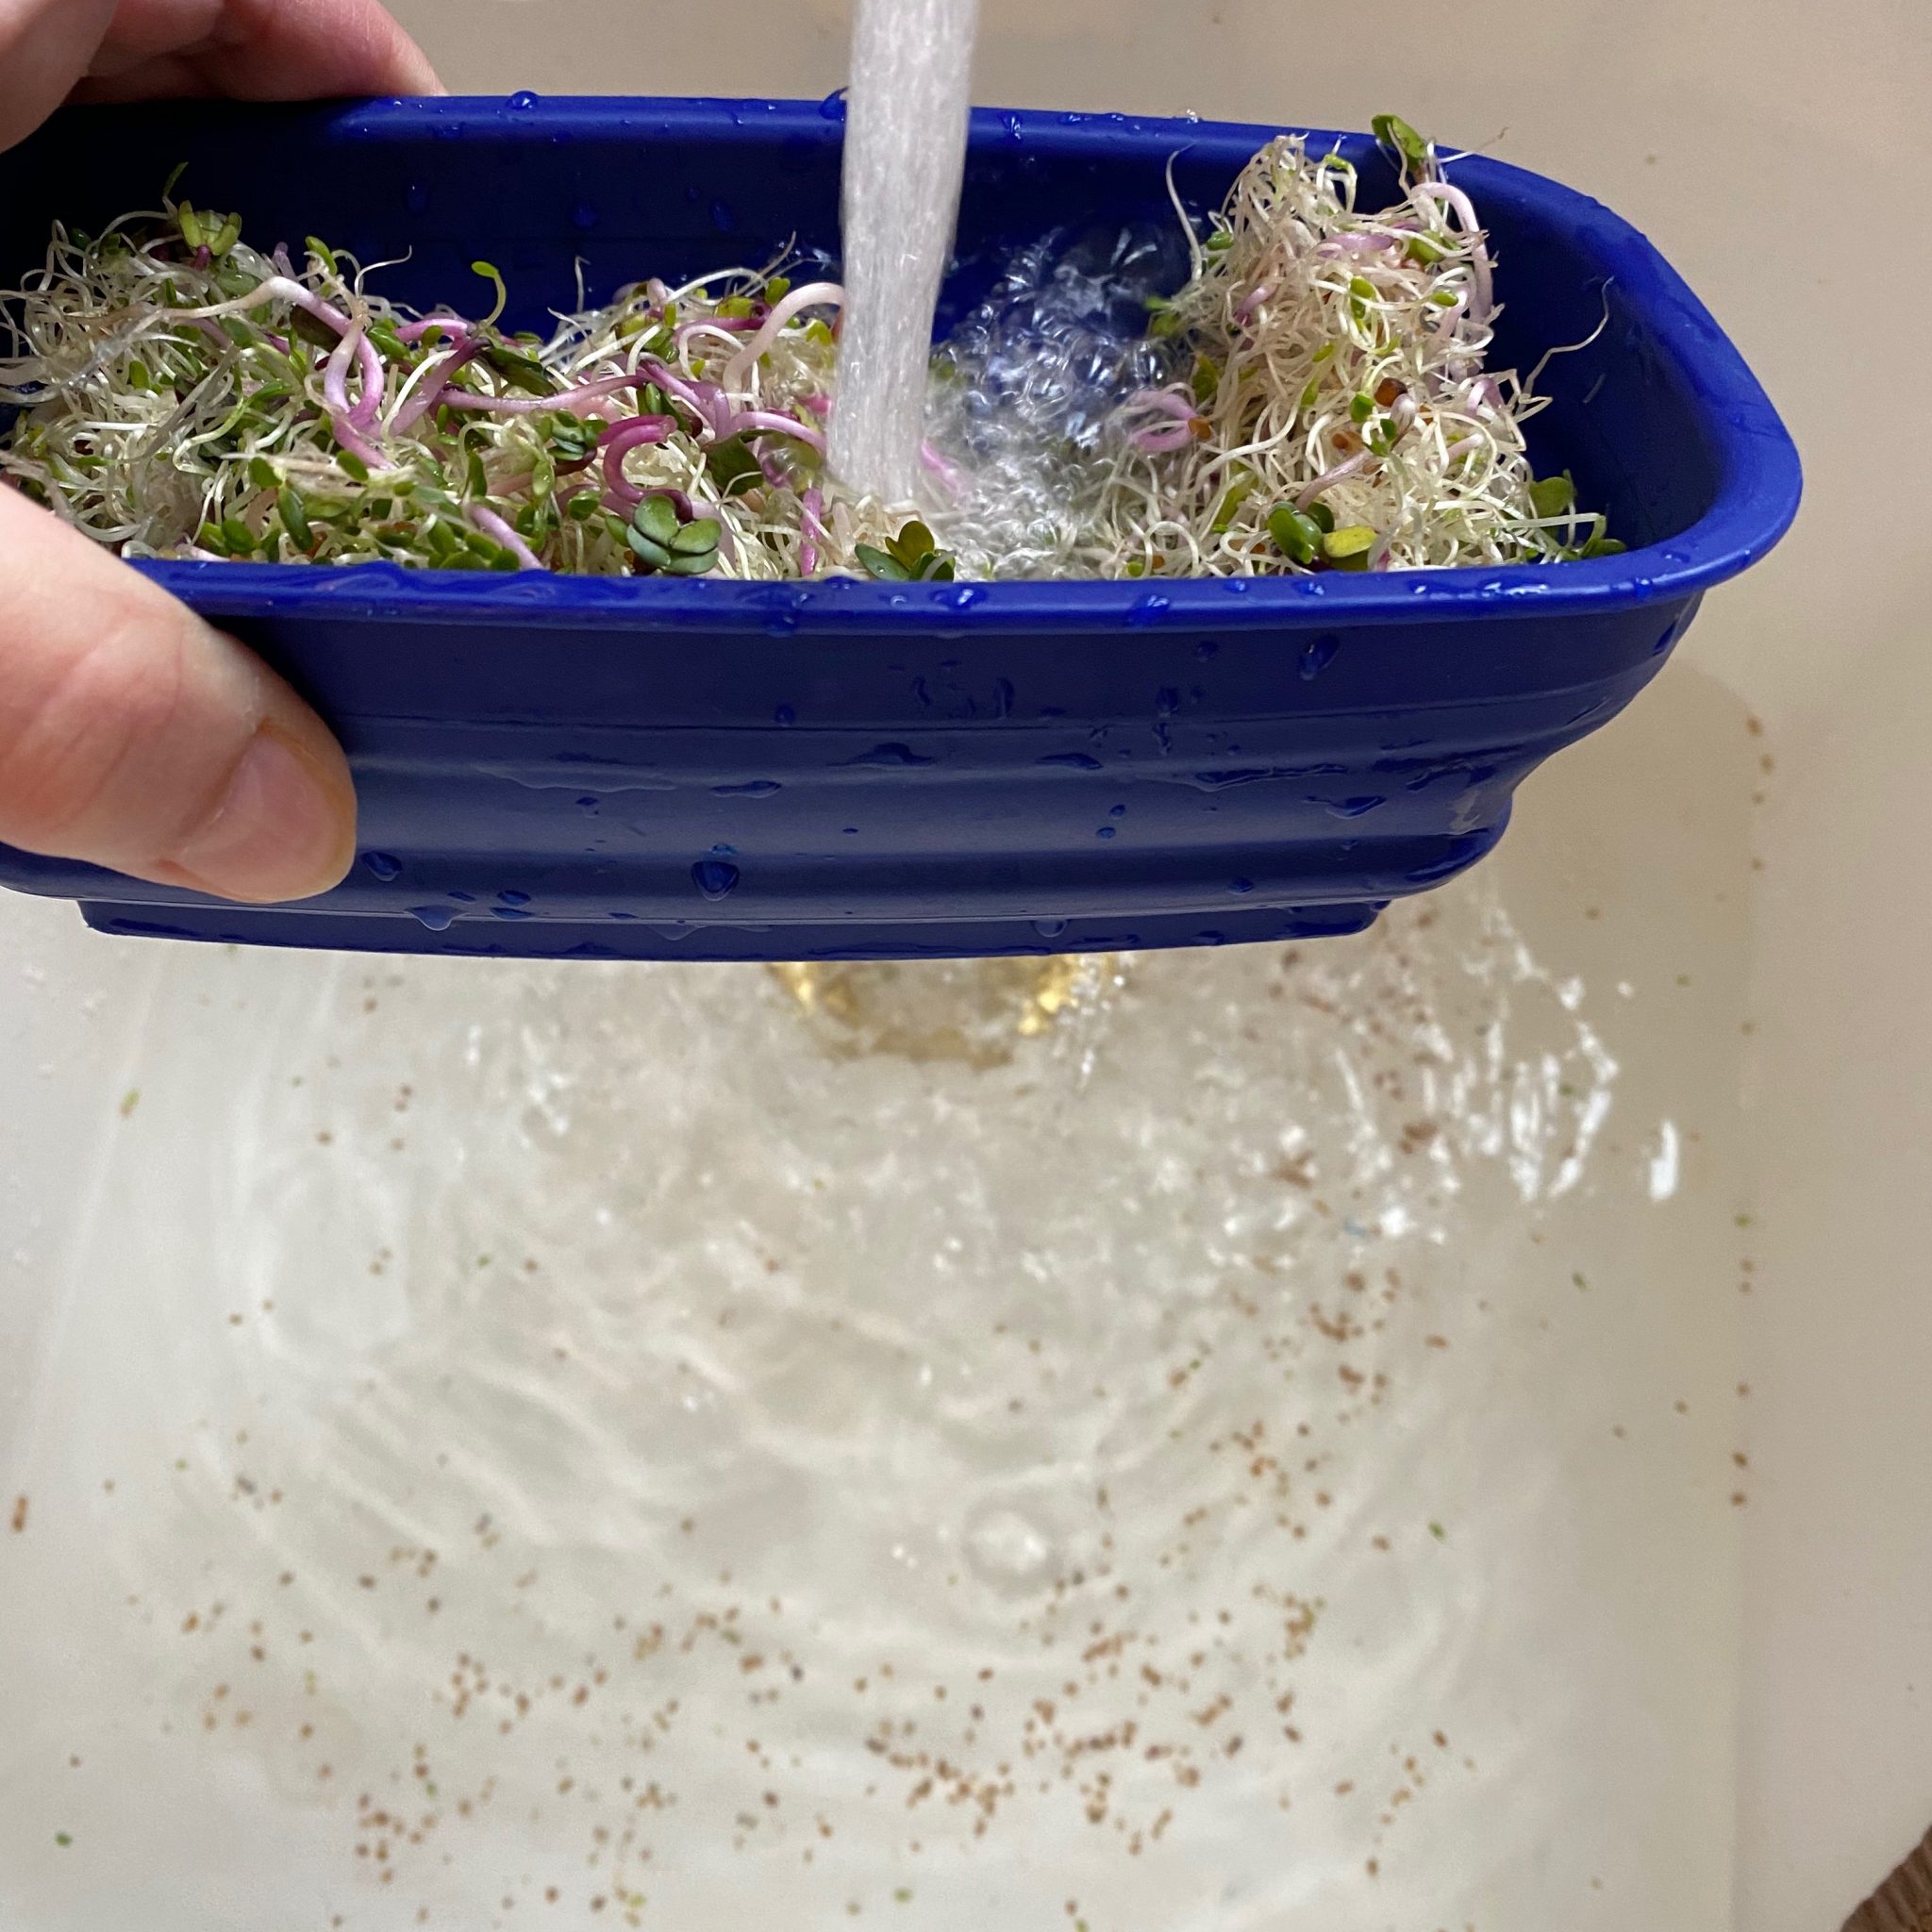
When sprouts are ready, you can eat them as is, or rinse them to remove any unsprouted seeds and hulls. To remove these crunchy bits, I first fill the opened jar with water and pour off any seeds and hulls that float up.
Then I use a mini colander to rinse the seeds and let the seeds and hulls rinse through.
I recommend using either a kitchen mesh strainer or the mesh jar insert to catch any seeds that may go down the drain. In a pinch a paper towel will work too.
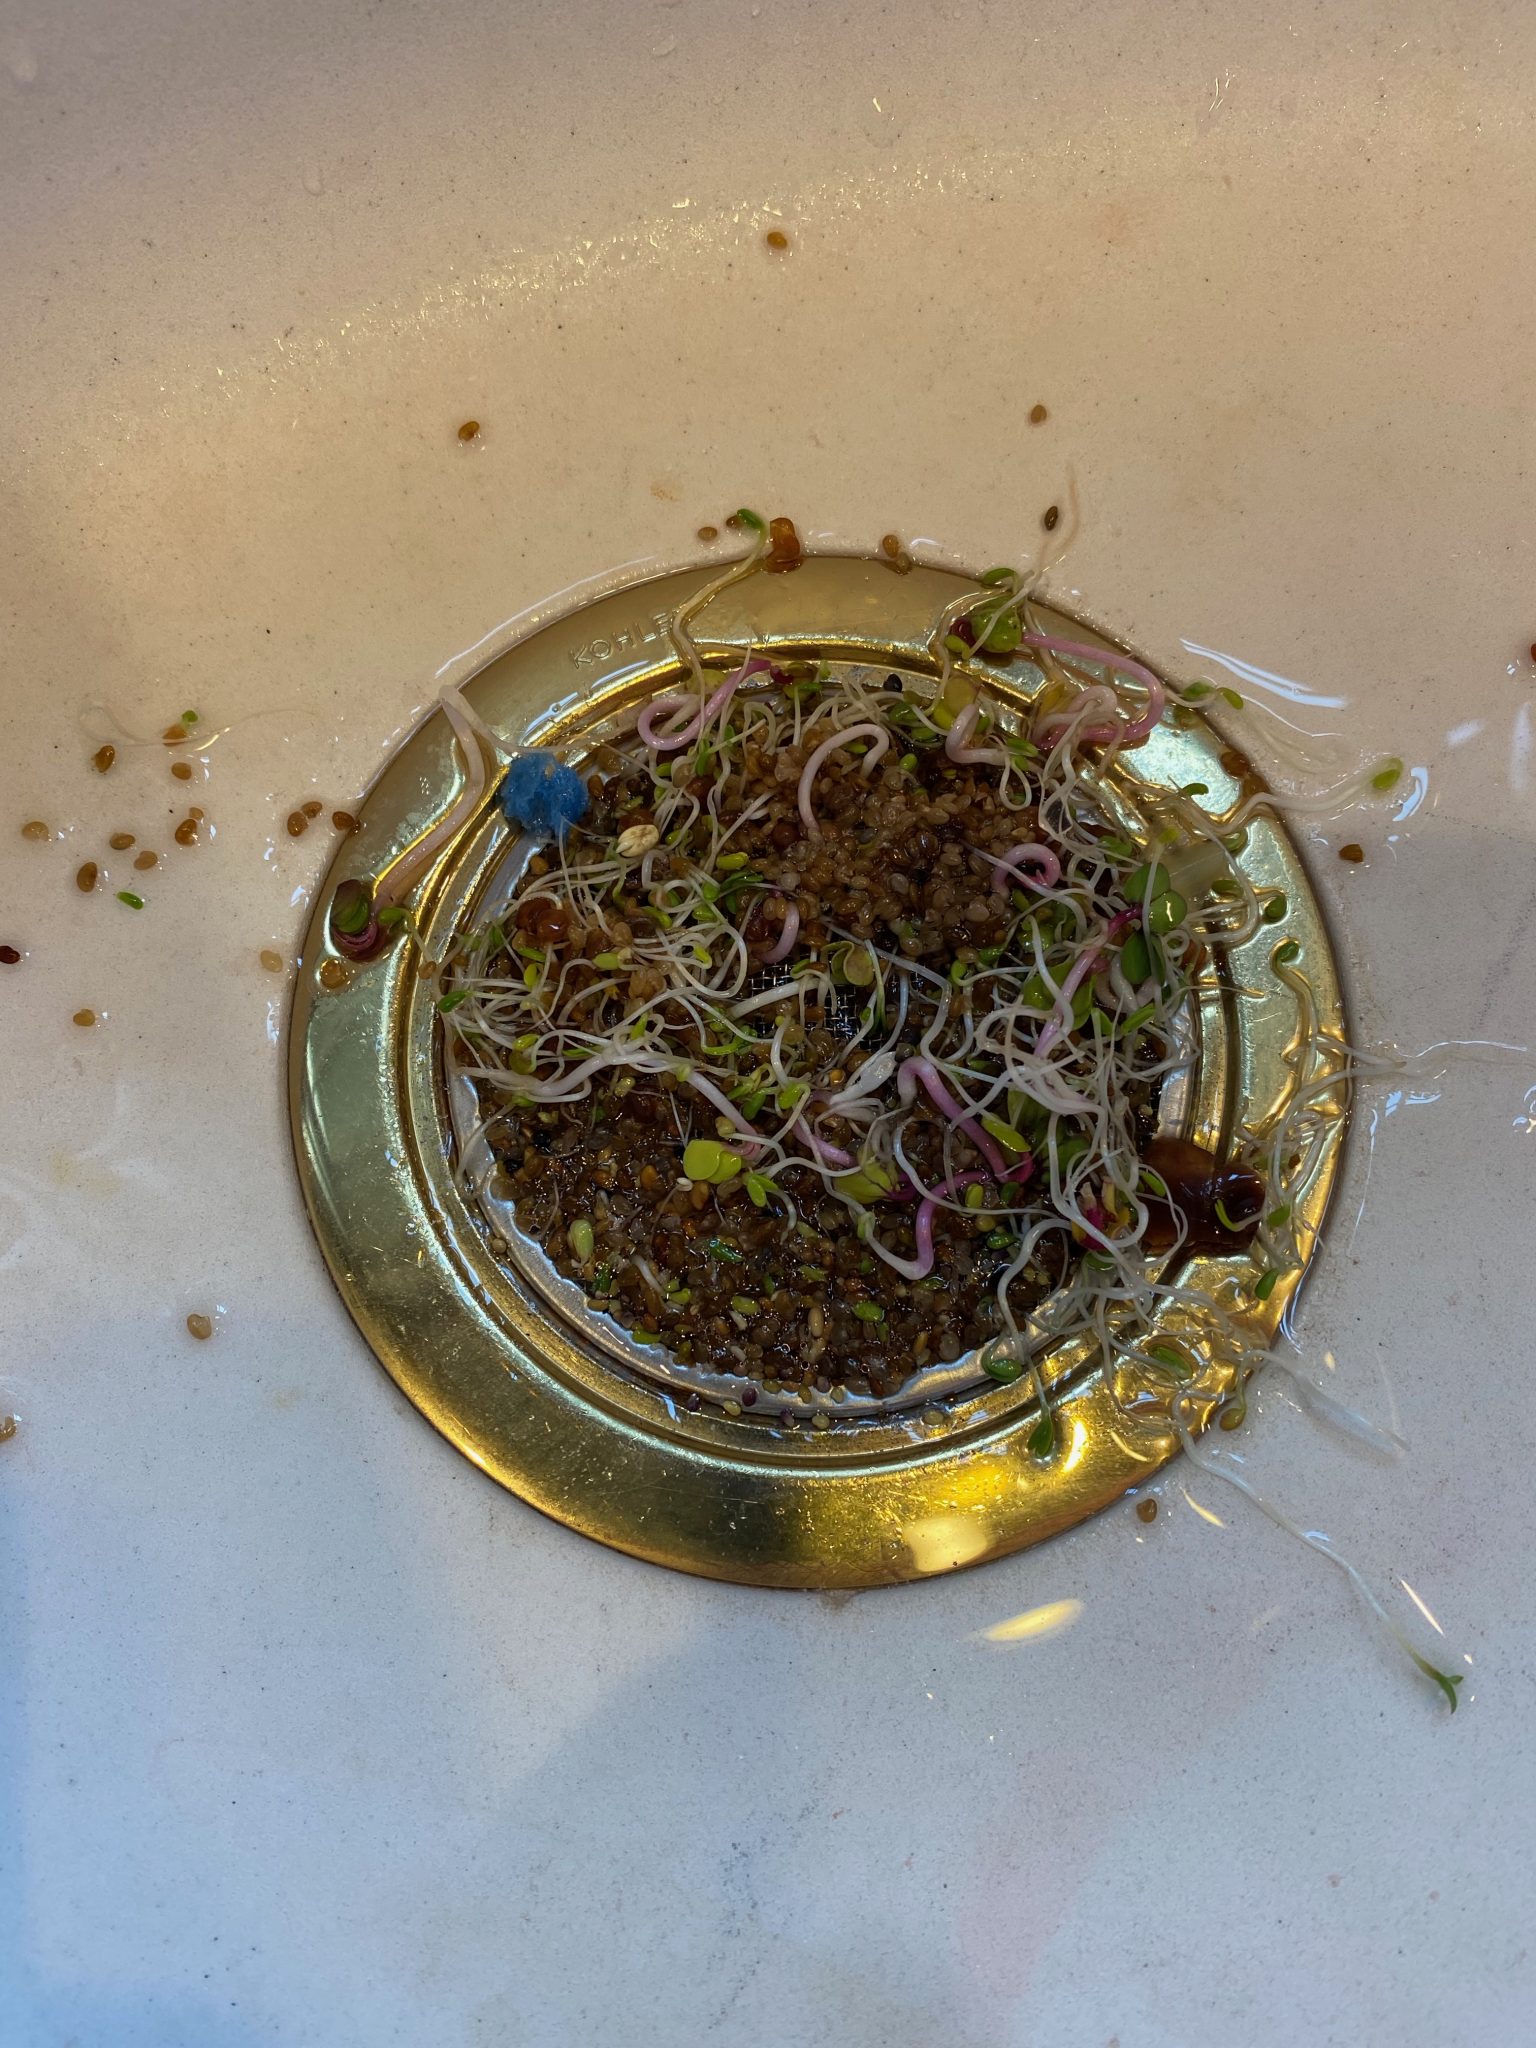
Why not let them go down the drain? These seeds in the sink are bringing back memories of our hamster days. My daughter would clean the cage in her bathroom sink and eventually we had seedlings growing on the drain! I do not want that to happen again. So use a screen to be safe.
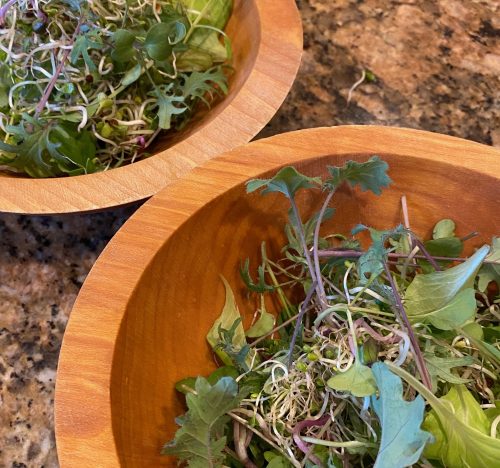
I let the sprouts dry for a while in the colander, clean kitchen towel, or on a produce drying towel.
I’ve had the most success storing them in the refrigerator in small Rubbermaid FreshWorks Produce Saver Containers. You want some air circulation to keep them fresh. I’ve had them stay fresh up to a week. If not looking fresh before a week, obviously toss them and make some more.
What are my favorites?
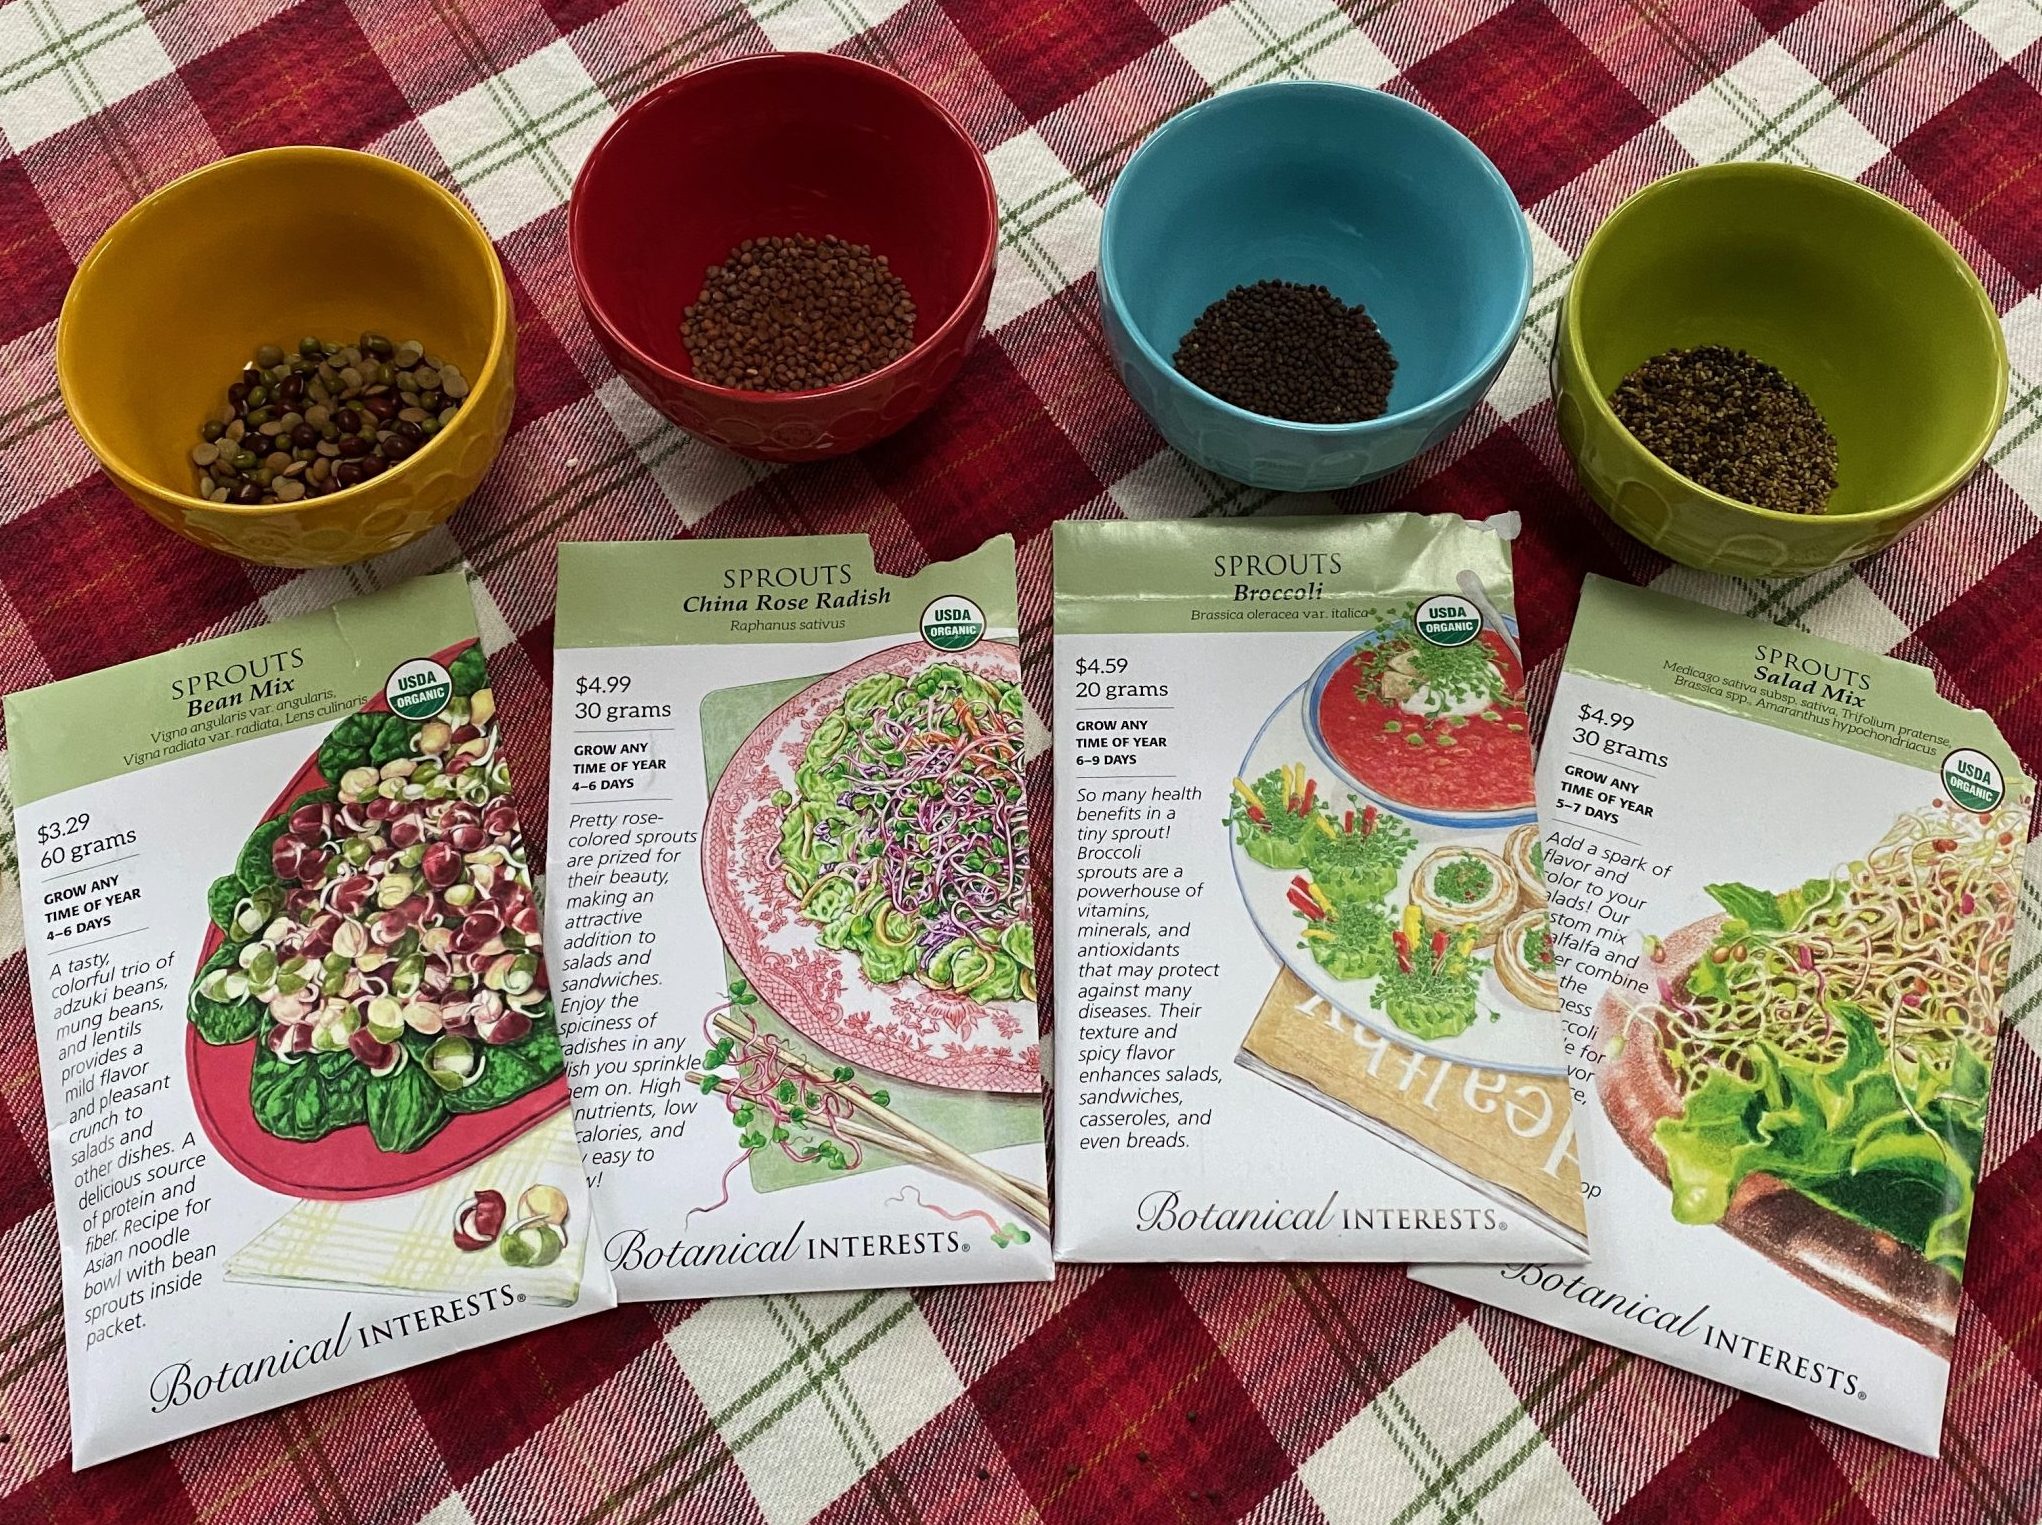
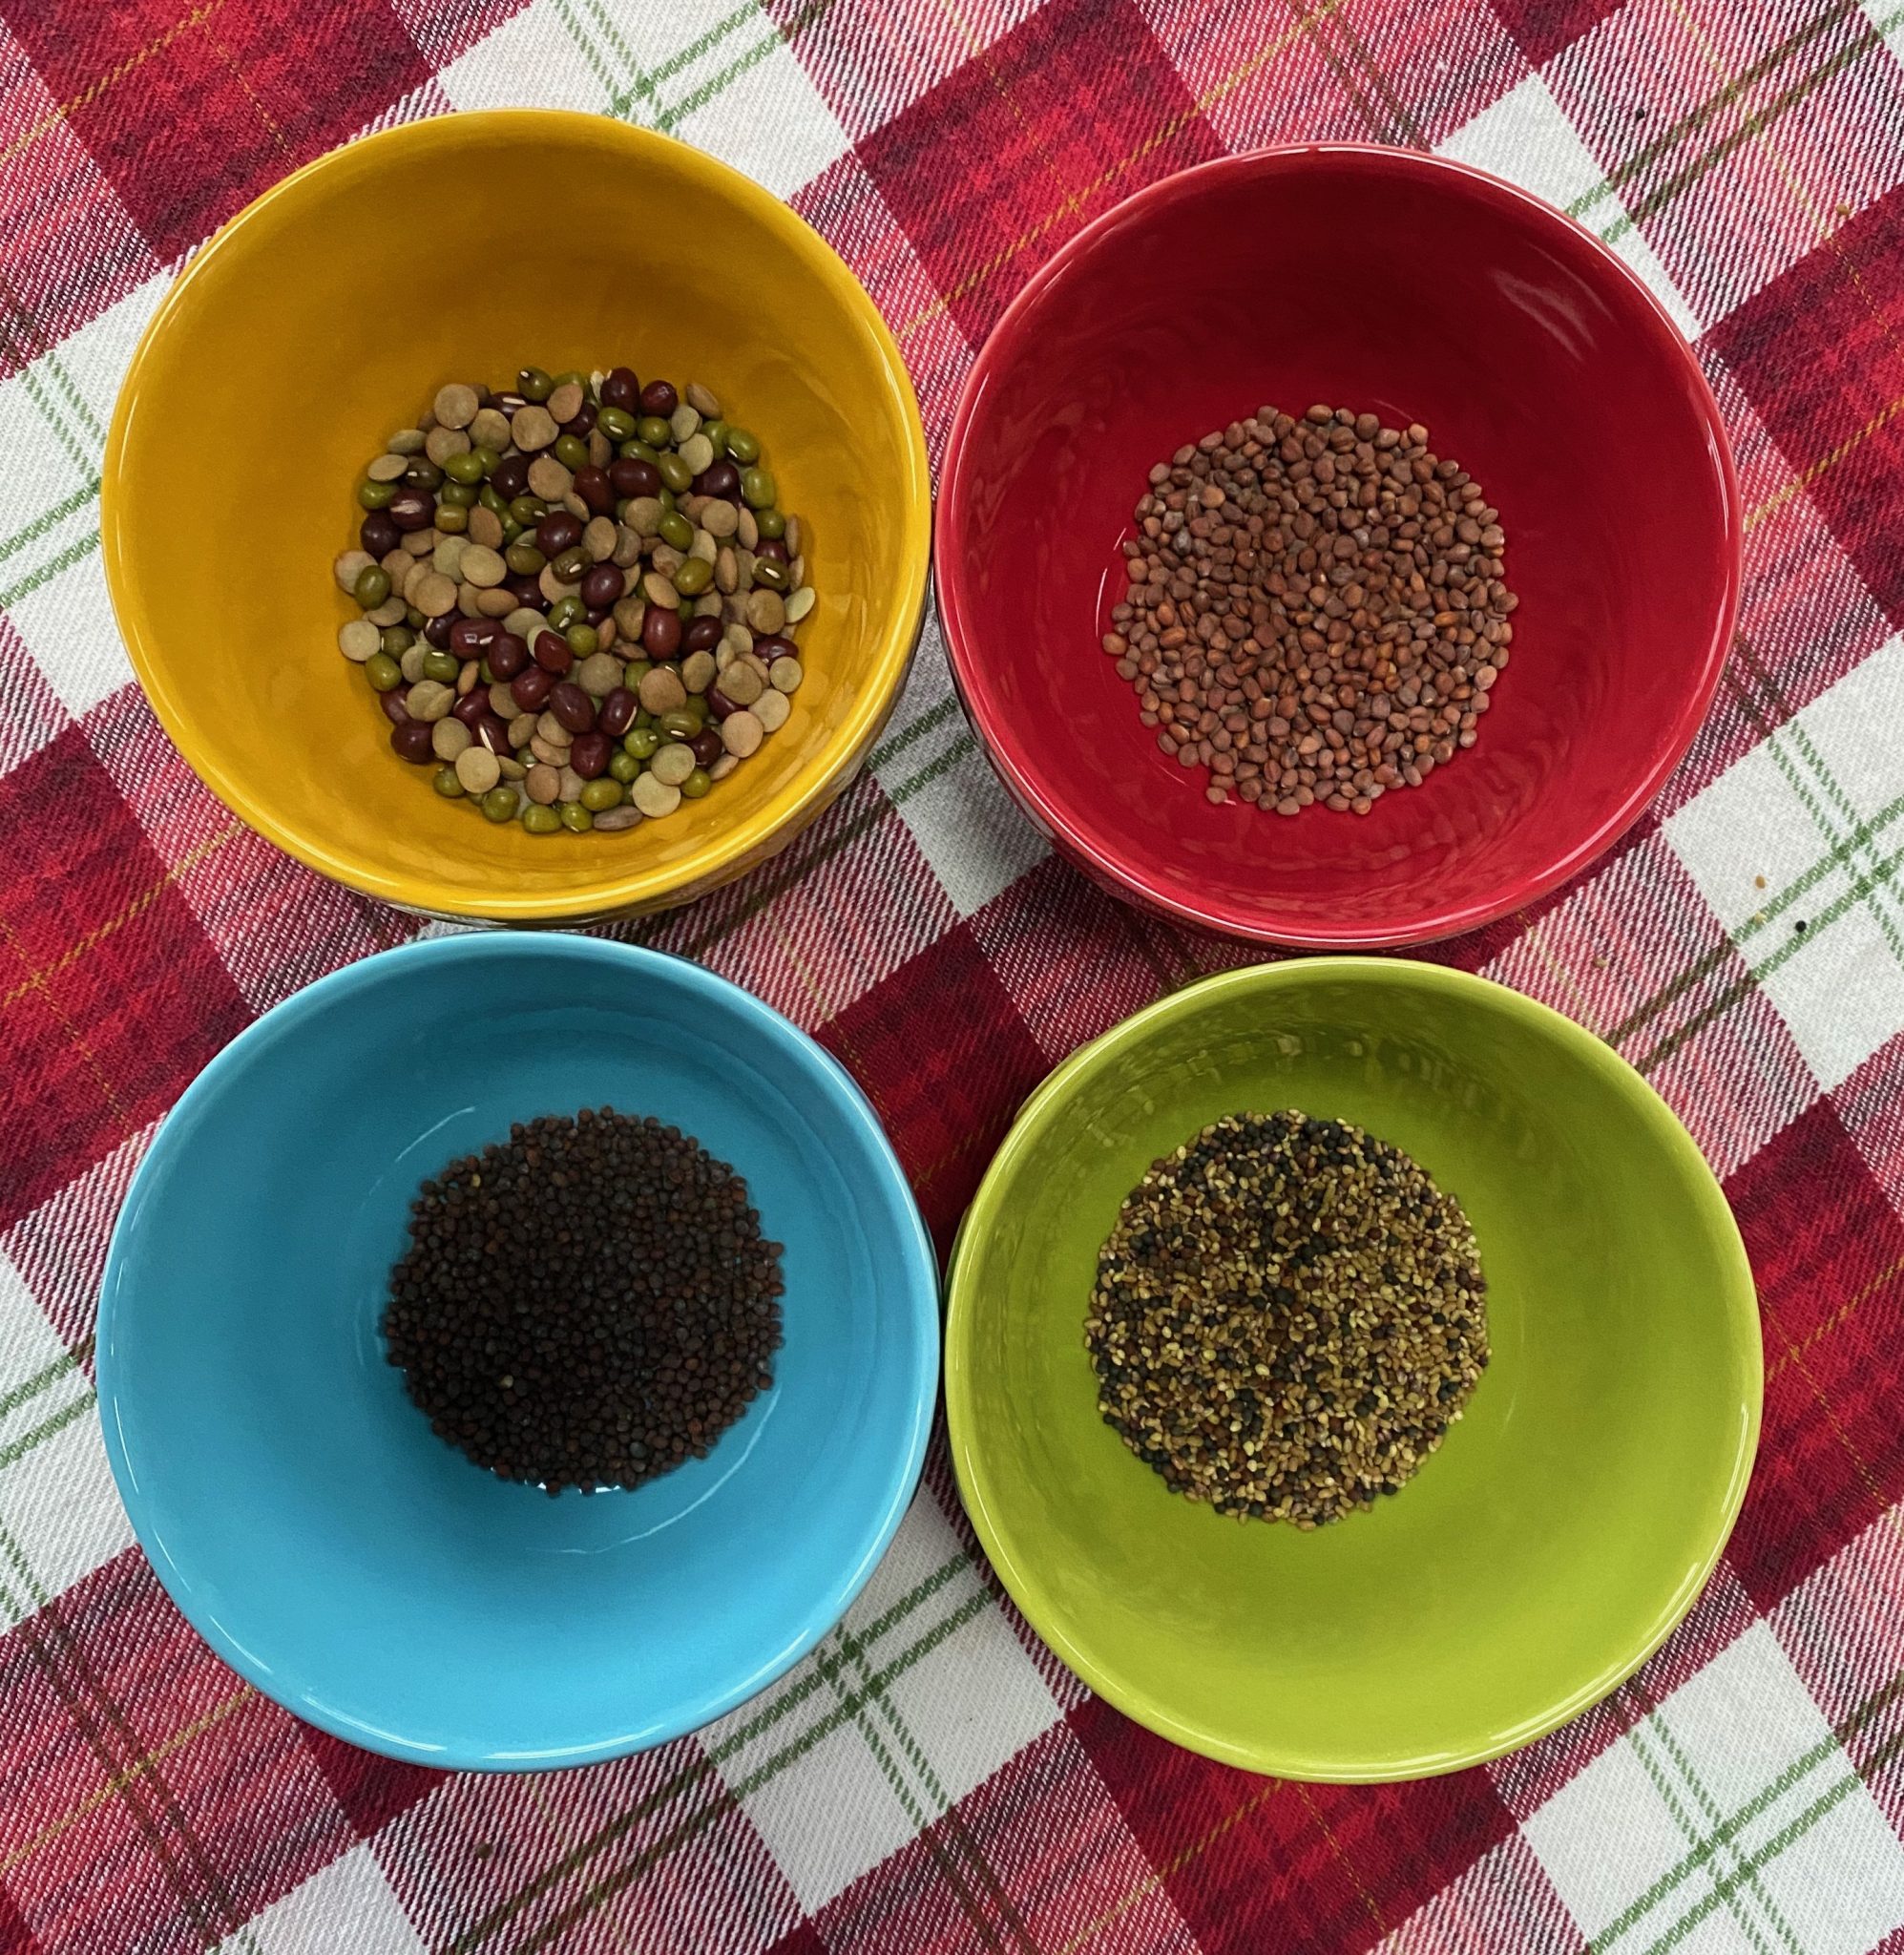
From Botanical Interests I’m loving all their sprout seeds. I just started a batch of China Rose Radish to add some zestiness to my favorite foods. The Sandwich and Salad blends are good all around mixes, and the broccoli sprouts actually smell like broccoli!
How do I use my sprouts? Adding to a salads is always easy and a great way to extend your lettuce right now when we can’t ship as often. They can also add great flavor to sandwiches, scrambled eggs (with feta cheese, yum), or whatever you want to add a little boost to.

Note: To stay safe, please remember to only use seeds marked for sprouts!