2018 Garden Recap: Vegetables (Part 2)

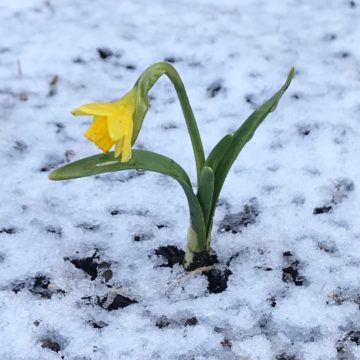
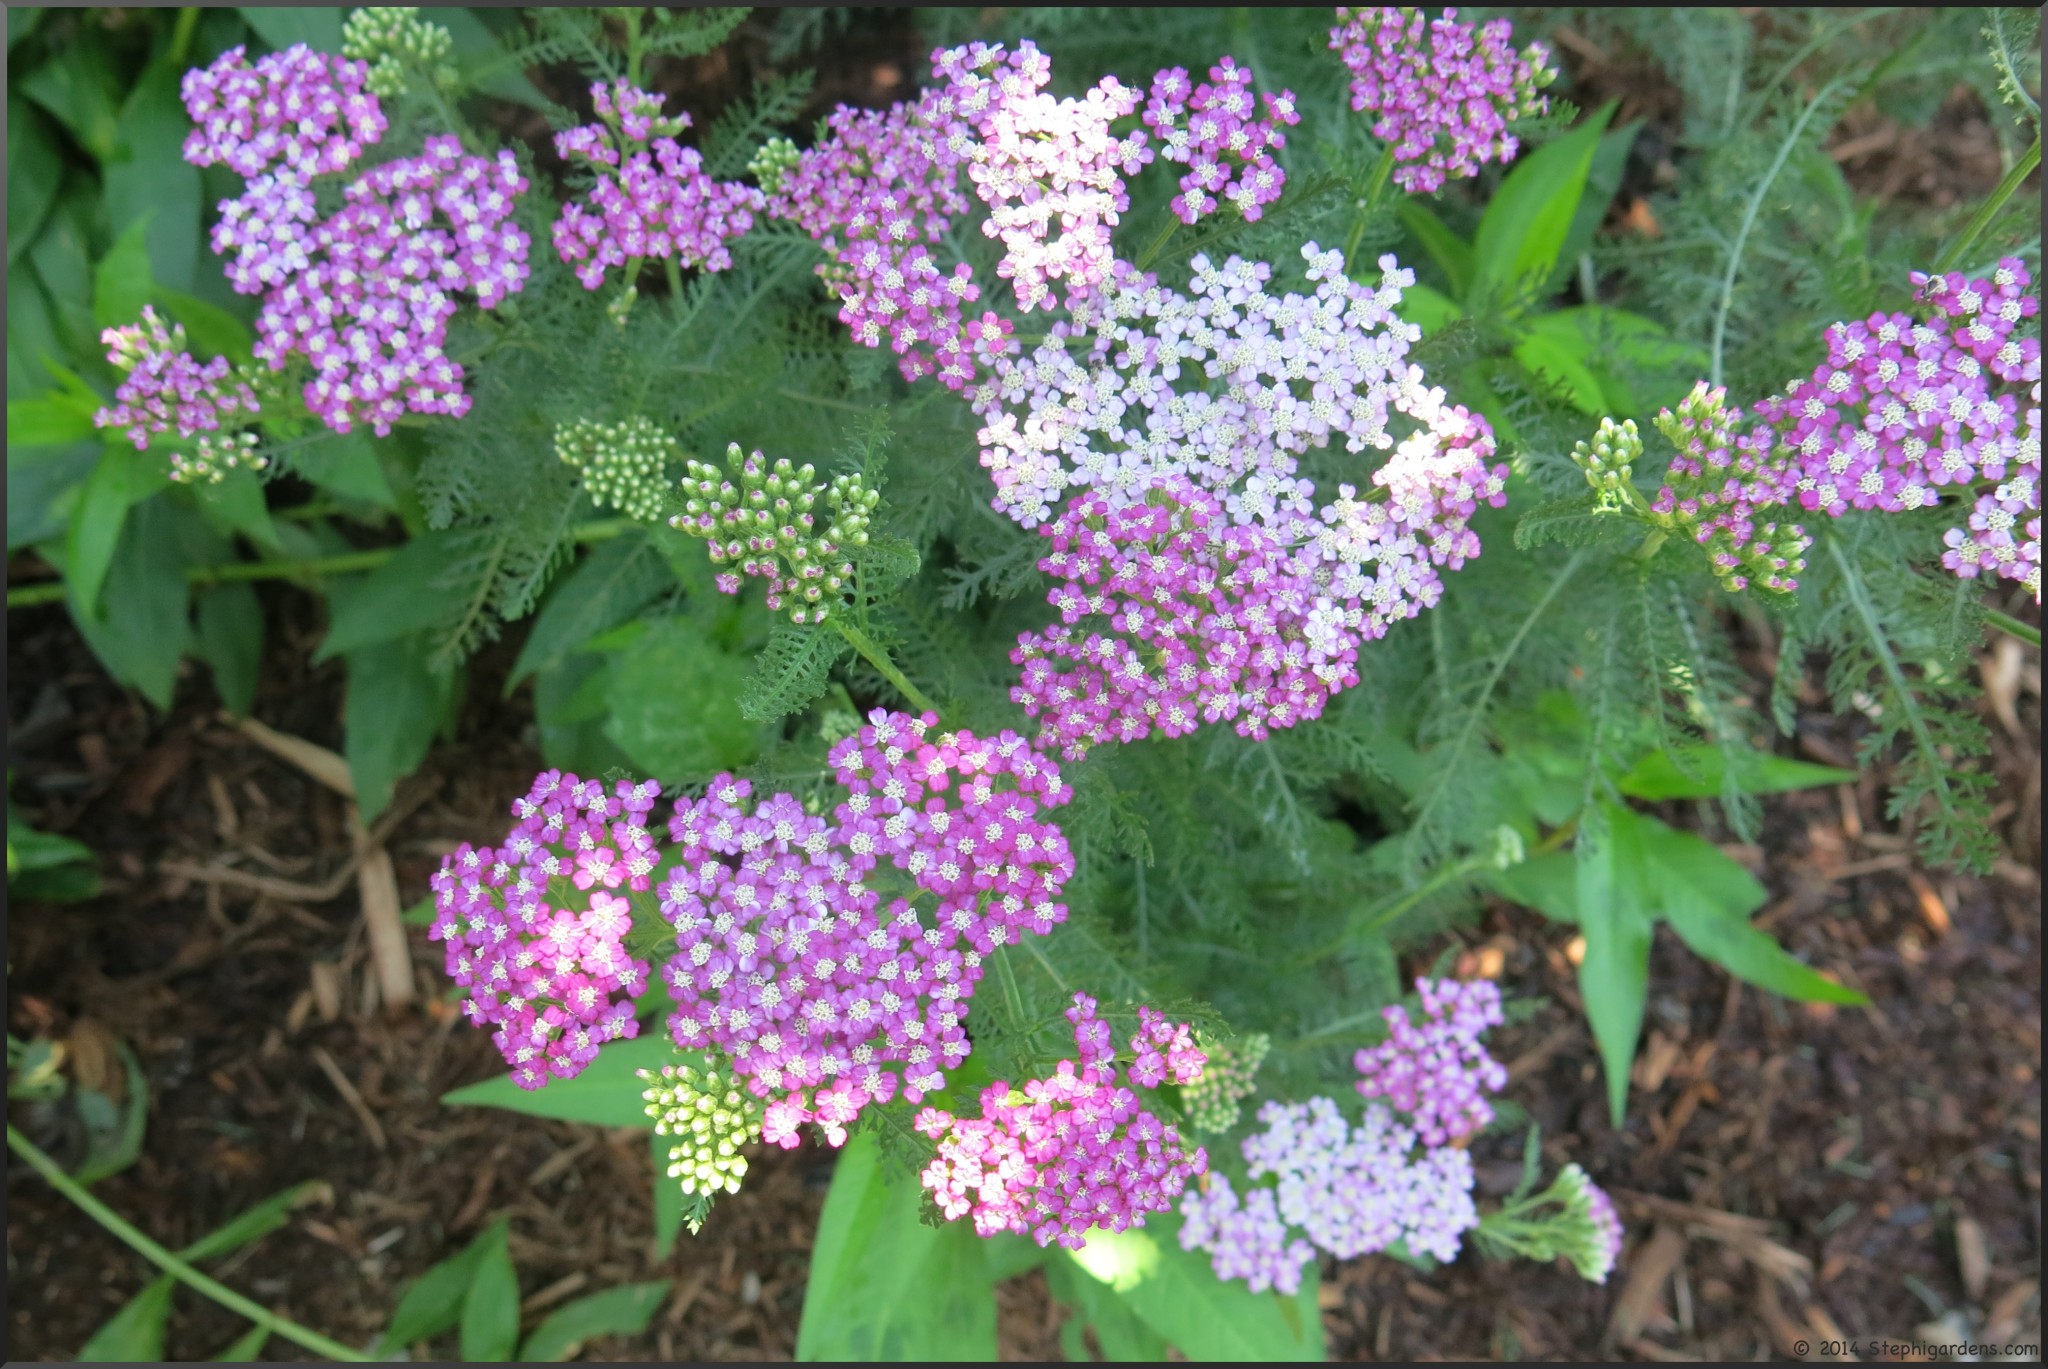
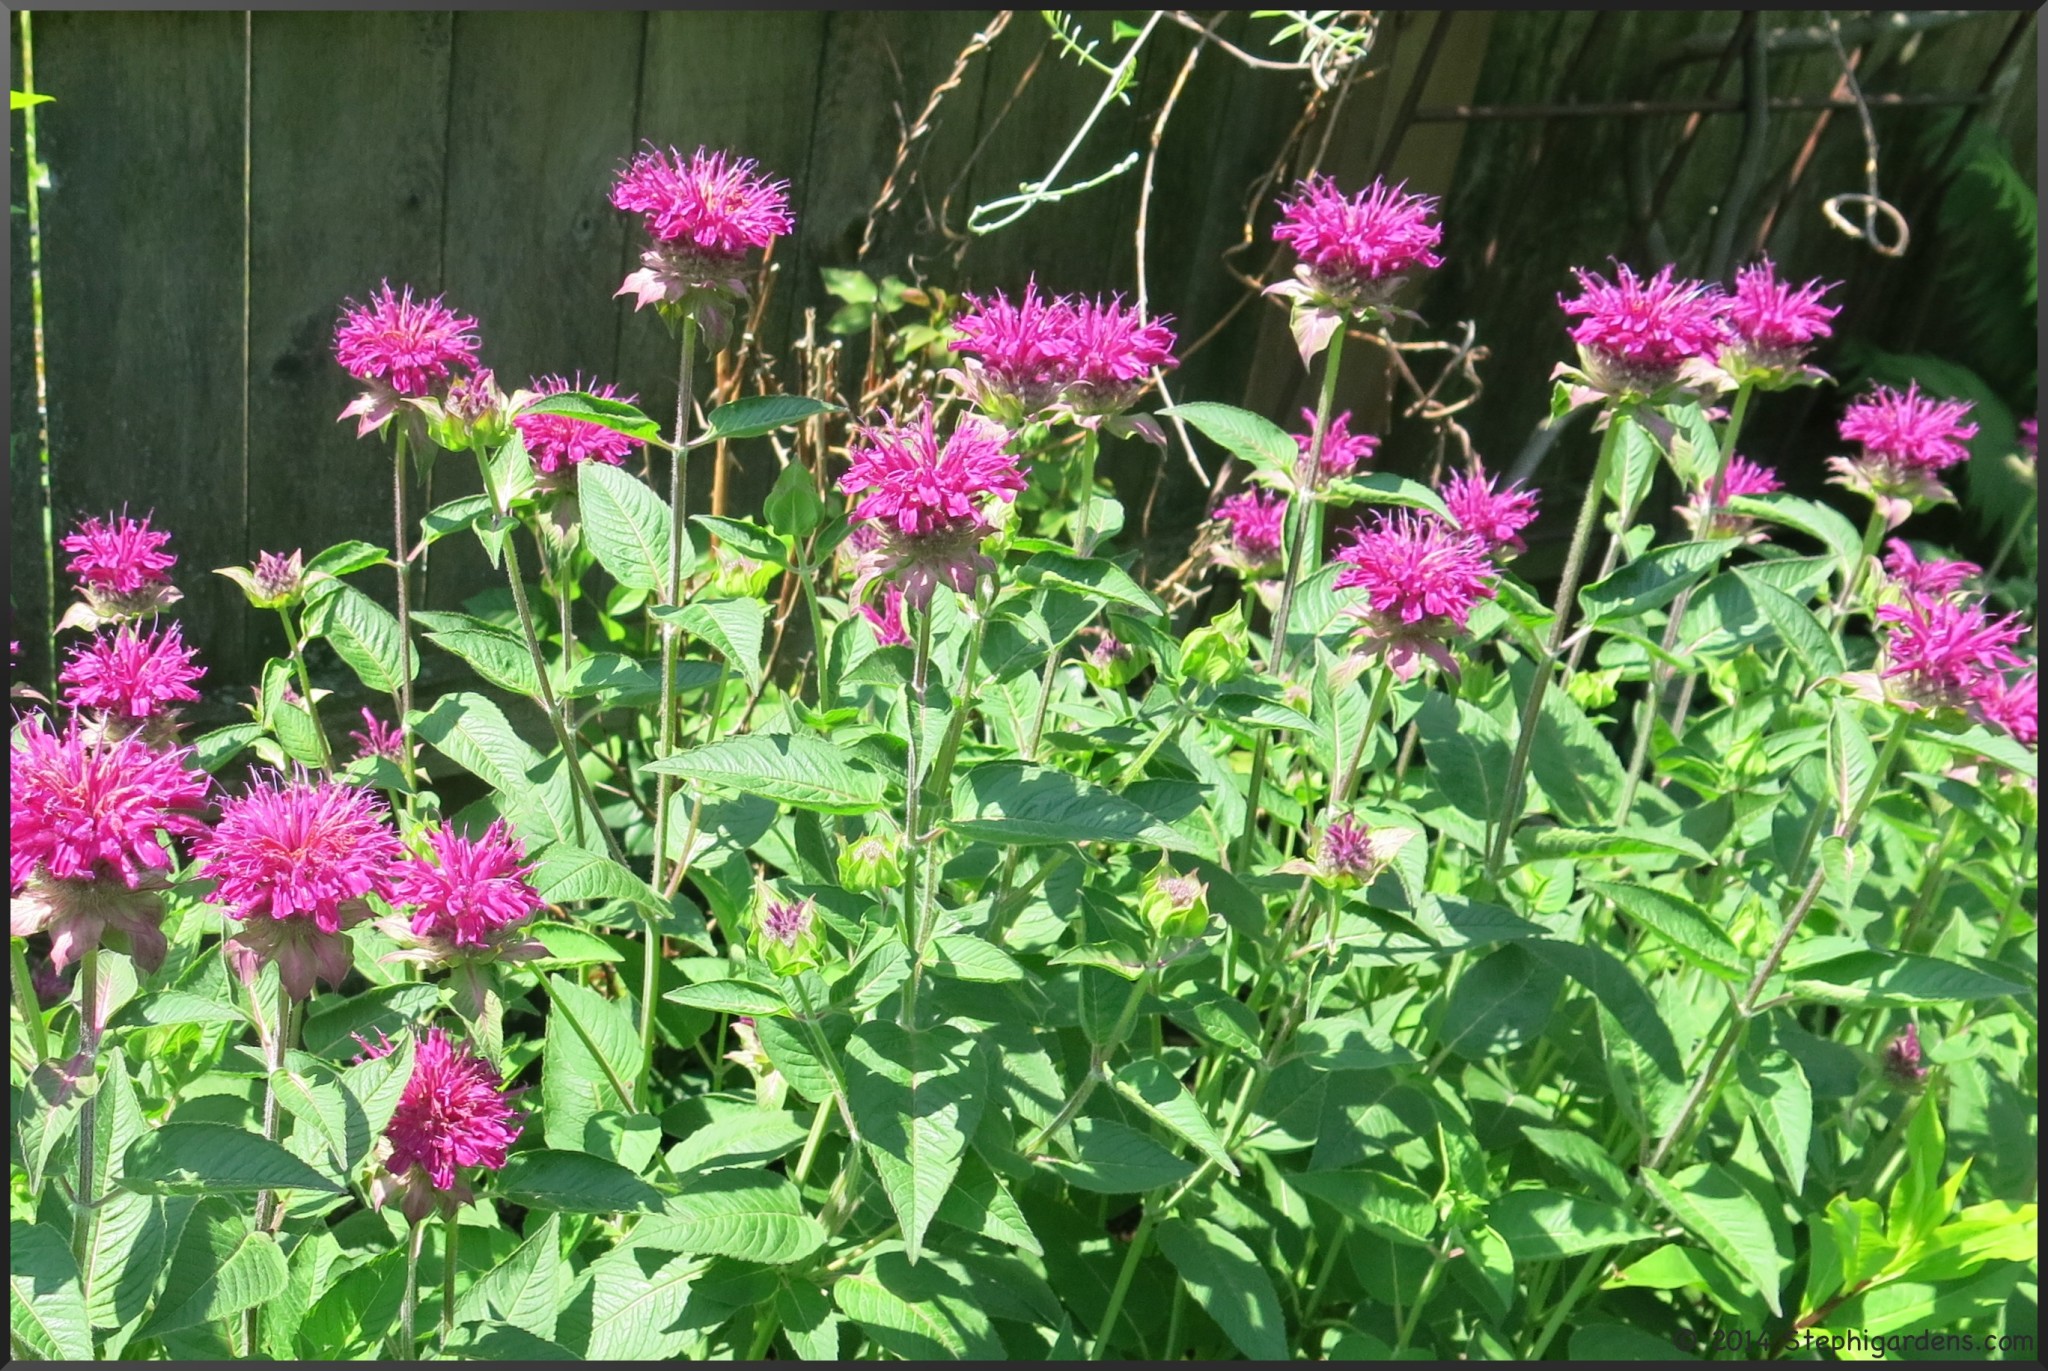
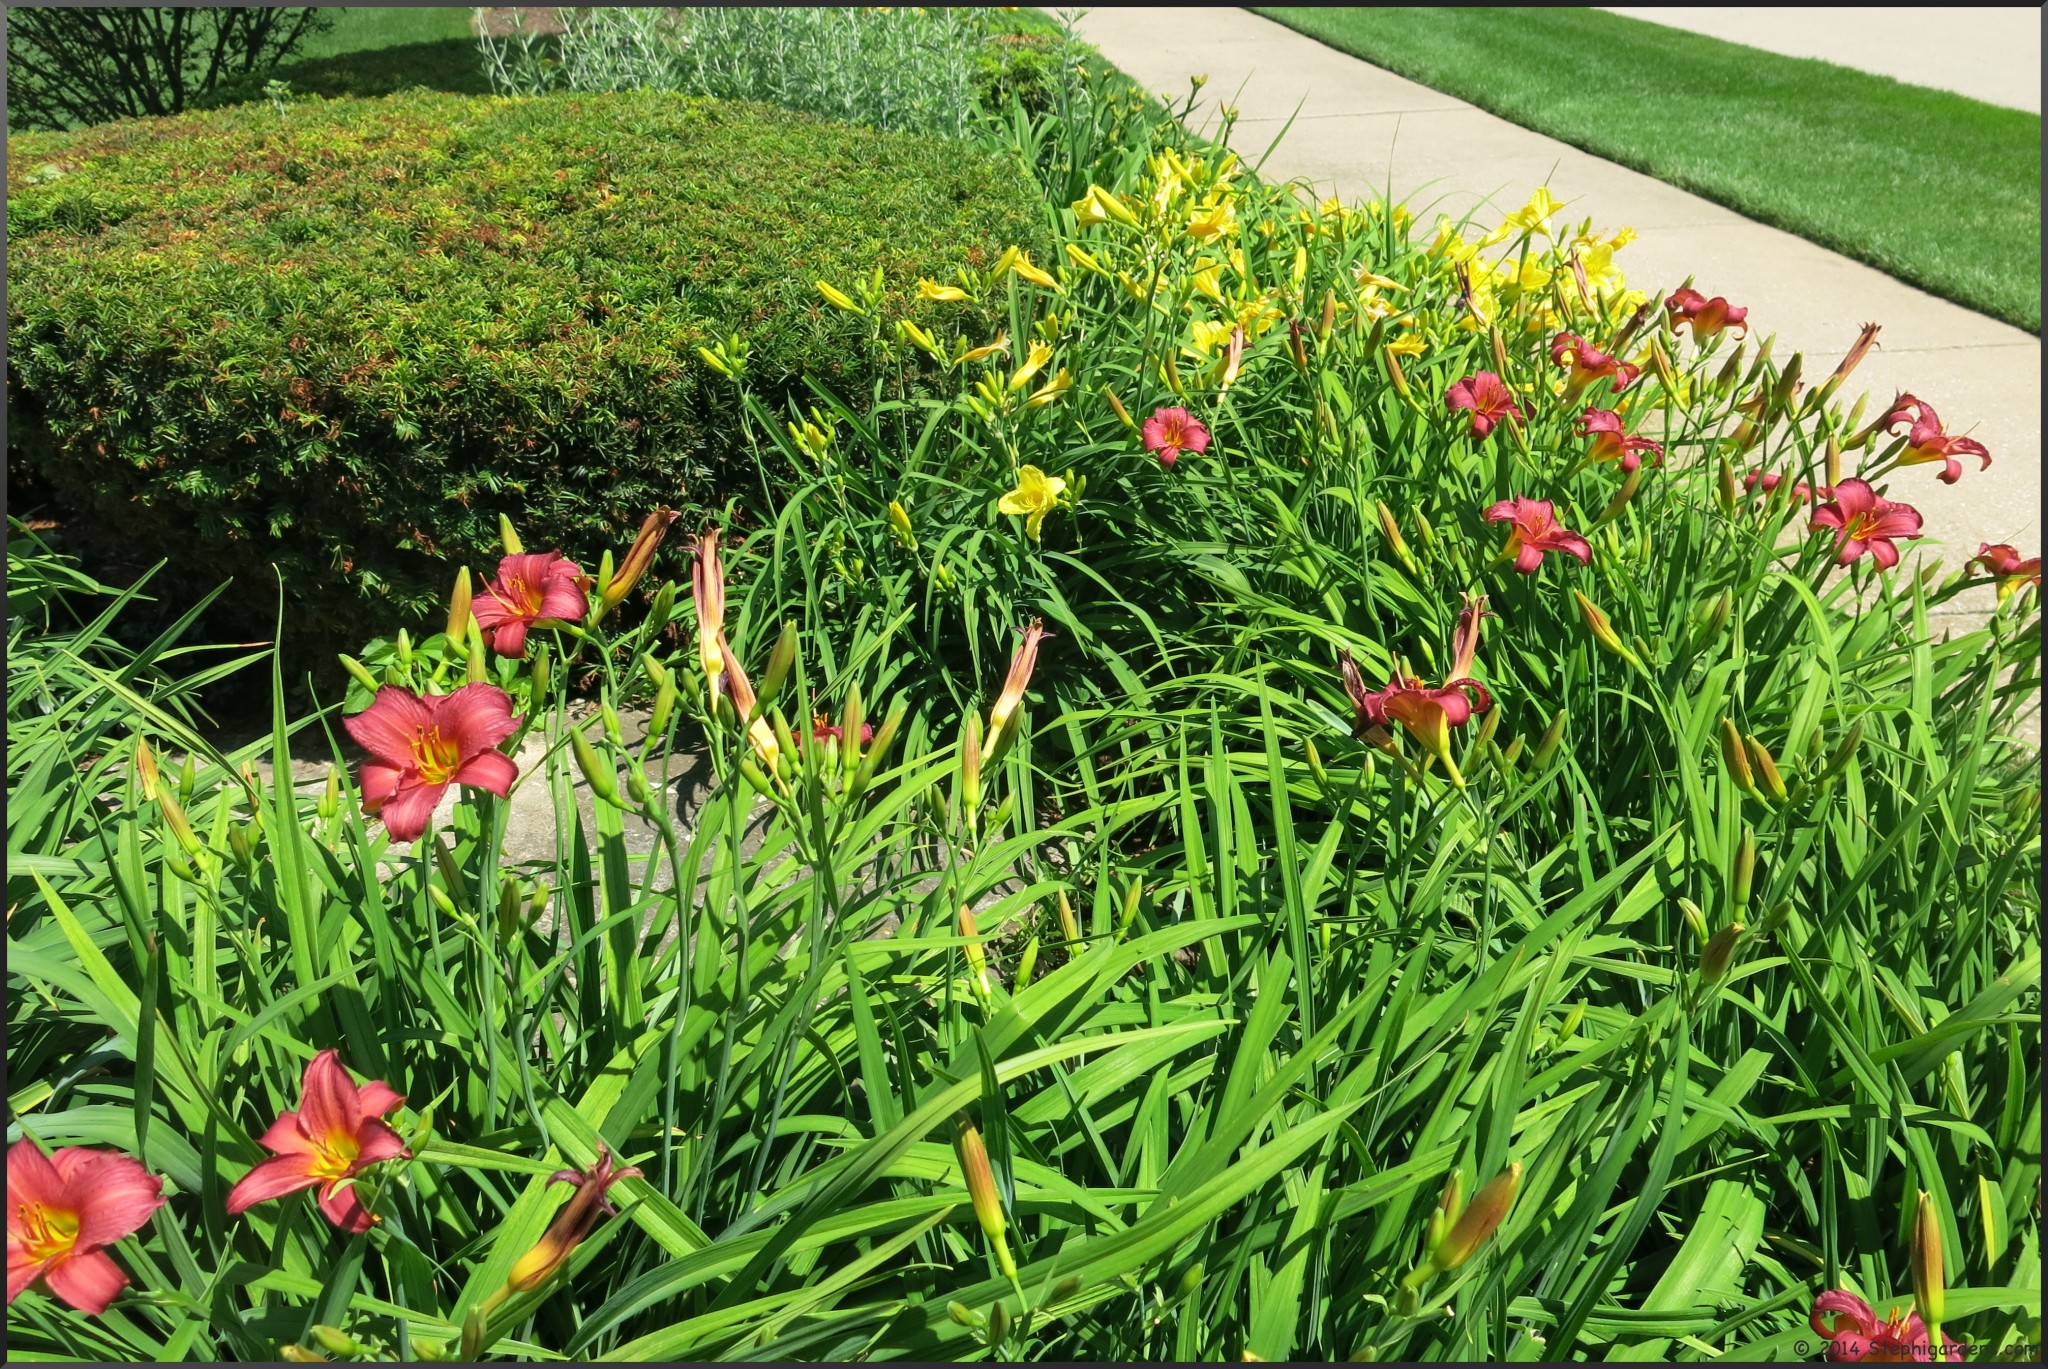
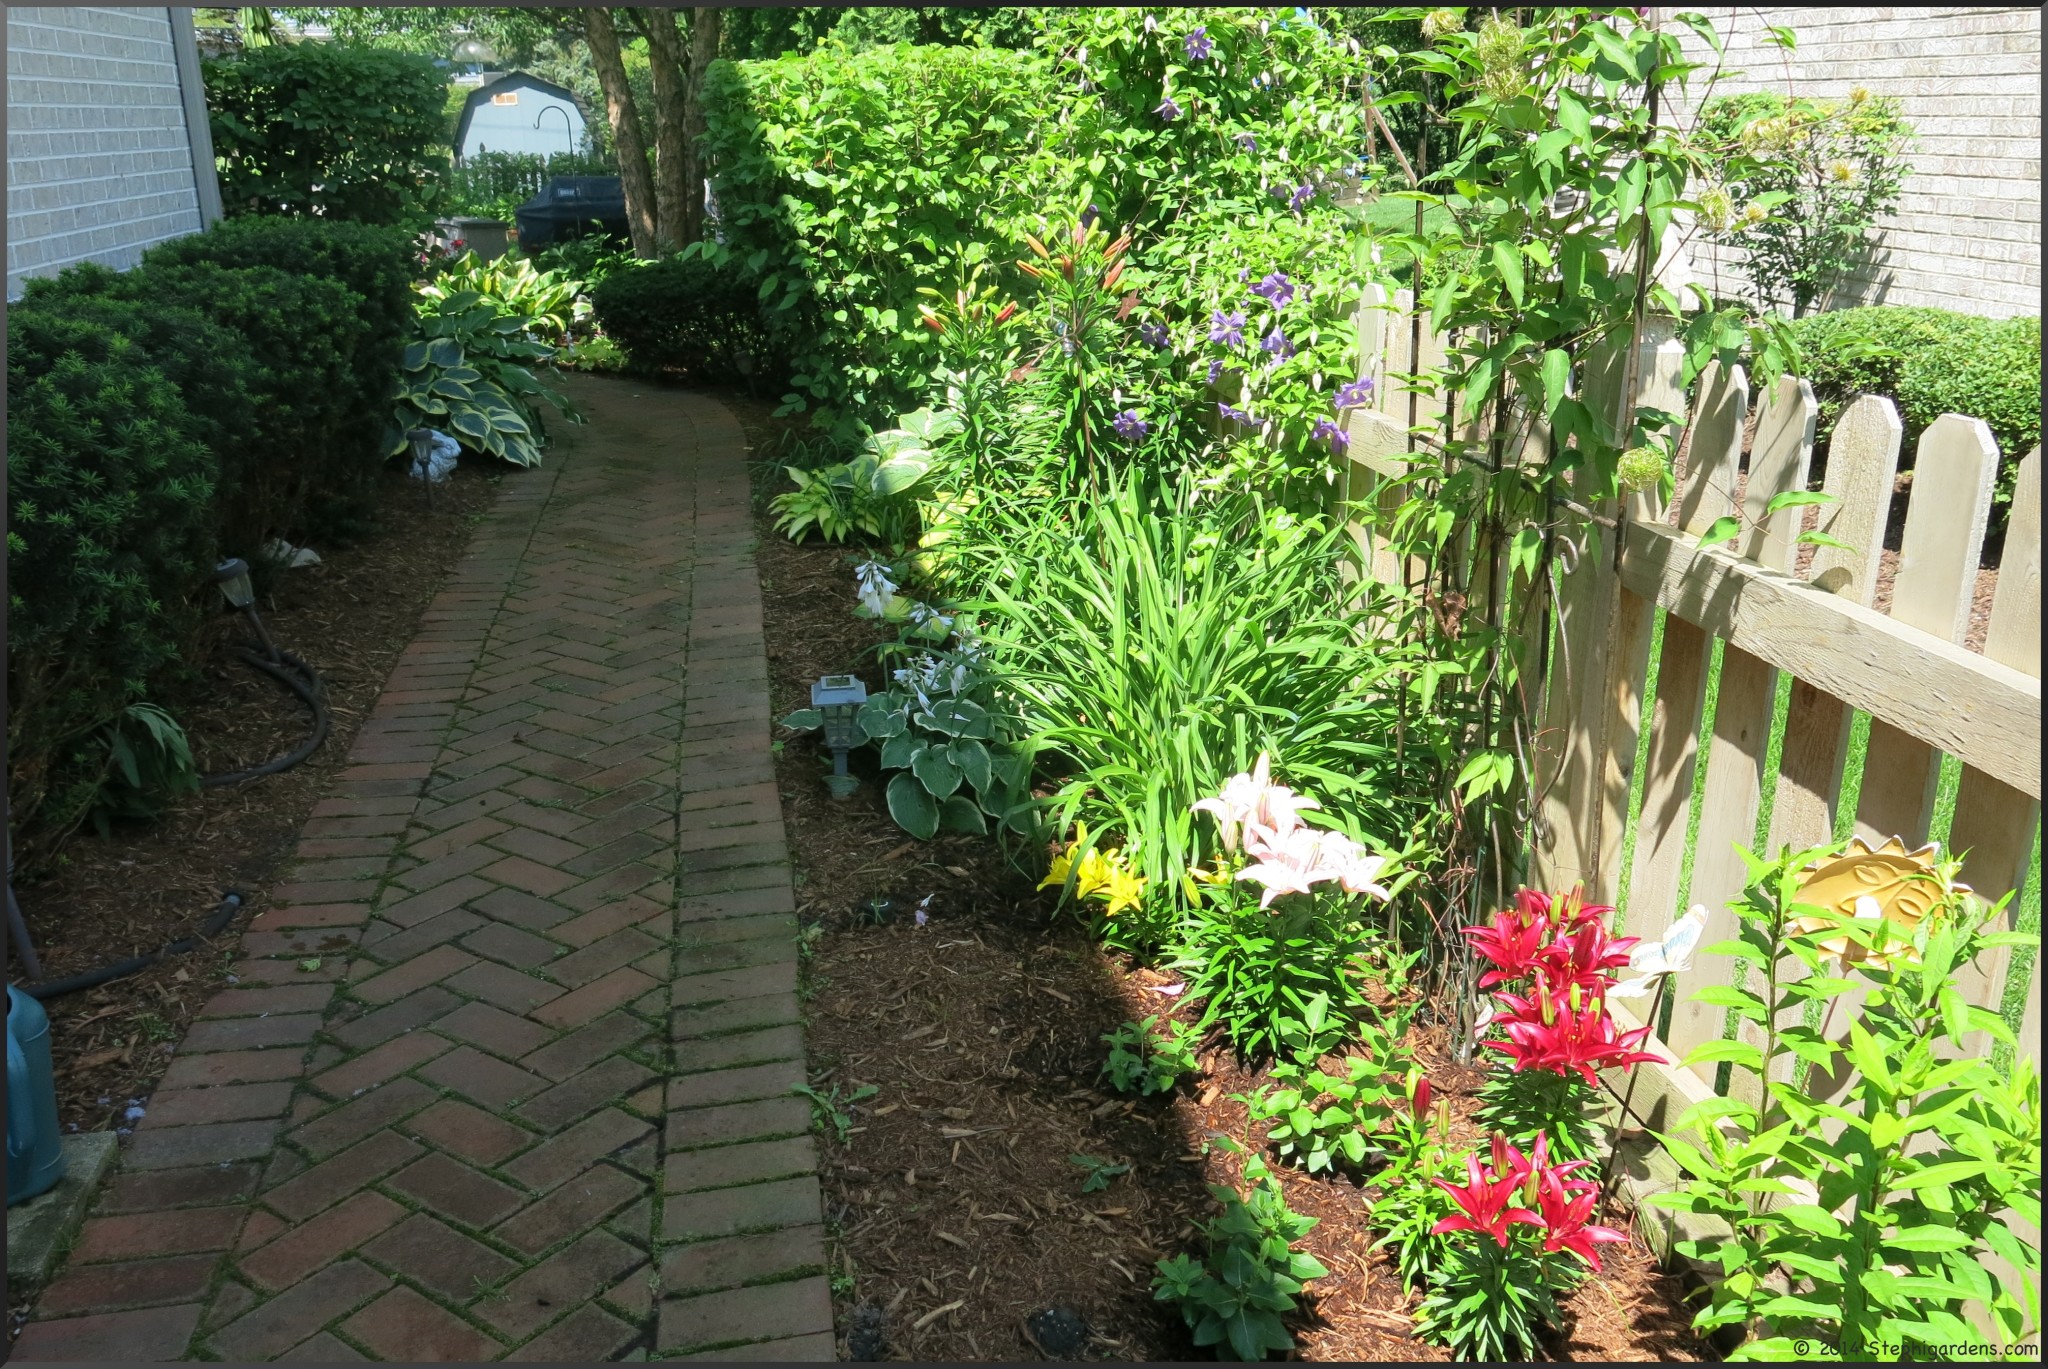
Now that we’ve mostly recovered from a record breaking, bone-chilling winter, it looks like spring may finally be coming. I thought it was time to get back to one final review of last year’s gardens before the spring growing season is fully upon me. I checked in on the flowers, 2018 Garden Recap: Flowers and started reviewing the veggies here, 2018 Garden Recap: Vegetables (Part 1). Time to finish the veggies!

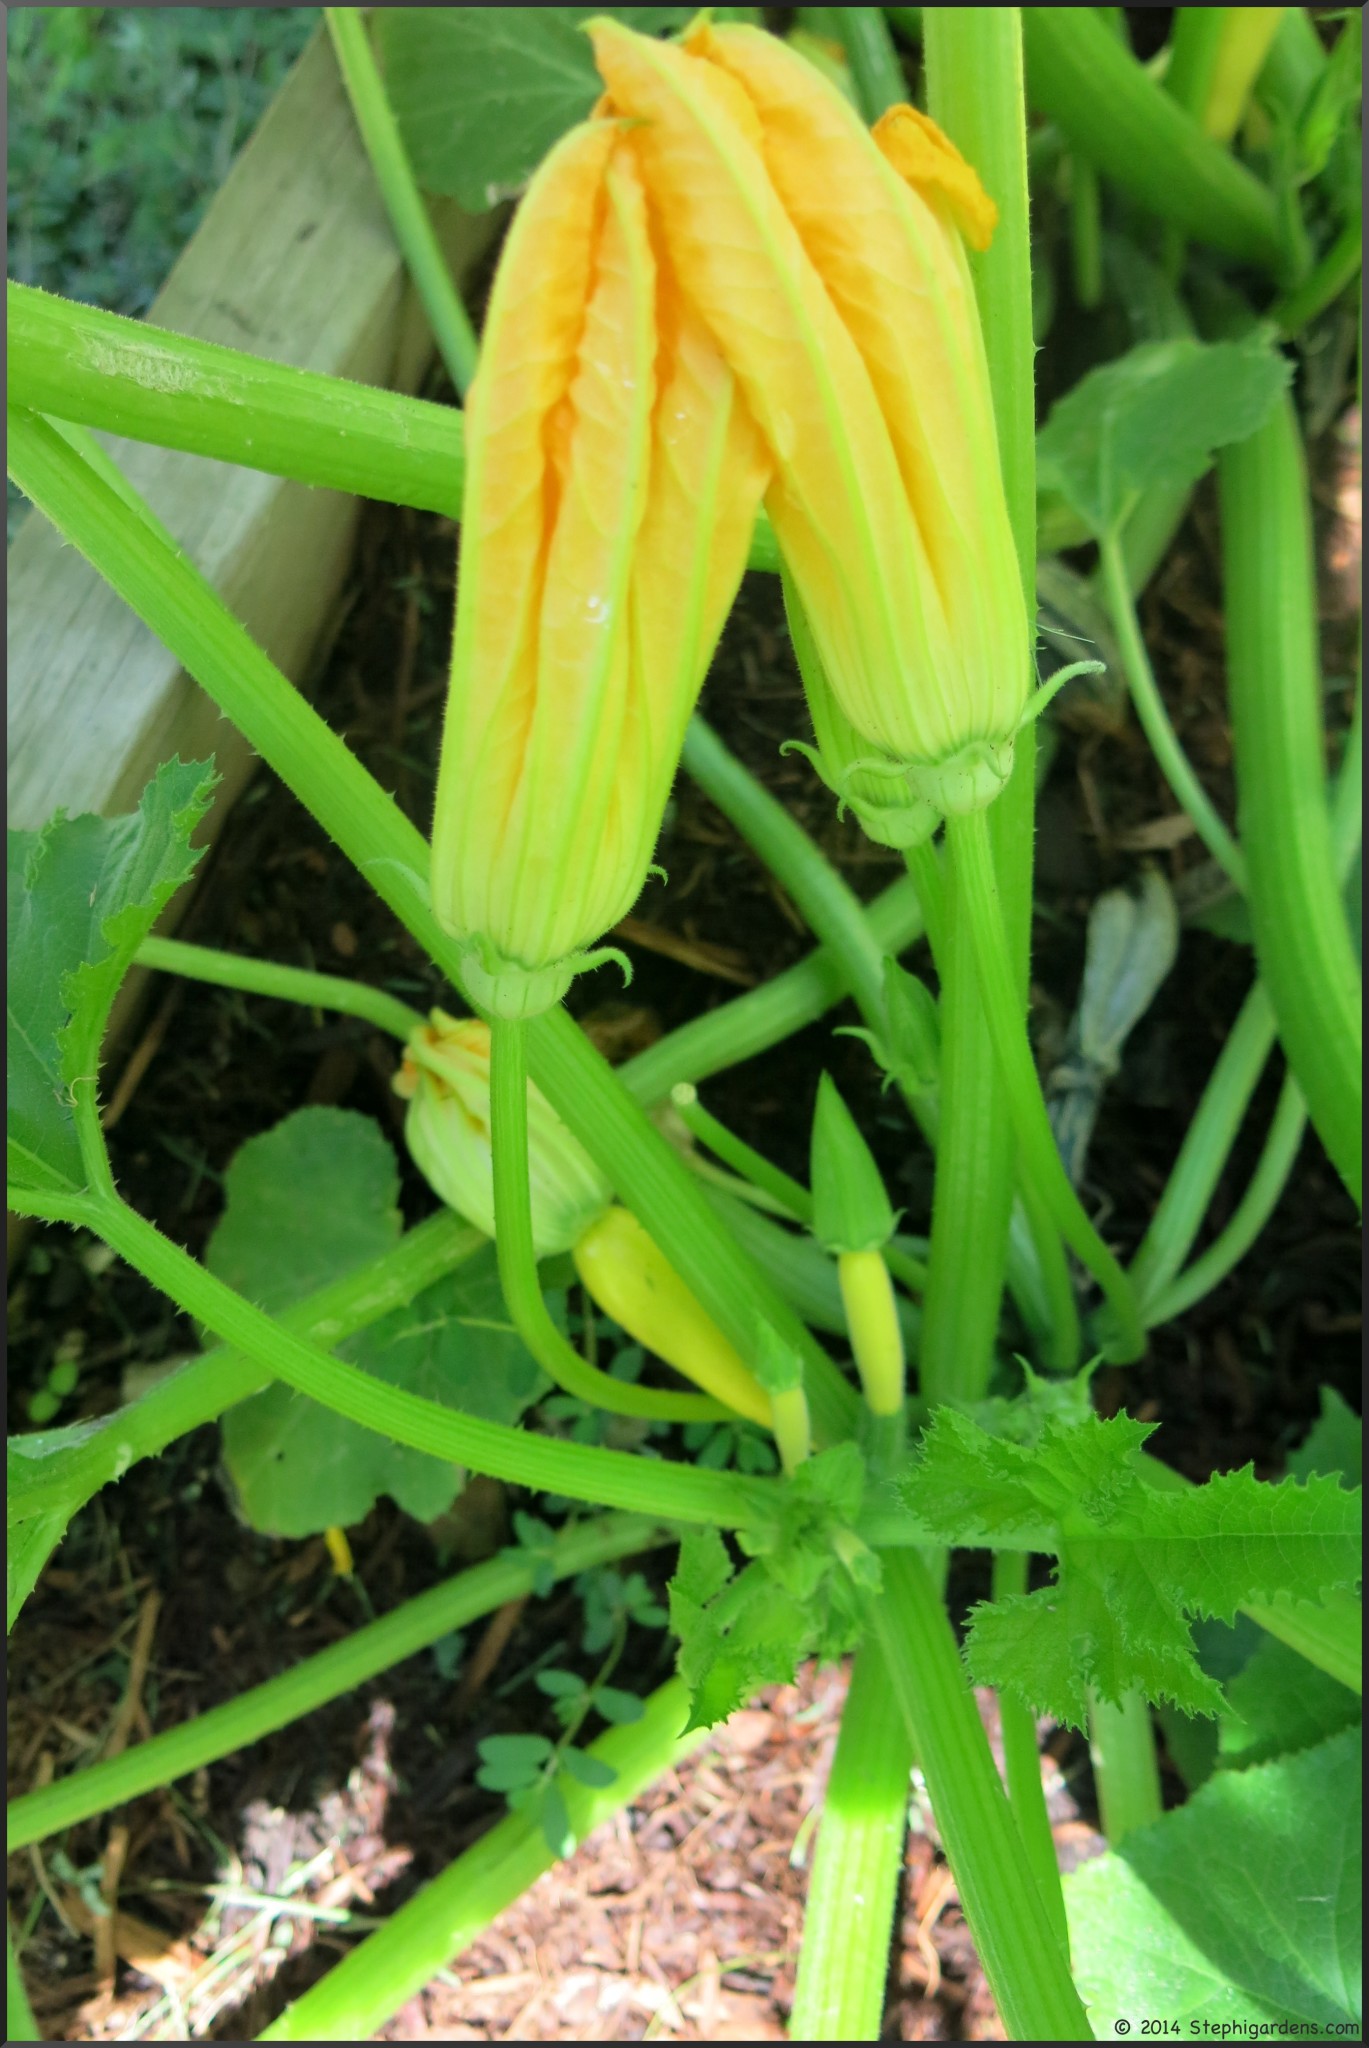
As I wrote back in December, my vegetable garden was not very successful for a bunch of reasons. In Veggies Part 1, I described the attack on my squash by the very devastating squash vine borers. But that was only one of the things that hindered my garden this year.

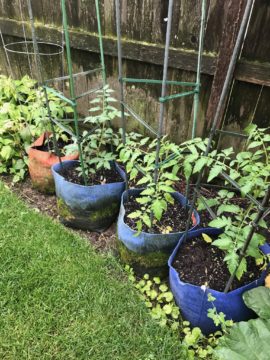
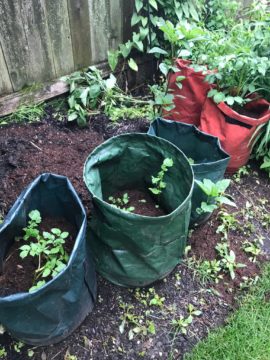
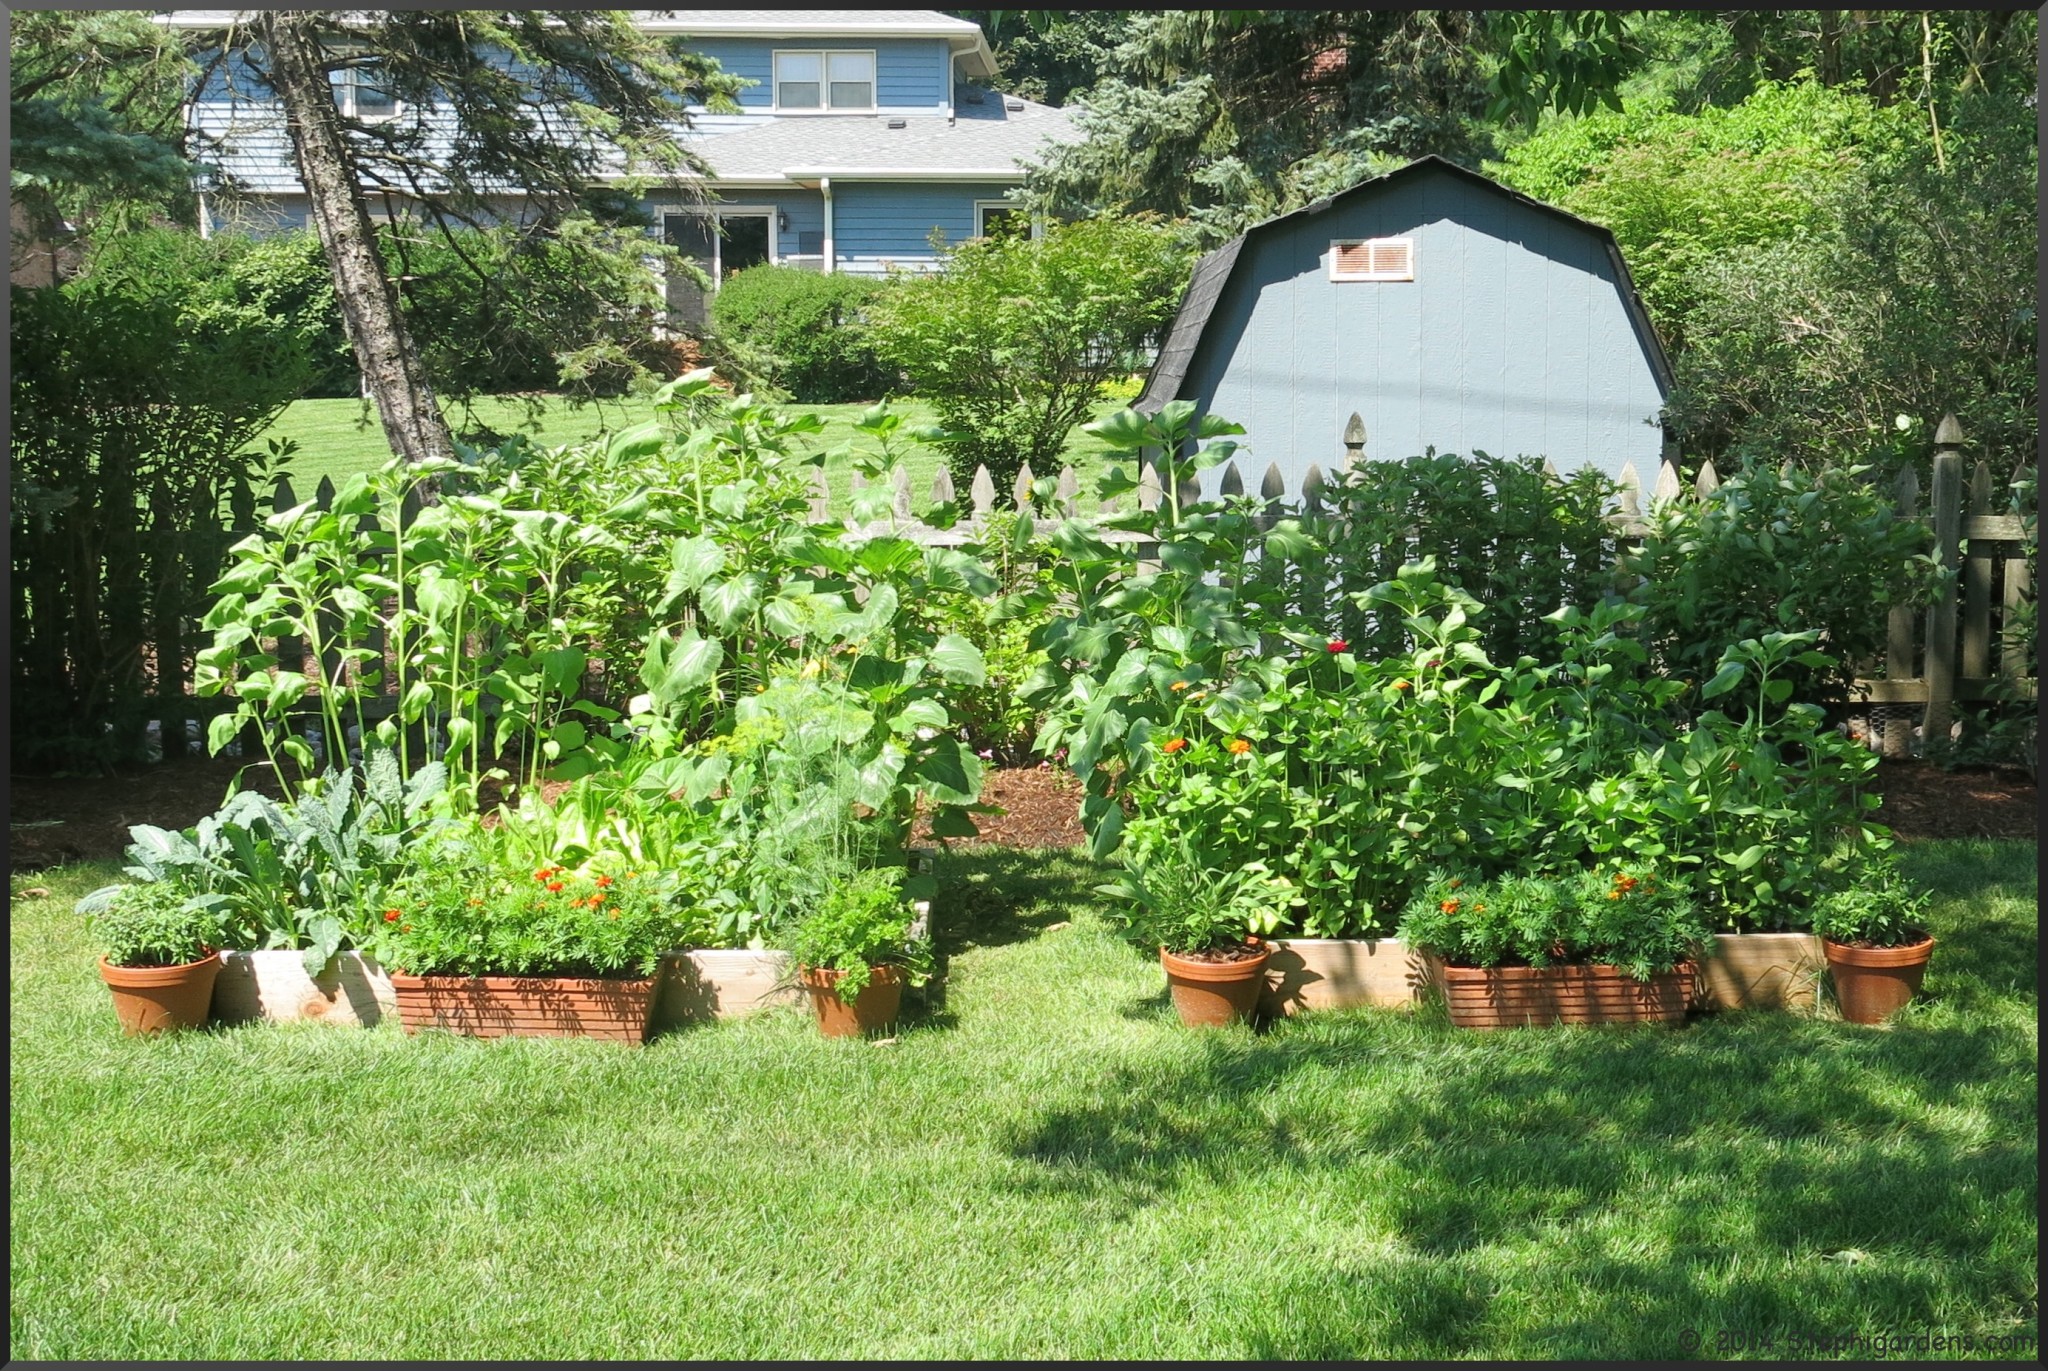
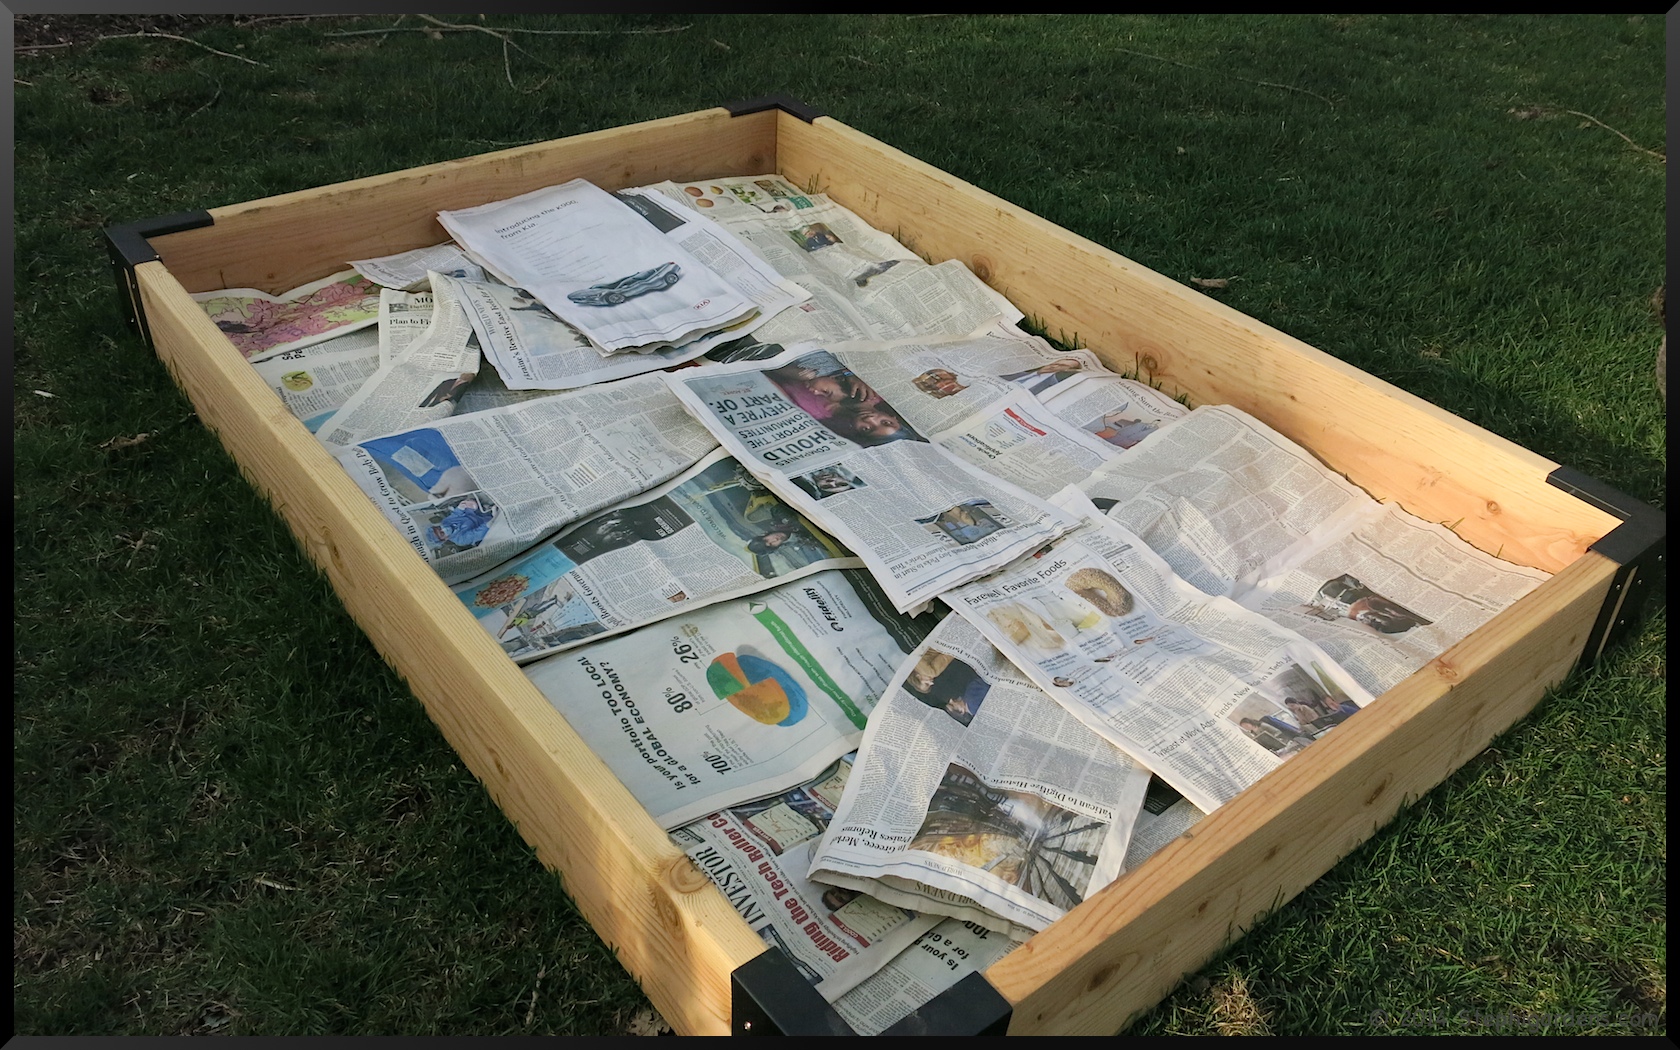
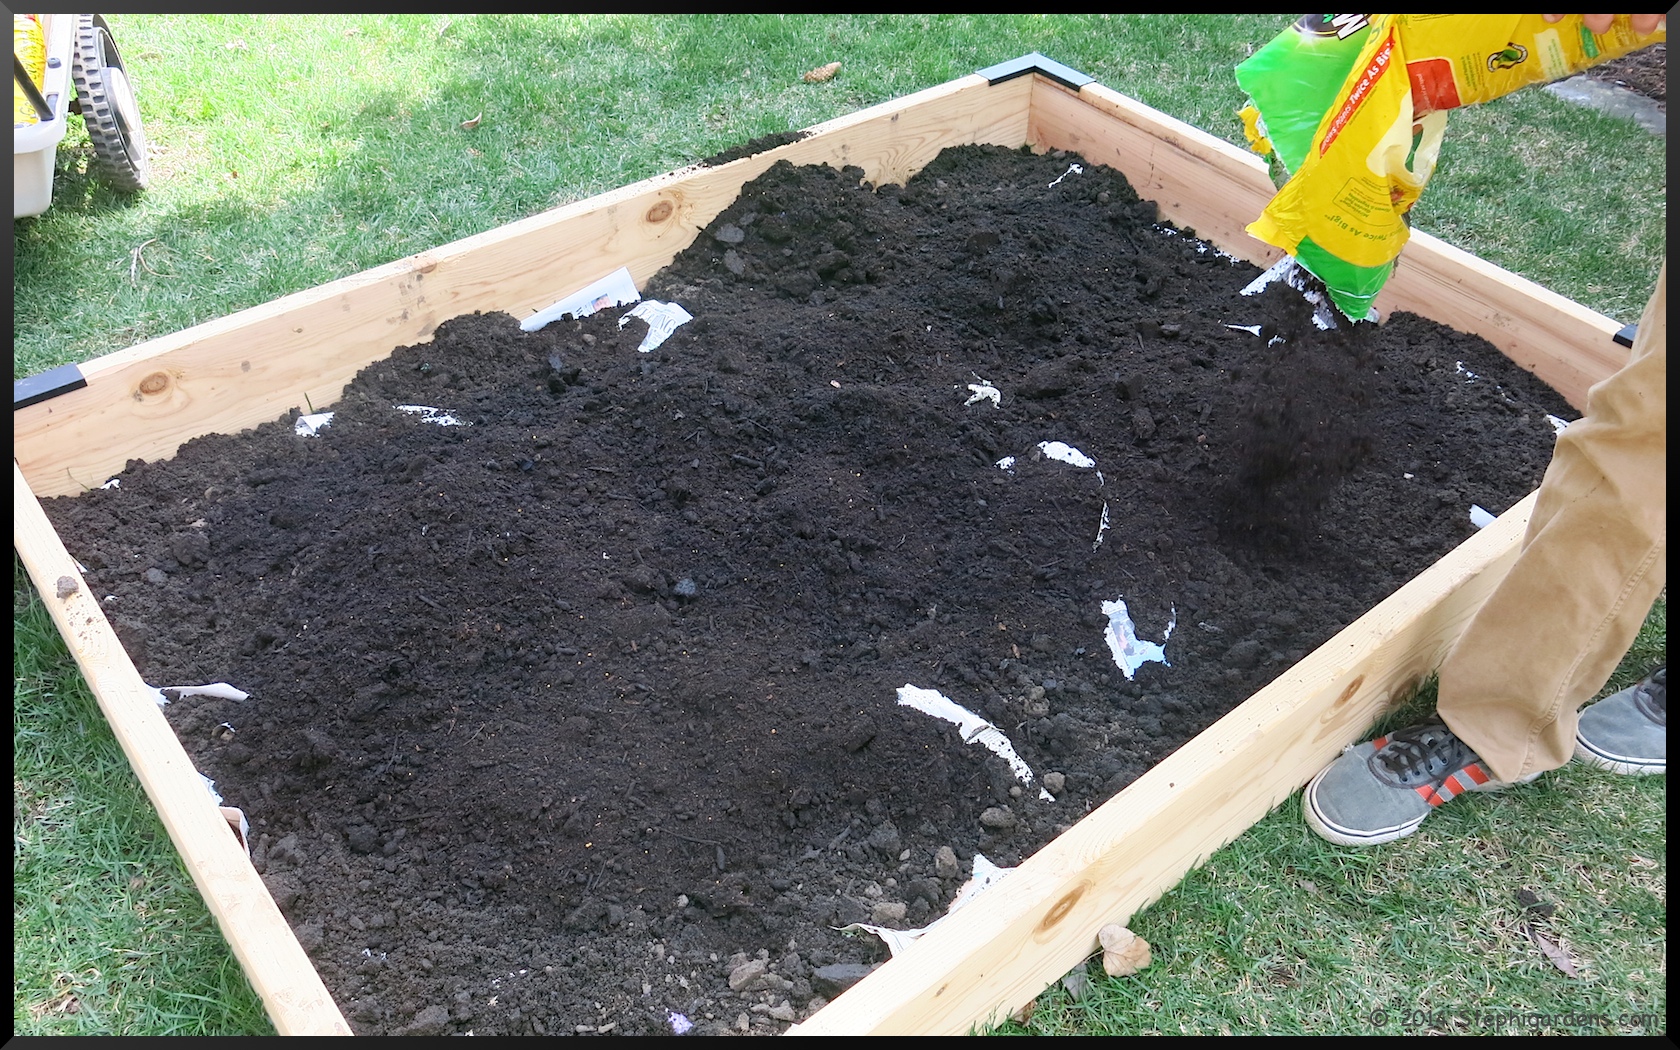
So what else happened? First there were the chipmunks who have a taste for ripe tomatoes. I planted my tomatoes in bags this year to free up space in the main raised bed.

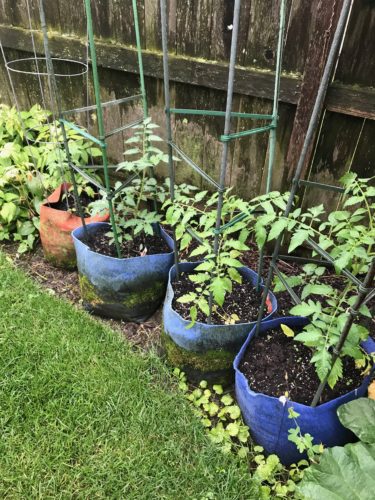
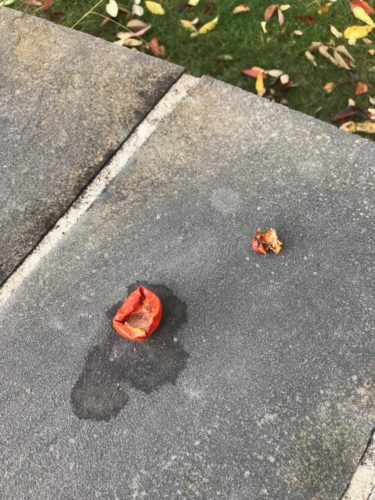
They grew fine in the bags, but the cold spring got them off to a slow start. Just as I finally started to get red, ripe tomatoes, the chipmunks helped themselves and took a nice big bit out of each one. 😡 They did it to so many I actually entertained the idea of just cutting off the bit side and eating the other. Decided not to…

One chipmunk truly had a sinister sense of humor and dragged a ripe tomato across the yard to taunt me by leaving the remnants on the back patio.

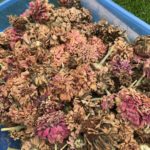
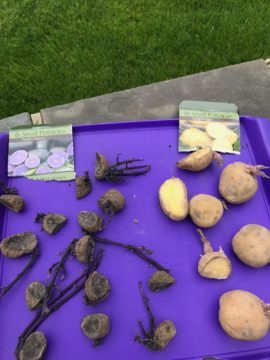
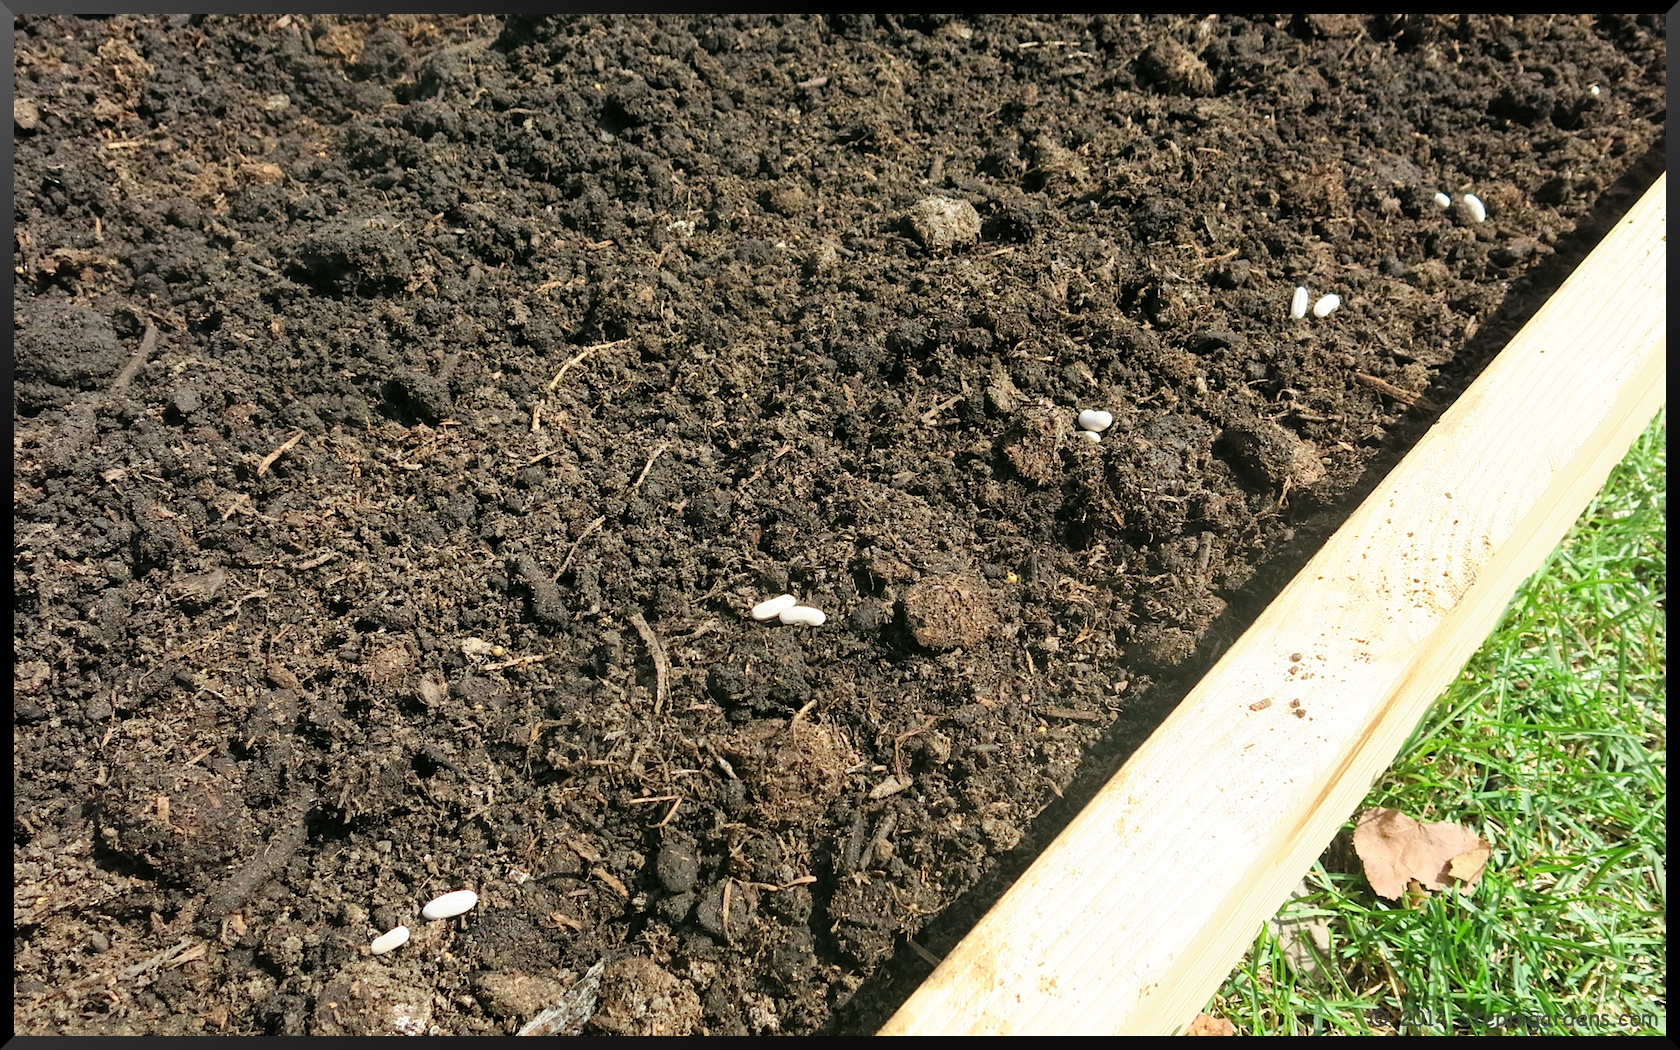
I had trouble with the garlic and leeks this year as well. A lot didn’t come up in the spring and what did grow was small.

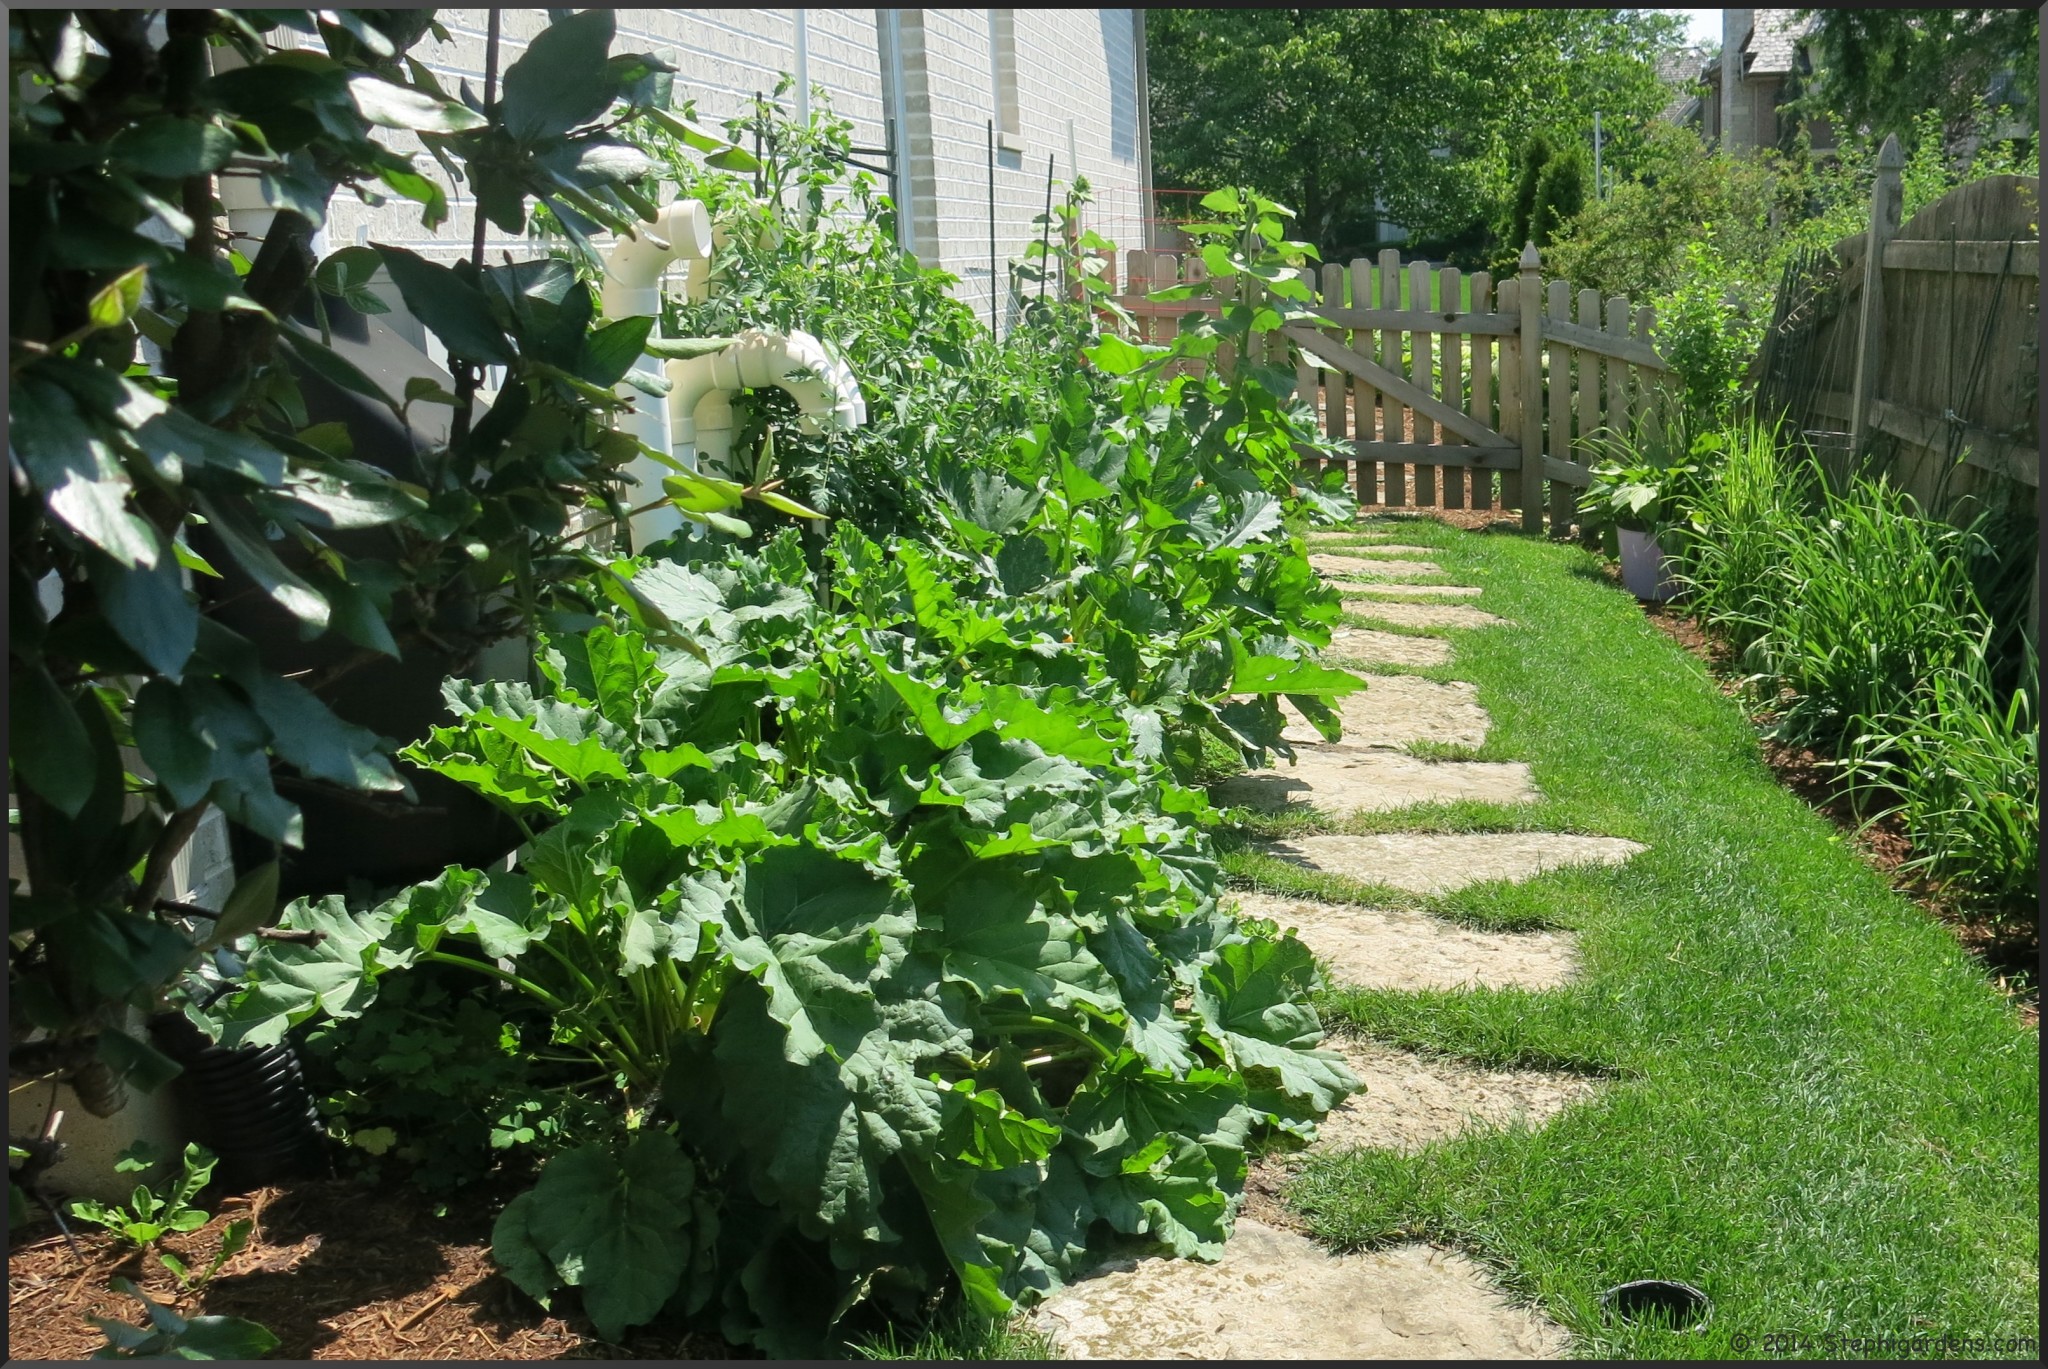
The previous winter and spring were tough, so that may have had an impact. But more importantly, I hadn’t realized how shady that this particular raised garden had become from the thriving ash tree nearby. When I put the gardens in, the ash was suffering pretty badly from an Emerald Ash Borer infestation and was pretty thin. We had been treating it for years, but a few years ago switched to a trunk injection treatment. I’m thrilled the ash is doing so well, but I need to rethink what I plant in that particular bed going forward. Need to leave autopilot and do some planning.

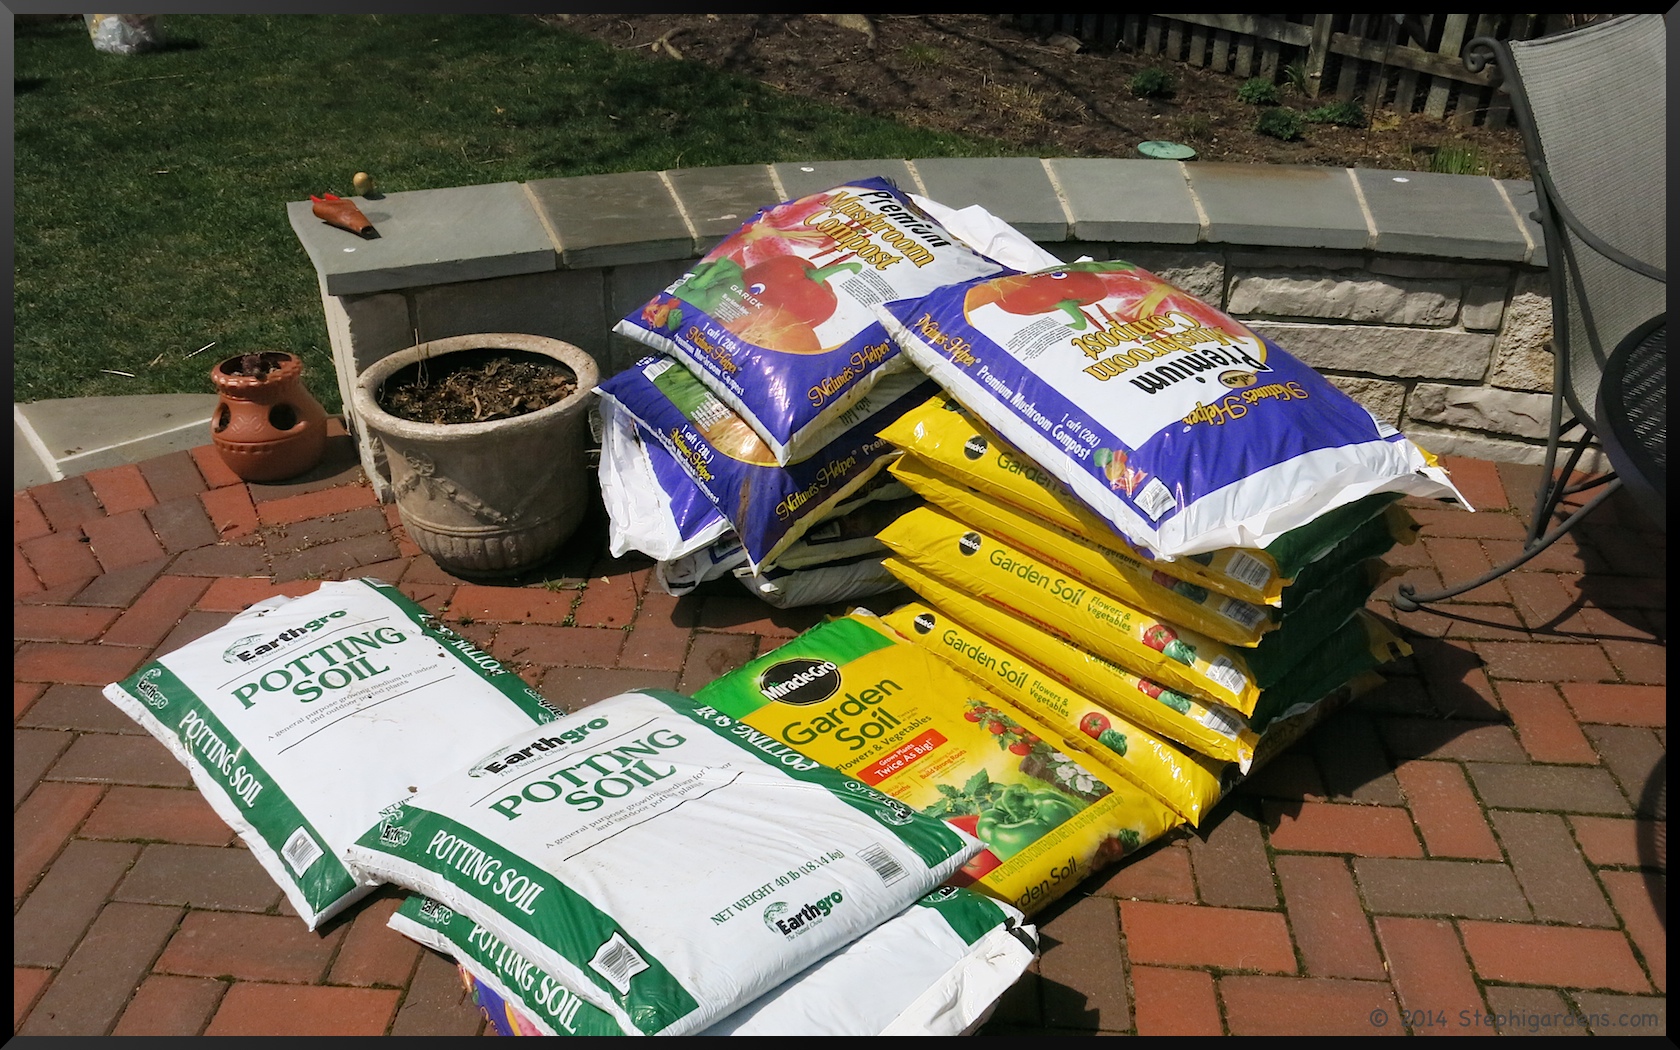
What was successful? Carrots! I had one of my best carrot harvests this year. I switched varieties this year from Danvers to Little Finger Baby Carrots from Botanical Interests, so that may have helped. I also changed out the dirt in the carrot bag so maybe some fresh soil and nutrients was also needed.

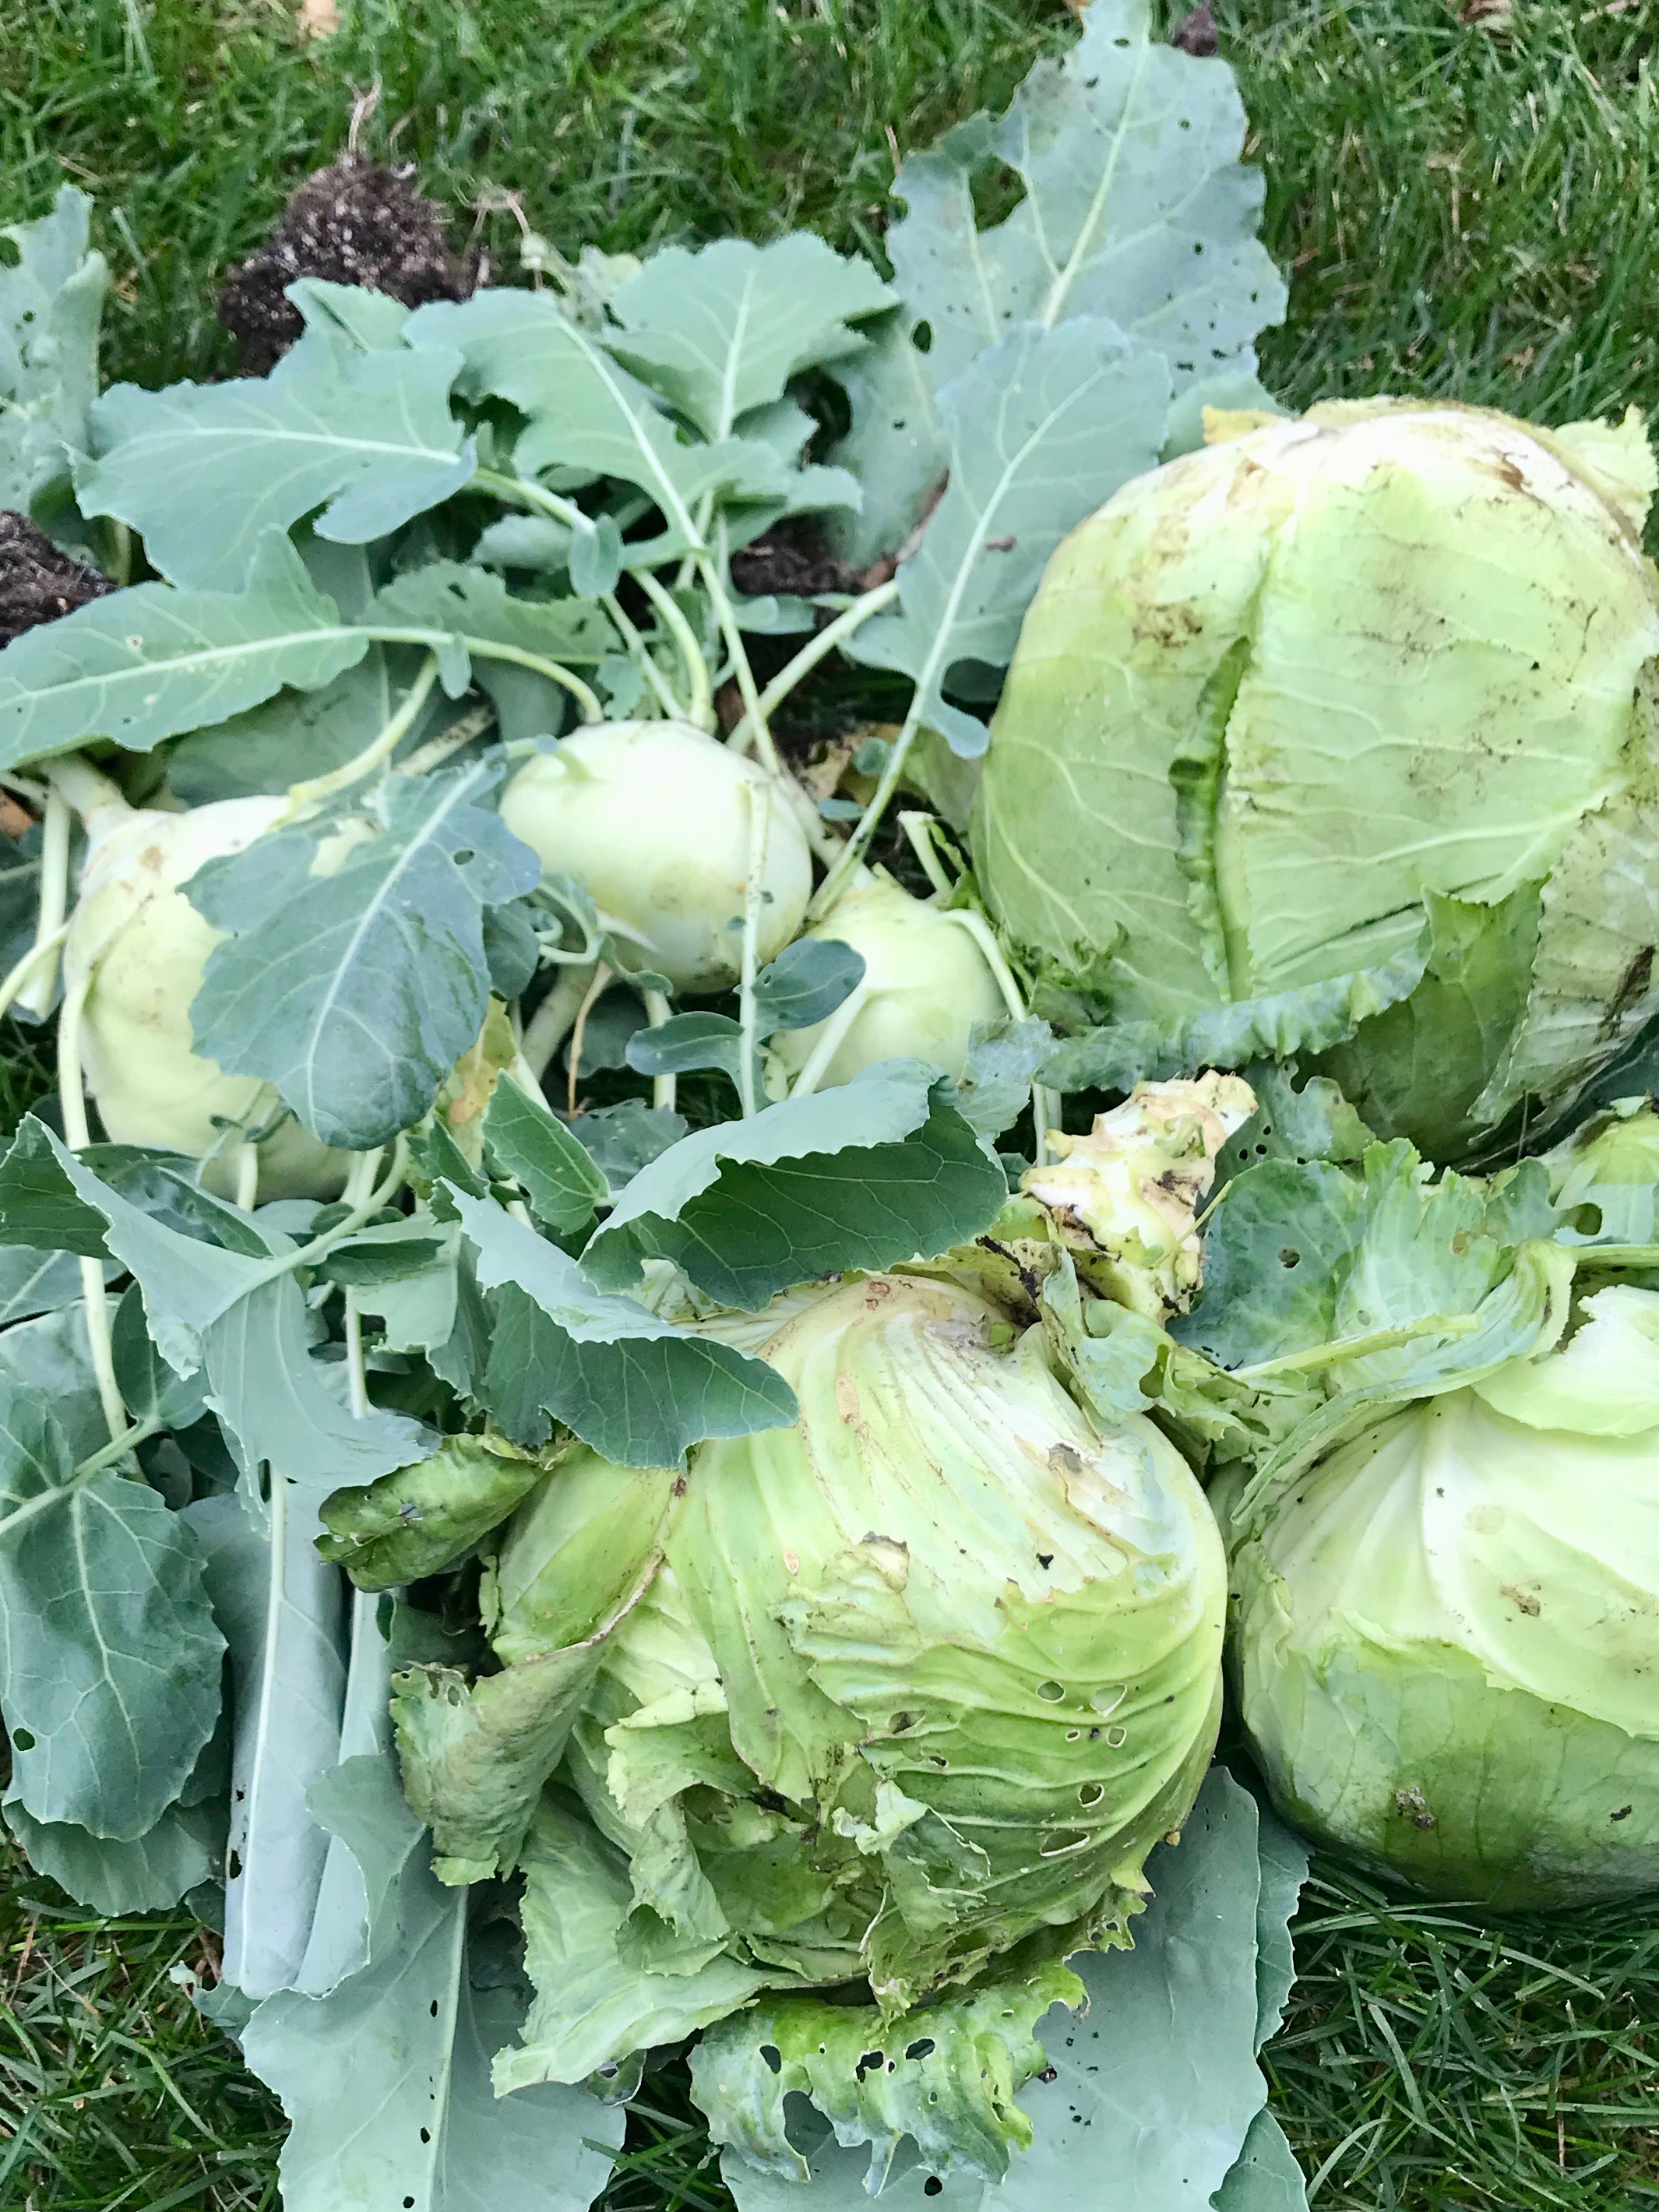
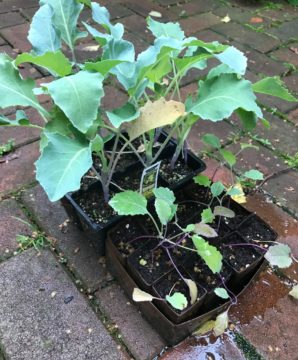
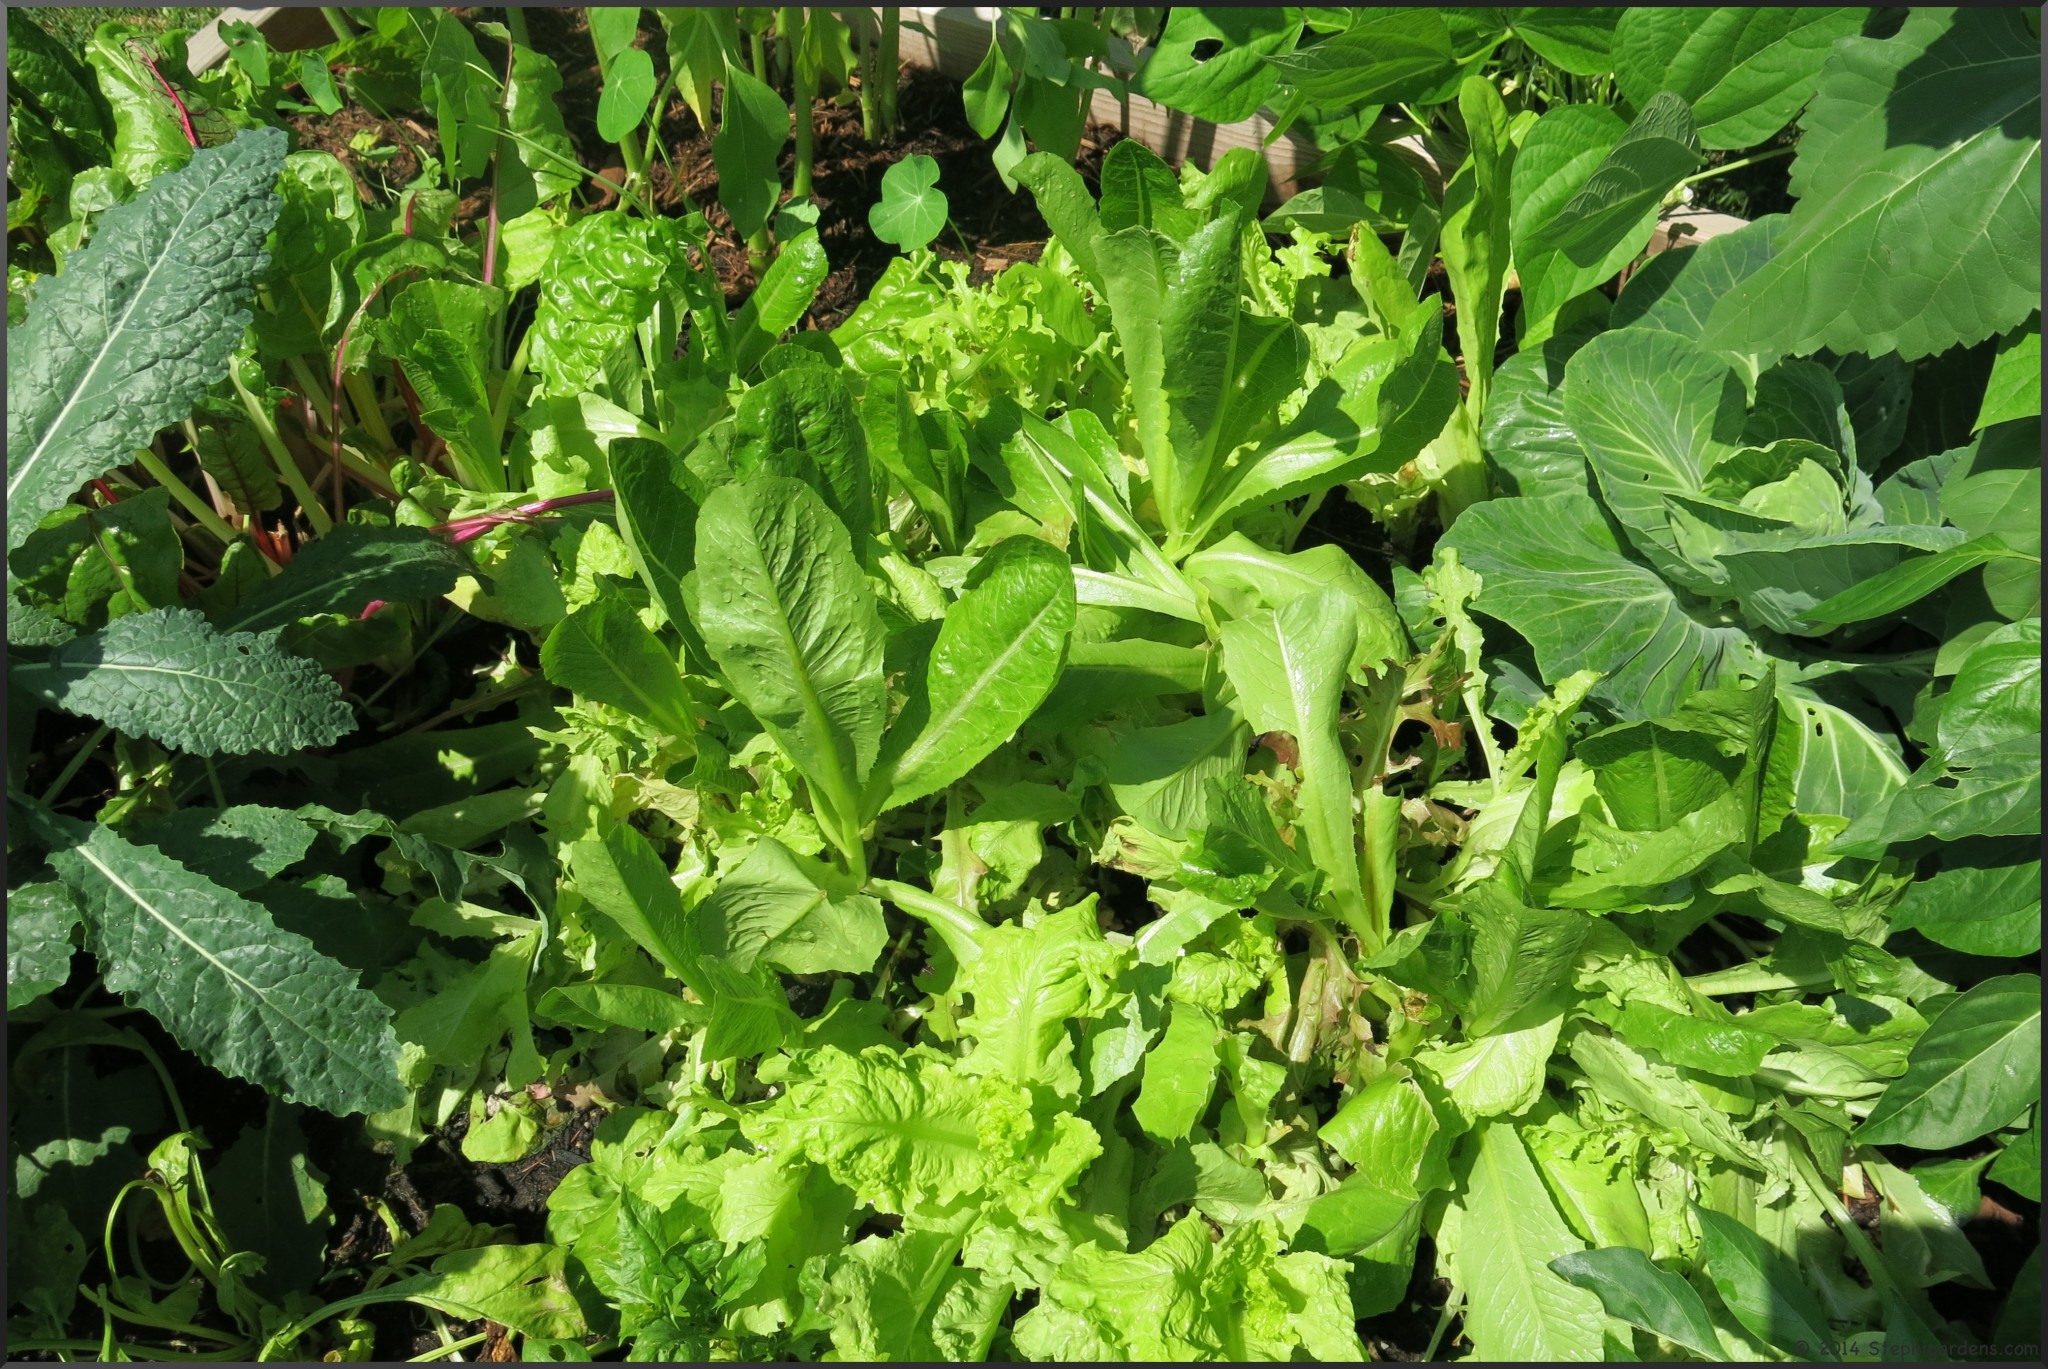
Cabbage and kohlrabi grew unusually well this year. I got the plants from a local nursery and the weather must have been just right for them to grow huge. That was a lot for the two of us, but luckily they store really well.

Rainbow swiss chard (Burpee) was also a great grower late into the fall, especially in the shady raised garden bed.

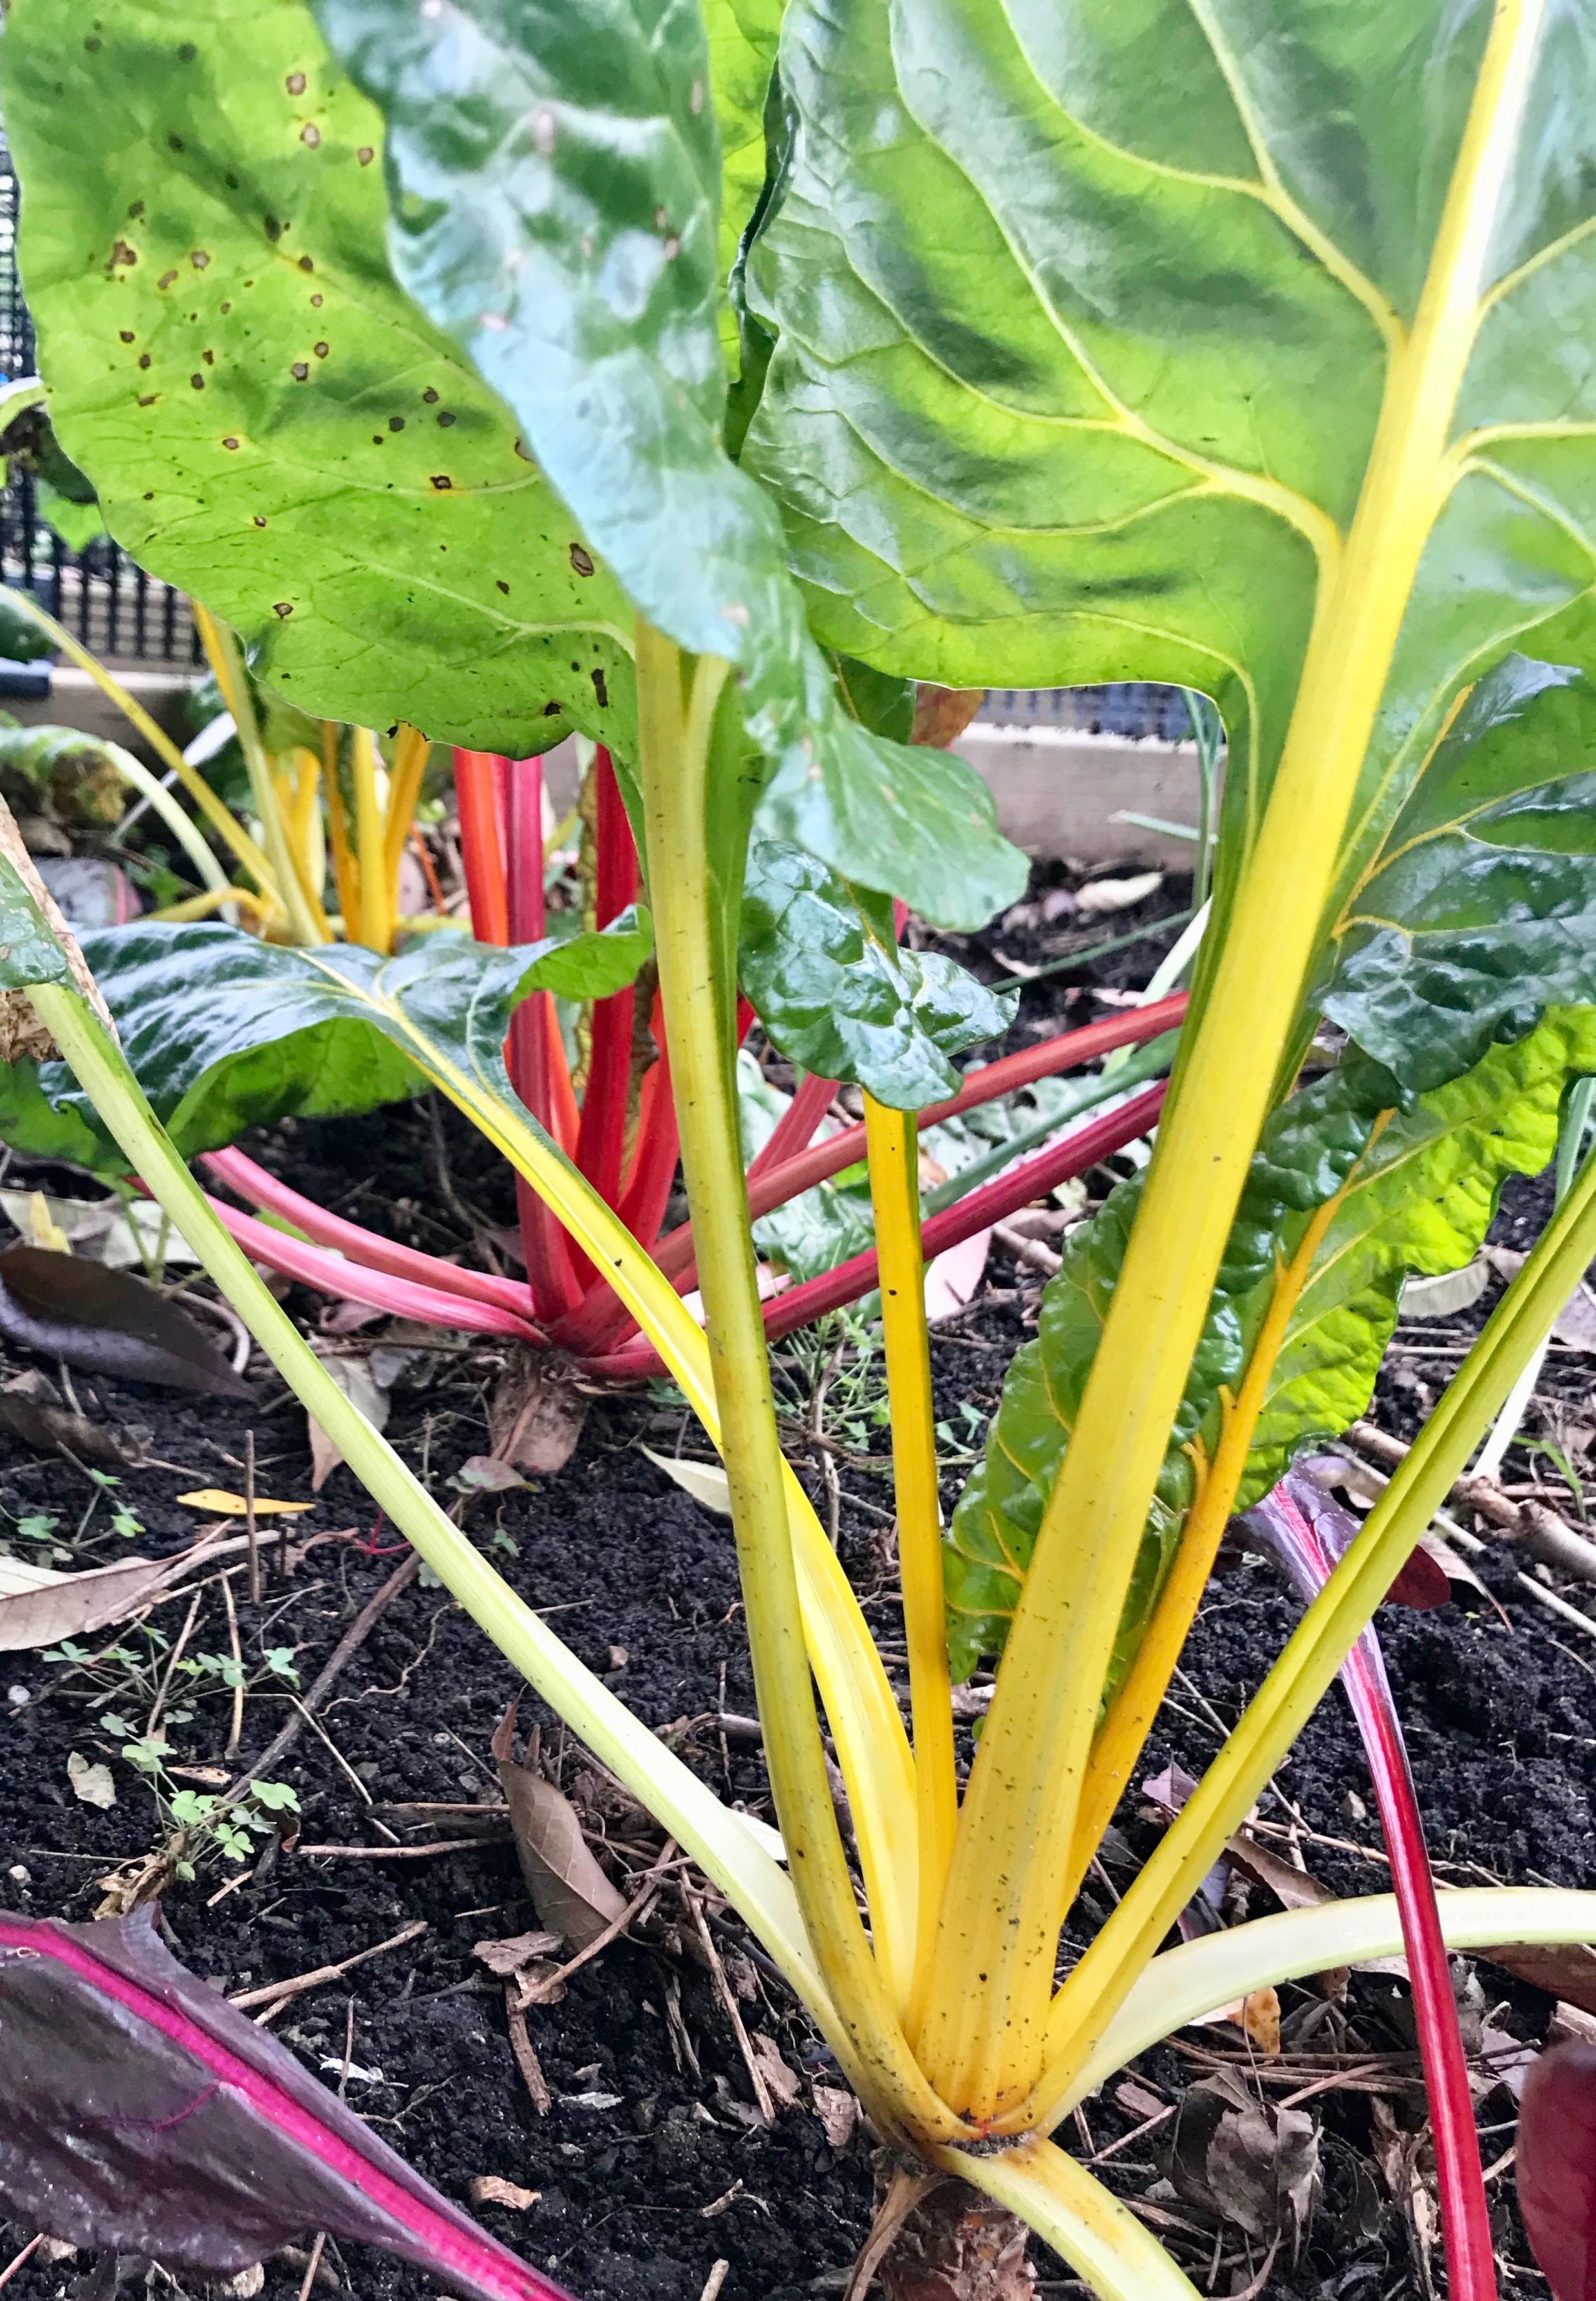
What to do with all that swiss chard? I’ve decided that I am not a huge fan of kale (even though it is probably the vegetable of the decade) so I pretty much use swiss chard in place of kale in recipes. I use a lot of swiss chard in stir fries and love this recipe for Creamy Polenta with Sausage and Chard from Real Simple.

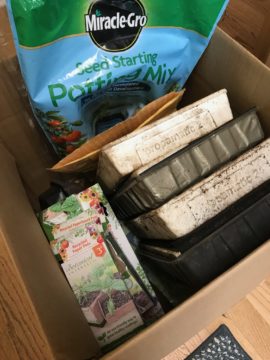
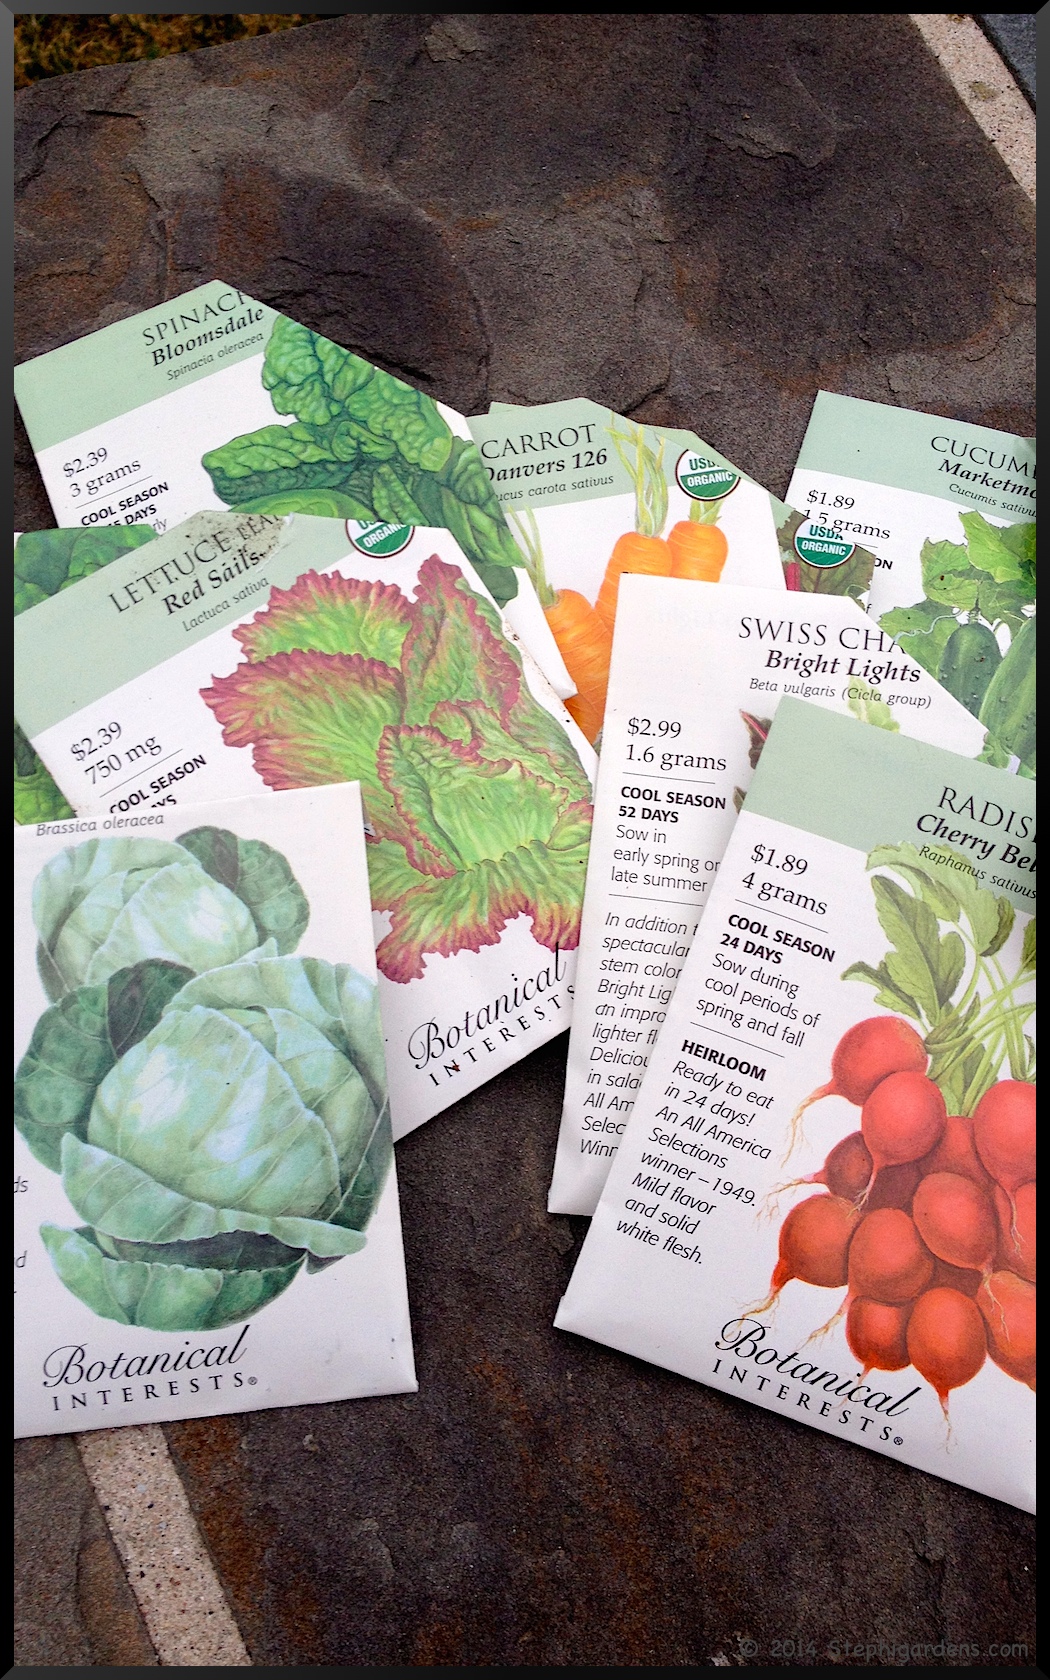
I’ve done some seed shopping for next year already, and have been thinking of a bunch of garden projects to tackle first thing when the weather cooperates! Starting to think that spring might actually come. Just need to get through March.

Spring Into Summer

You may have noticed I took another little break from blogging.  Nothing exciting going on, just got busy with some other projects. But, my garden is in full growing mode after a tough winter and spring. Winter was long, cold and at our place in Door Co, WI, very snowy.  Spring came slow and seemed as though wouldn’t ever arrive.

I was late getting the flowers and vegetables in the ground because of a combination of the ground being too cold, and some poorly timed travel plans.  Really, who plans a vacation right at the peak of planting season?  But, it was fun visiting Seattle and Olympic National Park, and having both college kids home for a visit.

Then finally, spring and summer arrived almost all at once. All the spring blooms seemed to explode at the same time making for a spectacular show.

Back in early April, I started some of my favorite vegetables indoors;

  • English Telegraph Cucumber (Botanical Interests)
  • Sweet Burpless Hybrid Cucumber (Burpee)
  • Emerald Delight Zucchini (Botanical Interests),
  • Gold Hybrid Gourmet Gold (Burpee).
  • I tried growing Kohlrabi, but again they just didn’t grow well for me.  Luckily, my local nursery had plenty!
Mine in the front, nursery grown in the back


Outdoors in late April, I planted my early, cool temperature loving seeds including

More recently, I got the rest of the seeds planted including a second planting of the cool weather plants, and added Danvers and Calliope Carrots (Botanical Interests).  I also bought beautiful

  • Tomato (Sweet Million Cherry, Early Girl and Champion)
  • Sweet Pepper (Yolo Wonder, California Wonder and North Star)
  • Herbs for the “right outside the door” herb pots
  • cabbage and kohlrabi plants

from Vern Goers, a local nursery. I was also gifted a lovely yellow pear tomato plant from my mom. (I’ve switched to growing my non-cherry tomatoes in bags to leave more room in the raised bed for the squash, zucchini, cucumbers and kohlrabi.)

I also got my bed of zinnias sowed, and this year added a bed of marigolds from seeds I collected last fall. Check out my previous post, Cheerful and Bright Zinnias Bed, for an easy how-to.

Last but not least, I got my potato bags going with three different varieties (for more info, visit these past potato posts) and planted lots of Lancelot leeks, shallots, and yellow sweet Spanish onions (Dixondale Farms).

Almost forgot, I got all my flower pots planted too!

So I think I’m all caught up for now, but lots more to write about! Hope you’ve had a good spring and your gardens are growing beautifully!

SaveSave

SaveSave

SaveSave

SaveSave

SaveSave

Before Vacation

It’s always tough to go leave the garden and go on vacation.  It seems like something (or everything) is ready to just burst out in color or ripen just in time to go away. Or the weather can you throw you a curve ball and get crazy hot/cold or dry/wet. Very unpredictable. I assumed this year was no different, so right before we left I had my daughter Emily take some pictures to do a little before and after.

Some of the flowers were already in full bloom and likely will be past peak before we get back…

asian lily


yarrow


Bee balm


daylilies

Some were ready to bloom and I can only hope I don’t miss the show…

Stephi Gardens


Stephi Gardens


marigolds


Jackmanii clematus

The vegetables were flourishing.  The cooler weather vegetables were starting to show signs of stress and looking ready to bolt, but still fine to harvest for a little while longer.  Peppers, squash and beans were almost ready, so my friend who is helping with dog sitting and plant watering should get some treats.  I’d hate for them to go to waste and there’ll be plenty more.  Tomatoes are growing like gang-busters, but not expecting any ripe ones quite yet.

Stephi Gardens


lettuce


summer squash


Stephi Gardens

Vacations are always a little tricky to be sure everything stays healthy in the garden.  Right before we left for almost 2 weeks, I gave everything a watering with Miracle-Gro fertilizer and dead-headed everything that would benefit from it.  I set the sprinkler to try and optimize waterings, and had a friend also check on things and keep the pots watered.  I also tried to be sure the plants that needed staking were supported so things wouldn’t be too out of hand when I got back.

How do your gardens fare when you go on vacation?

My New Raised Beds-Soil

Raised vegetable bed

As I wrote in yesterday’s post (My New Raised Beds-Construction), our new raised beds were finished.  Next up, filling them with the right mix of soil and compost.  First though, we had to get the grass out and the existing soil turned over.  I know our grass has quite a bit of thatch, so it would be a pretty thick barrier to the vegetable roots.  After breaking it up pretty well, we covered it with newspaper to kill off whatever grass was still alive.  No need to remove the paper before filling with dirt, it will just decompose.

Raised vegetable bed


Raised vegetable bed

The one downside of turning over the sod is the possibility of wire worms.  Wire worms are the larvae of click beetles and they live in the soil near the roots of grass.  Once disturbed by the digging, they make their way up to the new crops and wreak their havoc.  I’m going to assume this is not going to happen…

For my current raised bed, I used a mixture of top soil, mushroom compost and potting soil in a 6:3:1 ratio.  I had great success with that, so I’ll use the same mixture in the new beds.  I calculated that I needed 32 cf total for both beds.  As I was buying the bags of dirt and compost, that seemed like a lot, so I cut that back.  I still ended up with a couple of bags too many.  As the dirt settles, I’ll need to add some, so I just put it away until I need it.  I ended up buying 15 cf of topsoil (actually Home Depot had the Miracle Gro Garden Soil on sale so I bought mostly that), 8 cf of mushroom compost and 3 cf of potting mix.

Raised vegetable bed

I cajoled my teen-aged sons into being part of the garden project, and they dumped all that soil and compost into the beds for me. My back sincerely thanks them (My husband was at work, so not around to help either. He did help with the construction part, making this a true family project). I alternated what was put in and spread it around as they were dumping it in.  This makes for a really healthy, light soil mixture that will be perfect for vegetables.

Raised vegetable bed

All finished and ready to plant. I’ve never had so much vegetable garden space, so I’m really excited to have the space to spread out the plants like they should be, as well as try some new things.

Raised vegetable bed

I’m optimistic that freezing temperatures are behind us, and planted the second round of lettuce, beets, swiss chard, spinach, radish.  I also started some sunflowers and bush beans.

Raised vegetable bed

I just checked the other seeds I planted a couple of weeks ago, and they are just starting to sprout.  We’ve had some pretty cold temperatures so it took a little longer than I would have thought.

Did you build any new gardens or see any seedling yet?

Starting My Seeds Indoors

This weekend I finally had time to get my seeds and seed starting materials out to get them started indoors.  I usually try and plant vegetables like cucumbers and summer squash that I have trouble finding in stores,  but I buy my tomatoes and pepper plants from a local nursery who has a great selection.

Seed starting trays

I hauled out all the seed starter kits I had (see Starting Seeds Indoors), plus I bought some new trays to expand what I can grow.  I also bought a great new mini greenhouse to set all the trays on and set it up on the porch.  I’m hoping this will work better then the tray tables in front of a bedroom window!

mini greenhouse

mini greenhouse

I first started with my APS-24 systems (see Starting Seeds Indoors for more thorough instructions)  I like this size for starting vegetables and larger flowers.  Be sure to thoroughly wet the capillary mat and pre-moisten the sterile germinating mix used to fill the holes.

IMG_2901
IMG_2902
APS Seed Starter Tray

Then add the seeds according to directions as to how many per grouping and how deep (you’ll thin them later).  Be sure to label them so you know what you’ve planted!

APS Seed Starter Tray

Since I have my new shelf and have space for more trays, I added to my collection of seed starting trays.  I bought a couple of different kinds to try, a 72 cell Ultimate Growing System from Burpee to replace my missing APS one, and some smaller Jiffy 12 cell kits.

Burpee seed tray

Jiffy seed starters

Both of these use soil pellets that you add water to and they expand.   Like the instructions say, warm water does work better.  After setting up all three kinds of soil cells, I think I prefer the old fashioned germinating mix that I pack myself.  I found the pellets a bit difficult to get to rise evenly and needed to still fluff the mix in the Burpee kit.

Burpee Seed Starter kit

I’ll see what I think after everything gets going as to which system I prefer for ease of use, and which holds up better for use year after year.  For anyone who noticed the chunk missing from the styrofoam APS system, that was my fault.  I’m not sure why I decided it what a good idea to pick up the full tray with one hand to move it.  That missing piece would be where my thumb was.  Otherwise, I’ve had these for years without any problems.  Best to move all these trays with two hands!

Most of the germination instructions say plant inside 4-6 weeks prior to the last frost date.  I’m about 3 weeks prior, although I usually wait a couple more weeks until mid-May before putting them in the ground.  They should be fine starting this week. Here’s what I planted:

24 cell size:
Cucumber, Marketmore Organic (Botanical Interests)
Summer Squash, Baby Round (Botanical Interests)
Summer Squash, Cubes of Butter (Botanical Interests)
Summer Squash, Patty Pan Scallop Blend (Botanical Interests)
Zucchini, Burpee Hybrid (Burpee)
Marigold, Boy O’ Boy (Burpee)

72 cell size:
Cosmos, Sonata Mix (Burpee)
Marigold, French Favorite (Botanical Interests)

Jiffy pop-ups:
Zinnia Cut and Come Again (Botanical Interests)
Zinnia Fireball Blend (Botanical Interests)

Here’s the finished project.  All ready for the sun to shine on it and get everything growing.
mini greenhouse

Garden Season has Officially Begun!

After quite the long winter, I finally have been able to get out in the garden and get started for the season. Woohoo!! Because it’s a little later than usual, we skipped over the garden clean-up temporarily and worked on preparing the vegetable garden, building 2 new raised beds and seed-starting. Normally, with the last frost date being the end of April, I would have liked to get all this started a couple of weeks ago. But, with the weather as awful as it was, and spring break thrown in, this weekend was better than never.

First off, I prepared the current vegetable bed by adding compost to refresh things a bit. I always seem to have trouble finding it early in the spring (and haven’t started making my own yet), so I bought it last fall and left the bags there for spring. Nice to not have to go searching for it this weekend!

Raised Bed Gardening


Raised Bed Gardening

Once I got the compost worked into the soil, the garden was ready to add the cold weather seeds. Hopefully, it’s not too late. Looking at the long range forecast, I think I’m fine.

Raised Bed Gardening

Today I planted rows of:
Beets (Gourmet Blend Organic)
Carrots (Danvers Organic)
Cabbage (Copenhagen)
Lettuce (Tom Thumb Butterhead)
Lettuce (Red Sails Leafy Organic)
Radish (Cherry Belle Organic)
Spinach (Bloomingdale Organic)
Swiss Chard (Bright Lights)

These seeds were all from Botanical Interests.  In another week-10 days, I’ll plant a second row of seeds to try and get 2 harvests before the summer heat hits us.

Botanical Interests Seeds

All seed packets give specific instructions as to how and when to to plant the seeds.  Most are planted either 1/4 inch or 1/2 inch deep.  The 1/4 inch deep seeds I usually spread according to instructions, then just lightly cover with some dirt sprinkled from my hand.  You want just a very light cover of dirt.  The seeds planted 1/2 inch deep,  I’ll push in about fingertip deep and cover.  Then water gently.

Later this week, I’ll share the rest of the weekend’s projects!

I had a nice surprise when I went over to the side of the house to start the vegetable garden.  My rhubarb was already up and looks beautiful. Both plants have returned, so now I have a 2 yr old and 3 yr old plant that can both be fully harvested.  I think I will have plenty to share, so my friends are going to love me!

Rhubarb


Rhubarb

Did you get out in your garden this weekend?