Happy New Year!
Its always fun the end of the years to see what was the most interesting posts to my readers. Sometime it’s posts from previous years, sometimes this year. Here’s the top 10 most viewed posts in 2018:
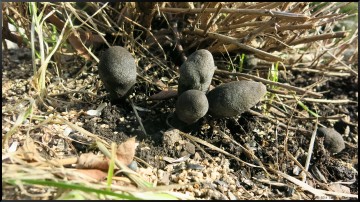

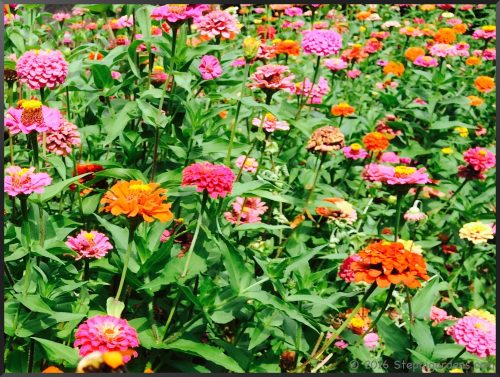

Casual Gardening and Living in the Suburbs

Happy New Year!
Its always fun the end of the years to see what was the most interesting posts to my readers. Sometime it’s posts from previous years, sometimes this year. Here’s the top 10 most viewed posts in 2018:
Earlier this week, I wrote about planting potatoes in both in bags and potato hills (Growing Potatoes Part 1: Preparation and Planting). That was the work part, watching them grow and harvesting was the easy part.
Two important things to remember as the summer wore on. Keep them watered (!) and keep adding soil periodically until the bags are full. They do get a bit messy, so I’m glad I had them in an out-of-the-way spot in the yard.
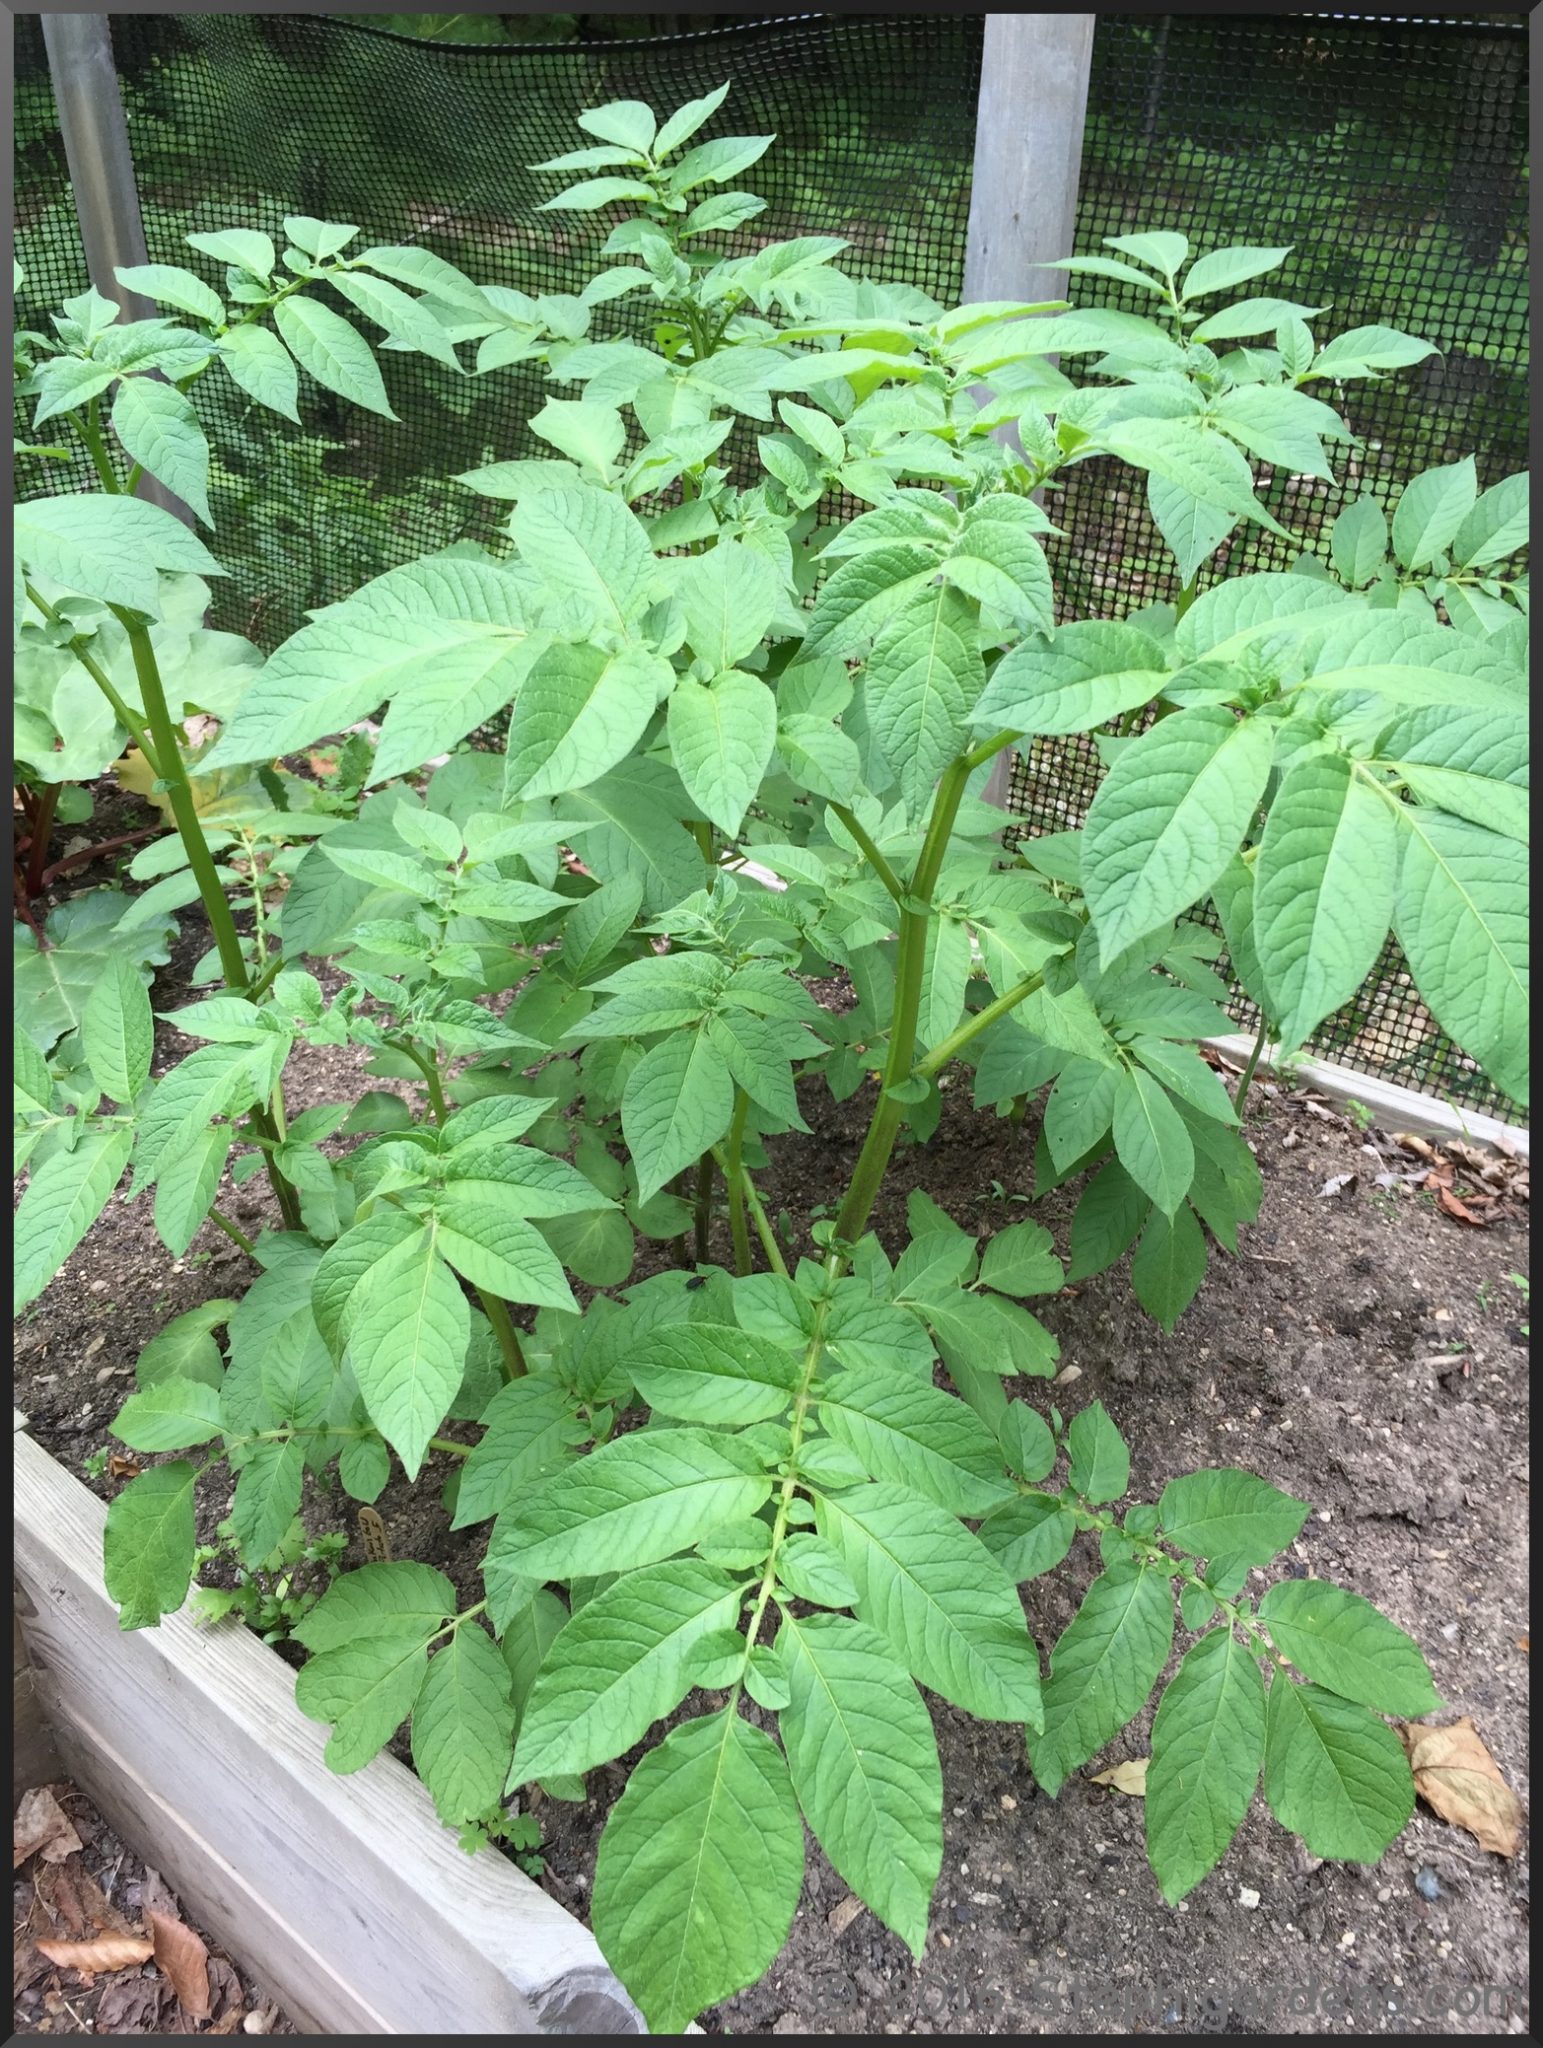
Nice healthy plants…
Hmm, mid-July and probably need a little more water….
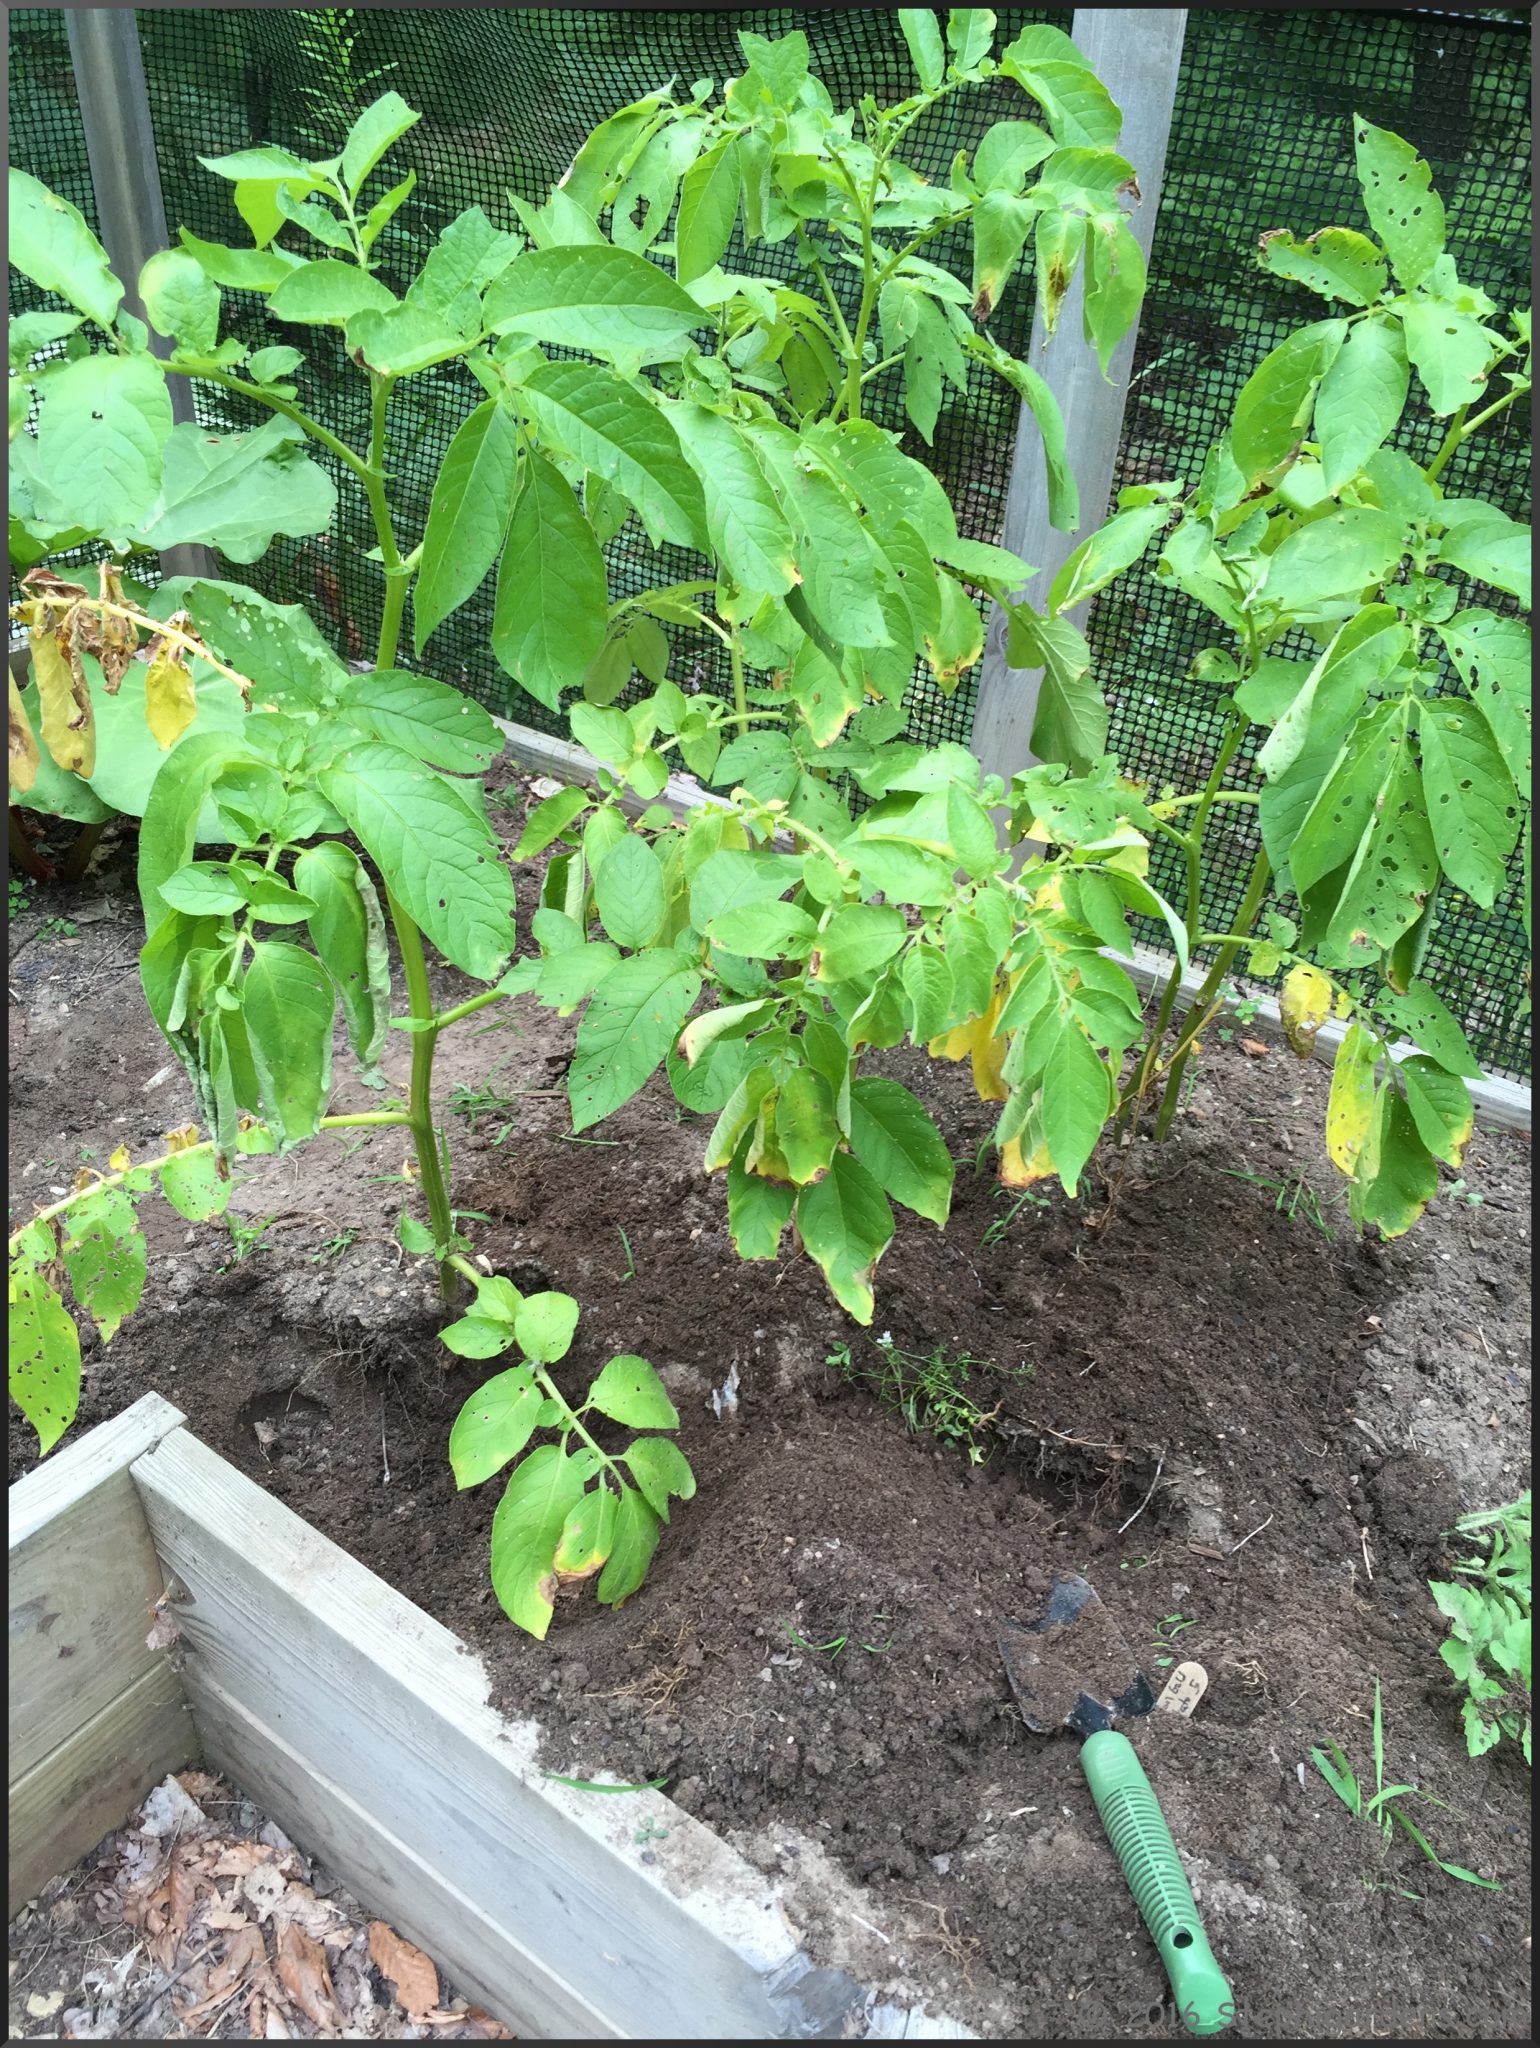
Very uneven watering…Mid-August and the different bags all performed fine, but I didn’t pay enough attention to them. Bags in general need more watering than ground gardening, and potatoes take a lot of water.

Two of the bags, the Geopot Geo-potato bag and polyethylene Gardman bags had velcro openings so that you could harvest baby potatoes out of the bottom while the plants are still growing. Maybe I waited too long so the bags were completely full of dirt, but I found that I mostly just spilled a lot of dirt and didn’t get that many potatoes. After trying once, I decided to just let the potatoes grow. Anyone have better luck with early harvests?
Potatoes are ready to harvest in early fall when the leaves start yellowing and the stems wilting. At this point, stop watering and wait a week or two. Then it’s harvest time!
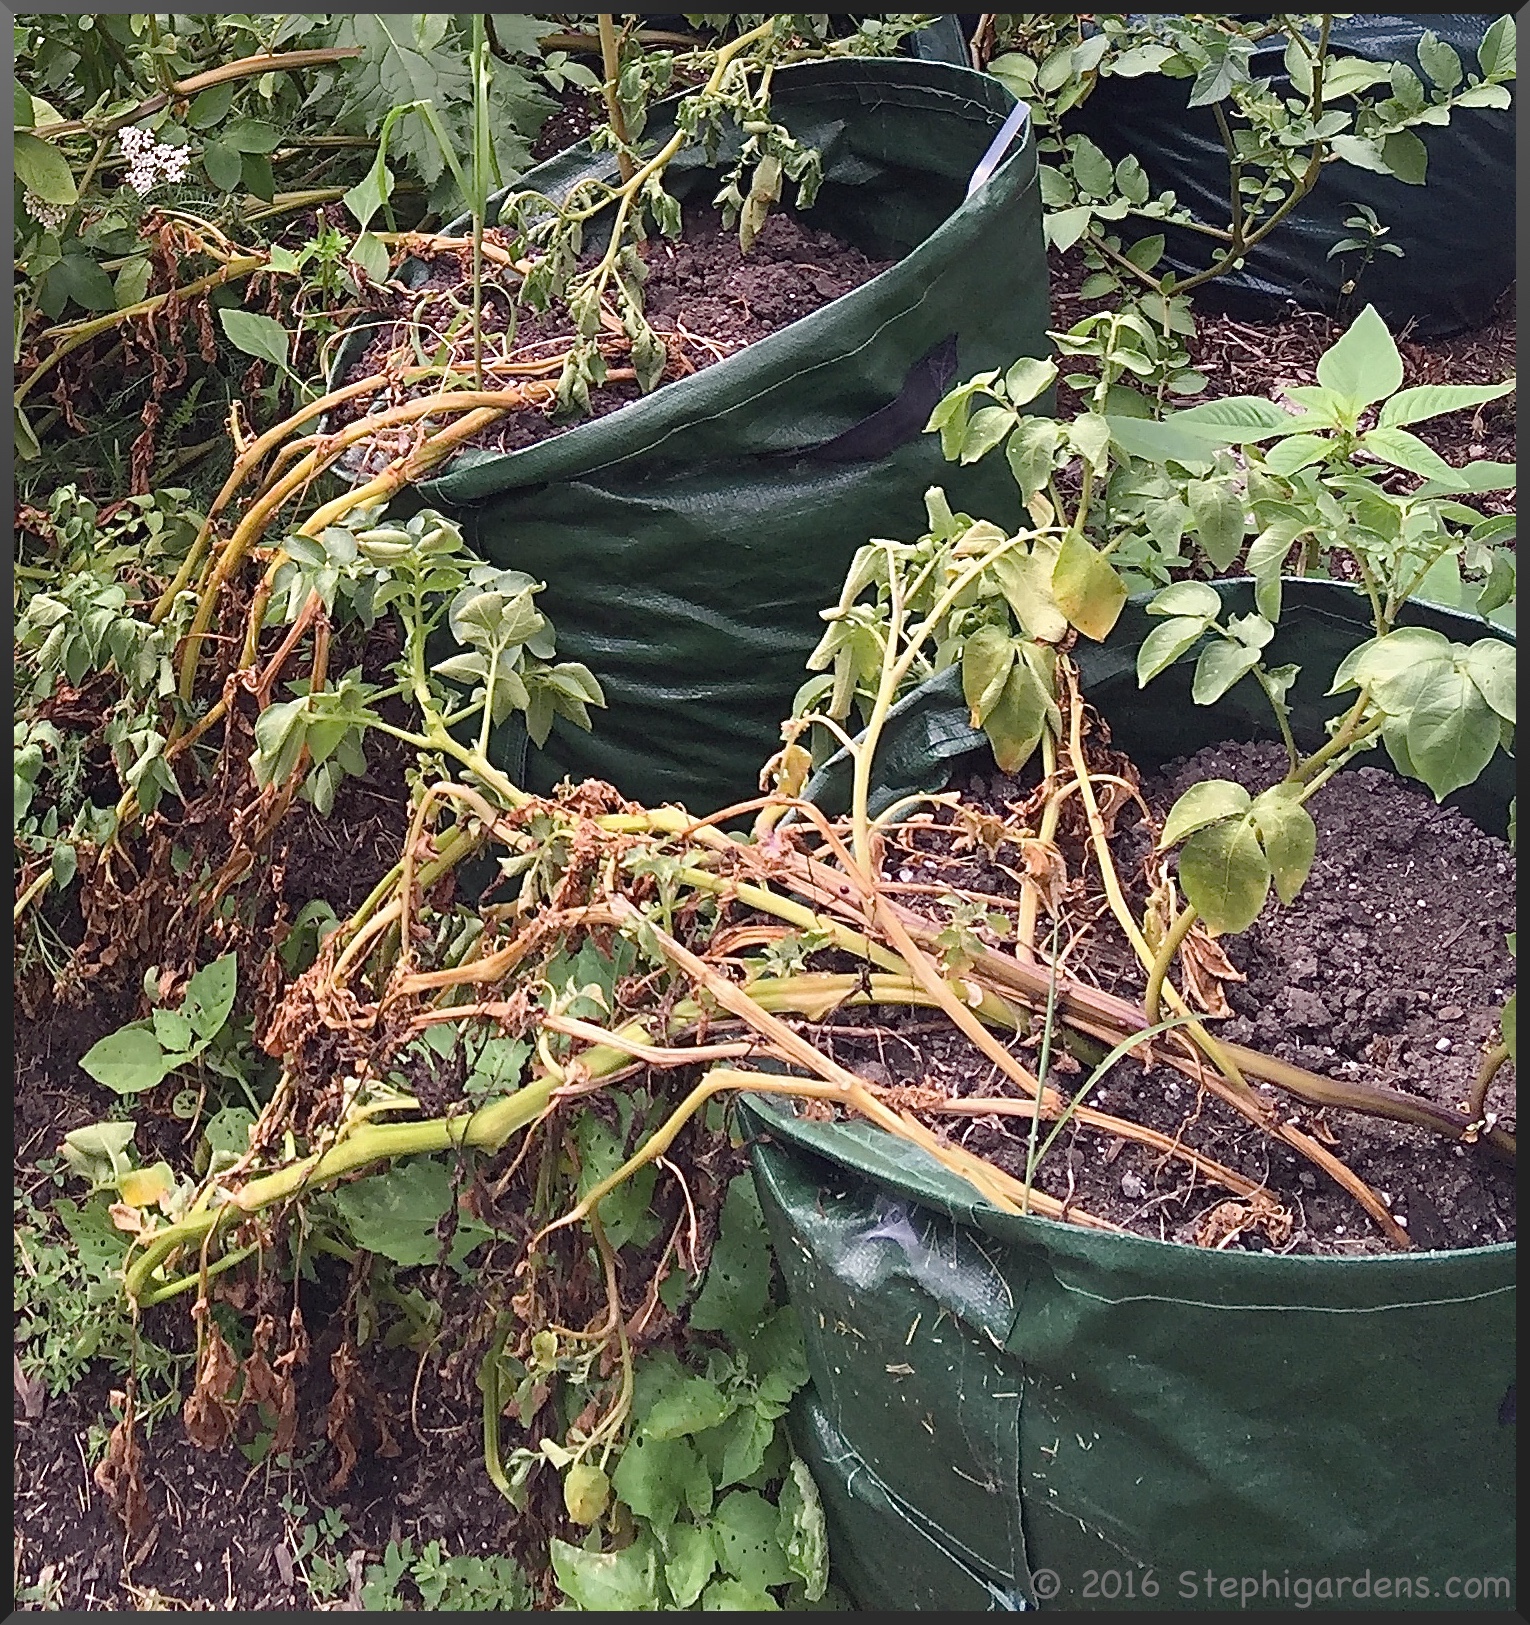
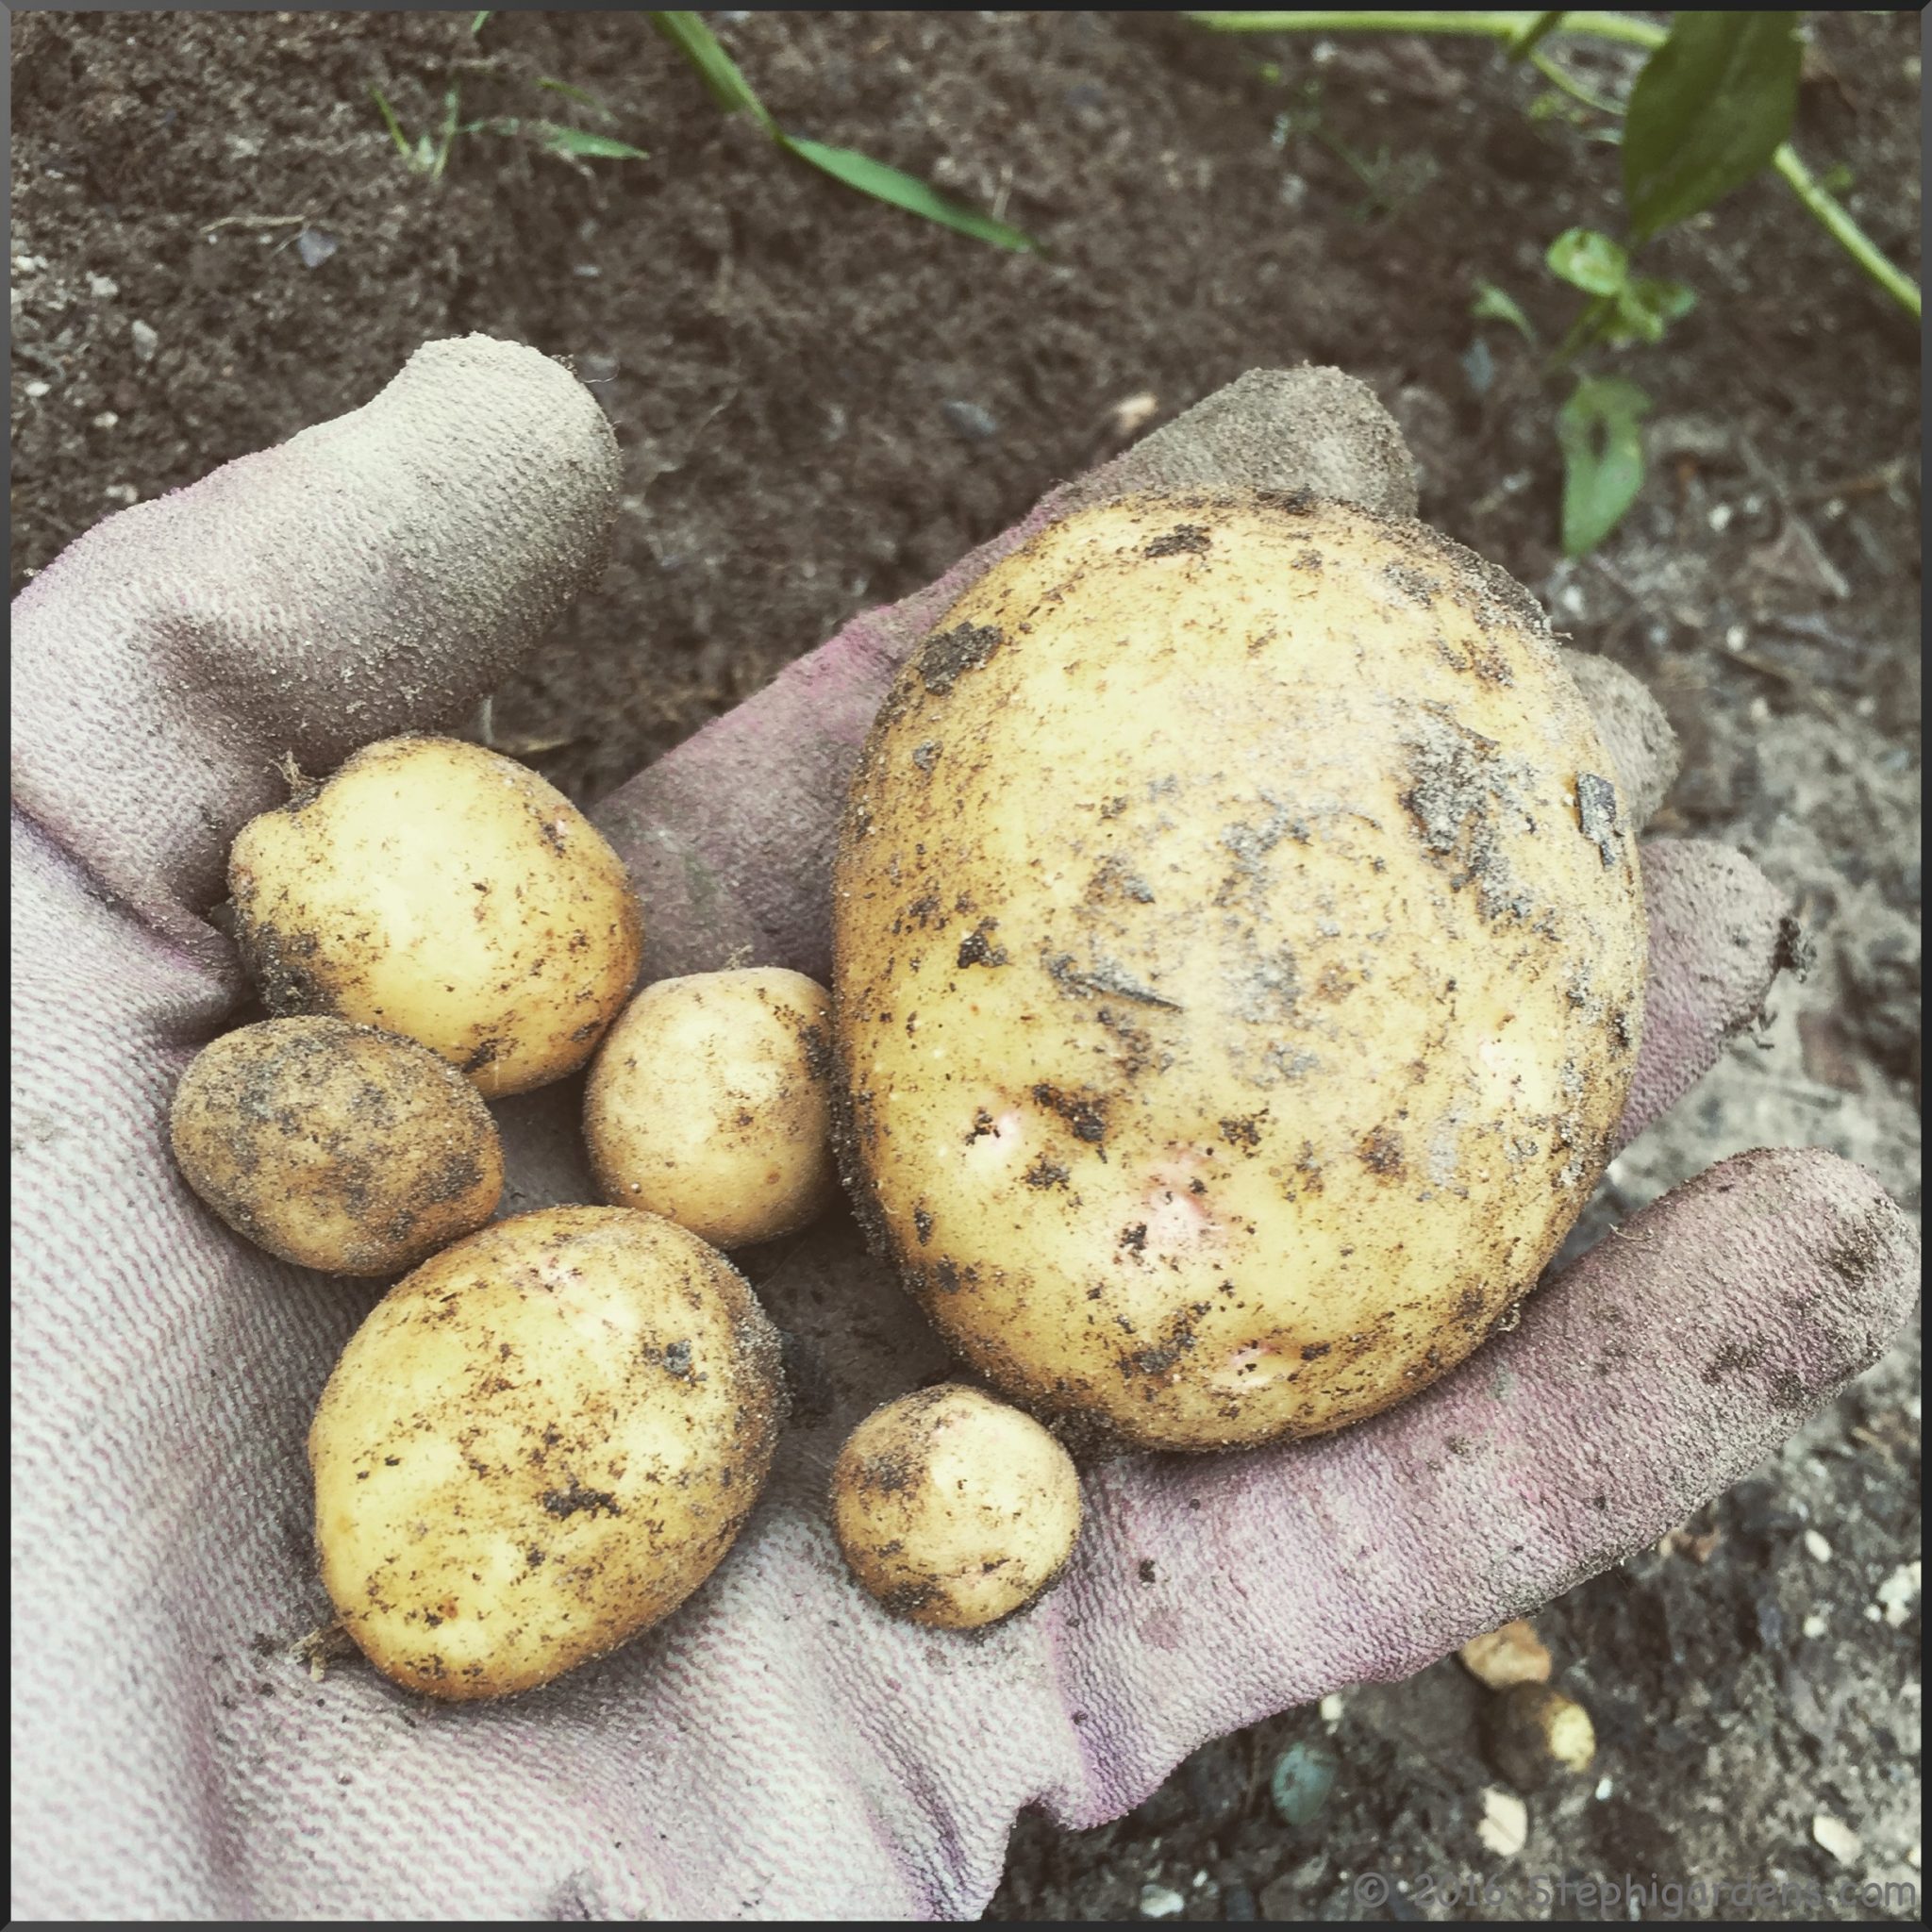
To harvest potatoes from a bag, I pulled out the plant and emptied the remaining dirt into a garden cart and began searching. This was fun! Kind of like a treasure hunt.
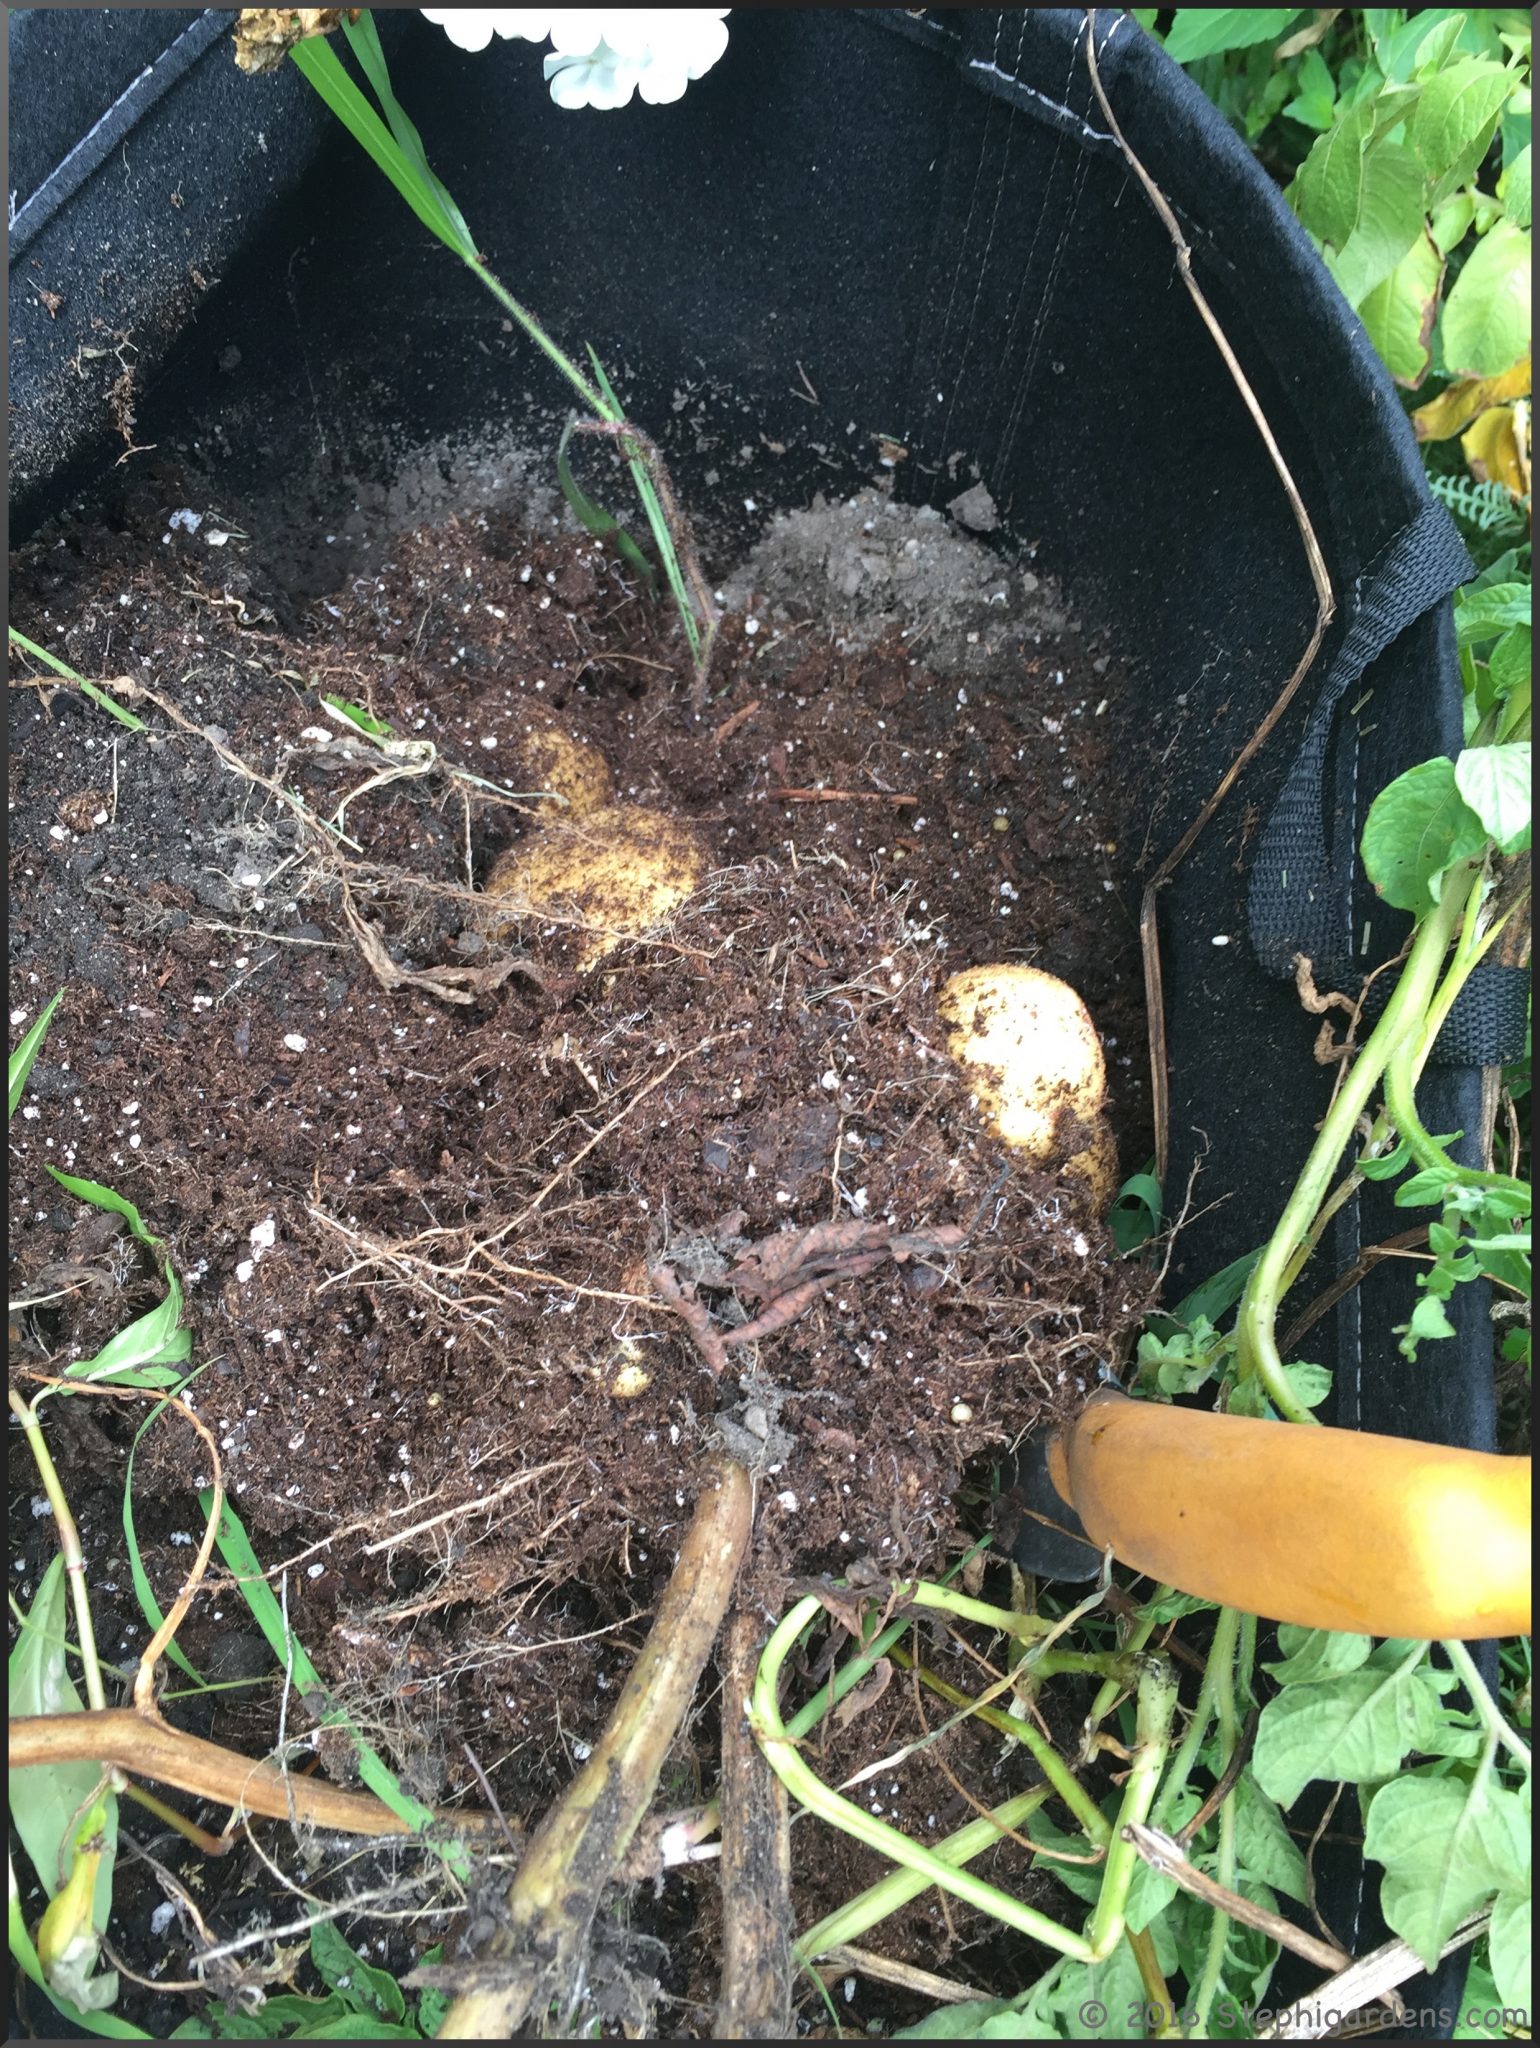
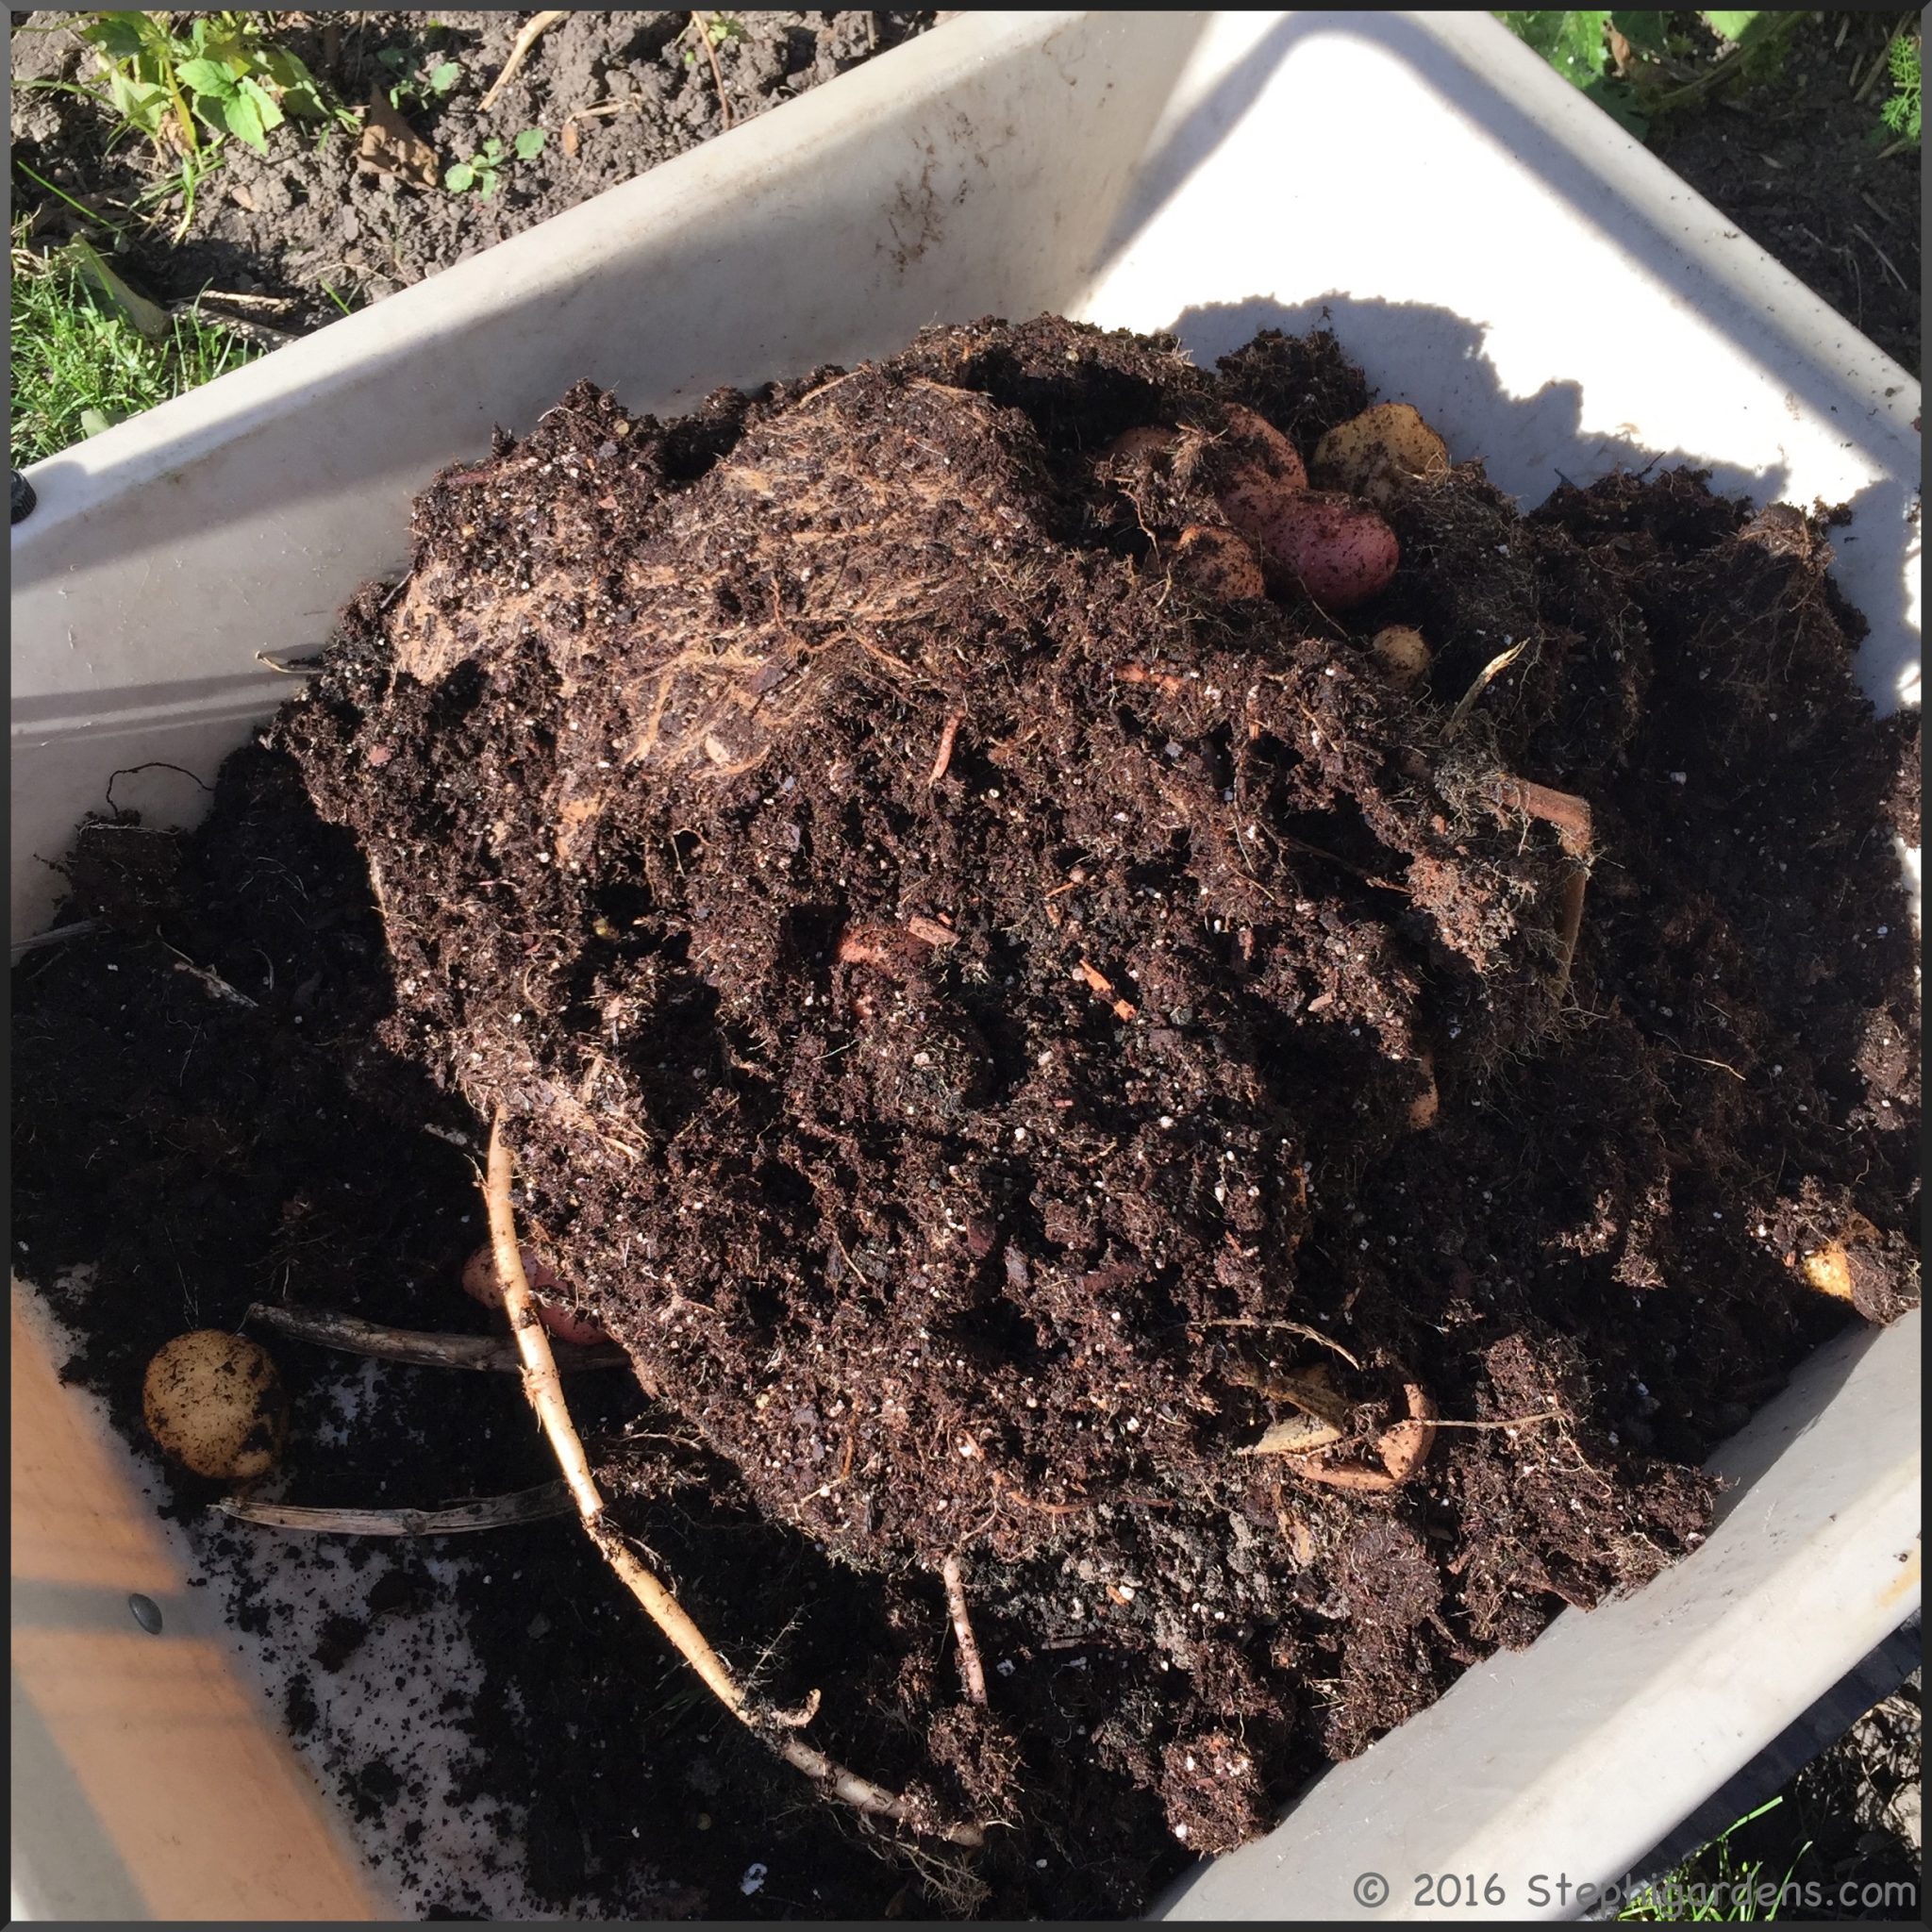
You can store and reuse the dirt for next spring, or in my case, my raised beds needed more soil so I emptied the dirt into them and blended it in. Be sure to look closely, every time I thought I was done, there were more.
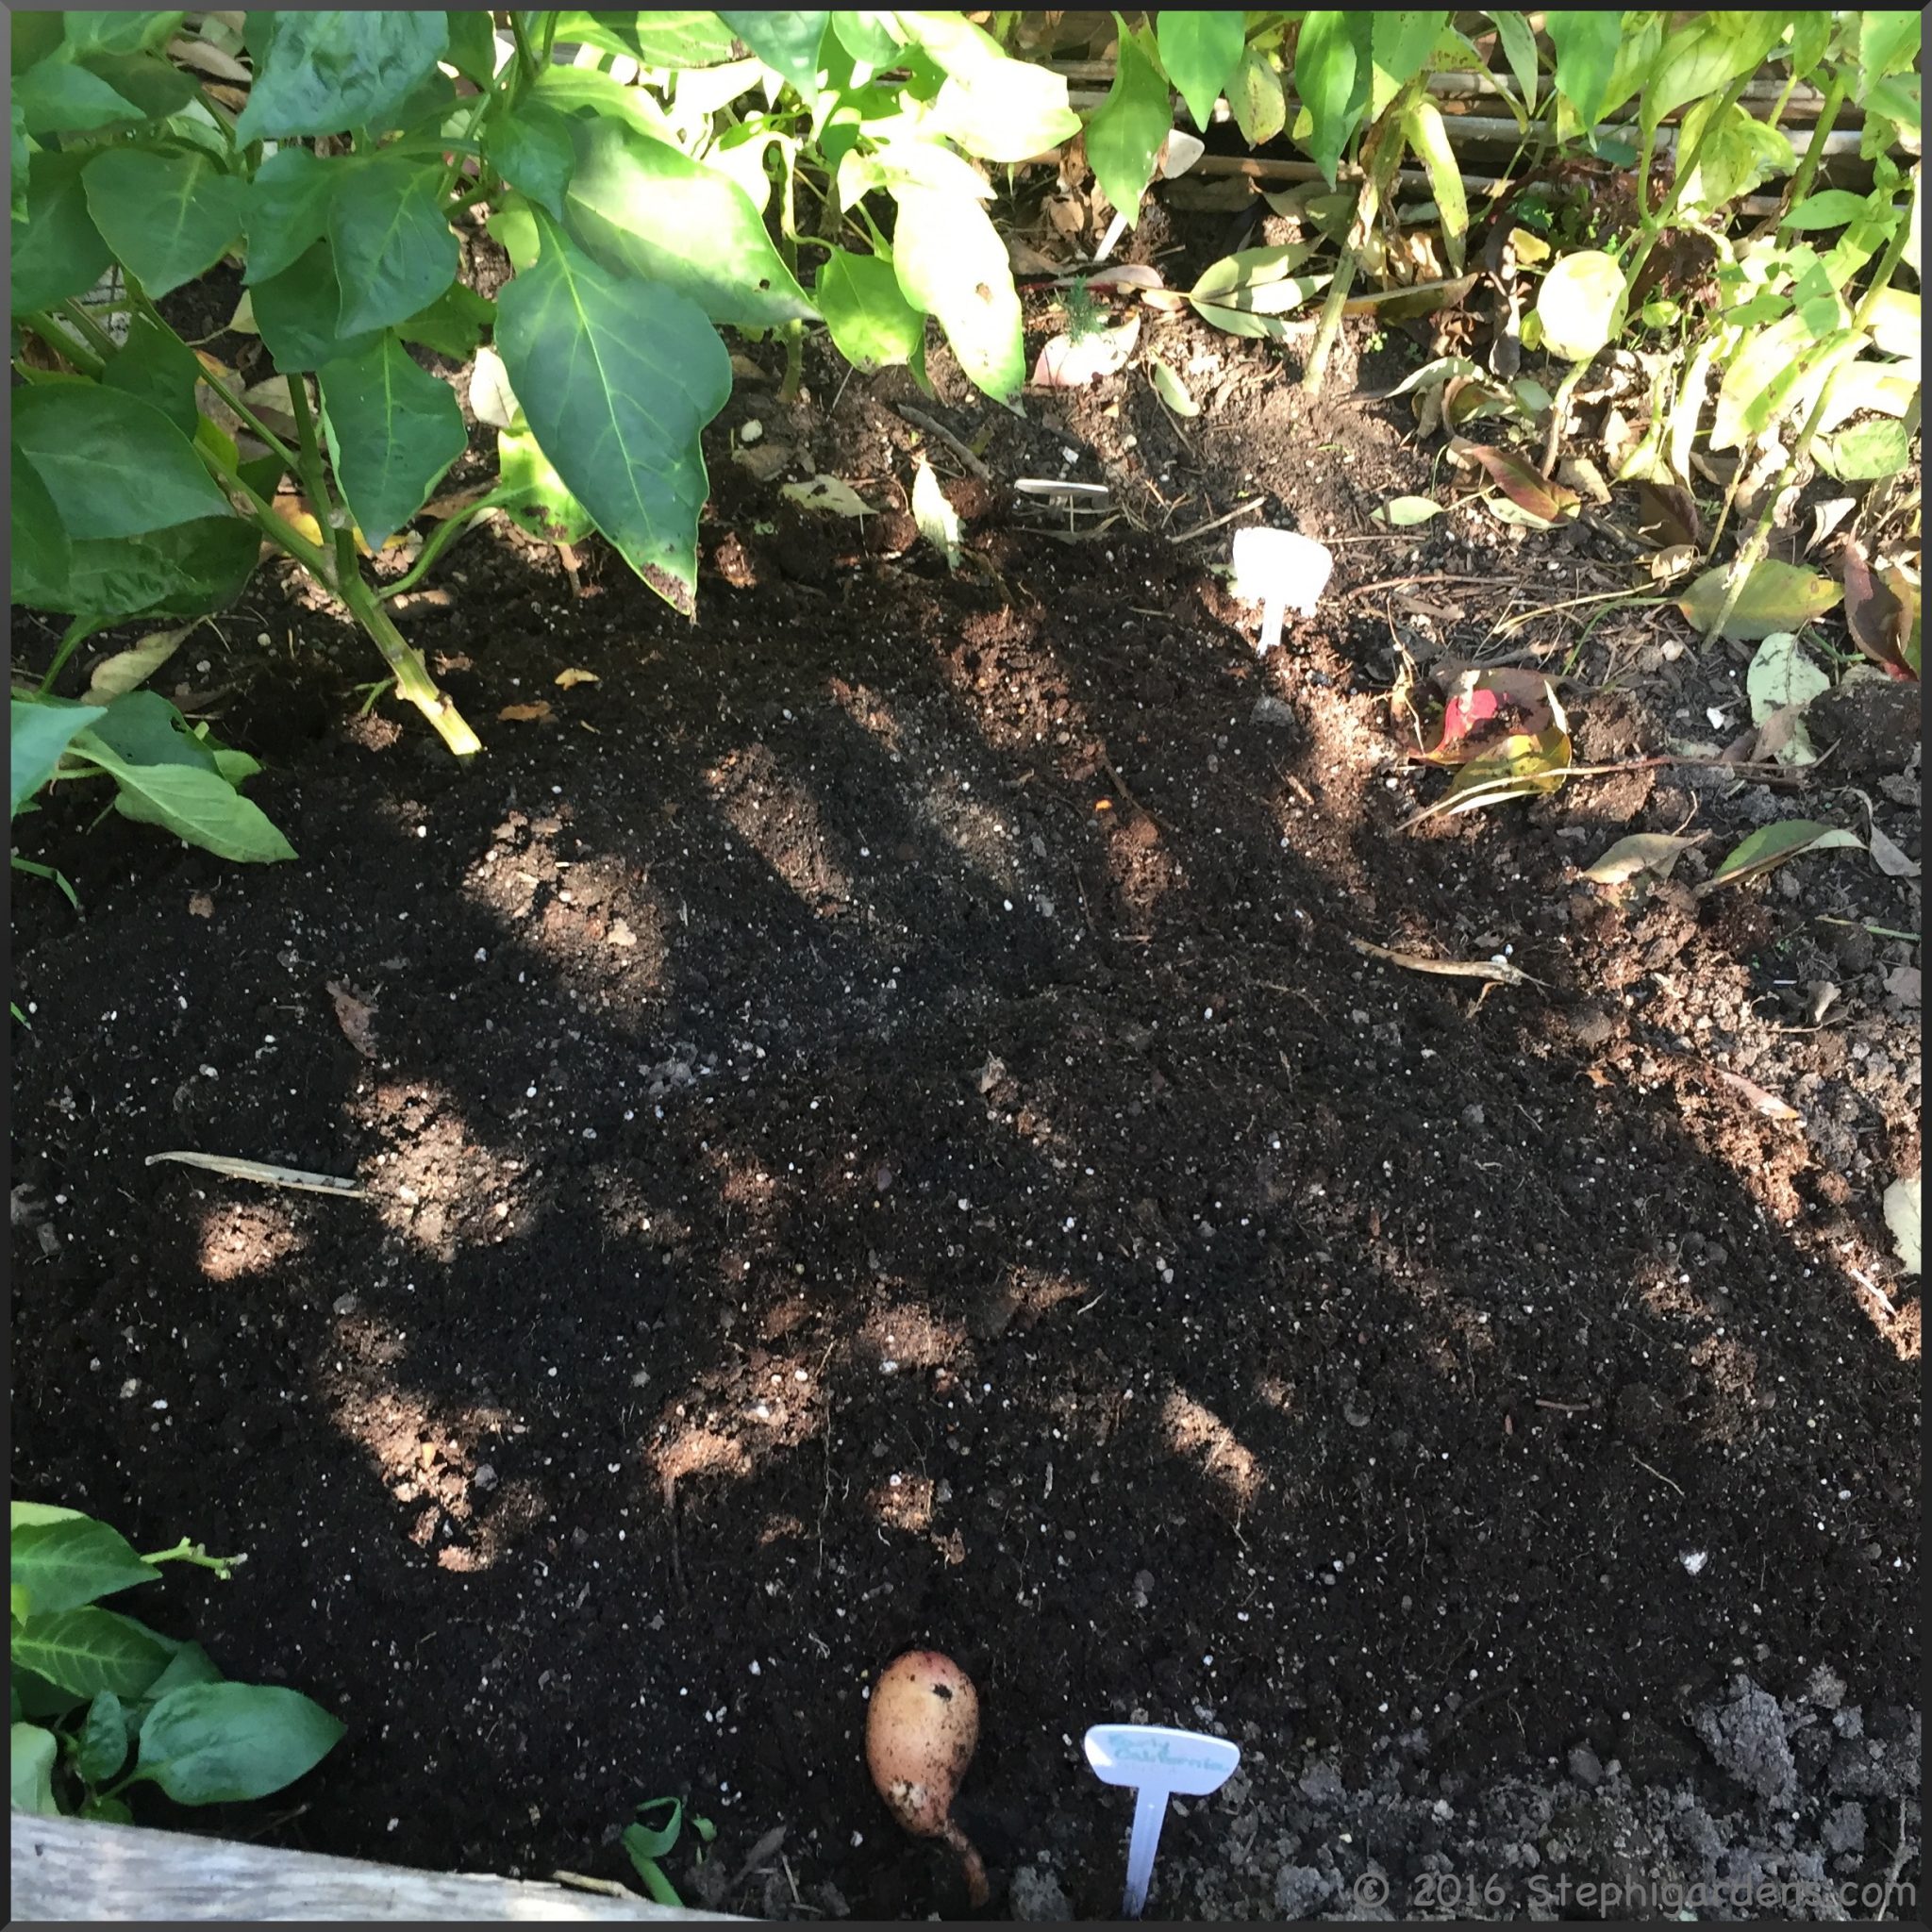
In the garden, I again pulled out the plants and then carefully started turning over the dirt with a shovel. This was a little tricky since I didn’t want to damage any potatoes.
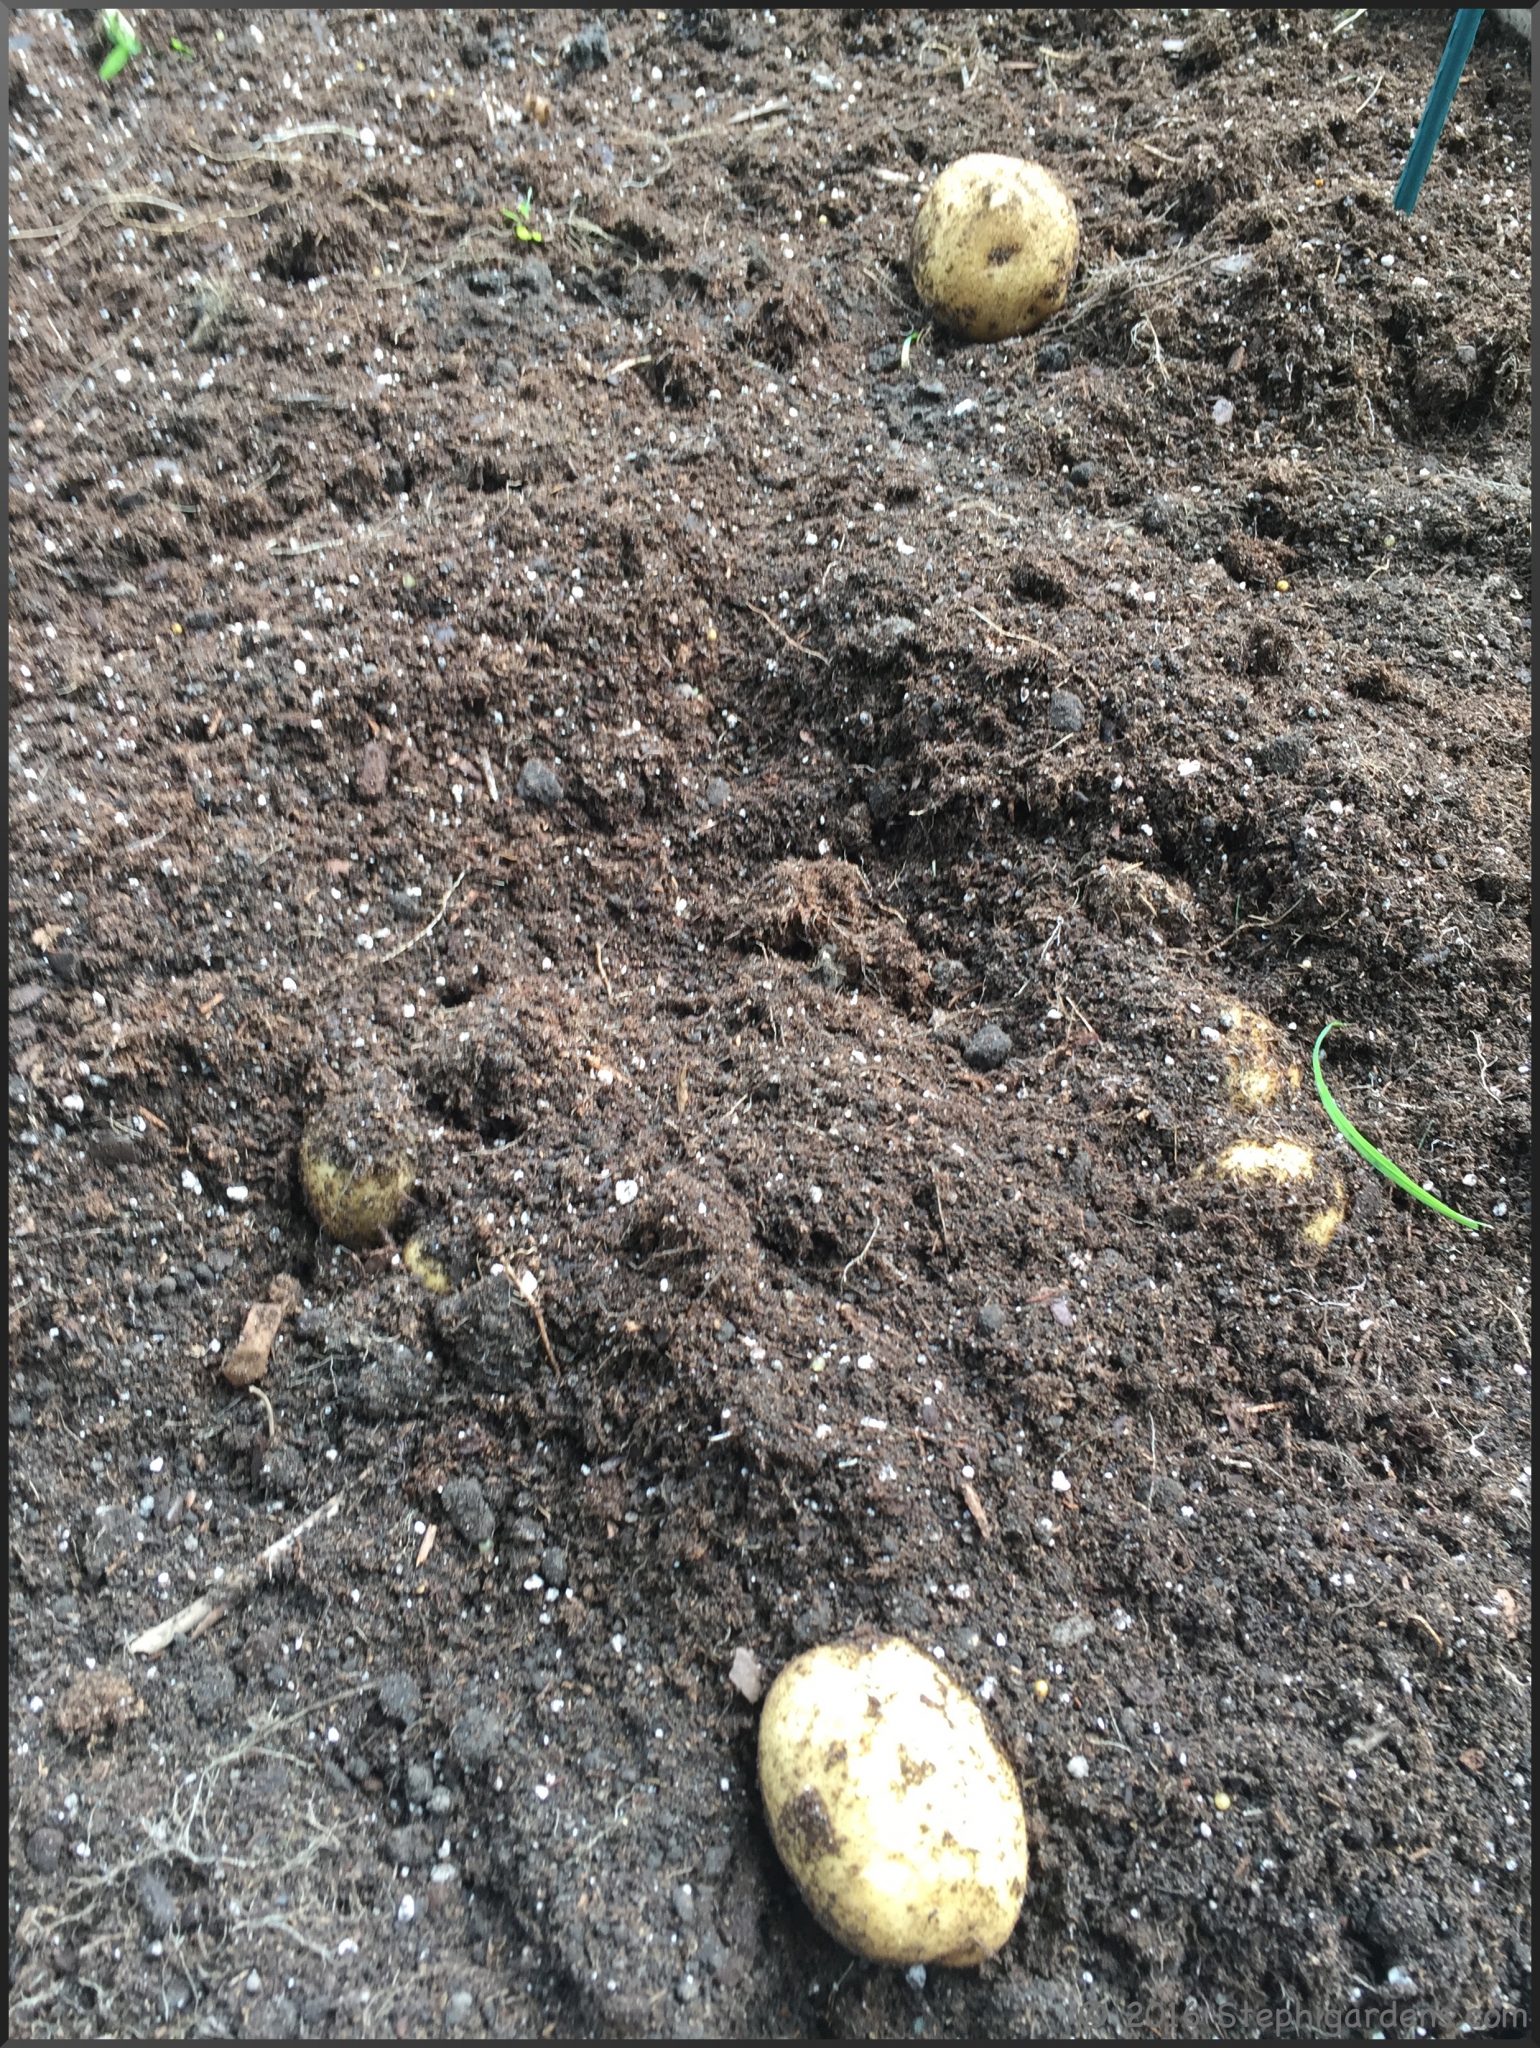
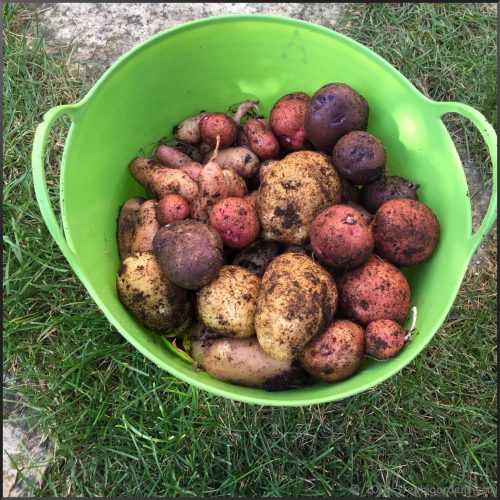
So many yummy potatoes!
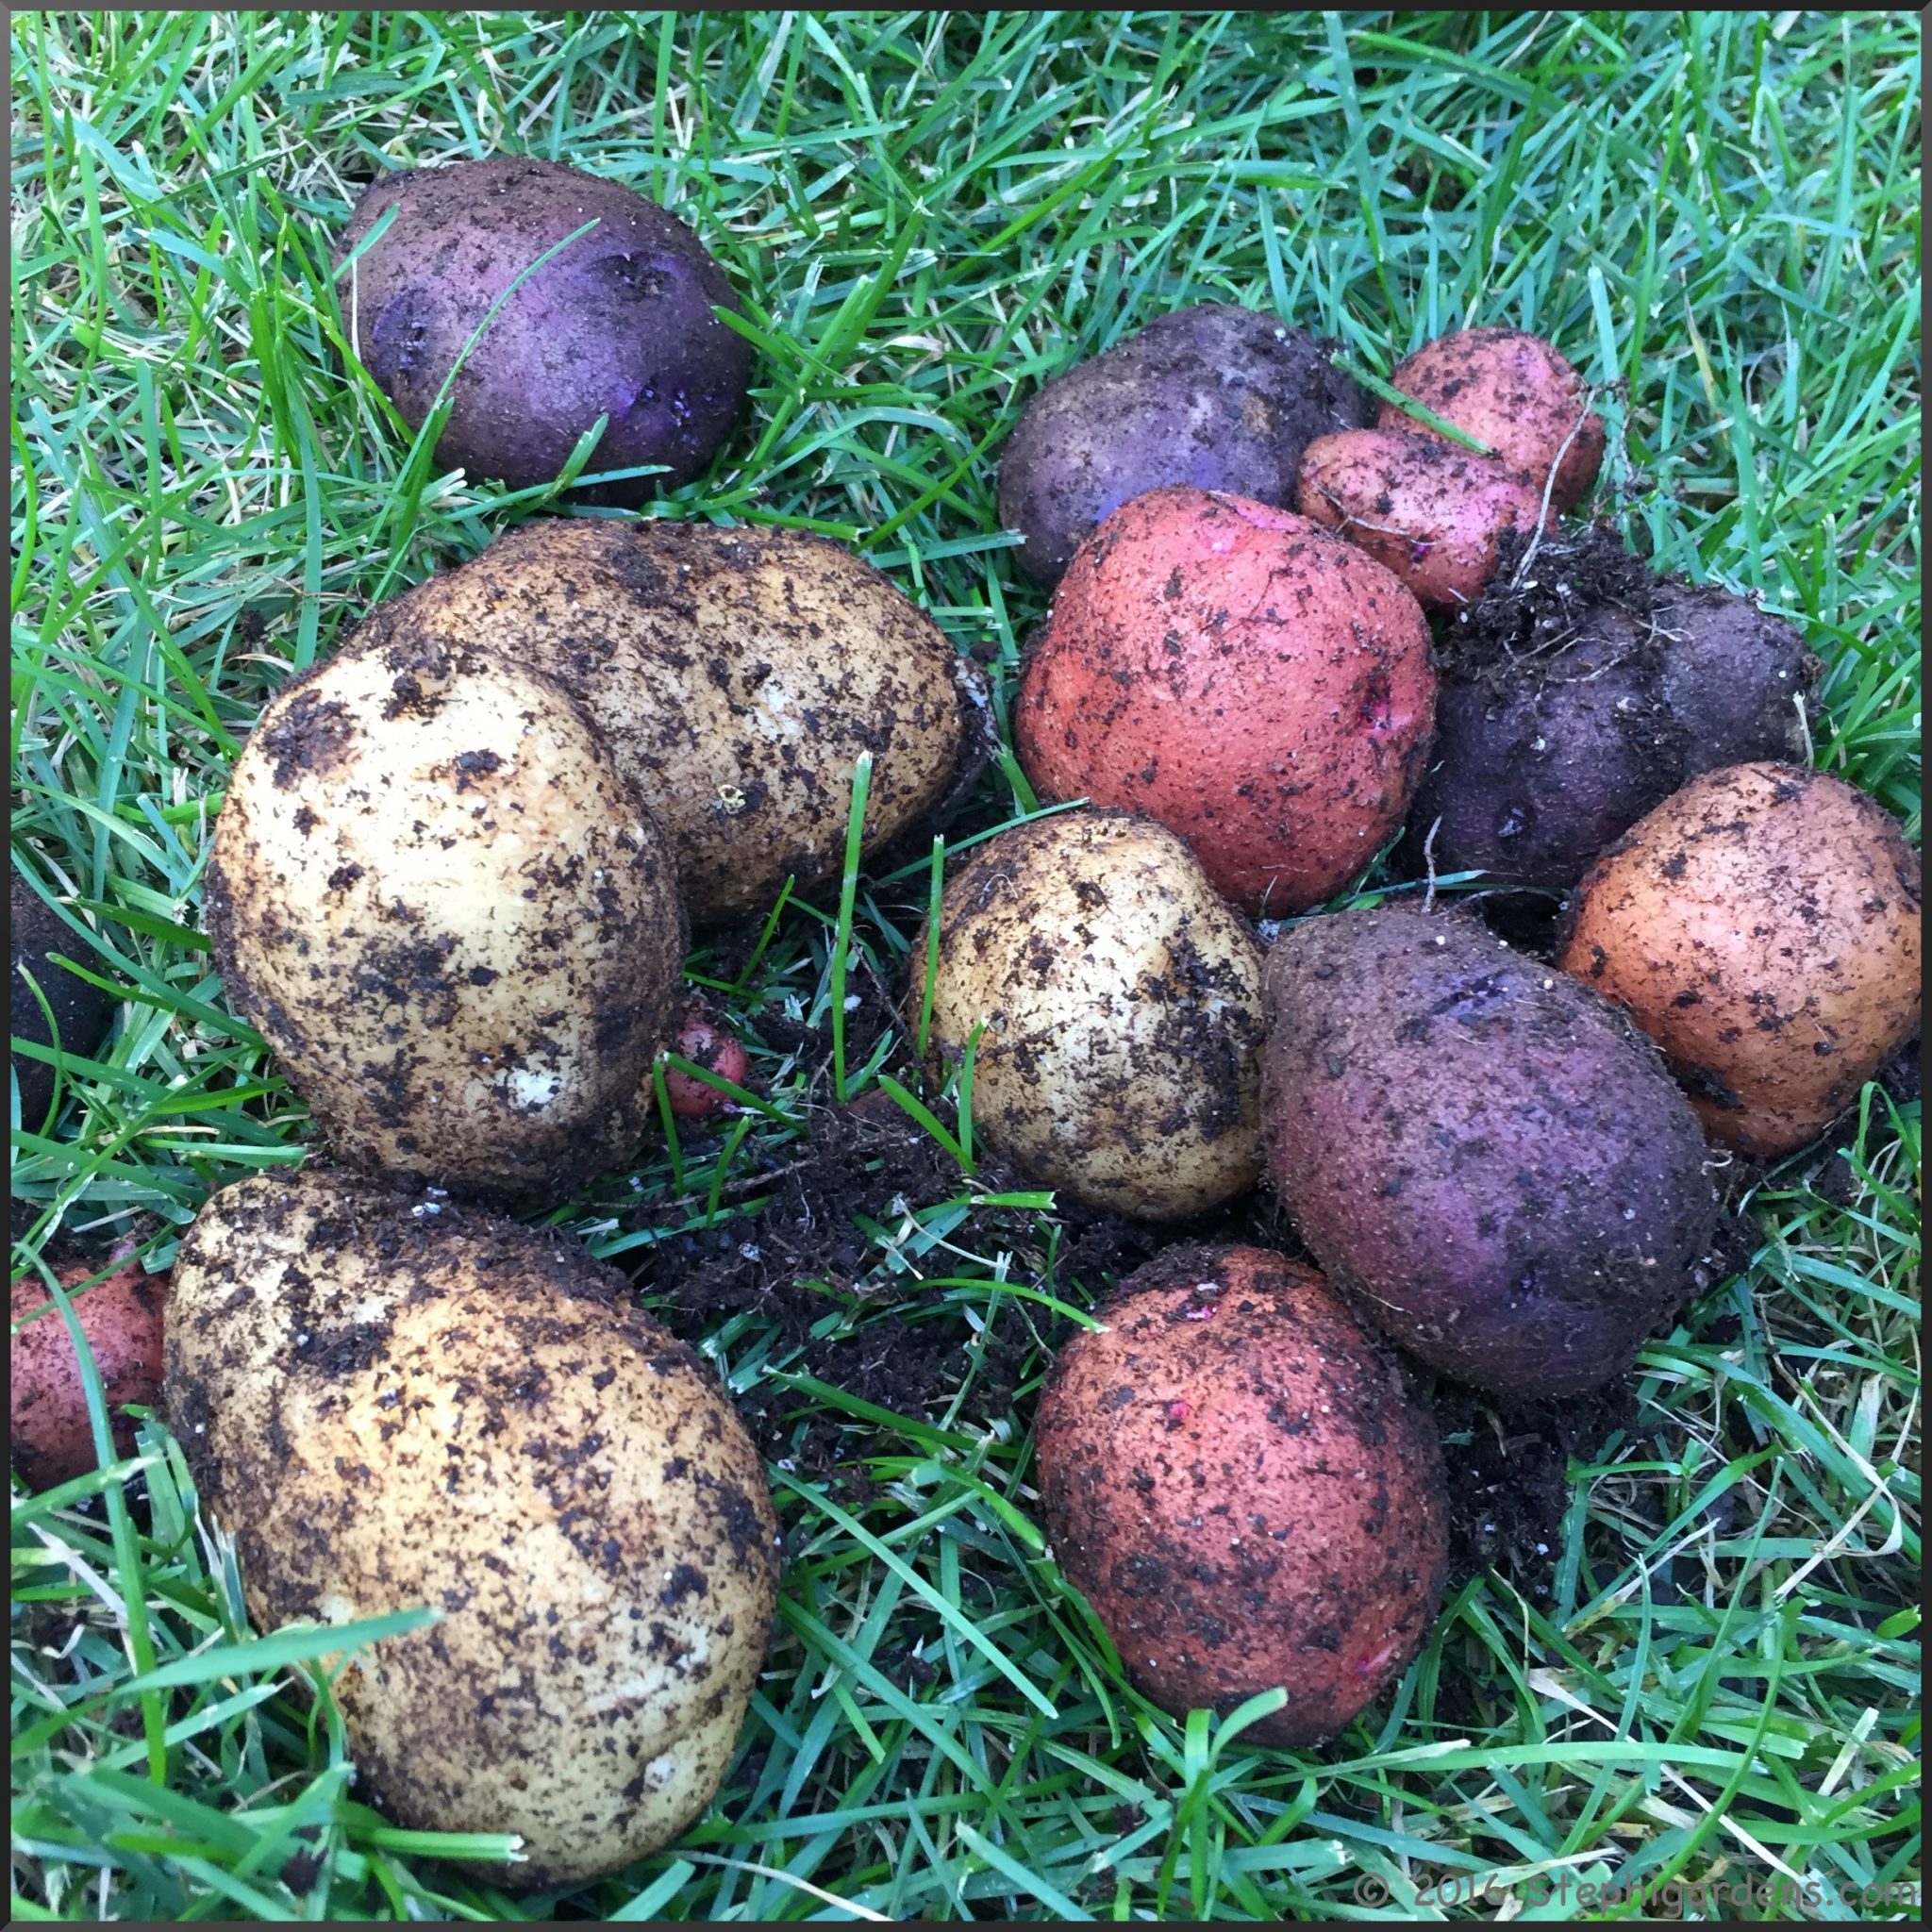

Once the potatoes are harvested they need to cure for a couple of weeks to improve their storage life. I laid mine in a shallow box, still covered in dirt and all, in a cool (50-60°) location covered with dark towels to allow for air circulation but keeping them in the dark. Sunlight at any time will cause the potatoes to turn green. As I mentioned before, the green color is actually chlorophyll which is harmless, but it signifies that there is a high level of the toxin solanine. A little green isn’t harmful, but it’s generally a good idea to peel off any green skin or cut away green sections before cooking.

After a couple of weeks, rub off any clumps of dirt, but don’t wash. Separate out any bruised or damaged potatoes and use them immediately since they won’t store well. Finally, put them into a container like a bushel basket, paper bag or cardboard box with ventilation holes punched into it to allow air flow. Potatoes should be stored in the dark between 40-50°. Be sure to check them frequently, remove any rotting potatoes and they’ll stay good for a few months.
It’s now January and I still have plenty of delicious homegrown potatoes to eat!
Each year I like to try something new in the garden. Potatoes sounded like a fun and pretty easy experiment, so I became a potato farmer last spring.
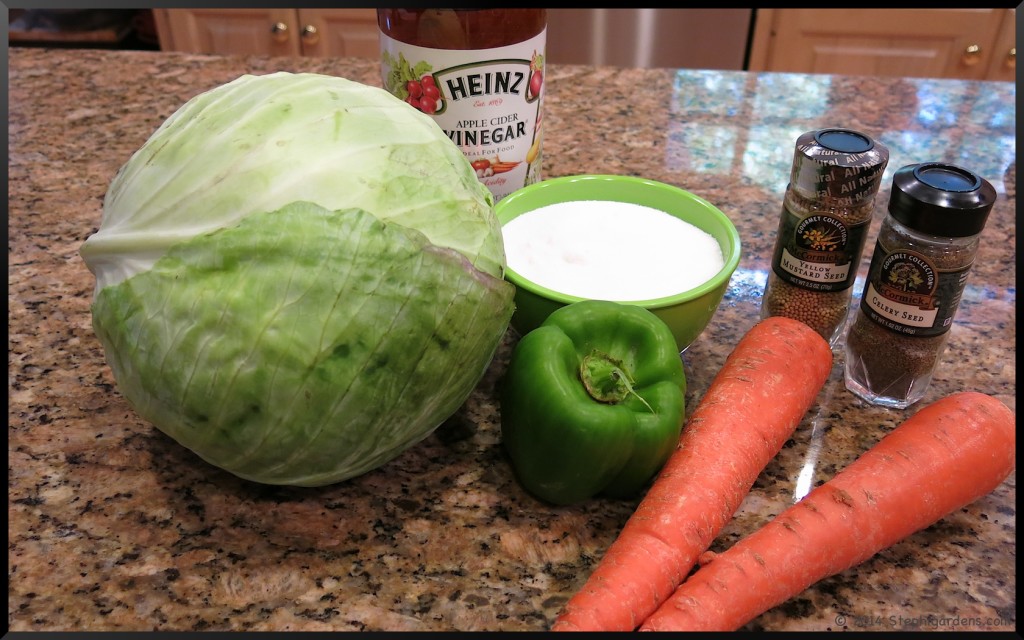
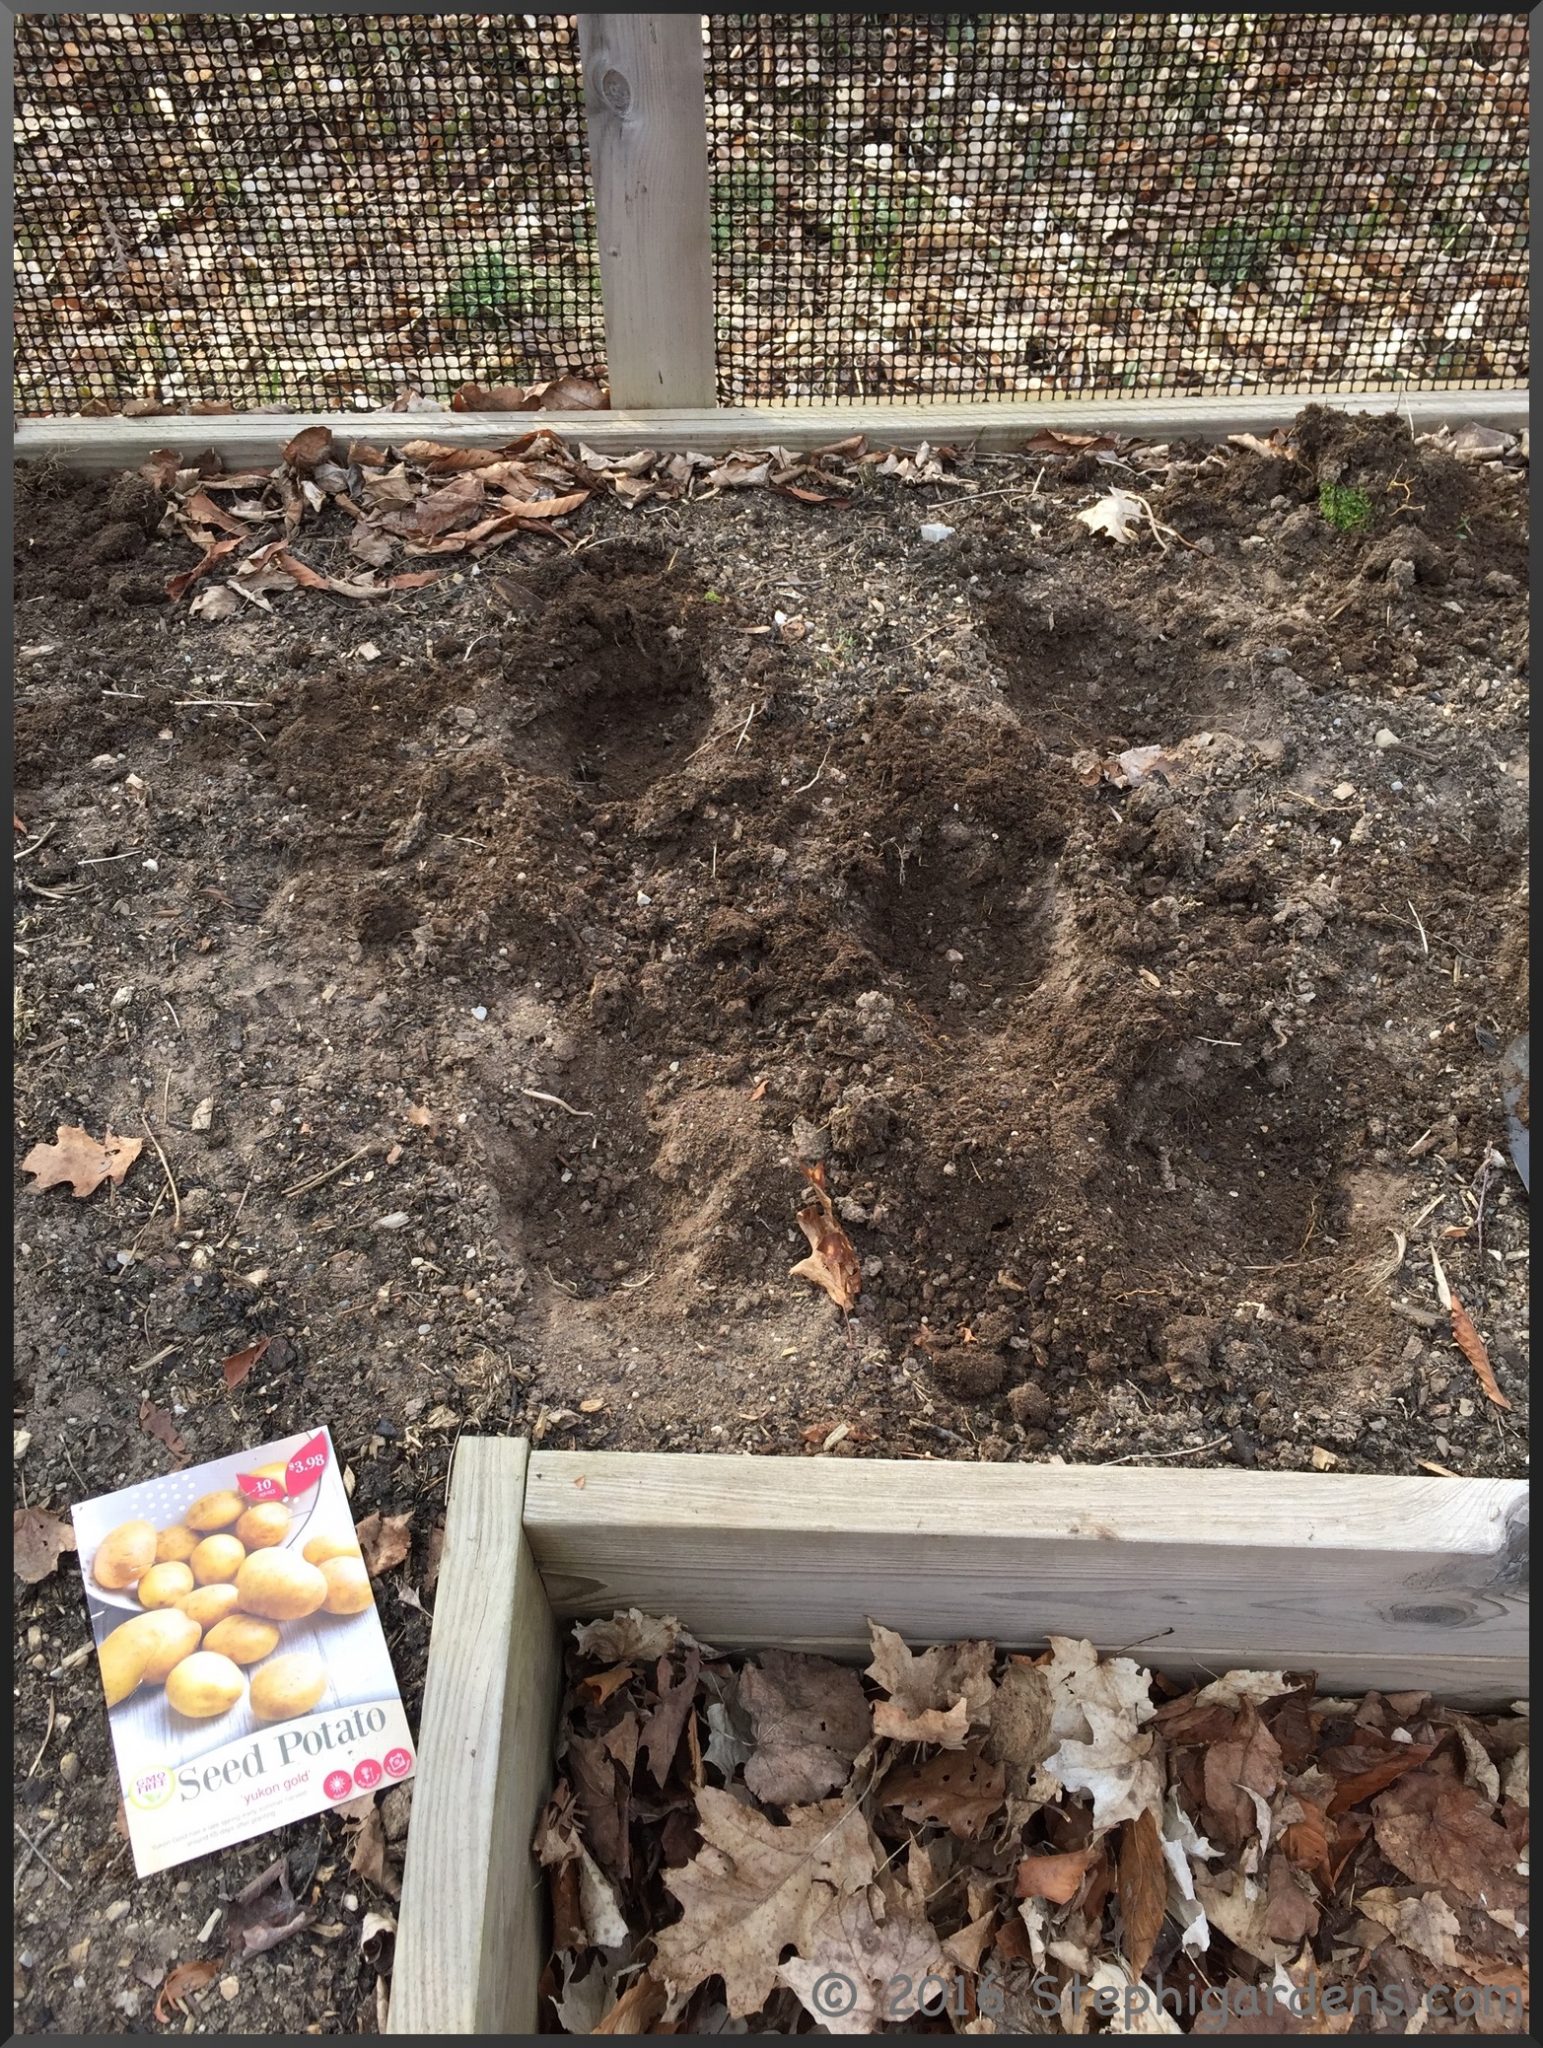
I bought Yukon Gold and a Red, White and Blue blend of seed potatoes from Home Depot and French Fingerlings from a local nursery. Like garlic, you can’t grow potatoes from grocery store potatoes since they’ve been treated to prevent sprouting. You also want certified seed potatoes to be sure you are getting a healthy disease free and healthy variety. I kept them cool and dark until it was warm enough to plant. Potatoes are cool weather plants, but I still needed to wait for the soil temperatures to be above 45.
About two weeks before planting, it’s time for “chitting” the potatoes.
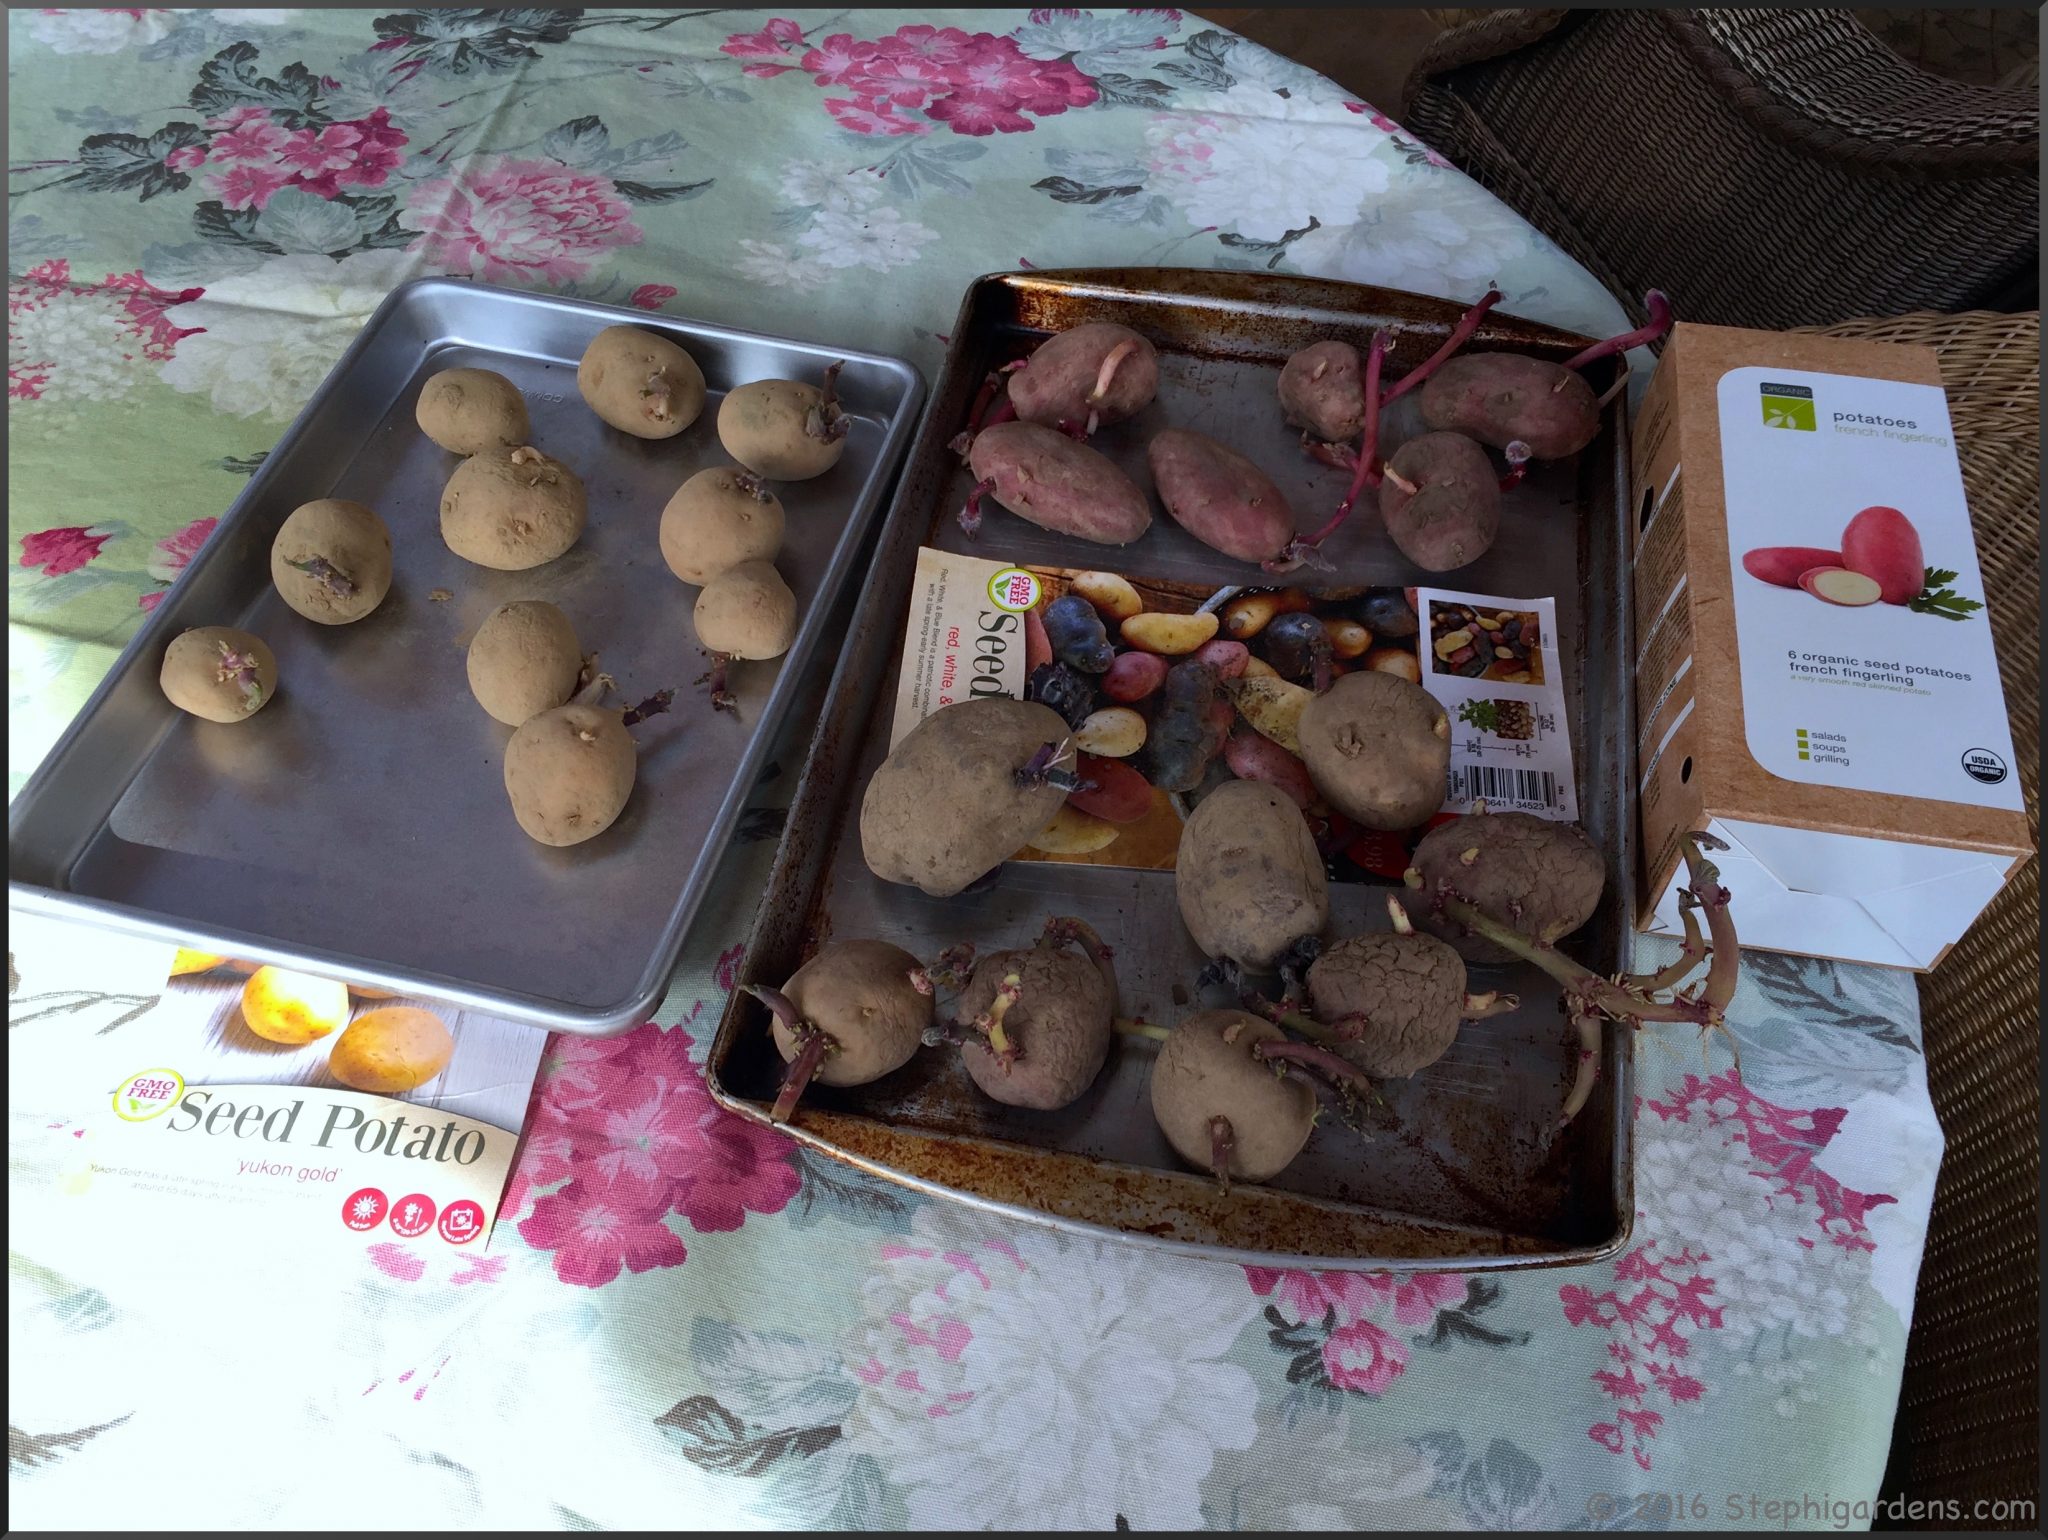
Chitting is the process of growing shoots on the potato tubers prior to planting. This helps ensure faster growth and heavier crops. Lay the seed potatoes on a tray or in egg carton in a cool, frost free location out of direct sunlight. Set them so that the “rose end”, or the end already sprouting immature shoots, is facing upwards. After a week or so, it’s time to cut the tubers into pieces and let the cuts heal for 3-4 days.
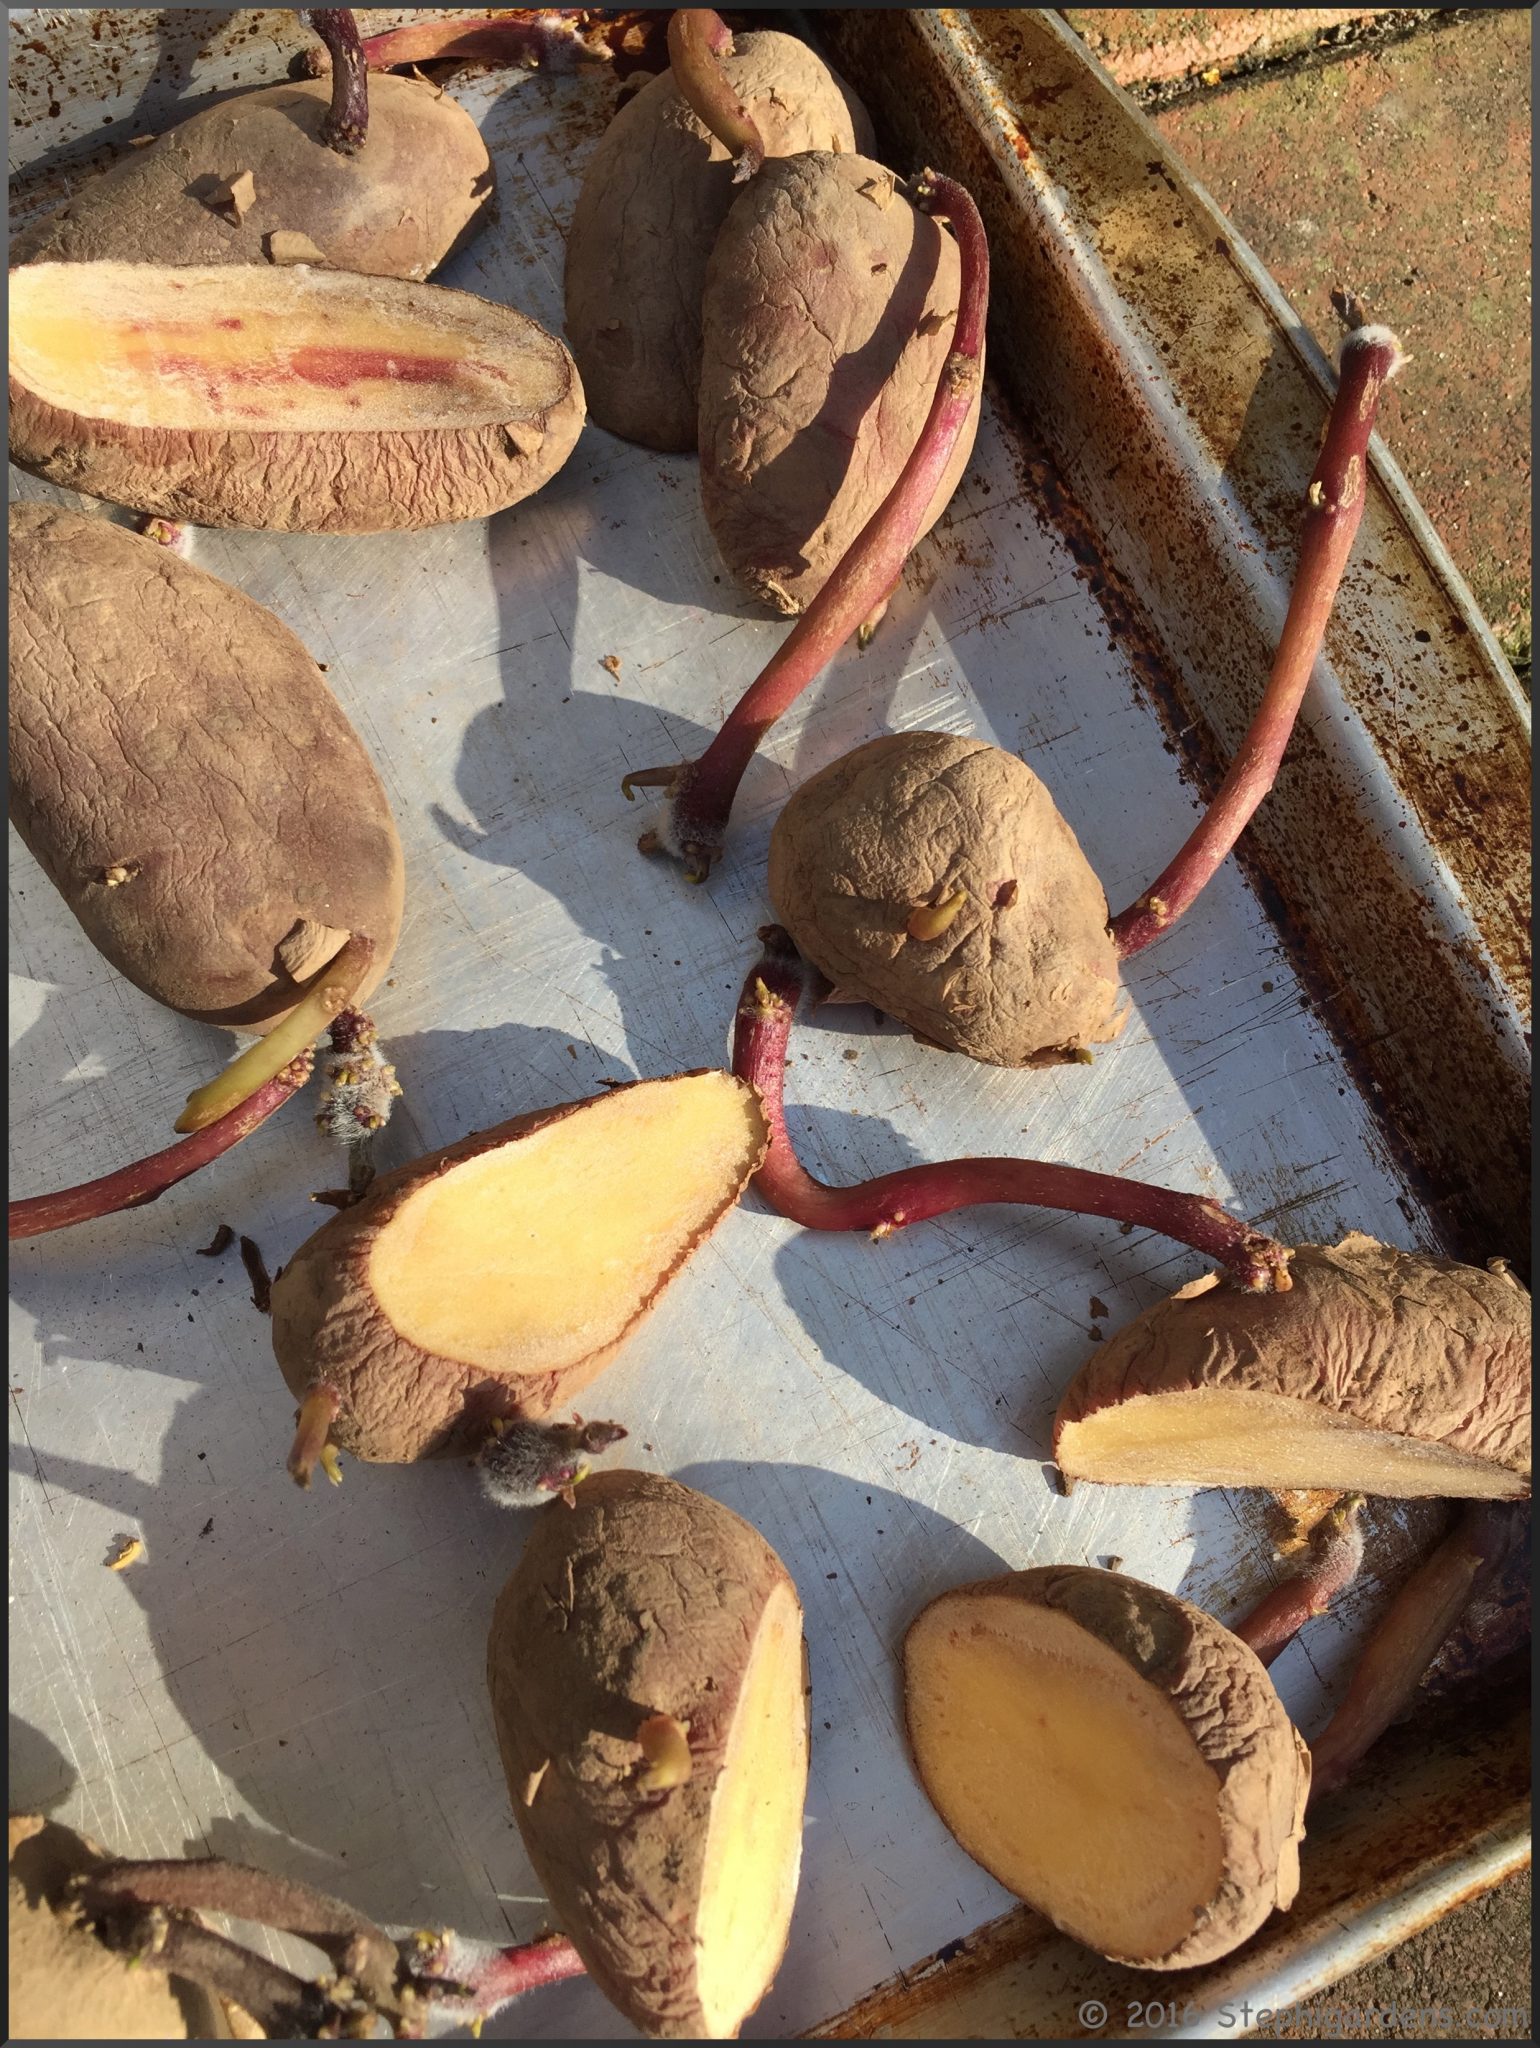
Each piece should have at least one eye with sprouts at least 1 inch long.
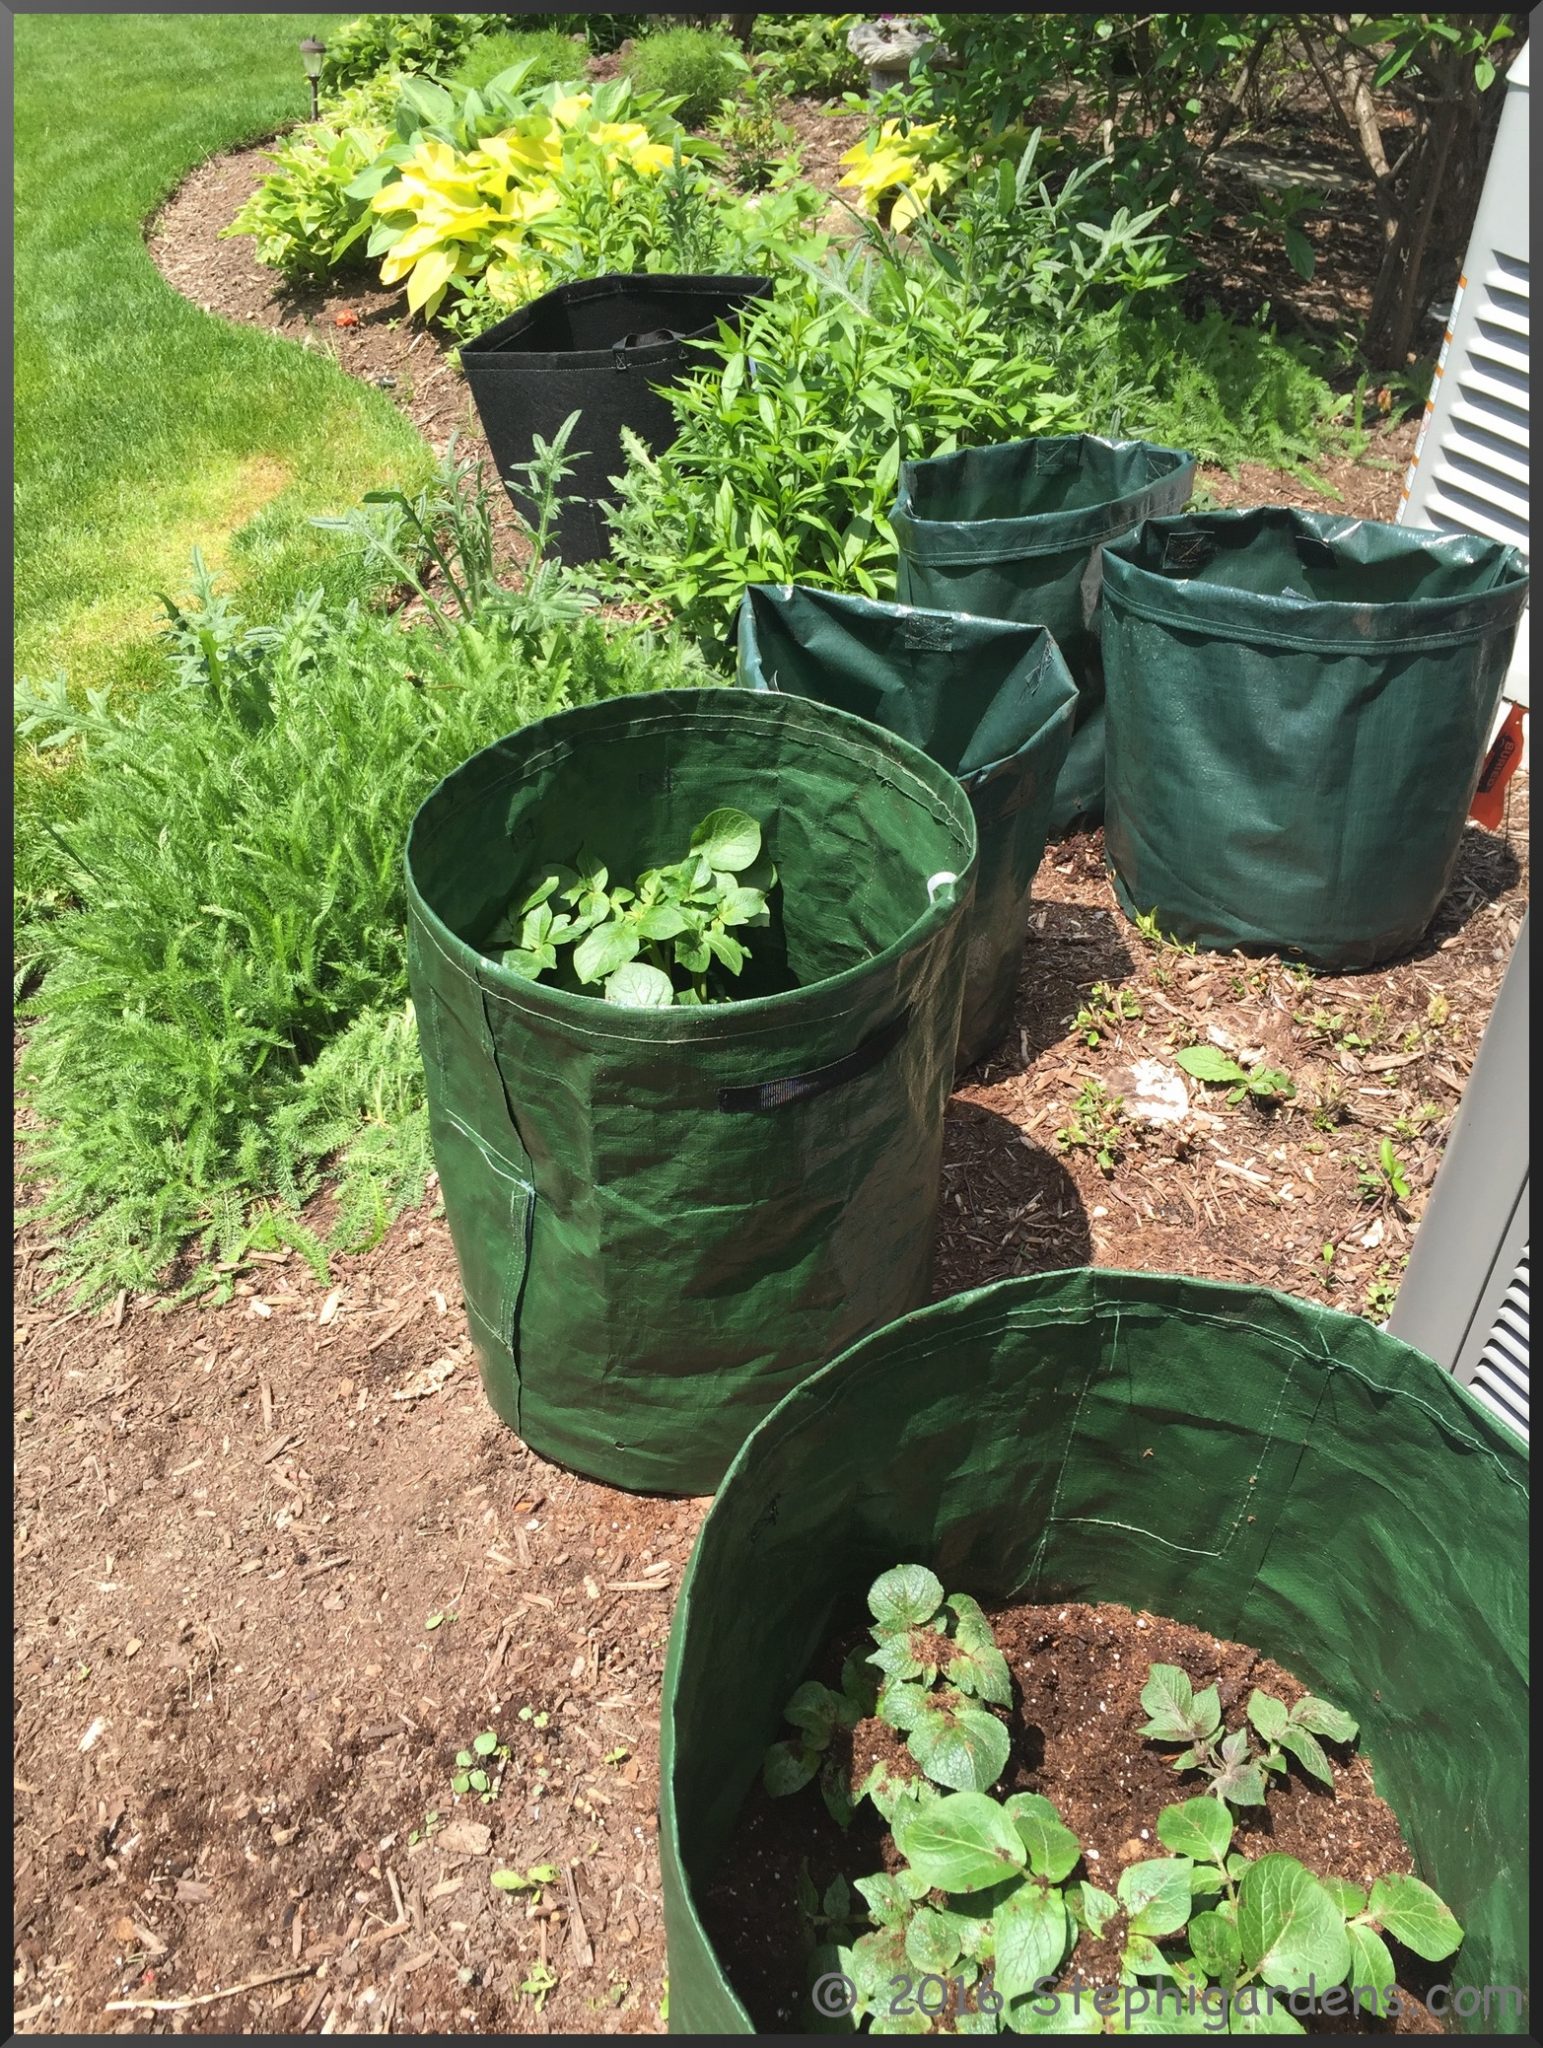
Where to plant? Potatoes can be grown either in the garden or in bags. I decided to try it both ways. Here at home where I have less space I grew them in bags. In my Wisconsin garden, I planted them in hills in the garden.
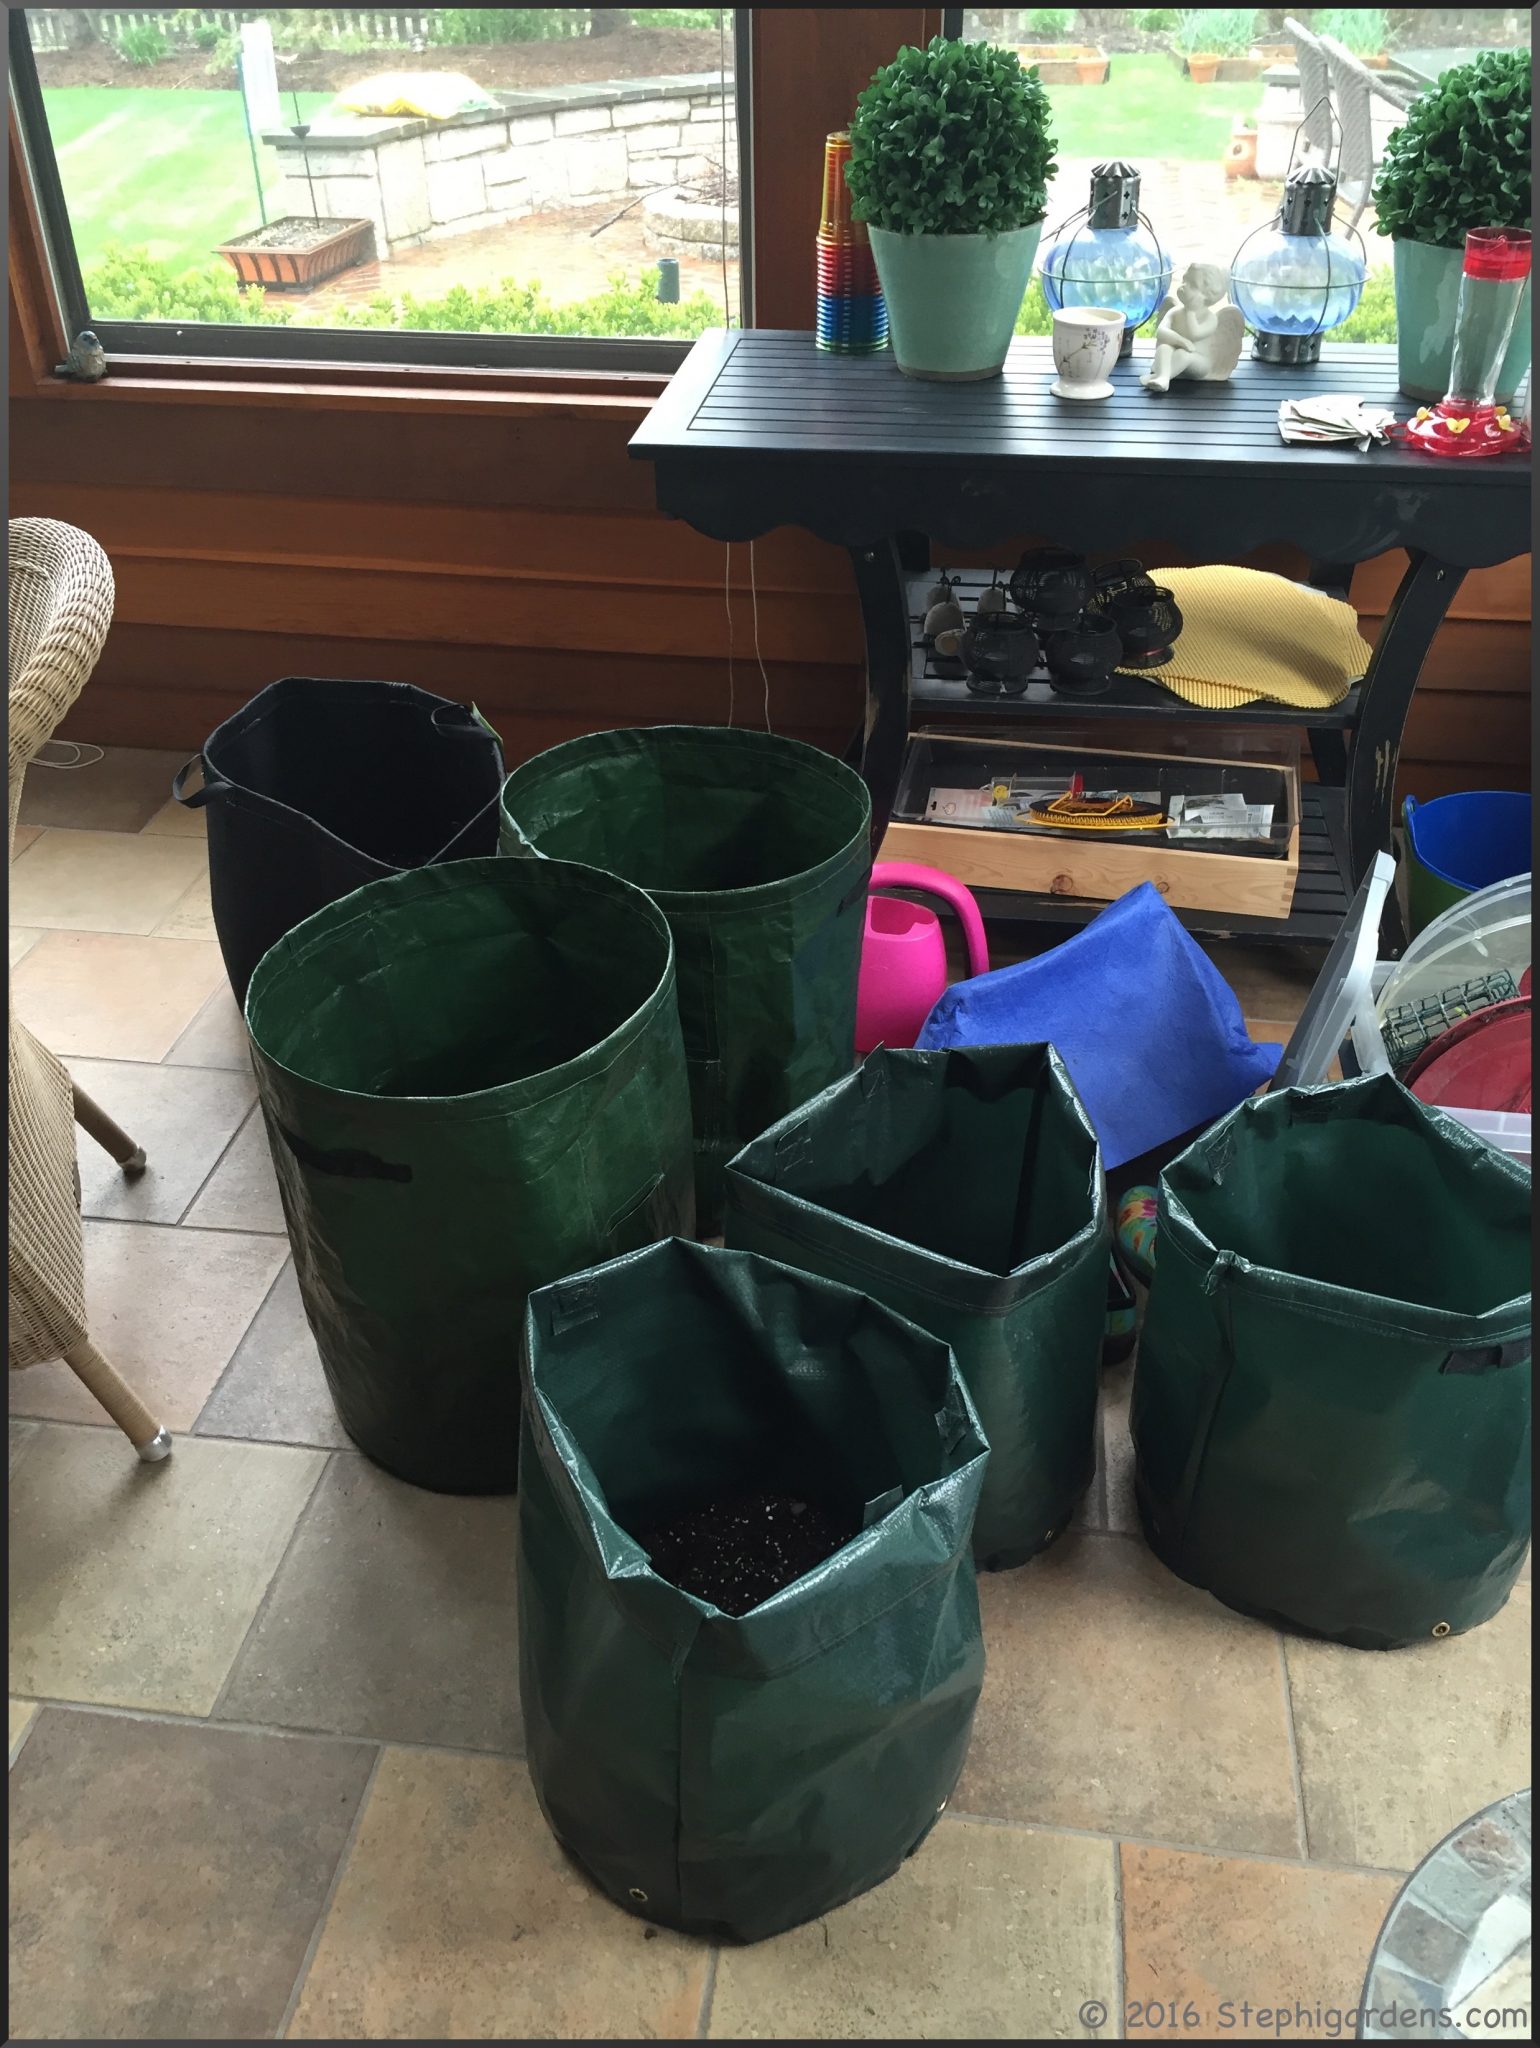
I bought three different bags, each having different features. I got one large 15 gallon canvas Geopot Geo-potato bag, a pack of 2 polyethylene Gardman bags, and a pack of 3 polypropylene Haxnicks Potato Patio bags.
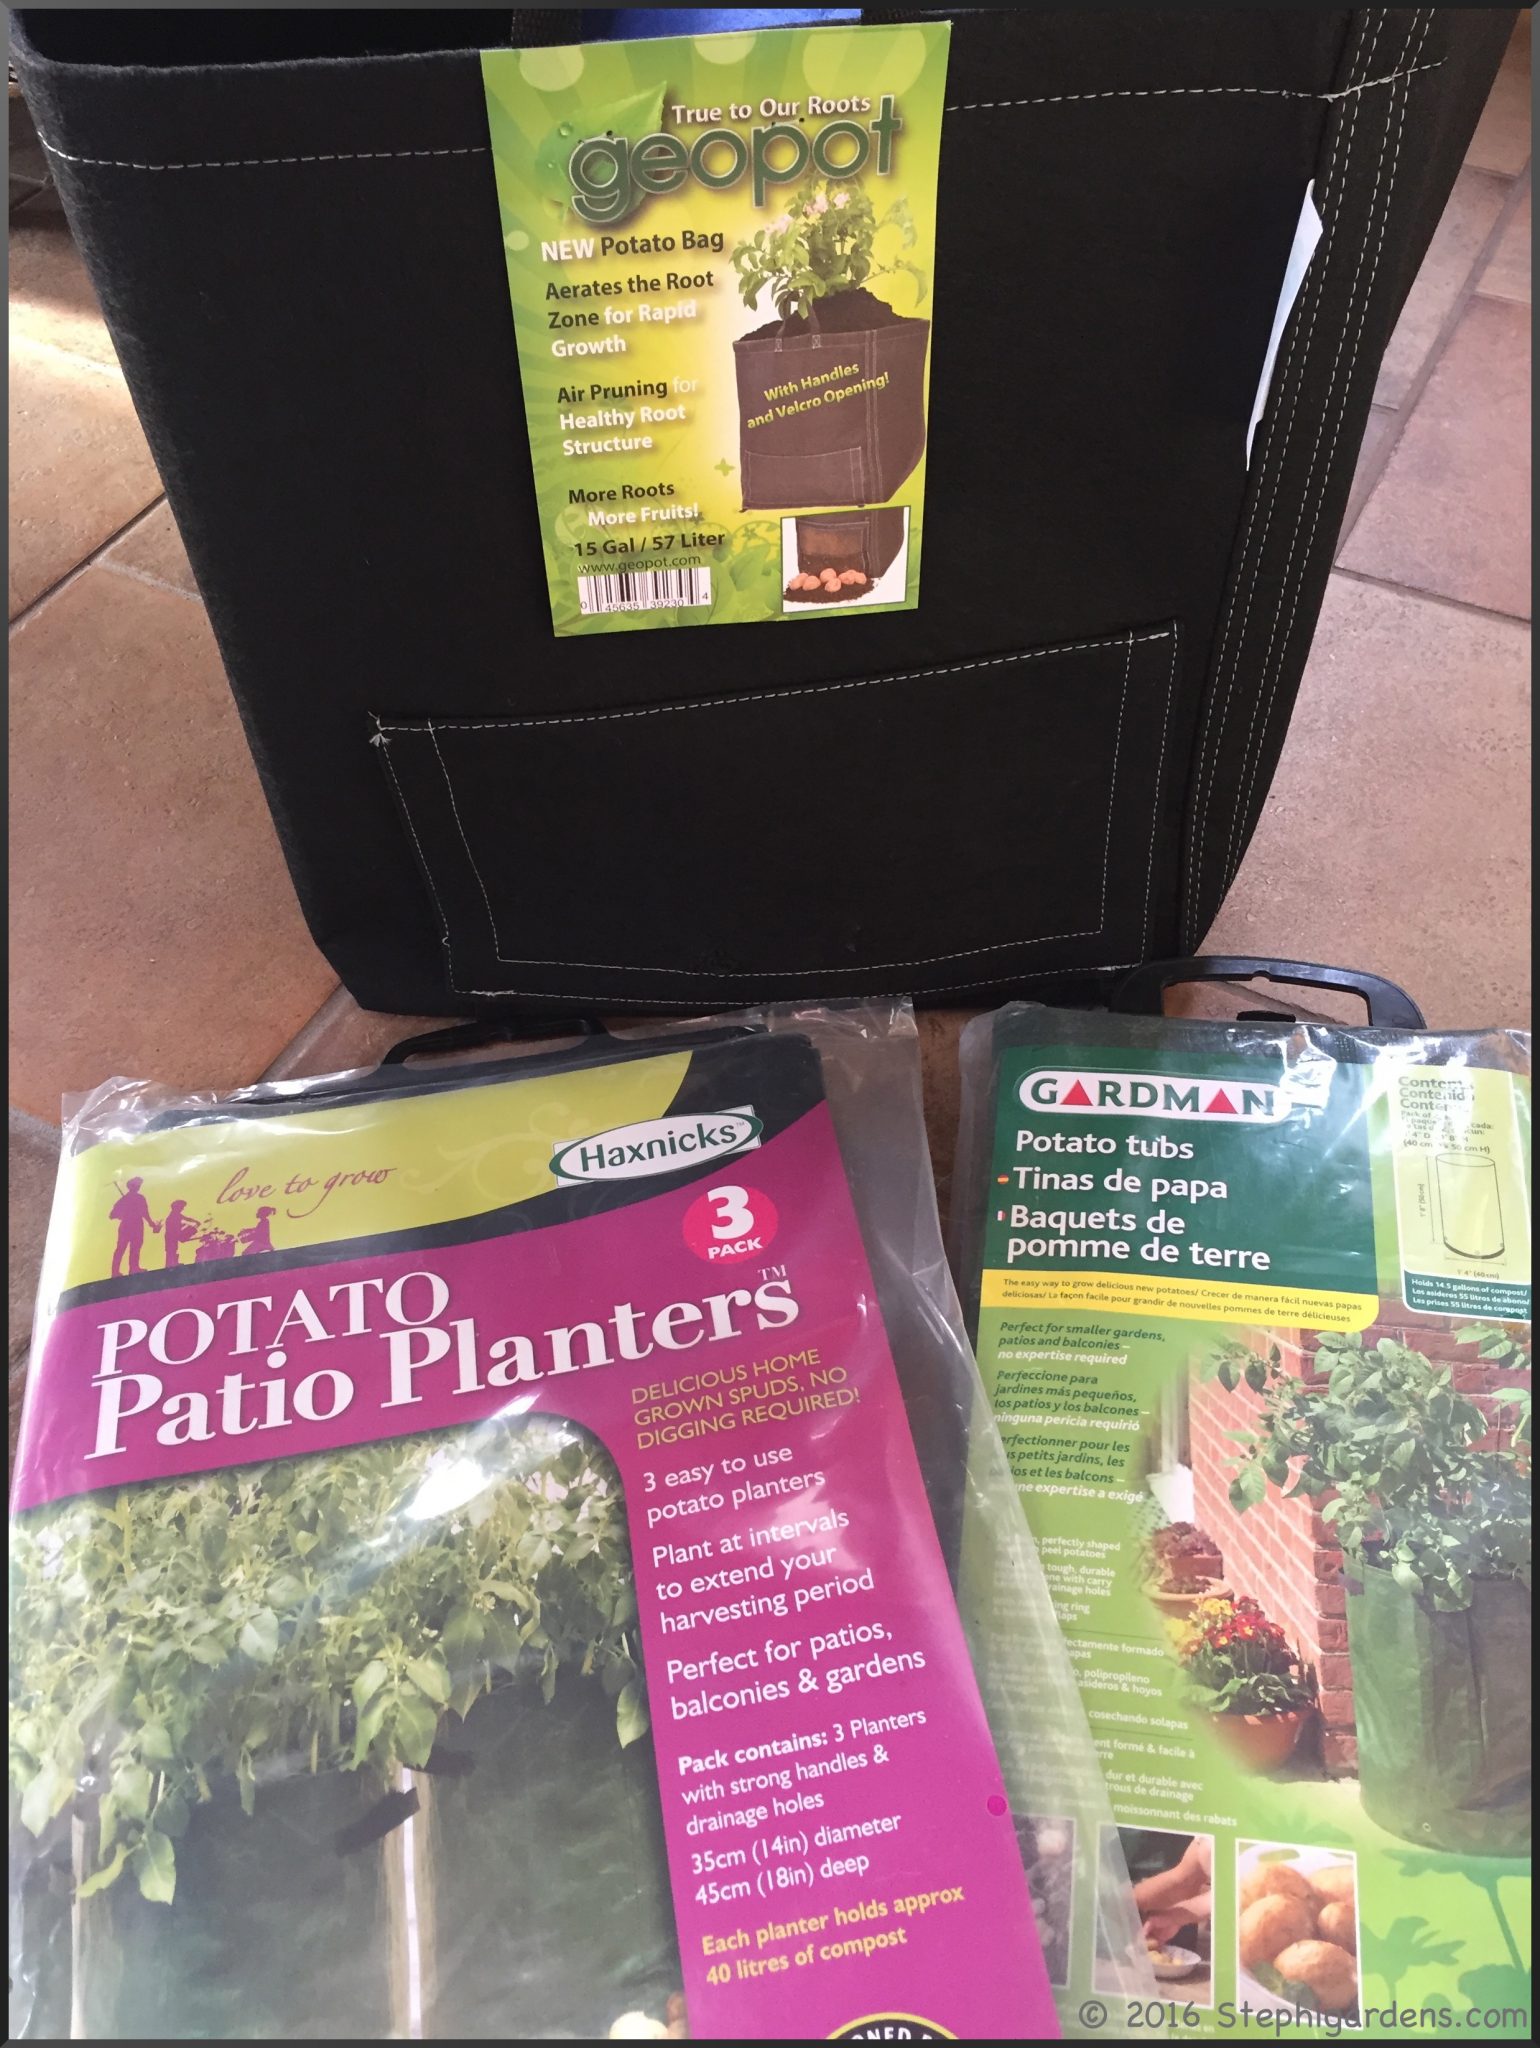
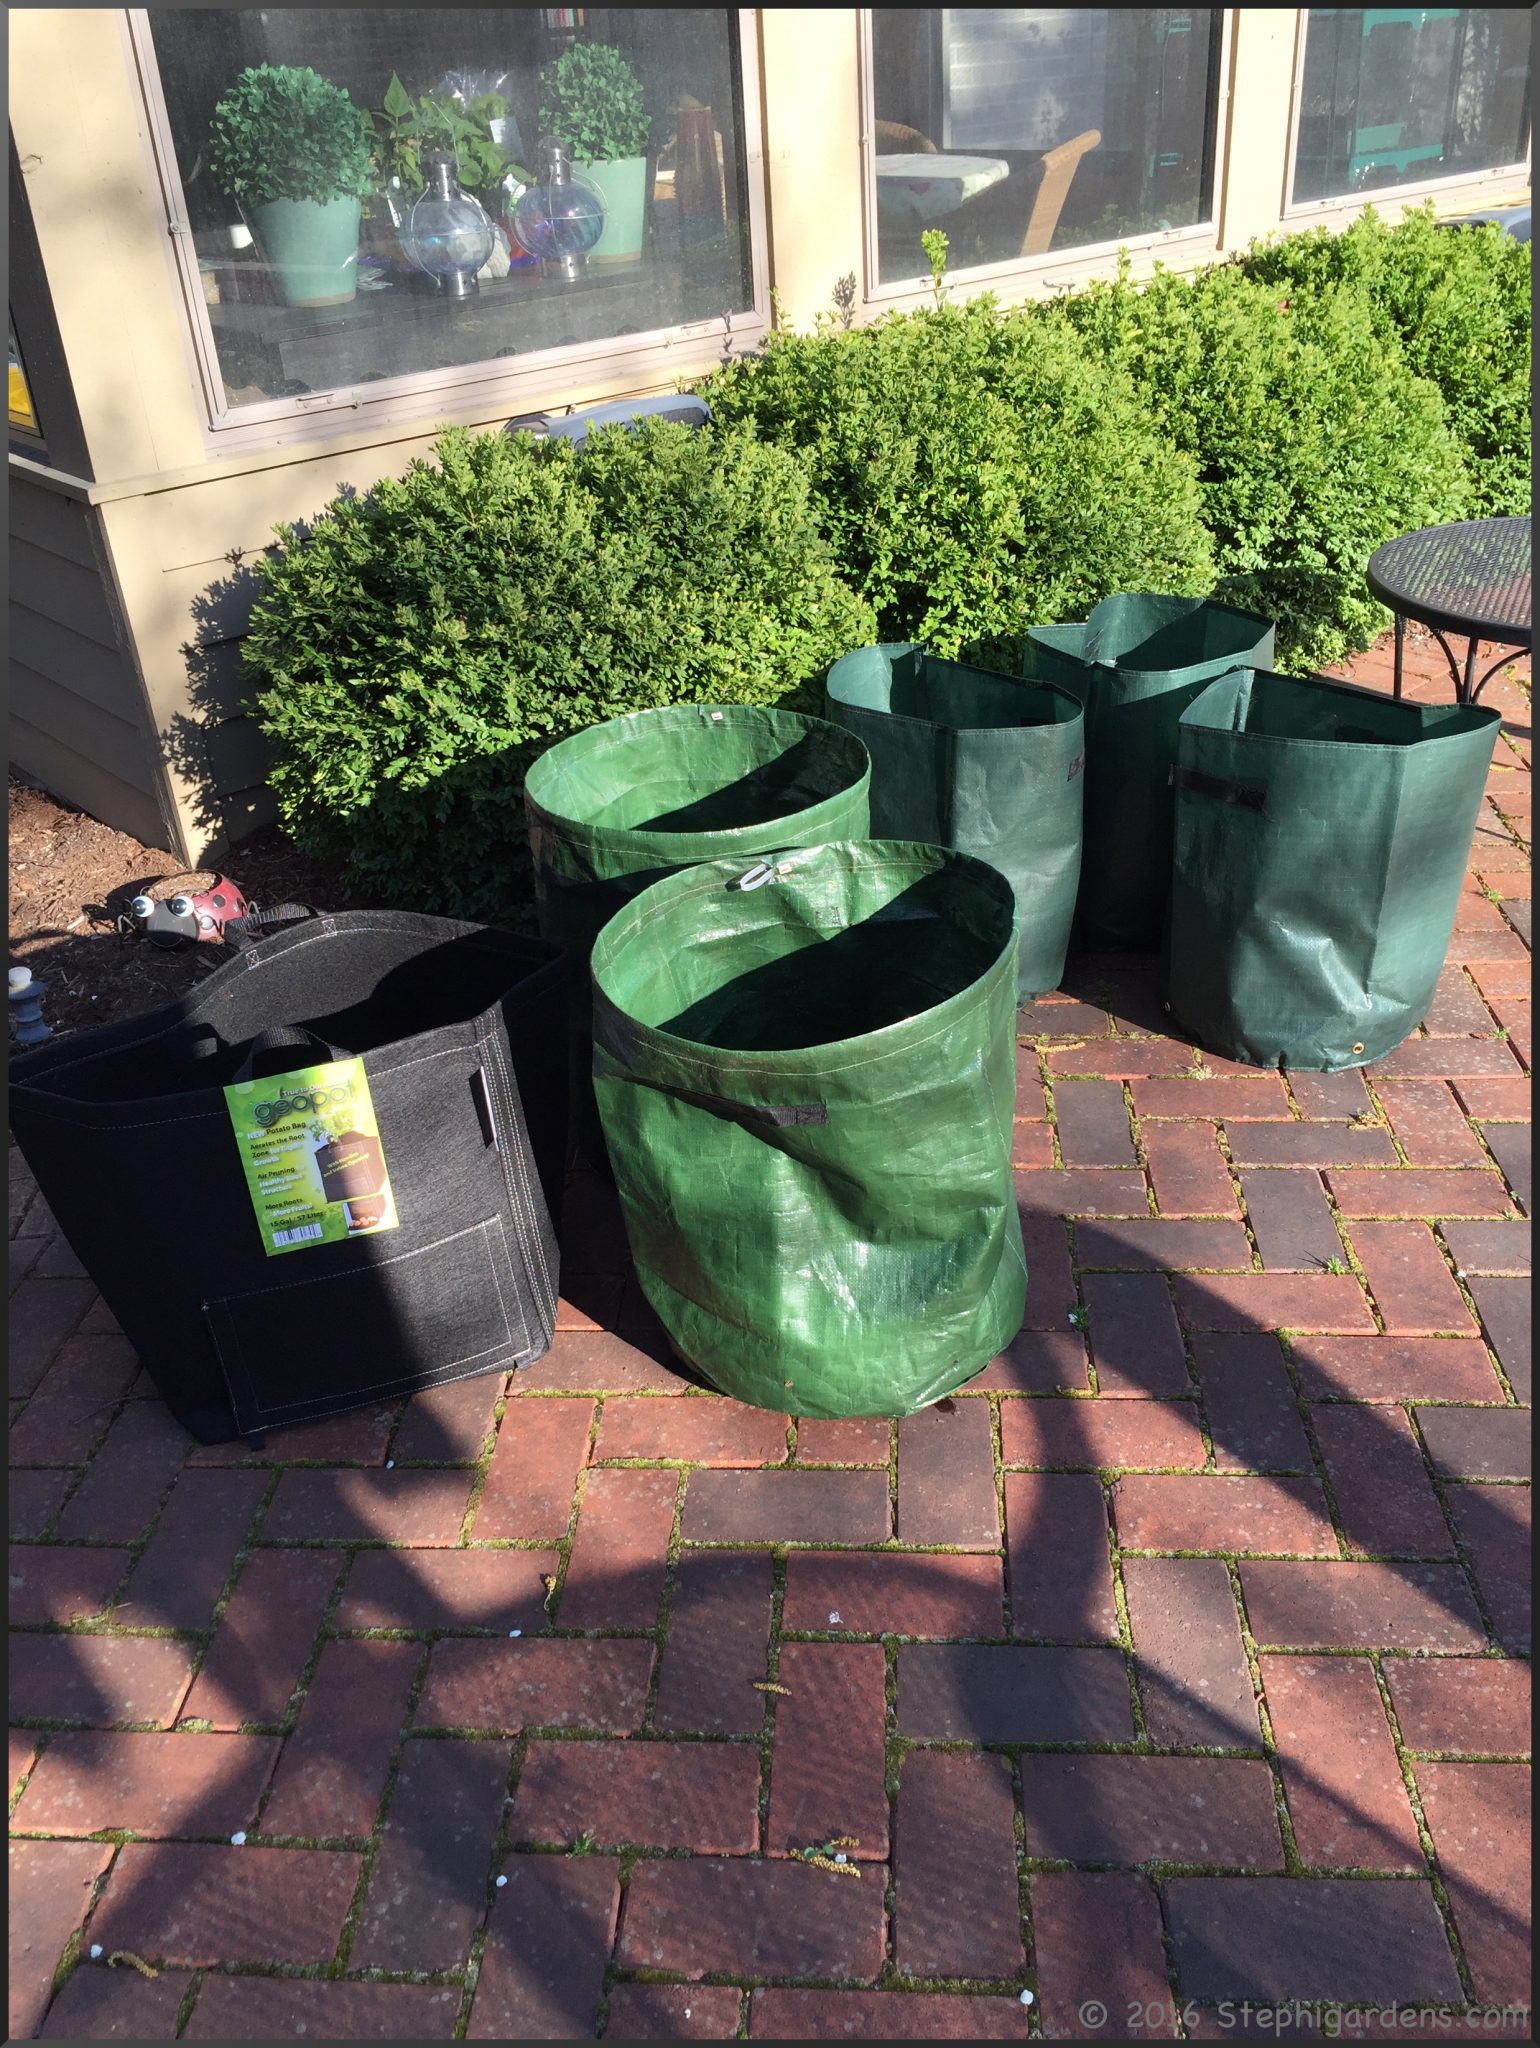
The first 2 types had velcro access flaps, all 3 had handles and drainage capabilities and all seemed very sturdy.
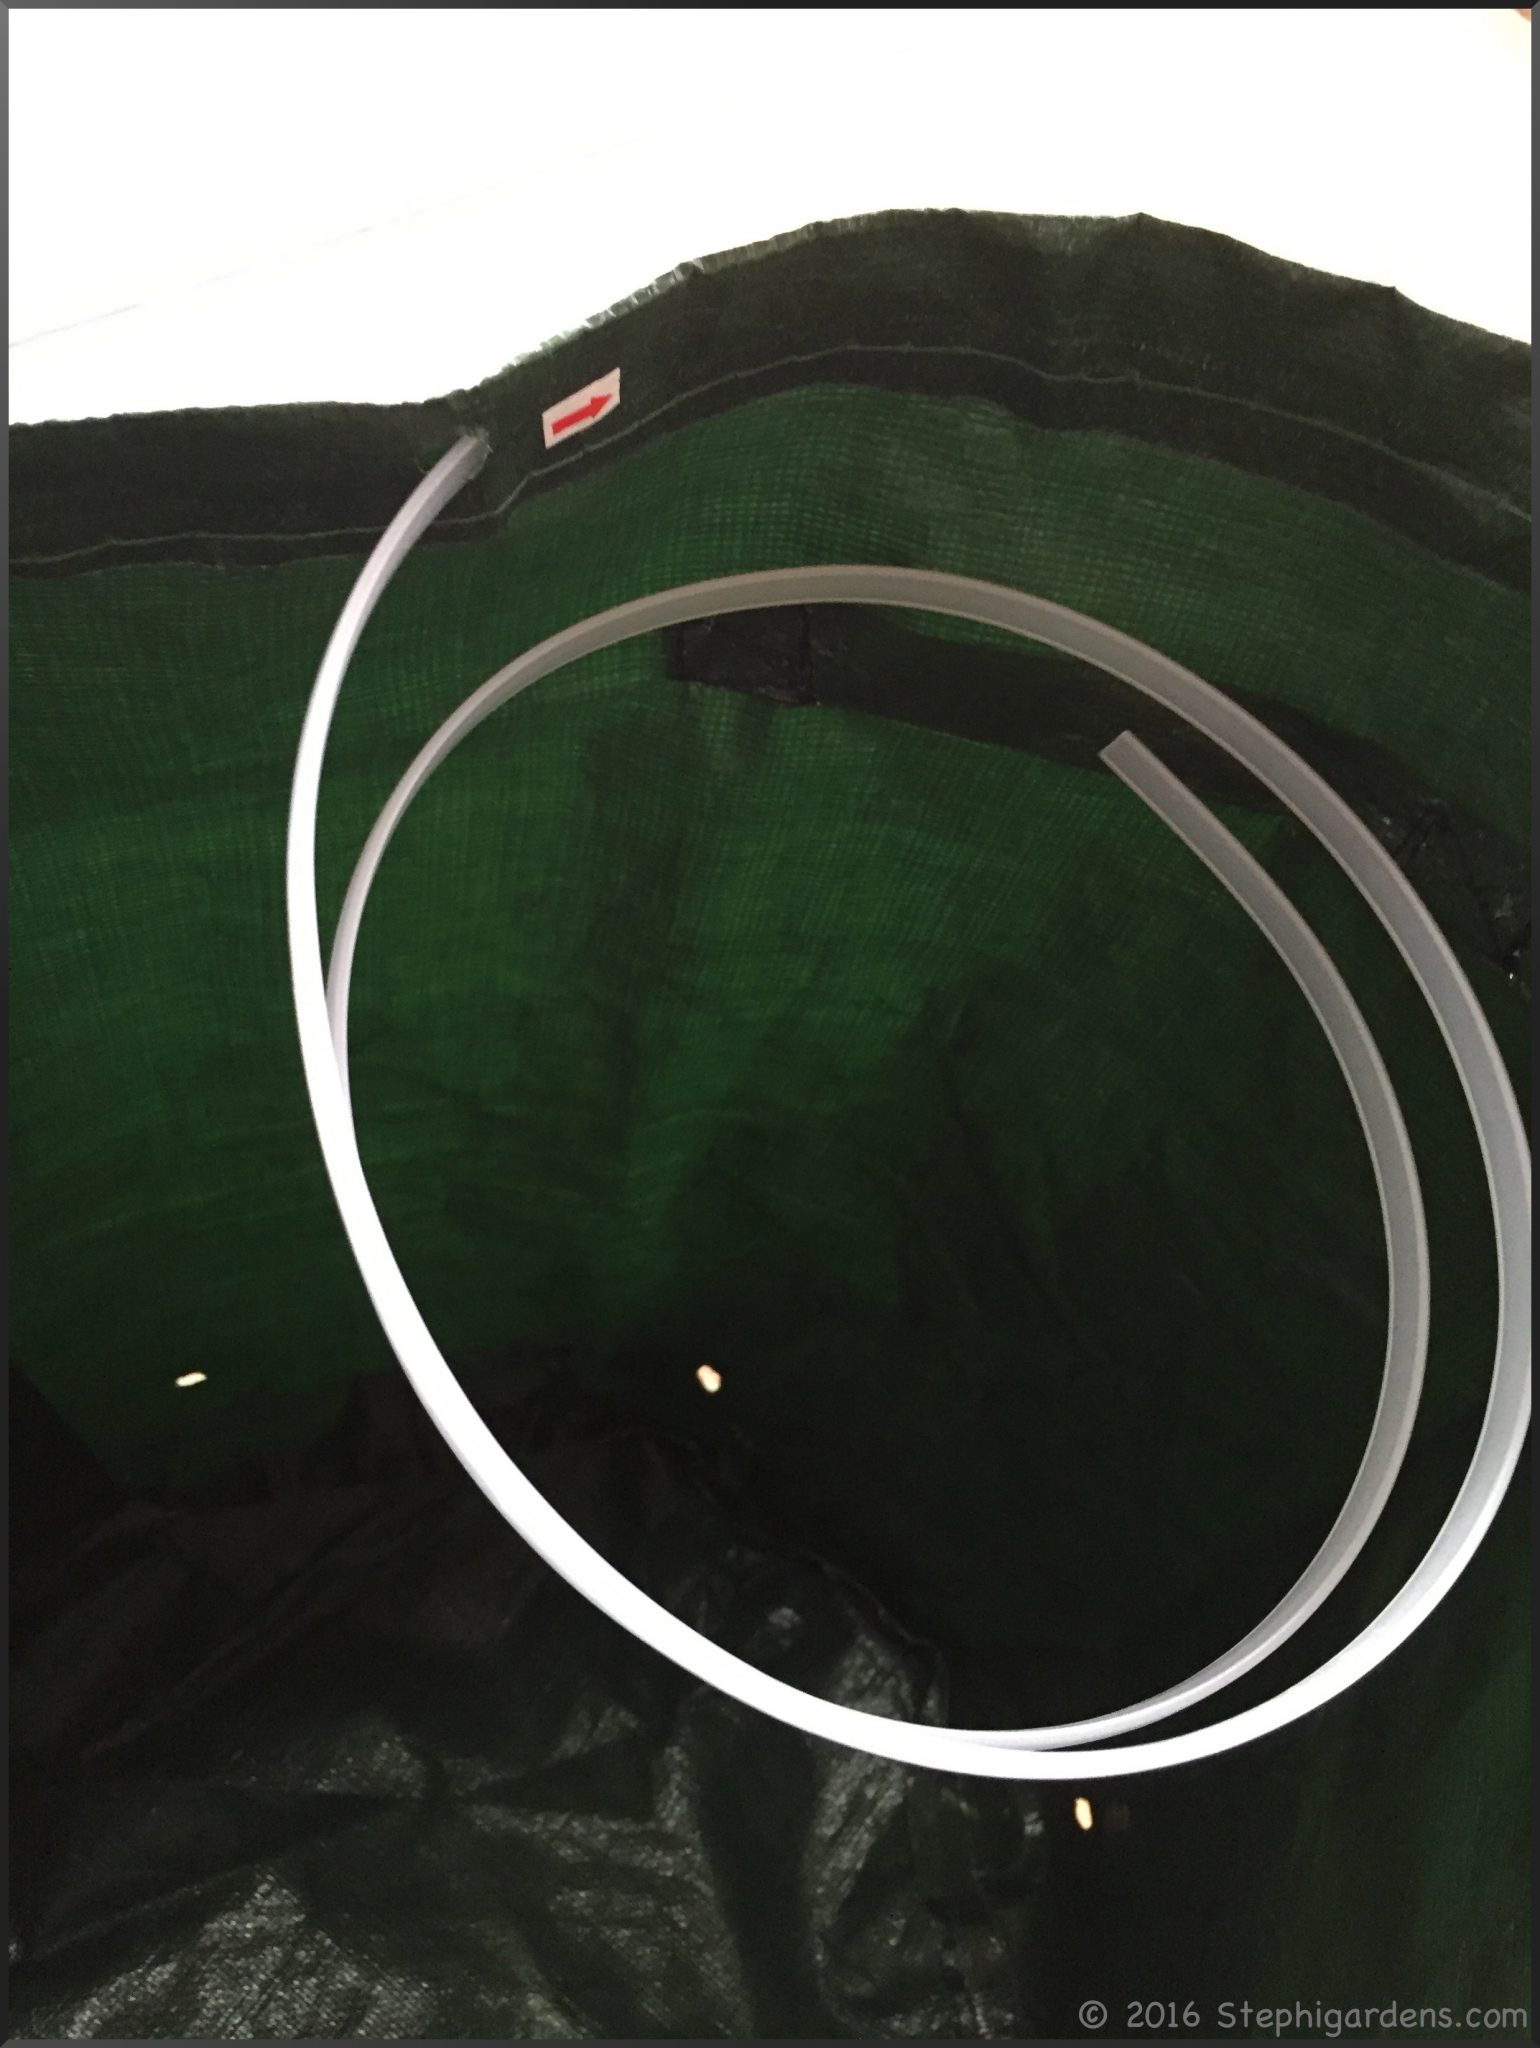
The Gardman bags had a plastic reinforcing ring to keep the bag upright. Some reviewers mentioned they had trouble feeding it through, but I had no problems. It helped keep the bag open until the soil was high enough to push out the sides. The Haxnicks Potato Patio bags didn’t have the additional support, so I just rolled down the top a few inches to keep it open.
I used a 1:1 moistened potting soil and compost mixture in the bags. Add about 4 inches of soil in the bottom of the bag and lay your cut seed potatoes, eye side on top, evenly spaced. I put 5-8 seed potatoes pieces in each bag.

Cover with about 3 inches of moist soil.
Soon after I planted my potatoes we had a late frost, so into the porch the bags went for a few days. Luckily they were still light enough to move easily. Not so easy later in the season when they were full of dirt!
Finally, I placed the bags in a sunny location and kept them watered.
The soil should be kept moist, but not soggy. After the sprouts get to be about 8 inches high, add about 4 more inches of soil to cover.
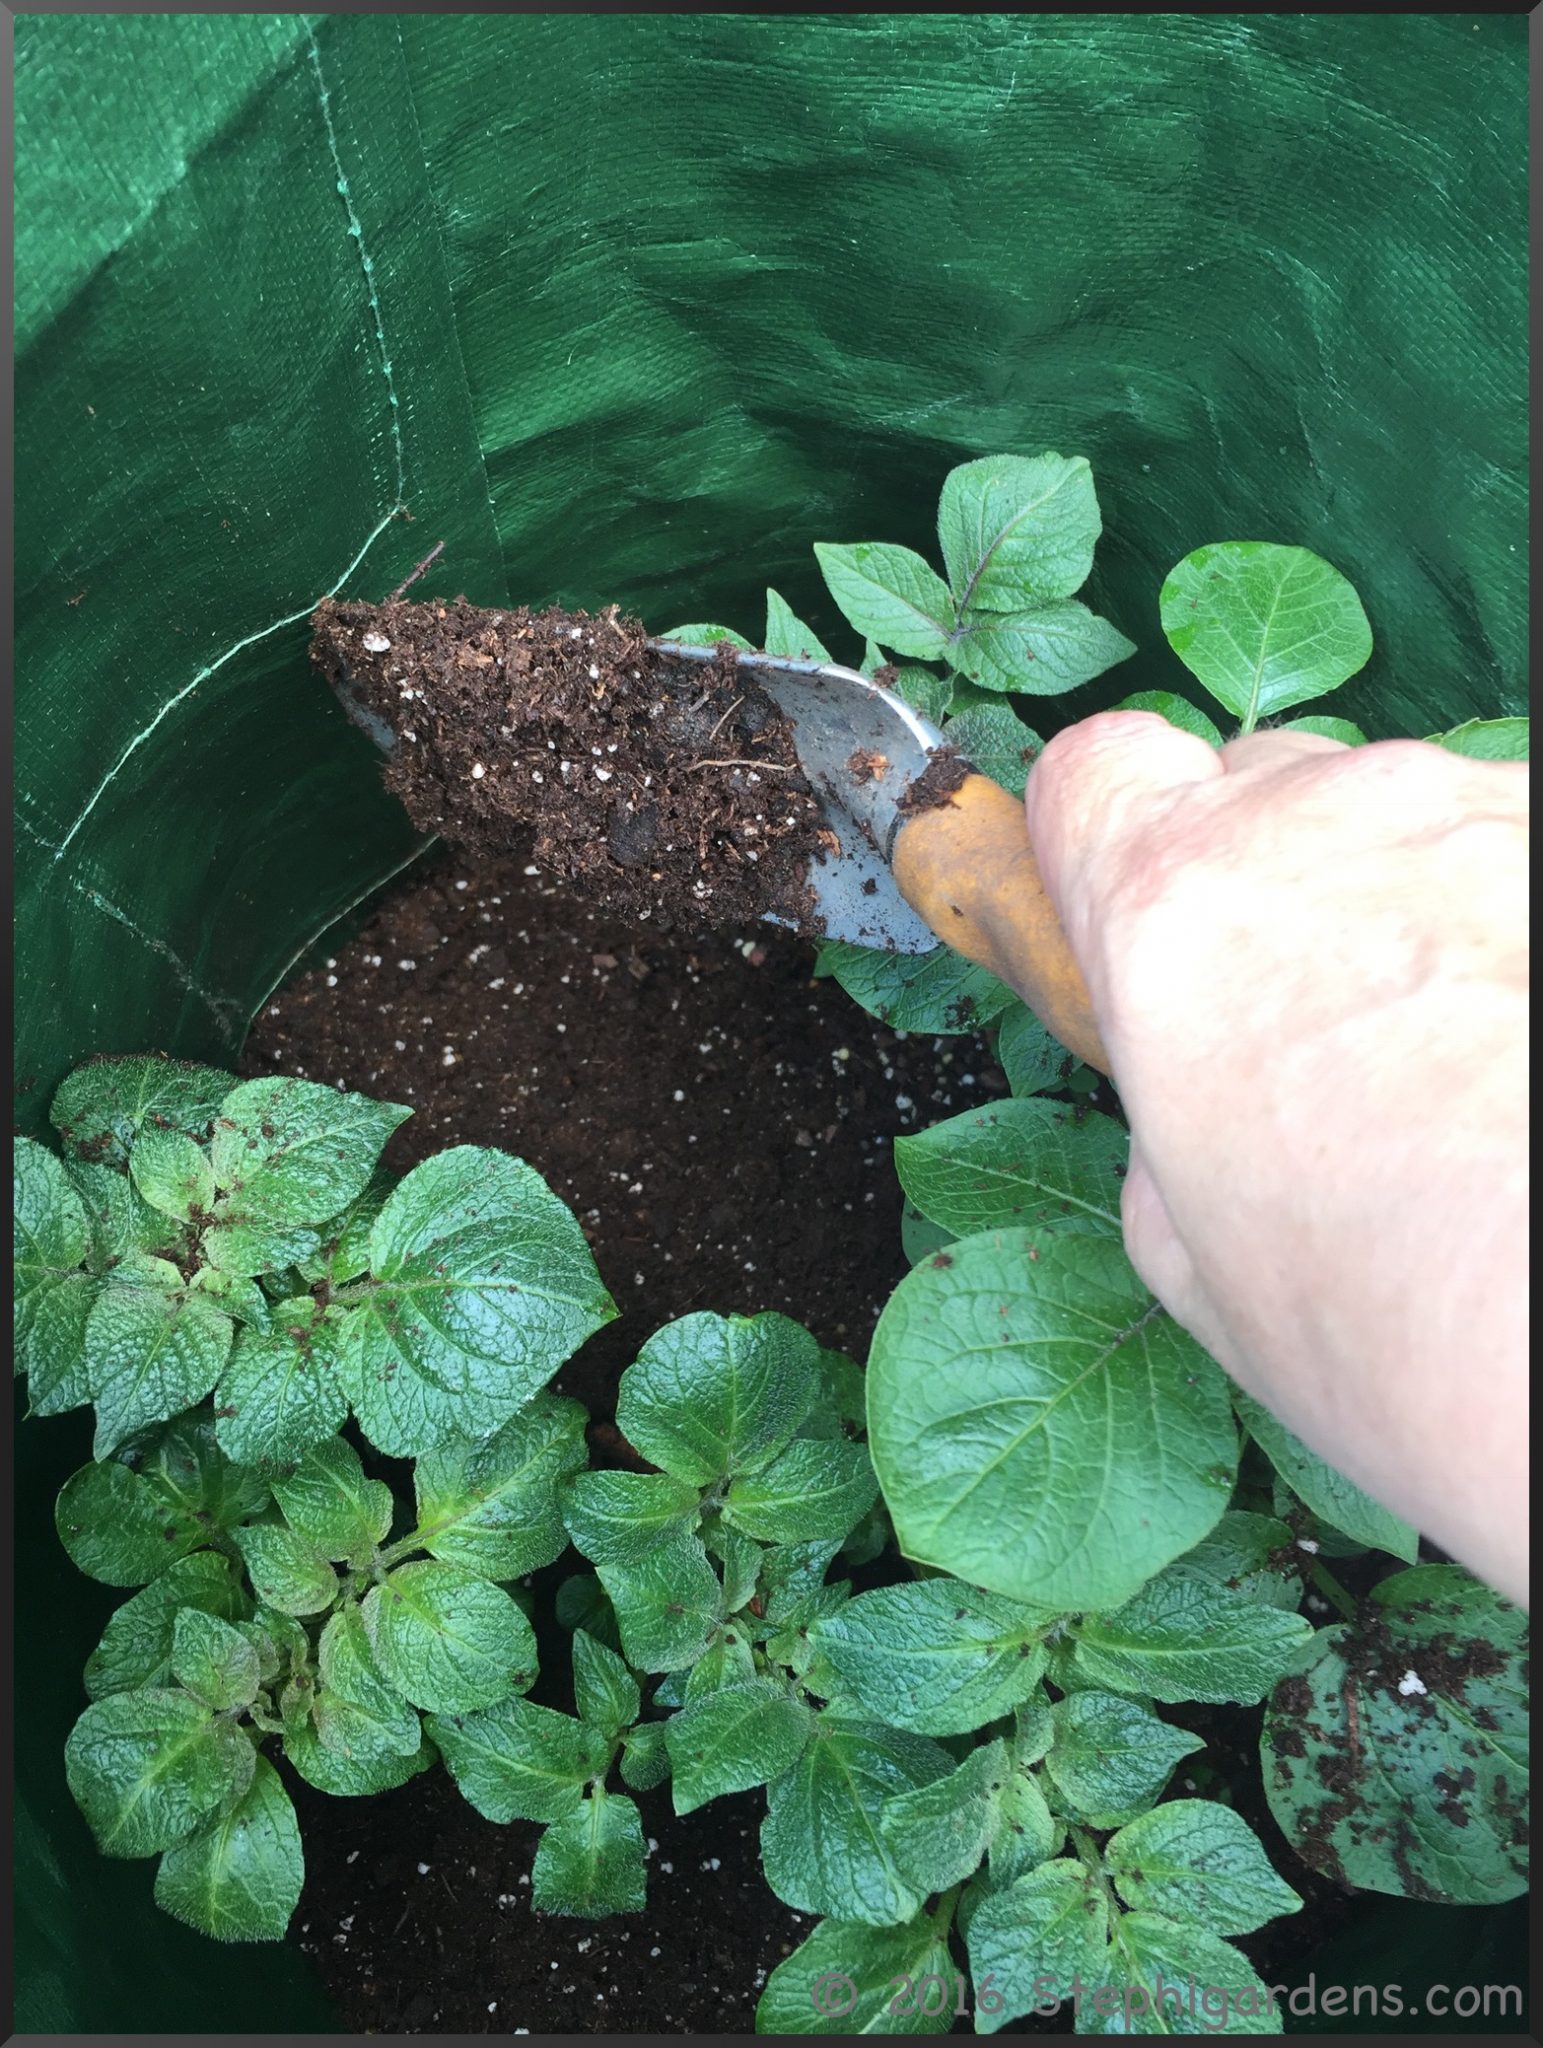
Continue until the bag is full of dirt. Potatoes grow along the underground stems, so keeping more stem underground increases yield. Keep the bags in full sun, keep the soil moist and let them grow.
To be continued….
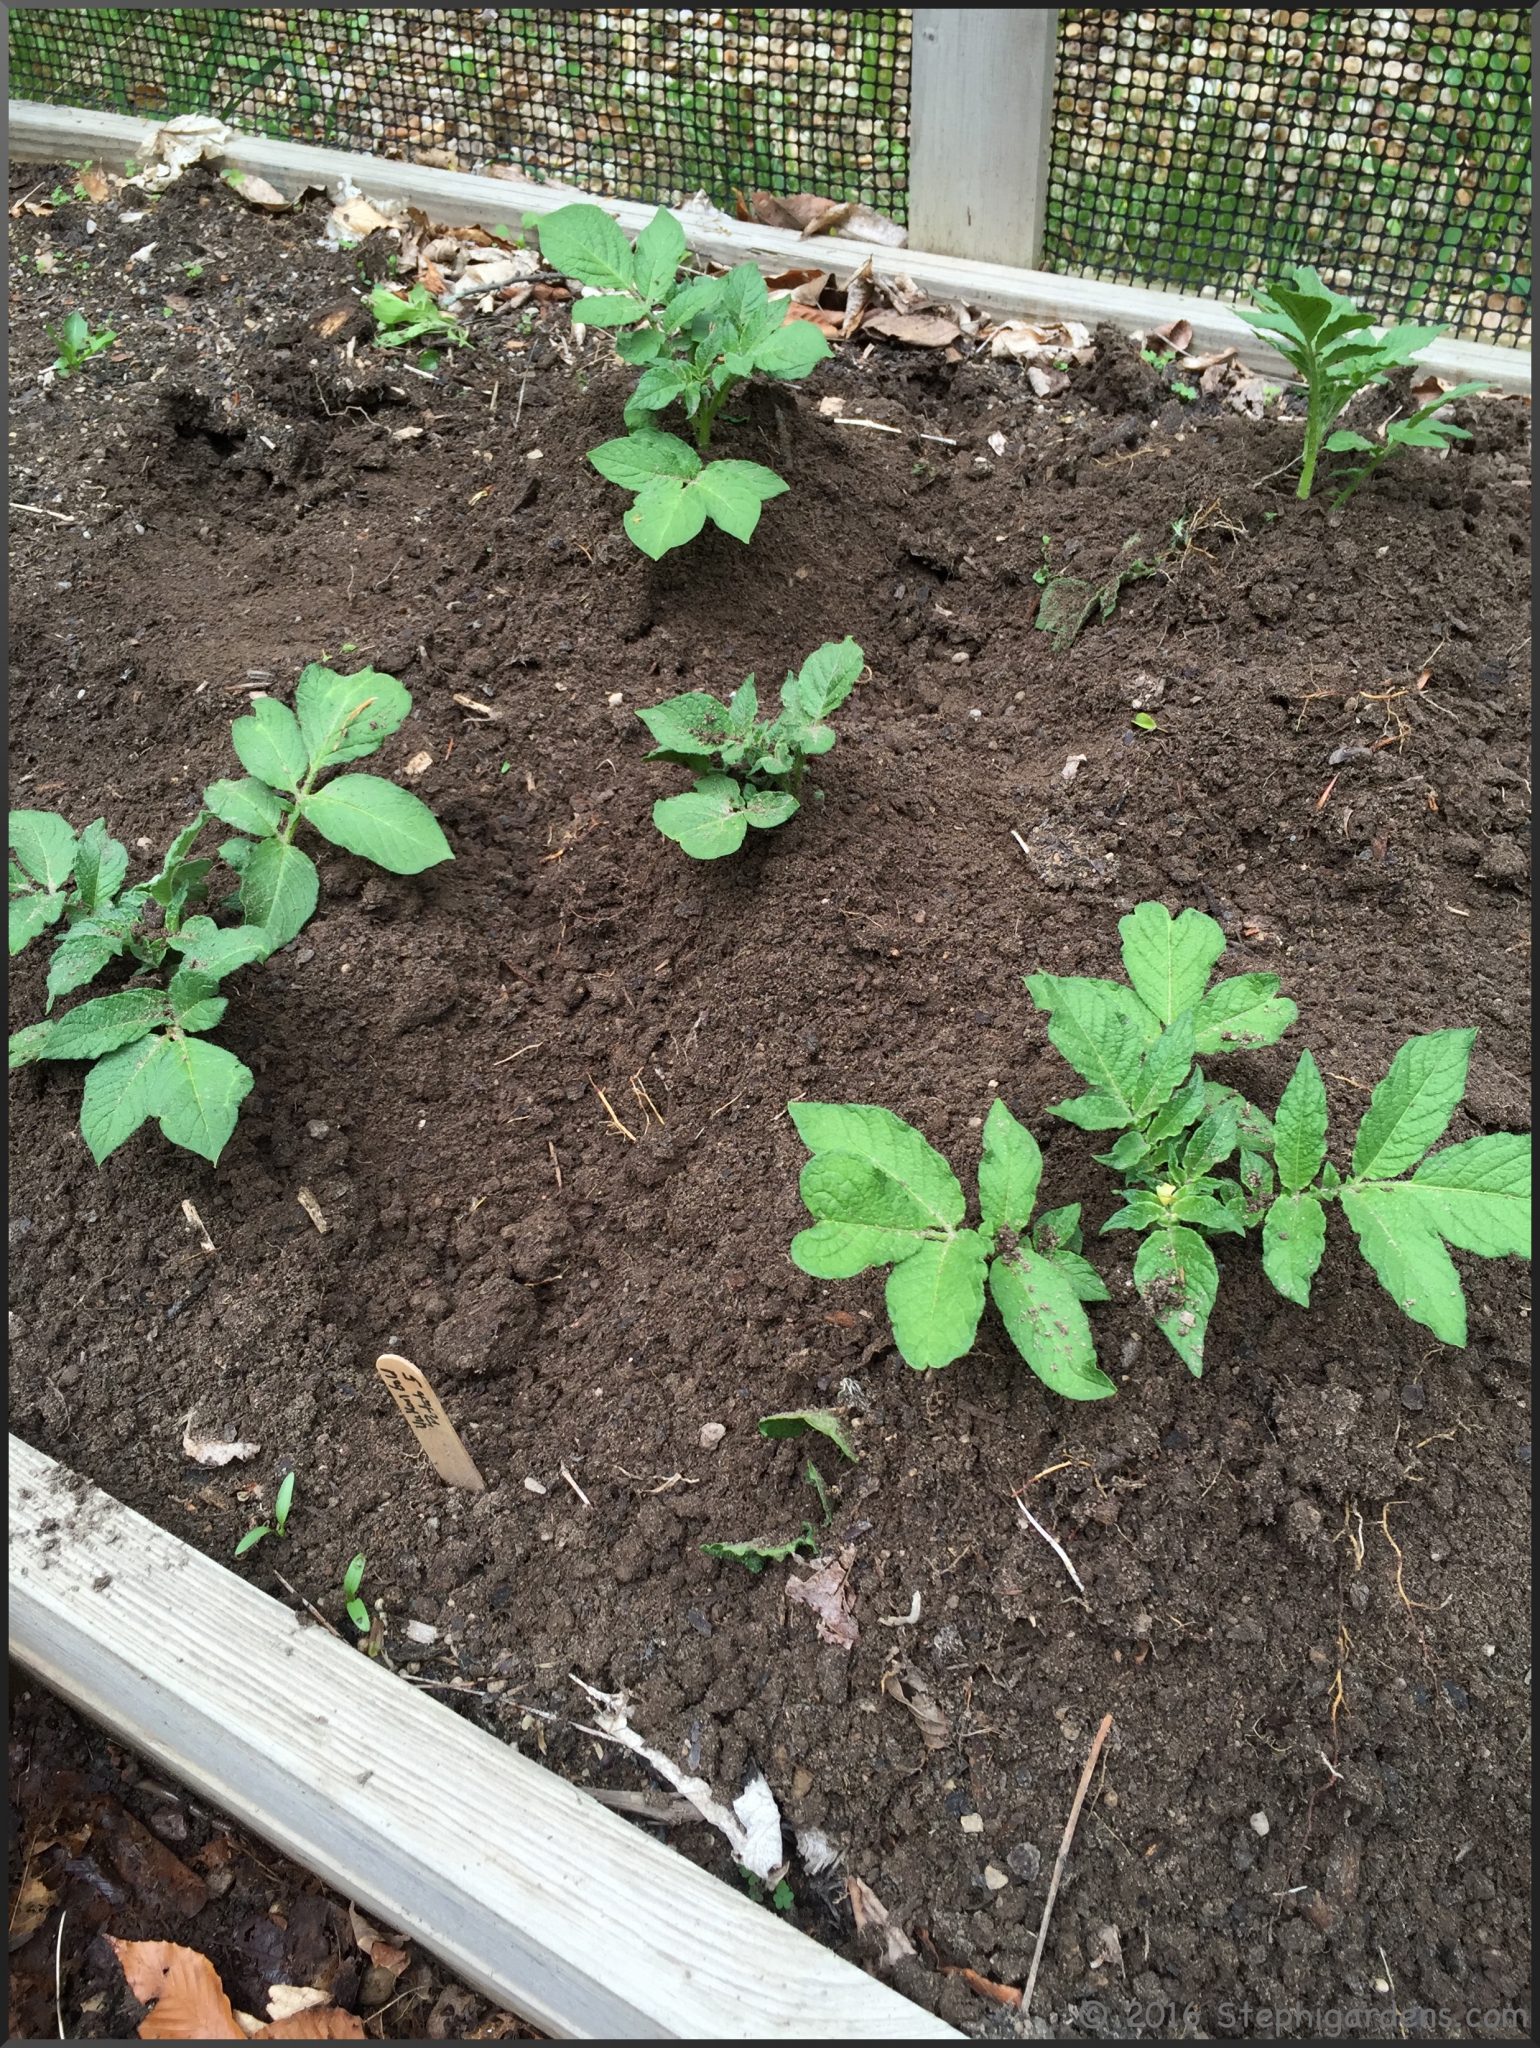
As an alternative to growing in pots, if you have the space potatoes can be grown directly in the garden using a hill method. Dig troughs (or holes if only a few potatoes) about 4-6 inches deep and lay the prepared seed potatoes in them about 6-8 inches apart. I planted Yukon gold potatoes by this method.
As the plants grow, continue to cover the foliage with surrounding soil creating hills to bury as much stem as possible. This increases yield, and keeps the potatoes from sunlight which causes them to turn green. The green color is actually chlorophyll which is harmless, but it signifies that there is a high level of the toxin solanine. A little green isn’t harmful, but it’s generally a good idea to peel off any green skin or cut away green sections before cooking.
to be continued….
Next post–How did they turn out????