Pattypan Squash

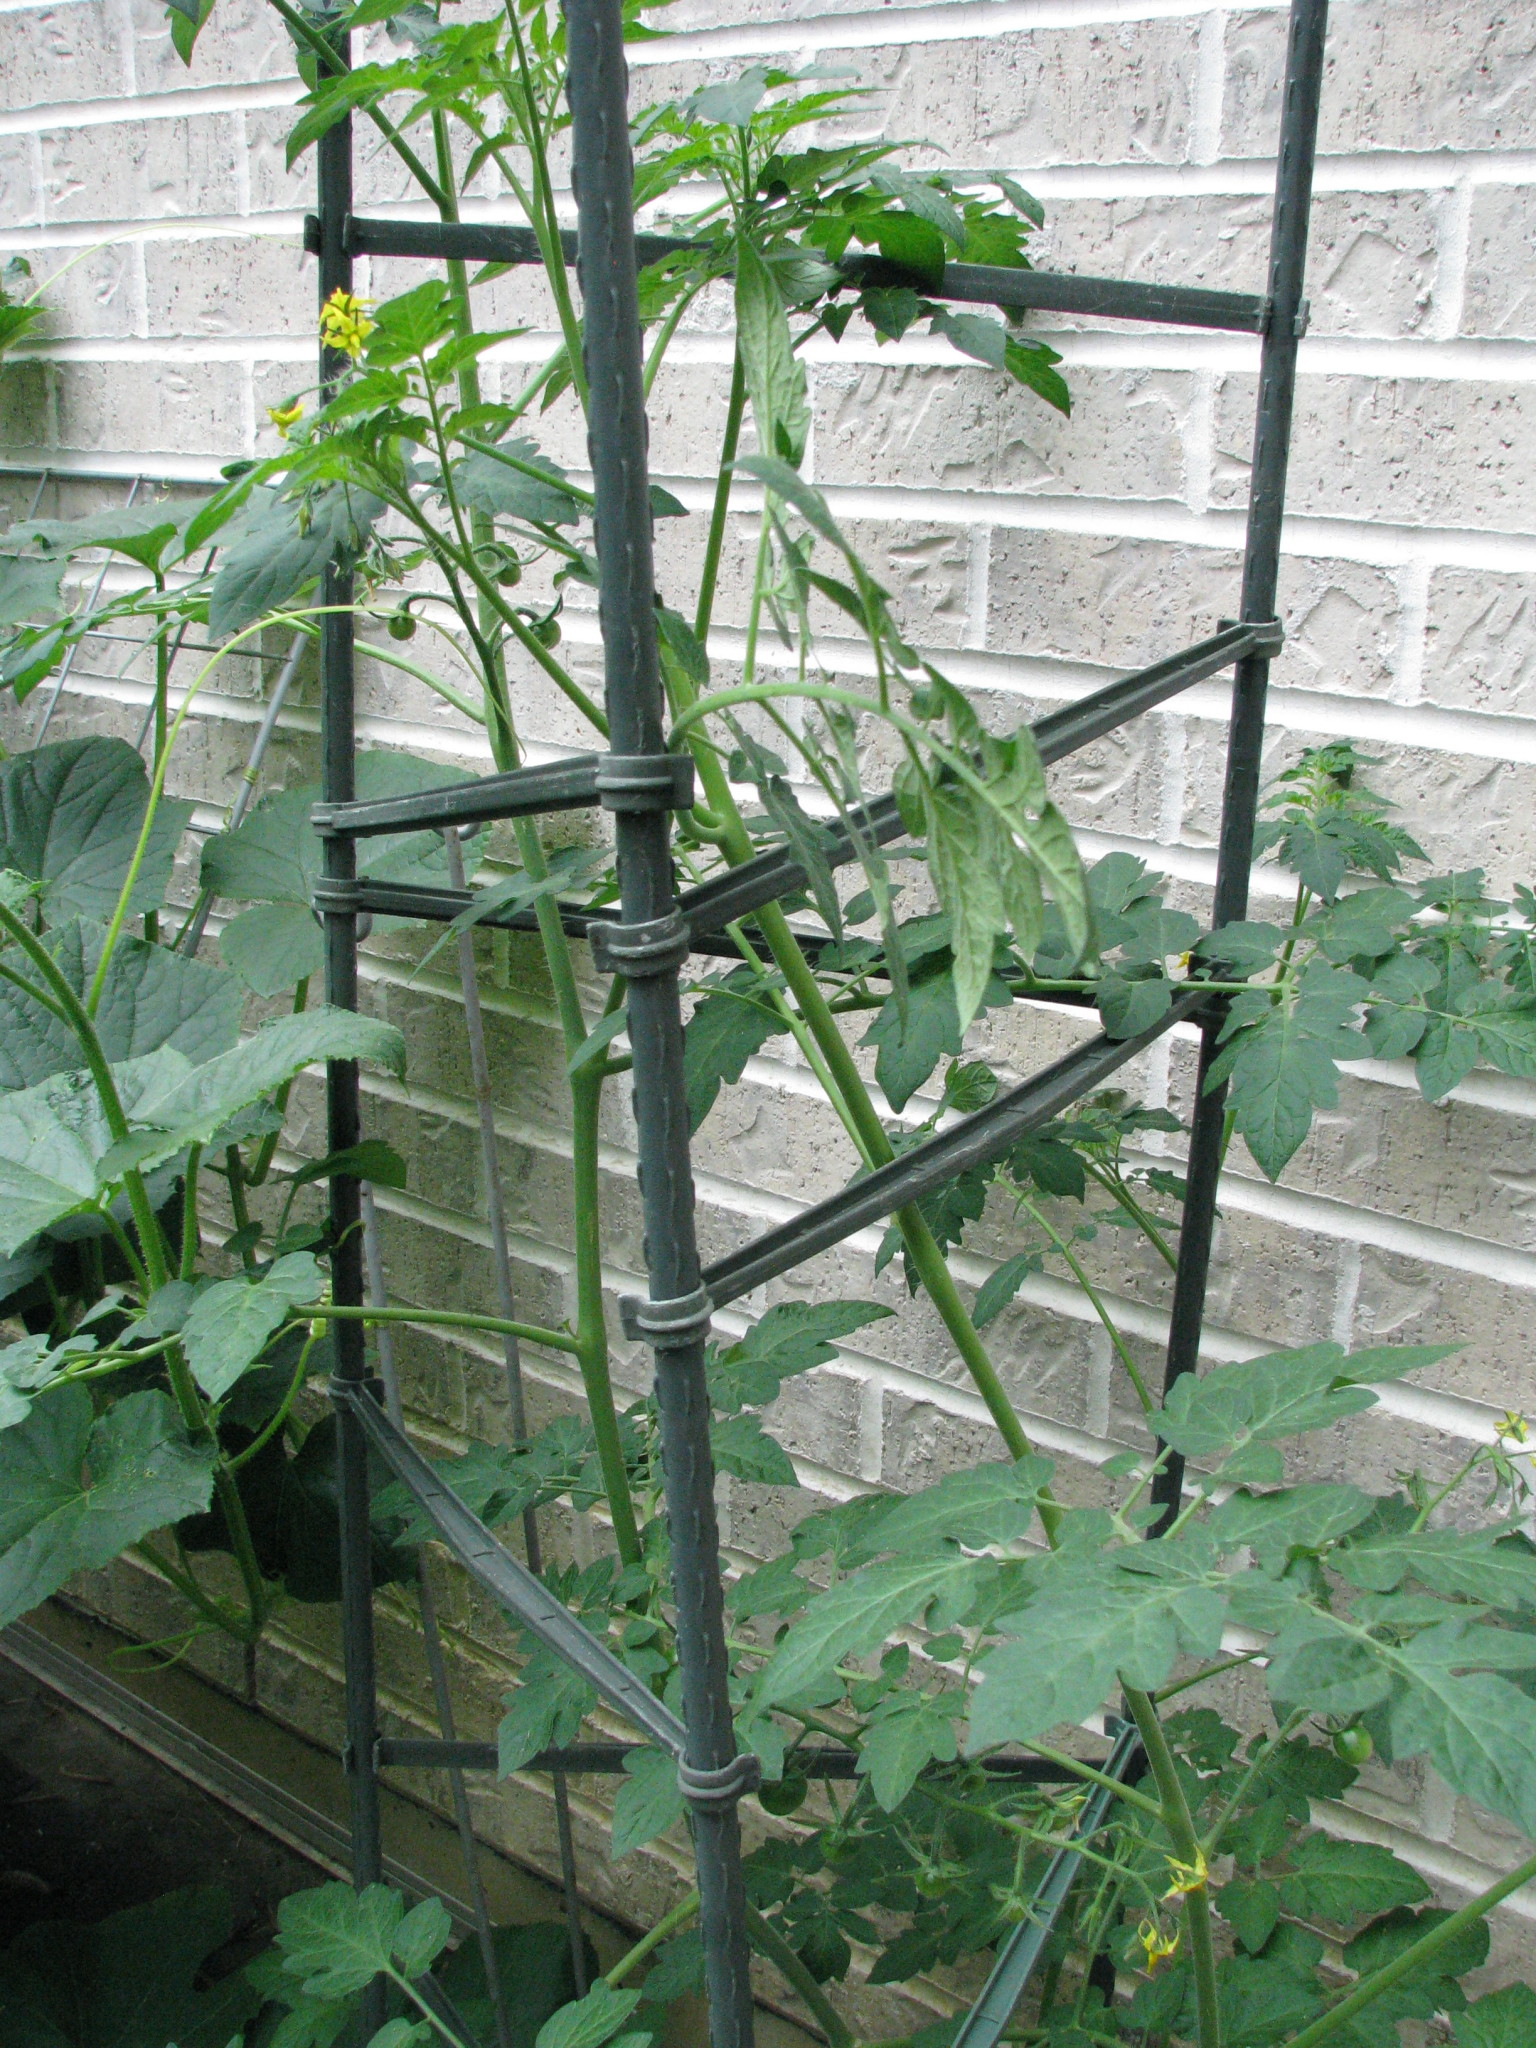
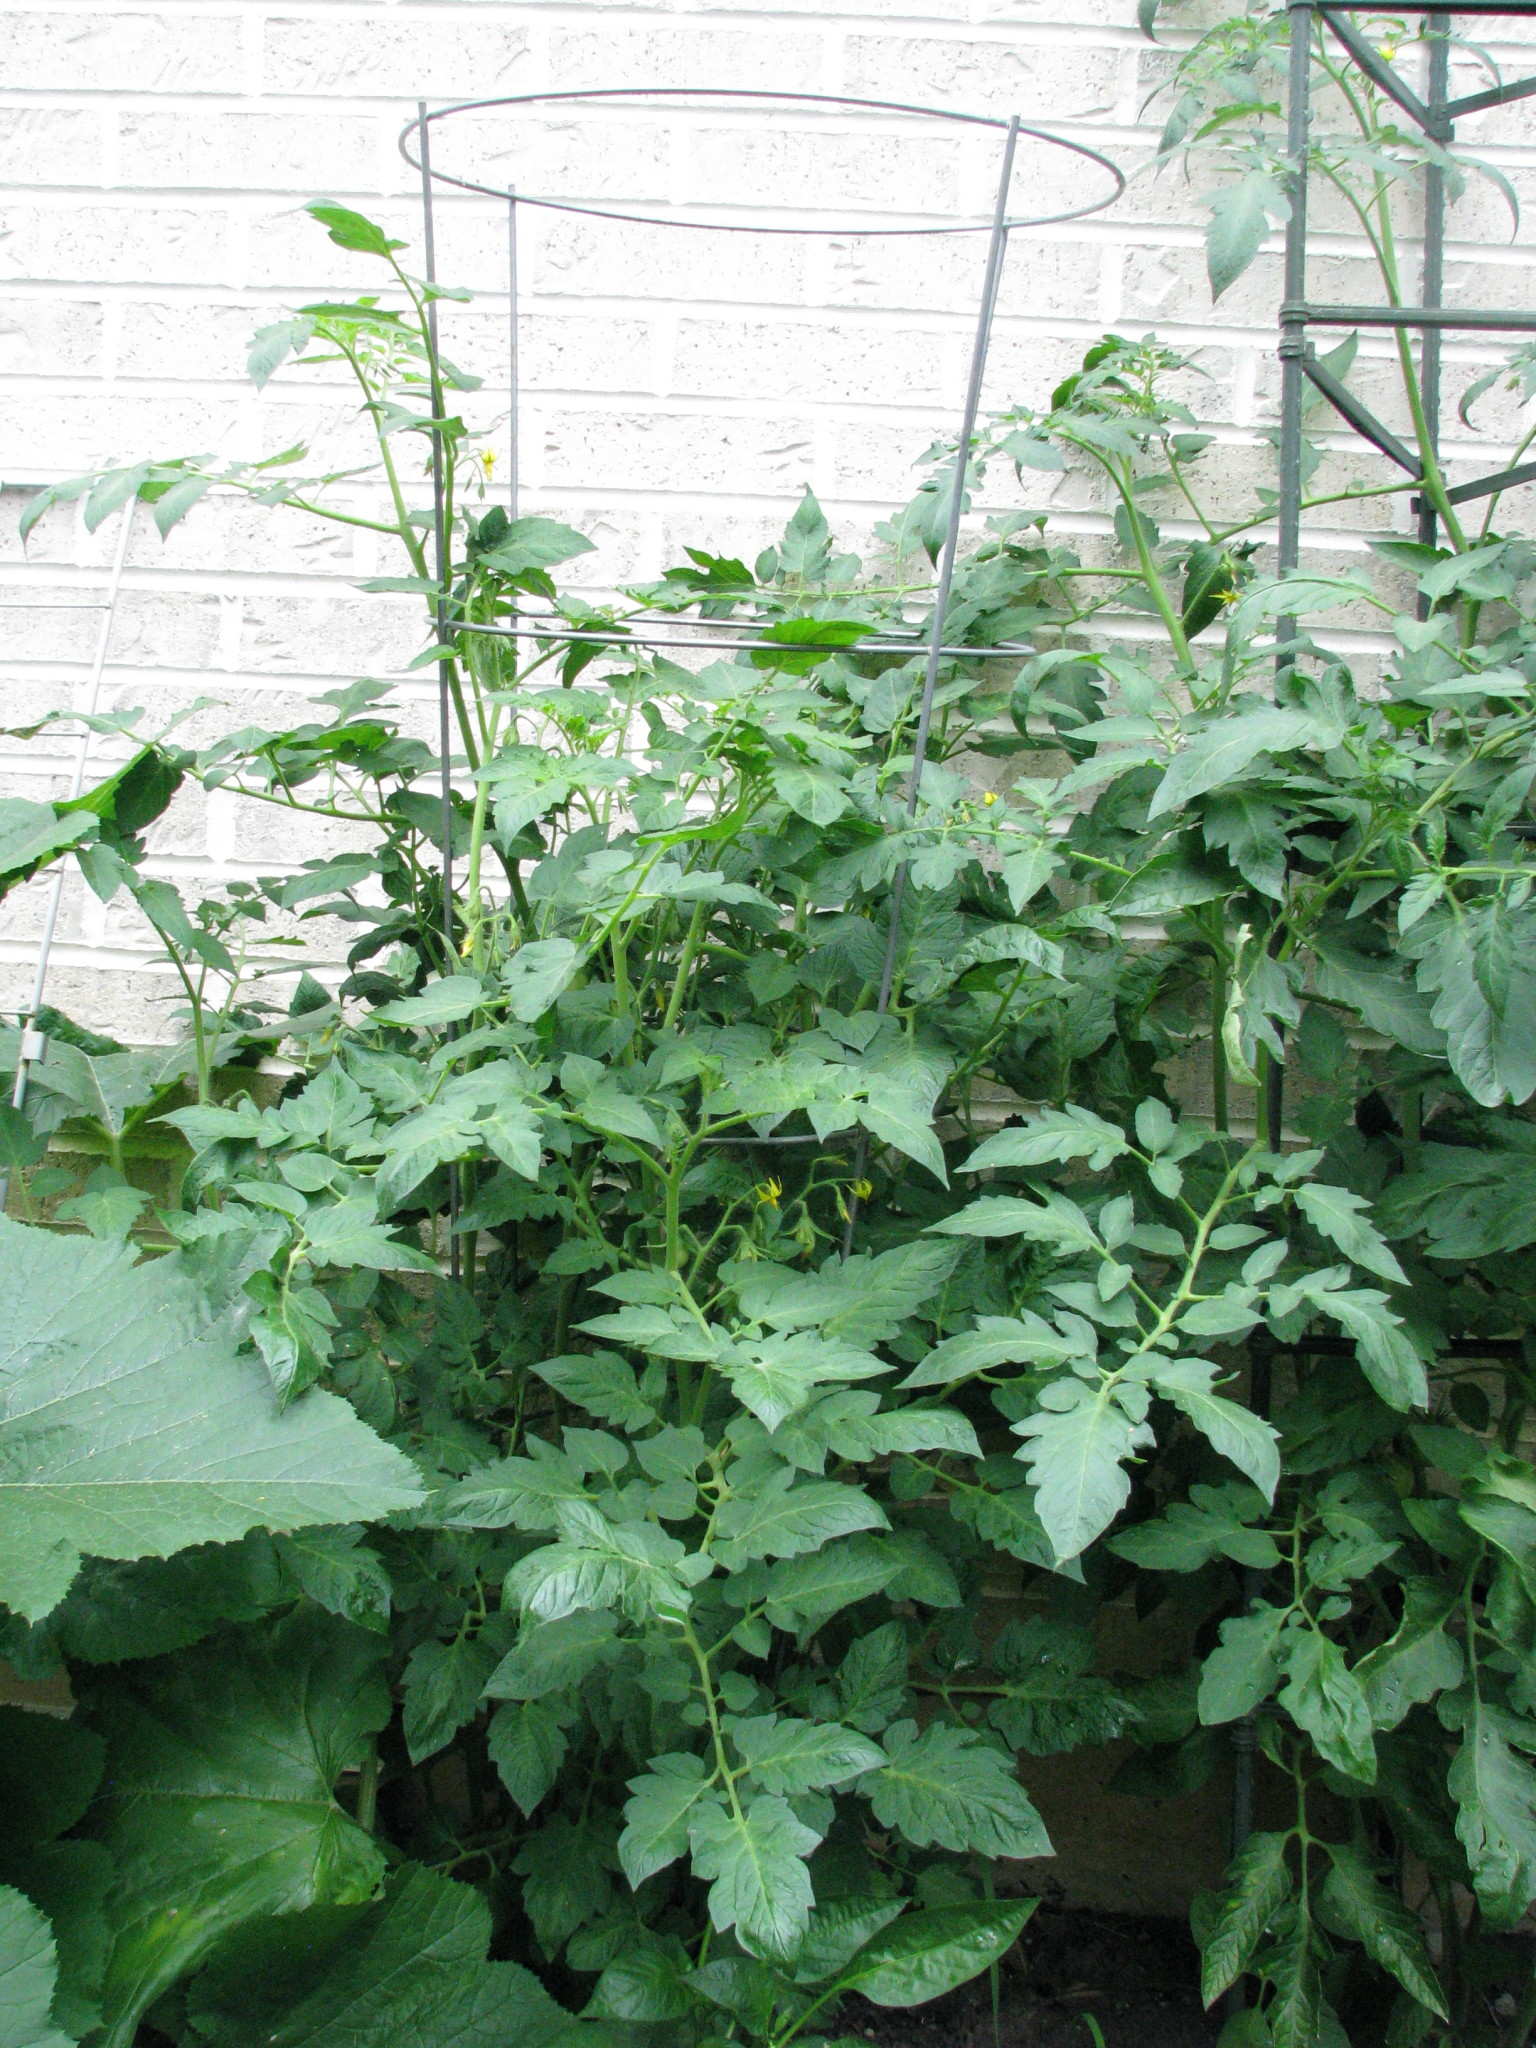
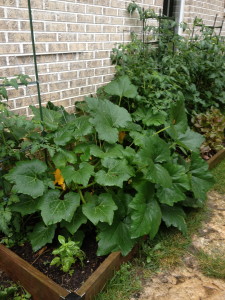
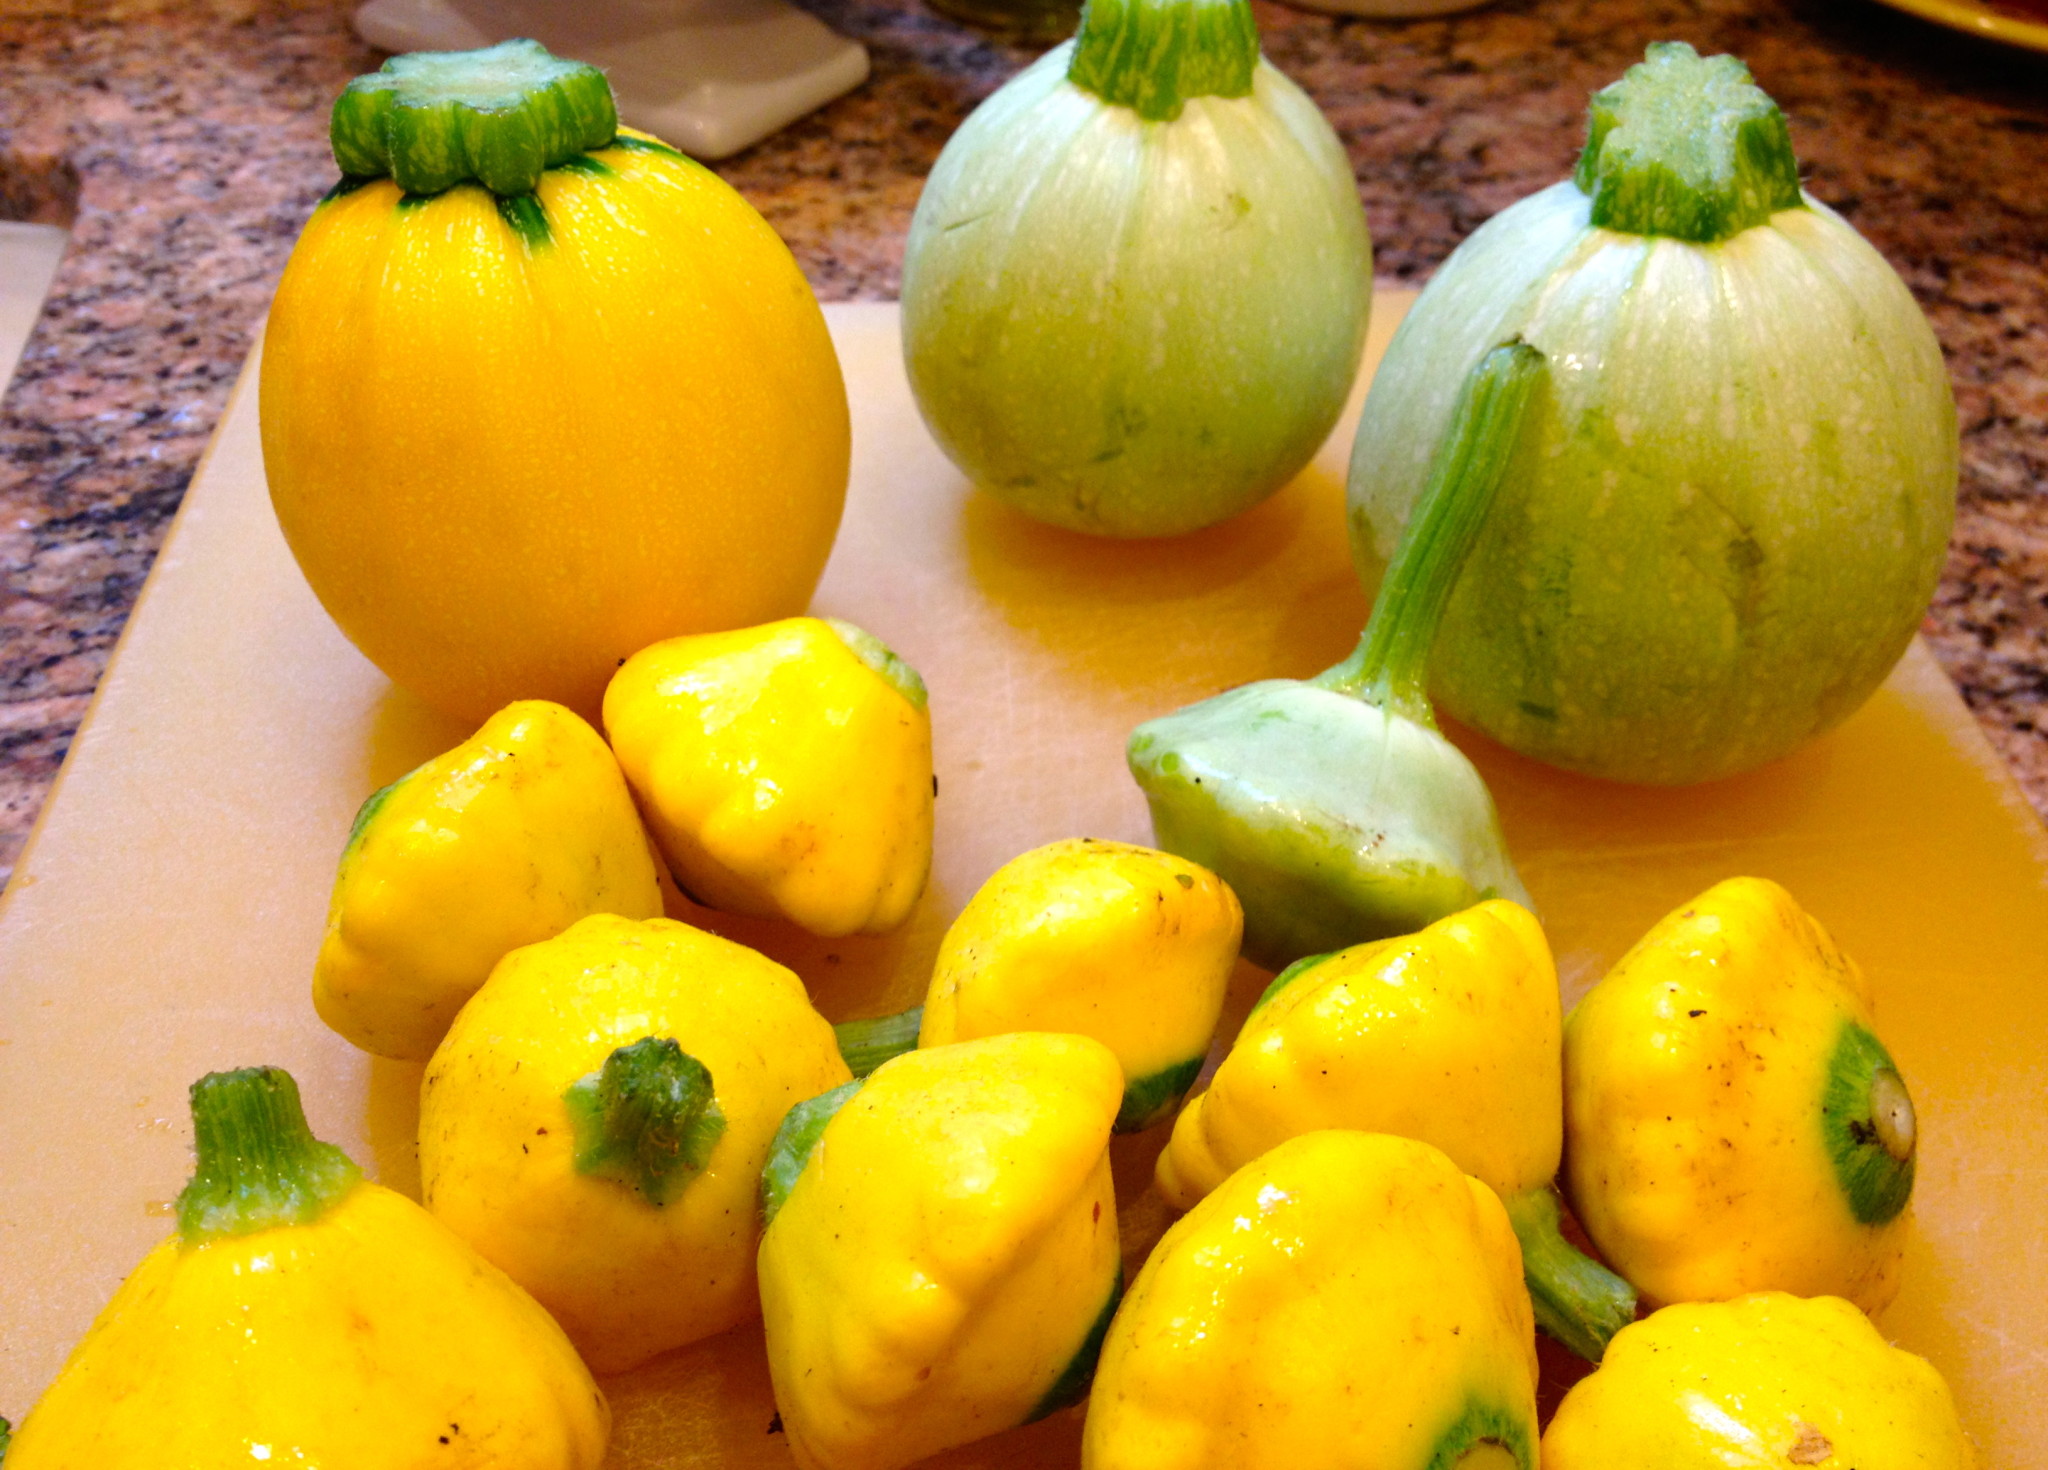
At the farmers market last week, there was a giant tub of pattypan squash at one of my favorite vendor’s tent.  Usually I pass right by them, not having any idea what to do with those weird little things.  But this time I decided to give them a try and bought a bunch of them (and some funny globe looking ones).

IMG_2808

They sat in my fridge for about a week until I decided I’d better cook them.  I looked up some recipes and oven roasting or grilling seemed to be the best option.  I chose oven roasting and they were fabulous!!  I will definitely be growing some next year!

My recipe for roasting pattypan squash:

Preheat oven to 400°F.  Cut off the tops and bottoms of pattypan squash, then quarter.  In a microwave safe bowl, toss with some extra virgin olive oil, cover with plastic wrap and poke a few holes in the plastic wrap.  To speed up the roasting time, I microwaved them for 3 minutes on high, or just until they were slightly soft.  Uncover, and toss with  a little more olive oil and seasoning.  I seasoned mine with generous amounts of Penzys Spice’s Arizona Dreaming.  Toss out onto a oven safe dish, cook for 20-30 minutes or until nice and roasted.  It was a hit.  I’ll try the same recipe next with those globe shaped squashes!

IMG_2890


Check your supplies :(

I finally found time to go out and fertilize my annuals, perennials and vegetables. I have always used  Miracle Grow All Purpose Plant Food, either as the water soluble plant food granules I mix into the watering can or use with their refillable garden feeder or the ready to use Liquifeed garden hose system.  All seem to work fine, just depends on what form I can find the food in at the store. I know there’s other plant food out there, this is just what I’ve always used and it works for me. If anyone uses something else, I’d love to hear your experience.

IMG_2908

But, like anything, the best laid plans can go awry. When I opened the gardening cupboard, I apparently had pretty much used up everything last year and never bothered to buy more, or make a note of needing to buy it for this year.

So, I watered with what I had on hand, and then went to the store later in the afternoon.  I did have a problem with the liquafeed dispenser in that it was clogged.  That happened last year too.  That is one downside to this set-up.  It takes a while before you realize the food isn’t being mixed with the water and that you need to get it unclogged.  I never had that problem with the older no-clog garden feeder.  But, the downside is that you have to deal with adding the crystallized food to the dispenser (but that’s not really that big of deal).

To get it unclogged, first I rinsed out the sprayer bottle attachment pretty well to get clear any crystals or gunk.  Then I squeezed the unnattached bottle really hard to get a little spray to come out to clear that little hole.  That seemed to do the trick.  Some hints I’ve come across to keep it working well include, run some water through the sprayer after detaching the bottle to clear any crystals,  don’t leave the bottle attached to the nozzle during storage and keep the bottle capped when not in use to prevent unused solution from evaporating.

Watering the plants this way also gives me a chance to check everything out and see what might need attention.  This is important as we get into the heat of the summer.

Tomatoes, Mid-Summer

Like the squash and zucchini, the tomatoes are all doing great, just a bit crowded like everything in my garden.  I planted 2 Park Seed Co. Sweet Million Cherry tomatoes, 1 Burpee Roma, 1 Burpee Big Boy, 1 Burpee Better Boy.  The cherry tomatoes I grew from seed, the others I bought as plants from a local garden shop.  Here’s some company descriptions of each plant:

Burpee Big Boy:  “When we bred and introduced Big Boy hybrid tomato in 1949, its incredible productivity and gorgeous, perfect, large red fruit made it an instant hit. What’s kept Big Boy tomato a best-selling tomato all these years is the wonderful aroma and rich flavor. The fruits weigh in 10 oz. with many reaching 1 lb. or more. Healthy, indeterminate vines produce all summer long. The bountiful harvest begins about 78 days after setting plants in the garden.  Fruit Bearing: Indeterminate Days to Maturity: 78  days”

Burpee Better Boy:  “Huge, tasty, red tomatoes, many 1 lb. each.  Large, delicious, bright red, high yielding fruits are borne in abundance starting midseason and continuing to frost. Good foliage protection prevents sun scald. Better Boy is highly adaptable and thrives in most climates and has very good disease resistance.  Fruit Bearing: Indeterminate  Days to Maturity: 72  days”

Burpee Roma VF:  “The classic sauce and paste tomato.  Compact plants produce paste-type tomatoes resistant to Verticillium and Fusarium wilts. Meaty interiors and few seeds. GARDEN HINTS: Fertilize when first fruits form to increase yield. Water deeply once a week during very dry weather.  Fruit Bearing:  Determinate Days to Maturity: 76  days”

Park Seed Co. Sweet Million Cherry Tomatoes:   “Large clusters of smooth, bright, miniature fruit arise all summer long on this classic variety. A garden treasure that always turns out big harvests of sweet tomatoes, Sweet Million Hybrid has earned its Park High Performer status from the testimonials of hundreds of customers as well as our own garden trials!  Fruit Bearing: Indeterminate  Days to Maturity: 65 days”

A couple tomato terms that are good to know:

  • Indeterminate vs Determinate:  Indeterminate plants are vining type plants that continue to grow until killed by frost.  The plant will continue to bloom, set and mature fruit throughout the season.  They require staking because they get so big and should be pruned and suckered to encourage healthy growth.  Determinate plants are bushy types and will bloom, set and mature all their fruit close to the same time.  The shouldn’t be pruned or suckered to allow for the most fruit development.
  • Suckering:  Tomato suckers  are the new growth that appears in the crotch between the stem and a branch.  I didn’t always pinch these off and I would get terribly huge gangly plants.  Now I try to pinch those off to put more of the plants energy into the main fruit producing stems.  I’ll even pinch pretty big suckers if they haven’t produced any blossoms yet.

IMG_2565 IMG_2568

I haven’t fertilized the plants yet. I usually wait until I start to see flowers, which I have this week.  I use the Miracle Grow All Purpose Plant Food, either as the powder I mix into the watering can or the ready to use liquid garden hose system.

I  have the plants staked with 2 different types of cages.  I’ve had the cages with detachable supports for a while and they started finally breaking, so I bought a couple of wire cages to try.  First problem was that I didn’t really think about what plant I was putting in each type.  The wire cages are much smaller than my old ones and are much better for the bushy type of tomatoes, rather than the bigger plants I have.  Secondly, the wire type is much less forgiving if I lose track of the plant and a stalk starts to grow out of the support.    I’ve broken quite a few stems trying to feed it back into the cage rather than letting it grow all over the other plants.

IMG_0777 IMG_0778 IMG_0779

Seward Johnson Sculptures in Cadillac, MI

On a quick trip to Cadillac, Michigan, I had the chance to see this year’s Seward Johnson Sculpture Exhibit that is on display throughout town through Labor Day.   This downloadable brochure shows the map and activities that go along with this year’s display.   Take a walk, ride your bike, enjoy these amazing bronze statues.  Well worth the trip!!

image image image

Zucchini and Squash Mid-summer

My zucchini and squash plants are growing like gangbusters!  I was a little worried when I transplanted them as seedlings,  because they had grown into tangled messes in the growing pots.  I was as gentle as I could be, but a couple almost broke in half because the stems were so fragile.  I ended up planting all of them, despite what they looked like, just hoping they’d grow.   The ones that seemed barely connected by threads of stems, I laid carefully in the dirt and covered up the damaged spots.  Luckily, the weather cooperated and the little plants were actually able to become established.  Never toss a plant that you think is too far gone to plant, nature has a way of making these things survive

I have them in the garden growing in front of, and on the Cucumber trellises that I got from Gardeners Supply Company.   These were great purchases for me since I could lean them against the house and expand my garden space.  Squash and zucchini plants aren’t really climbers, but they will prop themselves up a little bit and save some space by spreading up, rather than just out.

I  have already harvested 1 summer squash and see at least 2 little zucchinis growing.  Lots of flowers still blooming meaning lots more vegetables to come. Something I’ve learned is that it’s important when reaching around in the plant to be gentle, the new little squashes can be knocked off easily and some of the plants dislodged entirely.  Also, don’t wait too long to harvest the summer squashes especially, they can get very seedy and tough.  Best to pick early and they will be far more tender.


Zucchini and Squash Au Gratin
Print
Author:
Tasty recipe to easily use that late summer zucchini and squash
Ingredients
  • 2 small zucchini, sliced ¼ in thick
  • 2 small summer squash, sliced ¼ in thick
  • 3 Tbs. olive oil (split)
  • ¼ cup fresh thyme leaves
  • ½ cup grated parmesan or asiago cheese
  • ½ cup panko bread crumbs
Instructions
  1. Preheat oven to 375º
  2. Toss sliced zucchini and squash in 2 Tbs olive oil. Arrange in a single layer of overlapping rows in a shallow baking dish.
  3. In a separate bowl, with a fork, combine remaining 1 Tbs olive oil, thyme, cheese and bread crumbs.
  4. Sprinkle cheese mixture on top of vegetables.
  5. Cook 45-60 min until squash is sift and topping is browned. Cover loosely with foil if topping is getting too browned.
  6. Tomato variation: Slice fresh tomatoes and layer in overlapping rows in a shallow baking pan. Brush with olive oil. Sprinkle cheese mixture on top. Cook for 20-30 min until desired doneness.

SaveSave

SaveSave

Hens and Chicks

The past few years, in the spring I’ve bought pretty inexpensive pre-made containers of Hens and Chicks (Sempervivum) at the grocery store of all places.  They don’t require much care, love sun, and are so interesting to watch grow, shoot off chicks and grow flowers if you’re lucky.  In fact, I’ve found the less attention the better.  No fertilizer and not much water seems to be the key.

It’s really such a welcome surprise when a flower stalk starts to appear, but a little sad also, because that’s the beginning of the end for that “mother hen”.  These plants belong to a family of plants that flower once, and then die leaving all its little chicks behind (and an ugly dead spot in the pot, but that’s what the chicks are useful for).  Flower stalk are one of the more bizarre looking things on an already interesting plant.  They can be only a few inches tall, or can grow a foot or more.  The one that I have blooming right now is the biggest I’ve ever seen.  It’s been growing for over a month now and just started blooming last week.
IMG_5322 IMG_5320 IMG_5307 IMG_5306 IMG_5304 IMG_5298

(Photos by Peggy)

Attack of the Emerald Ash Borer: Part 2

So that bring me to this year… Whenever  my husband would say “The ash looks thin this year”, I would respond, “It’s ok, it’s still leafing out since spring came so late this year.”  Then, last week I went out and stood under it to try and decide some other landscaping issues, looked up and was stunned to see all the dead branches. Probably a quarter to a third of the tree was dead. No wonder it looked so thin and my husband could see through it. On the plus side, the canopy was still alive, no random trunk branches were sprouting and no signs of adult beetles, yet.   We had a scare the other morning when we awoke to the sound of a woodpecker in the area, but it wasn’t on our tree (at least we think it wasn’t).  That’s a bad sign if the woodpeckers have moved in!

At the end of May, the tree was trunk injected with  Arborjets “TREE-äge” which is supposed to kill off any infestations and last for 2 years.  A quick google search provided a wealth of information on the product and we are hopeful that we can help the tree survivor the invaders.  It’s supposed to be quite effective at killing the beetle.  The Morton Arboretum has been very useful in general for EAB information.  They have an excellent Emerald Ash Borer brochure available.

Our Autumn Purple Ash this year.

IMG_2551

IMG_2521IMG_2522

Attack of the Emerald Ash Borer: Part 1

If you’re in some states, or regions, you’ve already experienced the devastation of the Emerald Ash Borer, or EAB. Here in my part of IL, we’ve been trying hard to prevent the infestation from destroying all the ash trees, but in some areas it’s already a lost cause. For example, I was driving my son to piano one night, a drive I’ve done for at least 10 years now, and I turned onto one block in the subdivision and every parkway tree had been cut down. Gone, every one of them thanks to EAB.

On a more personal note, the most important tree in my backyard is a beautiful 18 yr old Autumn Purple Ash. When we moved into the house, we gave a lot of thought to the trees on the property and planted a few new trees to provide beauty and shade. The Ash was the main tree that shades about half our house and the back patio area. We looked for a tree that grew quickly, had few known pests or diseases, could withstand being in a low wet area, and had a nice full shape. The ash was the perfect specimen. Until a few years ago

As soon as we knew the insect was in the area, we started treating the tree. At the time, the standard was to use a soil and foliage treatment twice a year. Then, last year, the infestation landed on the next block over so we knew it was only a matter of time, if not too late for our tree. Our village had a tree plan to deal with infestations in parkway trees and advice for homeowners, so I looked into that instead of just trusting our current tree care company. Sure enough, there were better treatments to use and I feel like I took control just at the right time. The tree still looked great last fall, when many trees in the area were beginning to look half dead. It’s very easy to get complacent and just trust what landscapers tell me.  Through the years, I’ve learned to question everyone.  Doing the research yourself can often times make a huge difference.

There is a multitude of websites that have details on how to spot infection, treat, etc. The Emerald Ash Borer site is one of the most comprehensive I’ve found.

Examples of some local ash trees infected with EAB:

IMG_2537 IMG_2538 IMG_2539

More tomorrow…..

Rhubarb: Part 2

My rhubarb has been growing like gangbusters and when I wasn’t paying attention shot up giant seed stalks.
imageimage

After a quick investigation into what to do, I realized that you don’t want these to grow very big and suck all the energy from the plant. They should be cut as soon as you see them forming, certainly well before they get to be this big. You need to cut these seeds stalks, not twist and pull them like you do to the stems you are harvesting. They are much thicker and hollow, and should be cut right down at the base.
imageimage
So now, I check the plants, down under the leaves to find the seed stalks just as they are forming and cut them as soon as possible.
image
From the plant that is in its second year, I’ve had 2 harvests so far and have used some in recipes and frozen the rest.