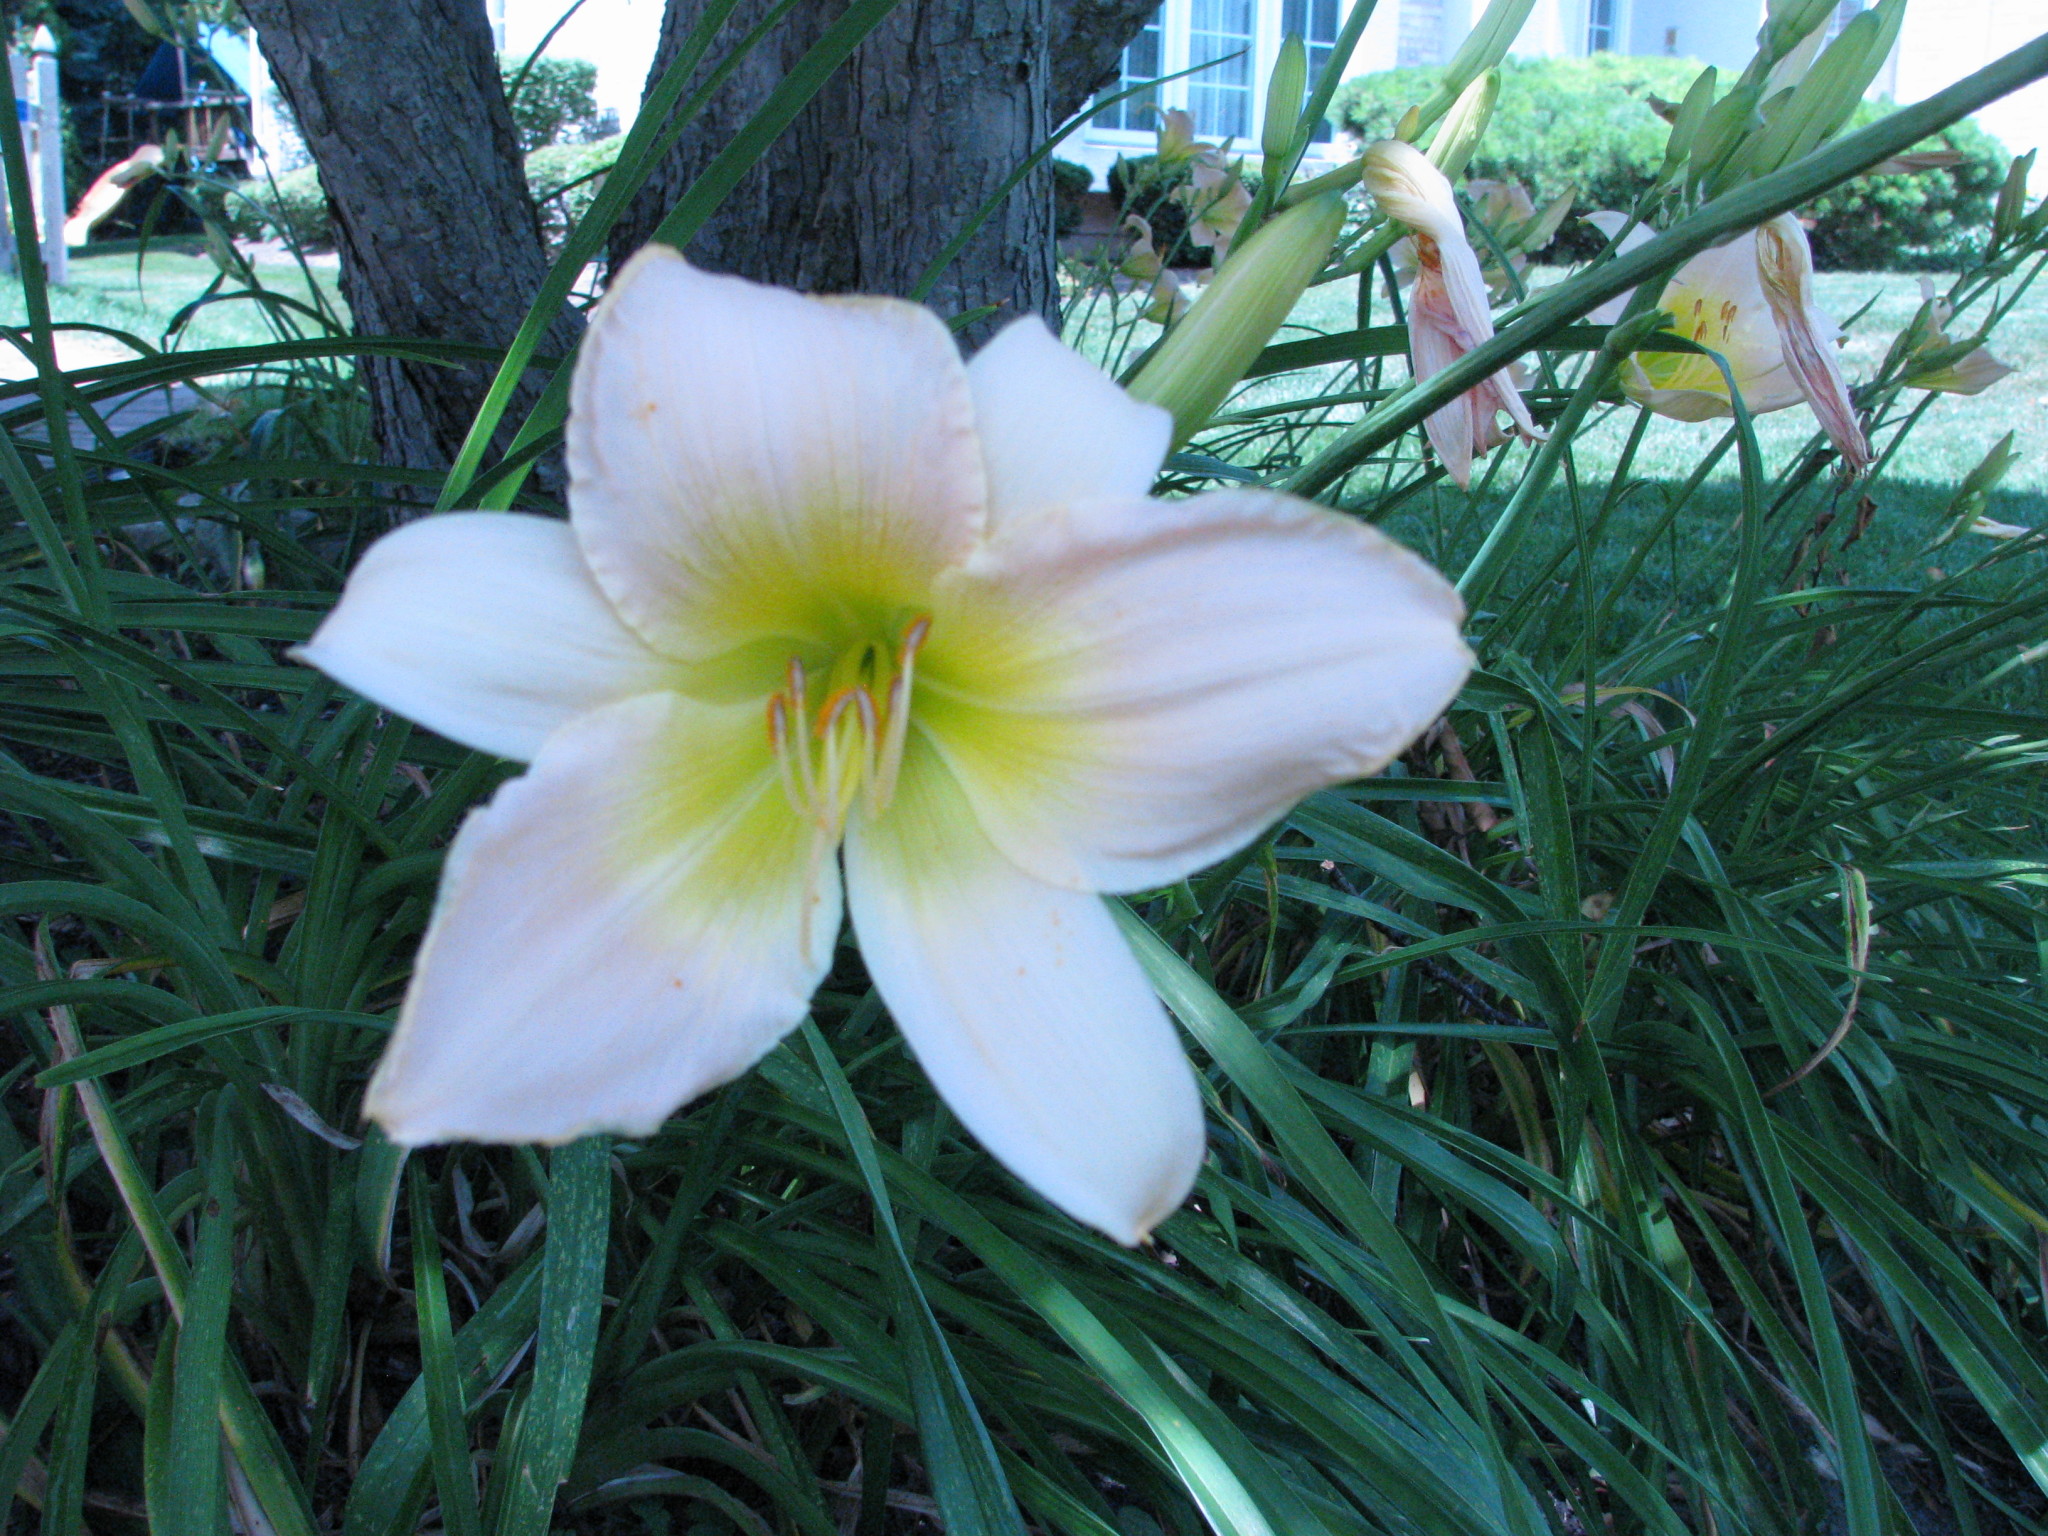
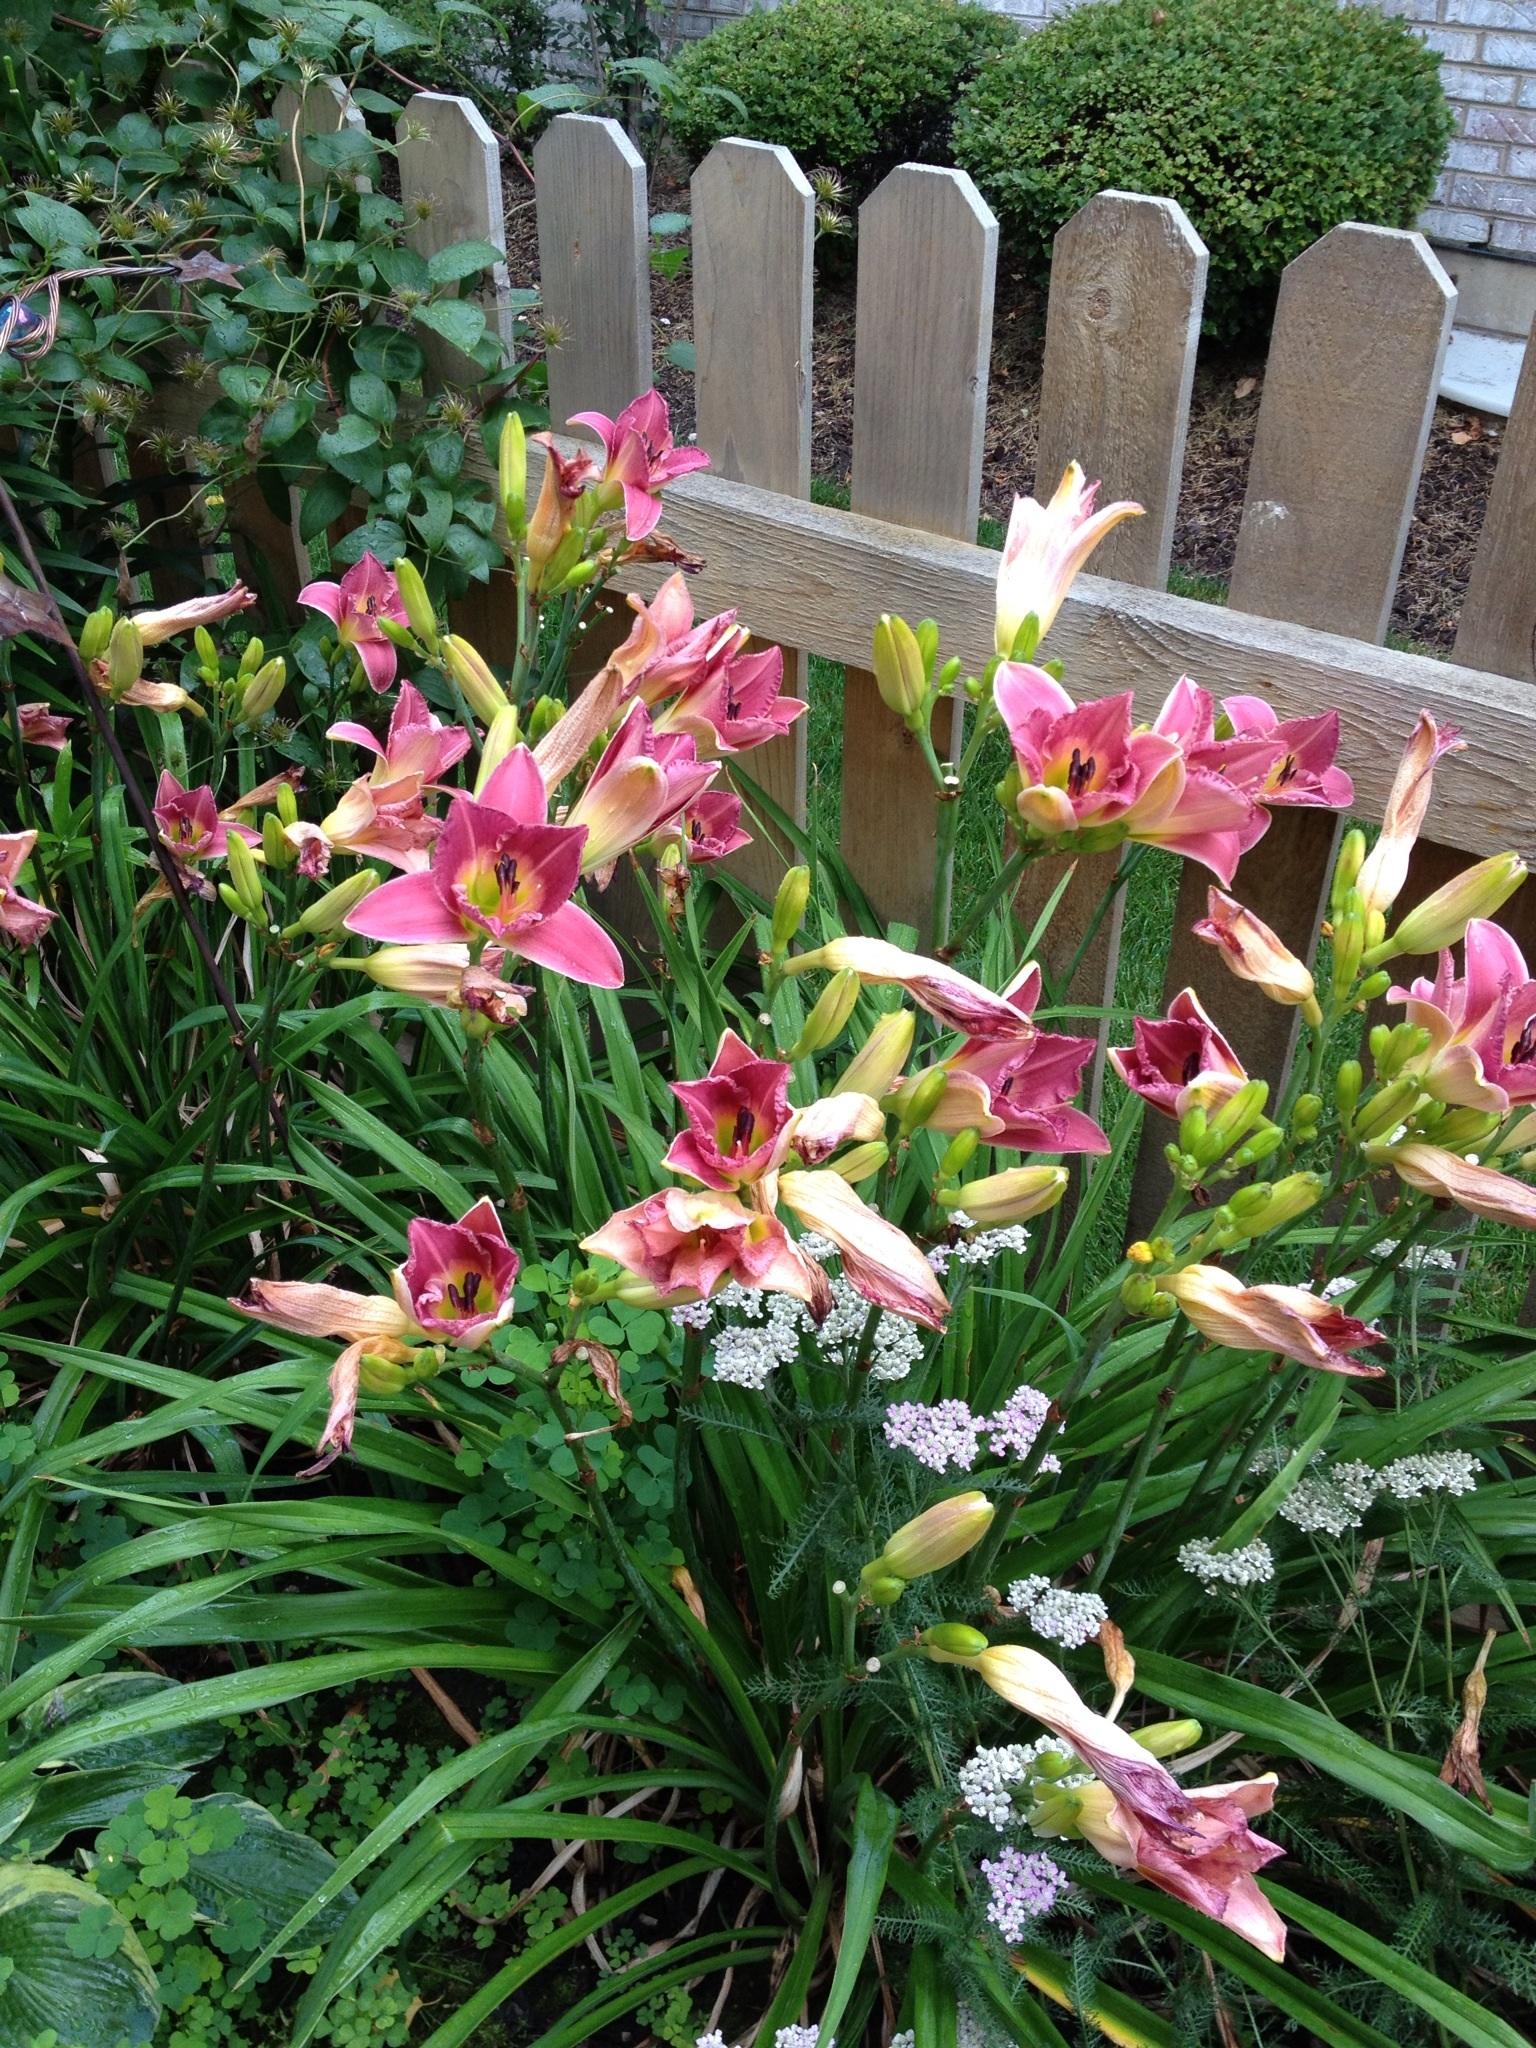
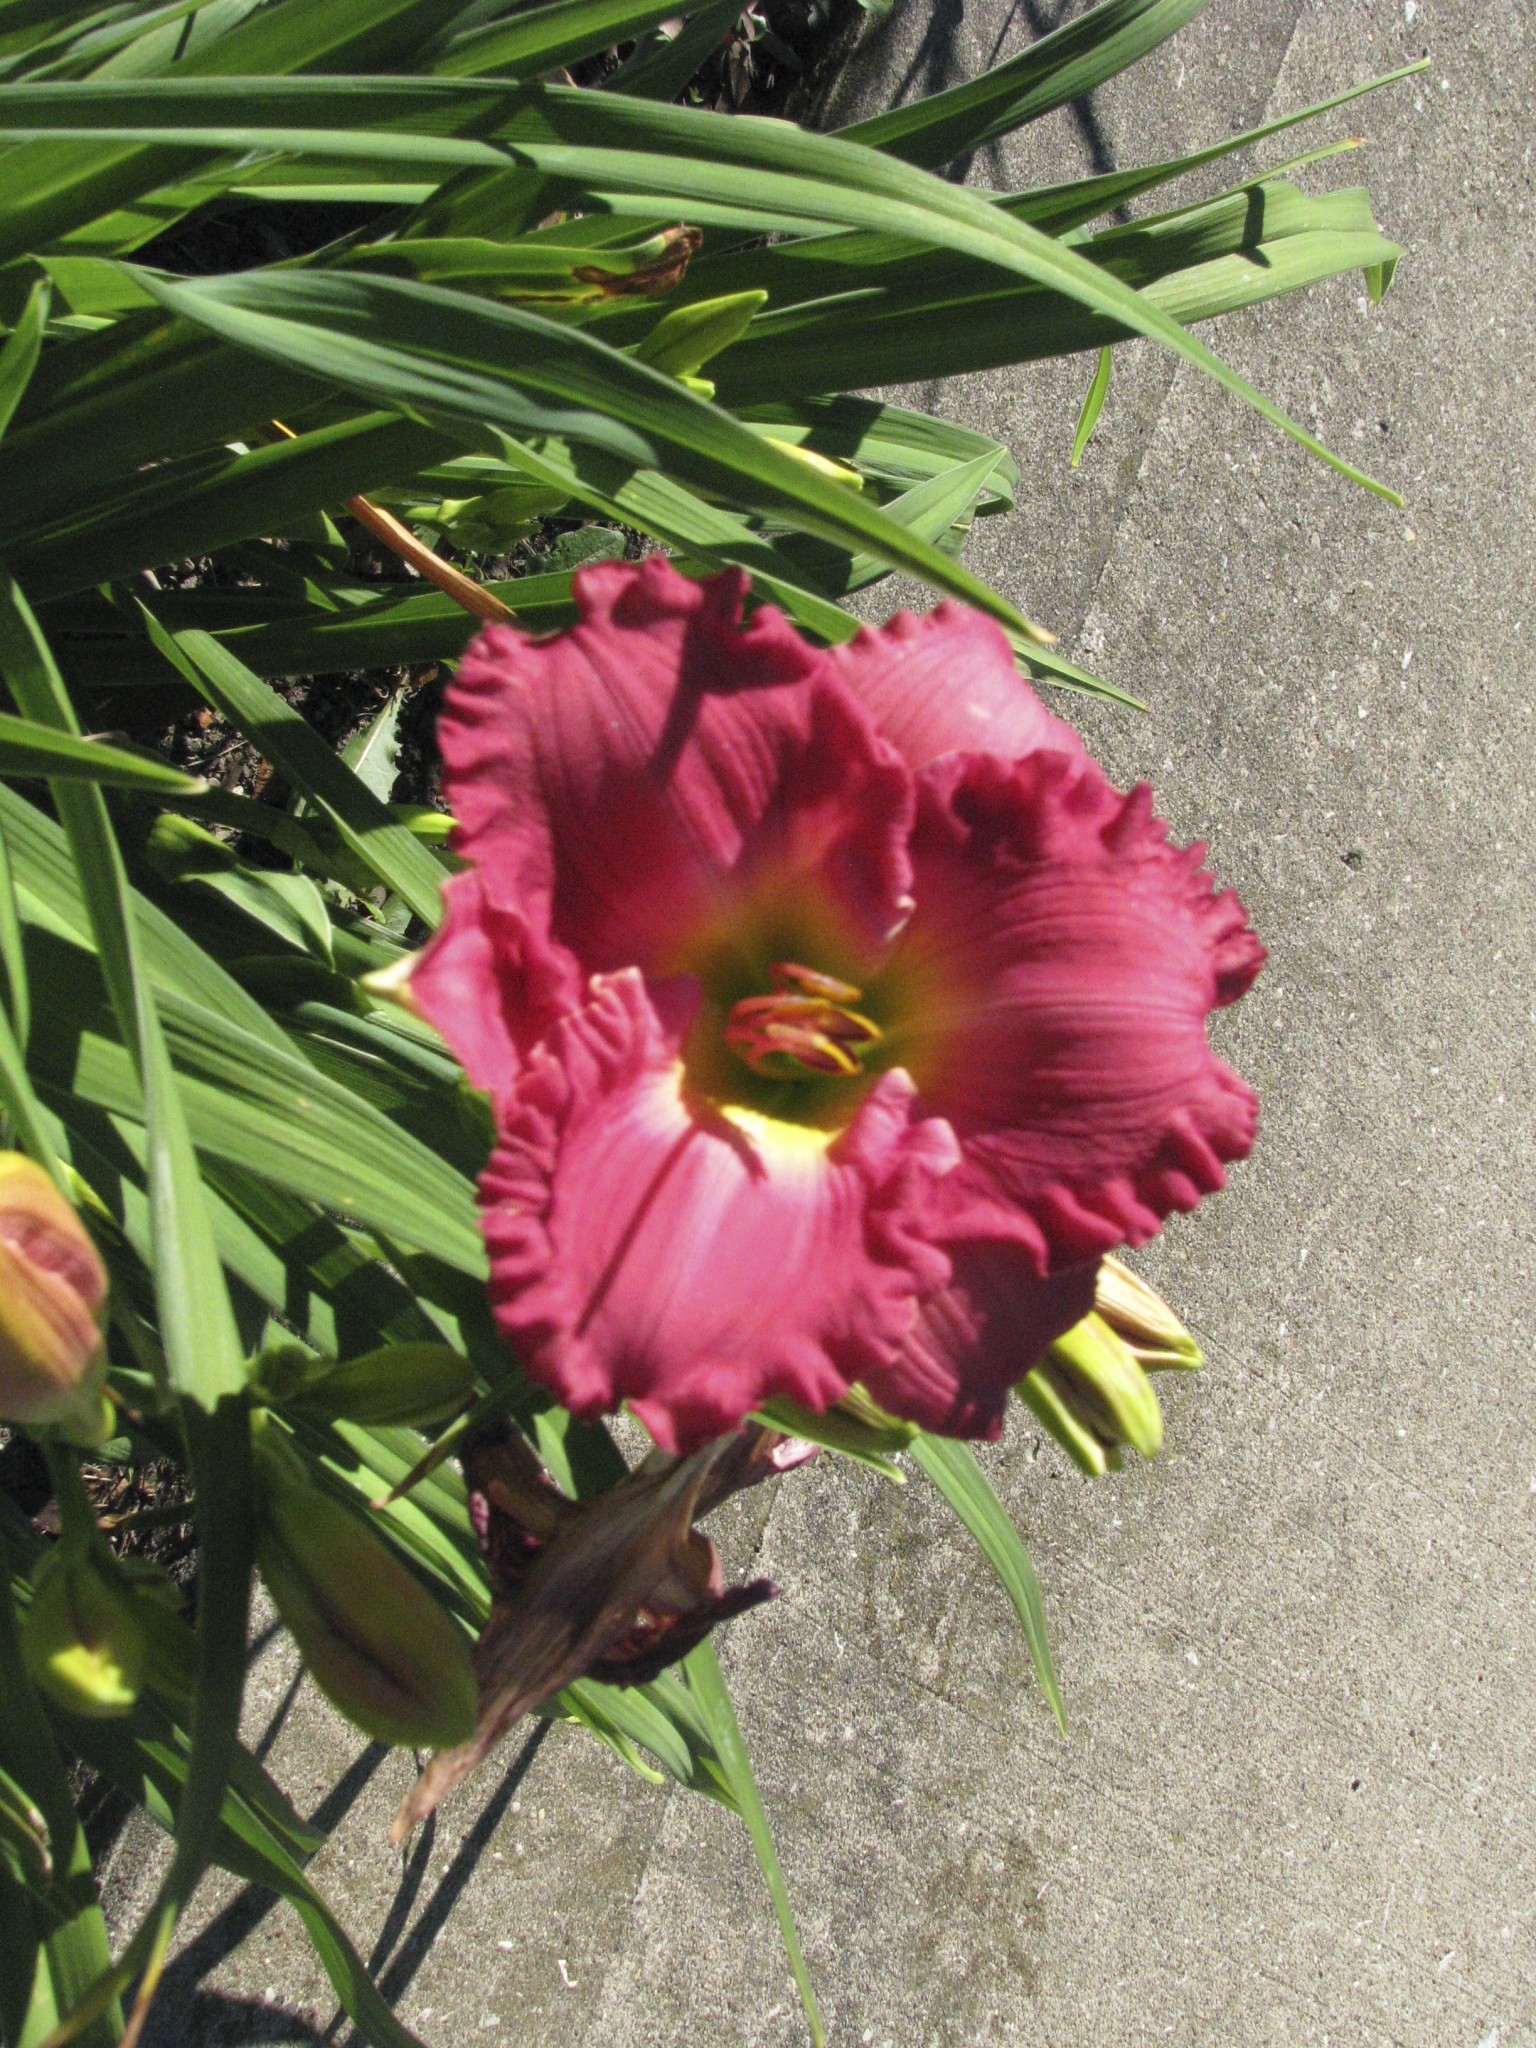
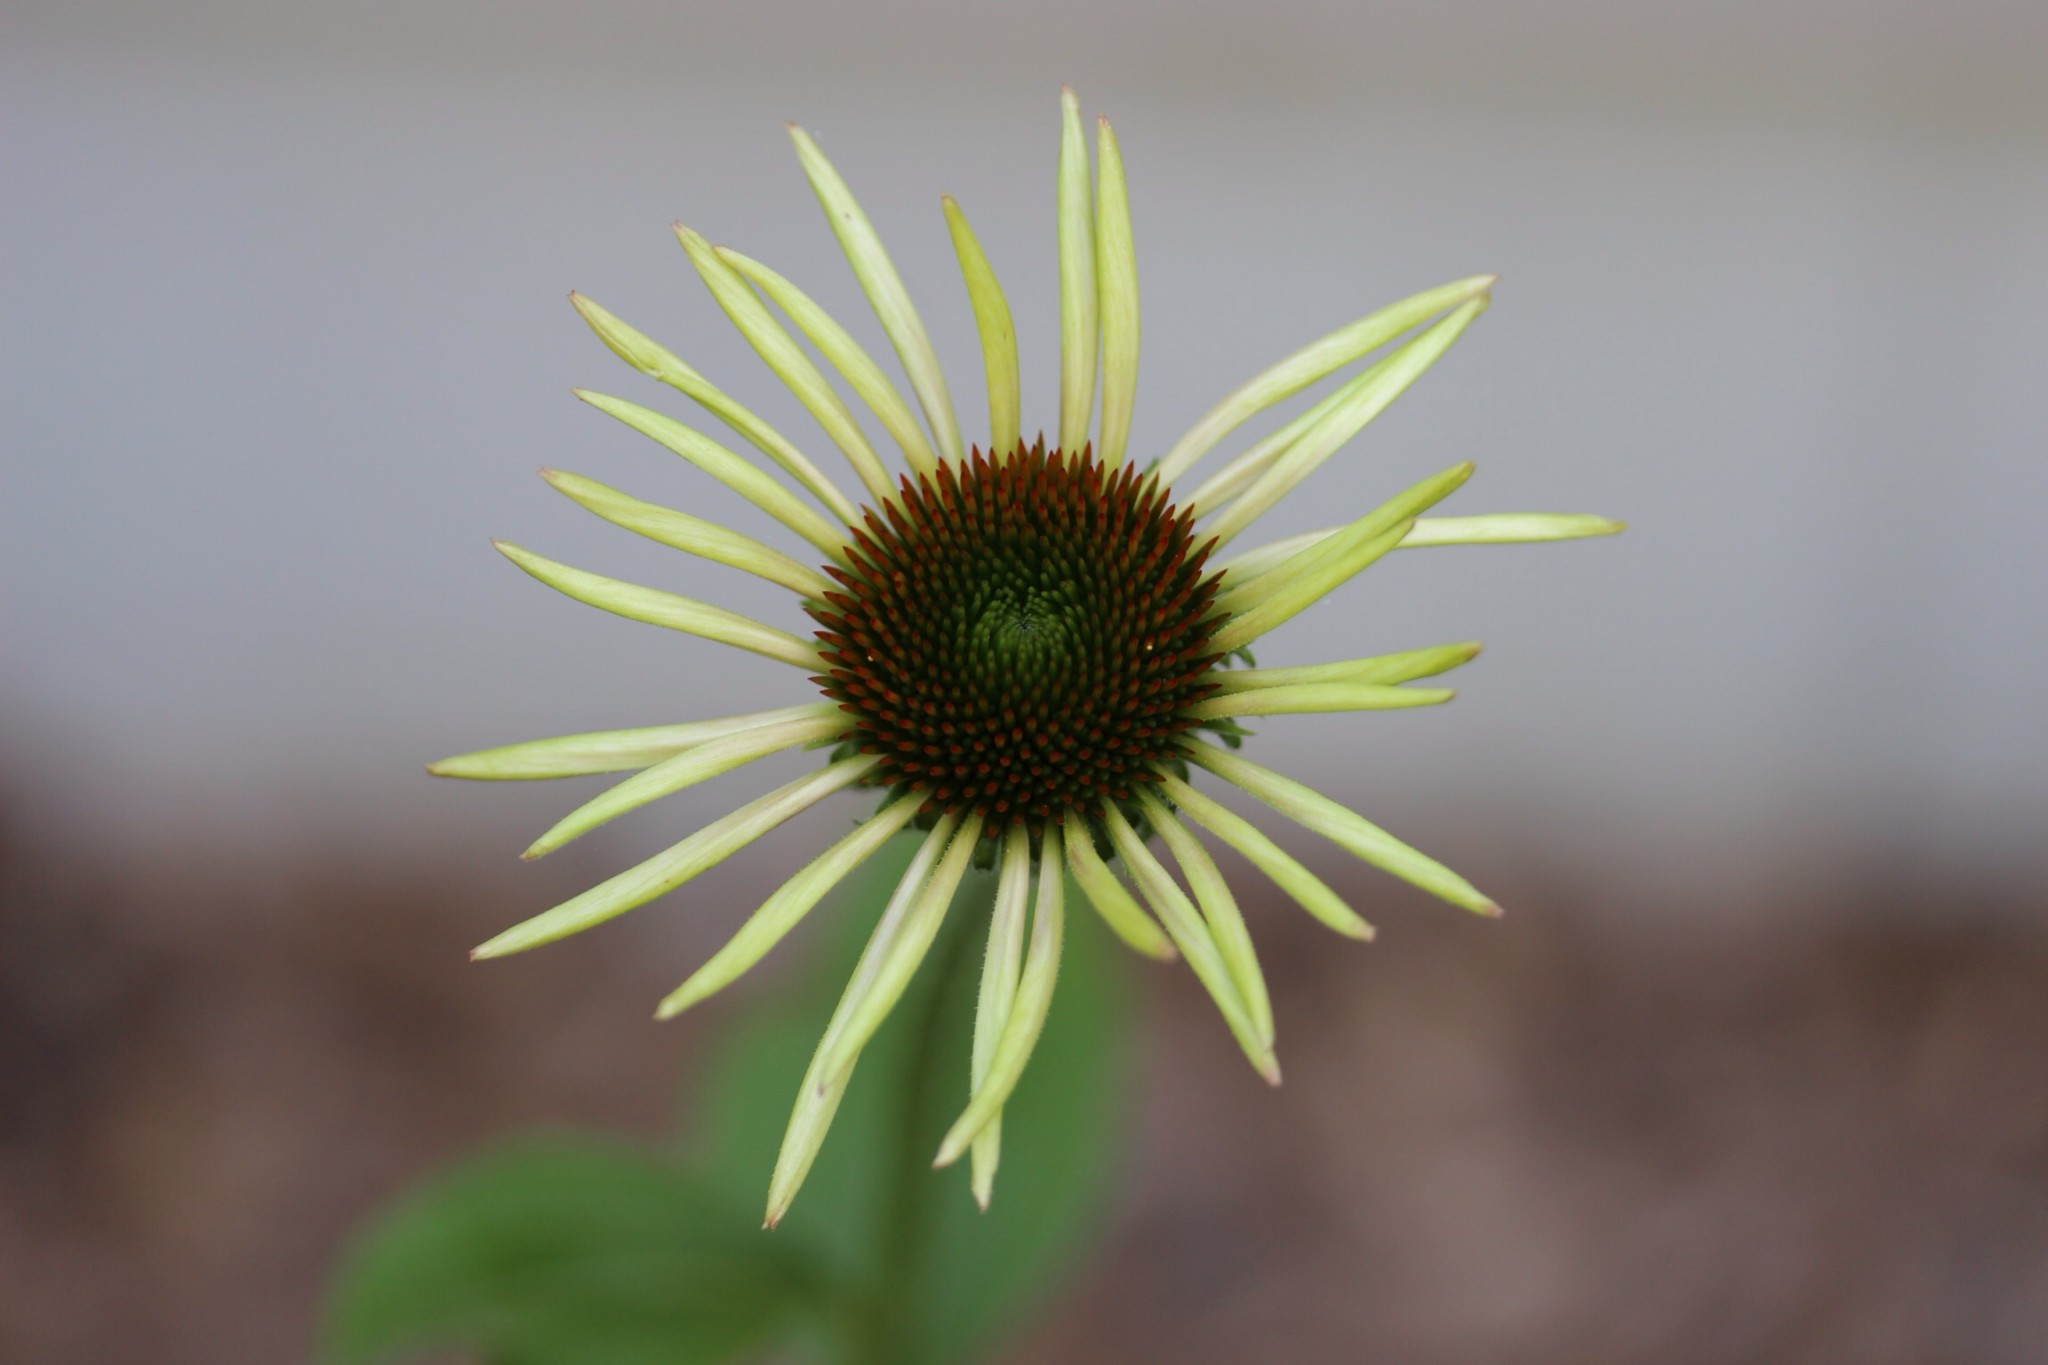
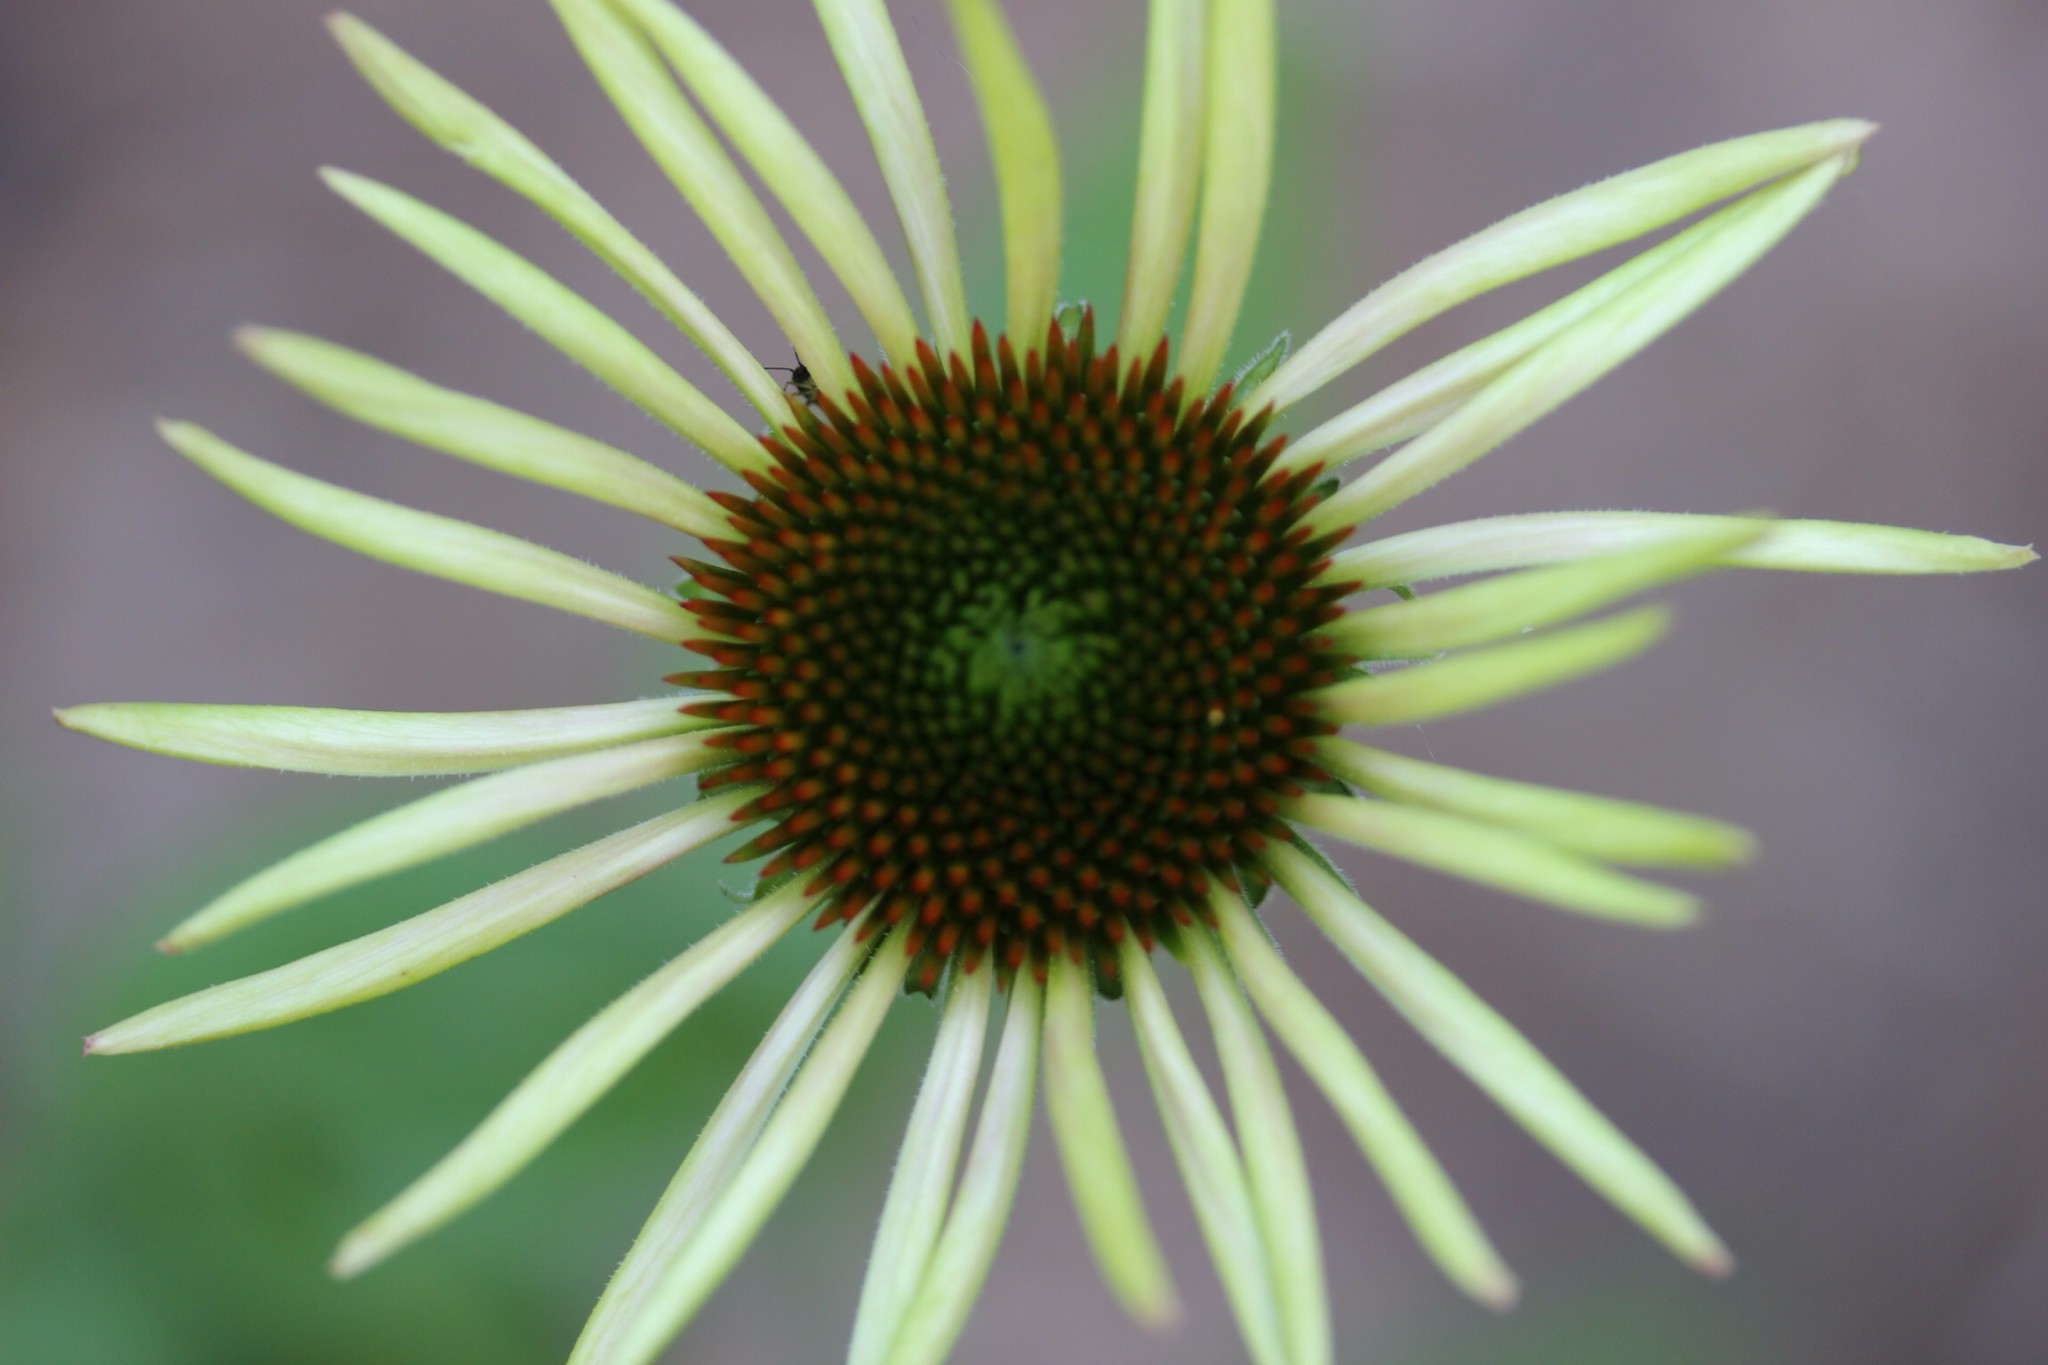
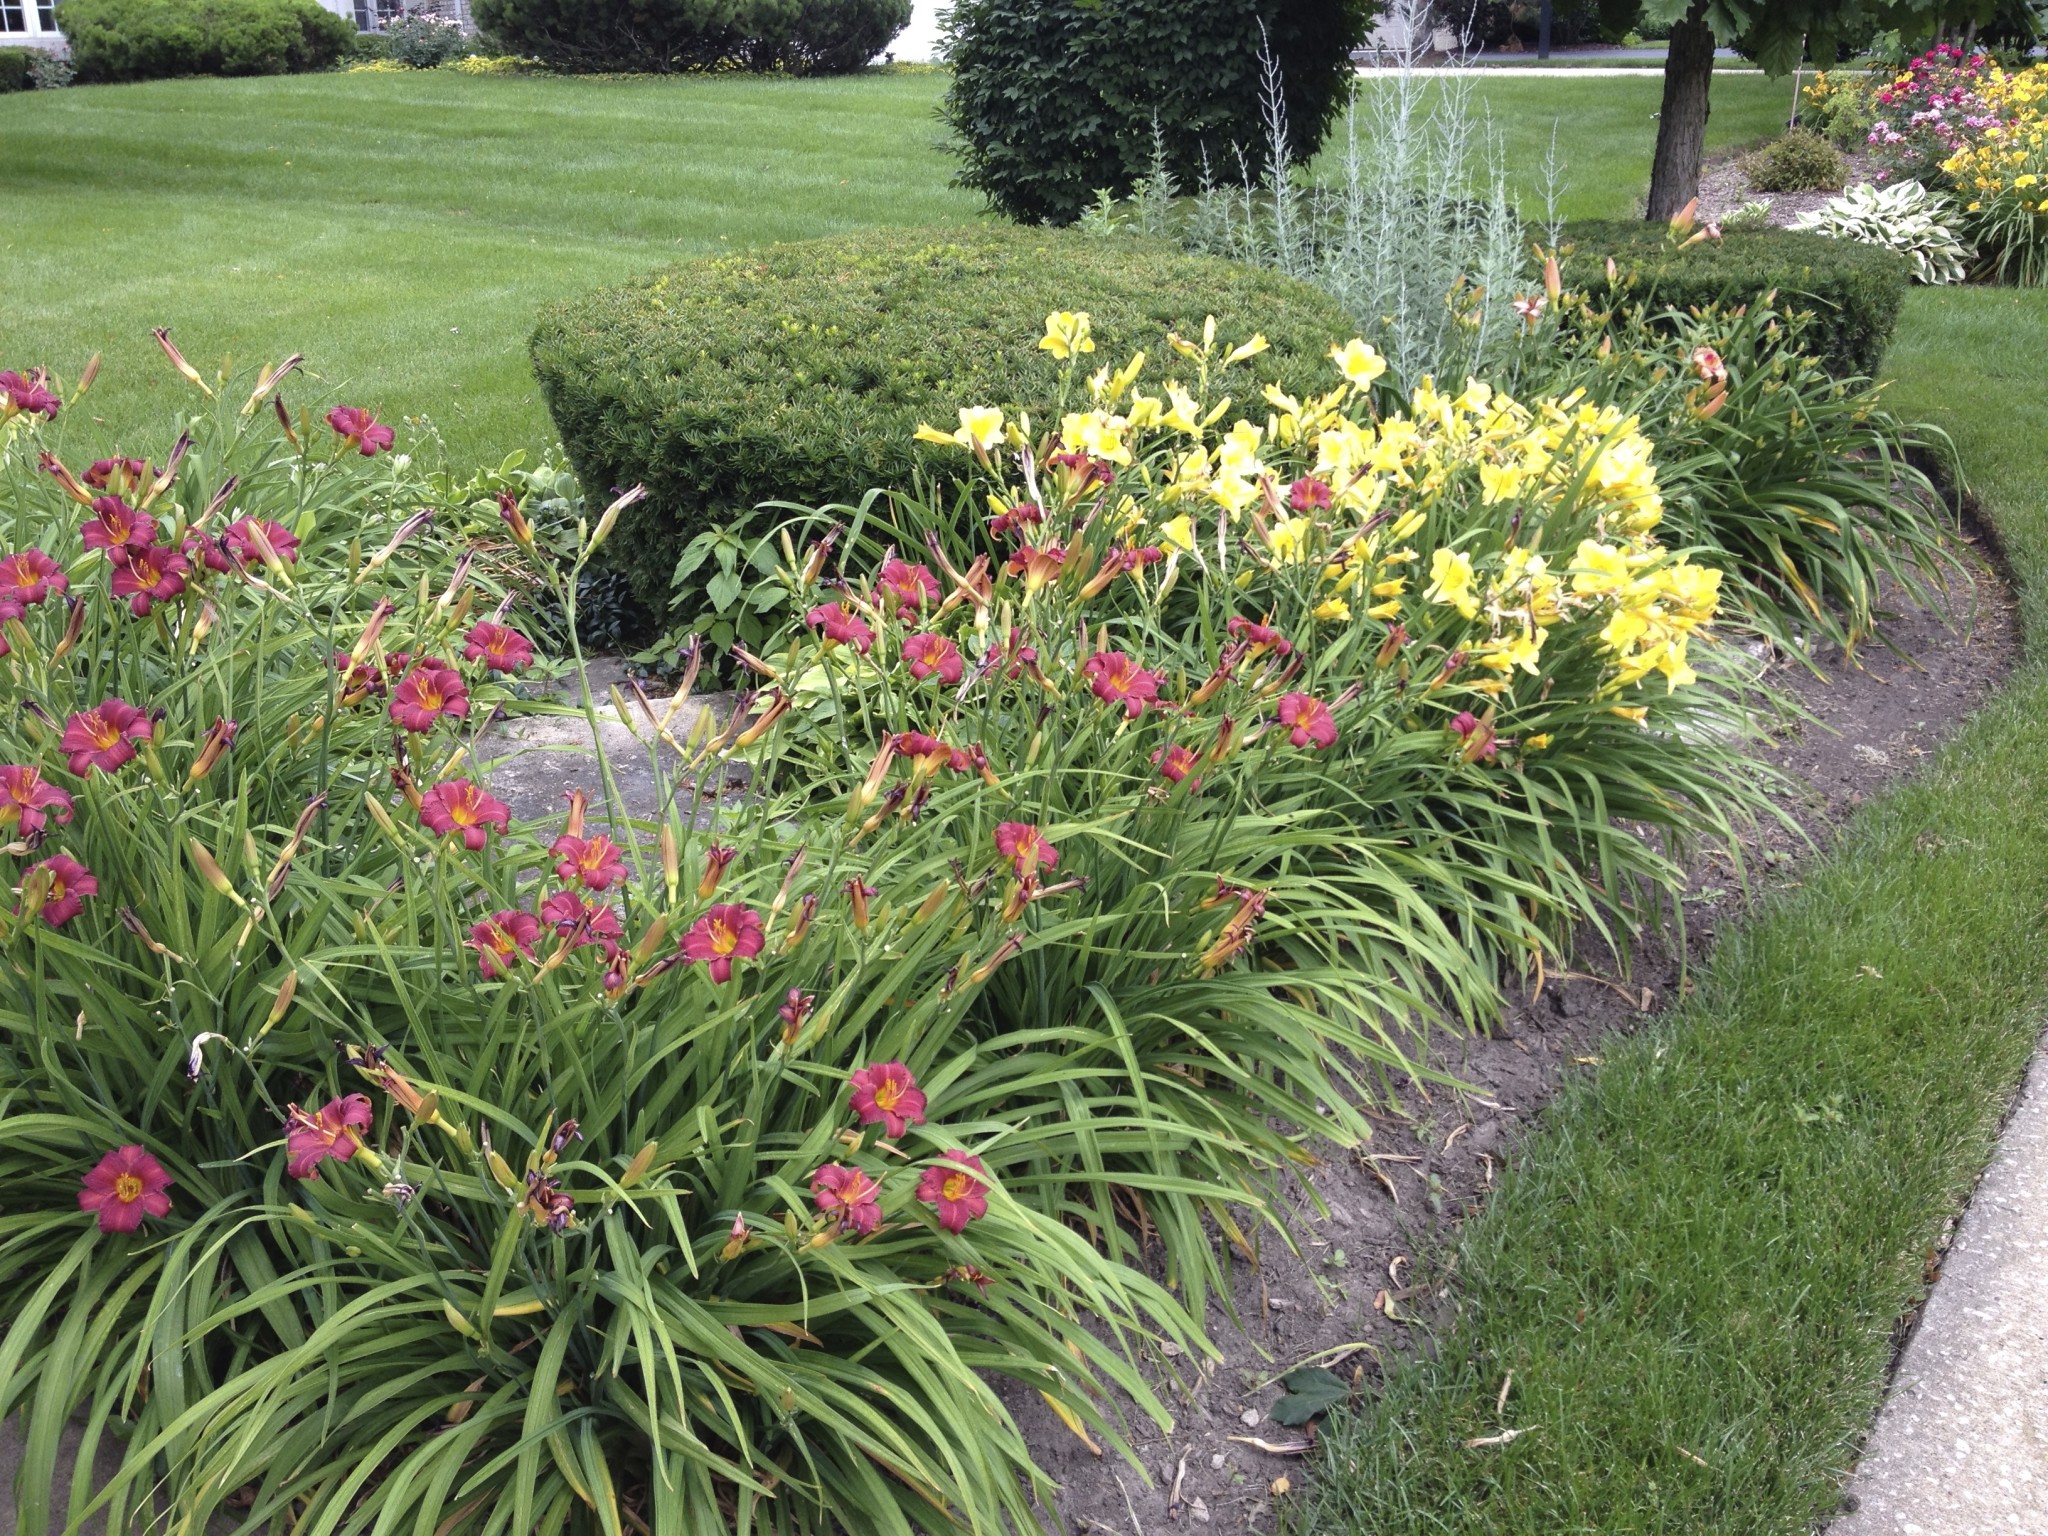
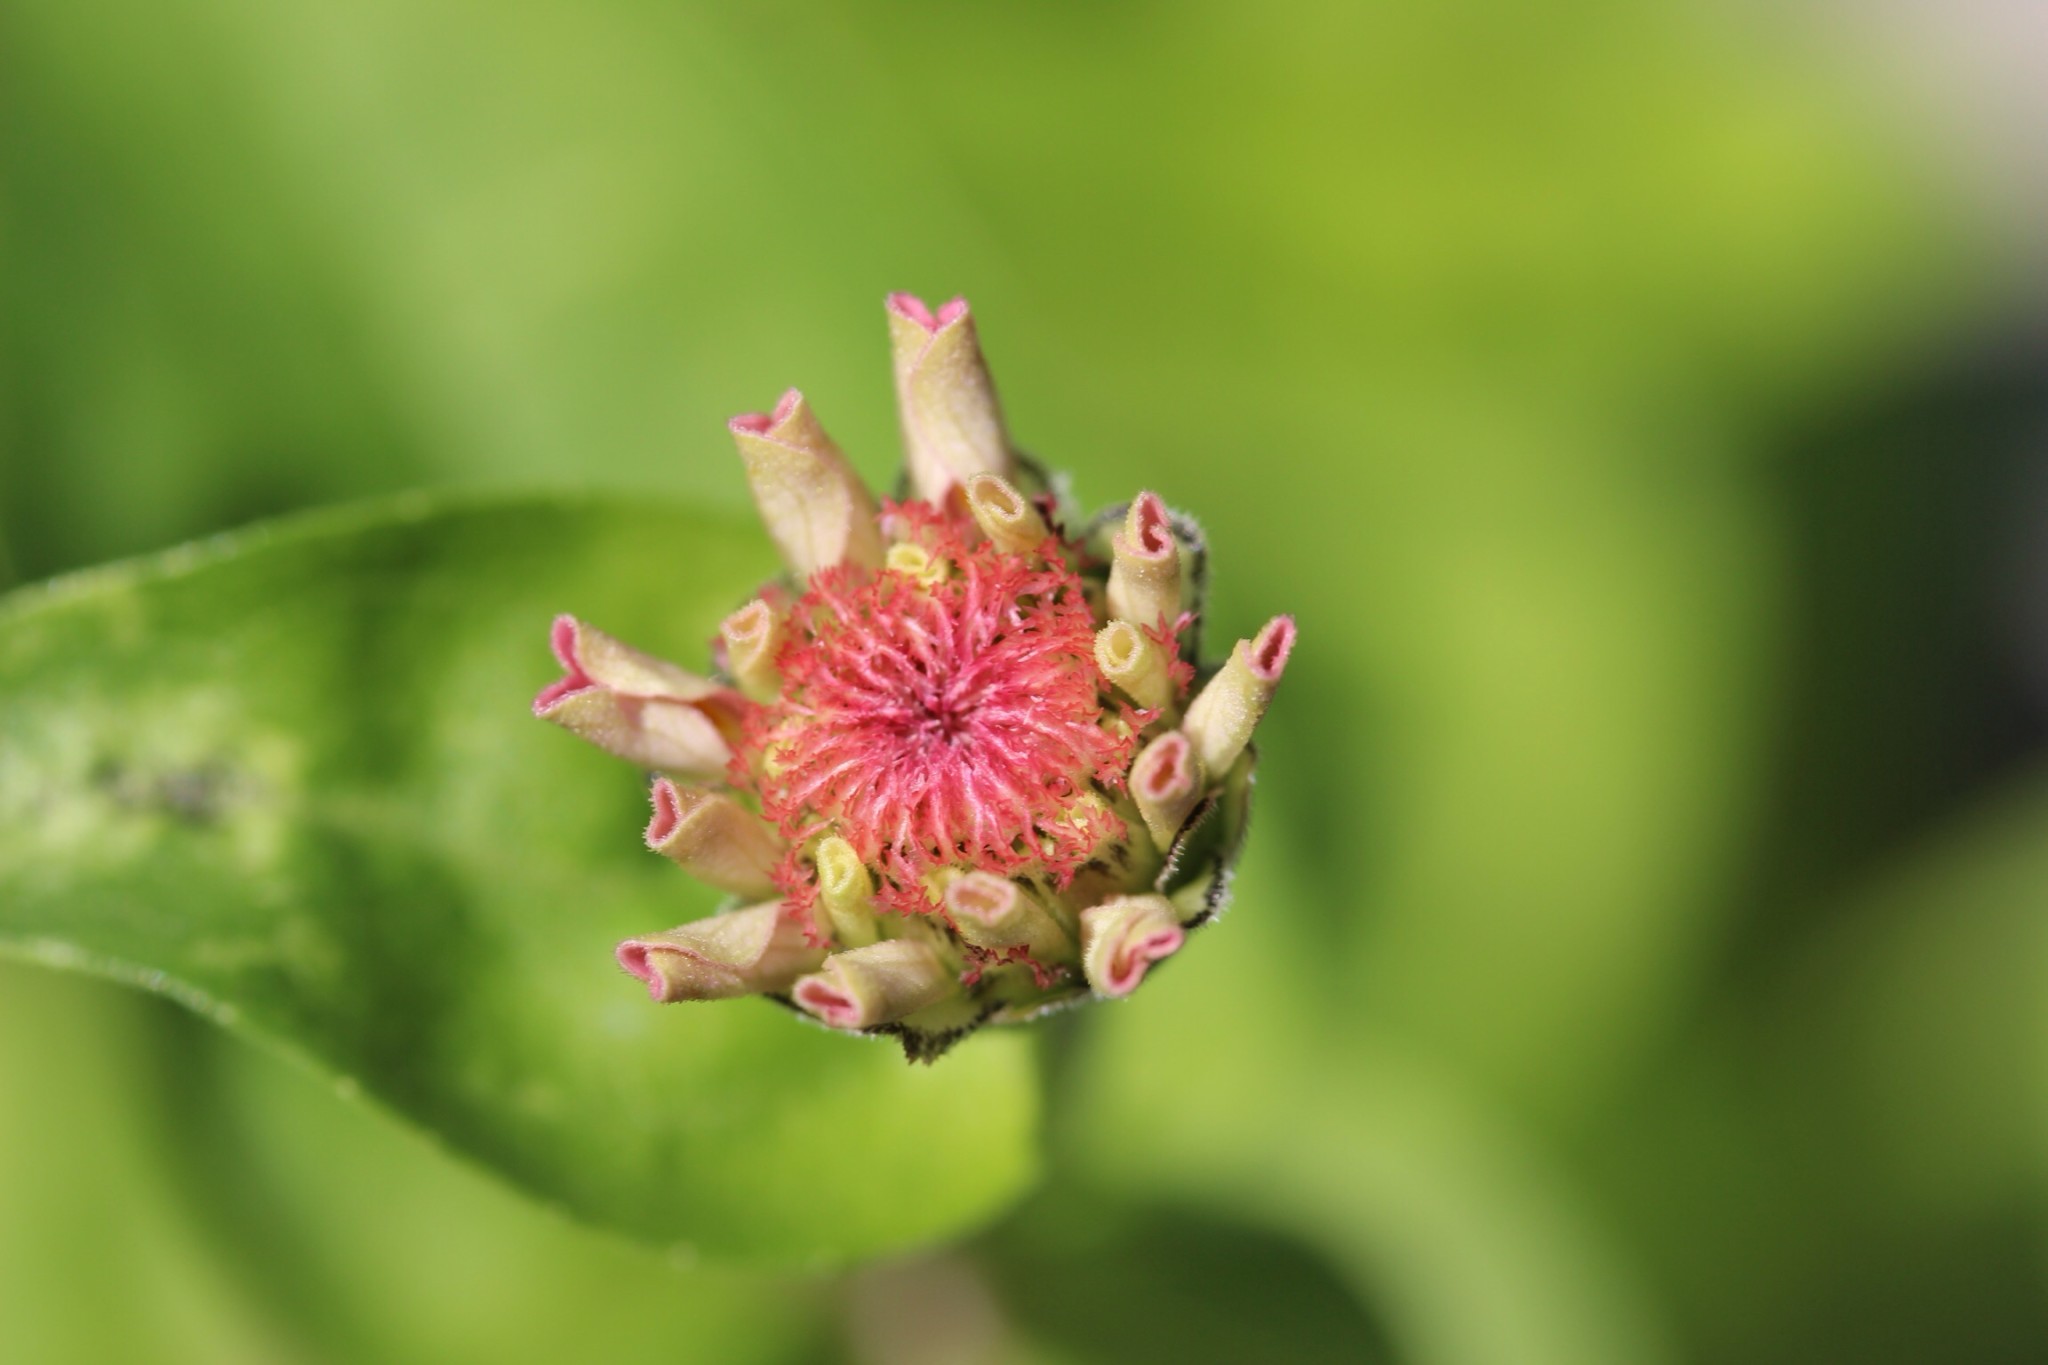
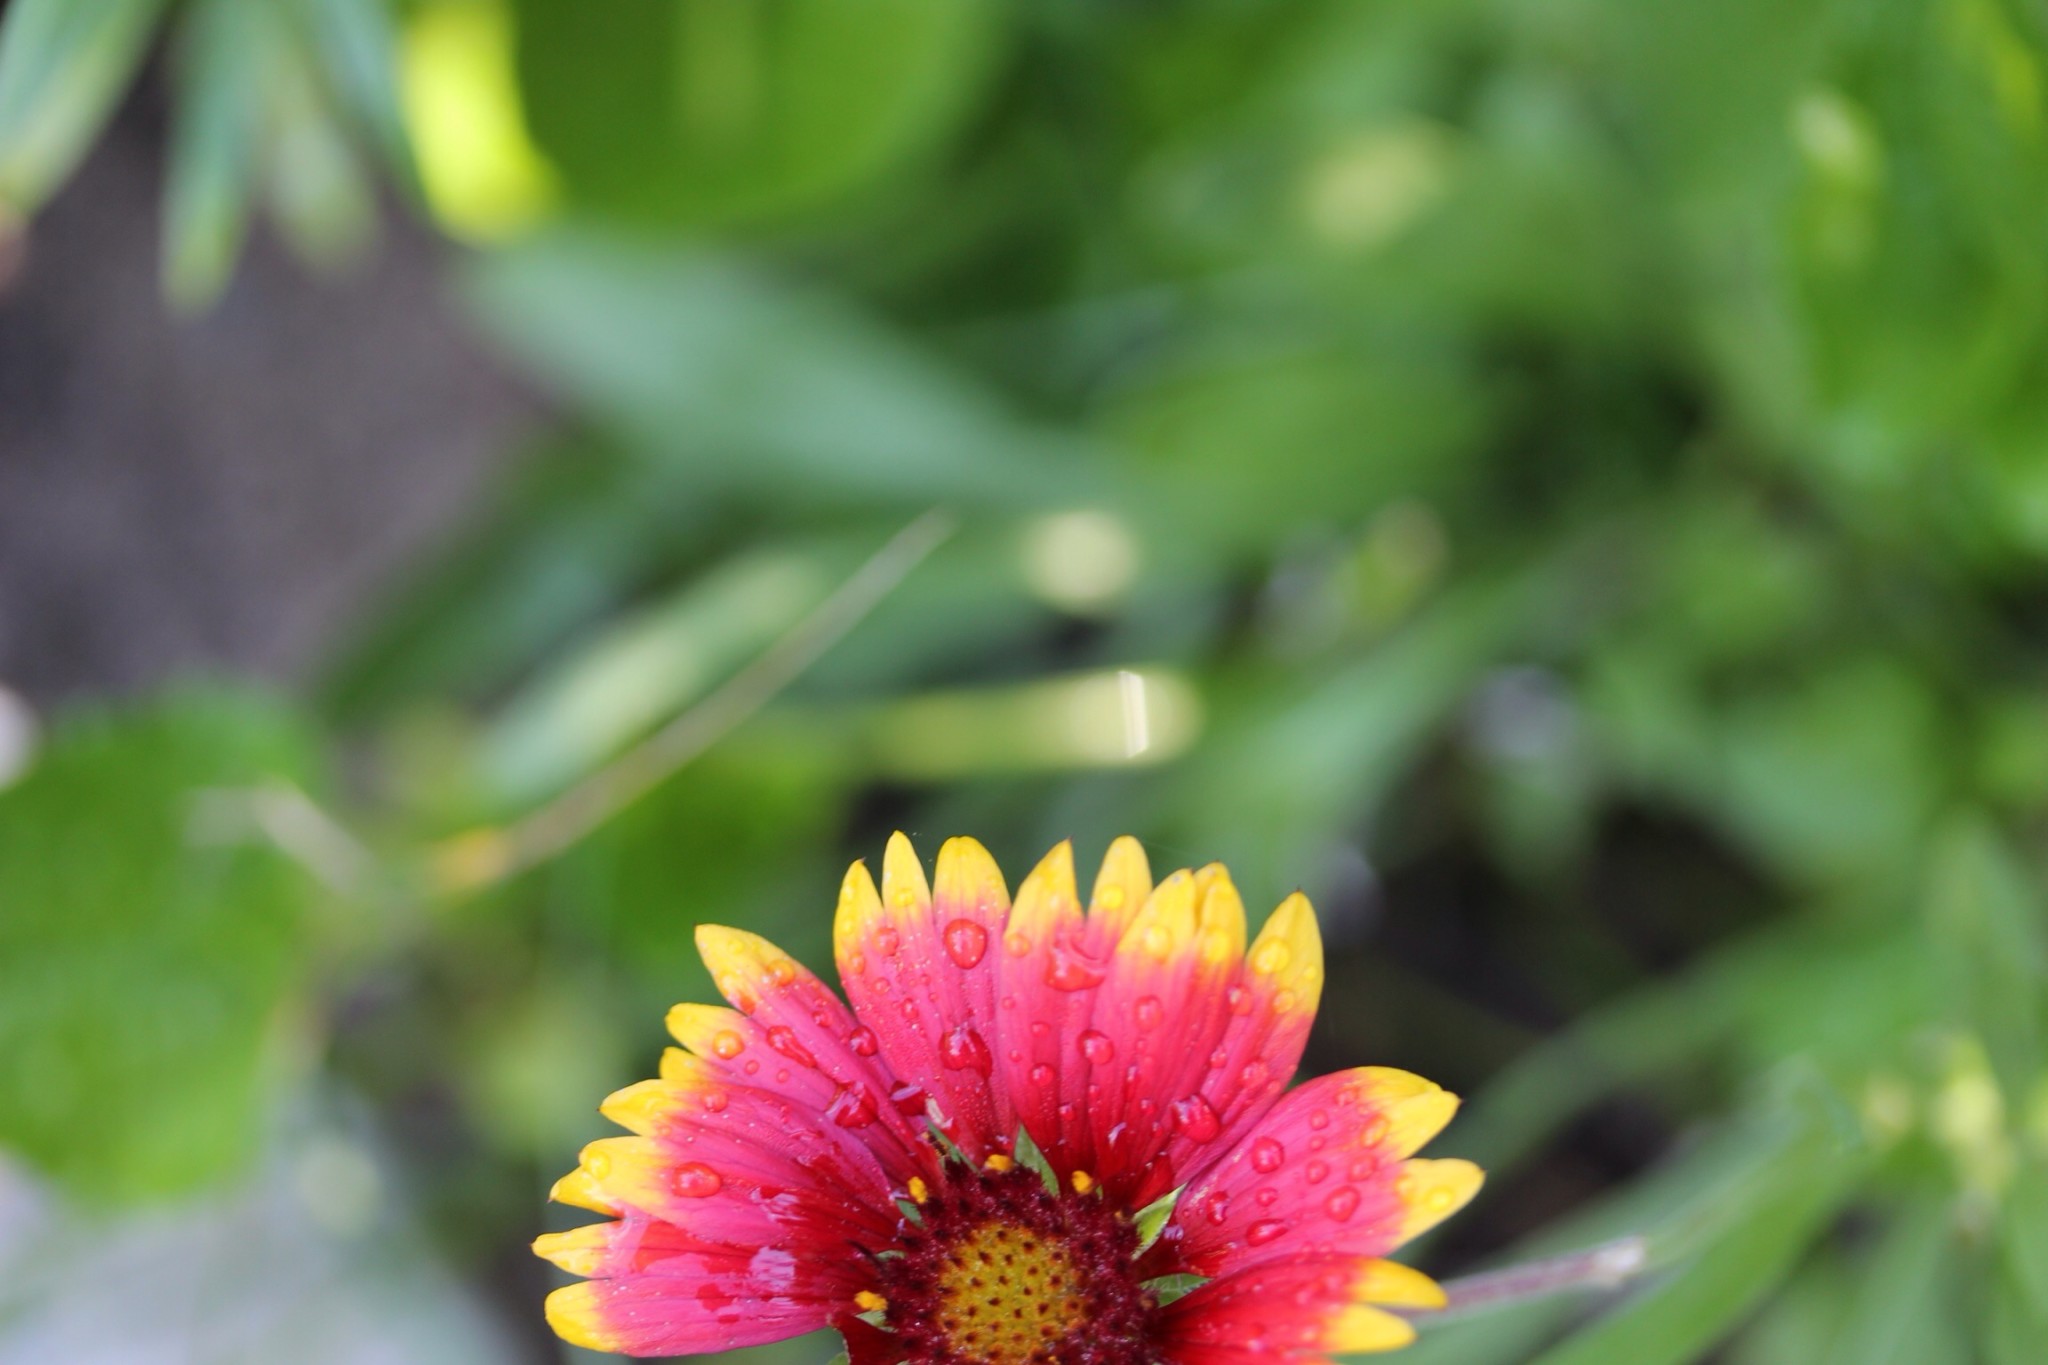
Some close ups of the daylilies in my yard. I’m still working on the identification part, so if I have something wrong, or you know what I can’t find yet, please let me know!
I realized that part of my identification problem was thinking that the daylily was the wrong color. For example, the Catherine Woodbury. I searched for the longest time under peach daylilies, but it wasn’t until I searched for all tall, traditional bloom types that it popped up. They were under lavender, so I went back out and sure enough, there’s the lavender. As the flowers are fading it becomes even more striking. I’m trying to use that trick with the 2 species that I’m still not sure of.
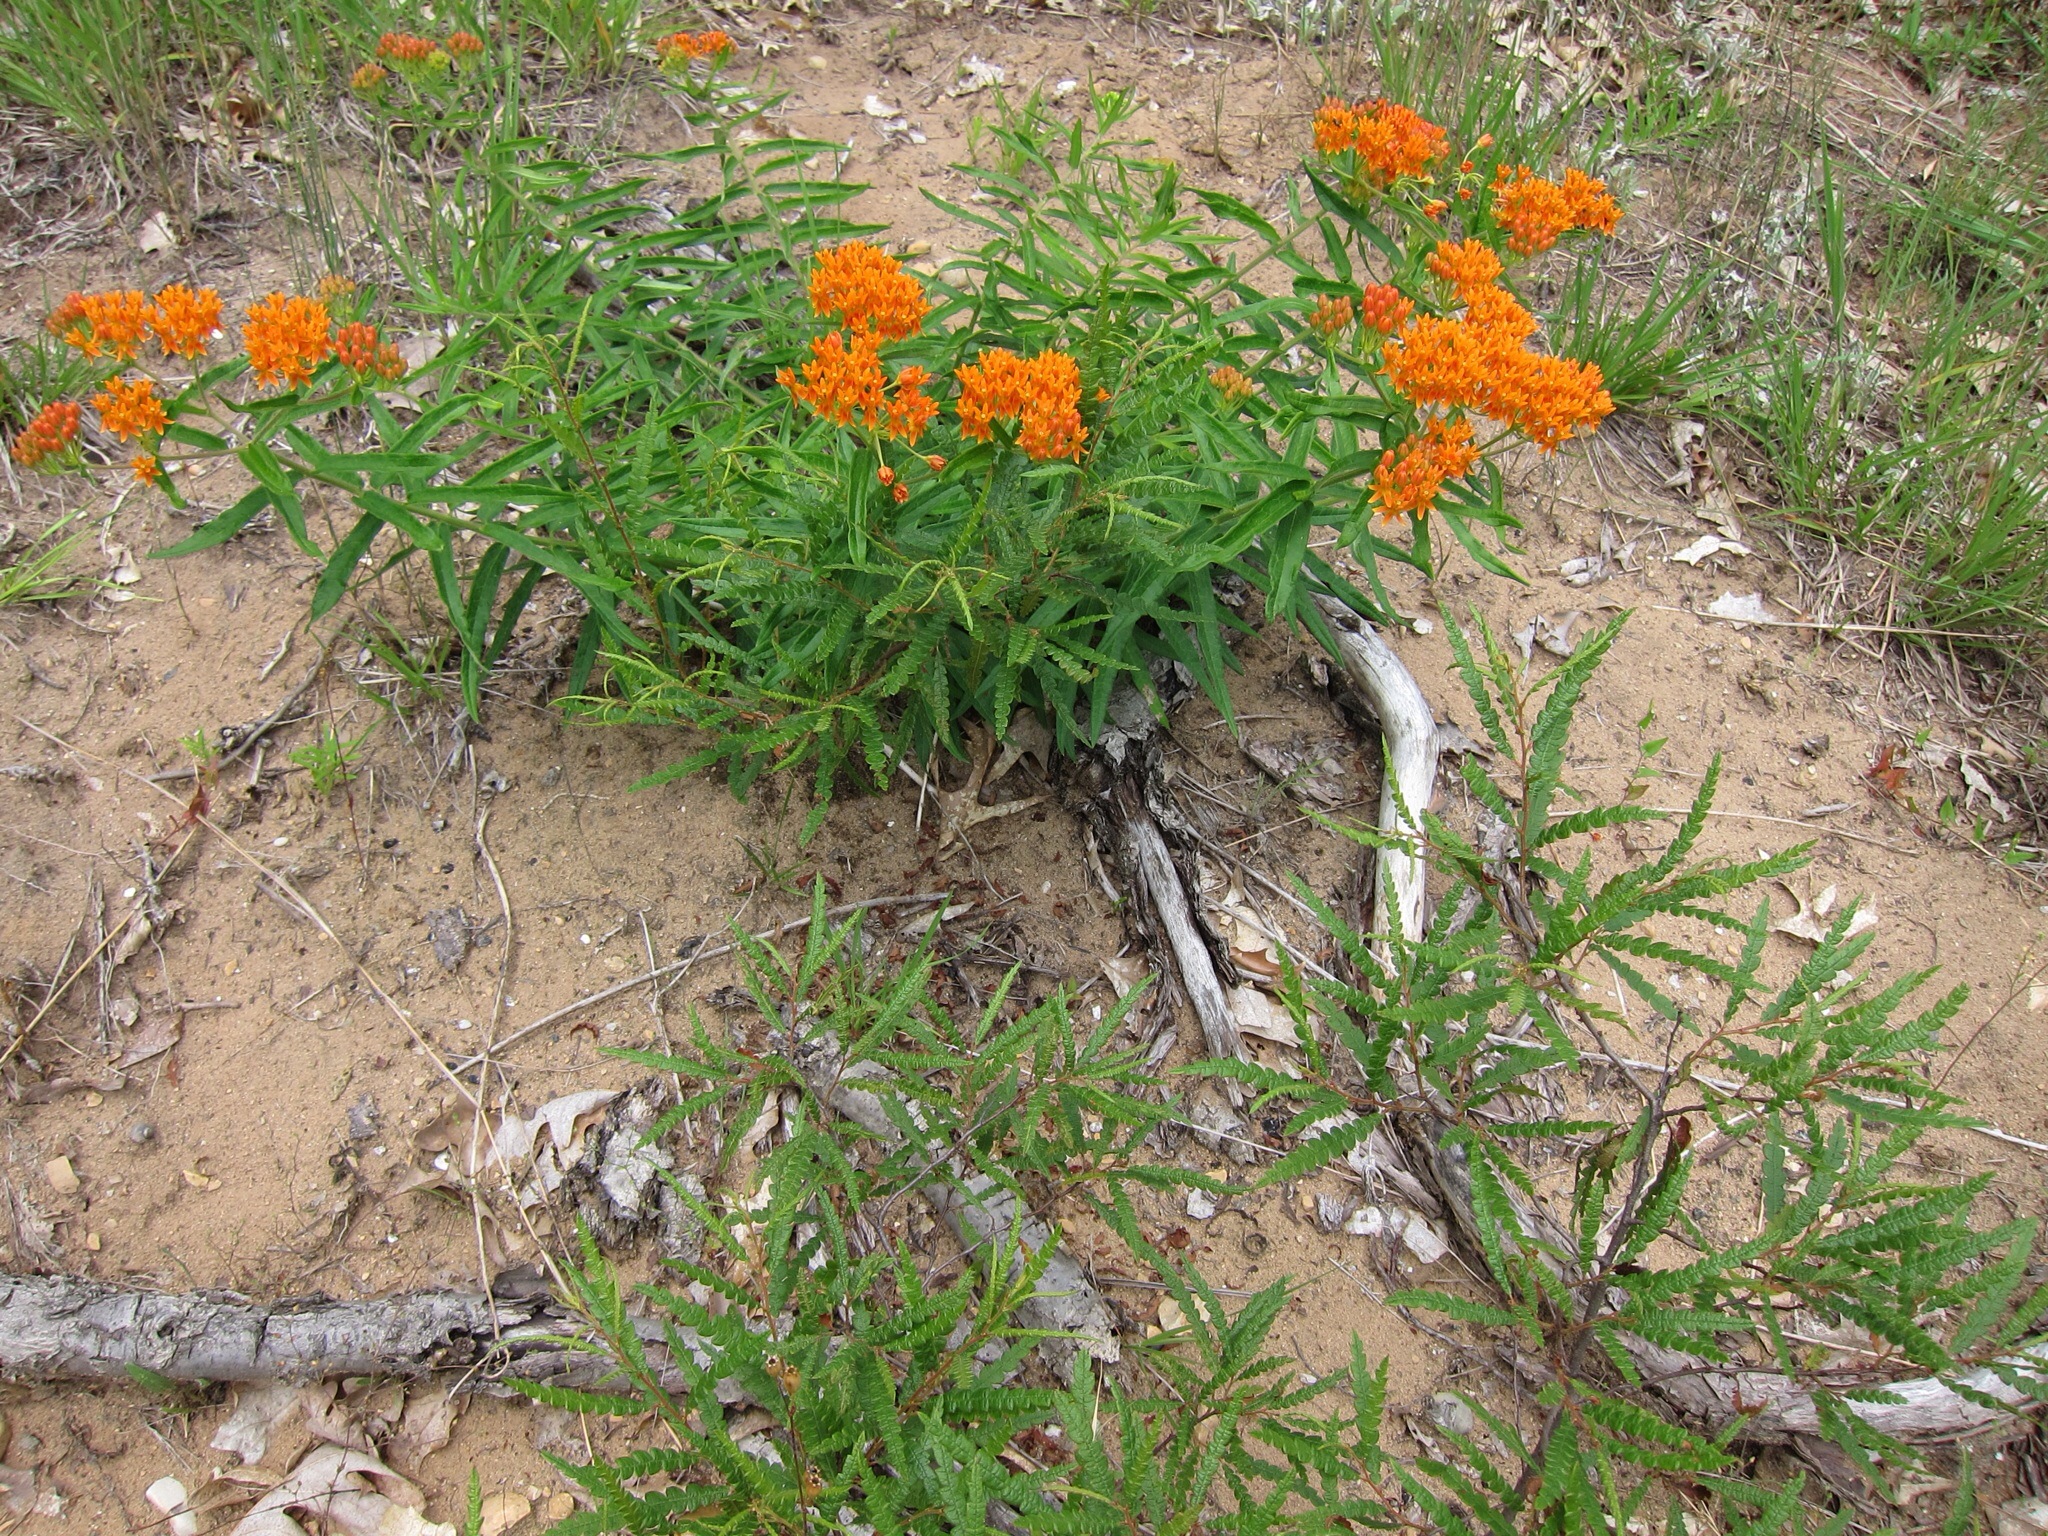
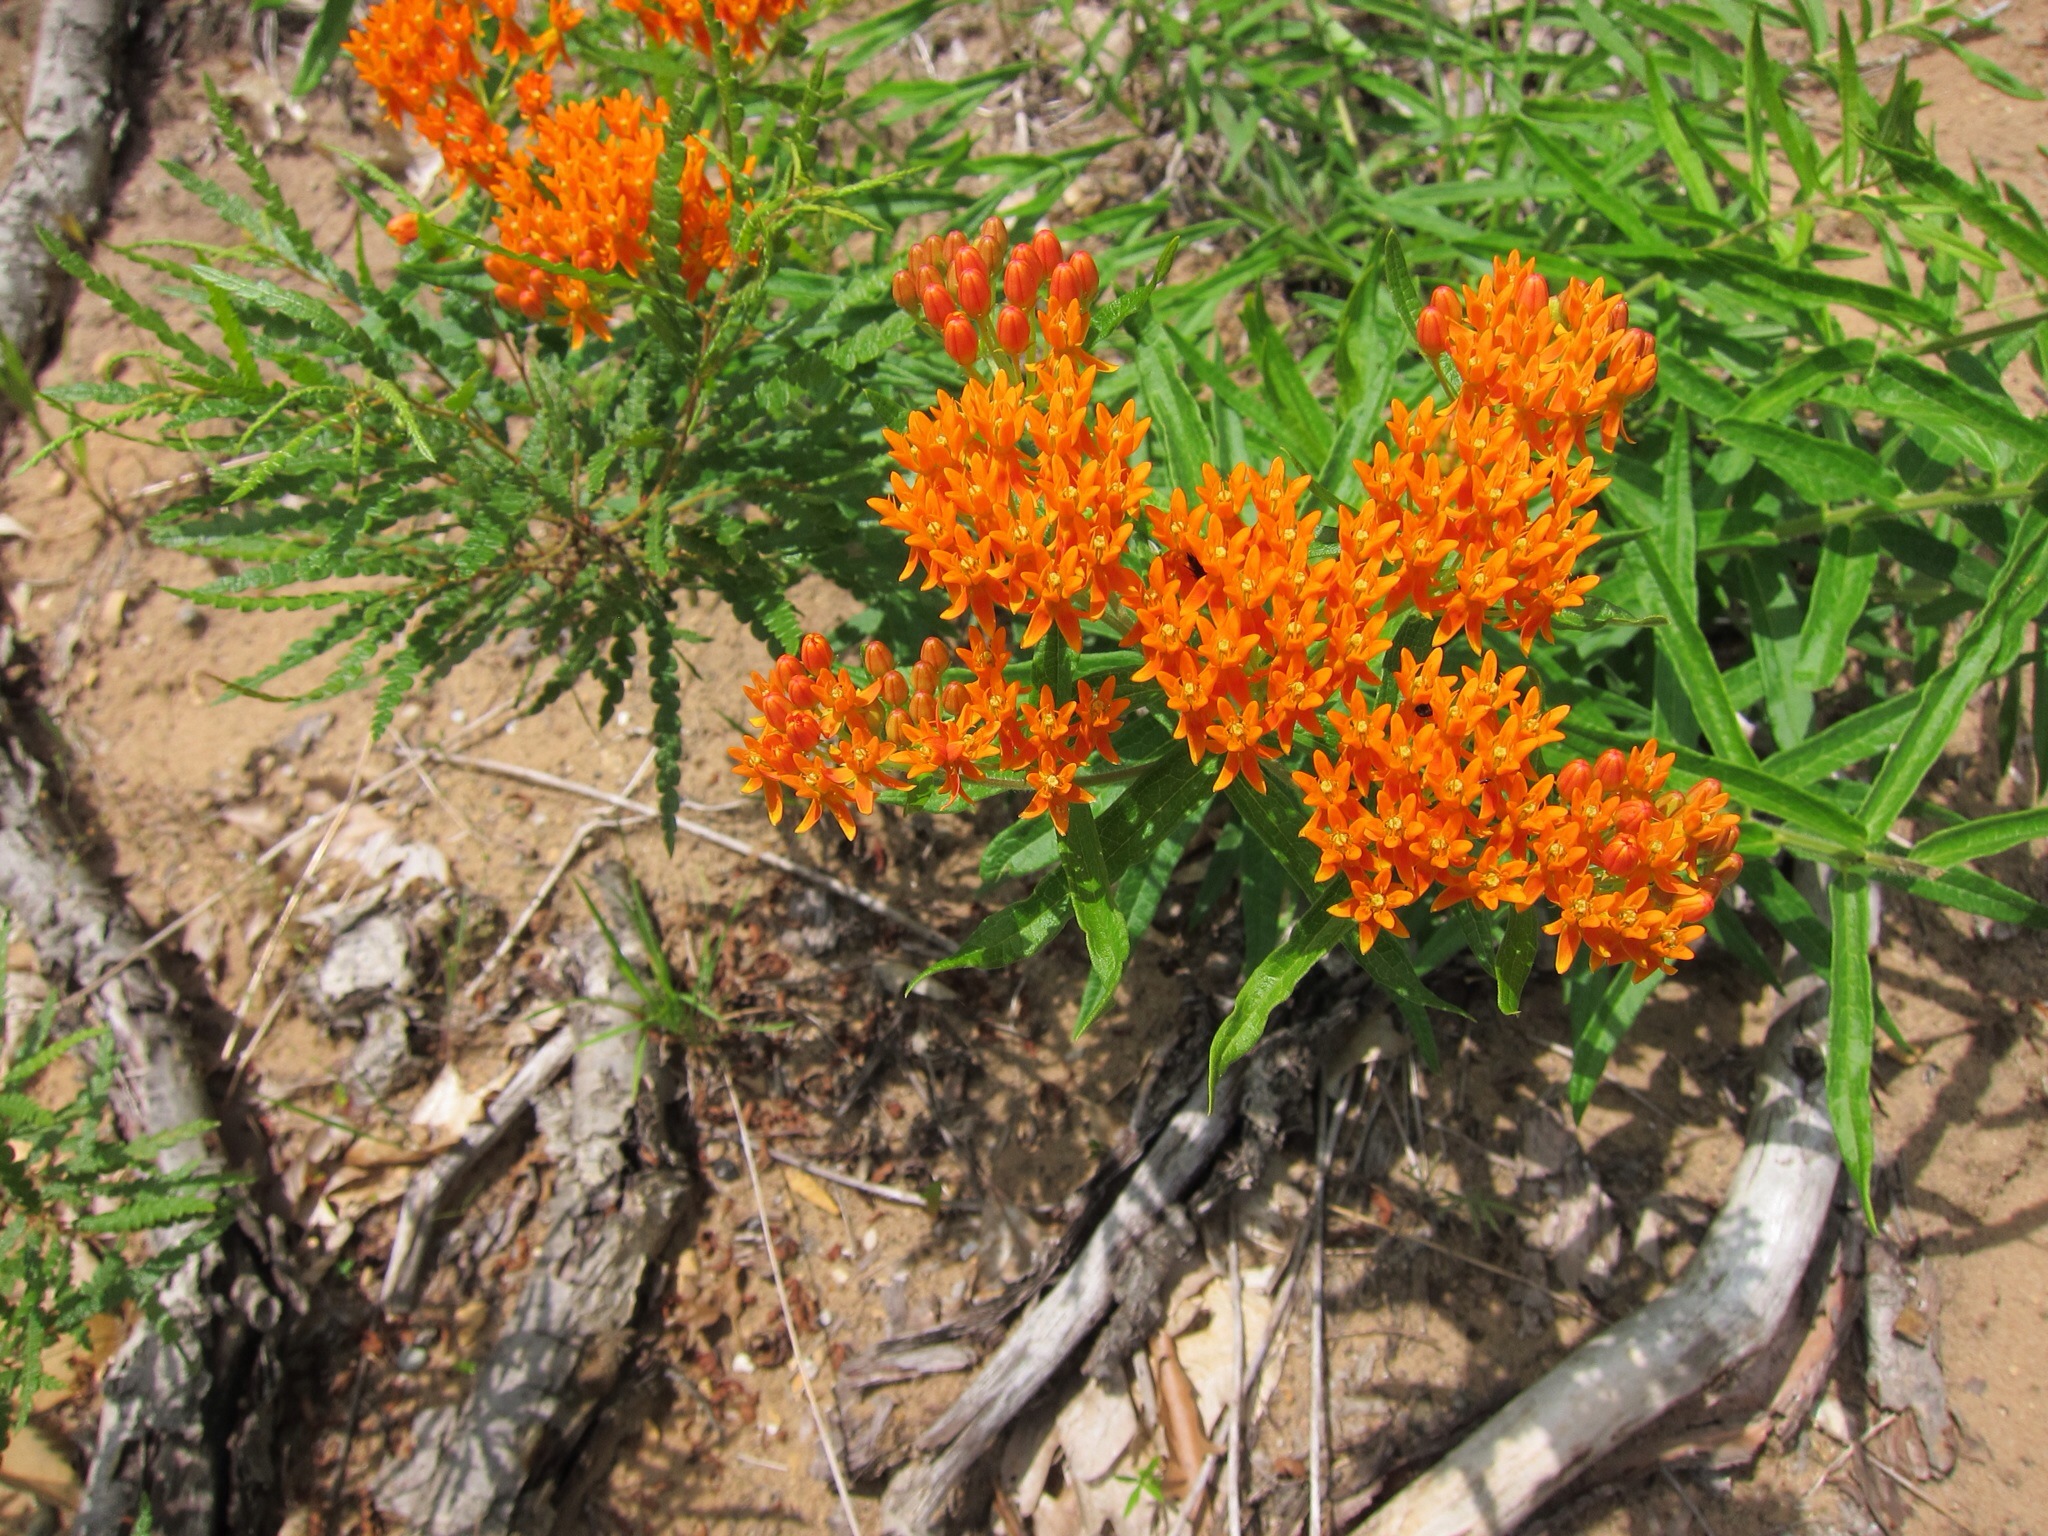
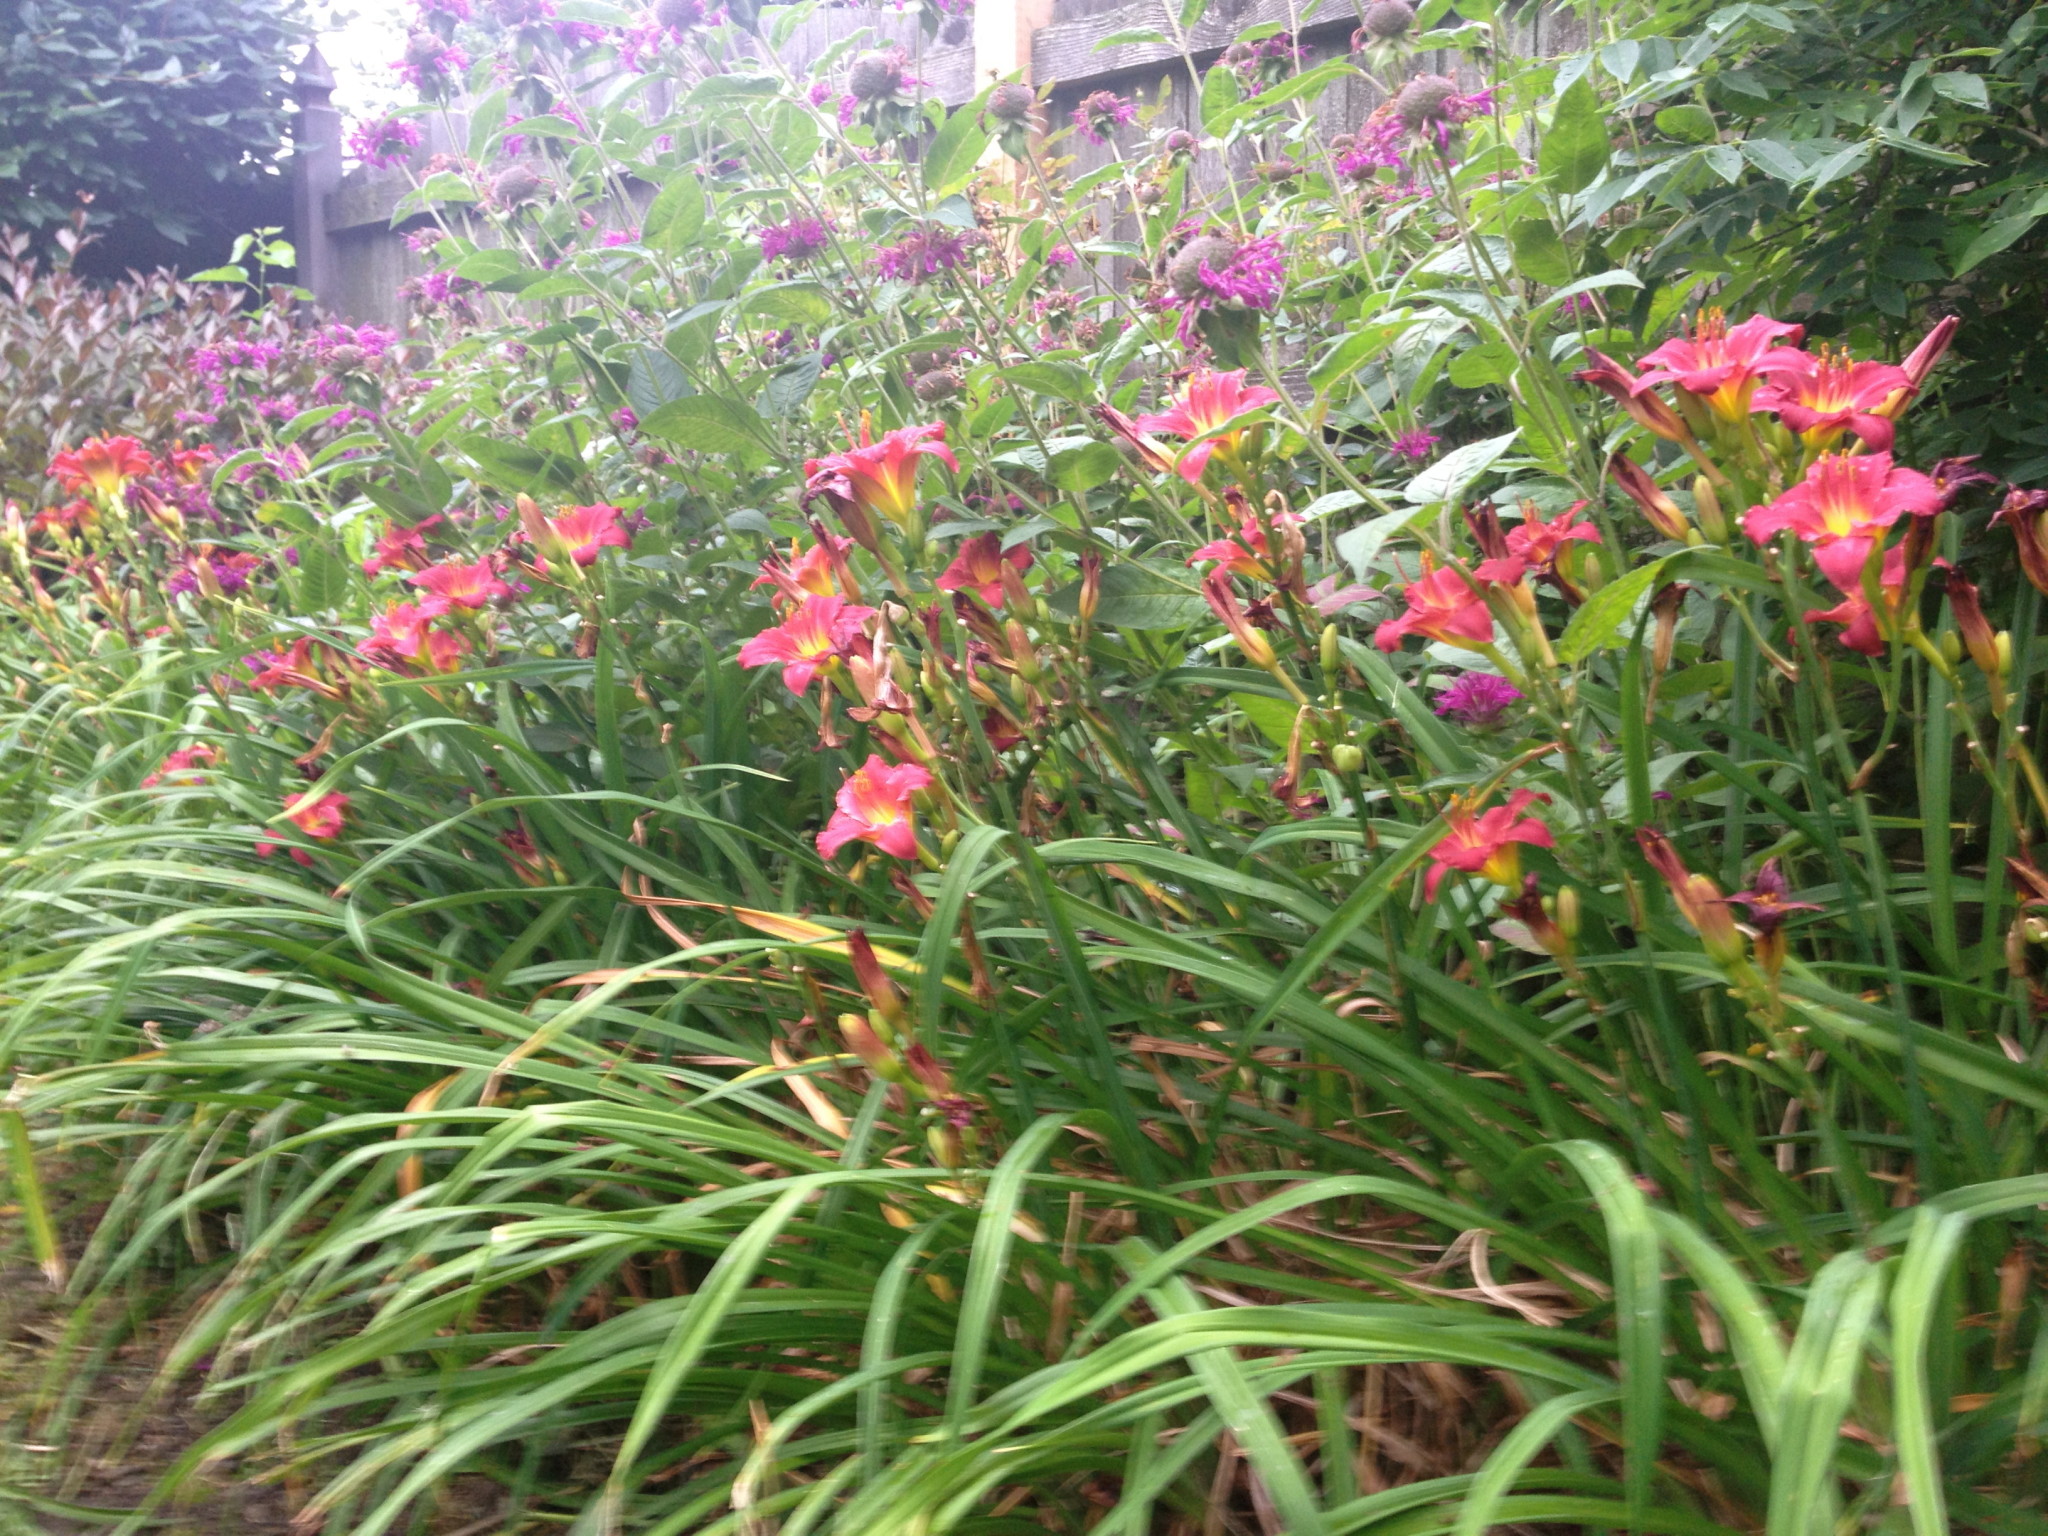
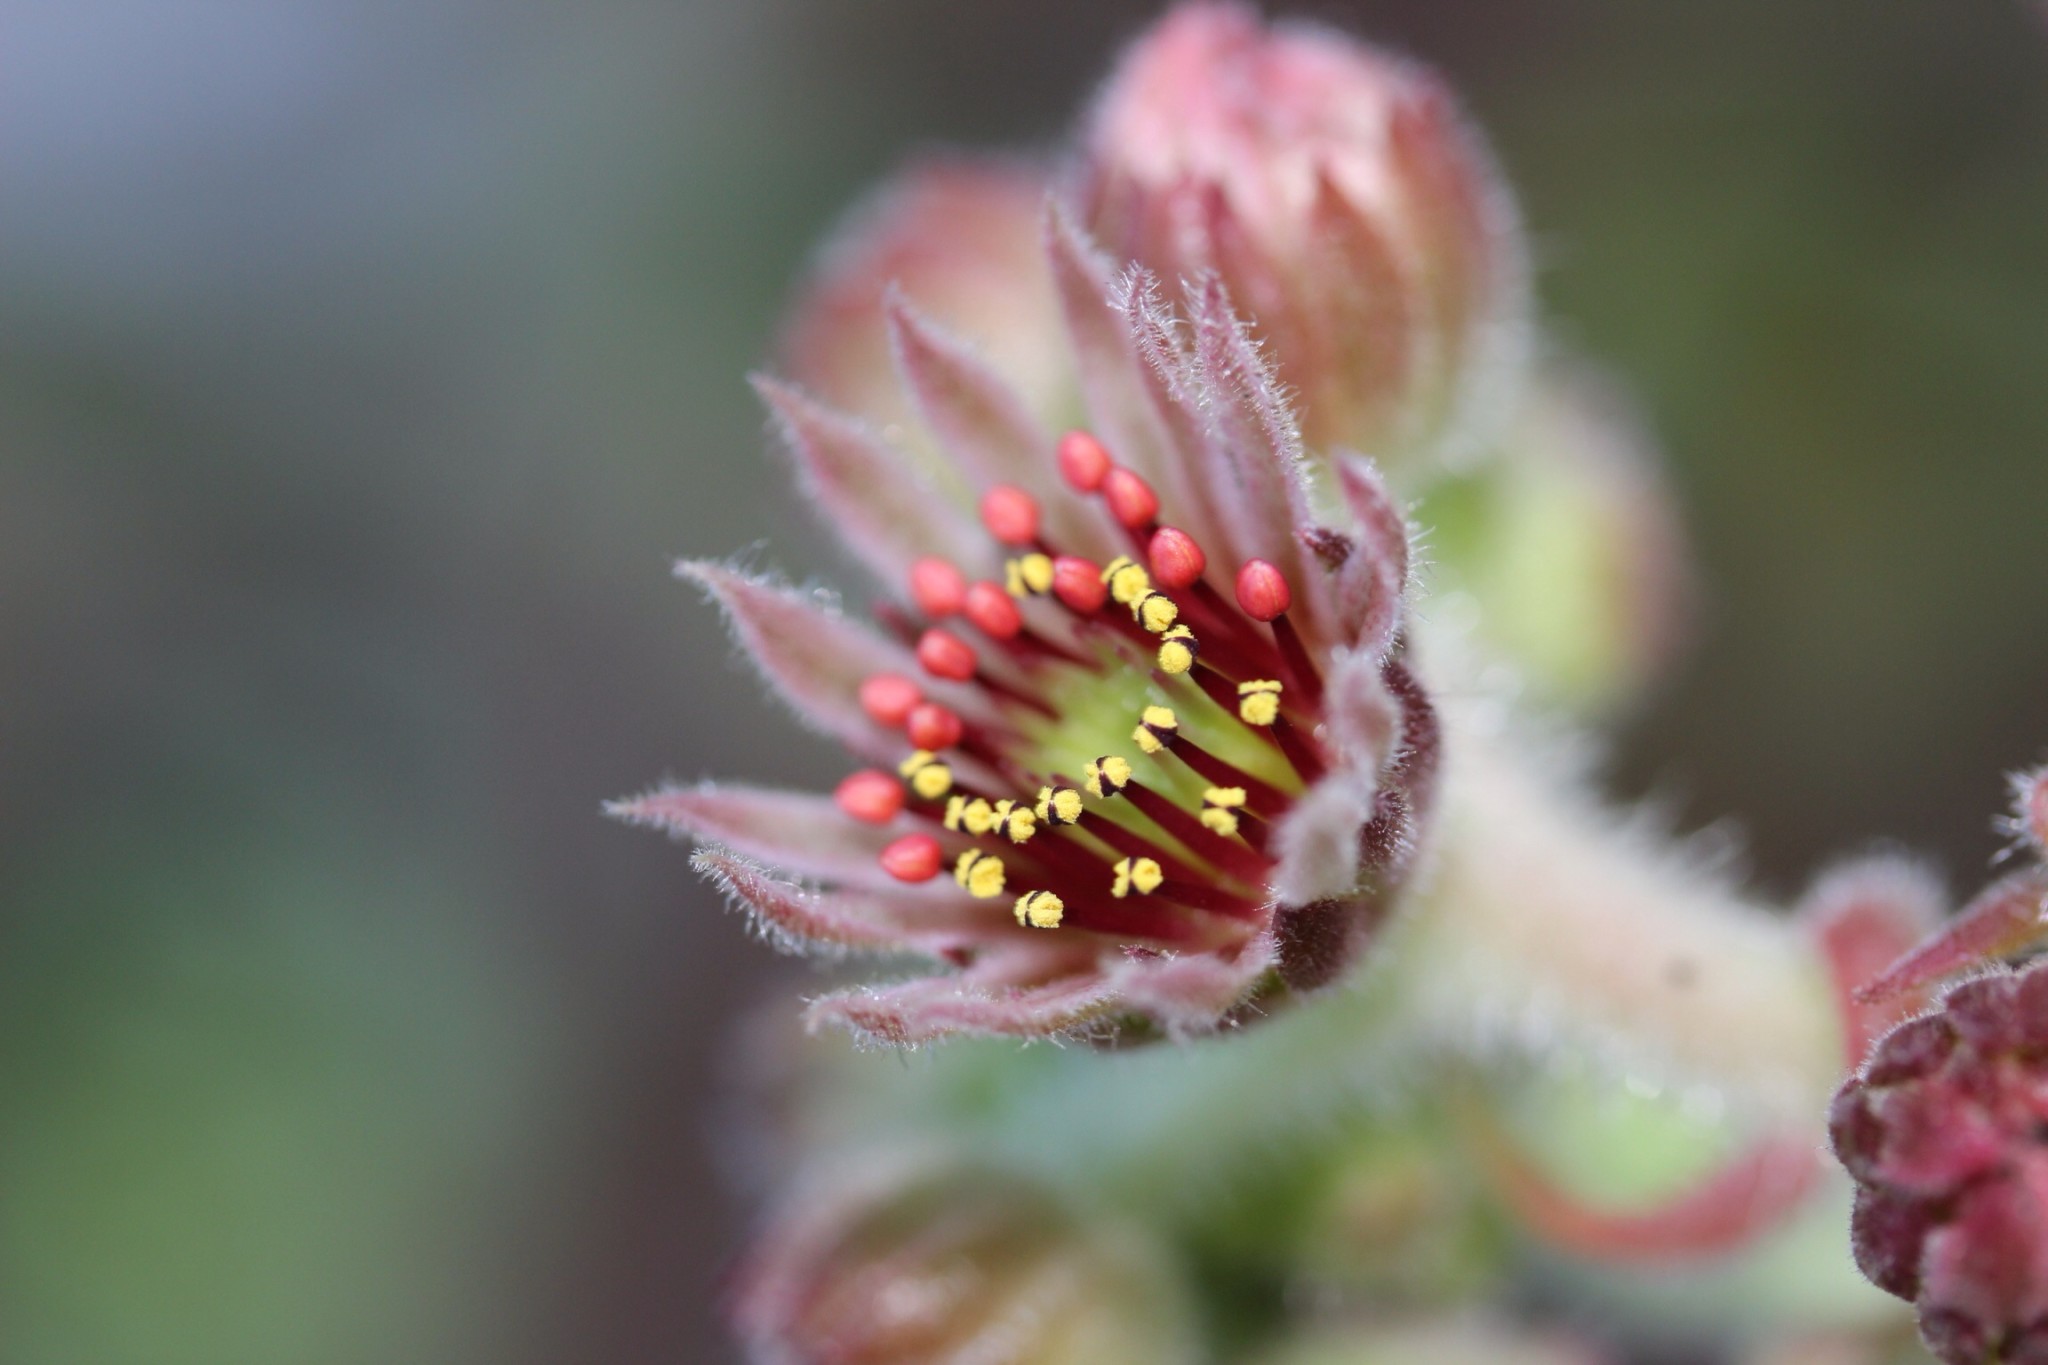
unkown–late blooming Same unknown as previous picture. Mixed with Bee Balm
Now that I’ve spent some time studying the daylilies in my own yard, I’ve been noticing all the different daylilies around me. In the neighborhood, parking lots, storefront gardens–I’m surprised at all the varieties that I never noticed before.
We have a lot of different daylilies around our yard. They are so pretty when they are full bloom and great space fillers. With the introduction of so many varieties of reblooming types, daylilies really can have a place of prominence in the garden. This has been a particularly good year for the daylilies, so the gardens have been just a succession of pretty colors. Of course, when I planted them, I promptly lost the name tags and didn’t write many their names down anywhere. I’ve done my best to figure out what is what, but I welcome any help in identifying what is in my garden.
I stumbled across The American Hemerocallis Society site, Oakes Daylilies, and Olallie Daylily Gardens, among other great daylily websites, while trying to identify my plants and loved their site. They, and the others, provide a wealth of information and daylily help. I had no idea there are so many different varieties out there. I might be tempted to add a few more to my garden…
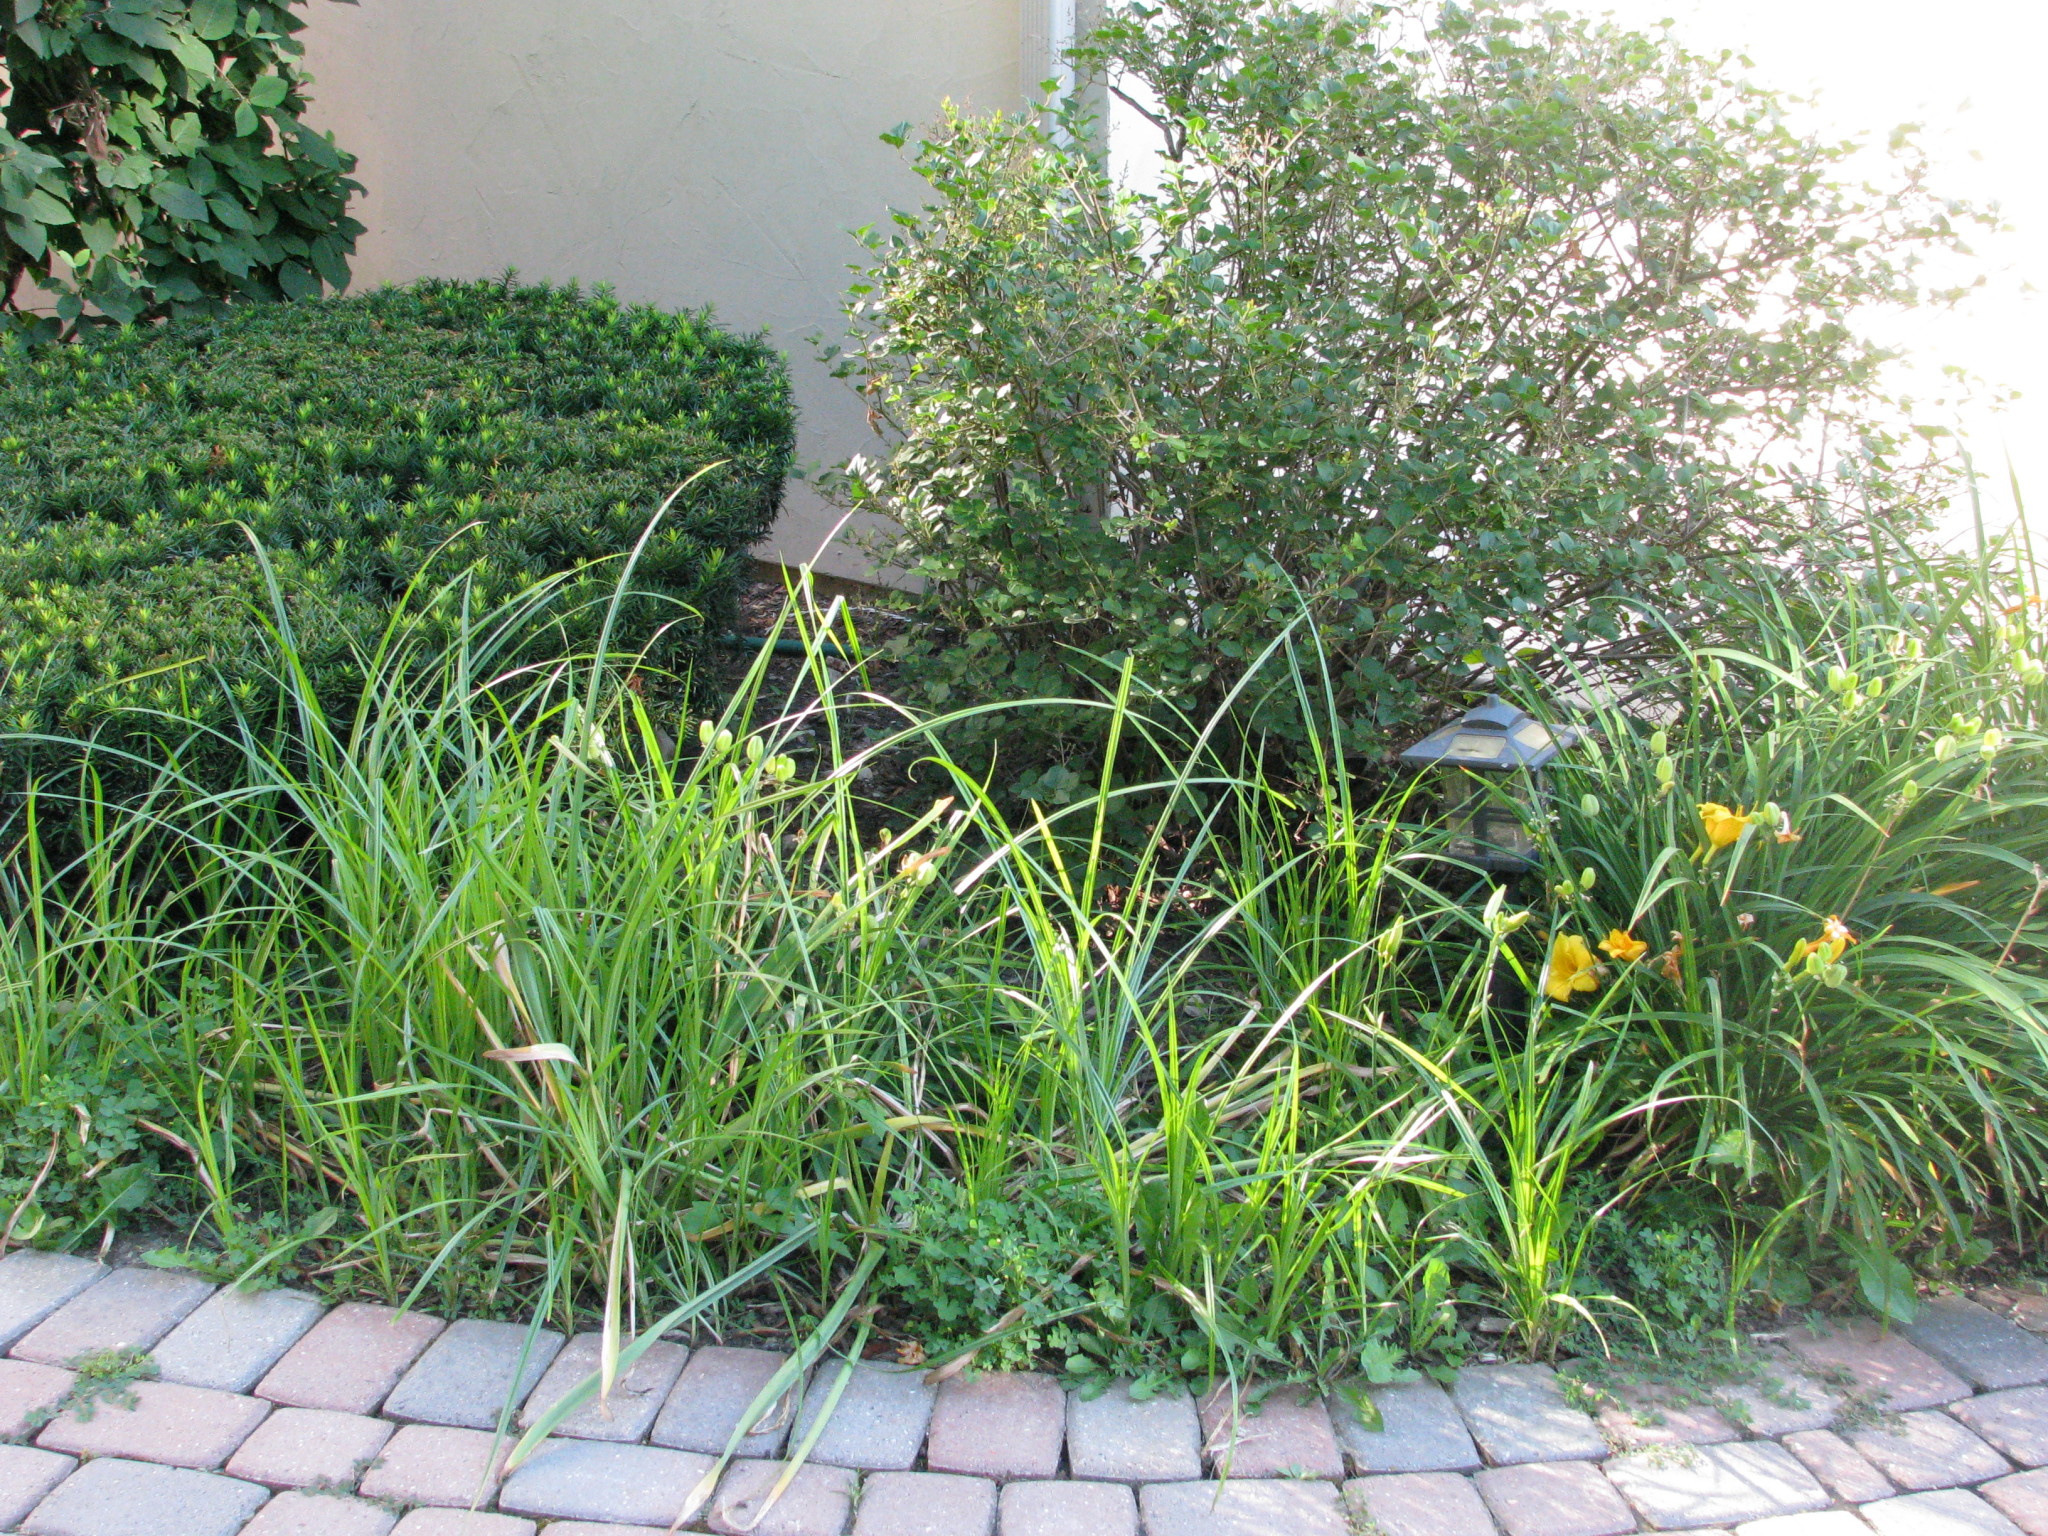
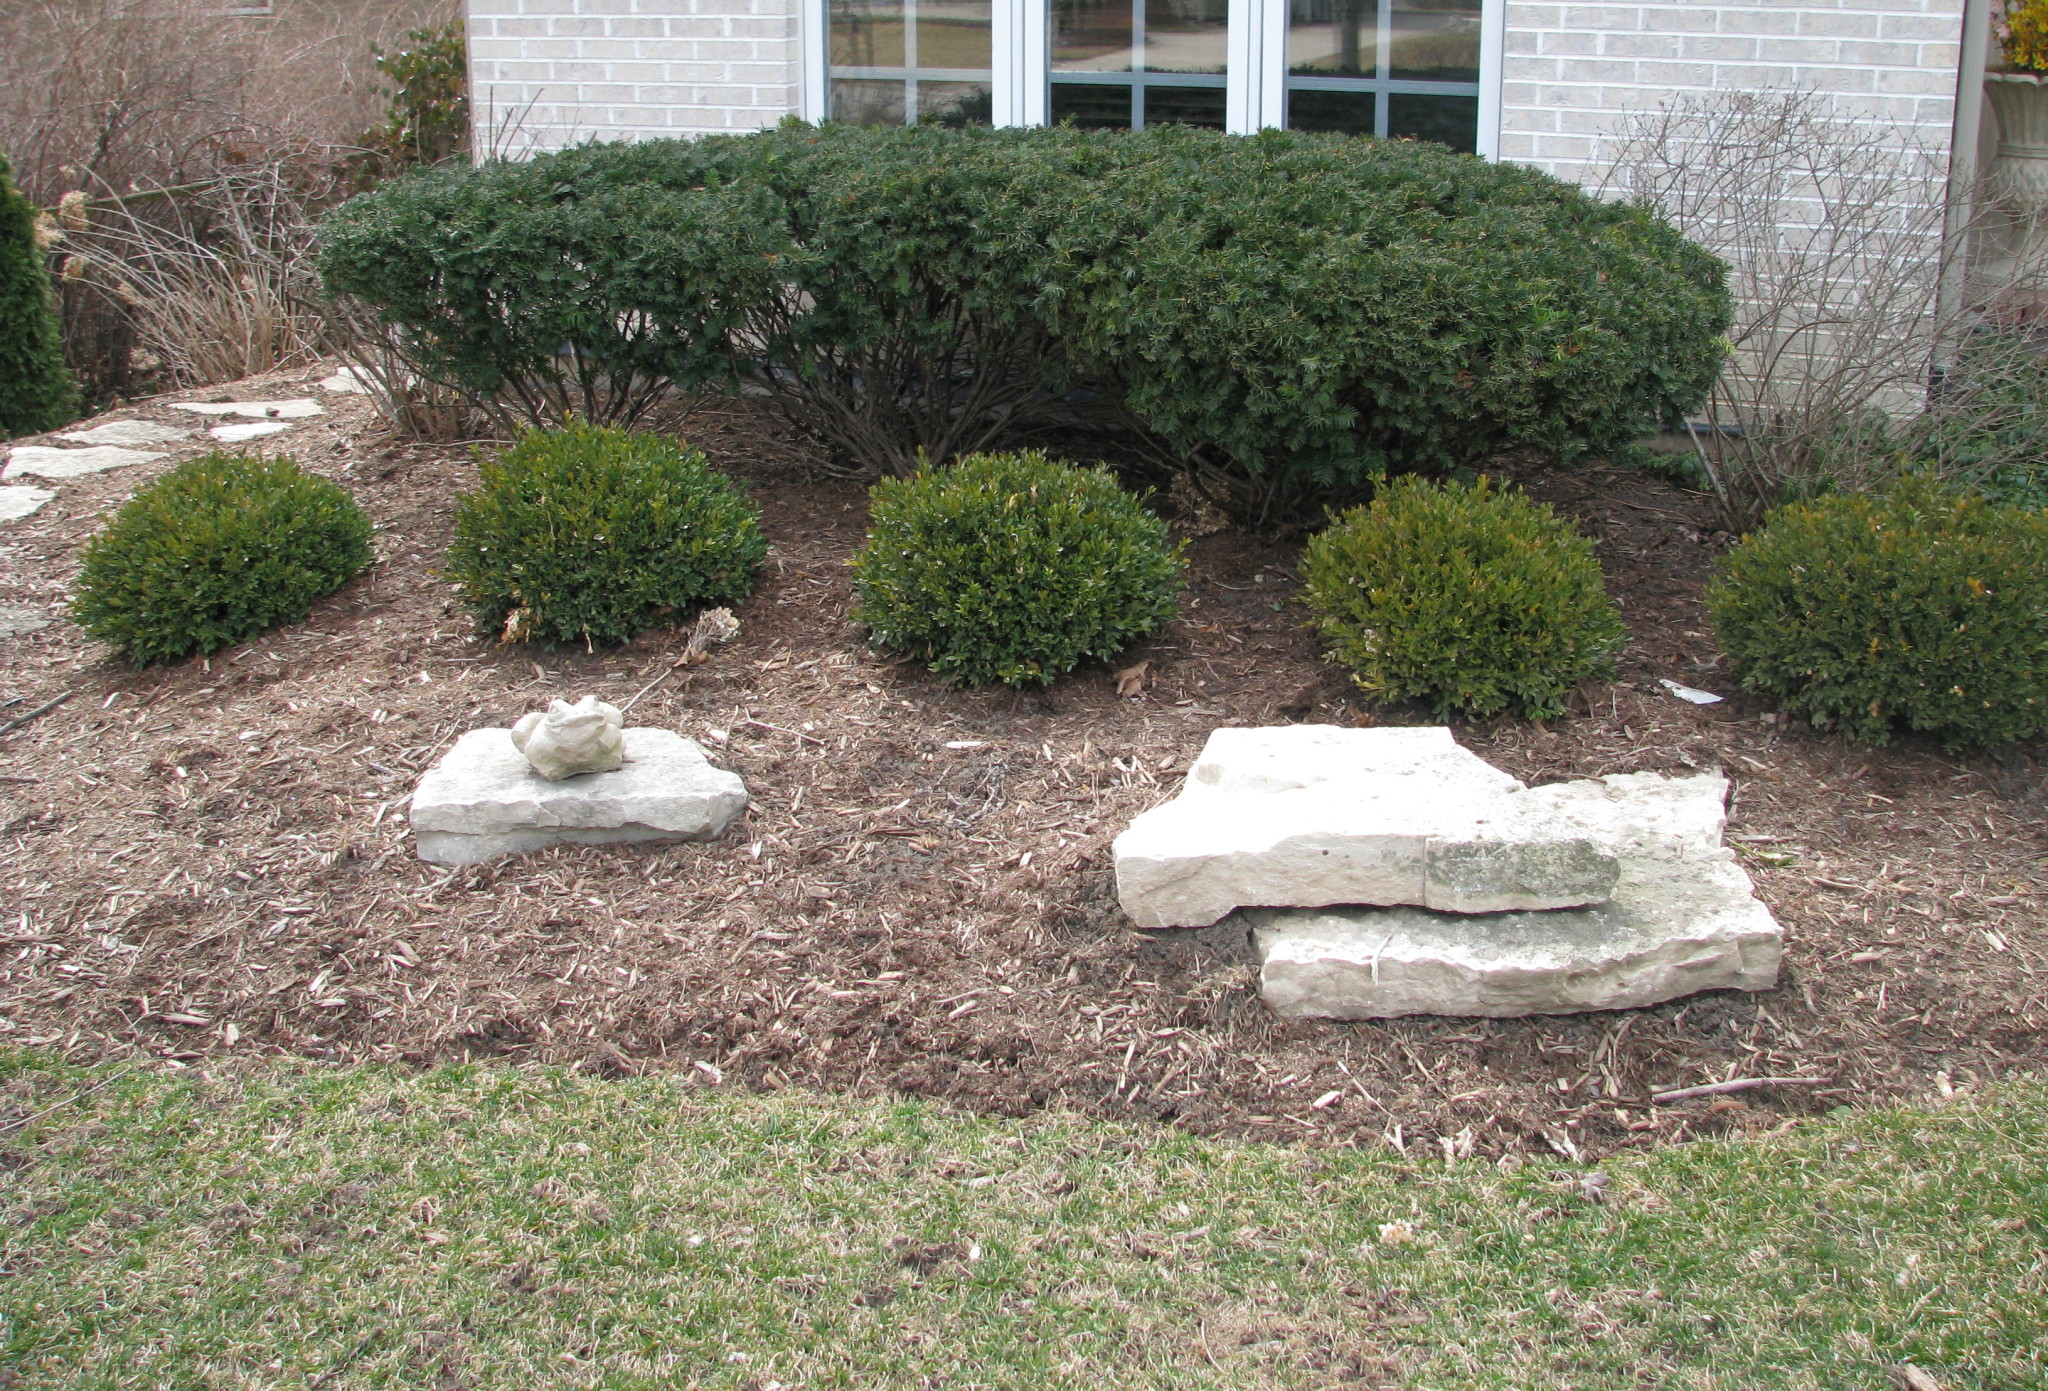
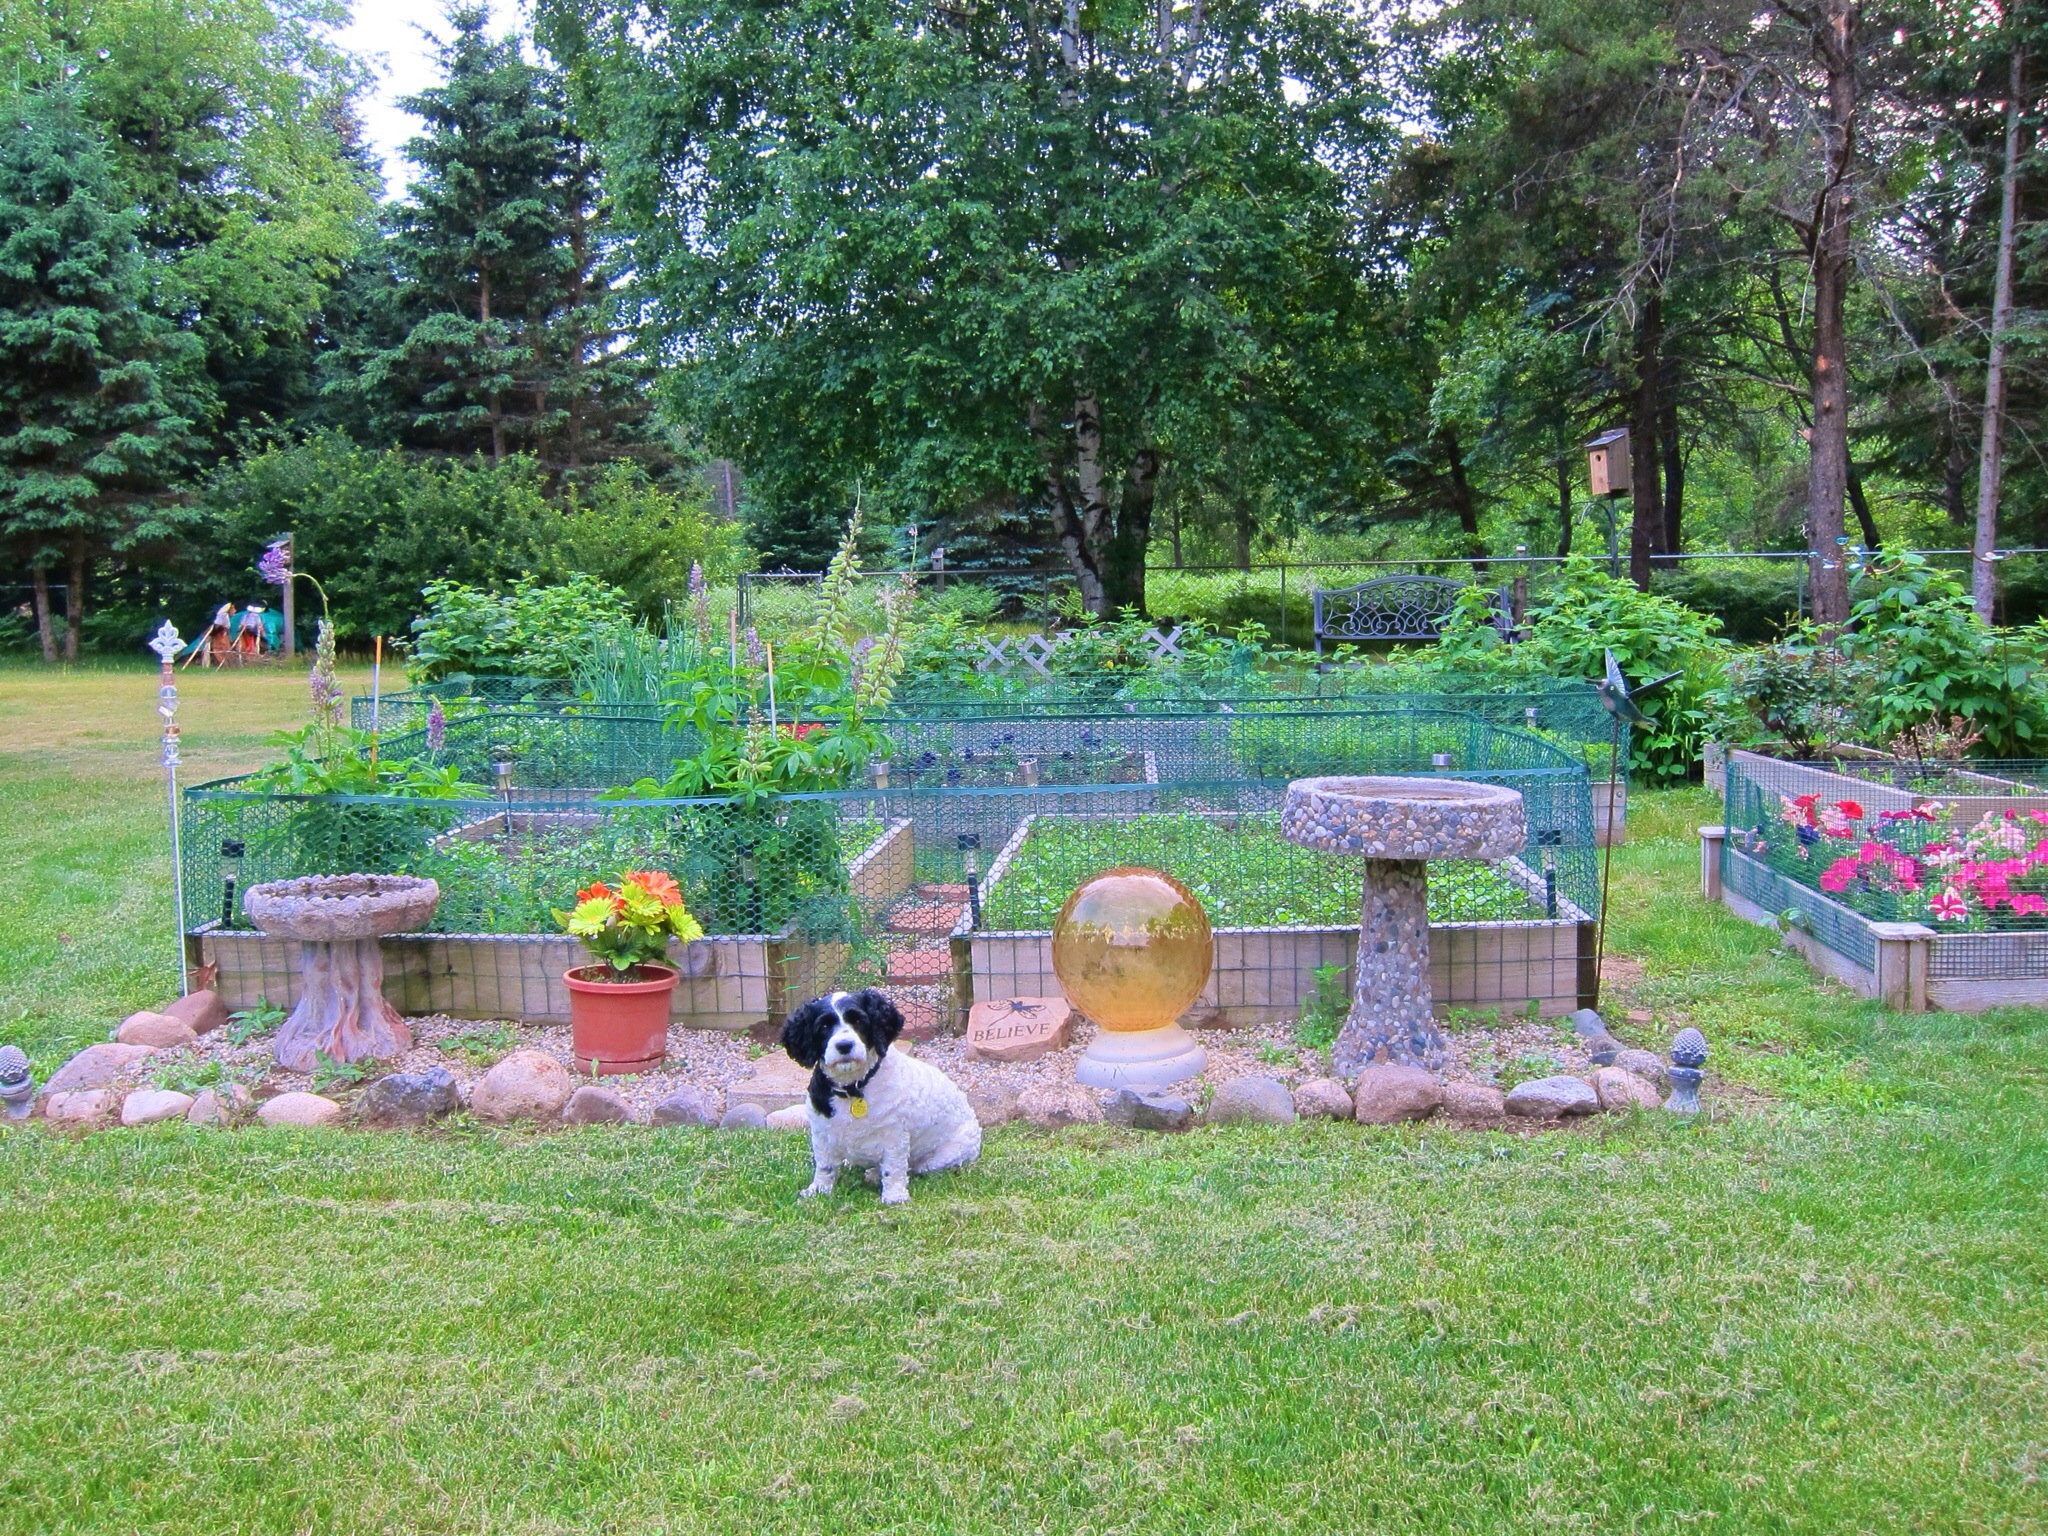
After fixing up the garden in the front of the house, inevitably another spot is starting to look messy and unpleasant. Many elements of this corner garden are struggling. The overgrown Miss Kim Lilac, the mishmash of day lilies, a giant decorative rock mostly buried under the shrub that serves no purpose, constant weeds, and dead daffodil leaves are a few examples. This corner says anything but “Welcome to my house!”
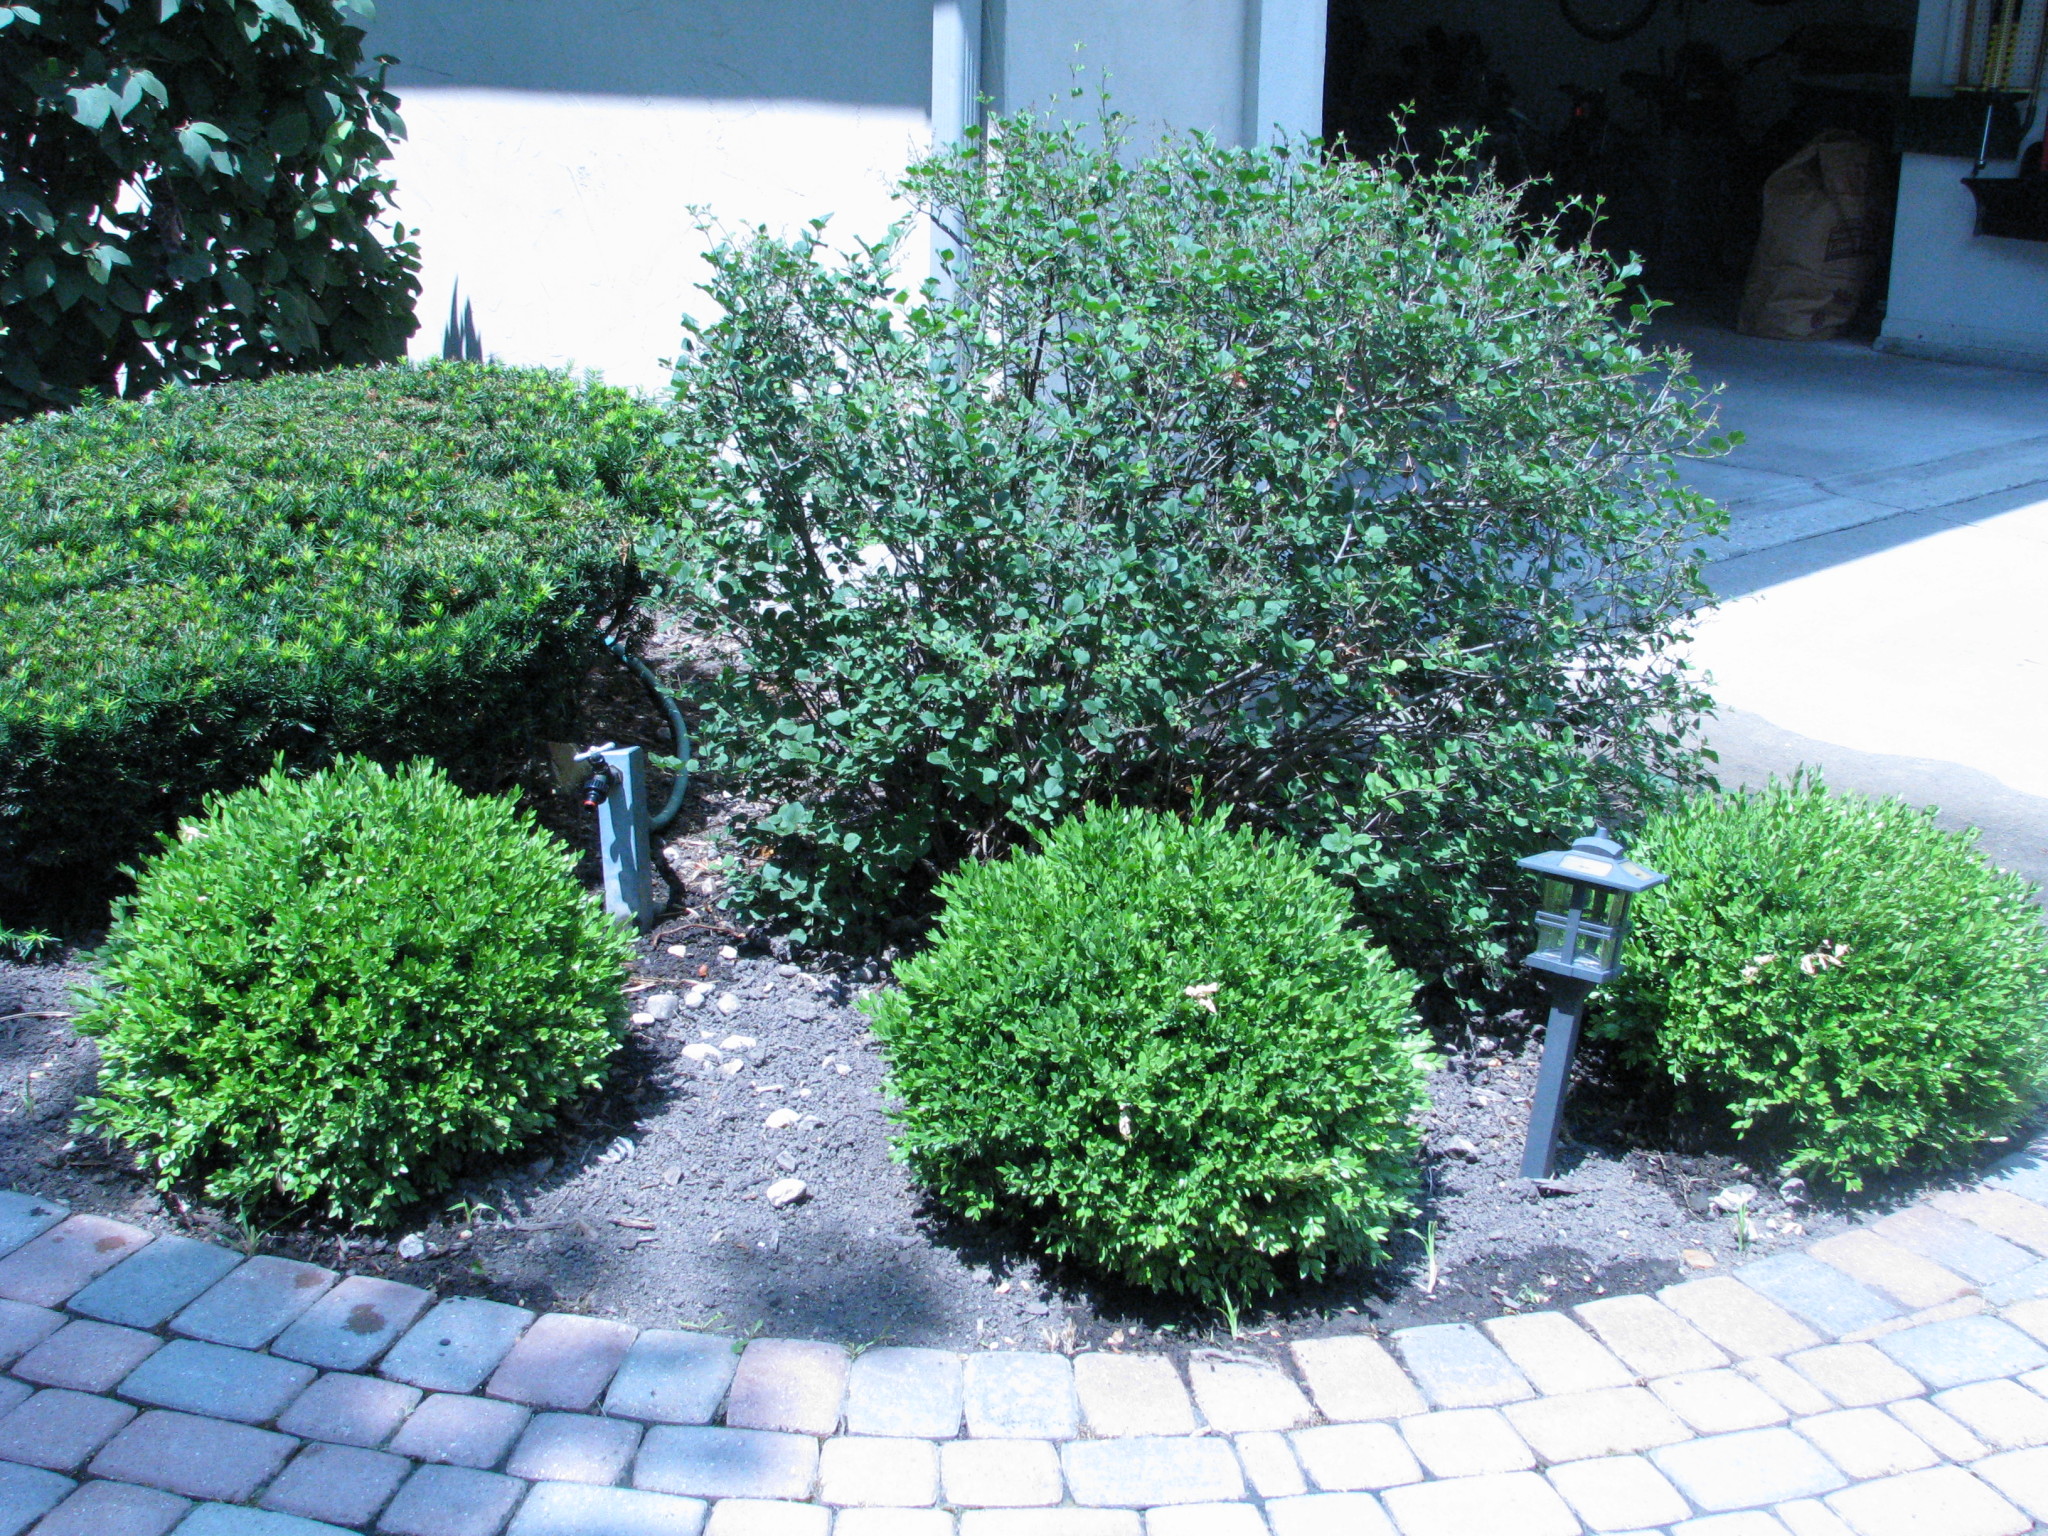
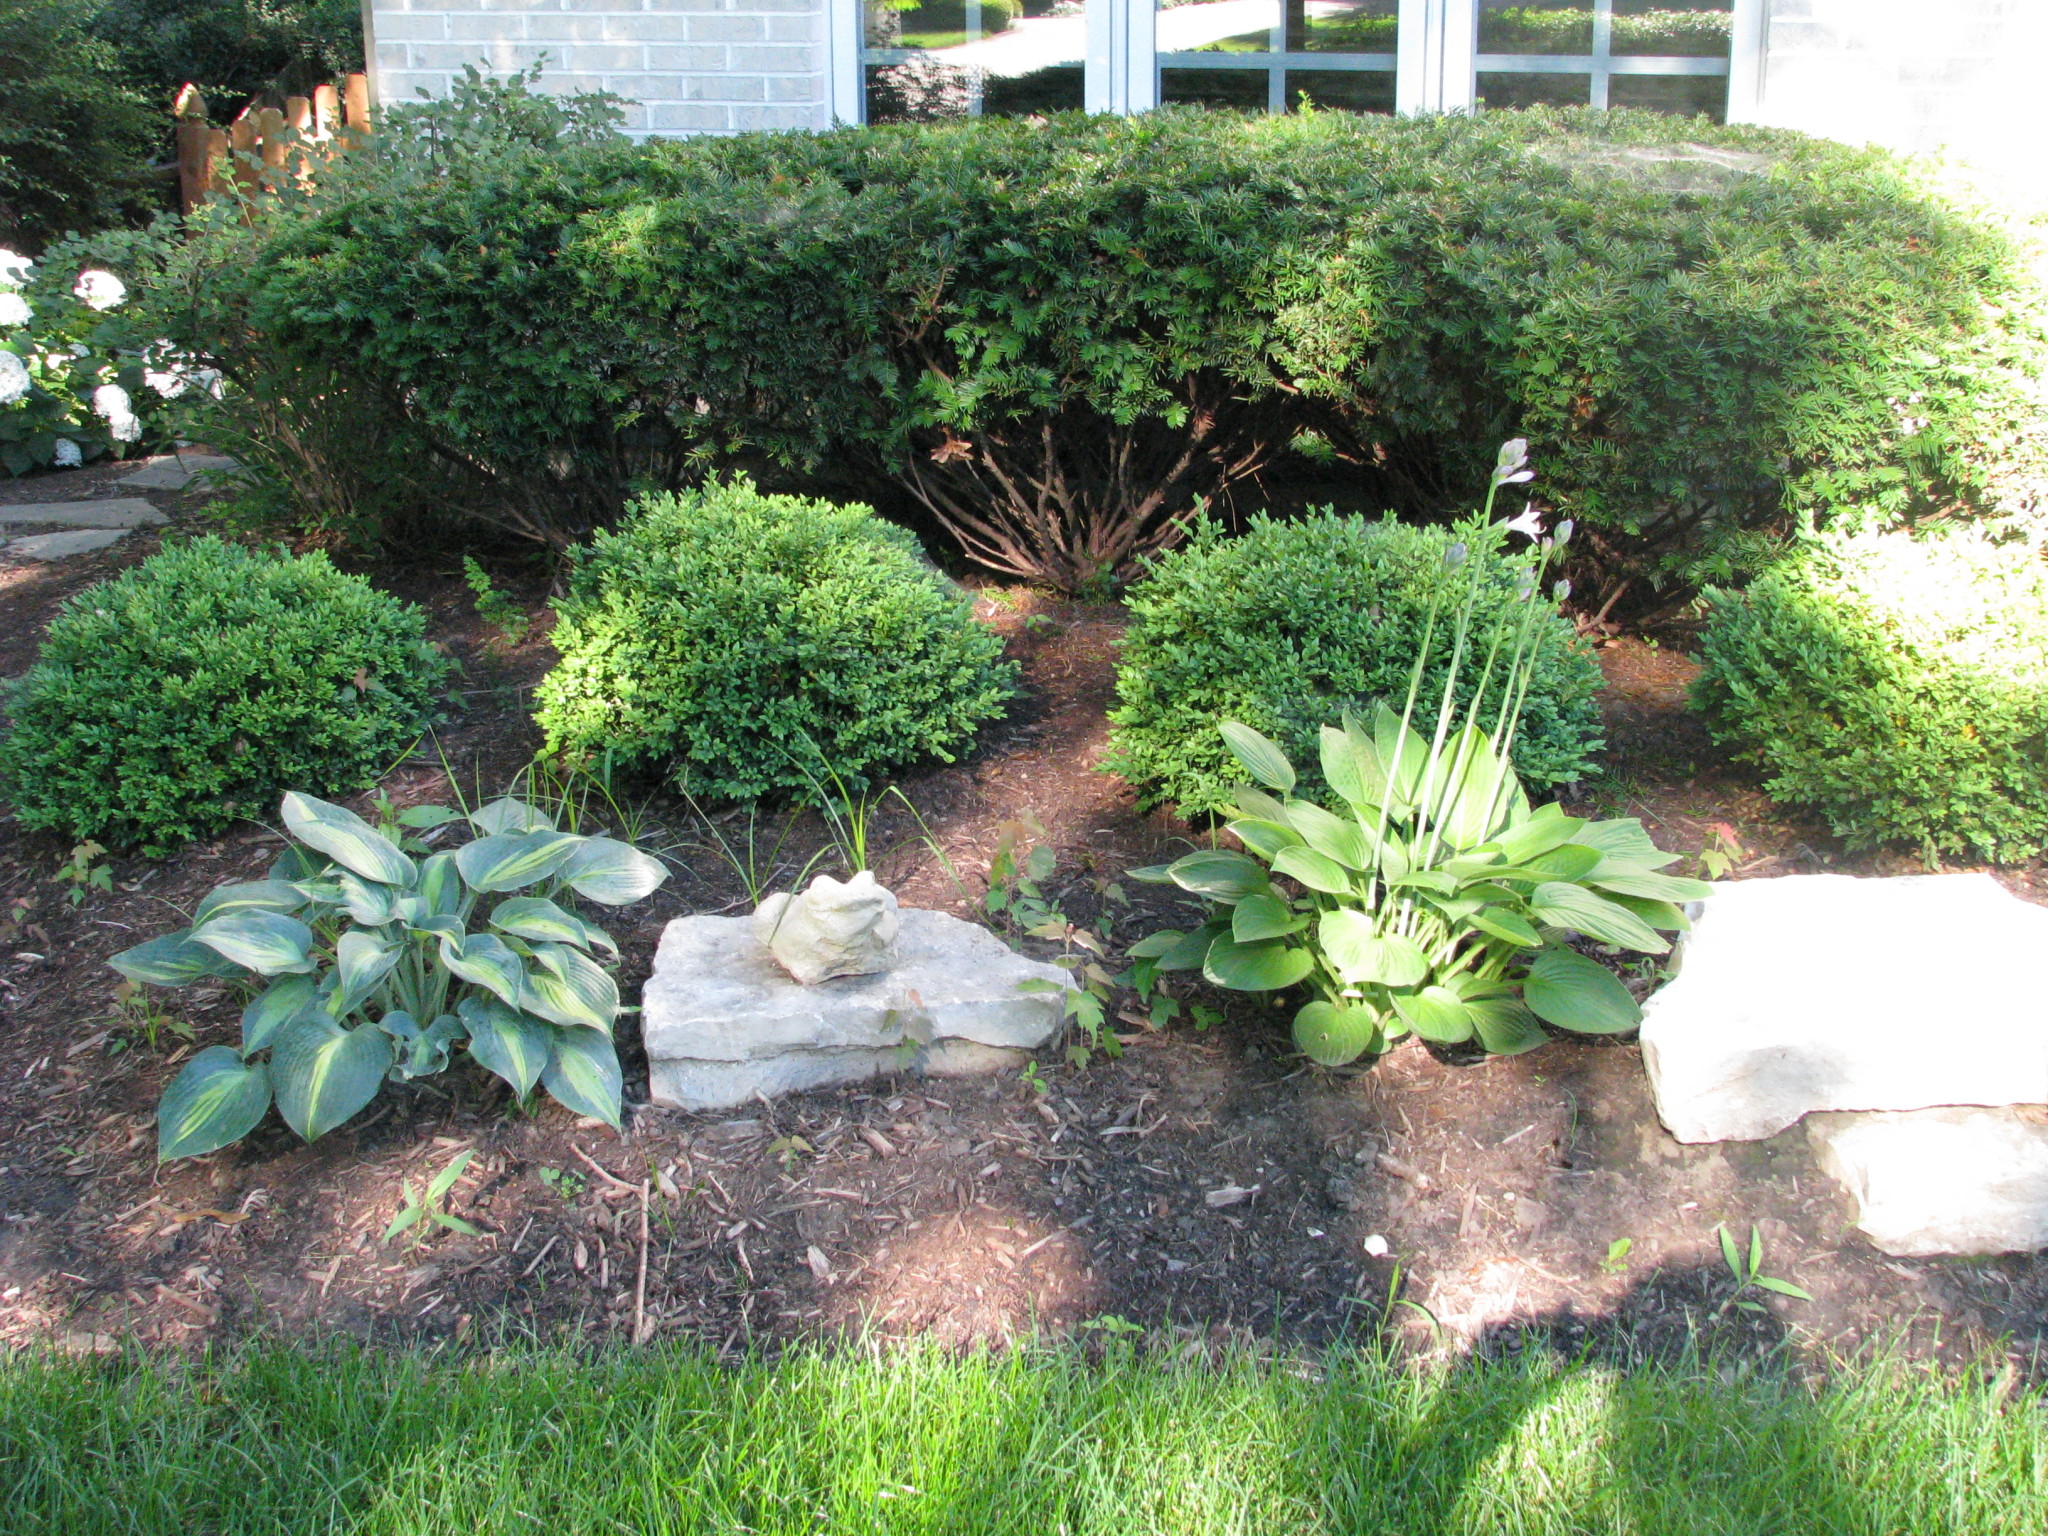
So we really needed to spruce this up a bit. The giant flat accent rock and daylilies moved to another spot and immediately the site perked up. I was going to leave some of the daylilies right on the front corner and add 2 boxwoods to the spot next to yew. As soon as we set the boxwoods there, it was obvious the other daylilies had to go and one more boxwood was added. The lilac, I will continue to prune in hopes that one day it’ll be small and full again. And here’s what it looks like now!
One of the constant things I mysteriously find in the garden is small rocks. They are everywhere! I assume they are remnants of the initial house construction and walkway construction. I bring this up because I found about a bucketful in this small area. Rocks are one of those things that I just don’t know what to do with. They’re not landscaping waste, too heavy for the regular trash, so they now go to help fill in the swale in the back that has river rock in it.
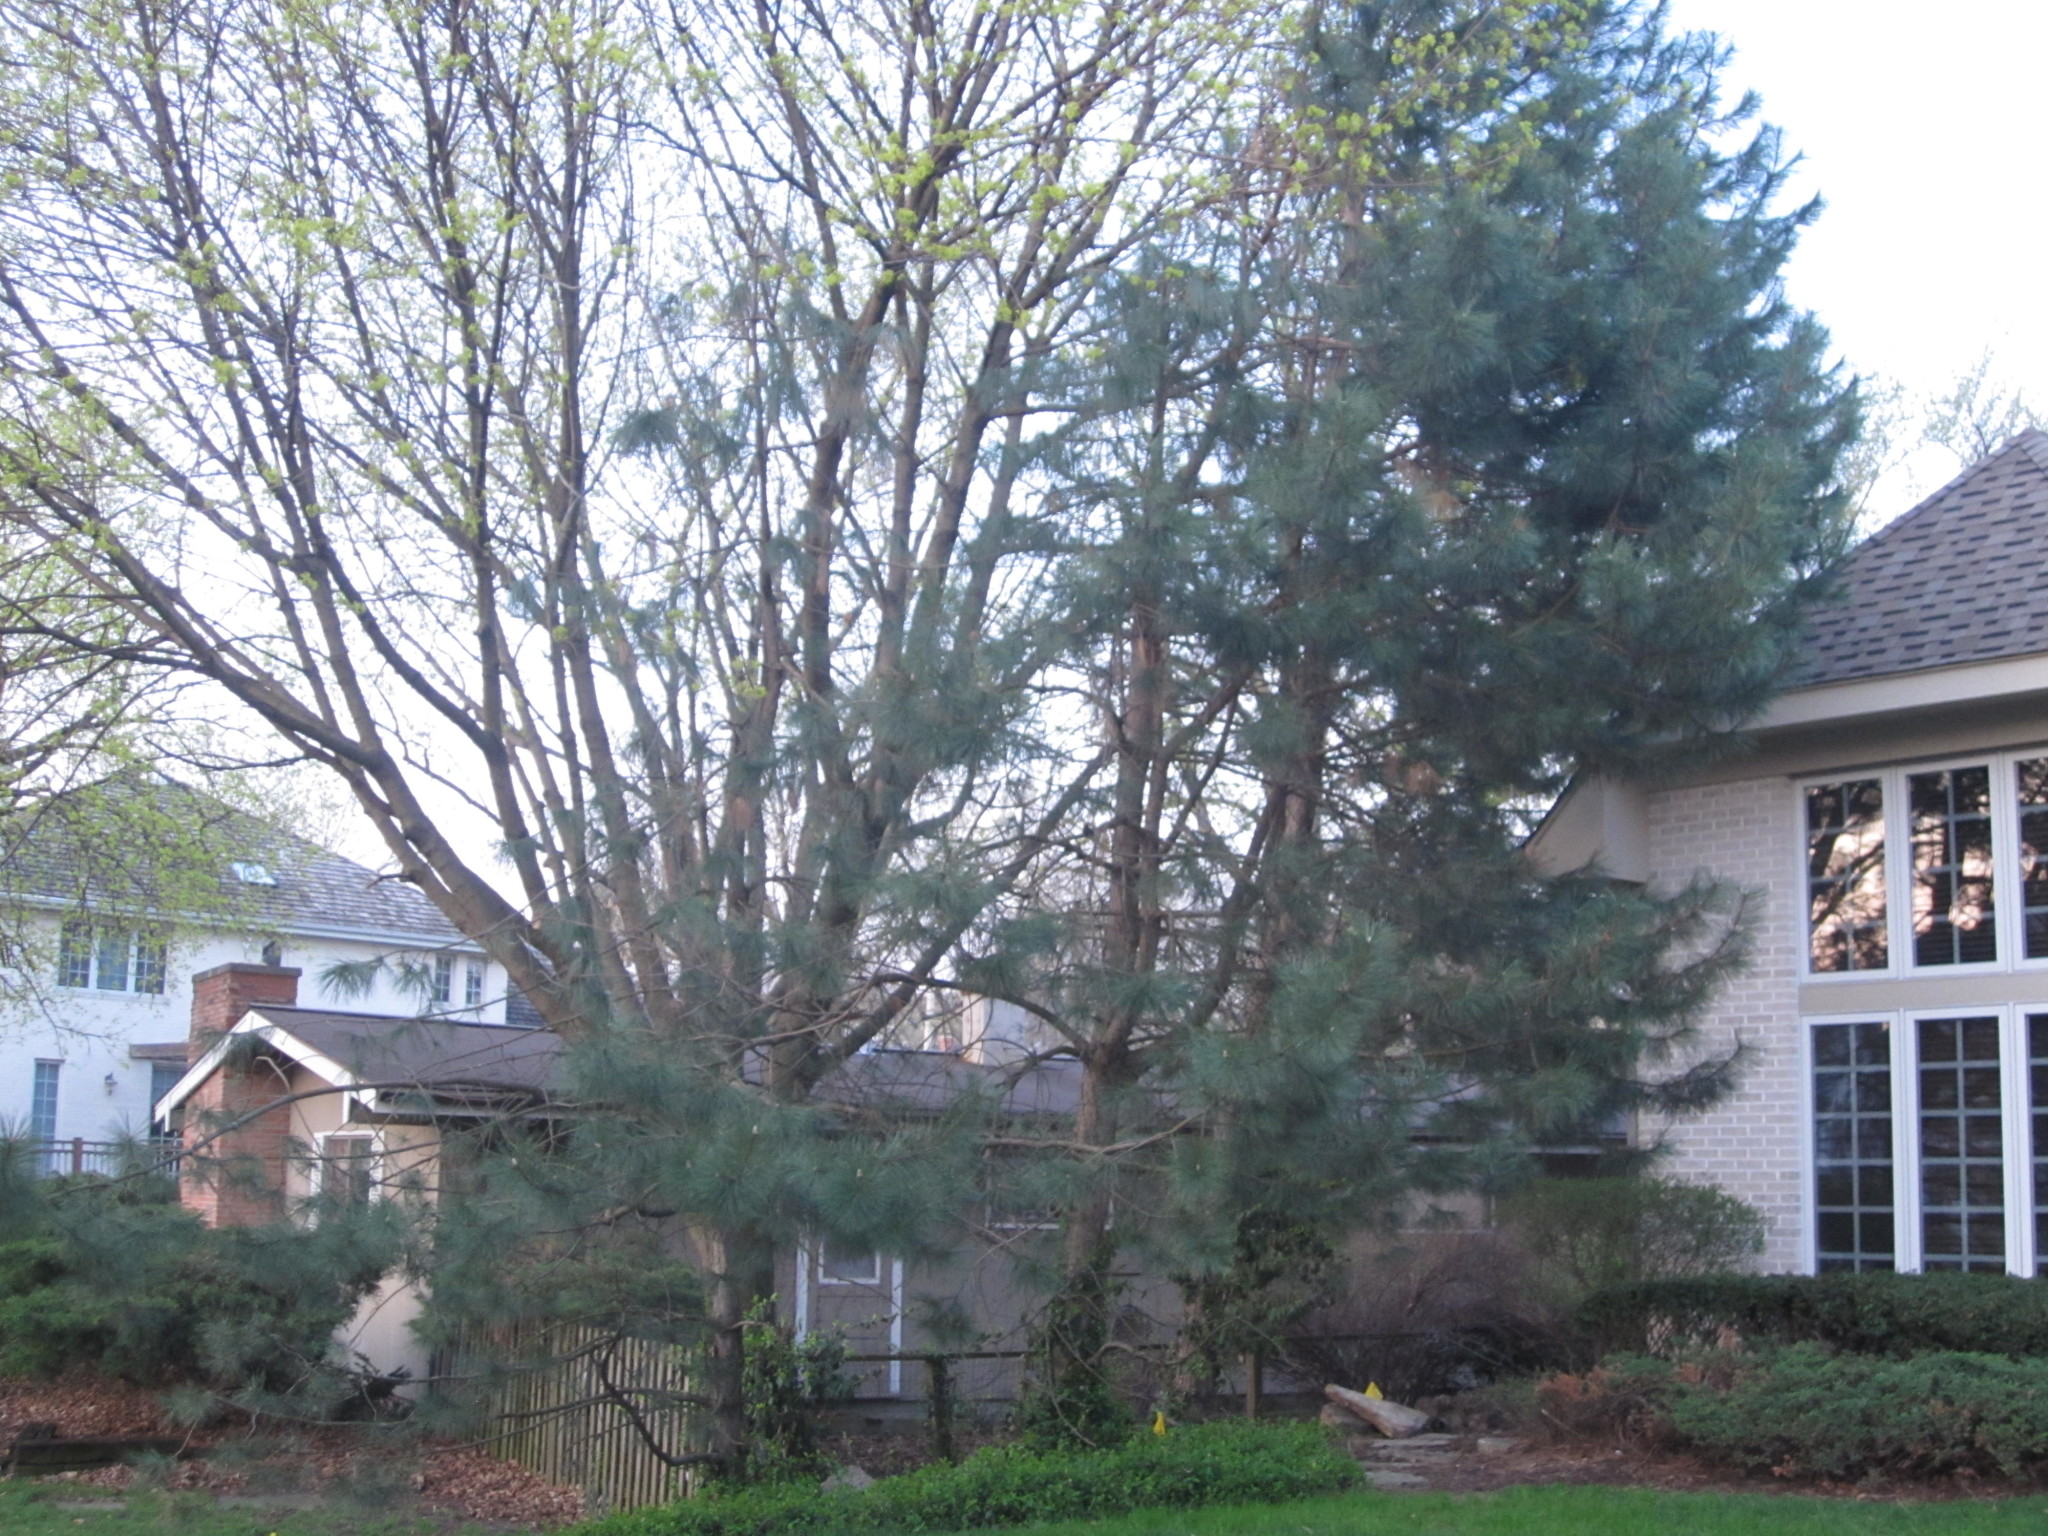
Everyone has problem areas in their yard. This week, I’m going to show some of ours and some of the solutions we’ve finally come up with. First was an area off the corner of the house. When we first moved in, the landscaper designed the space to have 3 large Austrian Pines in the corner with some yews and junipers in front of the window.
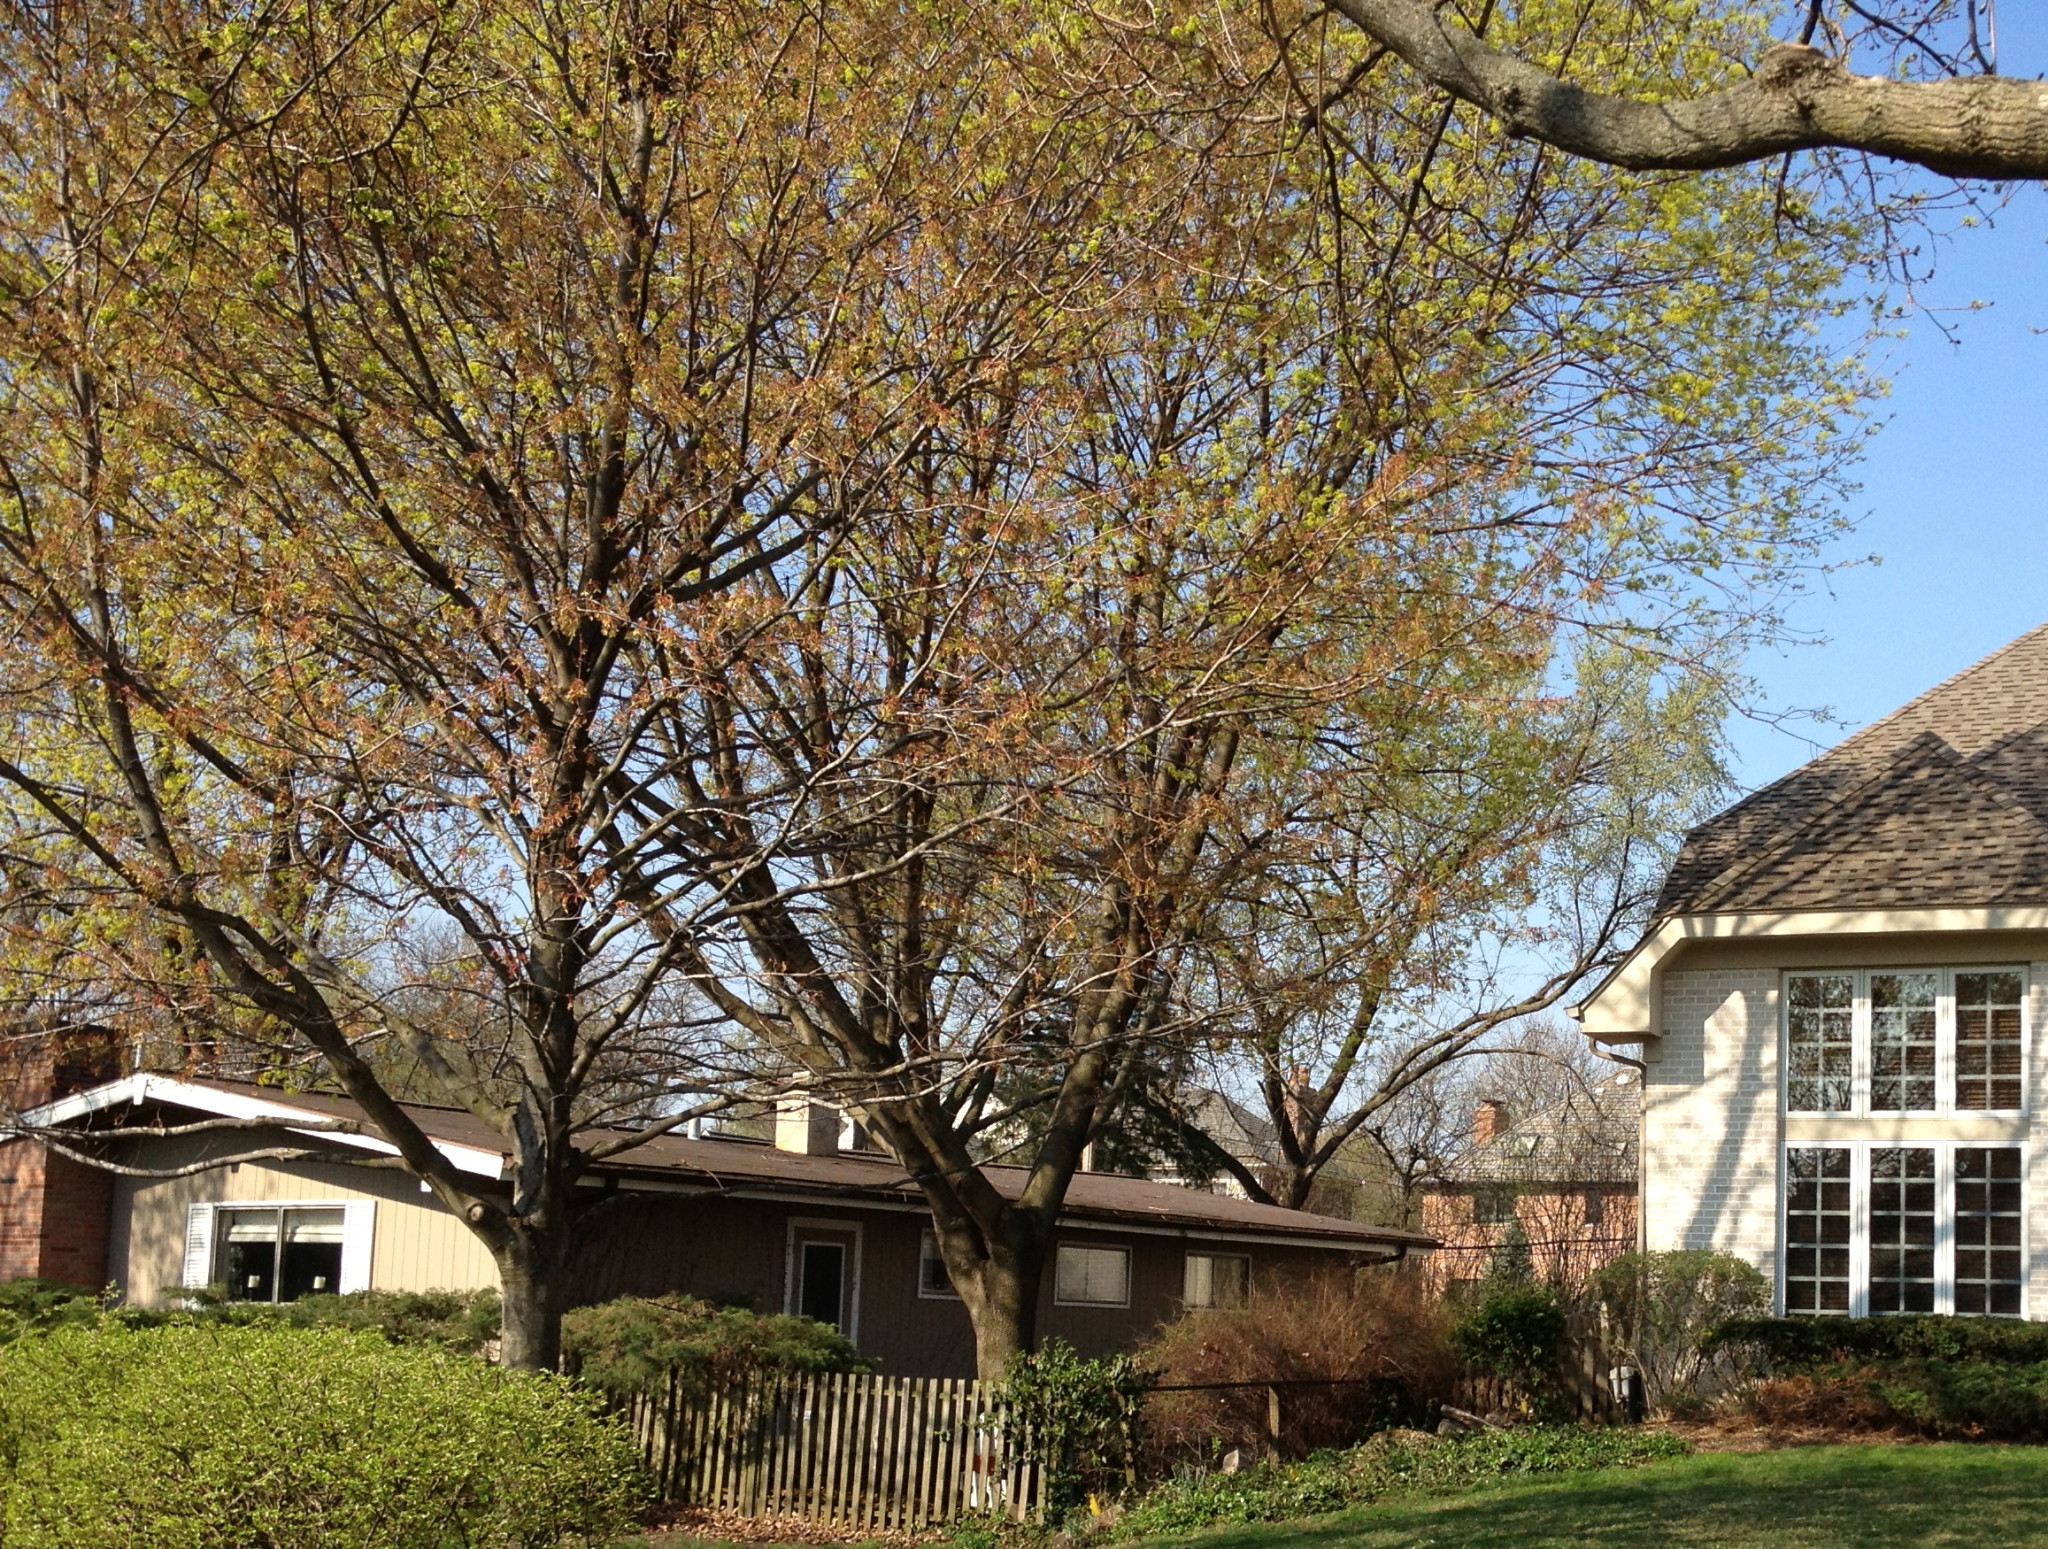
Little did we know that a self-planted maple was growing right next to it in my neighbors yard. It grew extremely rapidly to become one of the biggest trees around the property. It was so dense that it created too much shade for the Austrian Pines to grow properly (and killed off all her shrubs as well). So, last year we finally threw in the towel and had our trees removed to try and fix up this very noticeable part of the garden and house. In the process, we also took out the creeping junipers that were half dead as well from lack of sun.
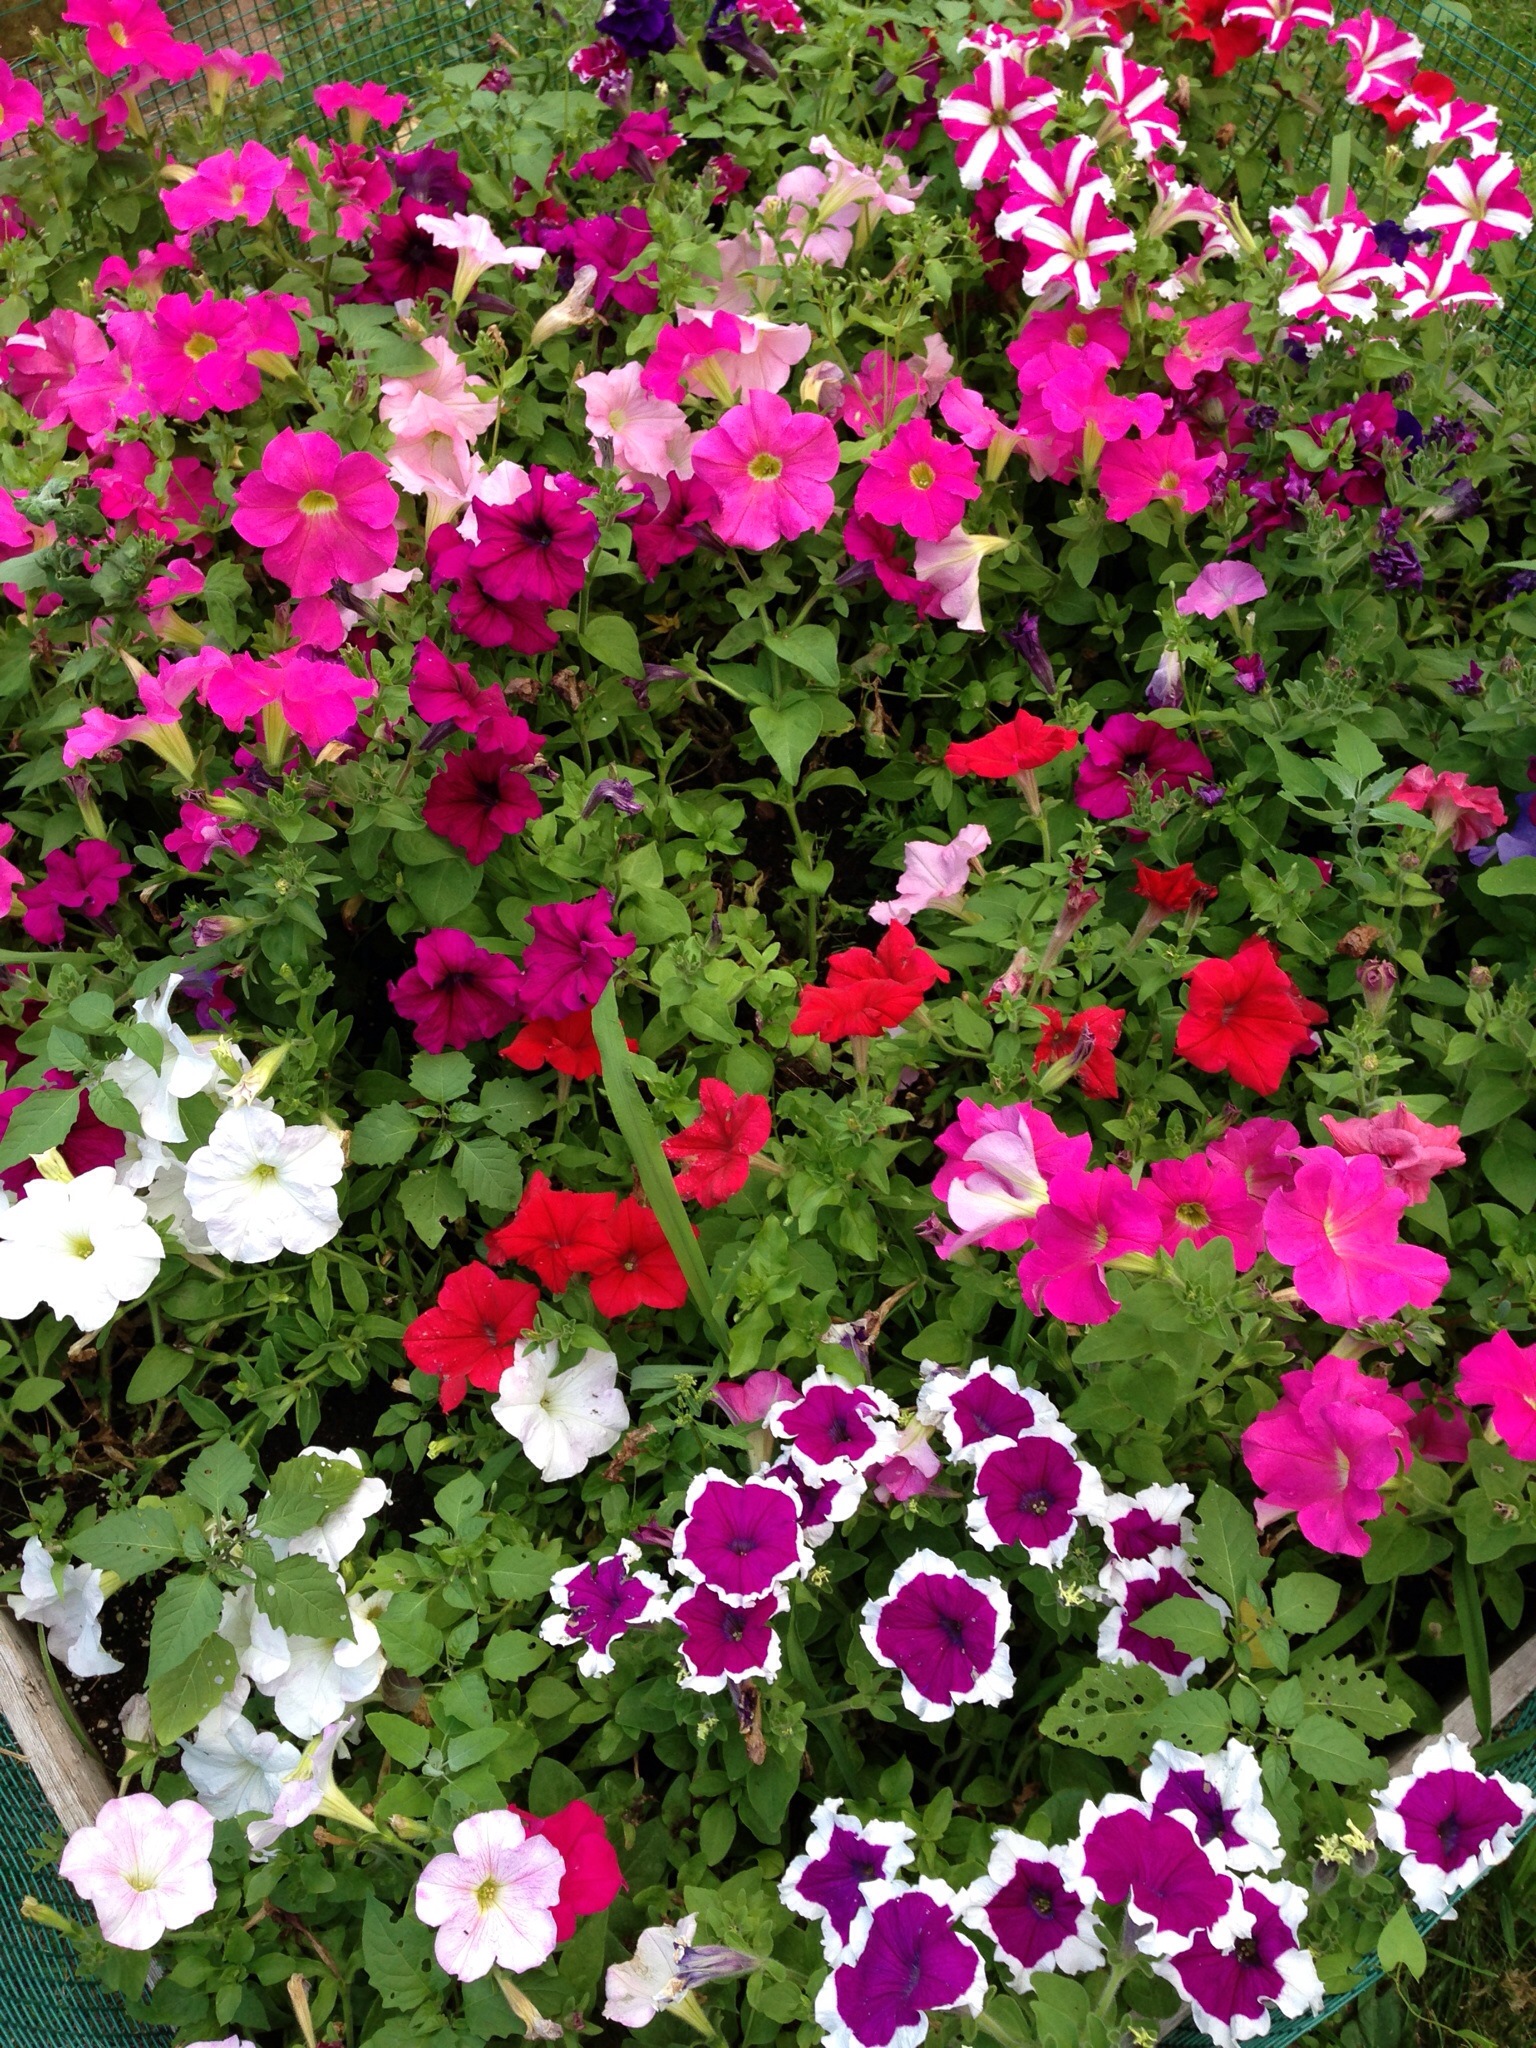
In the new garden we wanted some type of visual distraction from the neighbors fence since that’s where your eyes would go as you walk up the front walk. But, also wanted to keep it fairly low budget and therefore decided on 3 Arborvitaes. They’re one of the few evergreens that will tolerate shade, although their growth will be very slow. We didn’t want a full privacy hedge, just something to distract your eyes. We happened to have 4 Annabelle hydrangeas on the side of the house that are far too big for the space and by mid season flop over into the main brick walkway to the back of the house. In this new shade garden we created, the hydrangeas would be a perfect plant. They can obviously tolerate the shade and can finally just grow as they want in an appropriate space. Of course, to fill in the rest, I moved some hostas from elsewhere in the yard. We also had some boxwoods added to give the space a more finished, less wild look.
We think this was a great improvement to the front yard. The only problem we had was that everything was planted/transplanted right before the drought hit last summer. I did a lot of watering to keep all the plants alive and they all survived the drought and the winter.
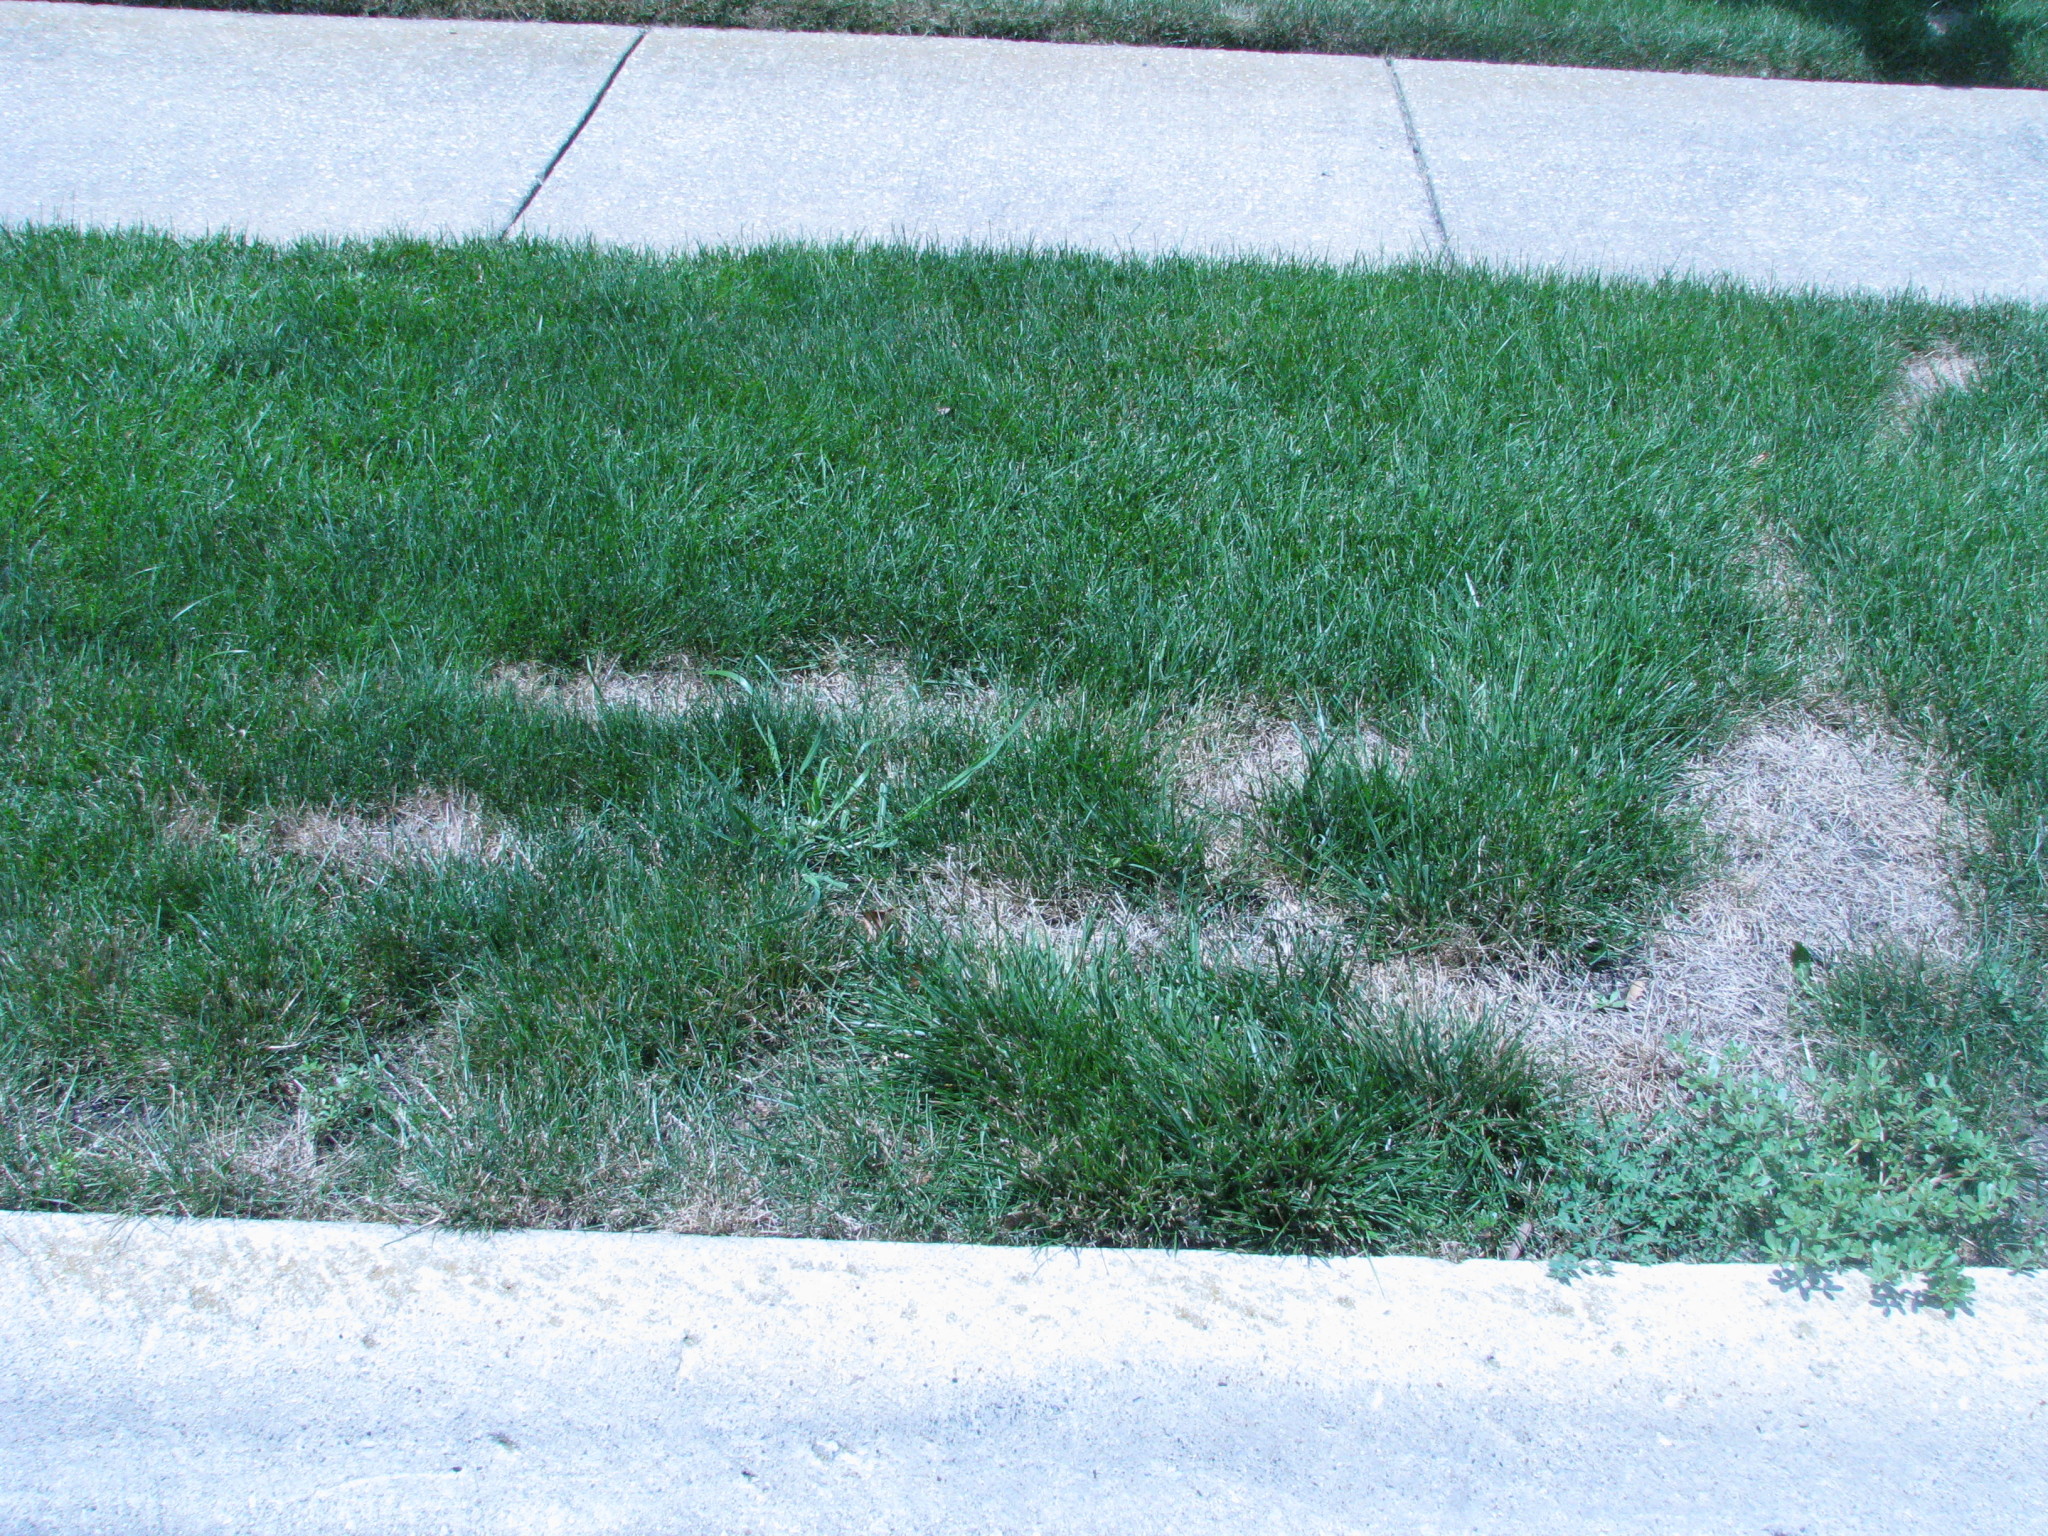
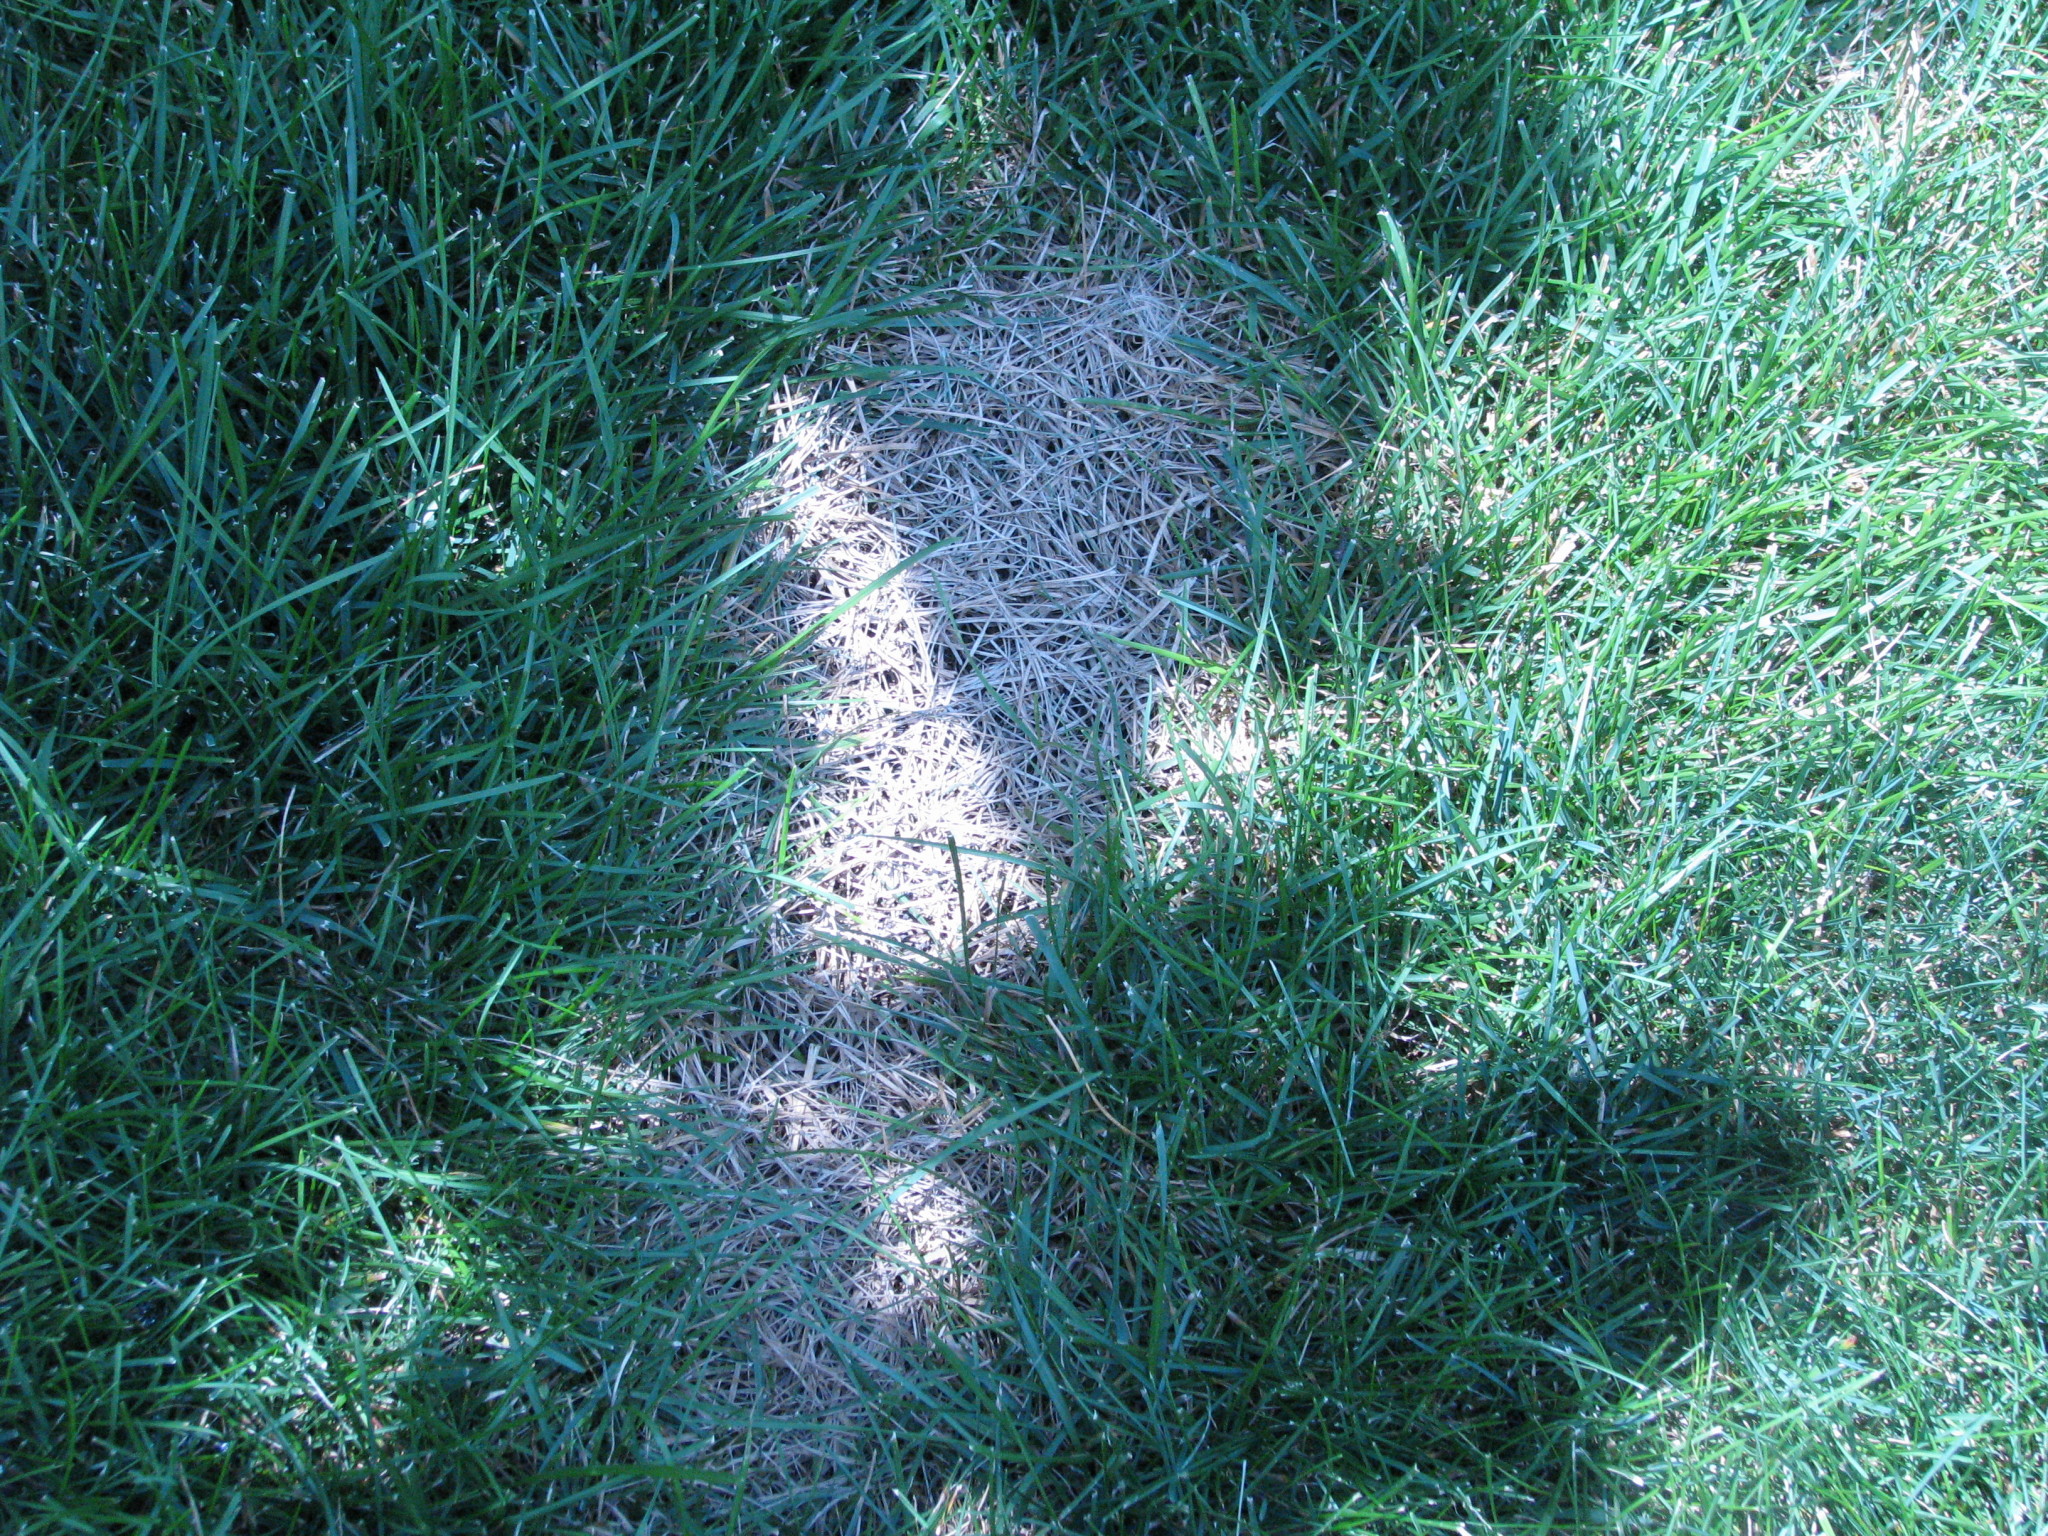
A couple of weeks ago as I pulled in the driveway, I noticed a dead patch in the parkway grass.
We’ve had problems in this area before because it’s a really sunny hot spot and I don’t run the in-ground sprinkler that often, so I assumed it was more of the same. But, I finally went up there and was looking more closely and I could see dead grass footprints walking away from the dead area, going up between us and our neighbors, towards the side of the house.
So what happened? I’m not sure, but my guess is that fertilizer, some type of weeder concentrate or even possibly round-up, was spilled and the landscaping worker stepped in it and it stuck to his boots. It must have been pretty strong because obvious footprints probably go for about 30 ft. I really would have hoped that if such a spill happened that they would have taken more care to clean it up, and certainly not traipse it all over the yard. Looks like I’ll be reseeding some more in the fall.
Japanese beetle update–
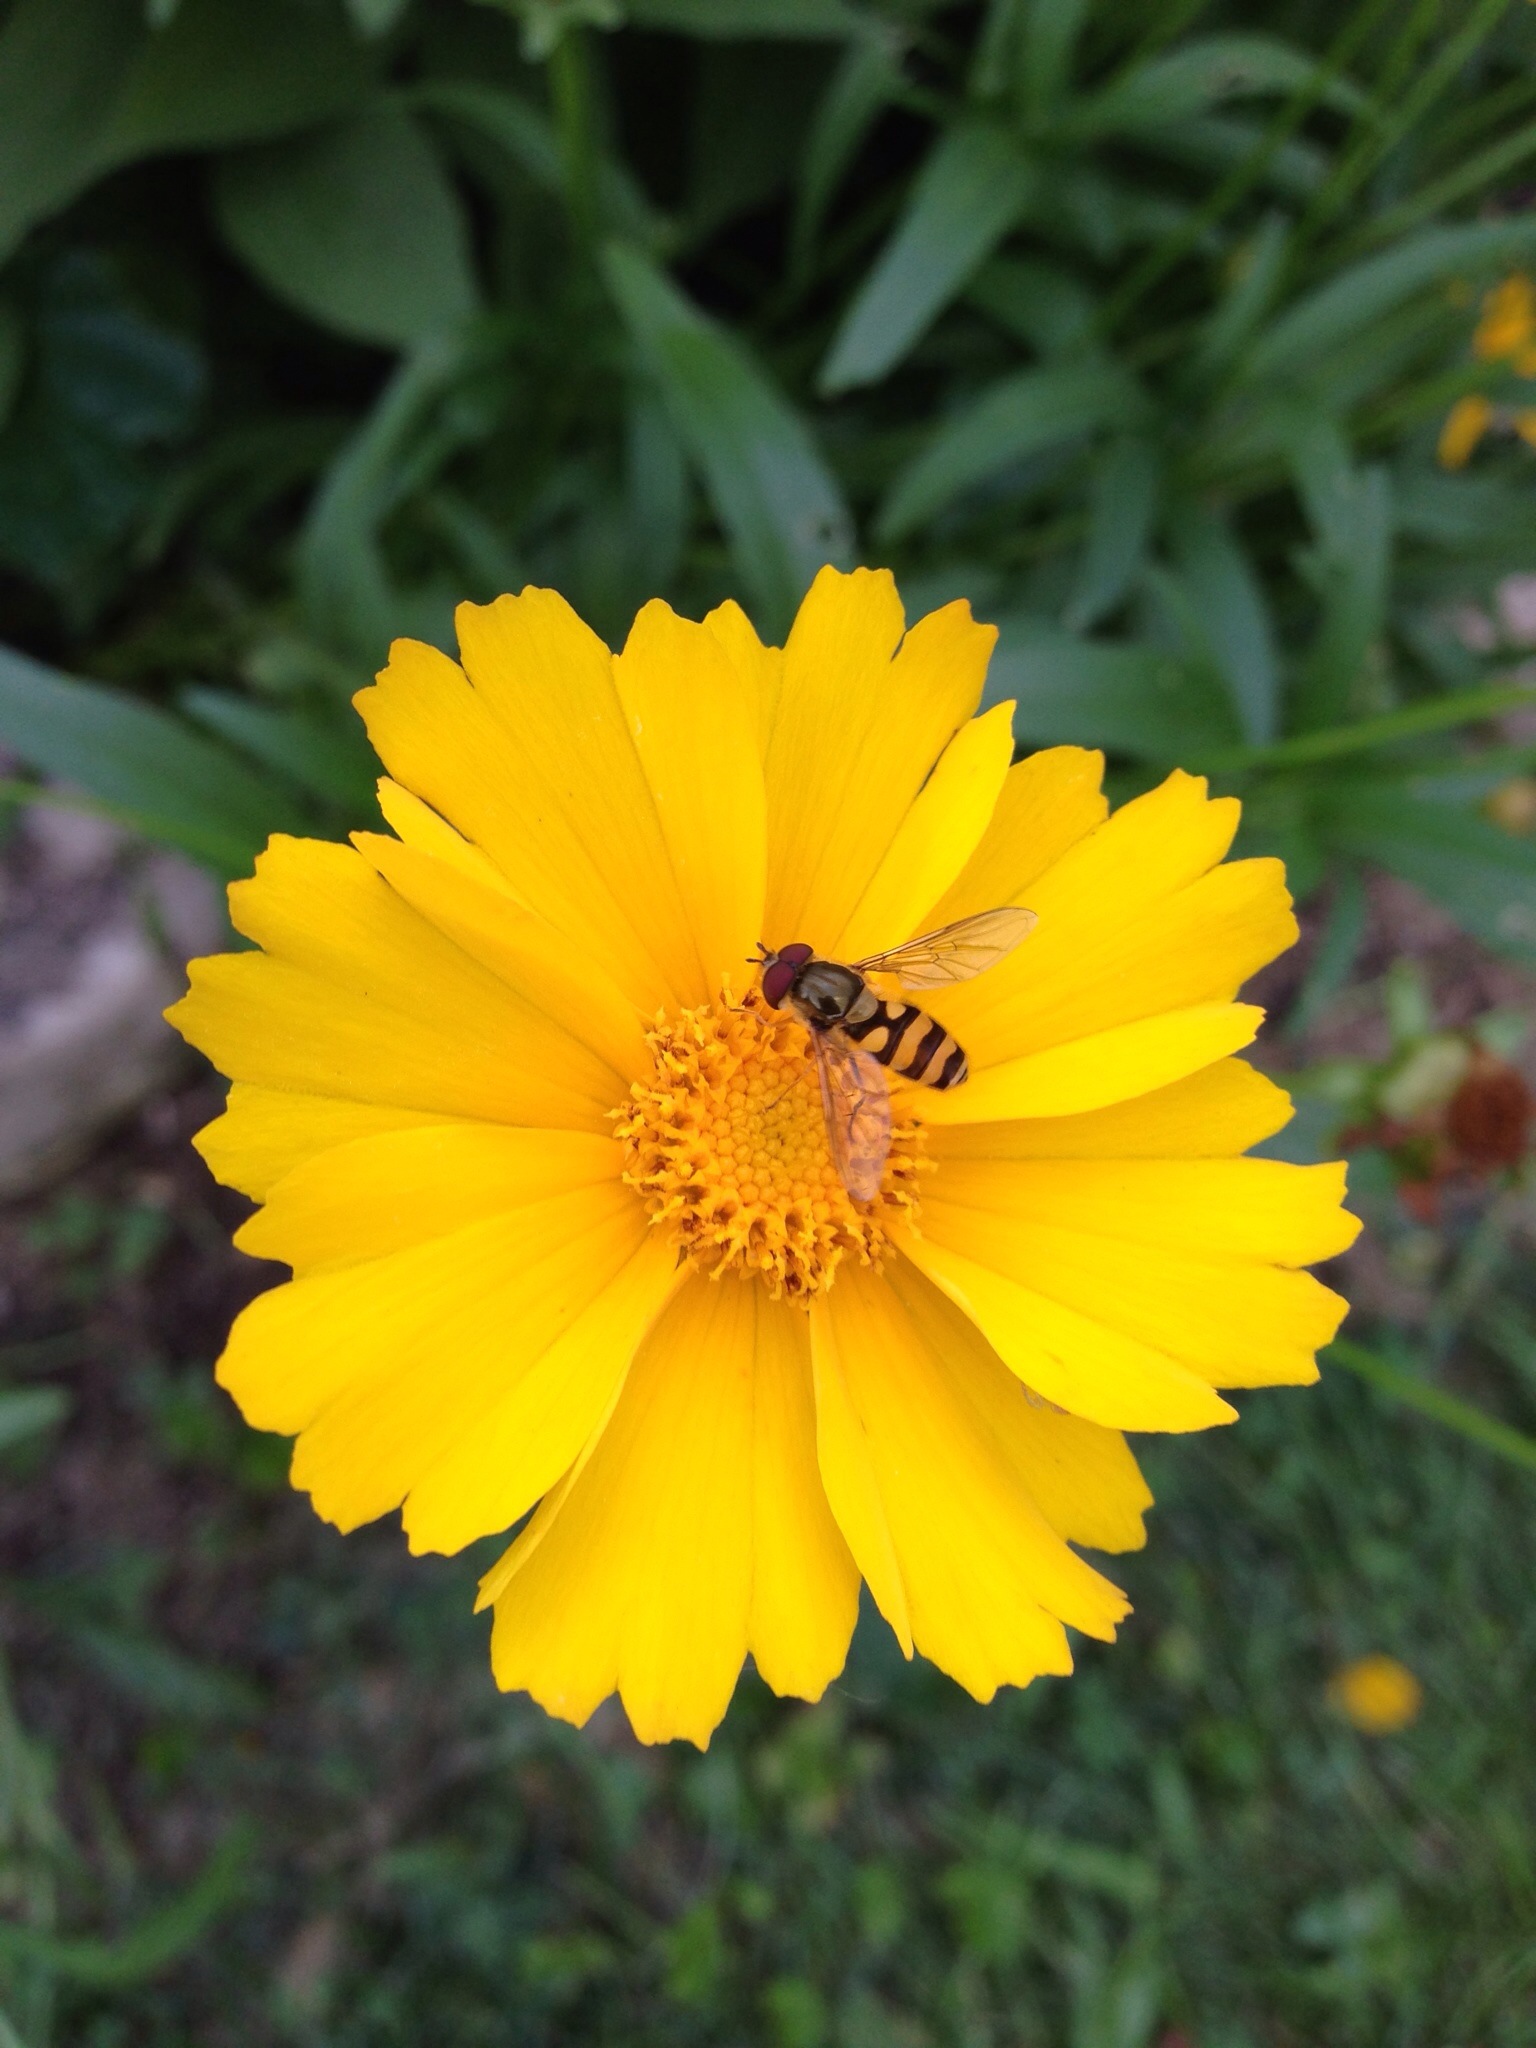
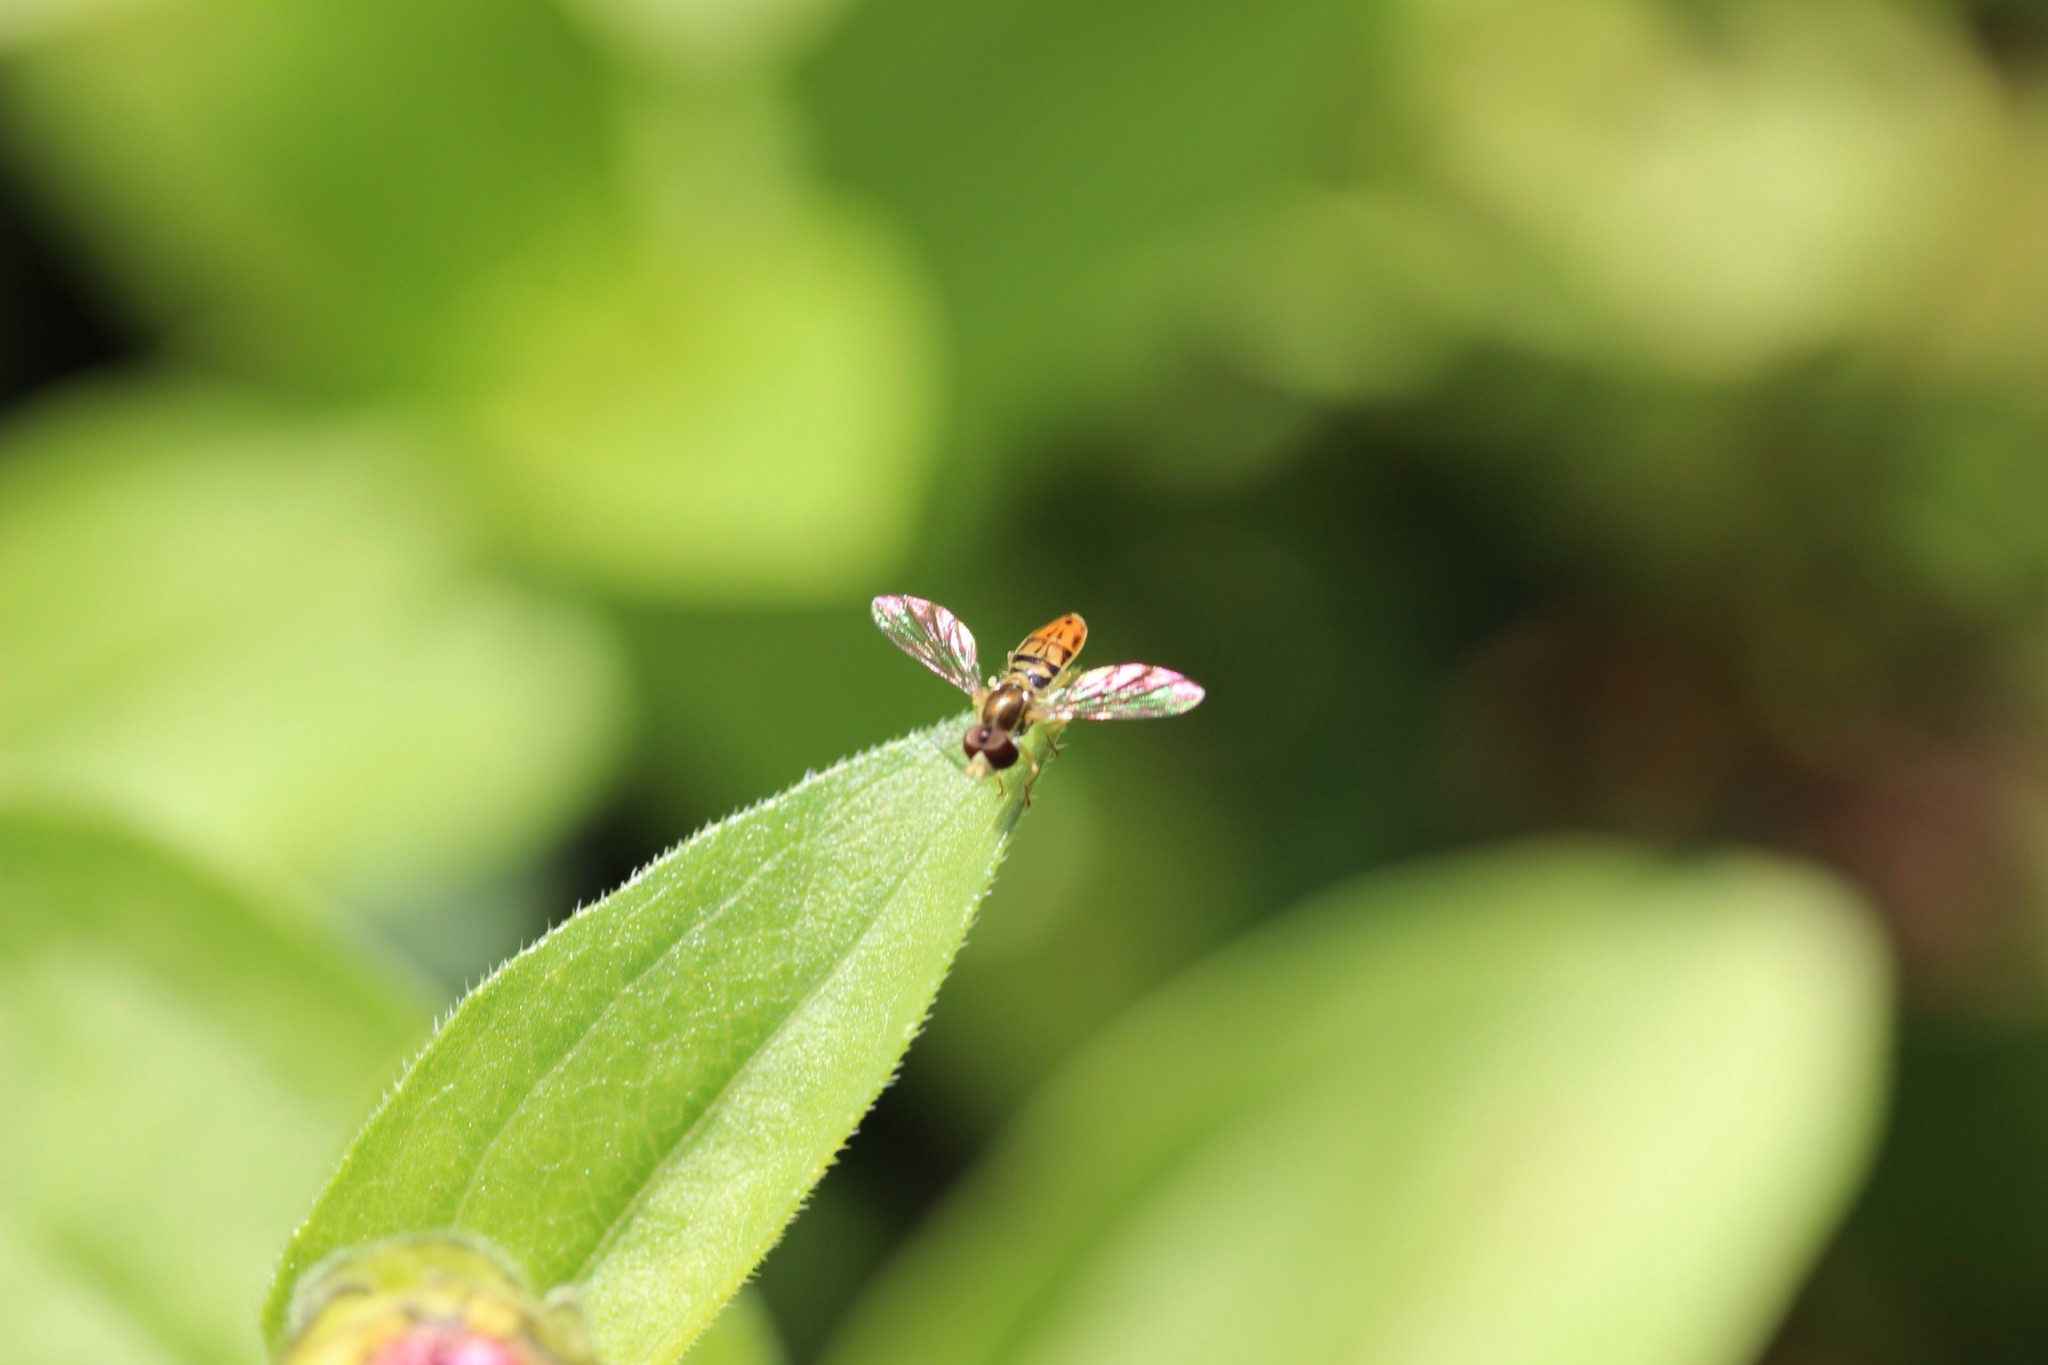
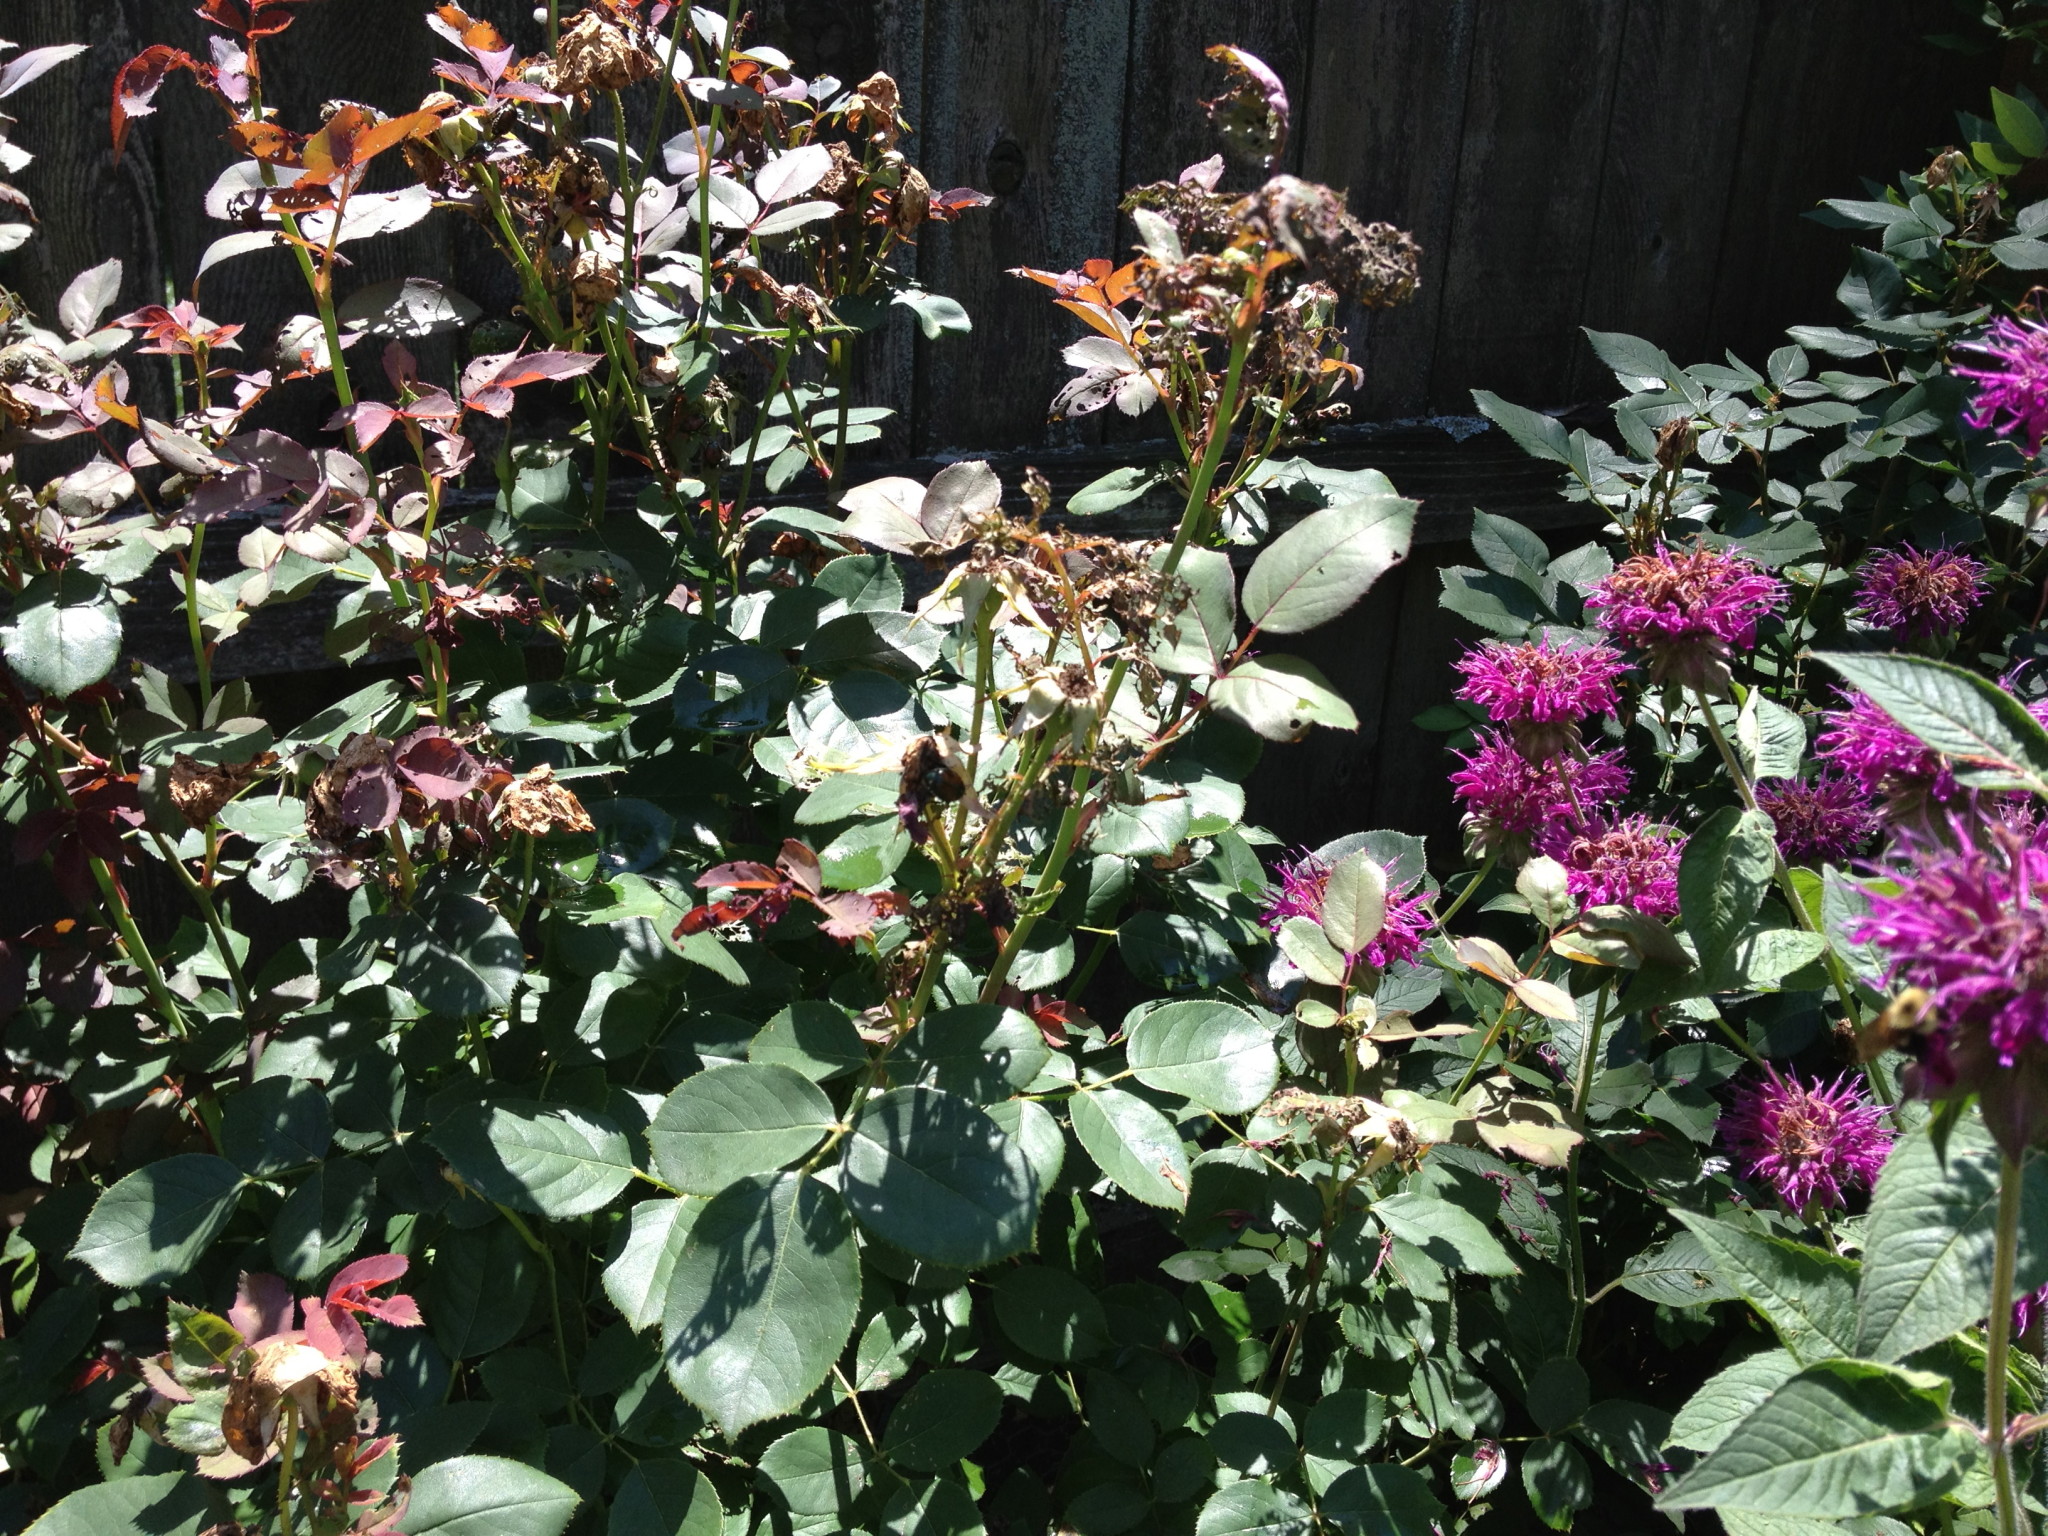
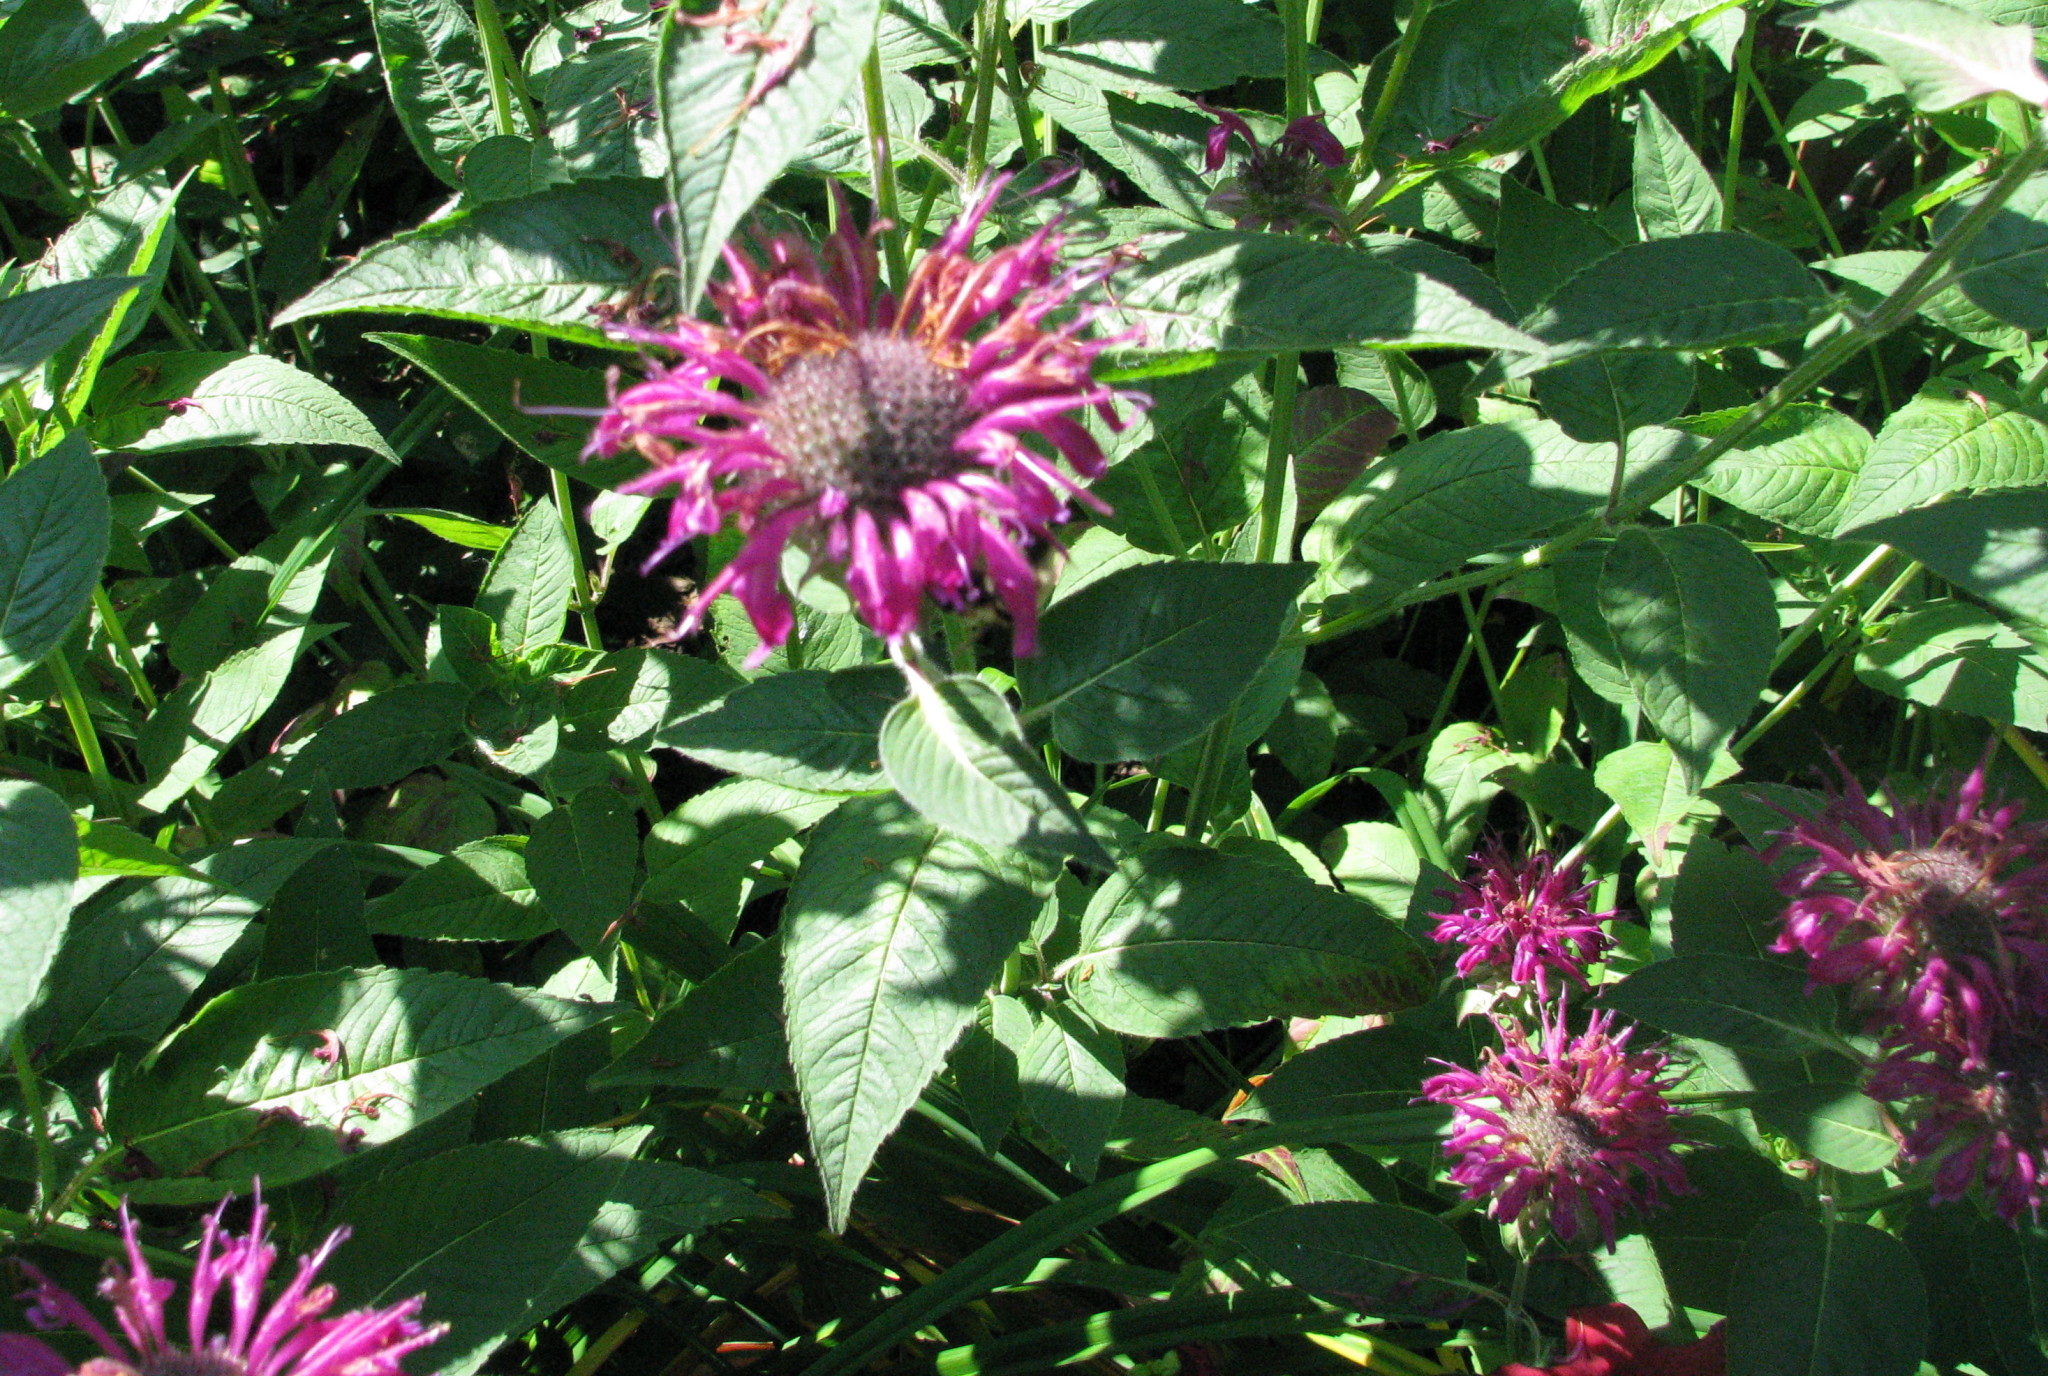
I went and checked on my roses and there are many fewer Japanese Beetles on the roses, and the ones I saw seemed to be chewing on fresh rose buds. I sprayed a little bit more on the new growth areas so hopefully there’ll be some new blooms soon. I also saw that the Bee Balm was still nicely covered in all kinds of honey bees.
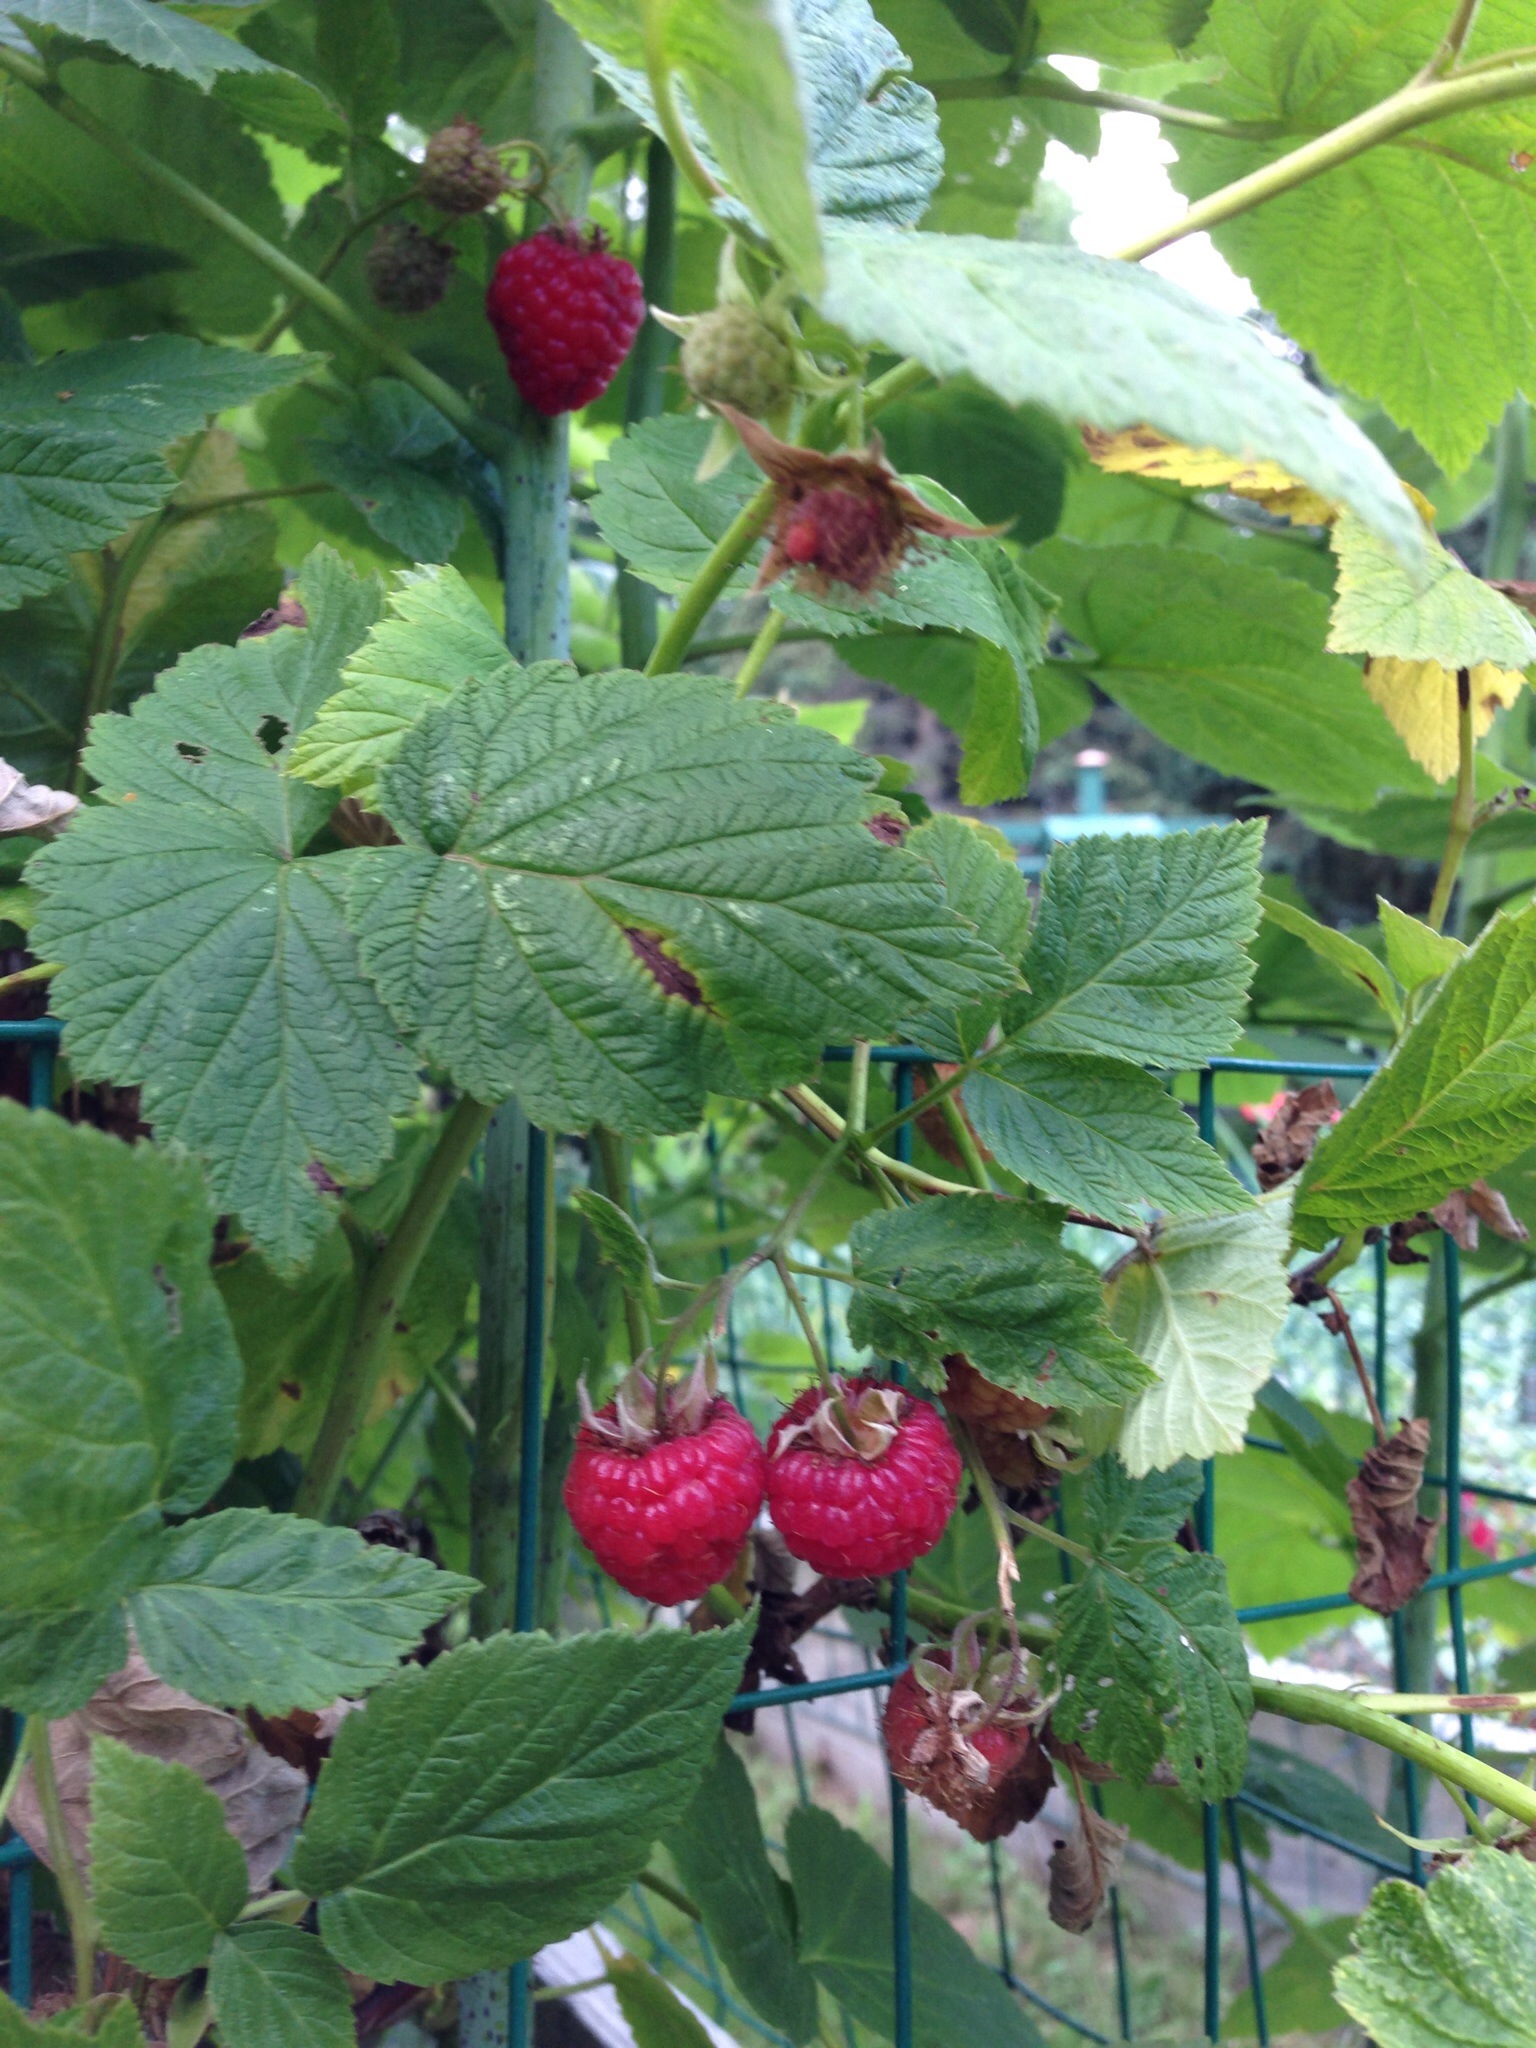
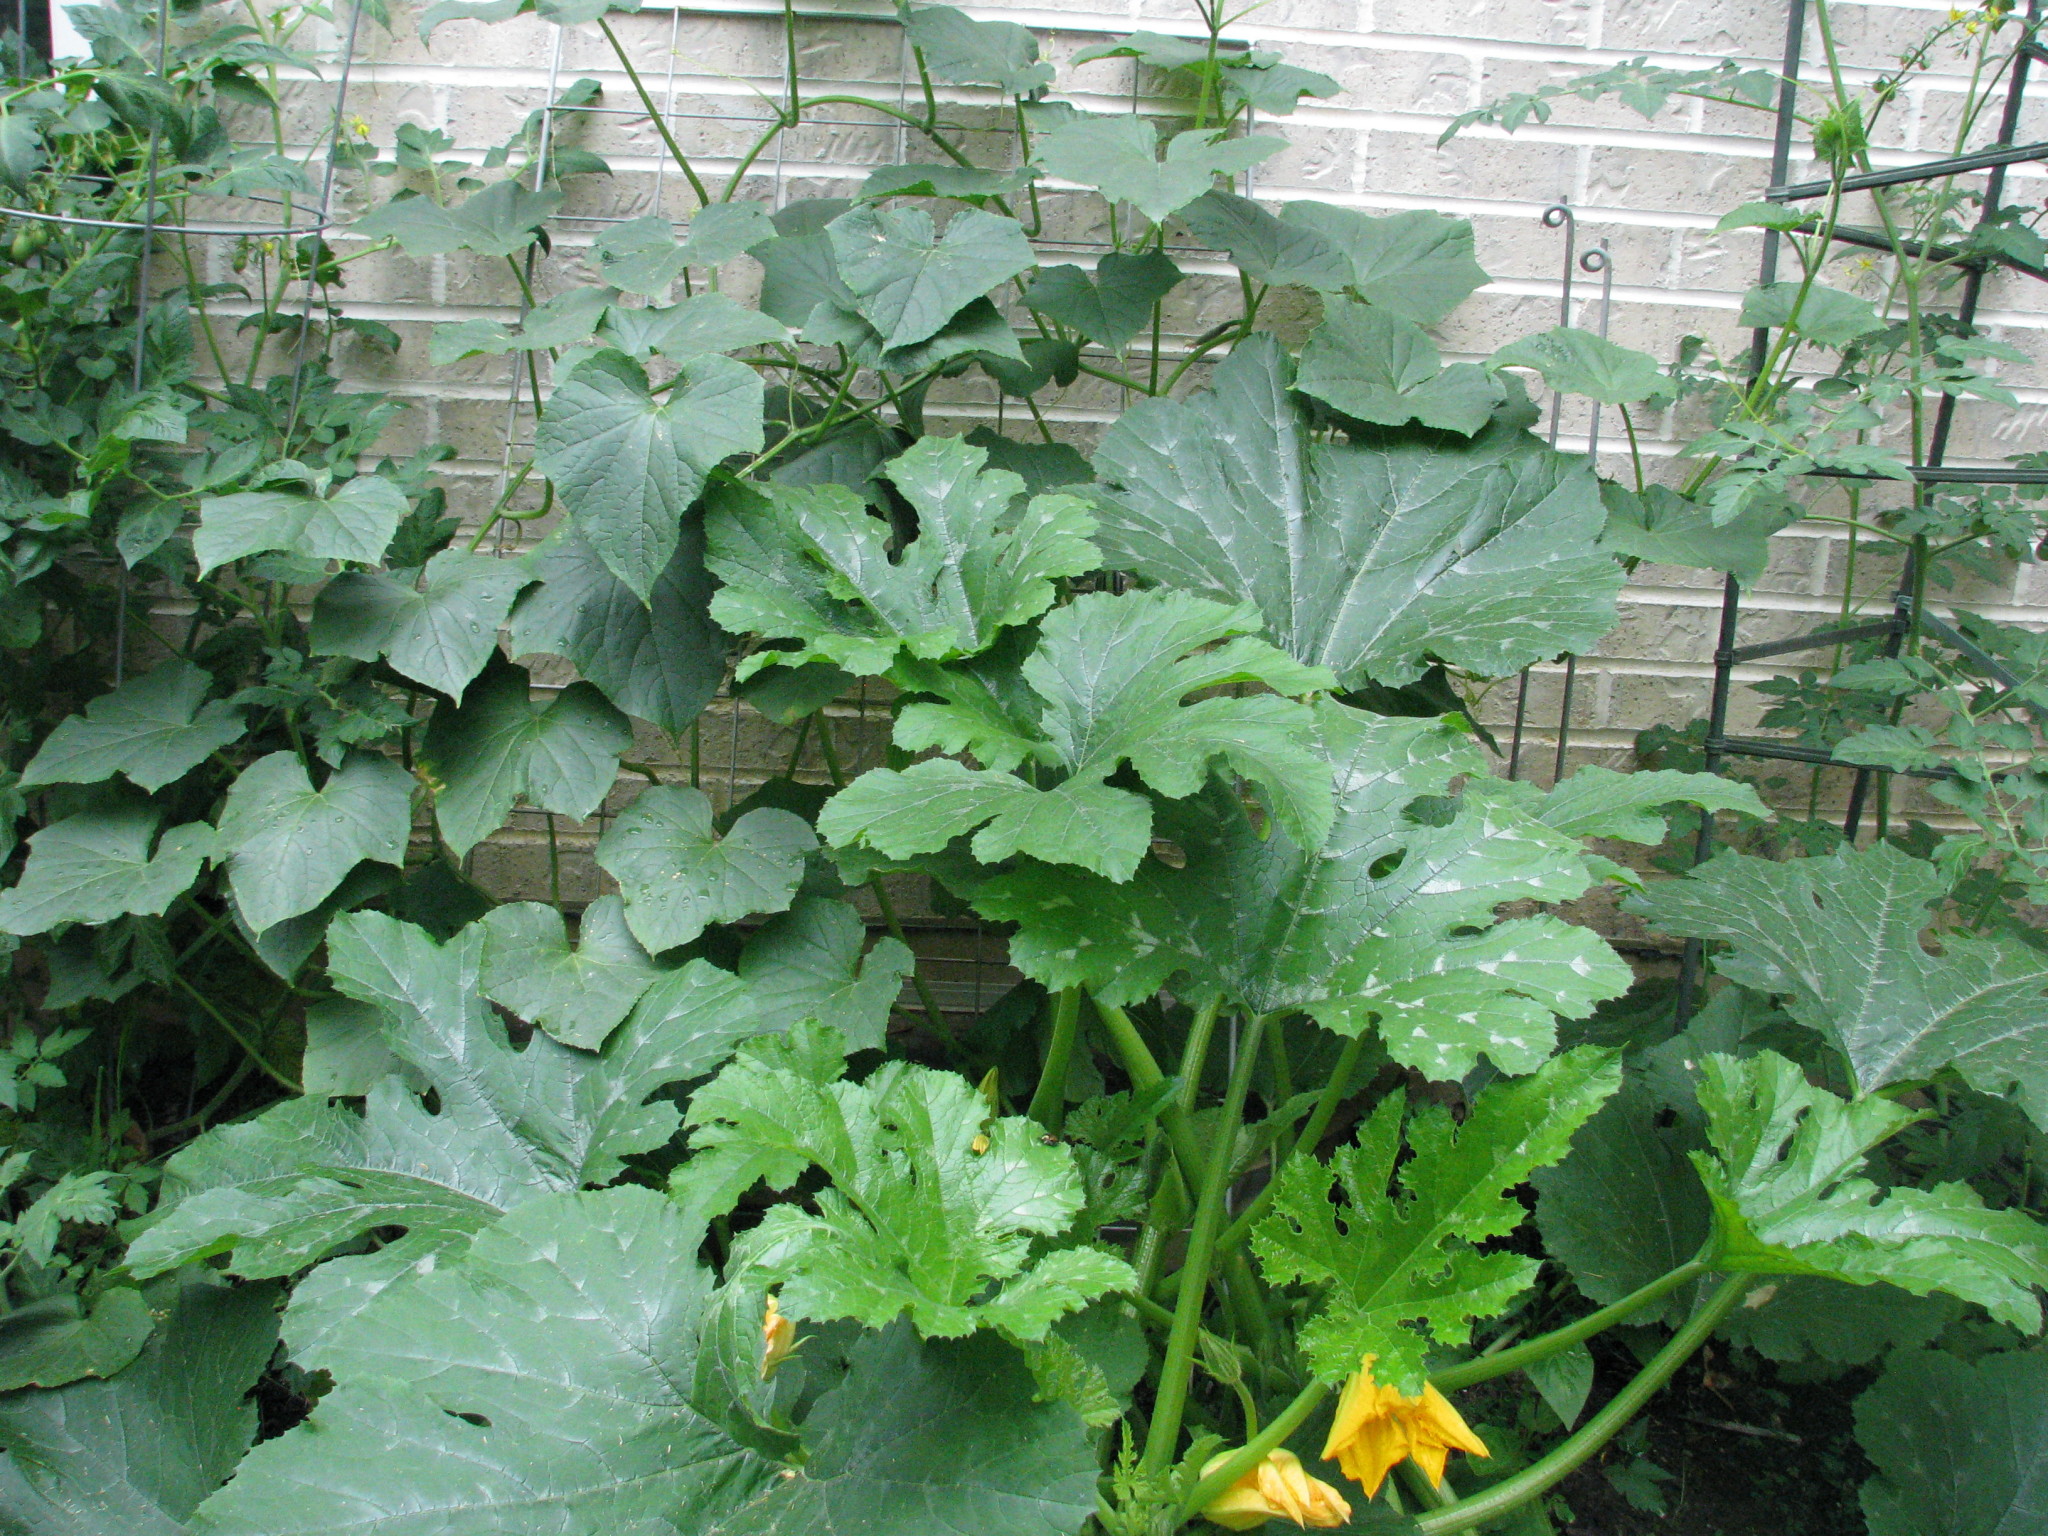
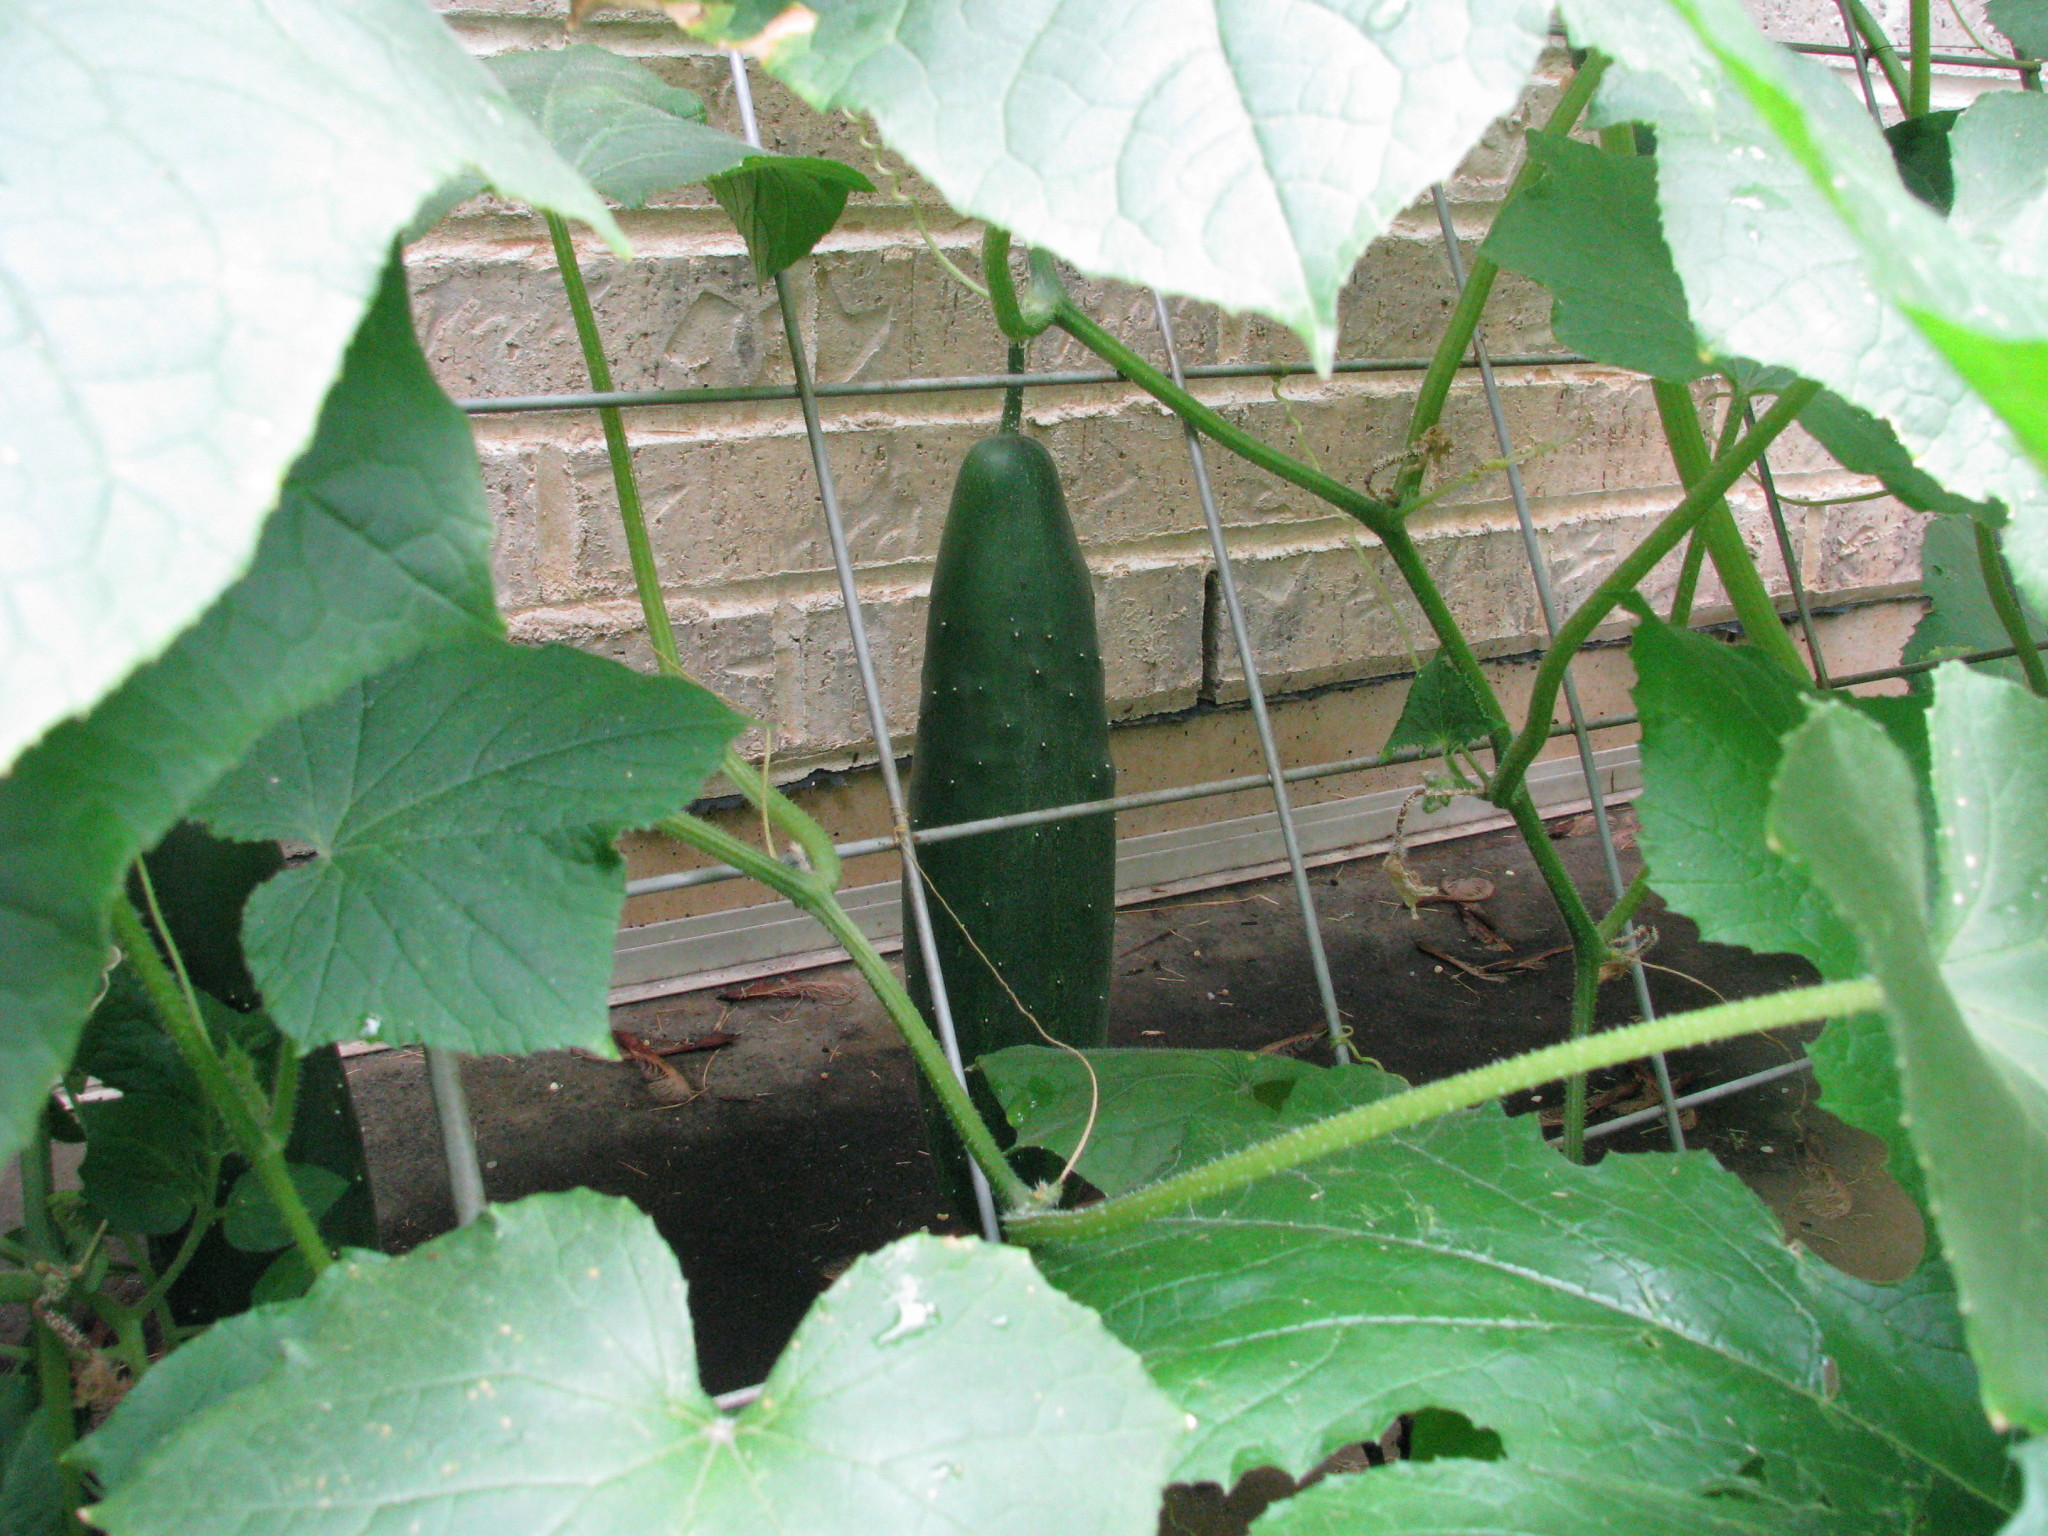
My cucumbers, which looked so wimpy when I planted the seedlings, have grown great. I grew Burpee Sweet Burpless Hybrid for no other reason than the description sounded good in the catalogue. I do seem to have a lot more squash plants than cucumber, and unfortunately, I like cukes better than squash. Oh well, I guess I’ll be needing some creative squash recipes.
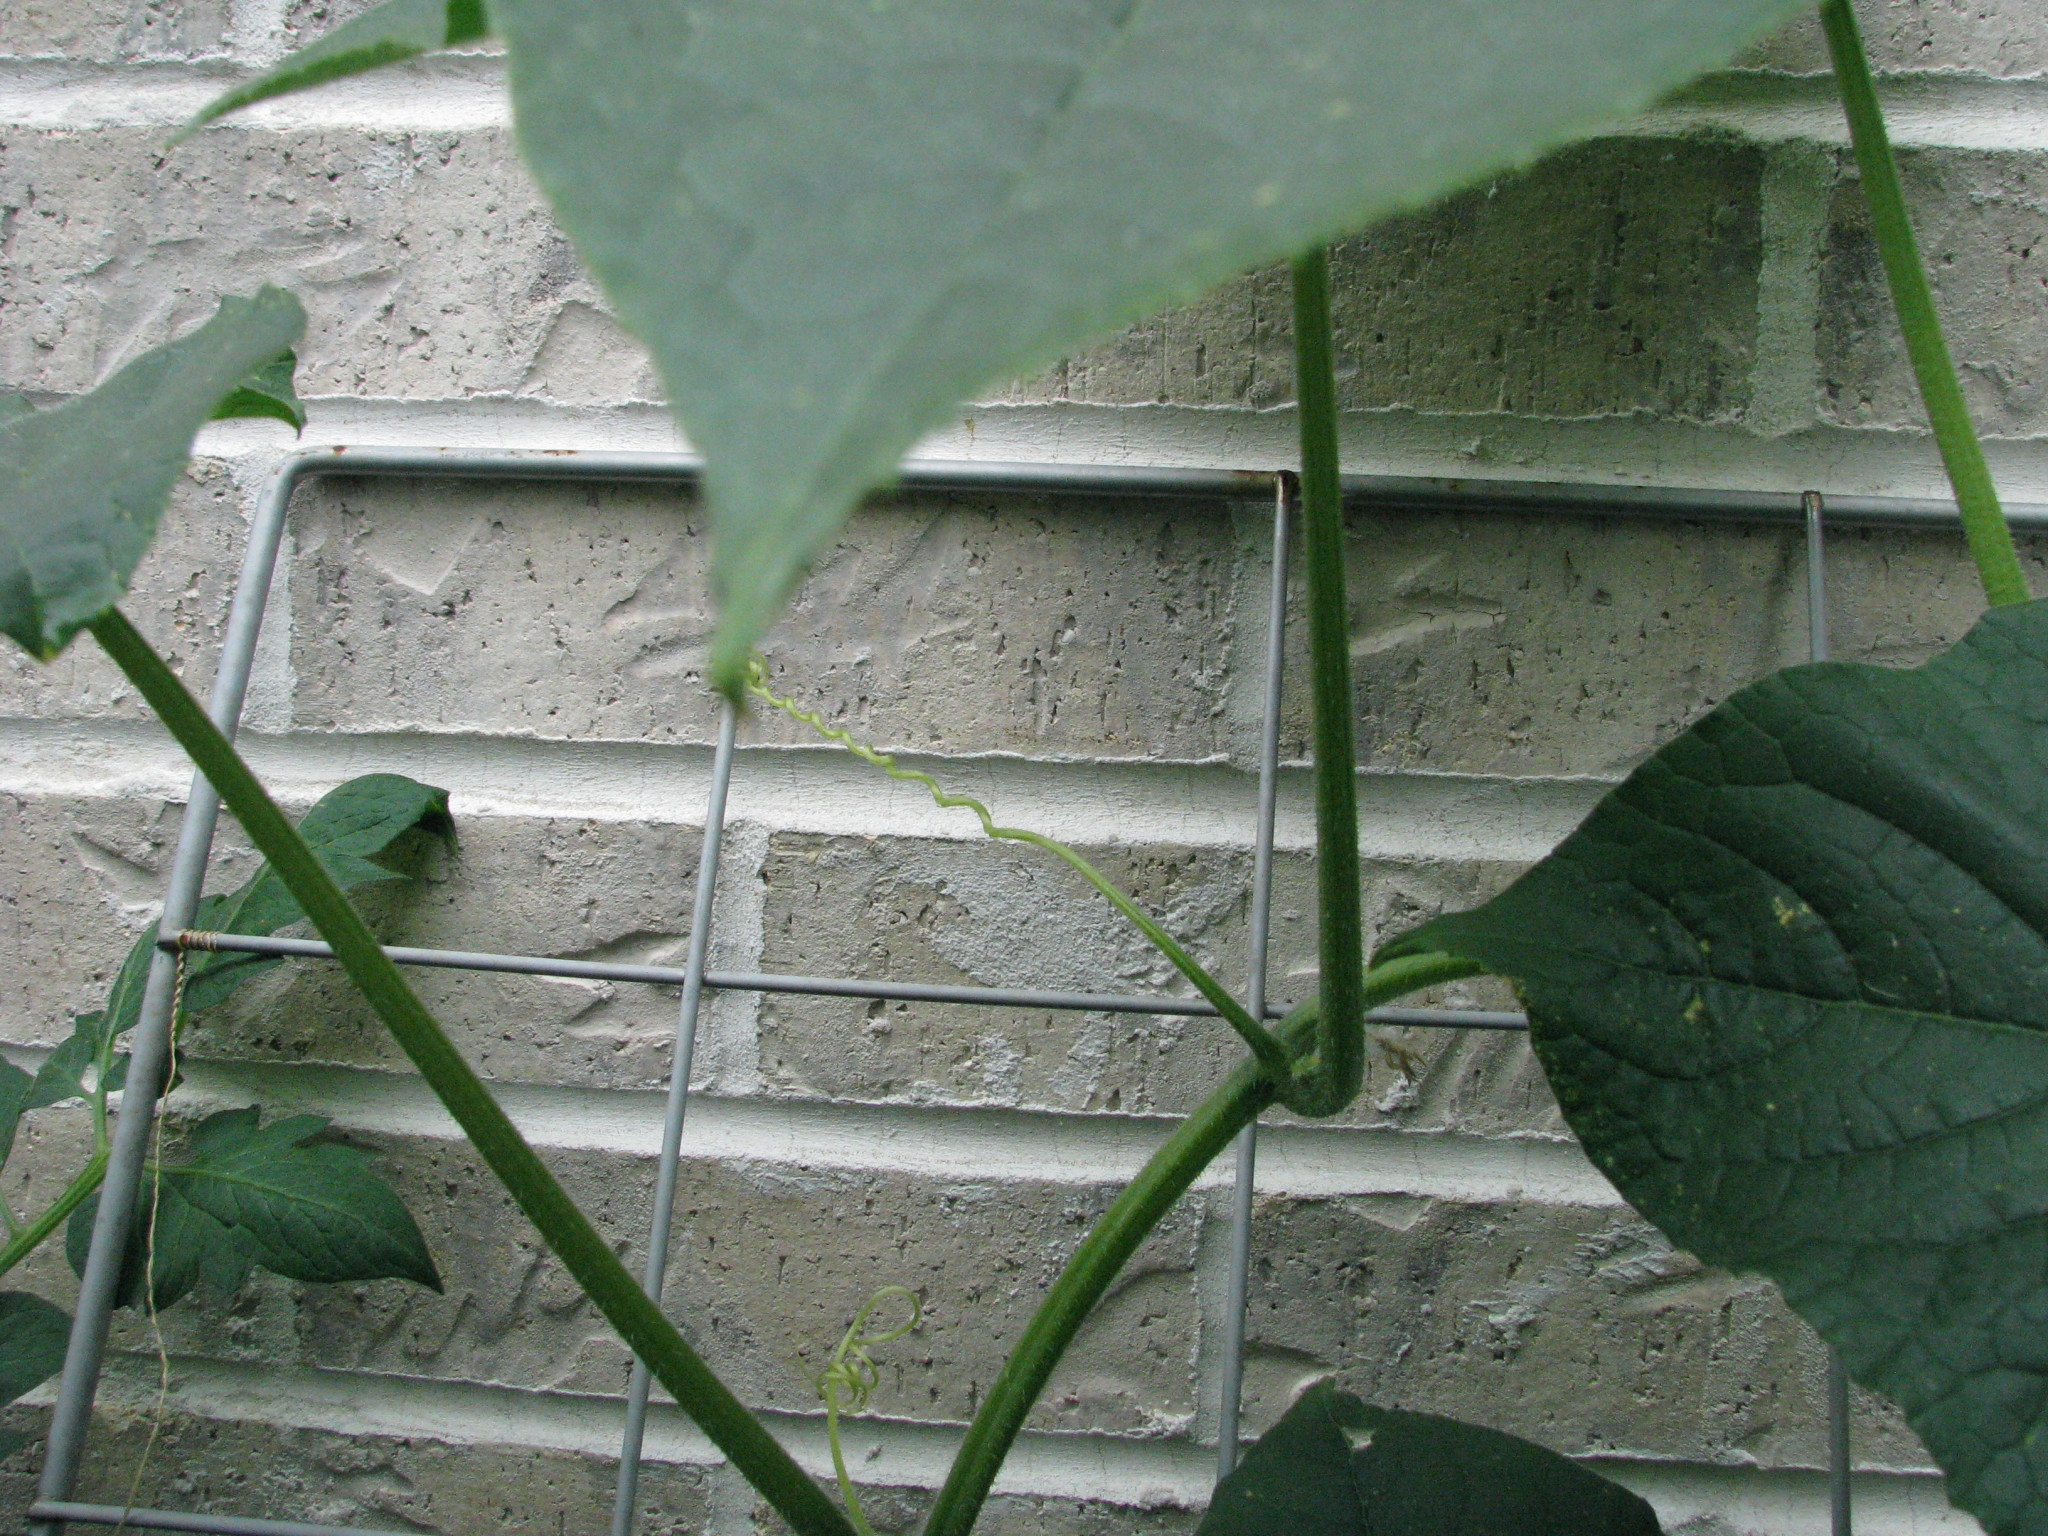
Cucumber plants naturally are climbers and use tendrils to attach themselves to anything it can–the trellis, the brick wall, the tomato plant next to it.
The nice thing about using a trellis is that the cucumbers hang off the back, are easy to find, and don’t lay in the dirt where they can potentially get rotten spots.
When they are ready to harvest, it’s a good idea to hold onto the spot the cucumber attaches to the plant while pulling it off. It’ll be pretty stuck on the vine and I’ve pulled whole sections of the plant (with other immature cucumbers) with the ripe vegetable when I’ve tried to pick them. Also, if this is your first time growing cucumbers, don’t be surprised that the cucumber is covered in little spines. When I get them in the house, I just use the kitchen scrubber sponge and rub them off and you then have the normal smooth cucumber you’ll find in the store. Enjoy them in your favorite cucumber salad recipe!
One of my favorite cucumber recipes is a Sweet and Sour Cucumber Salad. This is an easy recipe that can be made with thinly sliced or chopped cucumbers and makes a great side-dish for almost any summer dinner. It can easily be jazzed up with tomatoes, green peppers, kohlrabi- whatever is available in your garden that day.
Start with your favorite cucumber and either slice it thinly, spiralize it or dice it. All make for a tasty salad. For making wafer thin slices, I love my Kyocera ceramic slicer. But be careful where you store it, it is REALLY sharp.
Bring vinegar and water to a boil in a saucepan over medium heat. Stir in sugar to dissolve and simmer 15 min, stirring occasionally. Remove from heat and let cool to room temperature.
Pour over prepared cucumbers in a bowl, toss to coat, chill in refrigerator until ready to serve.
Extra dressing can be refrigerated and used within a week.
We are lucky to have a fabulous Farmers Market to our town every Monday, June-October. The fruit and produce changes every week, so you never know what you might find. But, you are guaranteed that it will be super fresh and in season. It’s a great way to supplement the harvest from my own garden (which so far has yielded some lettuce, spinach, radish, and recently a cucumber and a squash). This year, they’ve added a couple of fresh bread vendors and some specialty items like olives and olive oil, tea, an old time knife sharpener, organic meat and more. In June, they had some of the best tasting Michigan strawberries that I’ve had in a long time. I bought a bunch and made some very tasty jam. I try to remember to go every week.
I find there are a lot of vegetables I don’t know what to do with, so I’ve started asking the vendors for their recommendations. Kohlrabi is one of those things (the big white turnip looking thing in the right hand corner). They were passing out samples last year of freshly sliced kohlrabi and it quickly became a favorite. Cut up on it’s own, or as a tasty crunchy item in a salad, it’s delicious. It’s season is short, and I can’t always find it in the grocery store. So that’s something I’ll be getting for sure the next couple of weeks. I’m looking for other ways to cook it, too. Any suggestions?
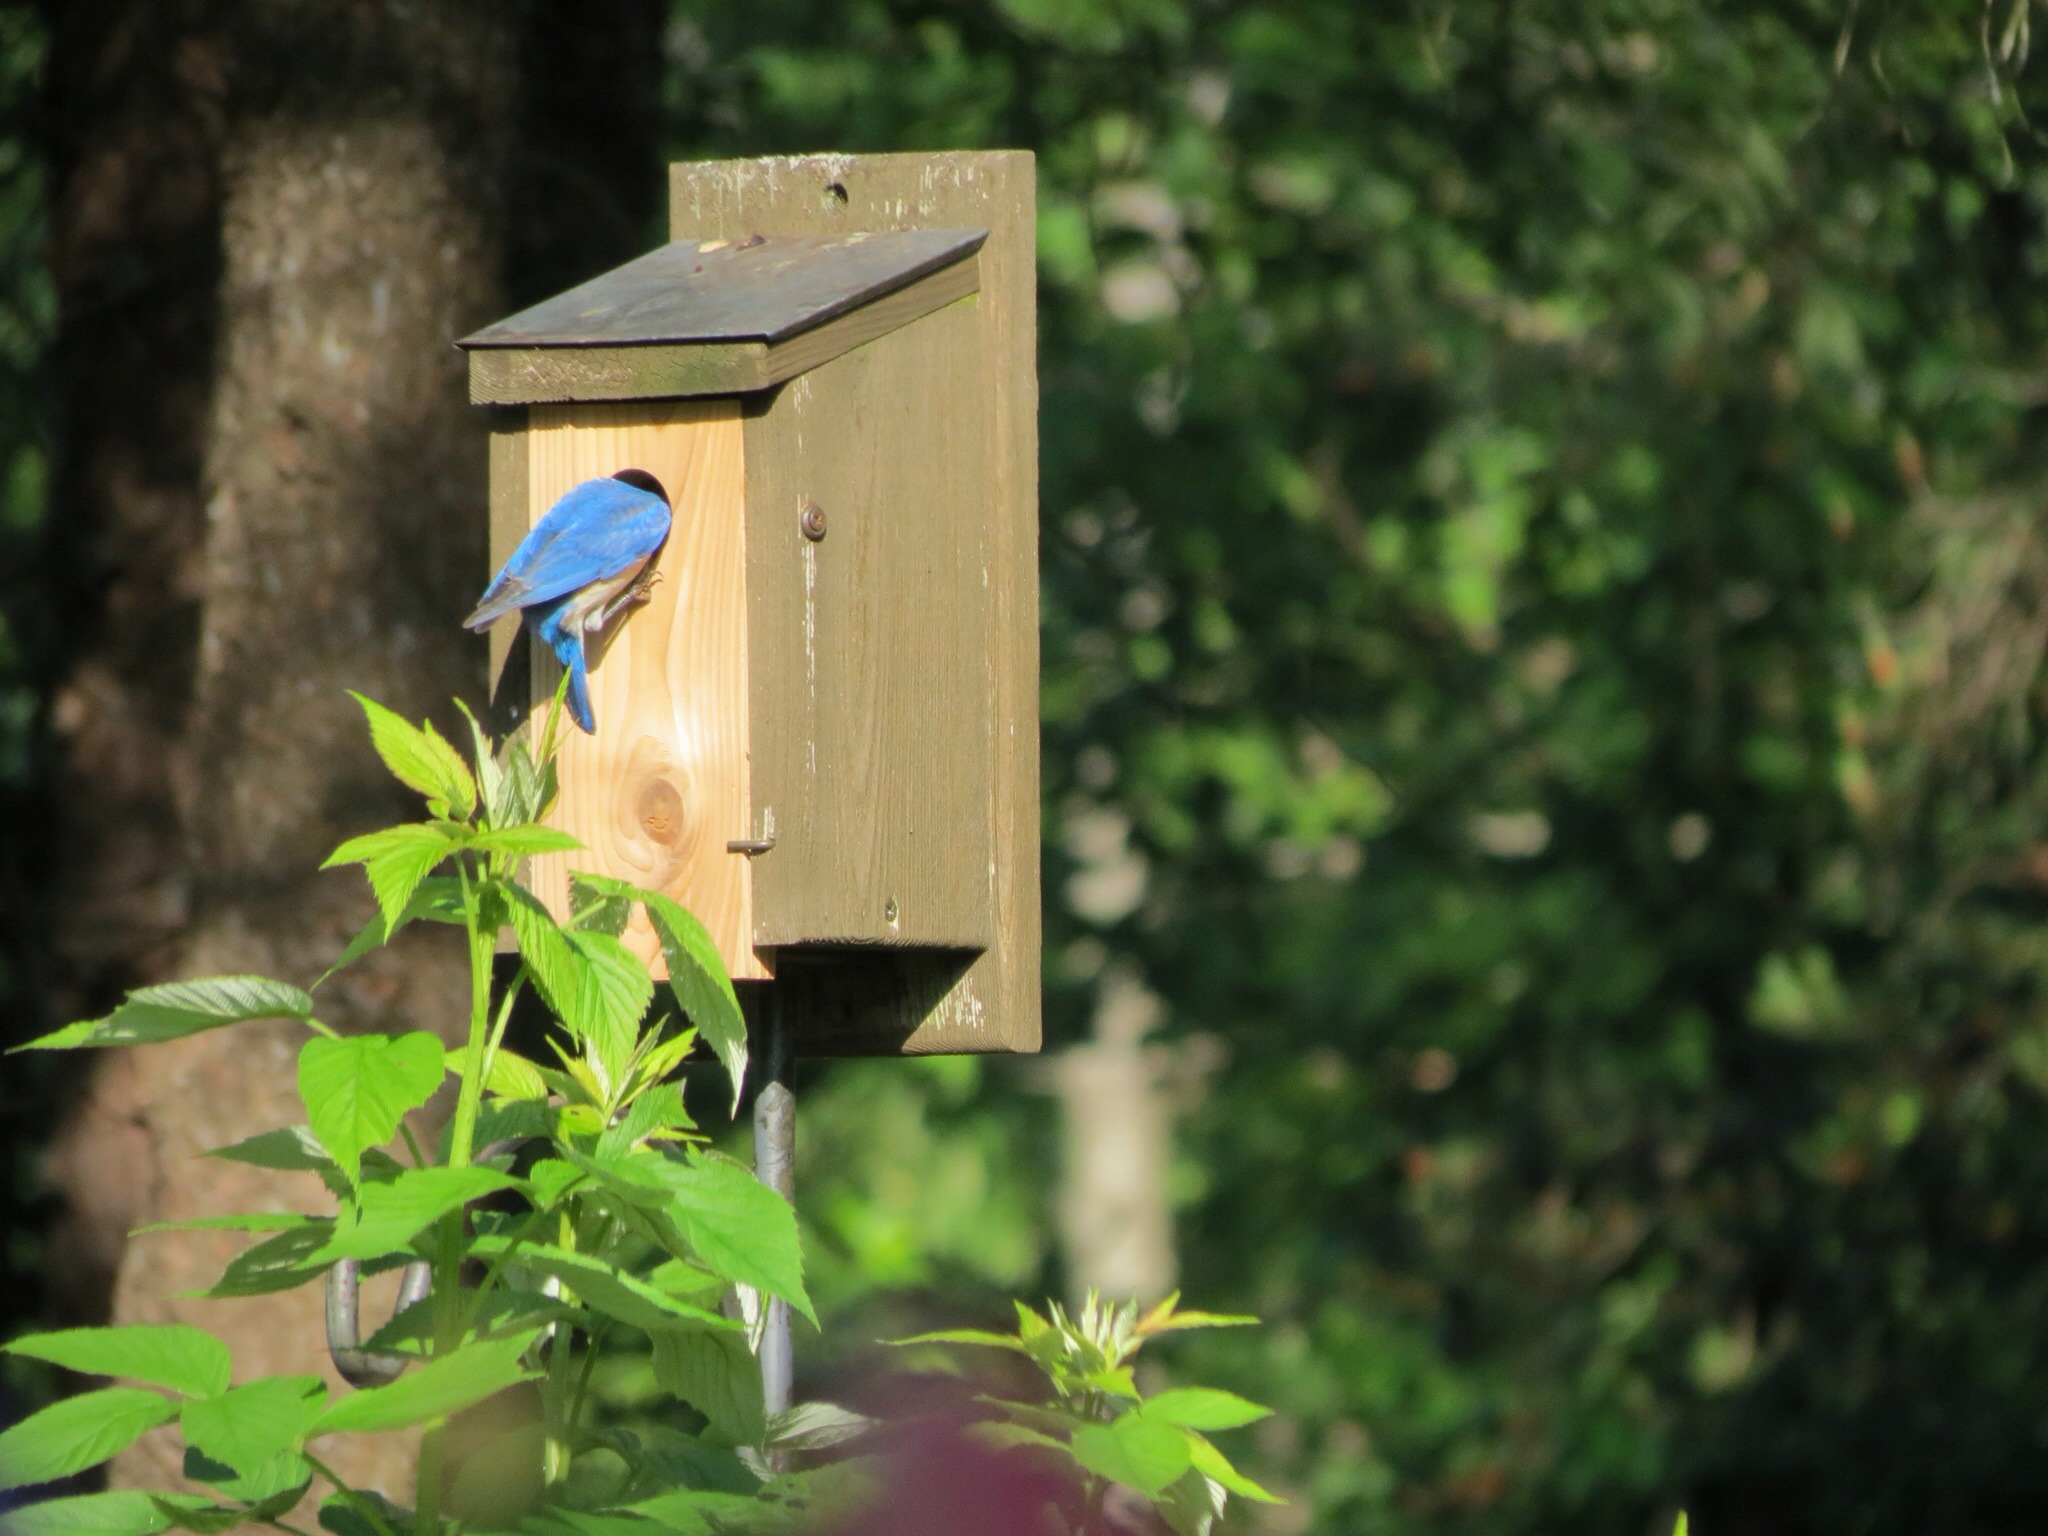
If you have rose bushes, you probably have Japanese Beetles. Mine arrived after my Knock-Out Roses roses finished their first bloom and are really making a mess of the plants. Most years I just let it go, but these are new, 3rd year plants and are finally looking great so I’d like them to stay healthy for next year’s show.
There are a lot of choices for dealing with Japanese Beetles and I am going to try a product that contains Neem Oil. Traps seem to be only good for attracting even more Japanese Beetles to your yard and many other insecticides can be harmful to good bugs like bees and ladybugs. This is especially important for where I am spraying, since the roses are right next to Bee Balm, which really does attract those big, beneficial bumblebees.
Neem oil affects only insects that chew and eat leaves, which beneficial bugs like bees and ladybugs don’t do. The active ingredients in the oil interferes with the insect’s hormonal balance leading to “confusion” and ultimately death. It should be sprayed every 7 or 14 days depending on the level of infestation. I’m planning on spraying on the every 7 day cycle to begin with, and I’ll follow up in a couple of weeks to see if I can go to every 14 days for the rest of the summer.
Word of warning–One rather unpleasant thing that happened to me was that when I started spraying, a whole bunch of Japanese Beetles came flying off the rose bushes and a few got tangled in my hair. Gross! I had no idea there were so many on the plant. I only saw a few, so I guess where there’s a few, there’s a lot! No wonder there was so much damage to the plants.