Happy New Year and best wishes for 2015! As many of you have noticed, I had to take a little break this fall. Sometimes, life just gets busy and something needs to give. I’ve been taking lots of pictures and notes, so I’m looking forward to catching up over the next few weeks. In the meantime, here’s a look back at some of my most popular posts of 2014!
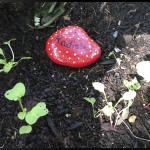
1. Painting Garden Rock Garden Markers: A fun project to jazz up the garden.

2. Girls Weekend in Asheville: A wonderful weekend away in a great city!
 3. Angel Wings in the Snow: Fascinating tracks in the snow.
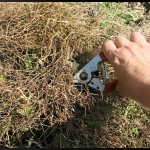 4. Creeping Thyme Problems: Trying to salvage a mess in the garden.
 5. Peggy’s Snowflakes: Every snowflake is truly different.
 6. Gardening: All in the Family: From grandparents to great-granchildren, gardening is a family tradition.
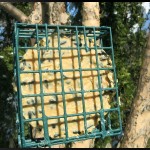 7. Homemade Suet Cakes: Giving homemade suet a try. The birds loved it!
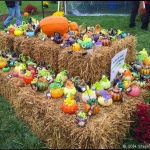 8. Visiting the Glass Pumpkin Patch 2014: I love seeing all the different creations the artists bring every year.
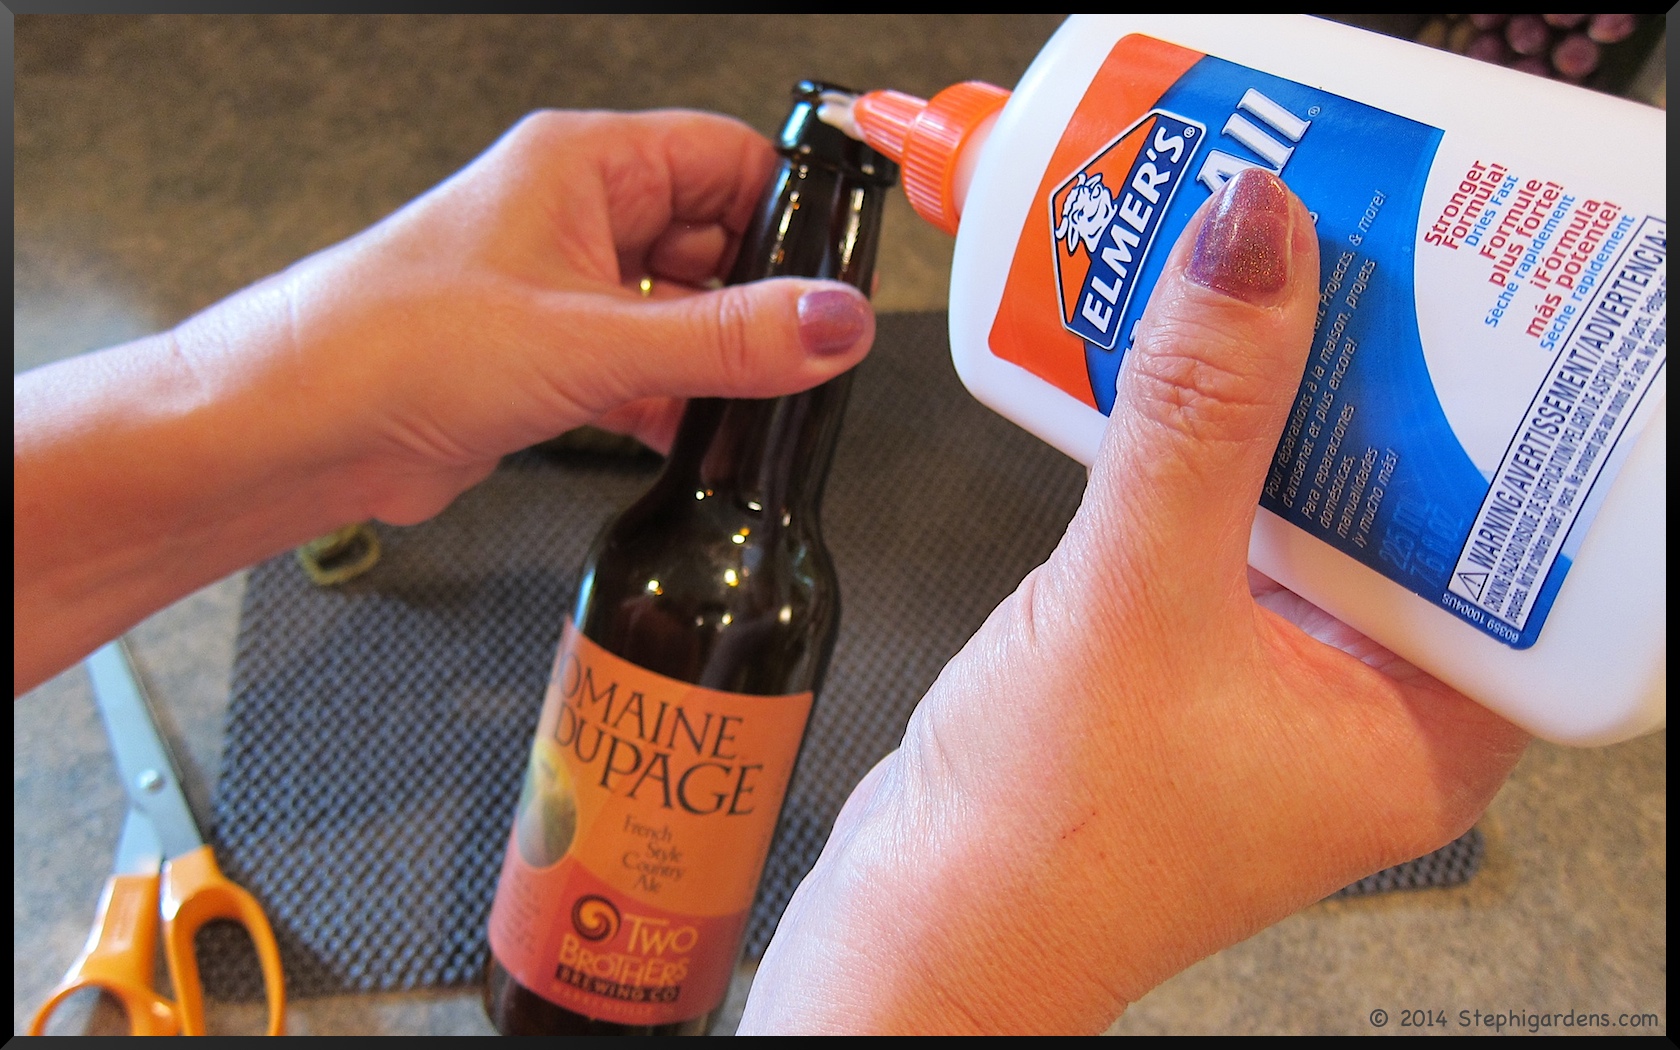
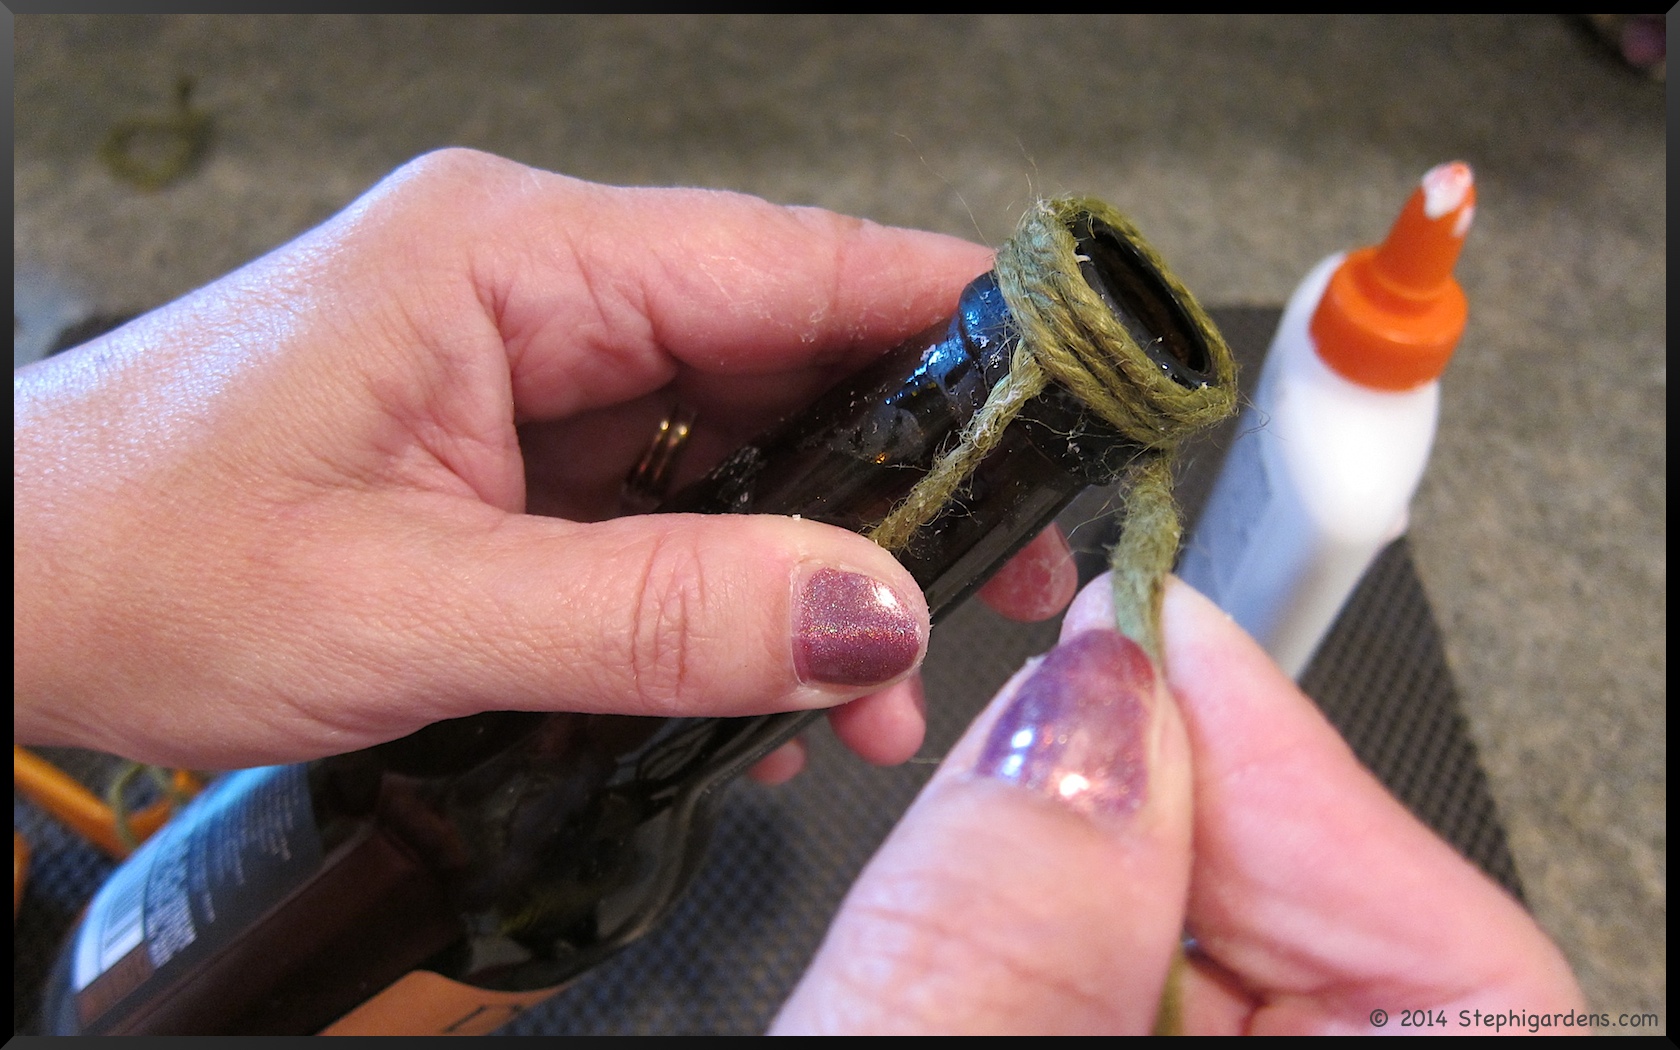
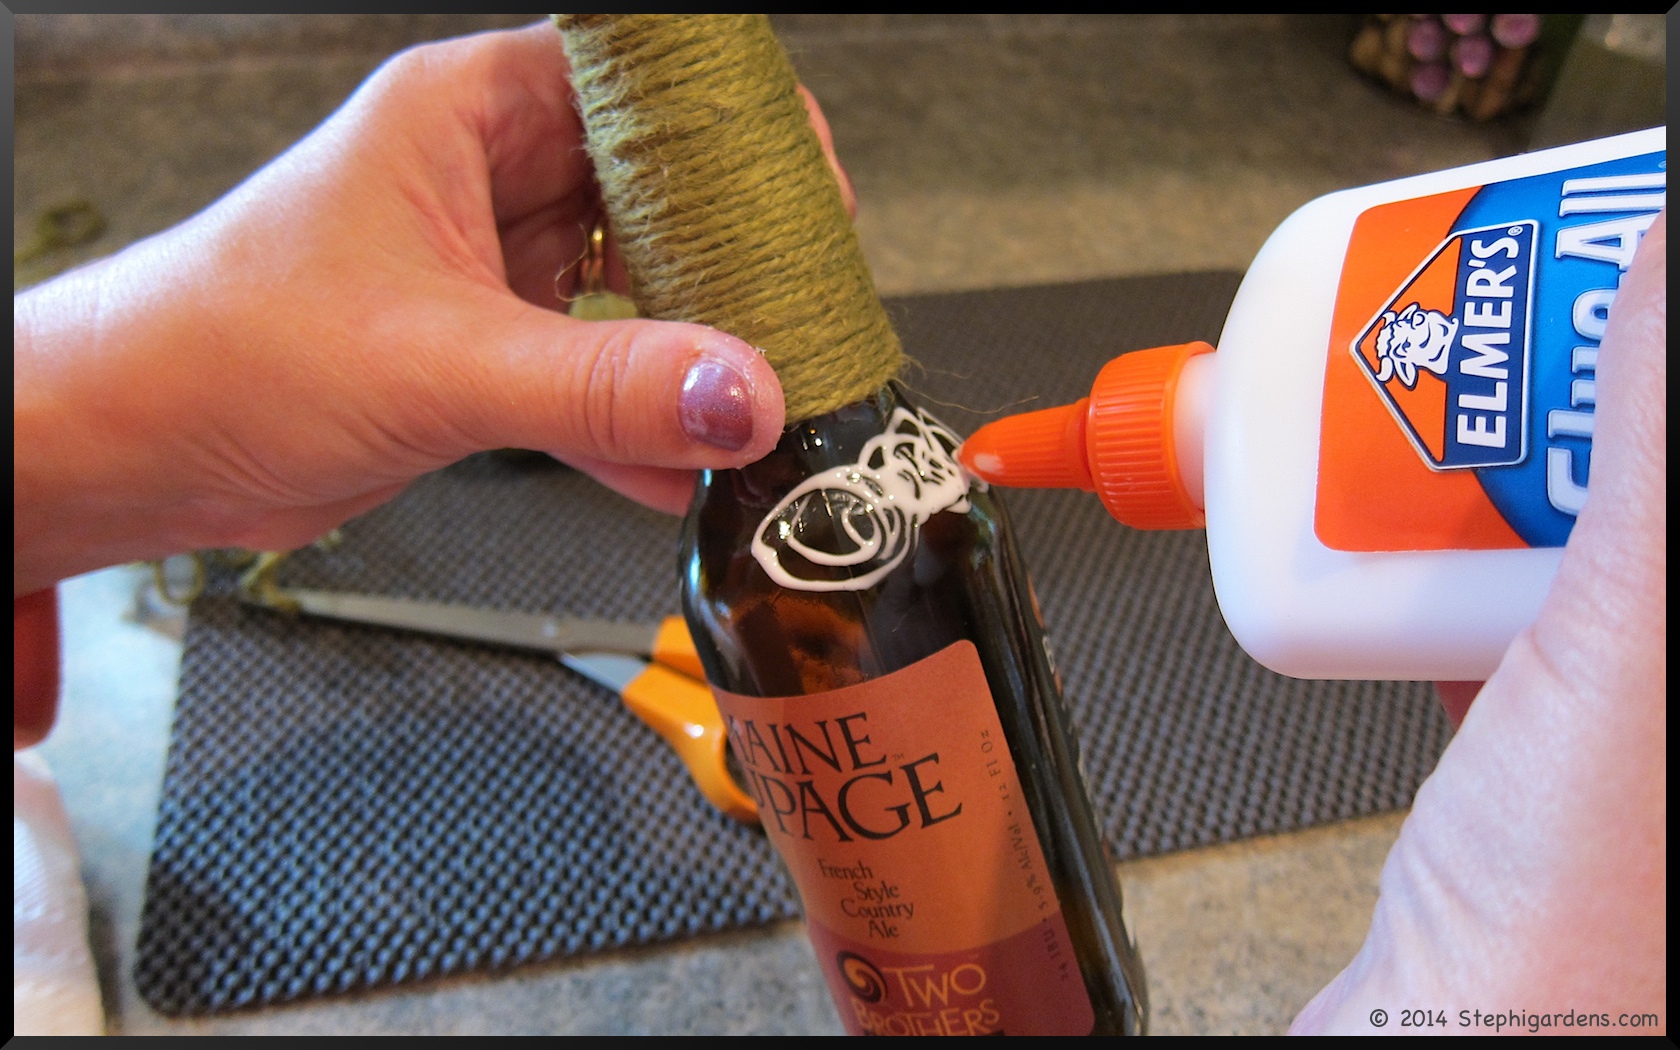
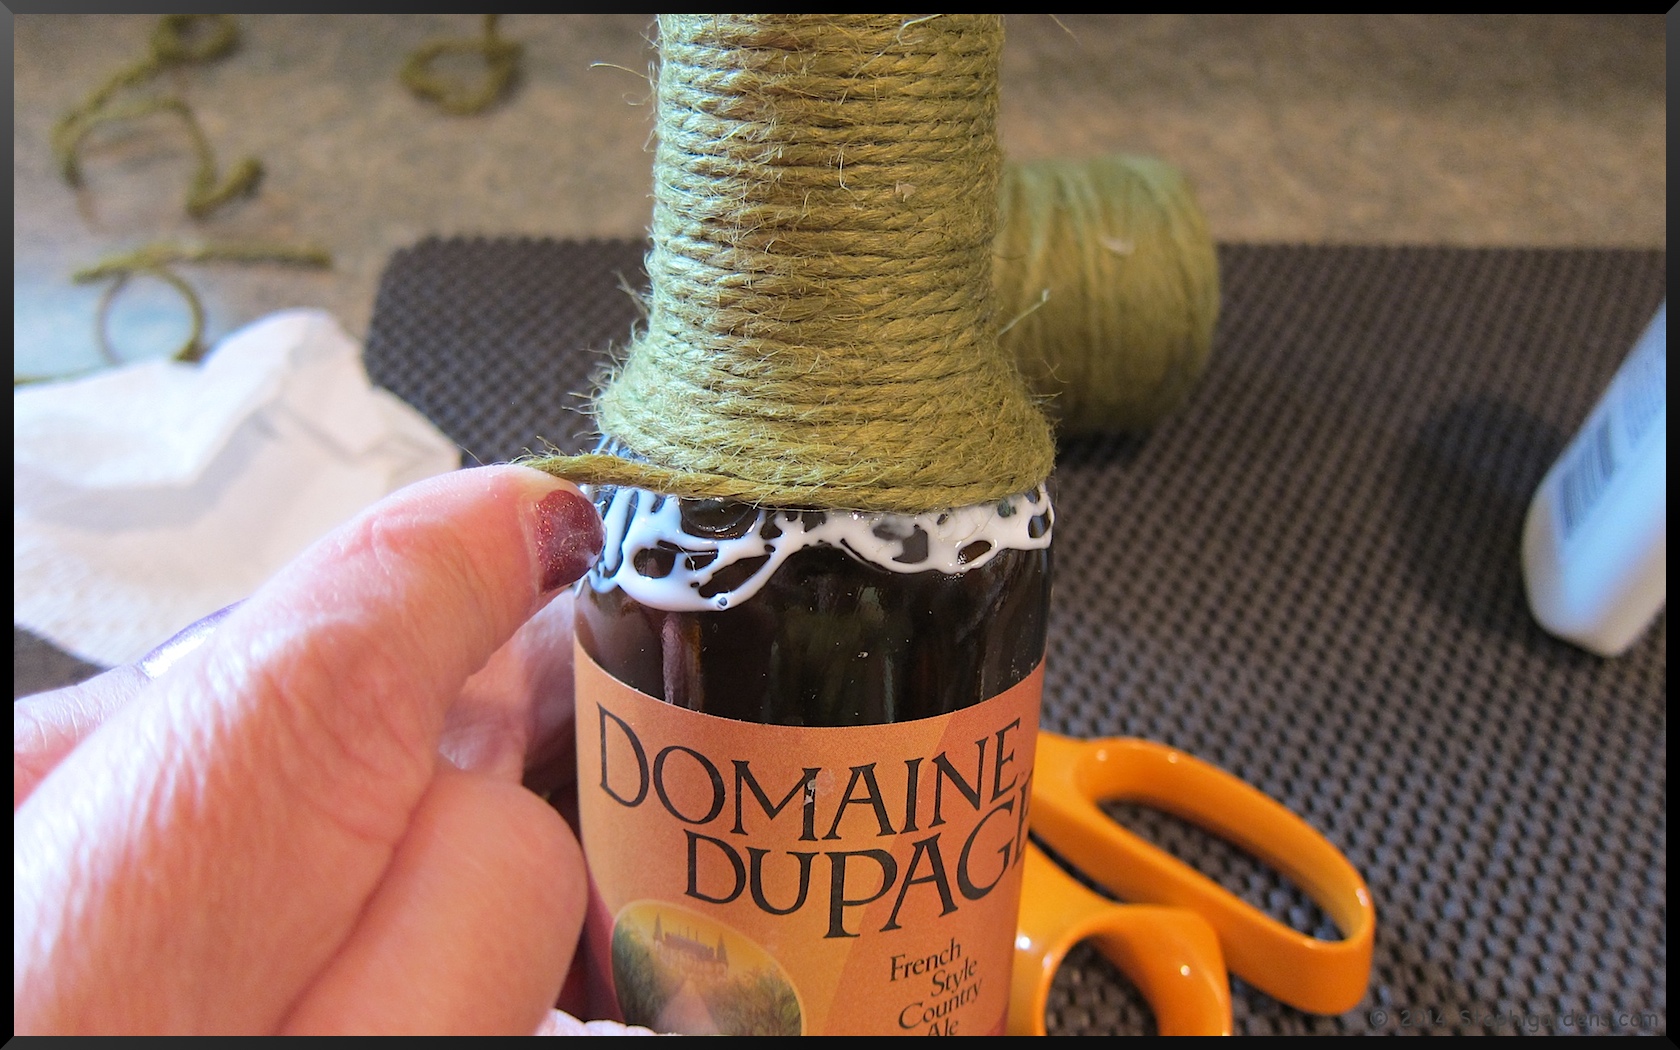
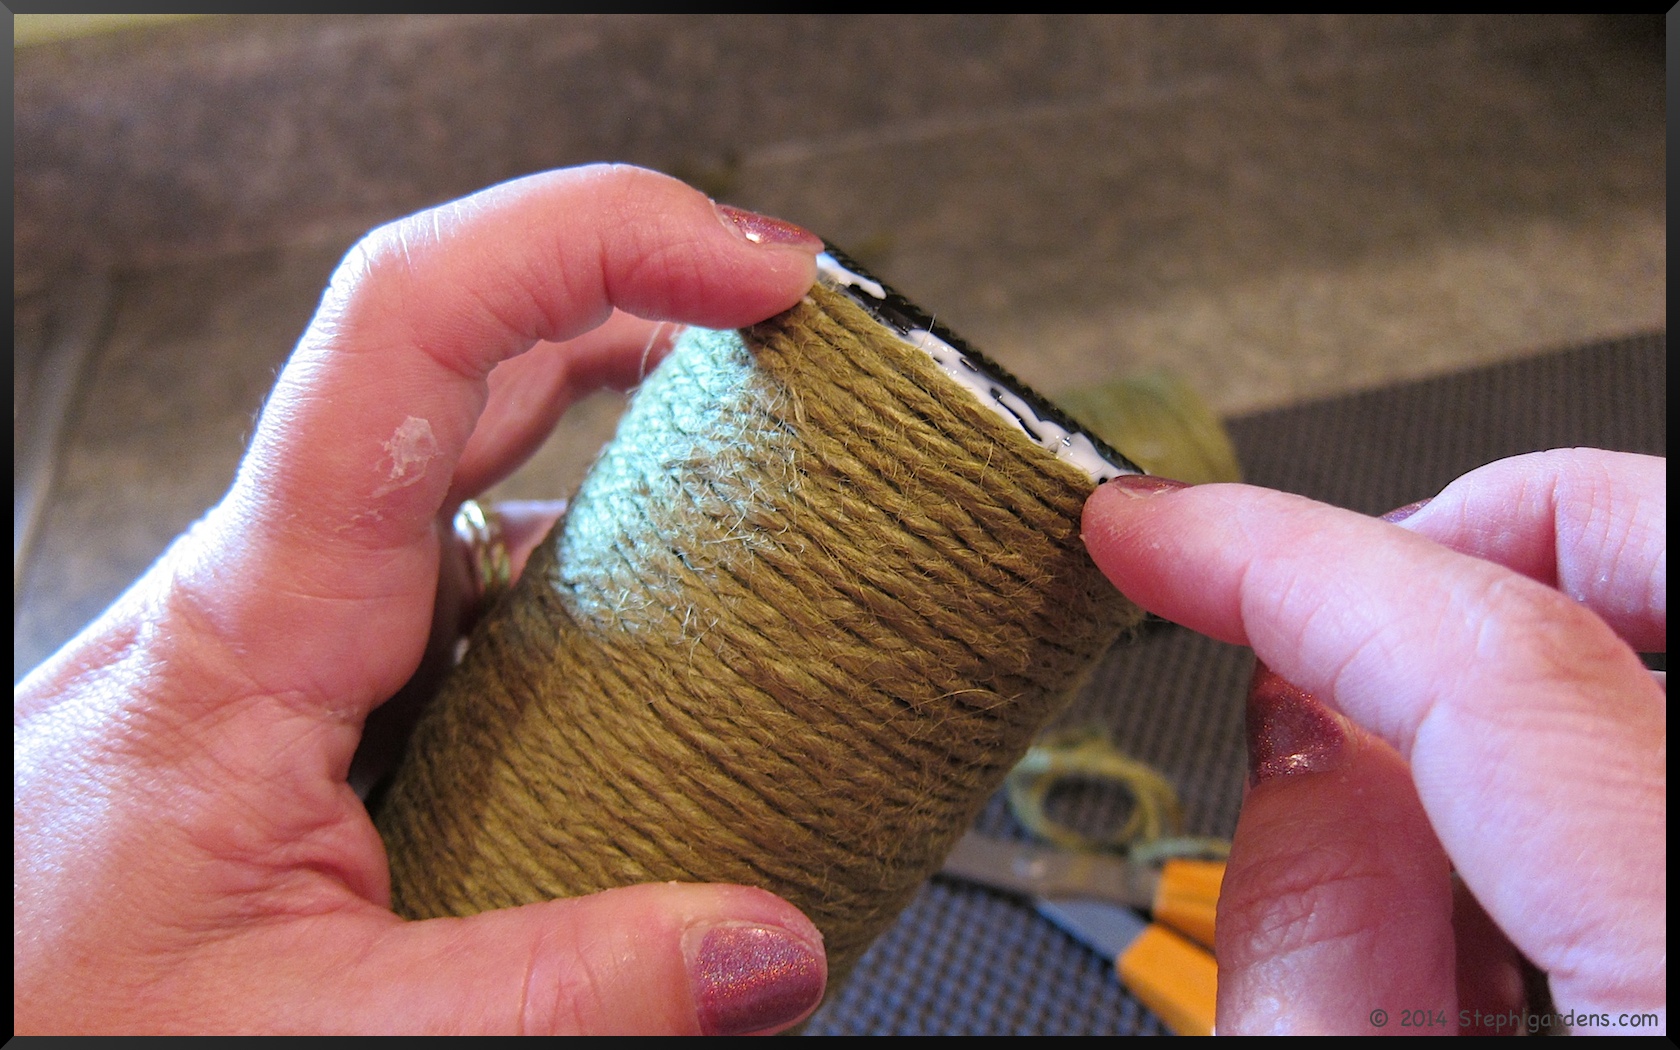
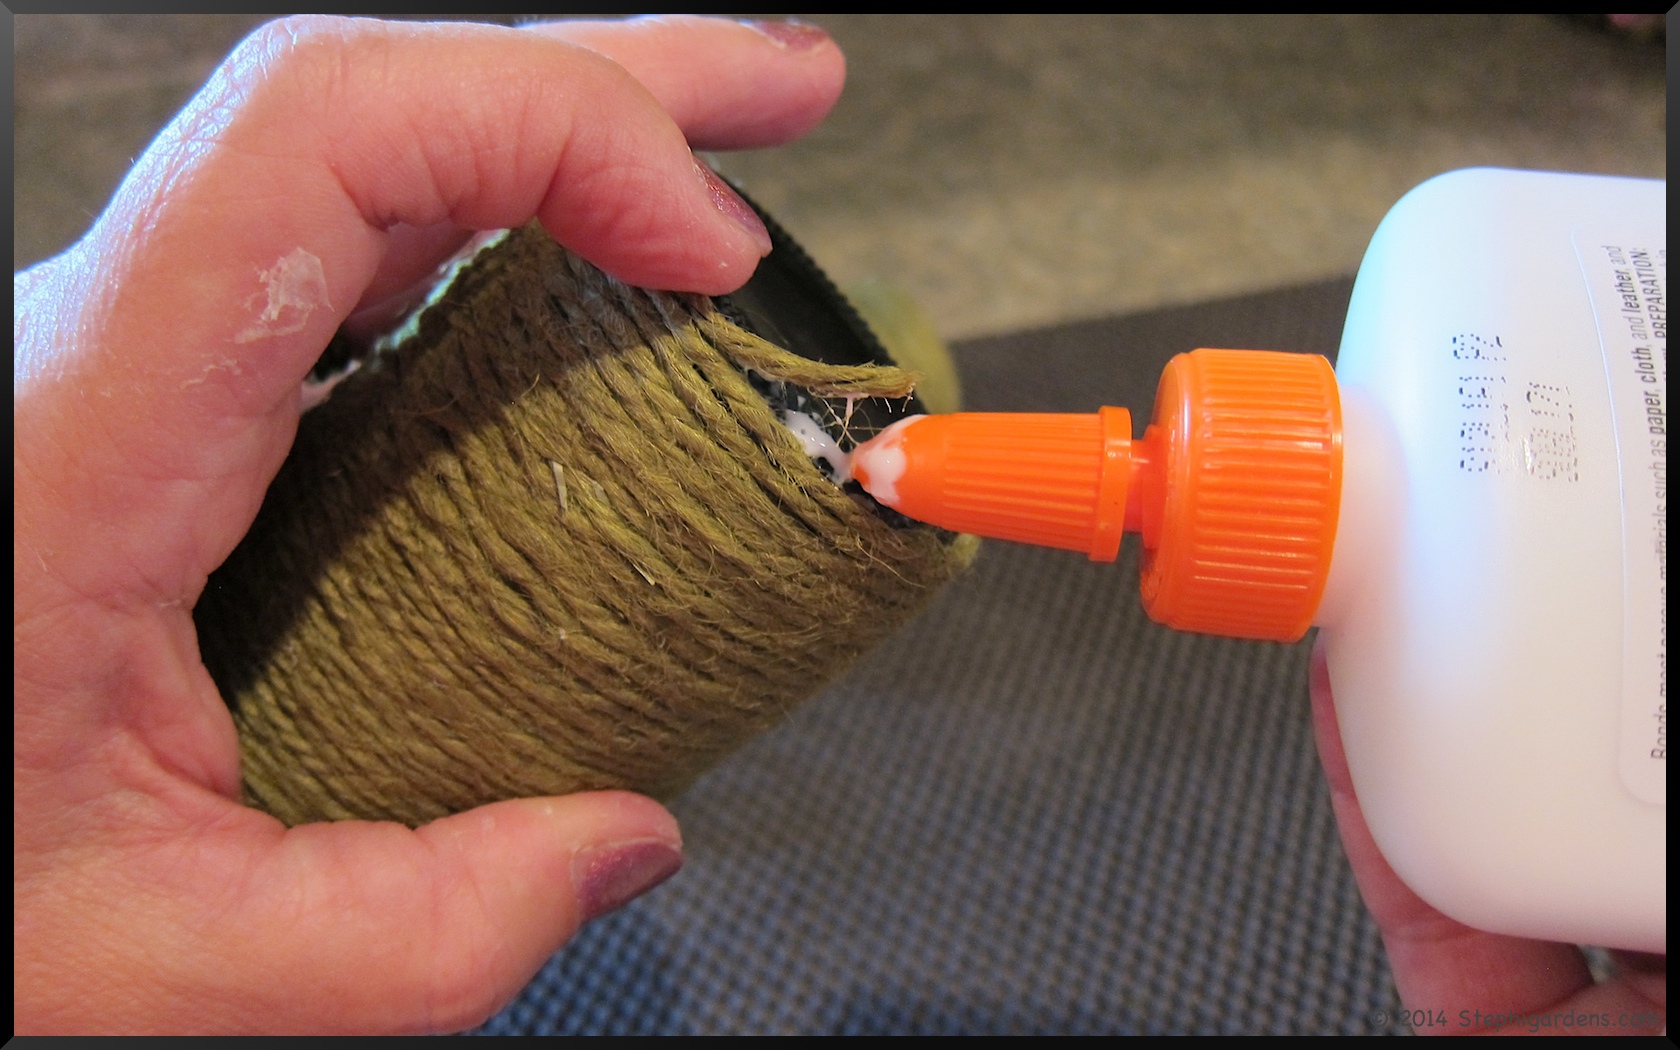
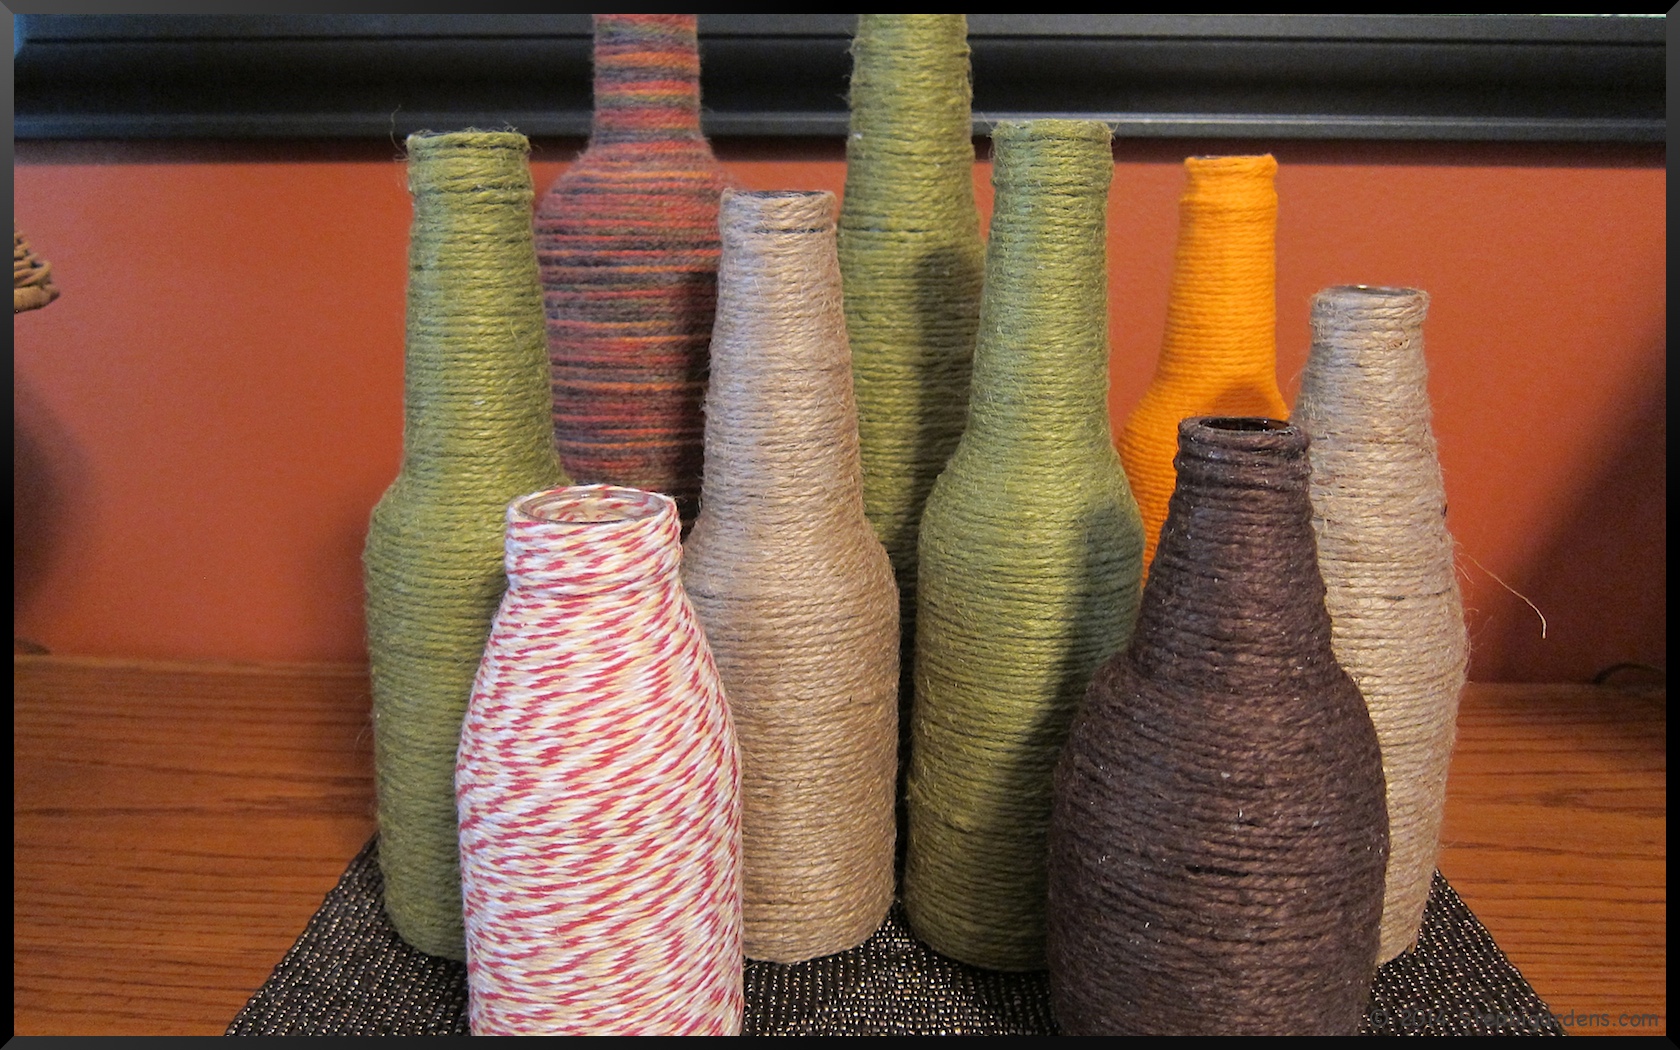
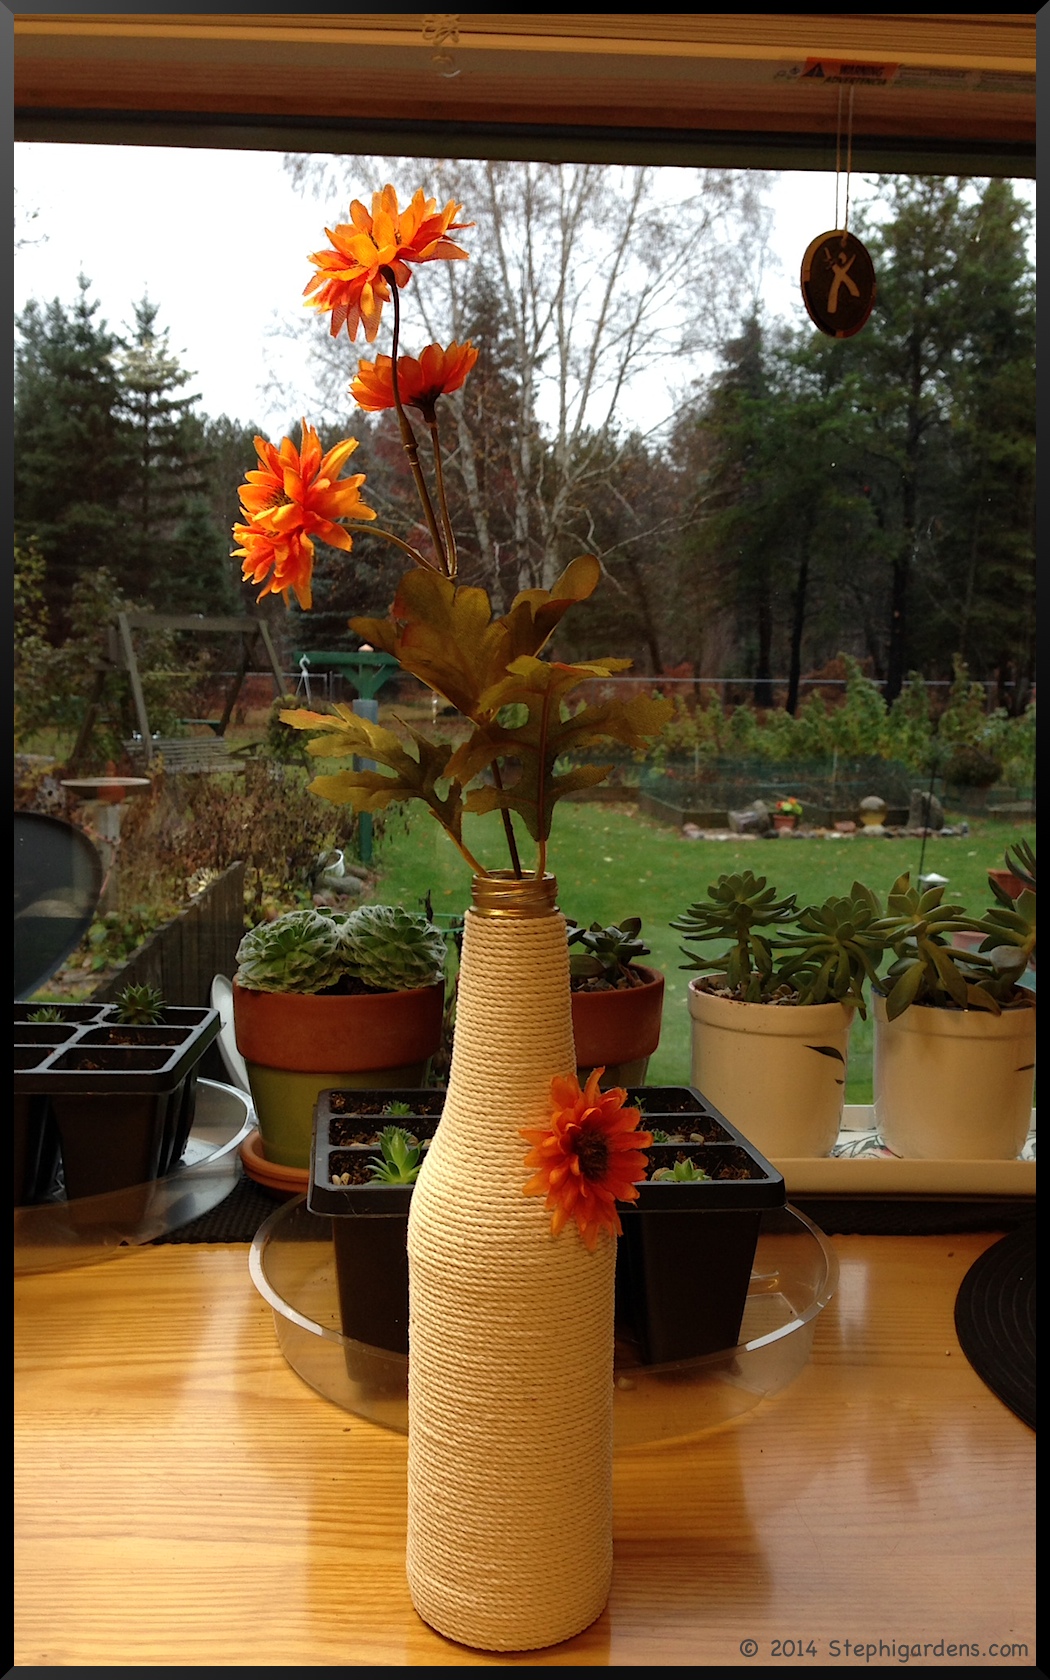
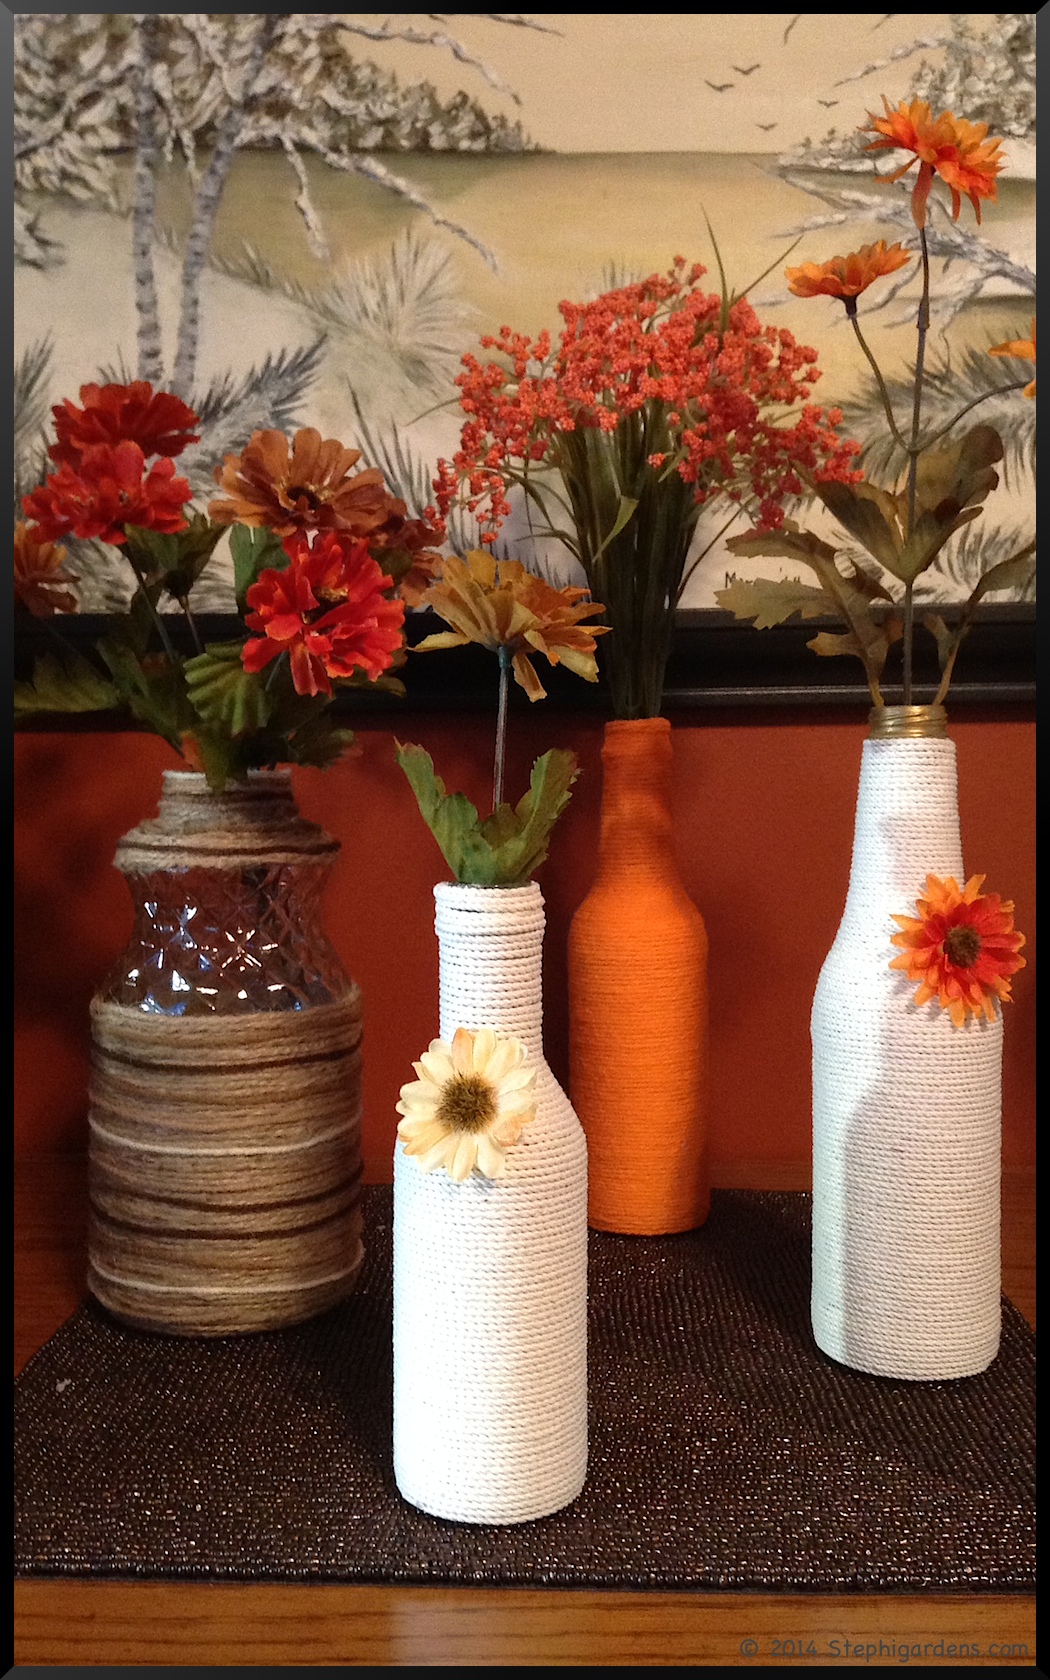
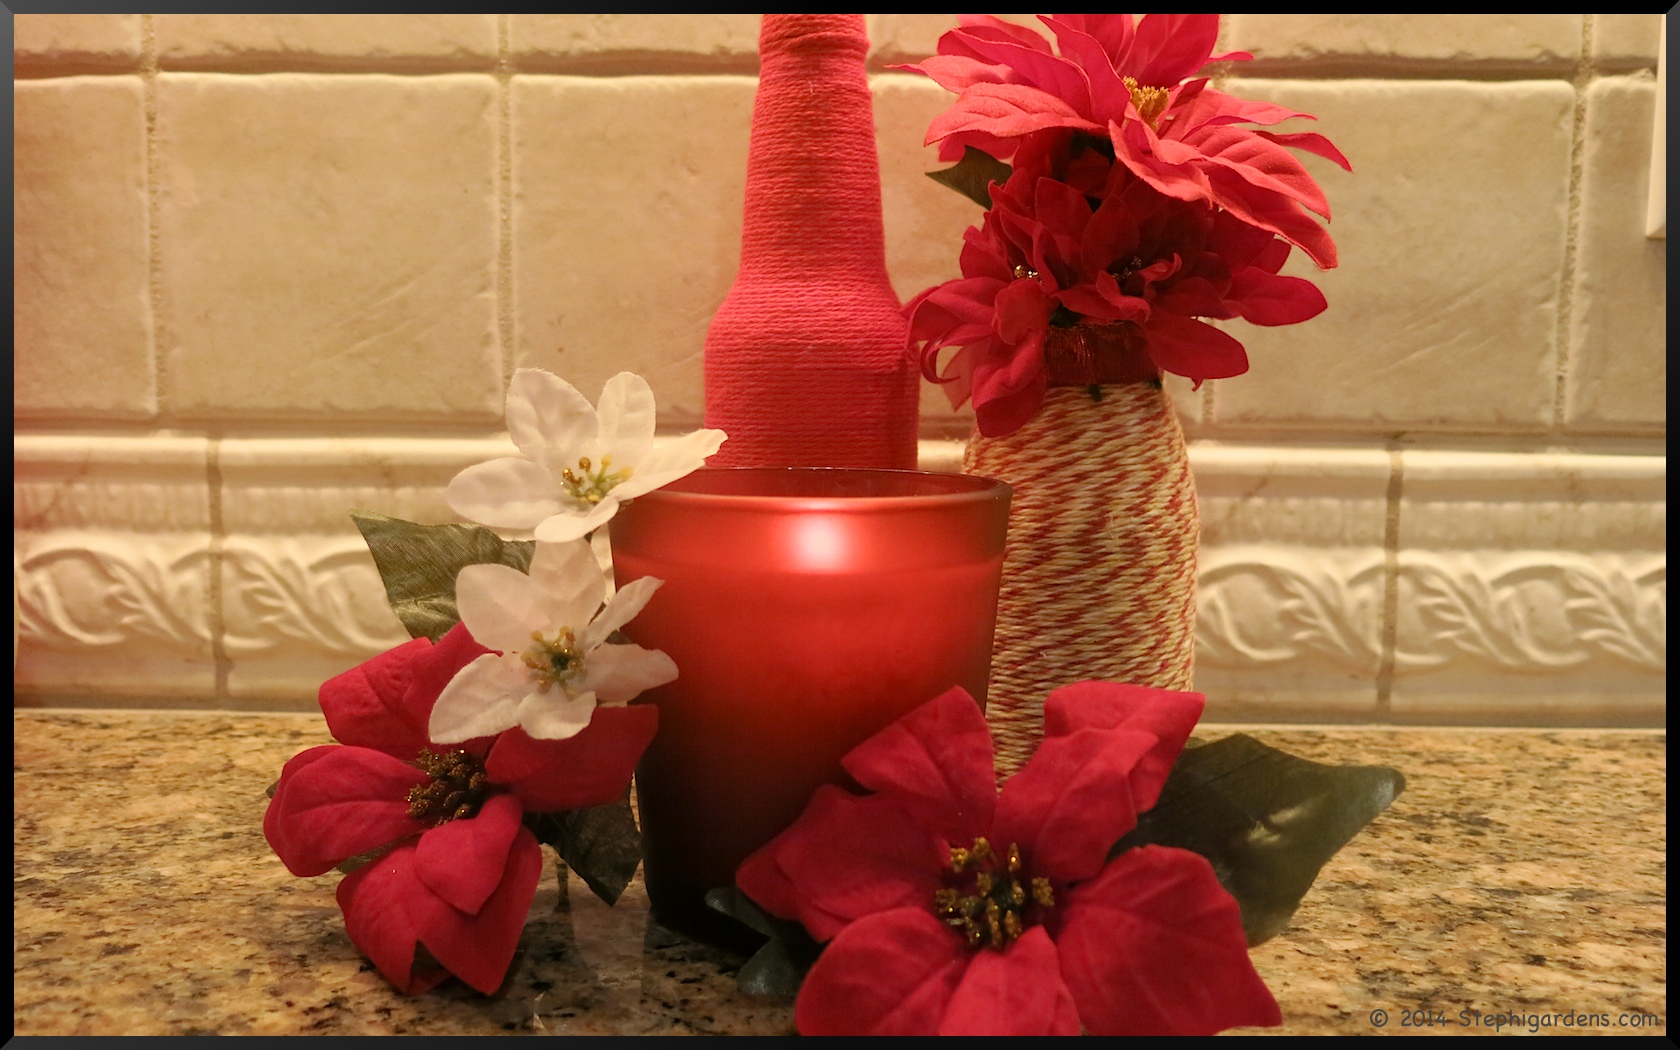
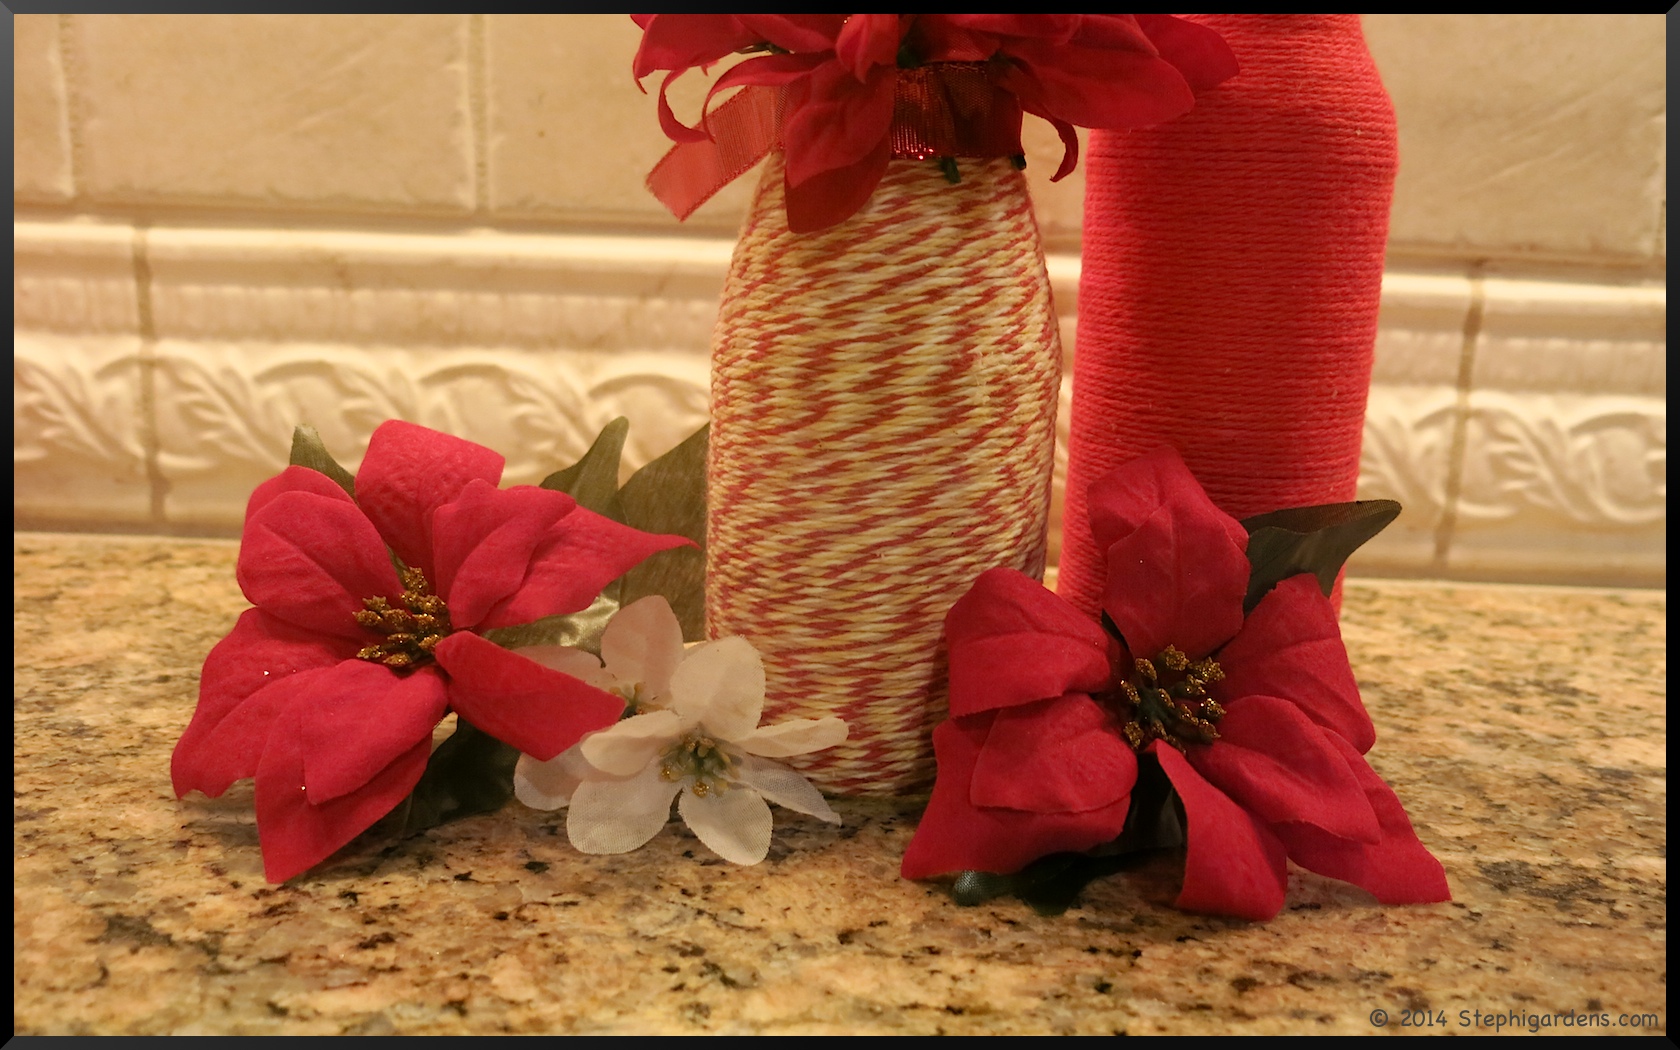
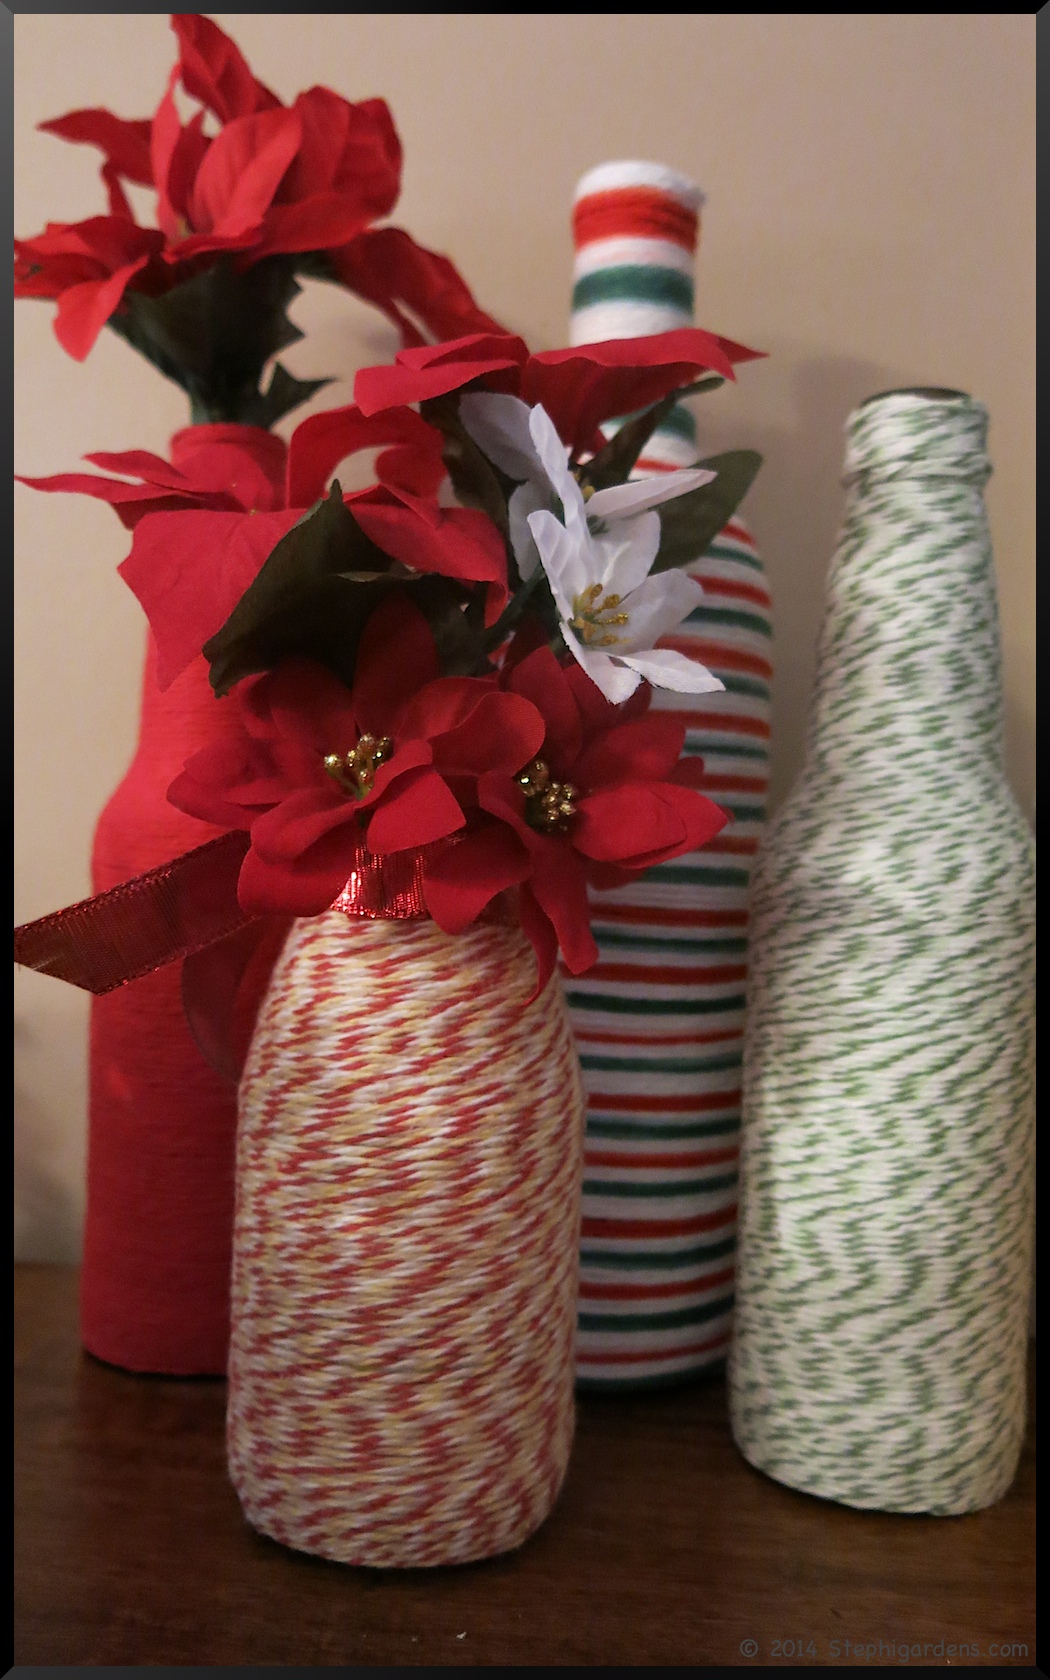
 9. Yarn Wrapped Bottles: A fun and easy craft project to decorate for the holidays, a party, a wedding, or for whatever you have that needs some color.
 10. My New Raised Bed: Construction: I needed more garden space so we built two new raised bed gardens.