First Frost Warning is Coming Tonight!

I feel pretty lucky that we’ve squeaked out an extra week or so before the first hard frost has hit the Chicago area. NOAA has issued it’s first freeze watch for the area for tonight, almost a week my after the average date for my area.  We might even get some flurries! Chicago is a little difficult to know what will really happen weather-wise at any one spot in the region, since Lake Michigan and other land features create a lot of micro-climates that skew local temperatures and precipitation.  You can check out your first frost dates on Dave’s Garden.

Even so, I think tonight will be it for the plants. I went around yesterday and took some last pictures of the flowers and harvested the last of the vegetables in preparation. I’m always a little sad this time of year, when the garden still looks so inviting after having finally recovered from the harsh mid -summer conditions. Yet I know it is only a matter of time till it’s over.  It’s like the plants want that last hurrah before going to sleep for the winter, or for the annuals, to go out in a blaze of glory.

Final Garden Harvest–having just been in Charleston, I am going to use those green tomatoes!
IMG_1118
 The garden is still in bloom

sedum

hydrangea

hydrangea

petunia geranium

IMG_1081

cosmos

rosebud

marigolds
Some of the trees are showing their colors, but not very uniformly or brilliantly. Some are showing the stress of  2 harsh summers and disease, while others haven’t even begun to change.

purple ash

branched maple

maple

It’ll be interesting to see what it al looks like tomorrow. I’m torn as to whether I should bring in that beautiful single rosebud to protect it, or see what happens if I leave it.

The Garden in Fall: The Good

It’s the beginning of October and the days are getting shorter, the nights growing colder. These are the last gasps for the garden before it settles into the winter hibernation. In some ways, fall gardens can be very pretty. I’m always surprised at the plants that continue to bloom well in to fall, some even looking their best. And of course, there are the things that take all summer to finally show their colors. Here’s some of the plants and areas of my garden that make me smile.

Marigolds

One of my favorite flowers is the marigold. I love the smell (although I might be the only one) and the colors. They always seems to just come alive in the fall and it has always had a place of prominence in my garden. I’m also reminded of a trip to Taos, NM, where I saw the prettiest marigold chains.  One year when an early frost was going to wipe out the flowers prematurely, I made one myself that hung beautifully in the kitchen.

boy o boy marigold

IMG_0570.JPGIMG_0578

(There were also  lots of bundles of hot peppers that just looked pretty hanging there)


There’s lots of color in the garden...

IMG_0541
IMG_0564
IMG_0563
IMG_0594

IMG_0558

And interest…

IMG_0554

IMG_0544
IMG_0528
IMG_0526

And vegetables are still coming, as long as we don’t have a frost!

IMG_0577
Early girl tomato
IMG_0581


Whoops-Giant Zucchini

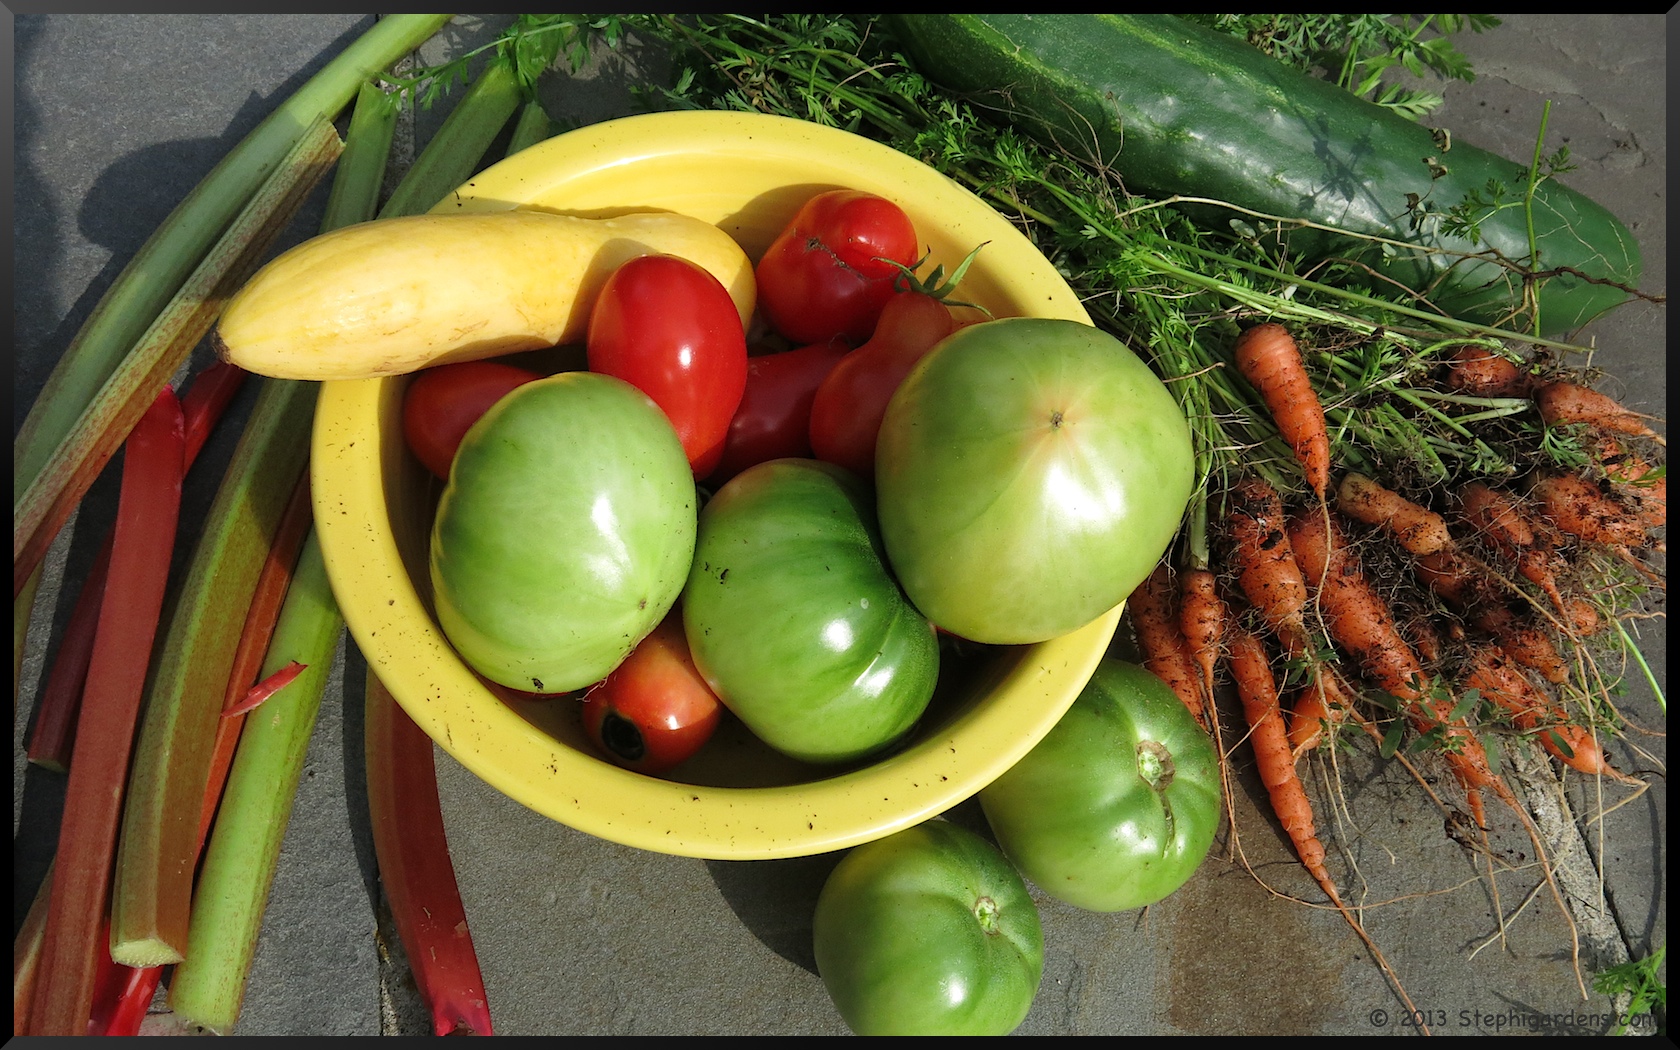
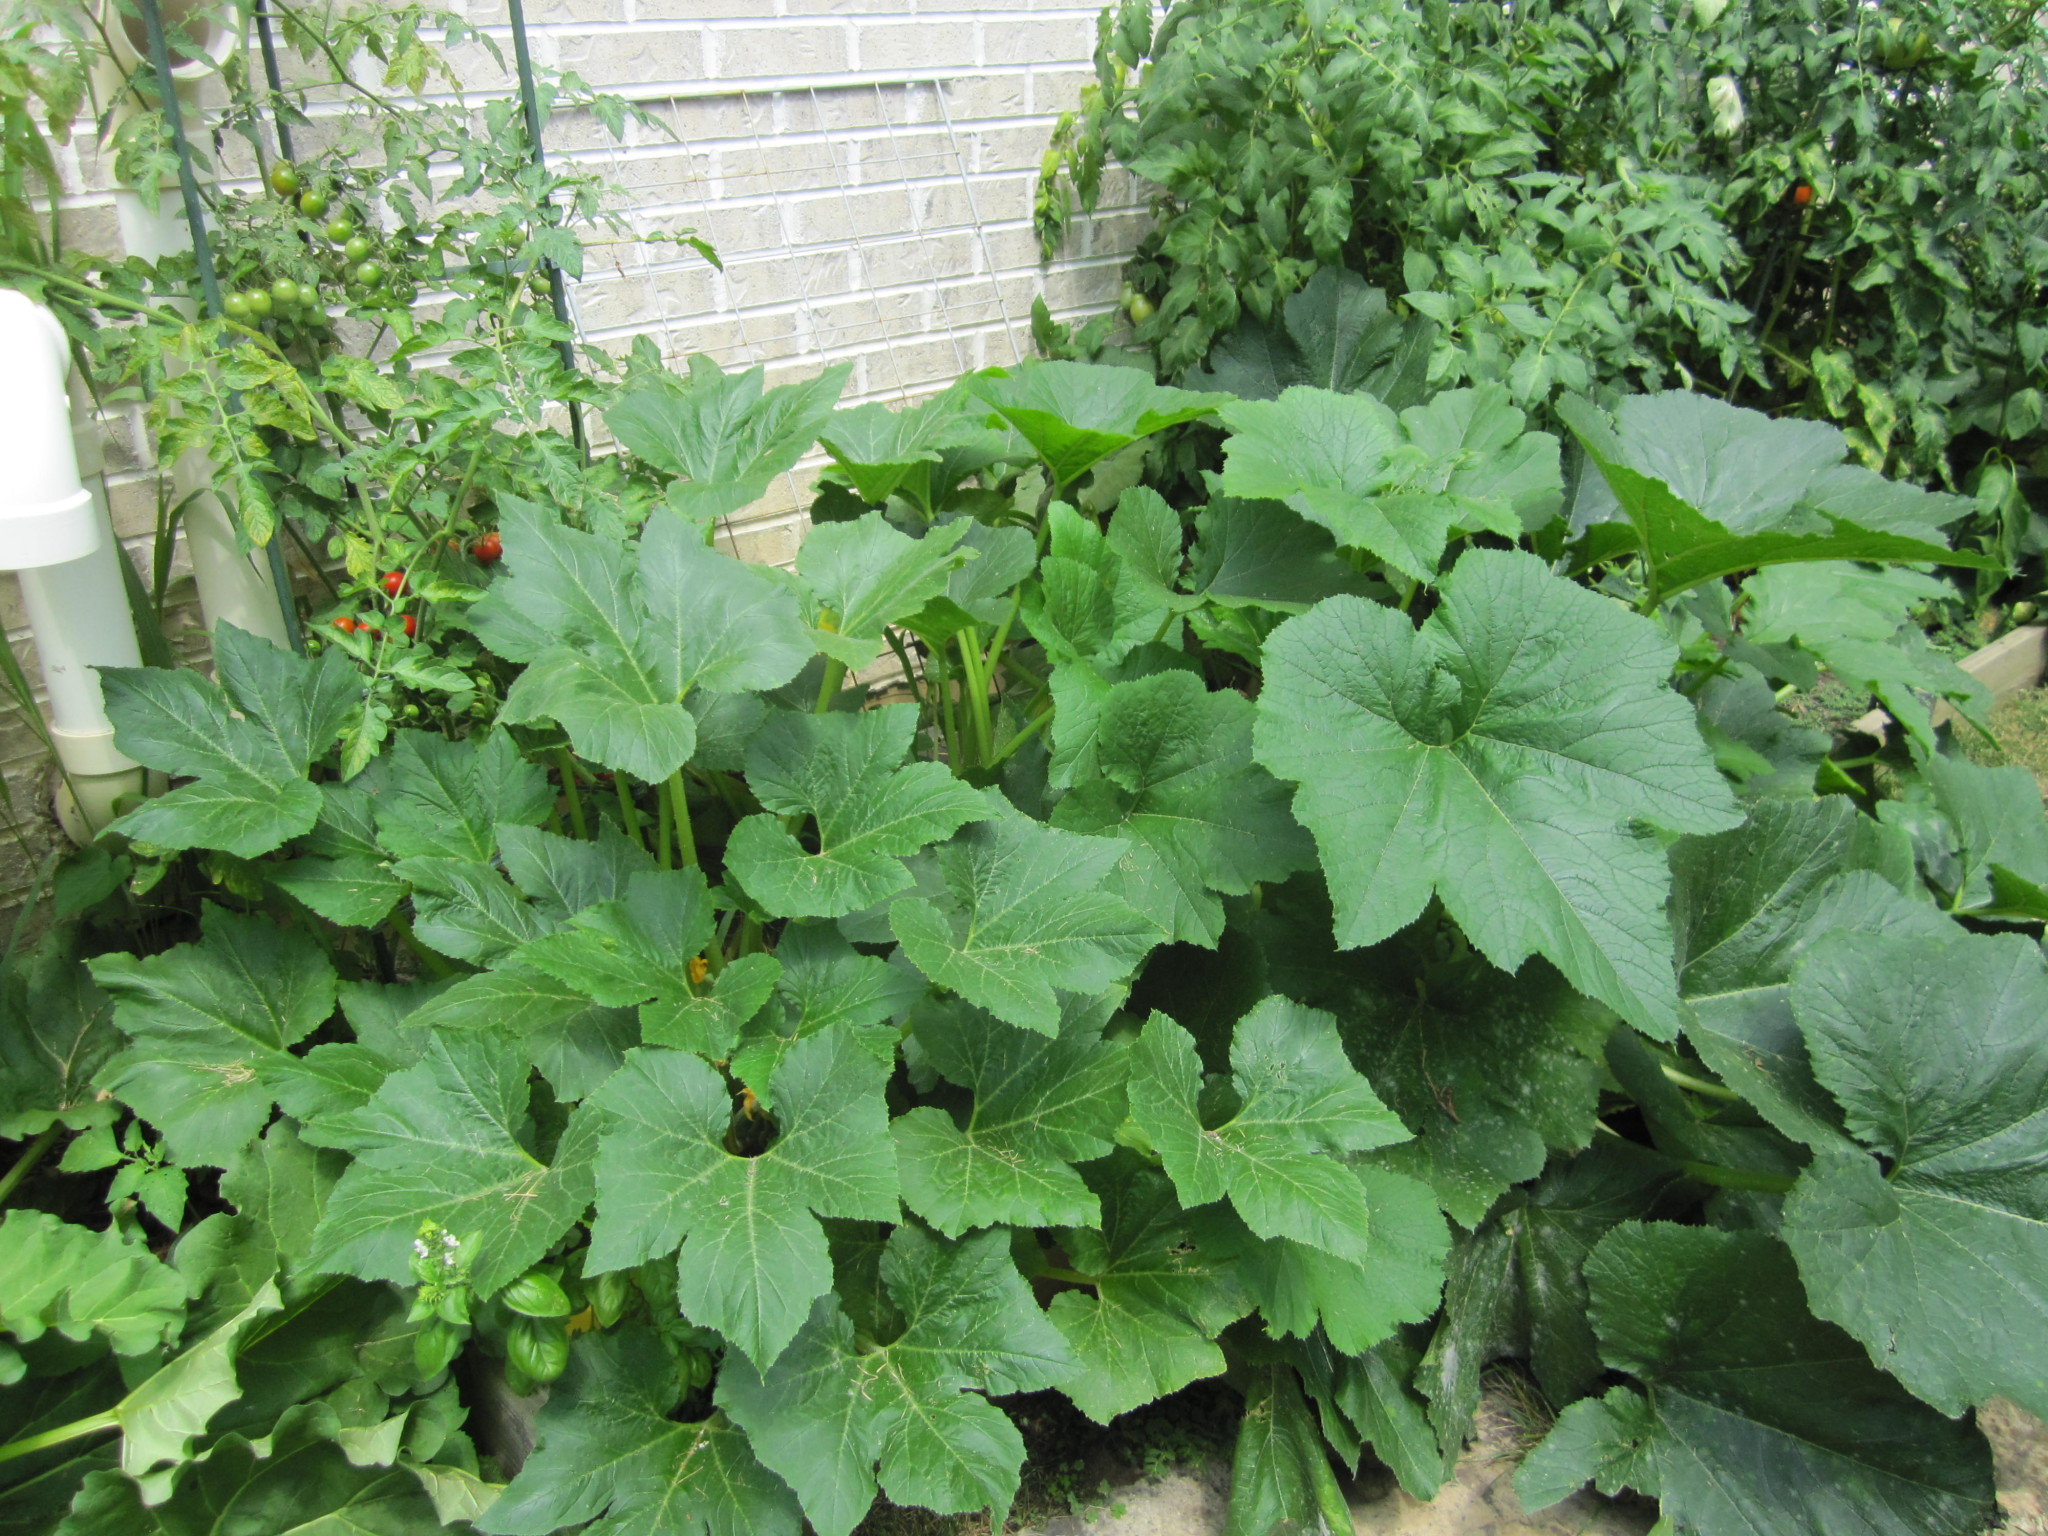
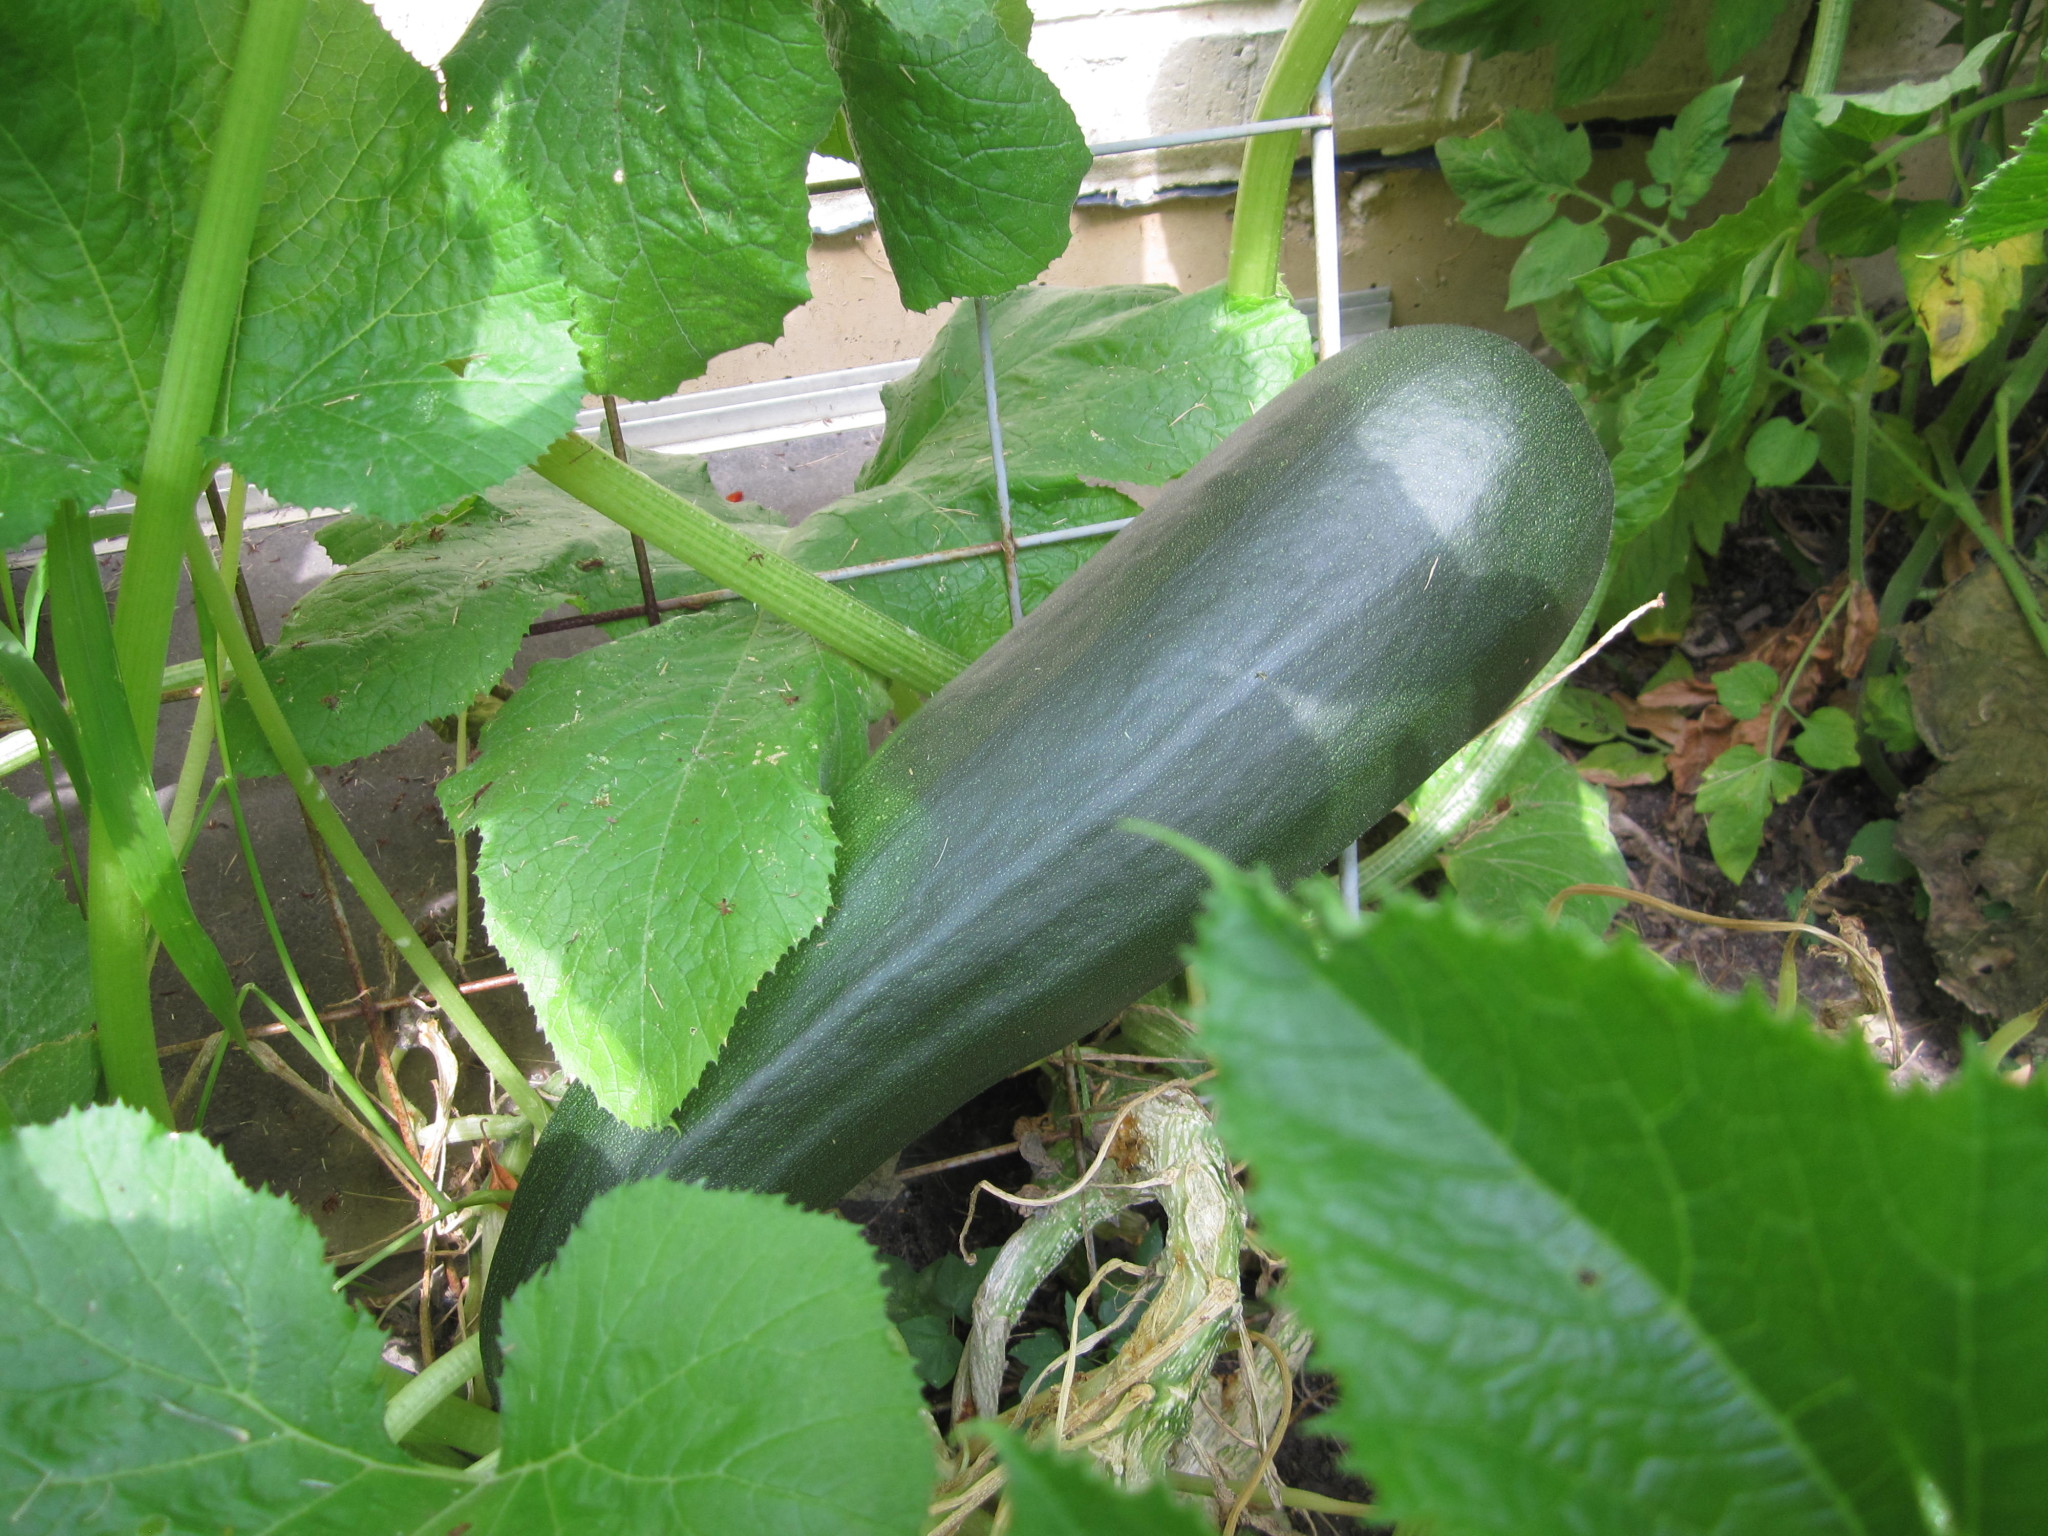
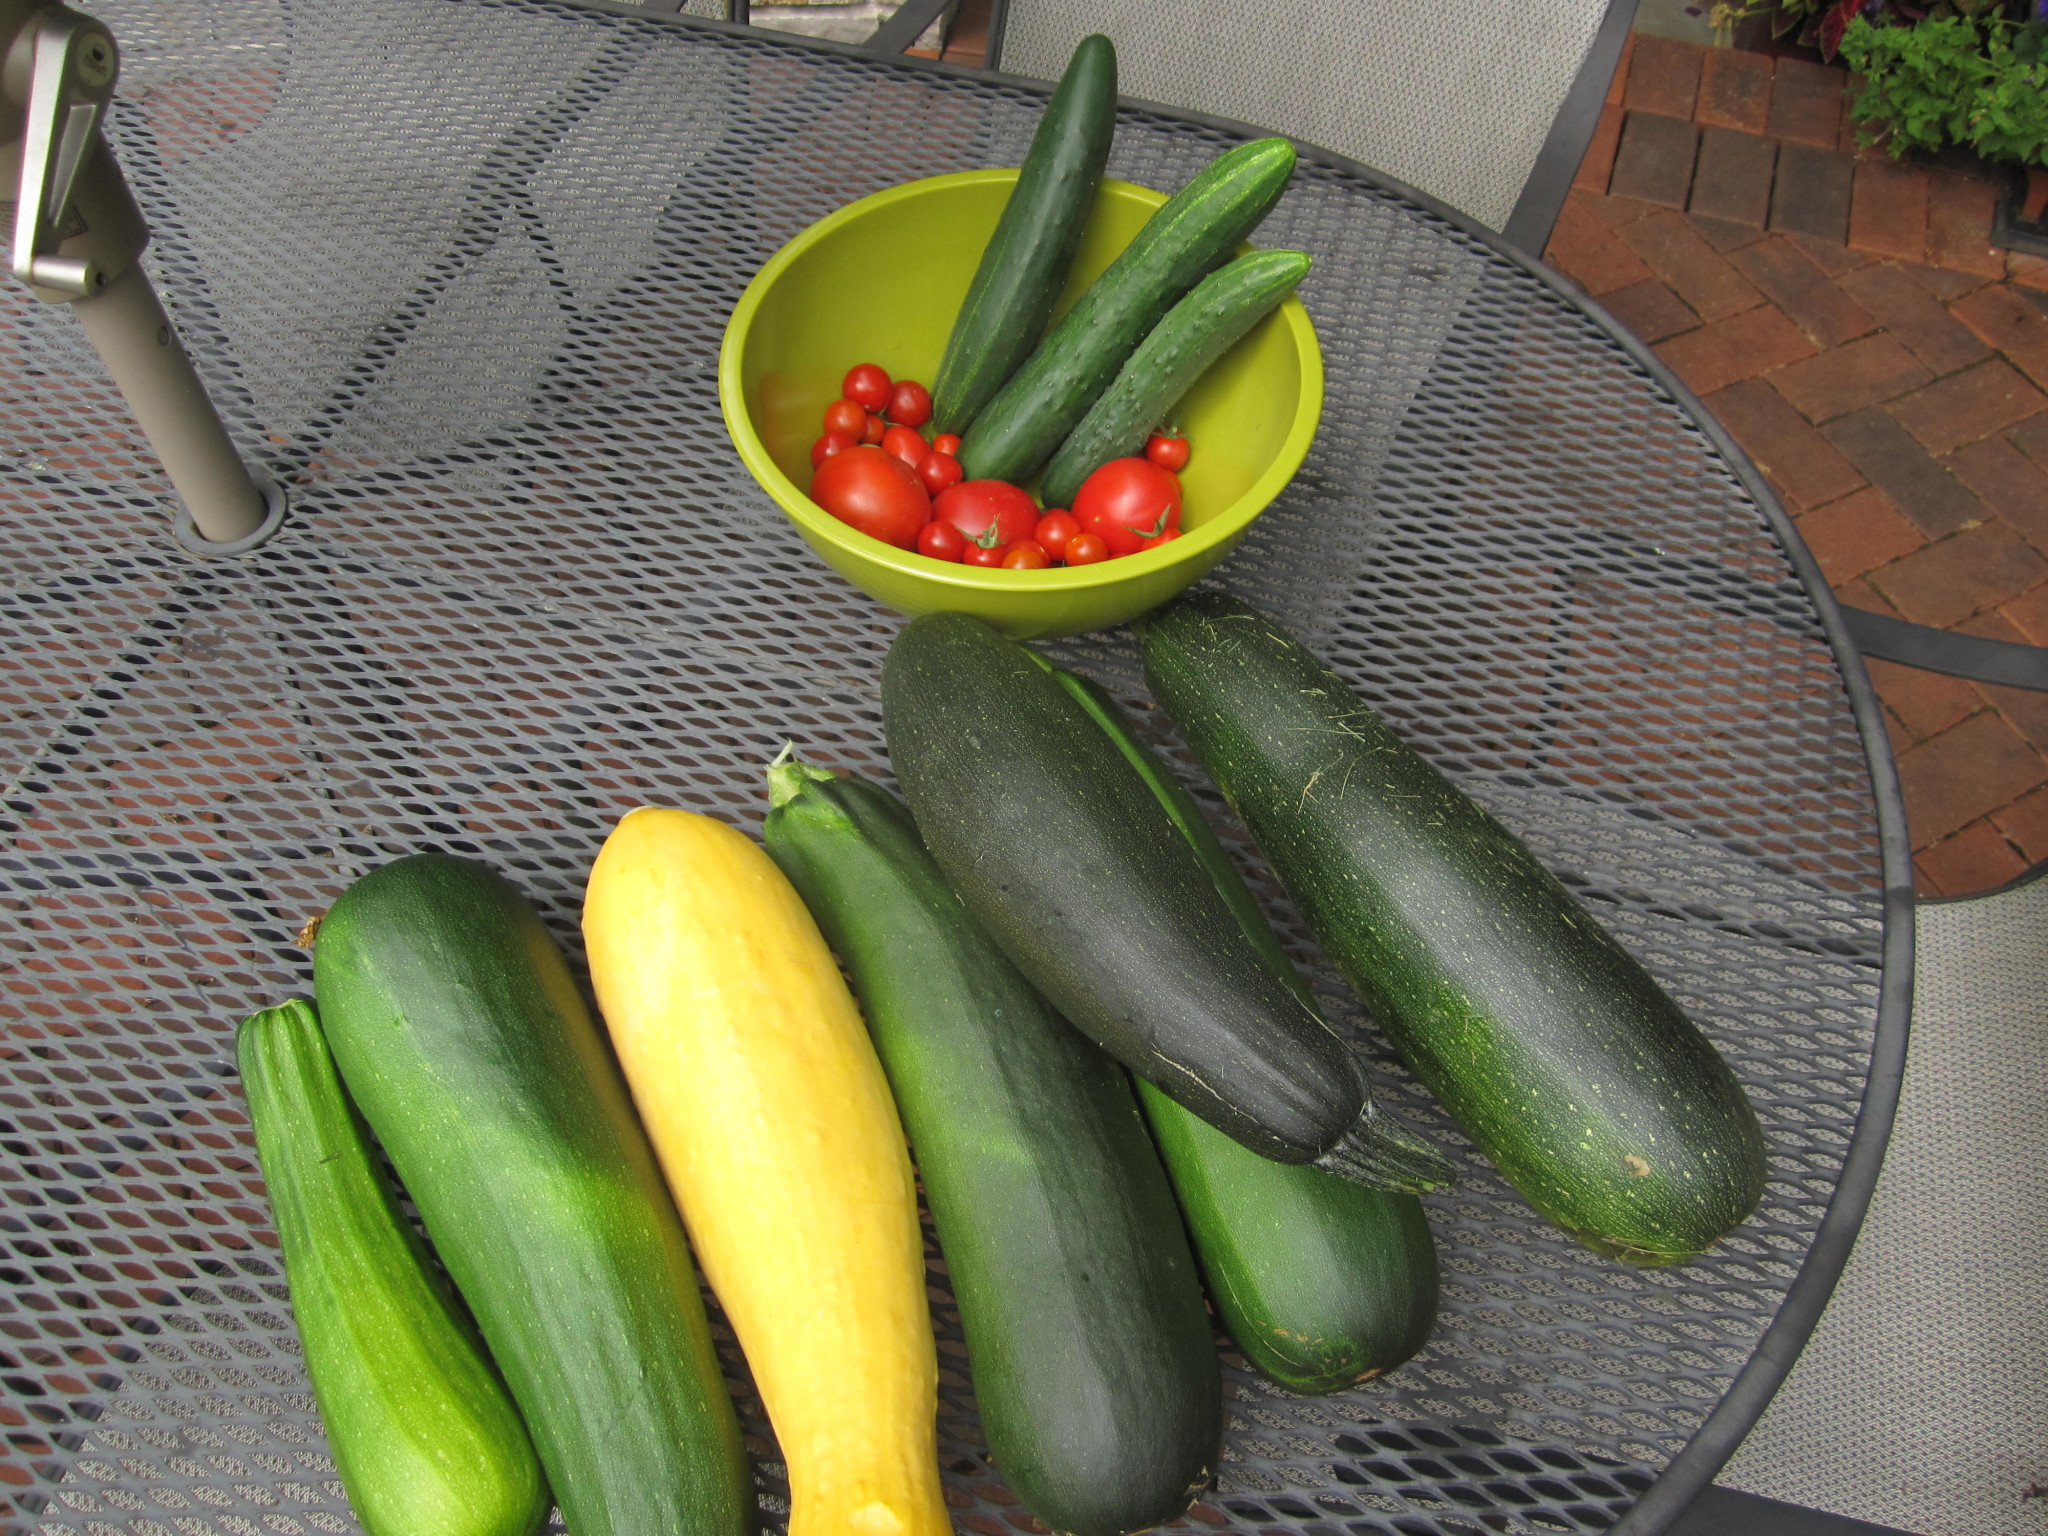
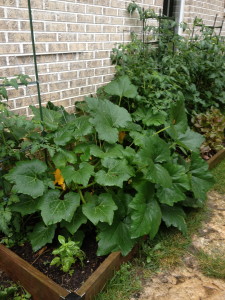
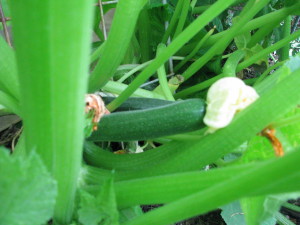
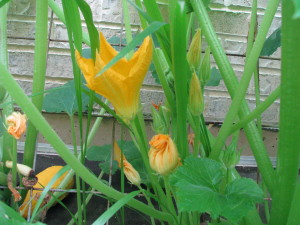
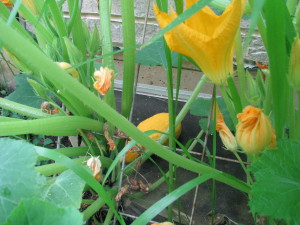
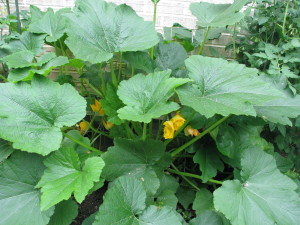
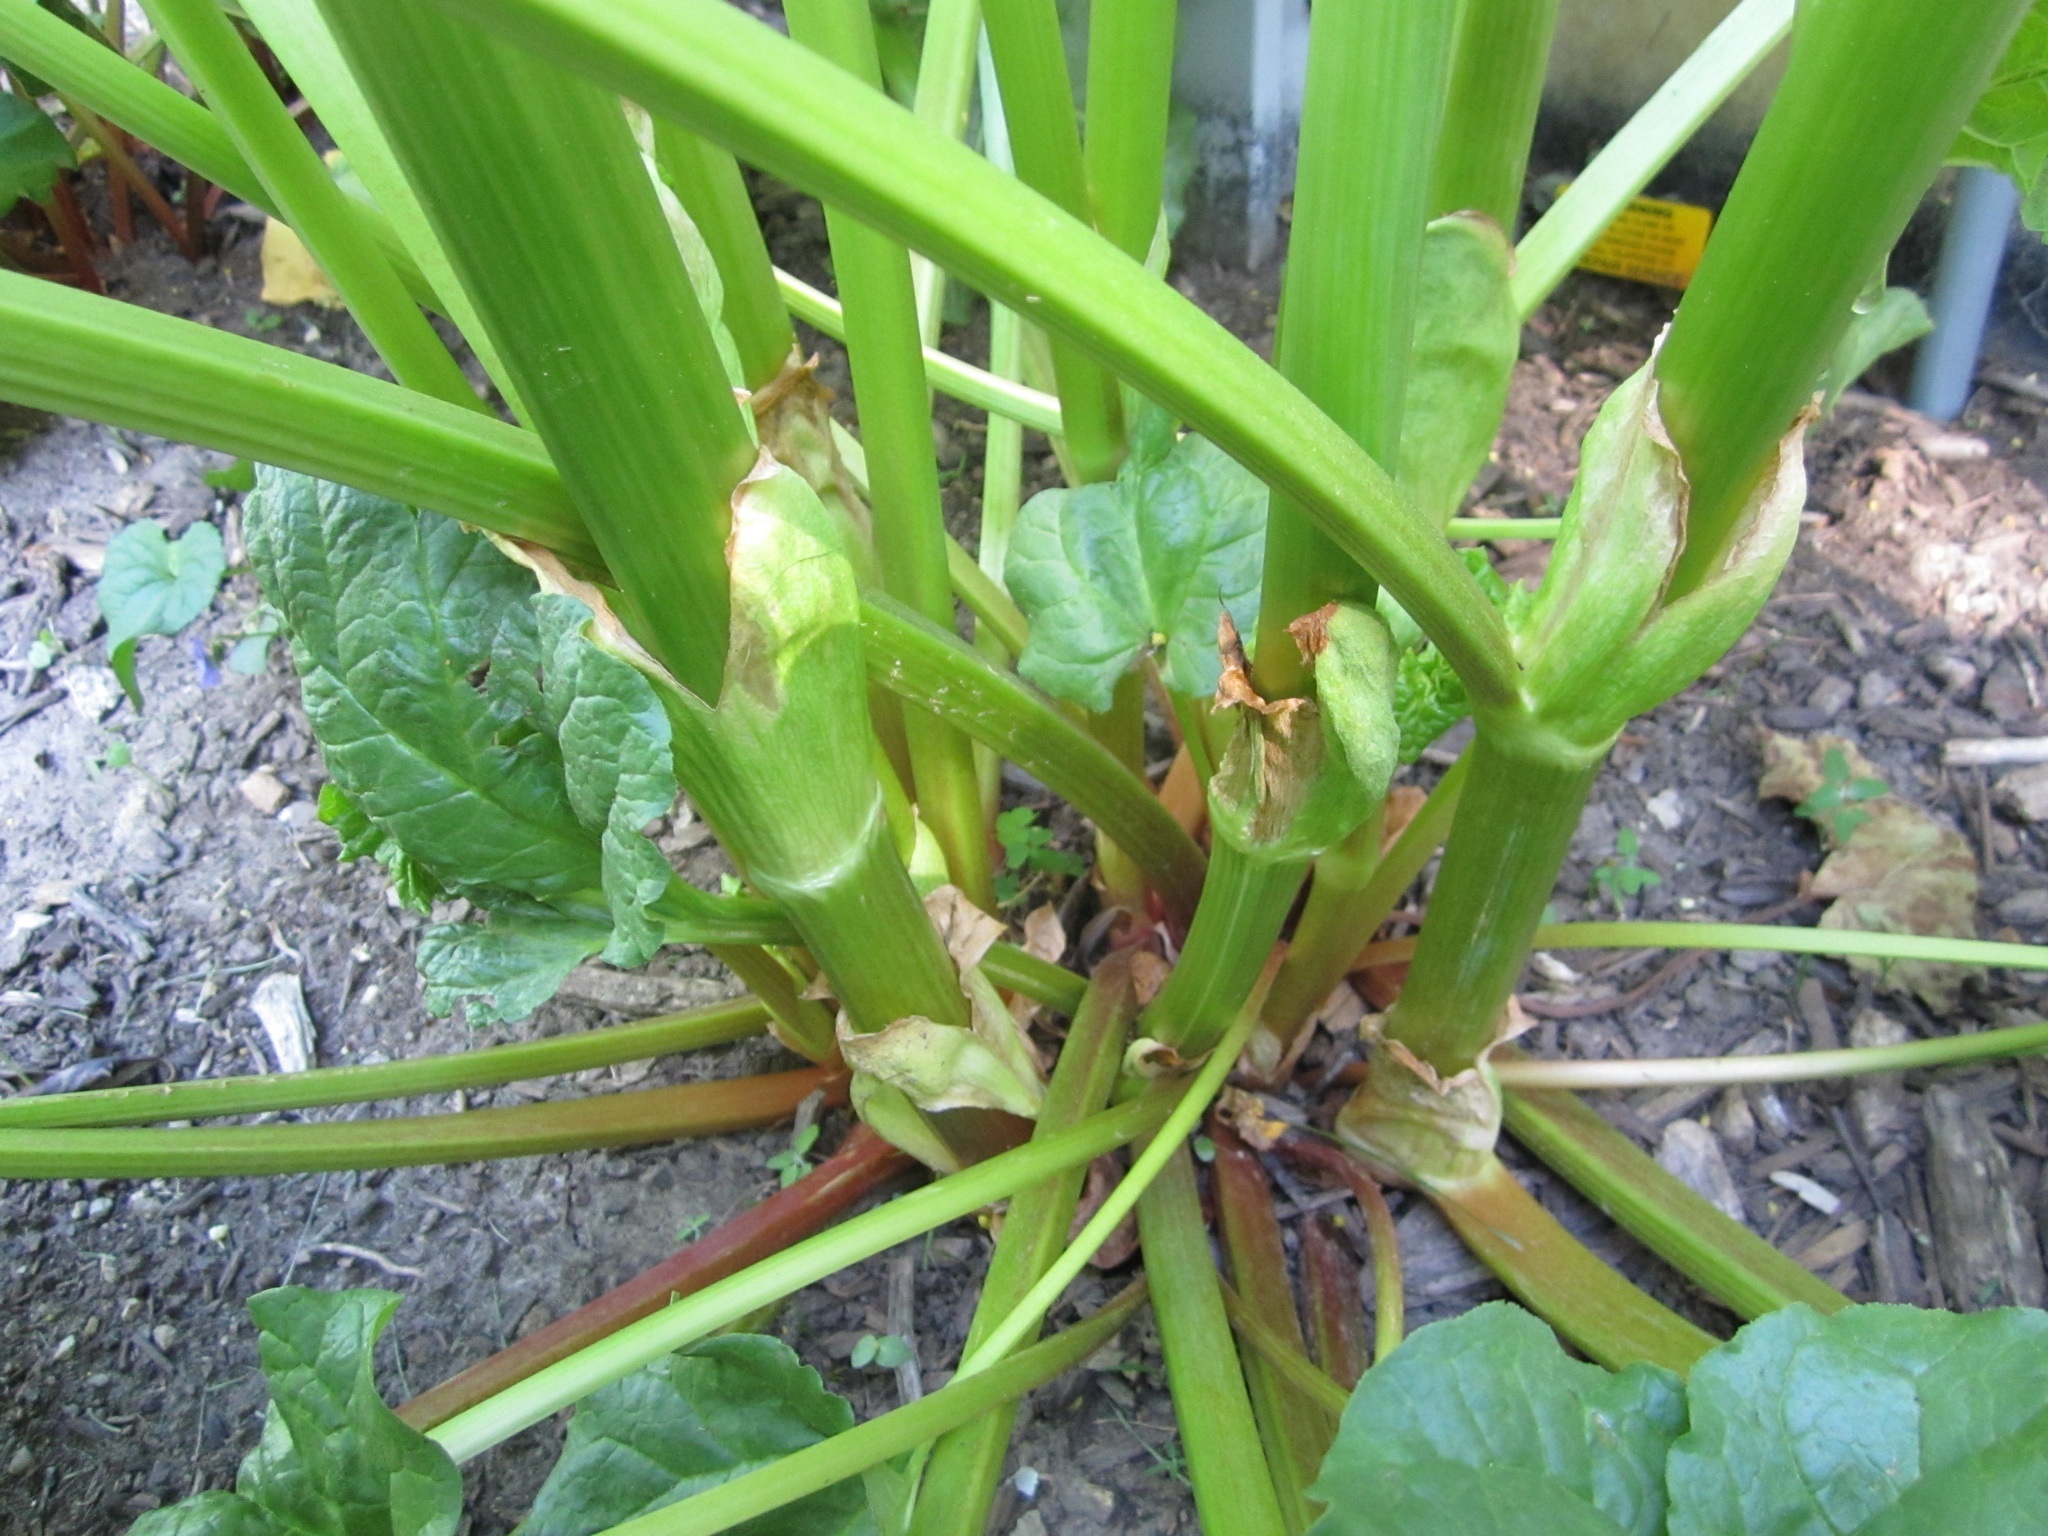
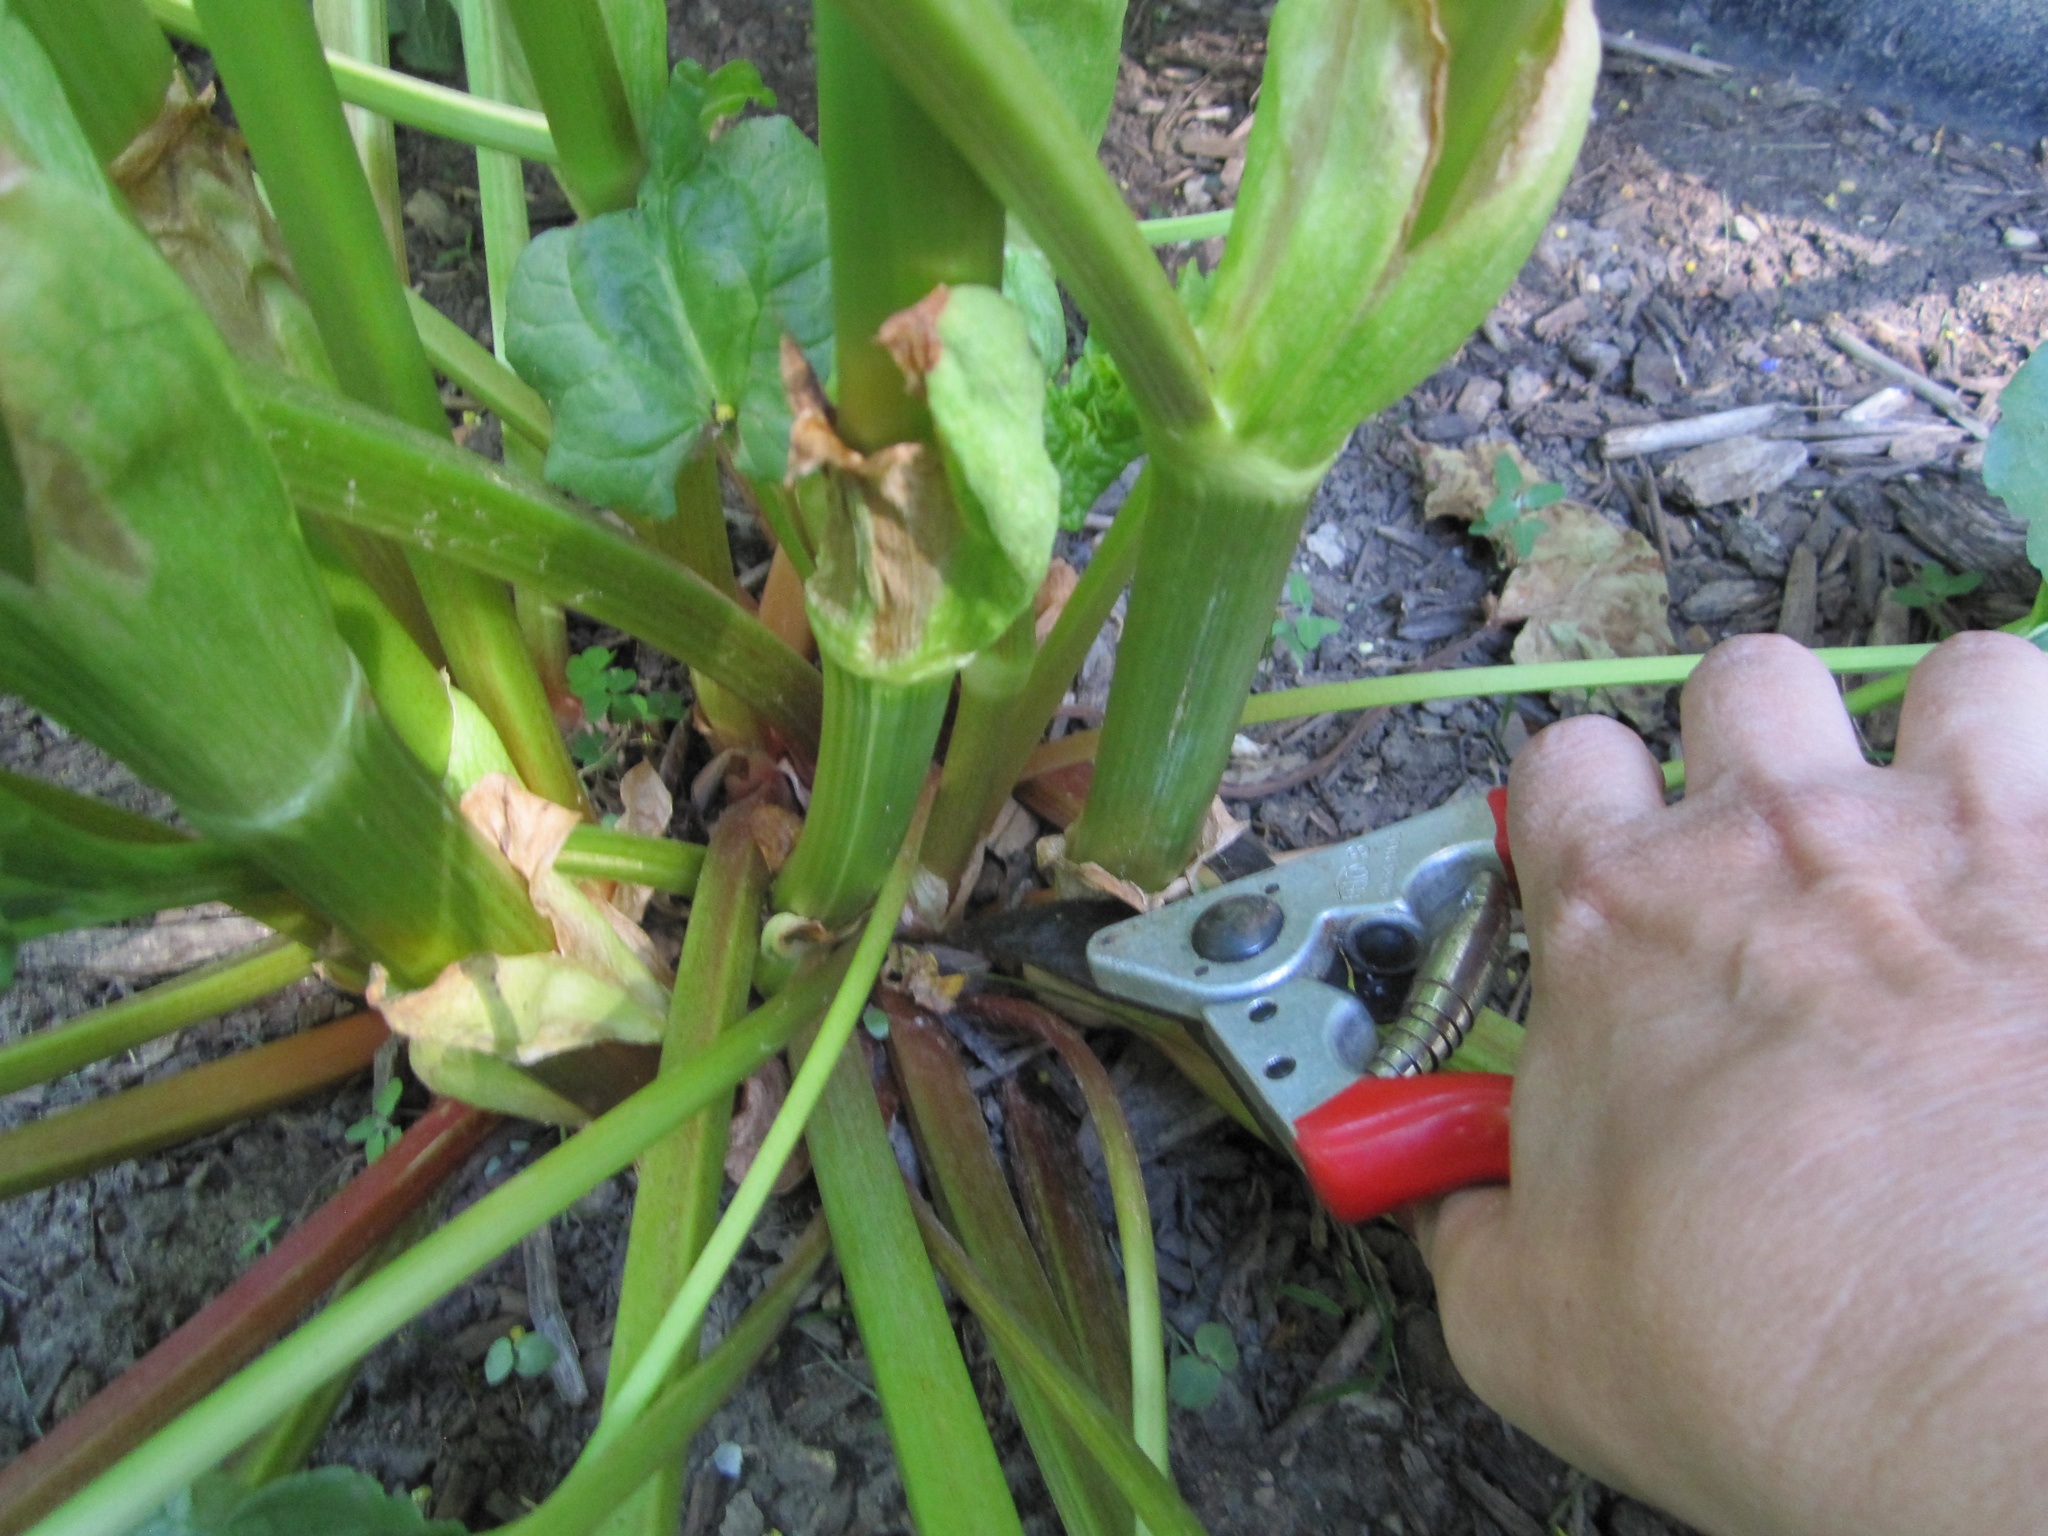
I go on vacation for a week, then got busy and forgot to check the status of the vegetable garden.  Not a good idea this time of the year.  I have HUGE zucchinis and summer squash.  They are the size of kiddie baseball bats and each weigh about 4 lbs.  This is not good!

IMG_5537
IMG_5539
IMG_5540
IMG_5557

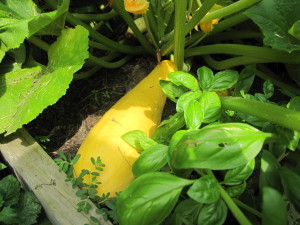
When squash get this big, they get tough and develop very big seeds. I’ve tried to cook them before and they just don’t work well for summer recipes. Especially the summer squash. Letting them get this big also saps the plant from any desire to make new squash since it’s real purpose is to produce seeds. And those big ones are just full of them, making the plant content to just continue make them even bigger.

So what to do?????

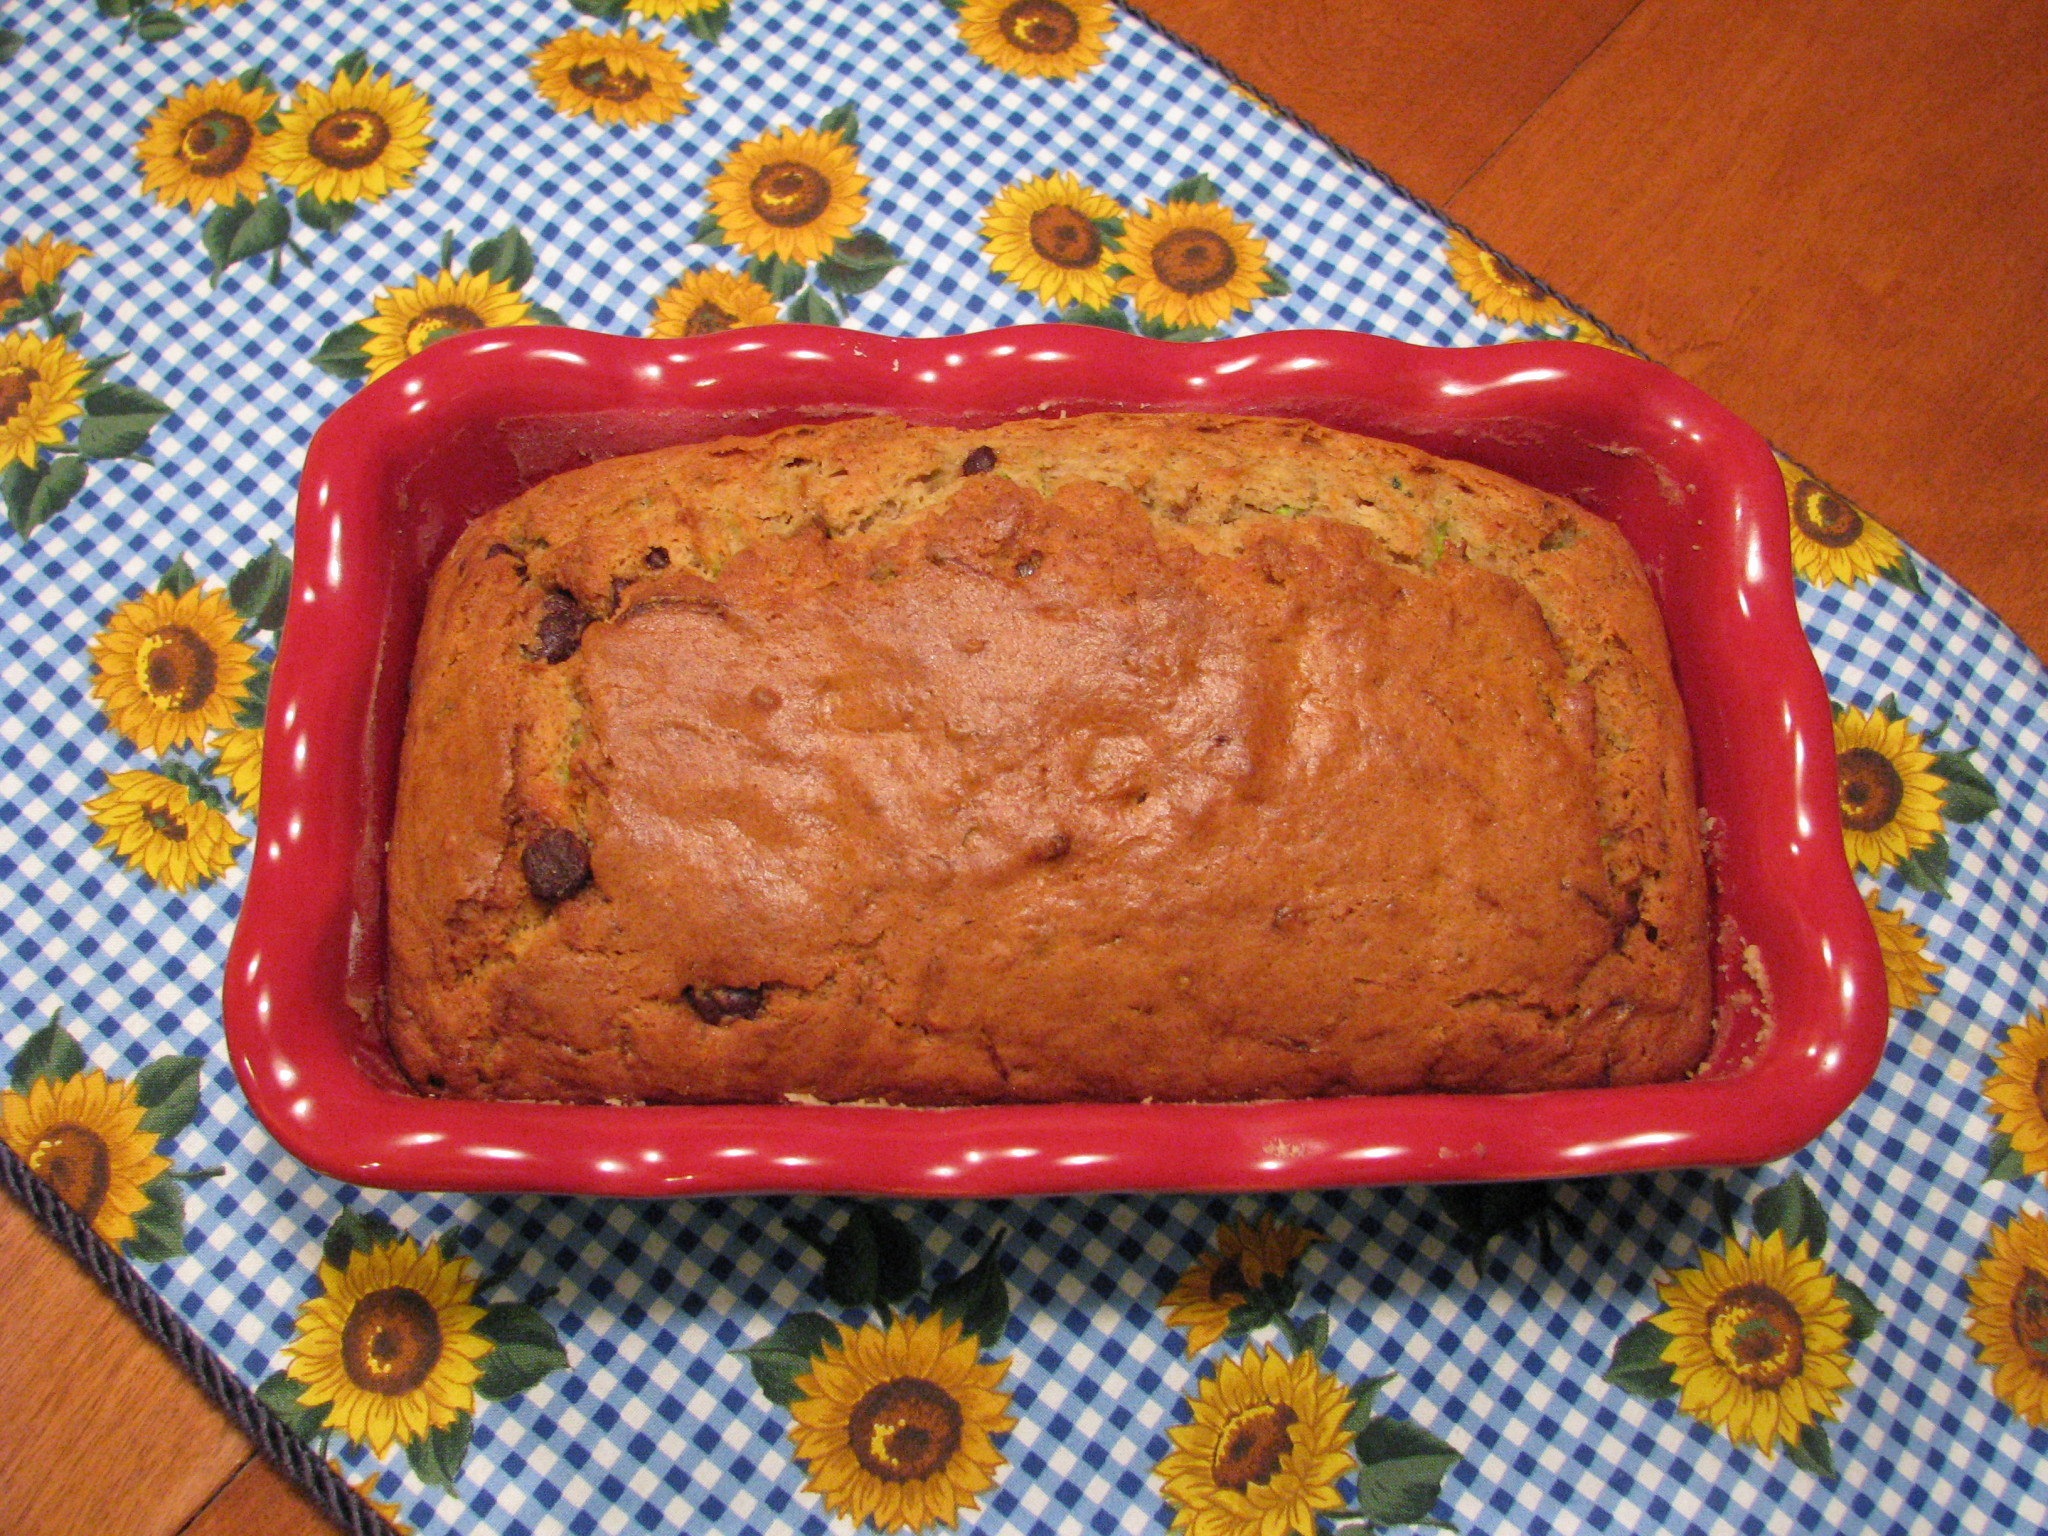
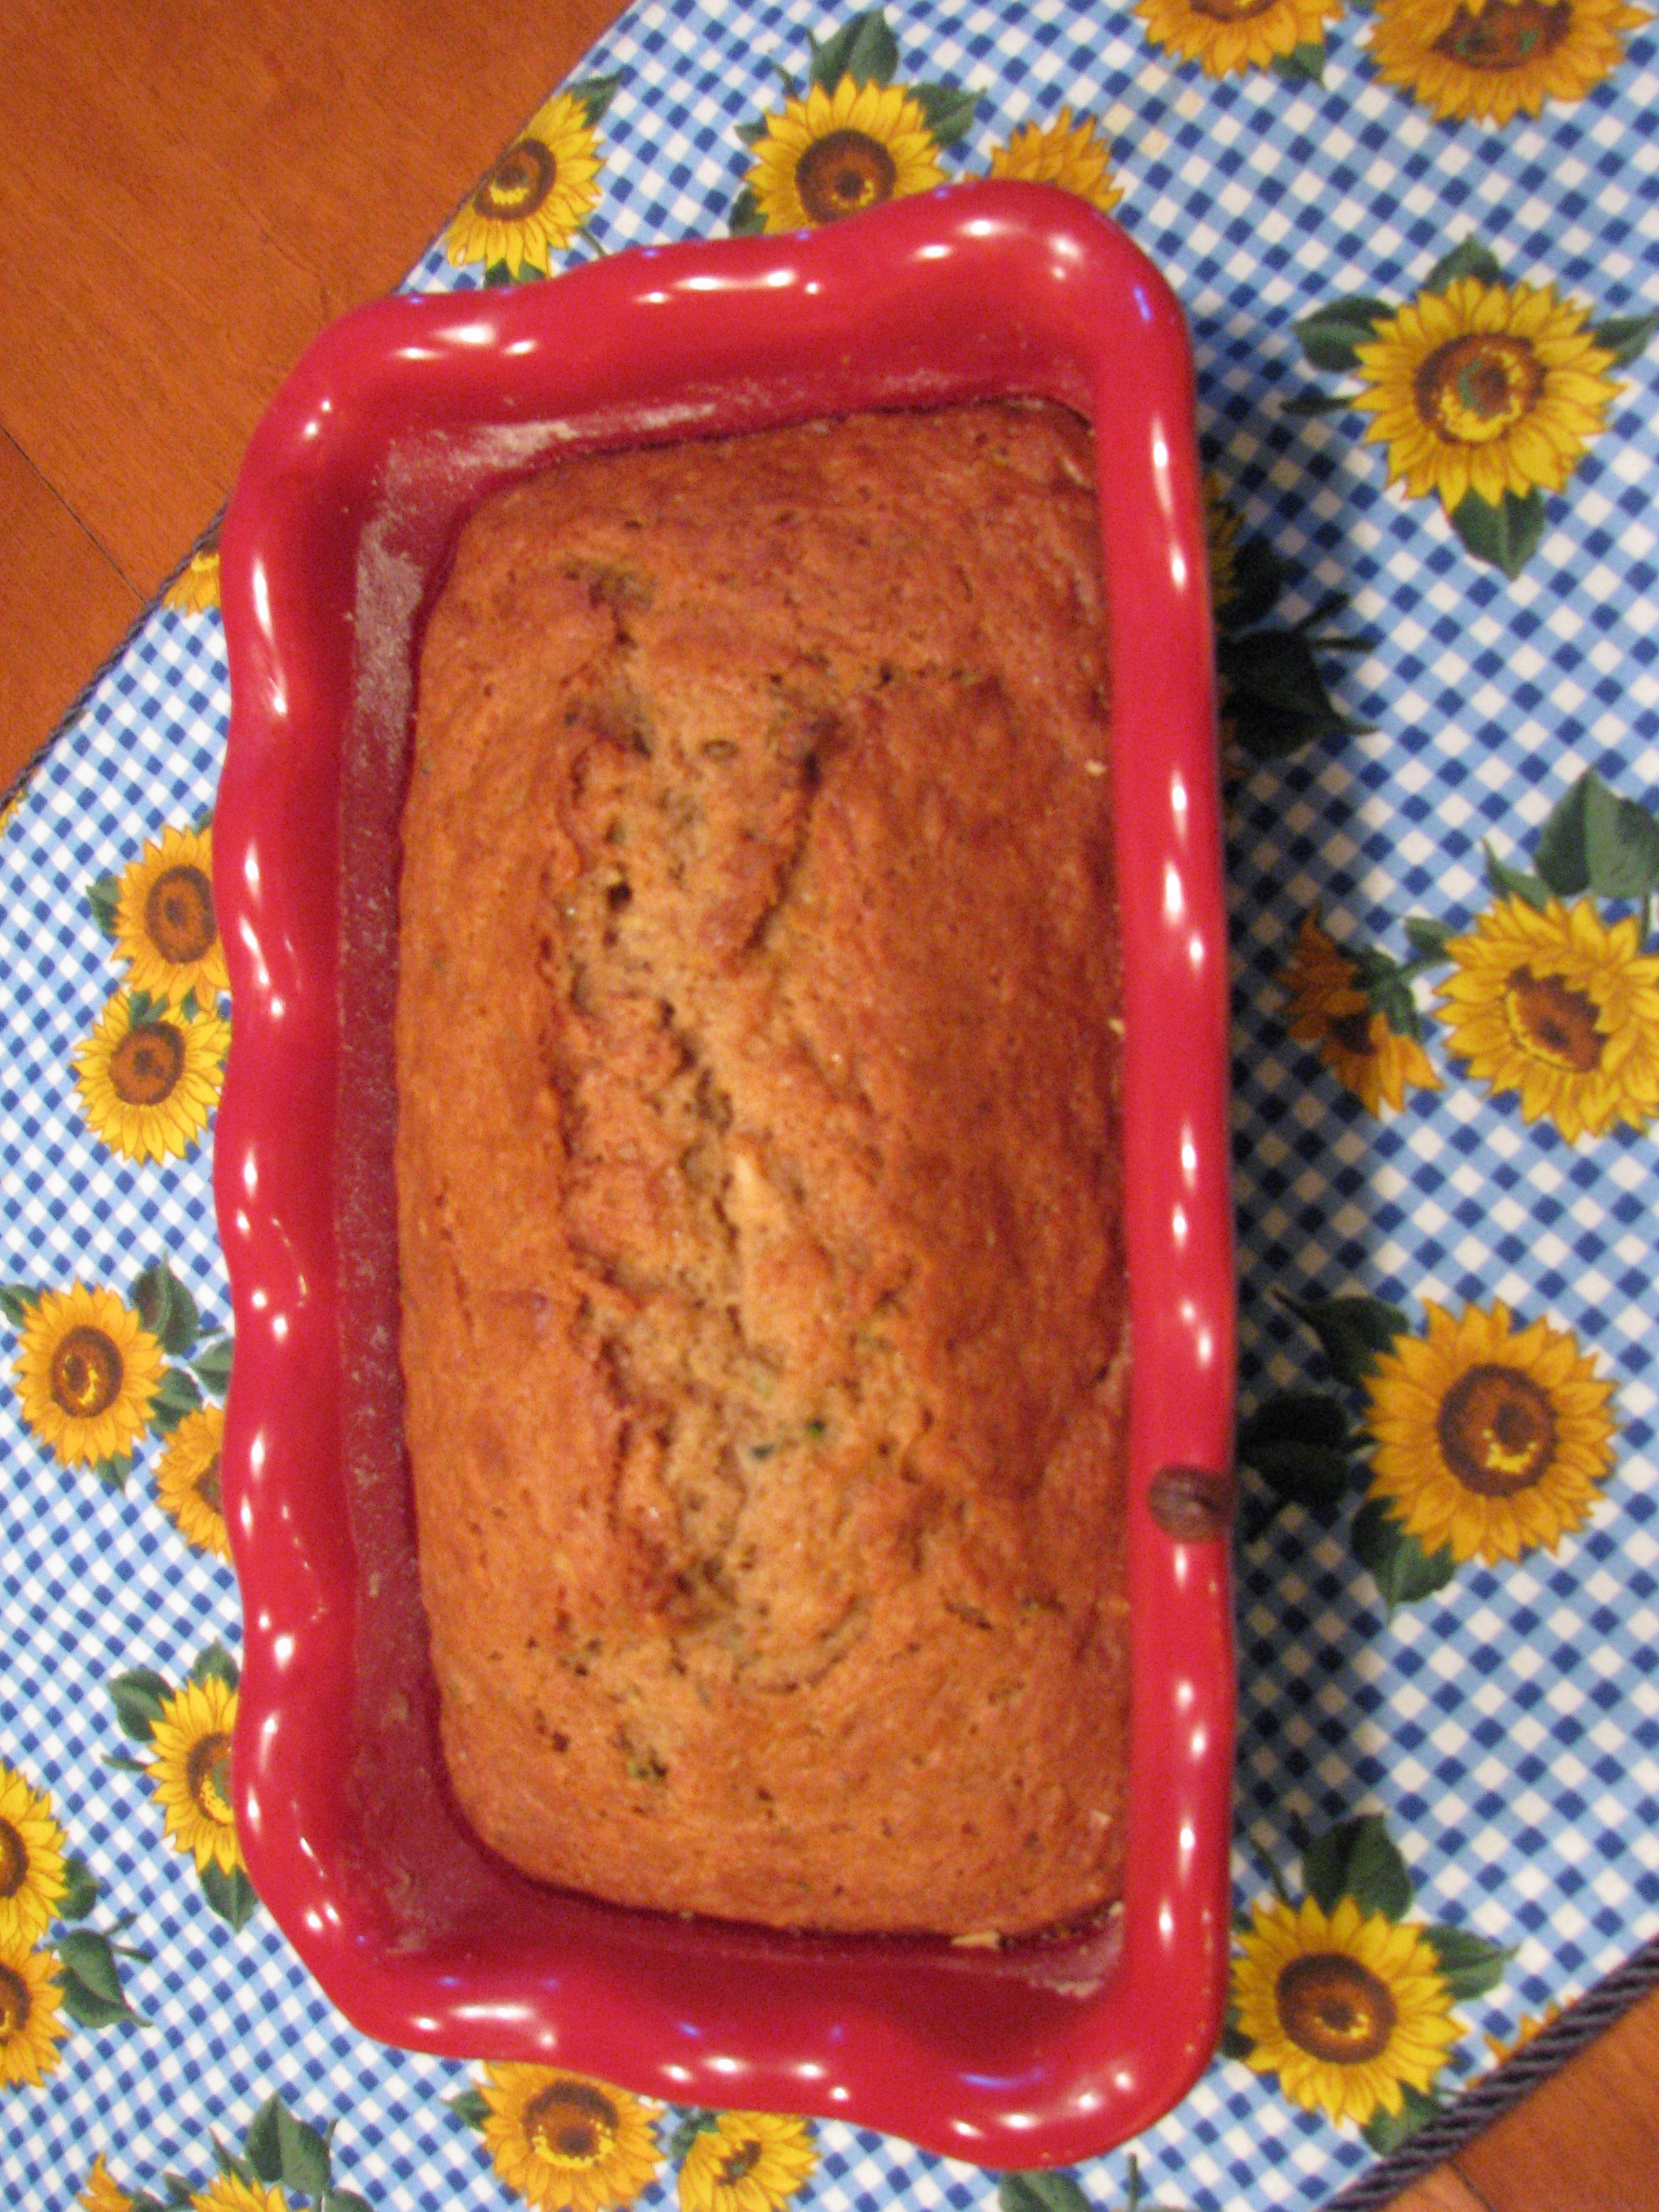
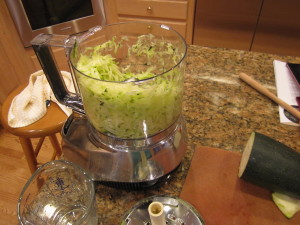
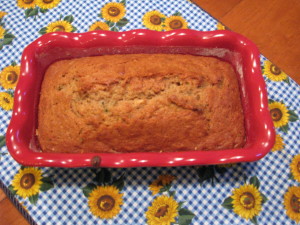
After some exploring on the web, I decided all was not lost. Looks like my best bets are zucchini bread and freezing for soups and winter dishes. So, my kitchen has been a flurry of baking and cutting trying to use these monsters up. I’ve never made zucchini bread, so again explored the web and came up with what I hoped was two delicious sounding recipes from Fine Cooking and Real Simple. First, I made Chocolate-Nut Zucchini bread from Fine Cooking with a couple of changes. First, I decided that 3/4 lbs of zucchini was about 3 cups shredded, I used whole chocolate chips instead of the bittersweet chocolate and vanilla yogurt instead of plain because that’s what I had on hand, and I then I just simply forgot to put the nuts in.

Because of the very big seeds and pithy center, I cut the zucchini in half and scooped out the center with a spoon before I grated it.  The skin didn’t seem too tough, so I left that on. If you can’t scratch it with your fingernail, it was suggested that it should be peeled then.

IMG_5562
IMG_0873

IMG_0880

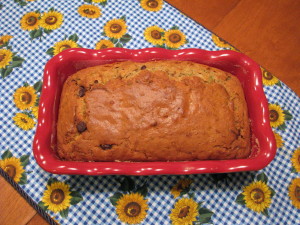
This recipe got thumbs up from the family, so I will be making another loaf (or 2) for freezing.

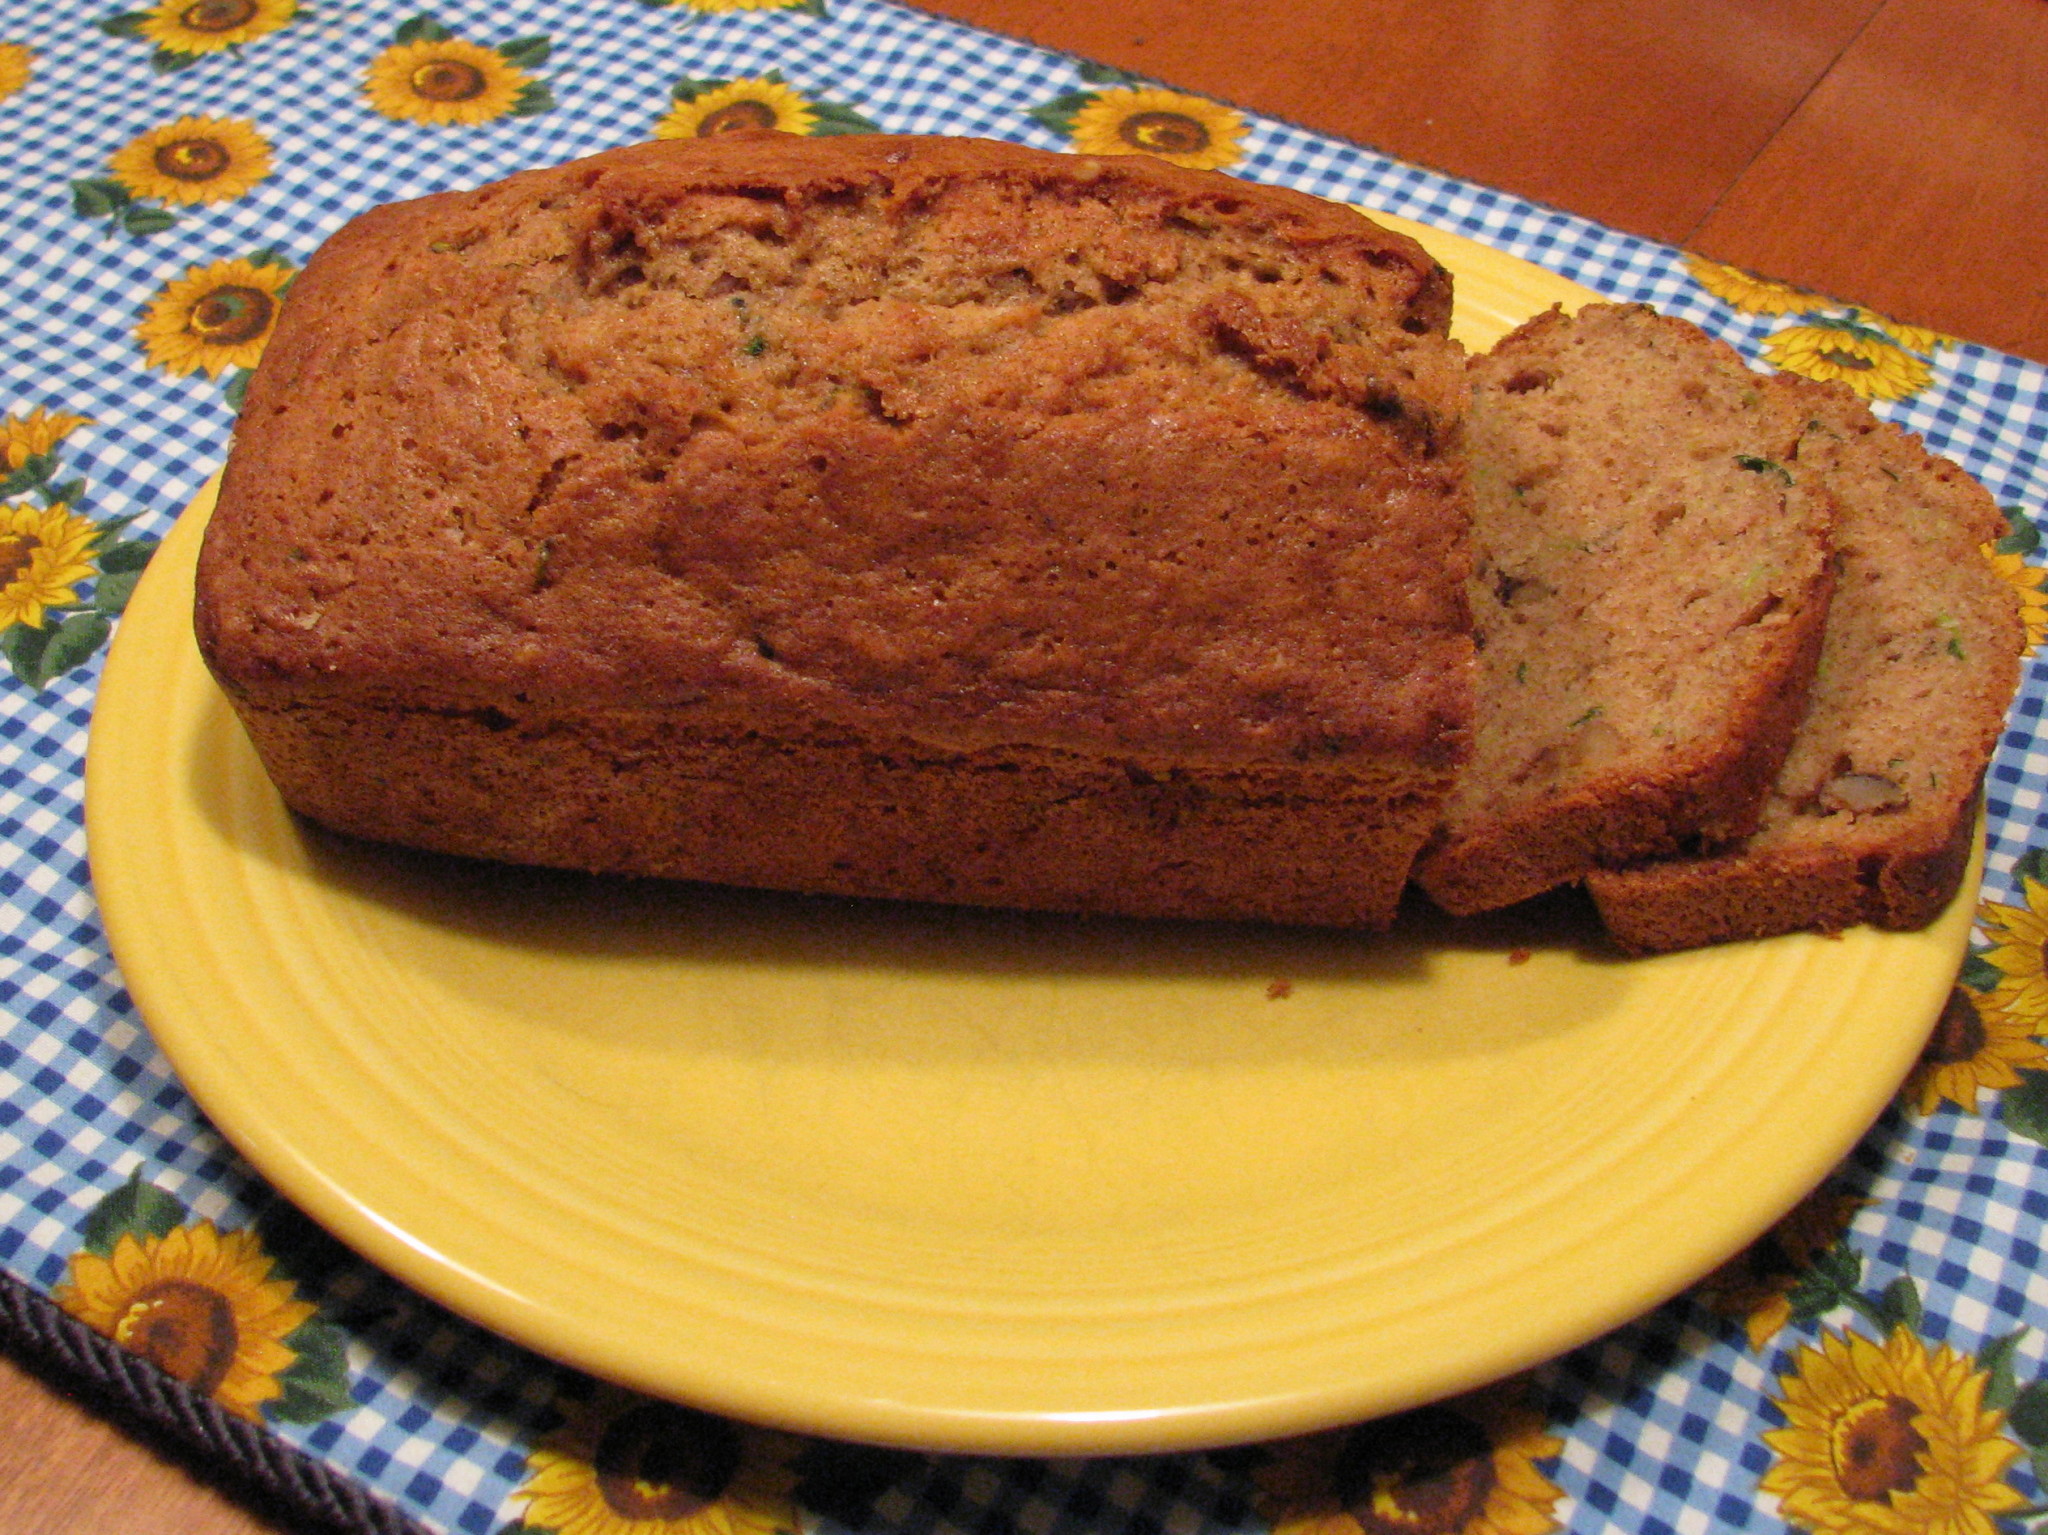
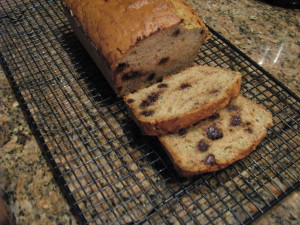
Next, I made Zucchini Spice Bread from Real Simple.   I like the method of getting some of the water wrung out of the grated zucchini from the previous days’ recipe so I did that again here.  Briefly, put the grated zucchini into a colander, sprinkle with 1-2 Tbsp sugar to draw out some of the liquid, let sit for 15-20 minutes.  Then hand squeeze the water out before putting into the bread batter.  The only change I made to this recipe was that I added 1/2 cup of chopped walnuts.

IMG_0890

IMG_0899_2

Again, thumbs up!  Two good recipes.  If you have another you like, I have plenty more zucchini to make into bread.

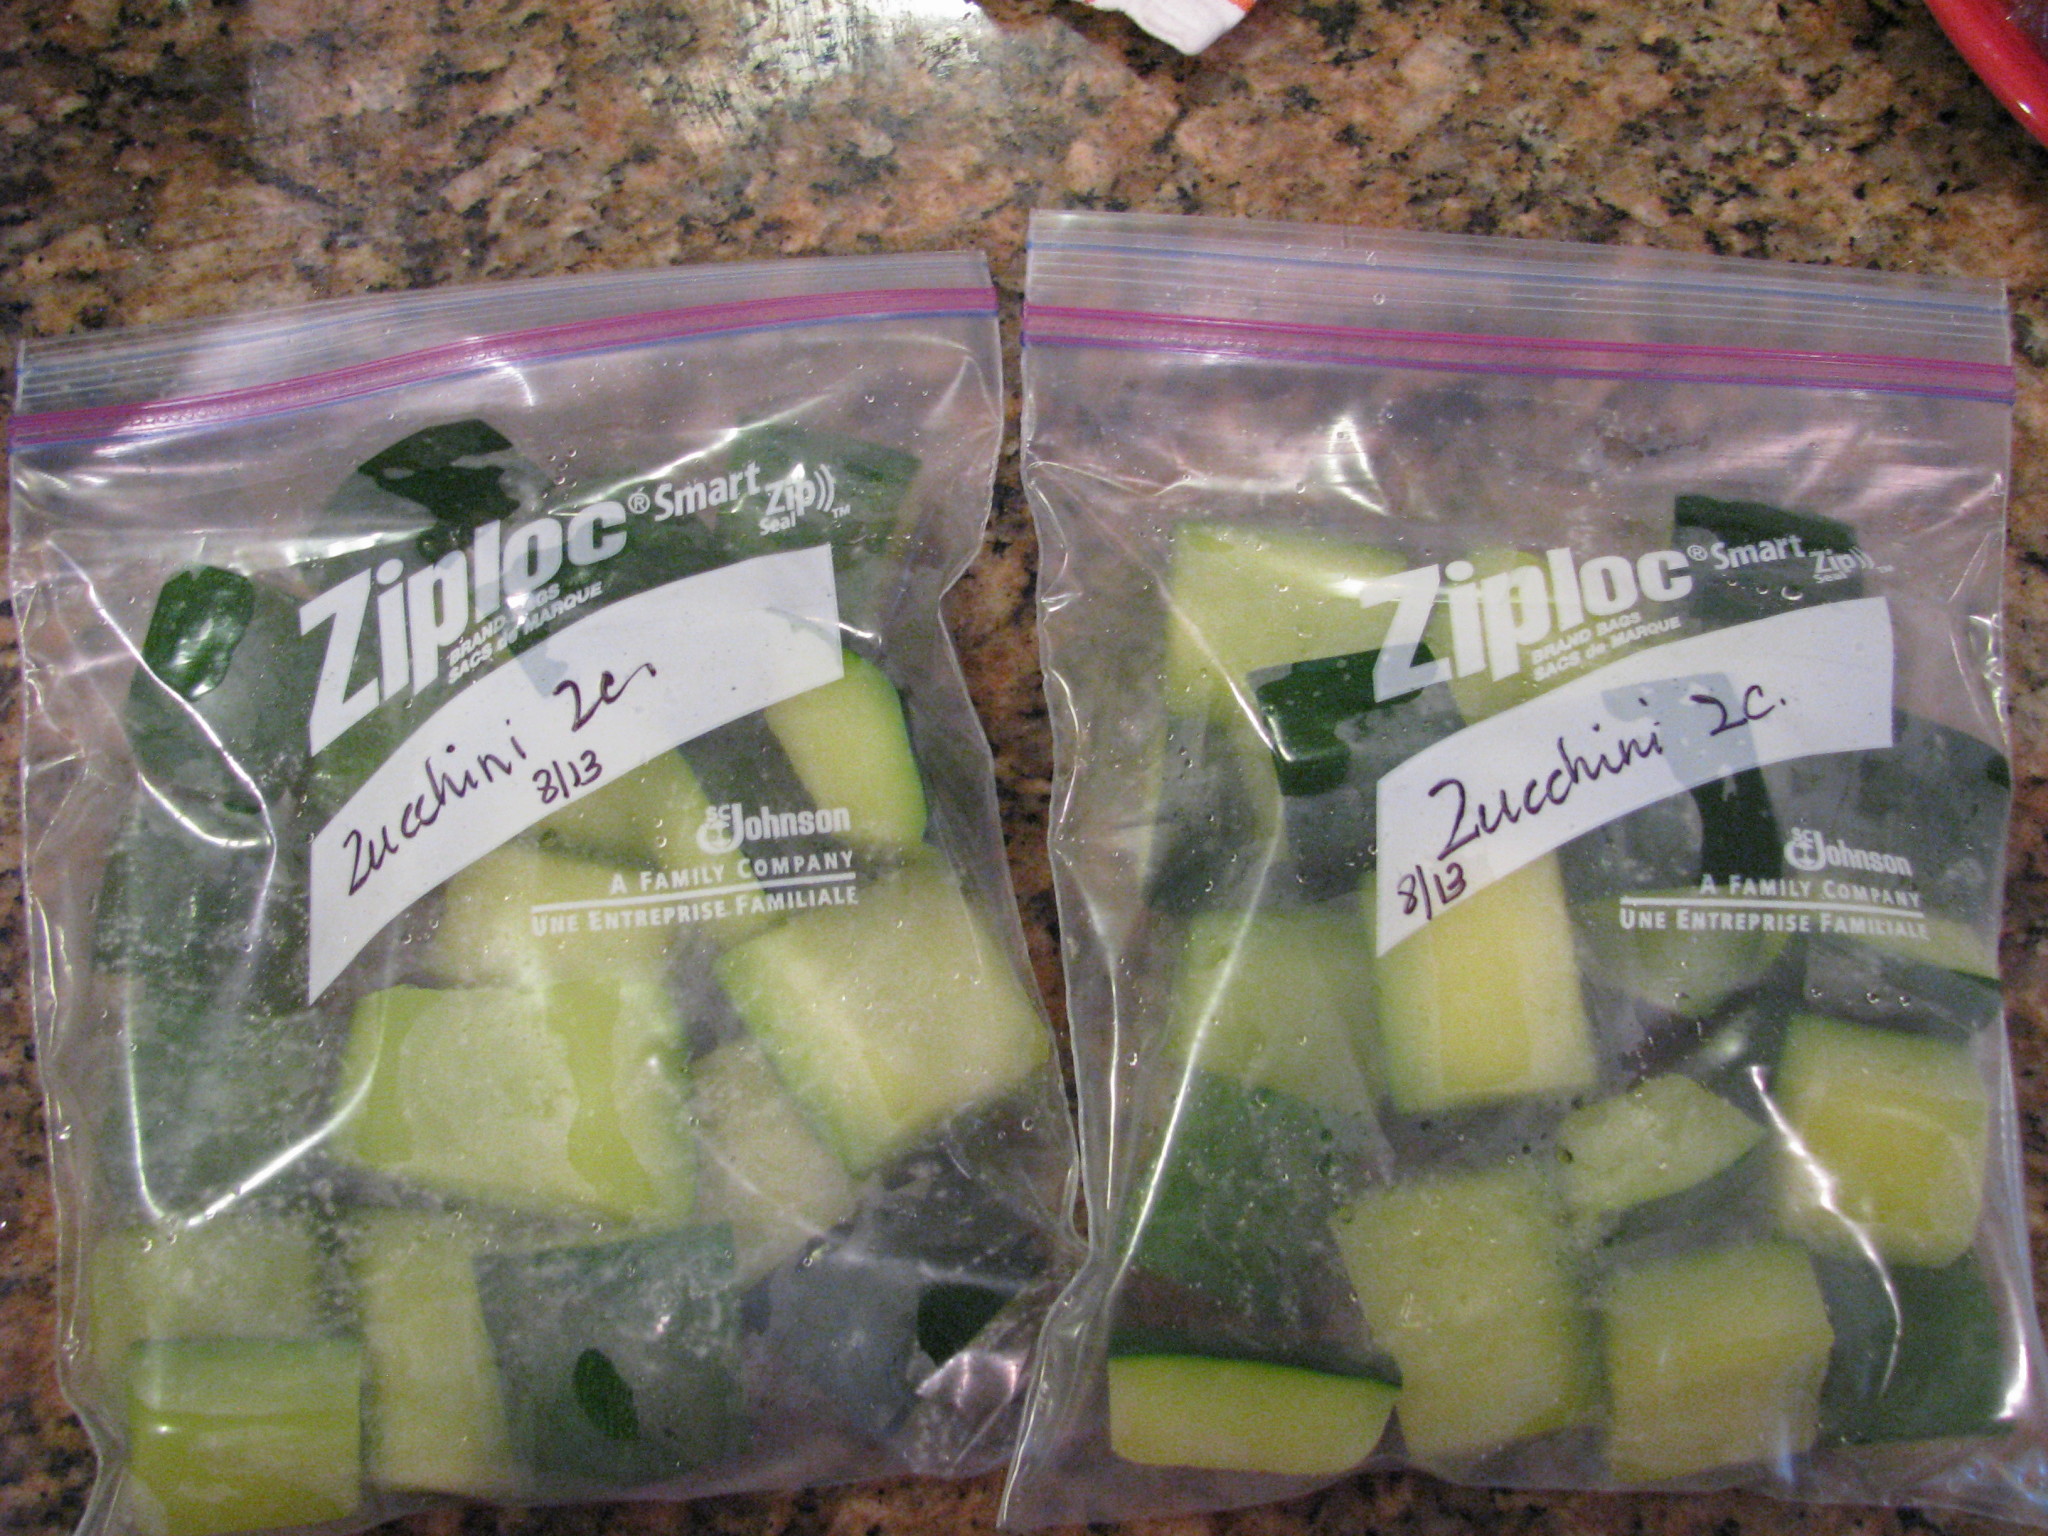
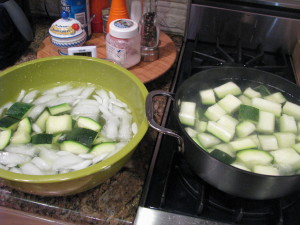
Lastly, I cut up another zucchini for freezing.

  • I again scooped out the pithy, seedy center, then it cut into about 1 inch chunks.
  • I then blanched them in boiling water for about 3-4 minutes, followed by plunging them into an ice bath to stop the cooking process.  I just want to blanche the chunks, not cook.
  • Then drained in a colander for a few minutes and packed them in 2 cup portions in freezer bags.

IMG_0883
IMG_0886
IMG_0888

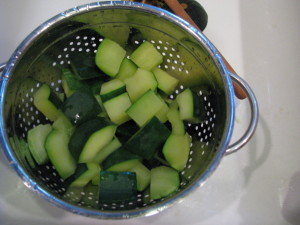
Ready for use this winter in some kind of soup or stews. Does anyone have any favorites?  Hopefully now I will be able to pick some nice tender ones to use in my favorite summer side dish and salad recipes.

By the way, I did toss the one giant summer squash.  It was just not salvageable.  That’s where a composter would come in handy.

Farmer’s Market


IMG_0829

We are lucky to have a fabulous Farmers Market to our town every Monday, June-October.  The fruit and produce changes every week, so you never know what you might find. But, you are guaranteed that it will be super fresh and in season.  It’s a great way to supplement the harvest from my own garden (which so far has yielded some lettuce, spinach, radish, and recently a cucumber and a squash).  This year, they’ve added a couple of fresh bread vendors and some specialty items like olives and olive oil, tea, an old time knife sharpener, organic meat and more.  In June, they had some of the best tasting Michigan strawberries  that I’ve had in a long time.  I bought a bunch and made some very tasty jam.  I try to remember to go every week.

I find there are a lot of vegetables I don’t know what to do with, so I’ve started asking the vendors for their recommendations.  Kohlrabi is one of those things (the big white turnip looking thing in the right hand corner).  They were passing out samples last year of freshly sliced kohlrabi and it quickly became a favorite.  Cut up on it’s own, or as a tasty crunchy item in a salad, it’s delicious.  It’s season is short, and I can’t always find it in the grocery store.  So that’s something I’ll be getting for sure the next couple of weeks.  I’m looking for other ways to cook it, too.  Any suggestions?

Hope you can find a farmer’s market nearby you.

Tomatoes, Mid-Summer

Like the squash and zucchini, the tomatoes are all doing great, just a bit crowded like everything in my garden.  I planted 2 Park Seed Co. Sweet Million Cherry tomatoes, 1 Burpee Roma, 1 Burpee Big Boy, 1 Burpee Better Boy.  The cherry tomatoes I grew from seed, the others I bought as plants from a local garden shop.  Here’s some company descriptions of each plant:

Burpee Big Boy:  “When we bred and introduced Big Boy hybrid tomato in 1949, its incredible productivity and gorgeous, perfect, large red fruit made it an instant hit. What’s kept Big Boy tomato a best-selling tomato all these years is the wonderful aroma and rich flavor. The fruits weigh in 10 oz. with many reaching 1 lb. or more. Healthy, indeterminate vines produce all summer long. The bountiful harvest begins about 78 days after setting plants in the garden.  Fruit Bearing: Indeterminate Days to Maturity: 78  days”

Burpee Better Boy:  “Huge, tasty, red tomatoes, many 1 lb. each.  Large, delicious, bright red, high yielding fruits are borne in abundance starting midseason and continuing to frost. Good foliage protection prevents sun scald. Better Boy is highly adaptable and thrives in most climates and has very good disease resistance.  Fruit Bearing: Indeterminate  Days to Maturity: 72  days”

Burpee Roma VF:  “The classic sauce and paste tomato.  Compact plants produce paste-type tomatoes resistant to Verticillium and Fusarium wilts. Meaty interiors and few seeds. GARDEN HINTS: Fertilize when first fruits form to increase yield. Water deeply once a week during very dry weather.  Fruit Bearing:  Determinate Days to Maturity: 76  days”

Park Seed Co. Sweet Million Cherry Tomatoes:   “Large clusters of smooth, bright, miniature fruit arise all summer long on this classic variety. A garden treasure that always turns out big harvests of sweet tomatoes, Sweet Million Hybrid has earned its Park High Performer status from the testimonials of hundreds of customers as well as our own garden trials!  Fruit Bearing: Indeterminate  Days to Maturity: 65 days”

A couple tomato terms that are good to know:

  • Indeterminate vs Determinate:  Indeterminate plants are vining type plants that continue to grow until killed by frost.  The plant will continue to bloom, set and mature fruit throughout the season.  They require staking because they get so big and should be pruned and suckered to encourage healthy growth.  Determinate plants are bushy types and will bloom, set and mature all their fruit close to the same time.  The shouldn’t be pruned or suckered to allow for the most fruit development.
  • Suckering:  Tomato suckers  are the new growth that appears in the crotch between the stem and a branch.  I didn’t always pinch these off and I would get terribly huge gangly plants.  Now I try to pinch those off to put more of the plants energy into the main fruit producing stems.  I’ll even pinch pretty big suckers if they haven’t produced any blossoms yet.

IMG_2565 IMG_2568

I haven’t fertilized the plants yet. I usually wait until I start to see flowers, which I have this week.  I use the Miracle Grow All Purpose Plant Food, either as the powder I mix into the watering can or the ready to use liquid garden hose system.

I  have the plants staked with 2 different types of cages.  I’ve had the cages with detachable supports for a while and they started finally breaking, so I bought a couple of wire cages to try.  First problem was that I didn’t really think about what plant I was putting in each type.  The wire cages are much smaller than my old ones and are much better for the bushy type of tomatoes, rather than the bigger plants I have.  Secondly, the wire type is much less forgiving if I lose track of the plant and a stalk starts to grow out of the support.    I’ve broken quite a few stems trying to feed it back into the cage rather than letting it grow all over the other plants.

IMG_0777 IMG_0778 IMG_0779

Zucchini and Squash Mid-summer

My zucchini and squash plants are growing like gangbusters!  I was a little worried when I transplanted them as seedlings,  because they had grown into tangled messes in the growing pots.  I was as gentle as I could be, but a couple almost broke in half because the stems were so fragile.  I ended up planting all of them, despite what they looked like, just hoping they’d grow.   The ones that seemed barely connected by threads of stems, I laid carefully in the dirt and covered up the damaged spots.  Luckily, the weather cooperated and the little plants were actually able to become established.  Never toss a plant that you think is too far gone to plant, nature has a way of making these things survive

I have them in the garden growing in front of, and on the Cucumber trellises that I got from Gardeners Supply Company.   These were great purchases for me since I could lean them against the house and expand my garden space.  Squash and zucchini plants aren’t really climbers, but they will prop themselves up a little bit and save some space by spreading up, rather than just out.

I  have already harvested 1 summer squash and see at least 2 little zucchinis growing.  Lots of flowers still blooming meaning lots more vegetables to come. Something I’ve learned is that it’s important when reaching around in the plant to be gentle, the new little squashes can be knocked off easily and some of the plants dislodged entirely.  Also, don’t wait too long to harvest the summer squashes especially, they can get very seedy and tough.  Best to pick early and they will be far more tender.


Zucchini and Squash Au Gratin
Print
Author:
Tasty recipe to easily use that late summer zucchini and squash
Ingredients
  • 2 small zucchini, sliced ¼ in thick
  • 2 small summer squash, sliced ¼ in thick
  • 3 Tbs. olive oil (split)
  • ¼ cup fresh thyme leaves
  • ½ cup grated parmesan or asiago cheese
  • ½ cup panko bread crumbs
Instructions
  1. Preheat oven to 375º
  2. Toss sliced zucchini and squash in 2 Tbs olive oil. Arrange in a single layer of overlapping rows in a shallow baking dish.
  3. In a separate bowl, with a fork, combine remaining 1 Tbs olive oil, thyme, cheese and bread crumbs.
  4. Sprinkle cheese mixture on top of vegetables.
  5. Cook 45-60 min until squash is sift and topping is browned. Cover loosely with foil if topping is getting too browned.
  6. Tomato variation: Slice fresh tomatoes and layer in overlapping rows in a shallow baking pan. Brush with olive oil. Sprinkle cheese mixture on top. Cook for 20-30 min until desired doneness.

SaveSave

SaveSave

Rhubarb: Part 2

My rhubarb has been growing like gangbusters and when I wasn’t paying attention shot up giant seed stalks.
imageimage

After a quick investigation into what to do, I realized that you don’t want these to grow very big and suck all the energy from the plant. They should be cut as soon as you see them forming, certainly well before they get to be this big. You need to cut these seeds stalks, not twist and pull them like you do to the stems you are harvesting. They are much thicker and hollow, and should be cut right down at the base.
imageimage
So now, I check the plants, down under the leaves to find the seed stalks just as they are forming and cut them as soon as possible.
image
From the plant that is in its second year, I’ve had 2 harvests so far and have used some in recipes and frozen the rest.

Starting Seeds Indoors

I’ve almost always bought my plants from a local garden shop, but a couple of years ago decided to start my own seedlings when I couldn’t find quite just the right vegetables I wanted to grow. Went pretty well the first year, forgot to get them started last year, so back again this year.  First off, when I did this ago ago in NJ, when I had the most perfect garden location, soil and plenty of time I discovered those seed starter kits and realized they really work. Somewhere in the last 15 or so years I decided I was never going to use them again and tossed it all. Costly and dumb mistake!

So, I started over again with the APS system (newer product is the GrowEase Seed Starting Kit) from Gardeners Supply company.  Lots of companies make similar products.  I bought the starter kit and an additional APS  40 (which seems to have gone missing, UGH).  I love these systems because the kits are self watering, which means fewer dead plants when I fail to check them  every day.  You also need to be sure to use sterile seed starting soil unless you want mold and gross stuff growing all over your soil.  It’s worth the money to buy.

To start the seeds, set up your kit; reservoir, water capillary mat, planting tray and cover.  Be sure to wet the capillary mat and never let it dry out.  You also need to wet your soil before filling the planting tray.  Not sopping wet, just nice and moist.  When filling the planting tray, I try to be careful not to pack it too tightly, but do tamp it down a bit or the spoil/root ball falls apart when transplanting.

This year, on 3/30, I planted seeds for

  • Cucumber, Sweet Burpless Hybrid (Burpee)
  • Summer Squash, Burpee’s Hybrid Zucchini ((Burpee)
  • Summer Squash, Sunray Hybrid (Burpee)
  • Sweet Pepper, California wonder (Burpee)
  • Summer Squash, Black Magic (Gurney’s)
  • Tomato, Sweet Million Hybrid (Park Seed Co)

I didn’t grow any full size tomatoes because I can get excellent varieties of those plants at my local greenhouse.  I placed the trays in a west facing window, mostly because that’s where I have space.

Five days later, this is what it looks like:

IMG_2139 IMG_2140

The big ones are my cucumbers, and the tomatoes and zucchini have also sprouted.  Today I added some fertilizer that came with the kit to the water and removed the covers.  I’ll try to lay the cover across the areas that haven’t spouted yet, and remember for next year what comes up in what order and try to group them better.  I might be having a problem with some leggy plants because I don’t have them in quite enough light.  We’ll see what happens.  It’d be better to have them under those grow lights at the beginning, but I haven’t quite made that investment yet.  I do have to remember to turn the plants to get them to grow a little straighter.

SaveSave

SaveSave

SaveSave

SaveSave