Powdery Mildew Attack

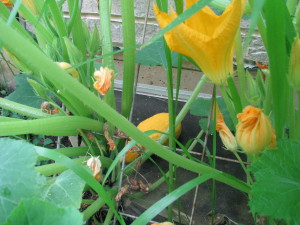
With the damp spring and summer we had, some powdery mildew was almost inevitable.  Question was, where was it going to hit?  The vegetables like squash, cucumbers, zucchini, or tomatoes, or the flowers like zinnias, sunflowers, or phlox?  Almost every plant is susceptible to this common set of fungi.   On most plants, it looks like a thin layer of dust, on others like tomatoes , it can cause yellow splotches on leaves.  No matter what it looks like, if bad enough of an infection it can kill the plant.

The best way to deal with powdery mildew is by prevention.  Use mildew resistant varieties, don’t overcrowd plants, and be sure there is enough air circulation.  If your plants do get infected, remove the infected plant parts, thin out the plants to improve air circulation, don’t water plants from above and try treating with a chemical fungicide or an organic method like neem oil,  or what I tried, a milk and baking soda solution.

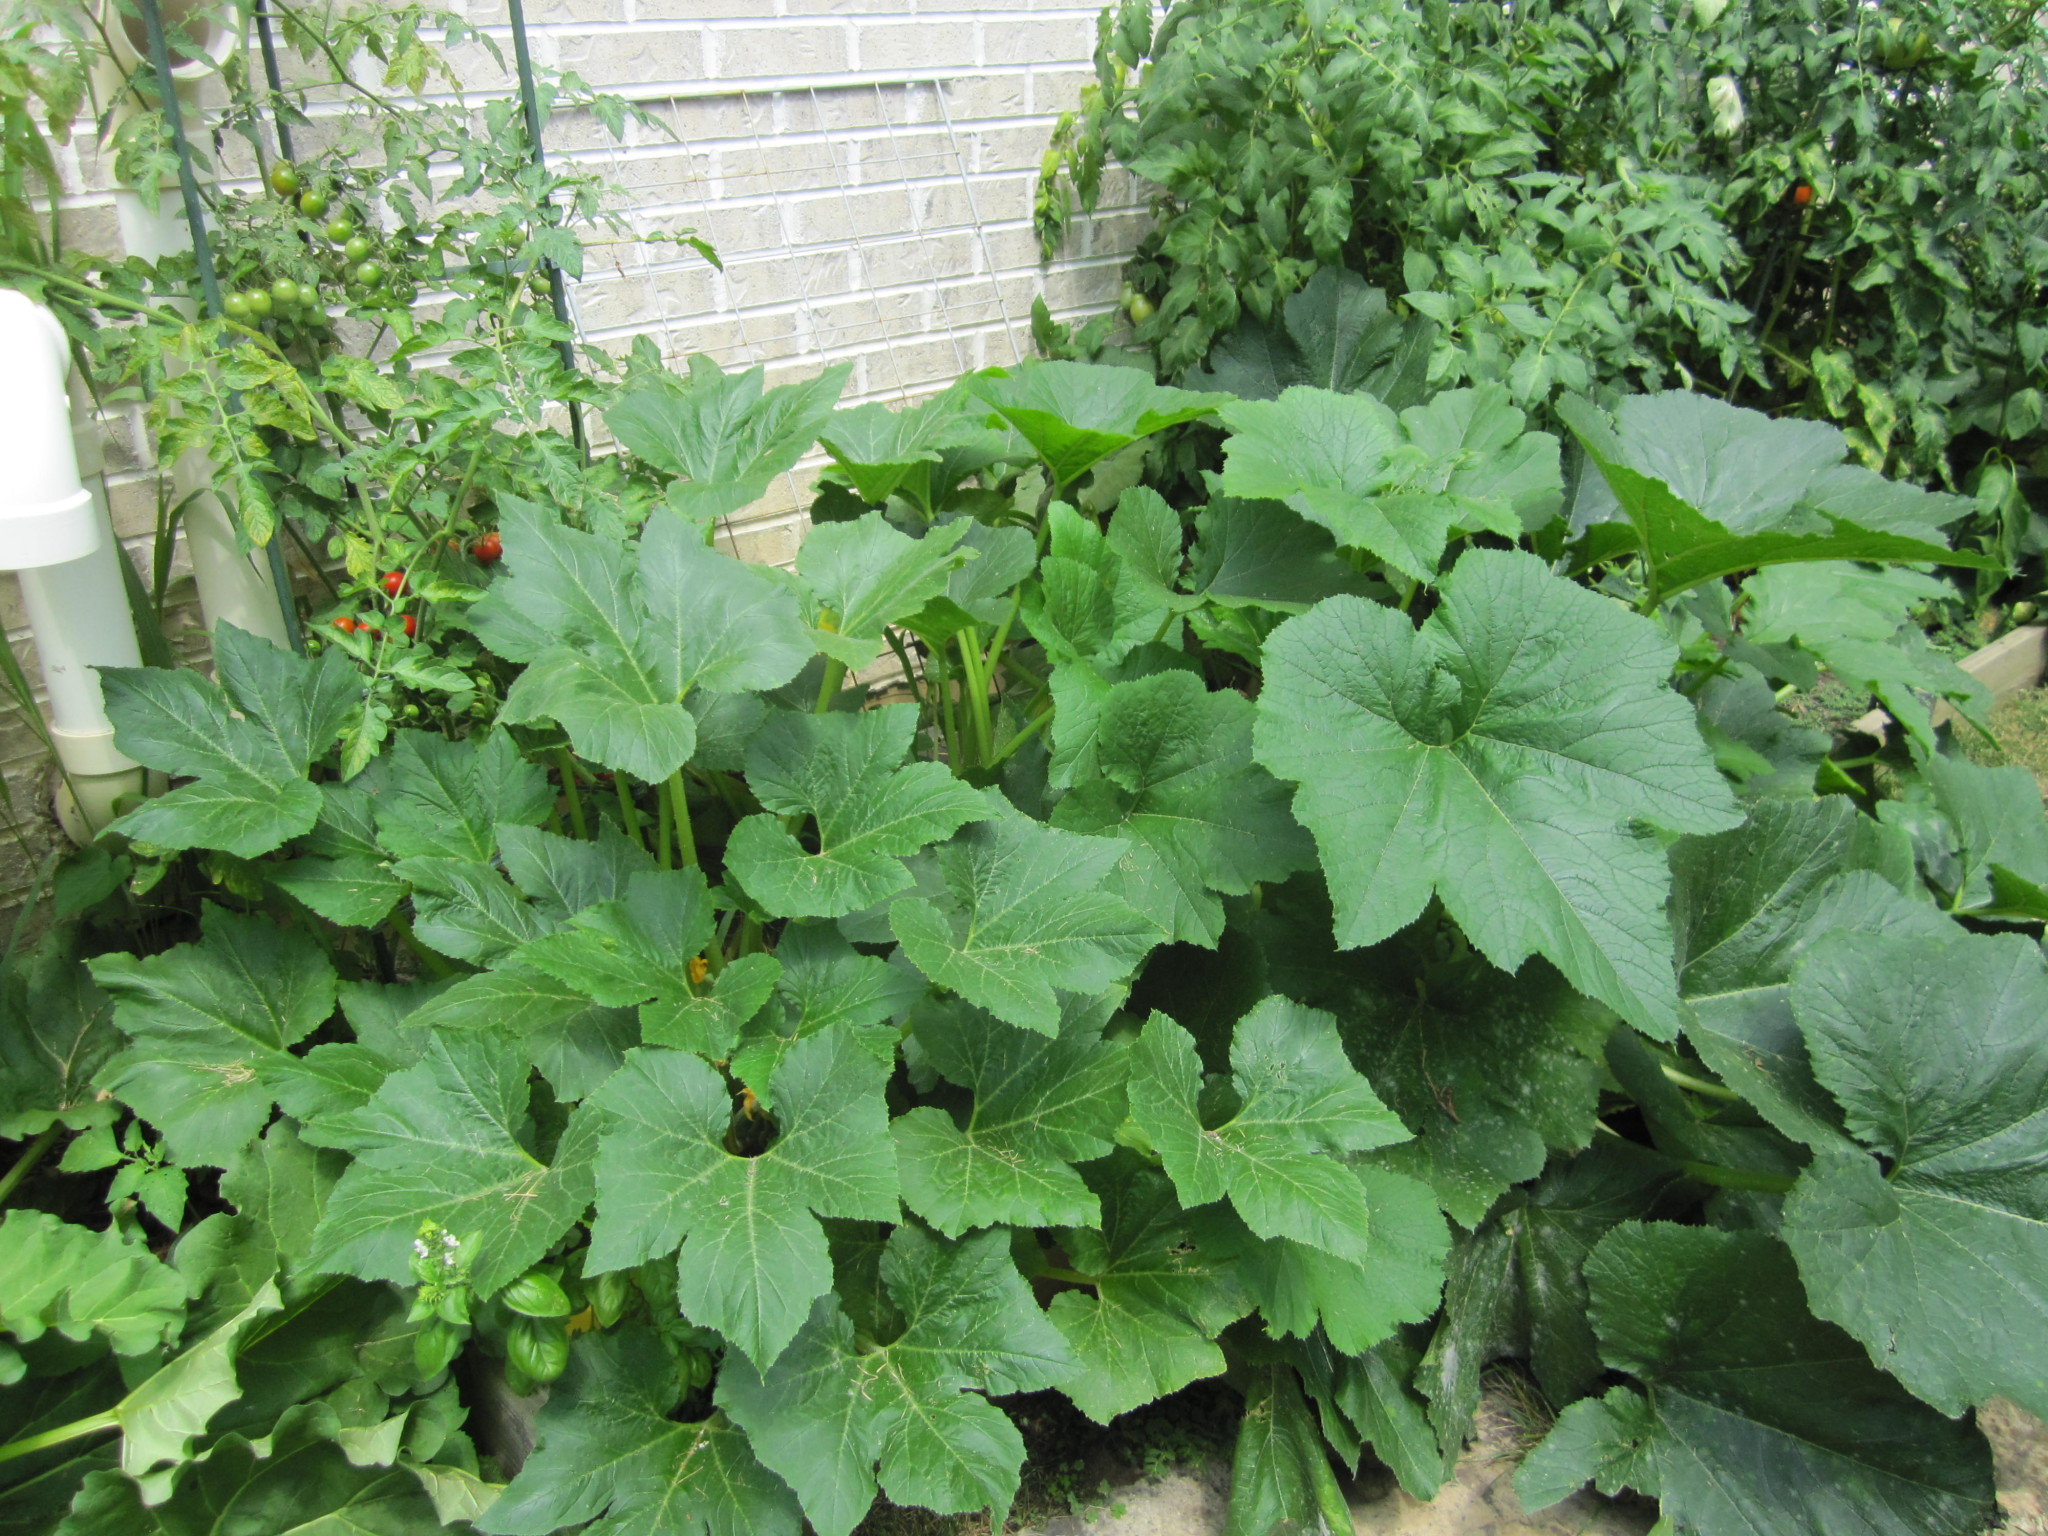
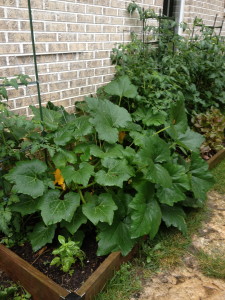
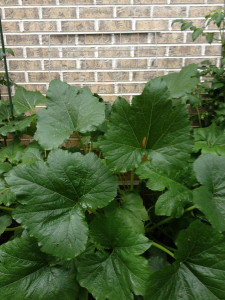
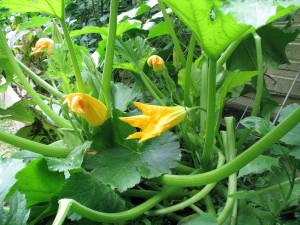
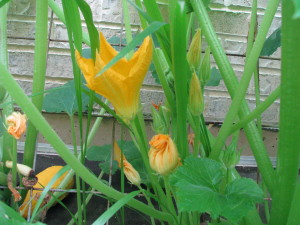
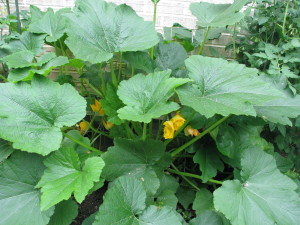
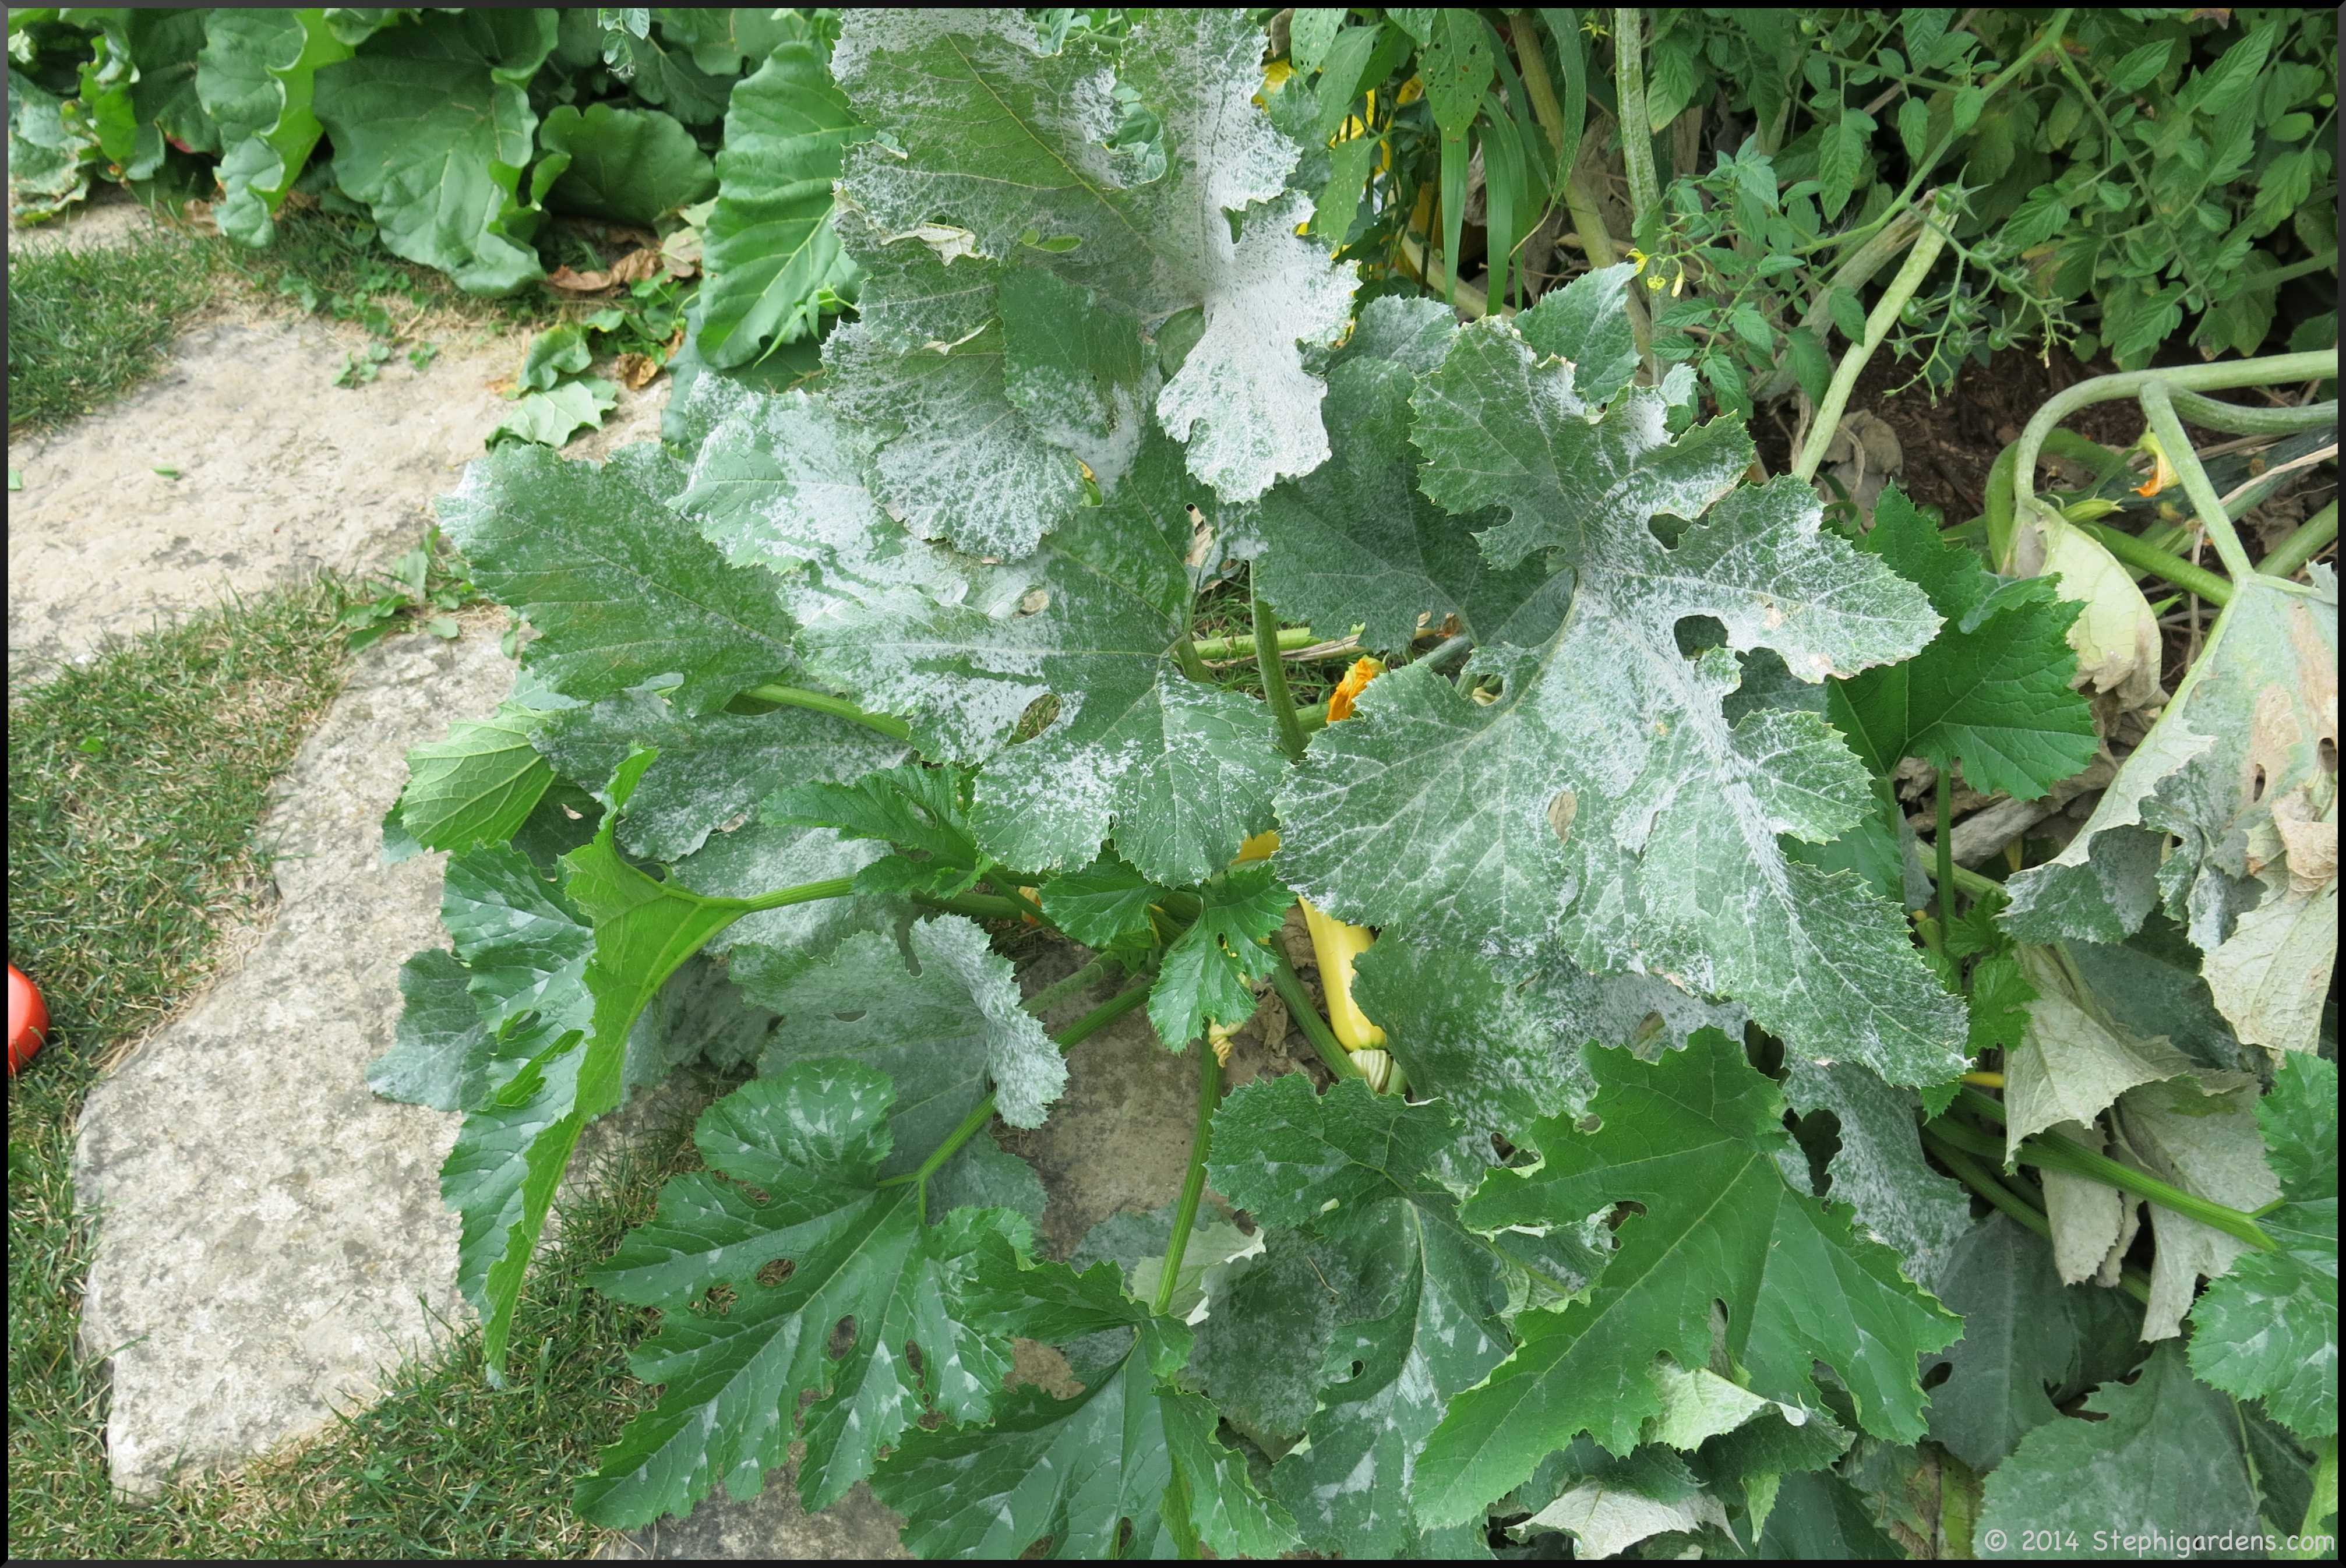
This year it was my summer squash and zucchini  that became infected with powdery mildew.  I may have overcrowded my plants a little bit, well maybe more than a little bit, so I was almost inviting the mildew into my garden.  By the time I started to deal with the issue, I had a full blown powdery mildew infection.

summer squash


summer squash

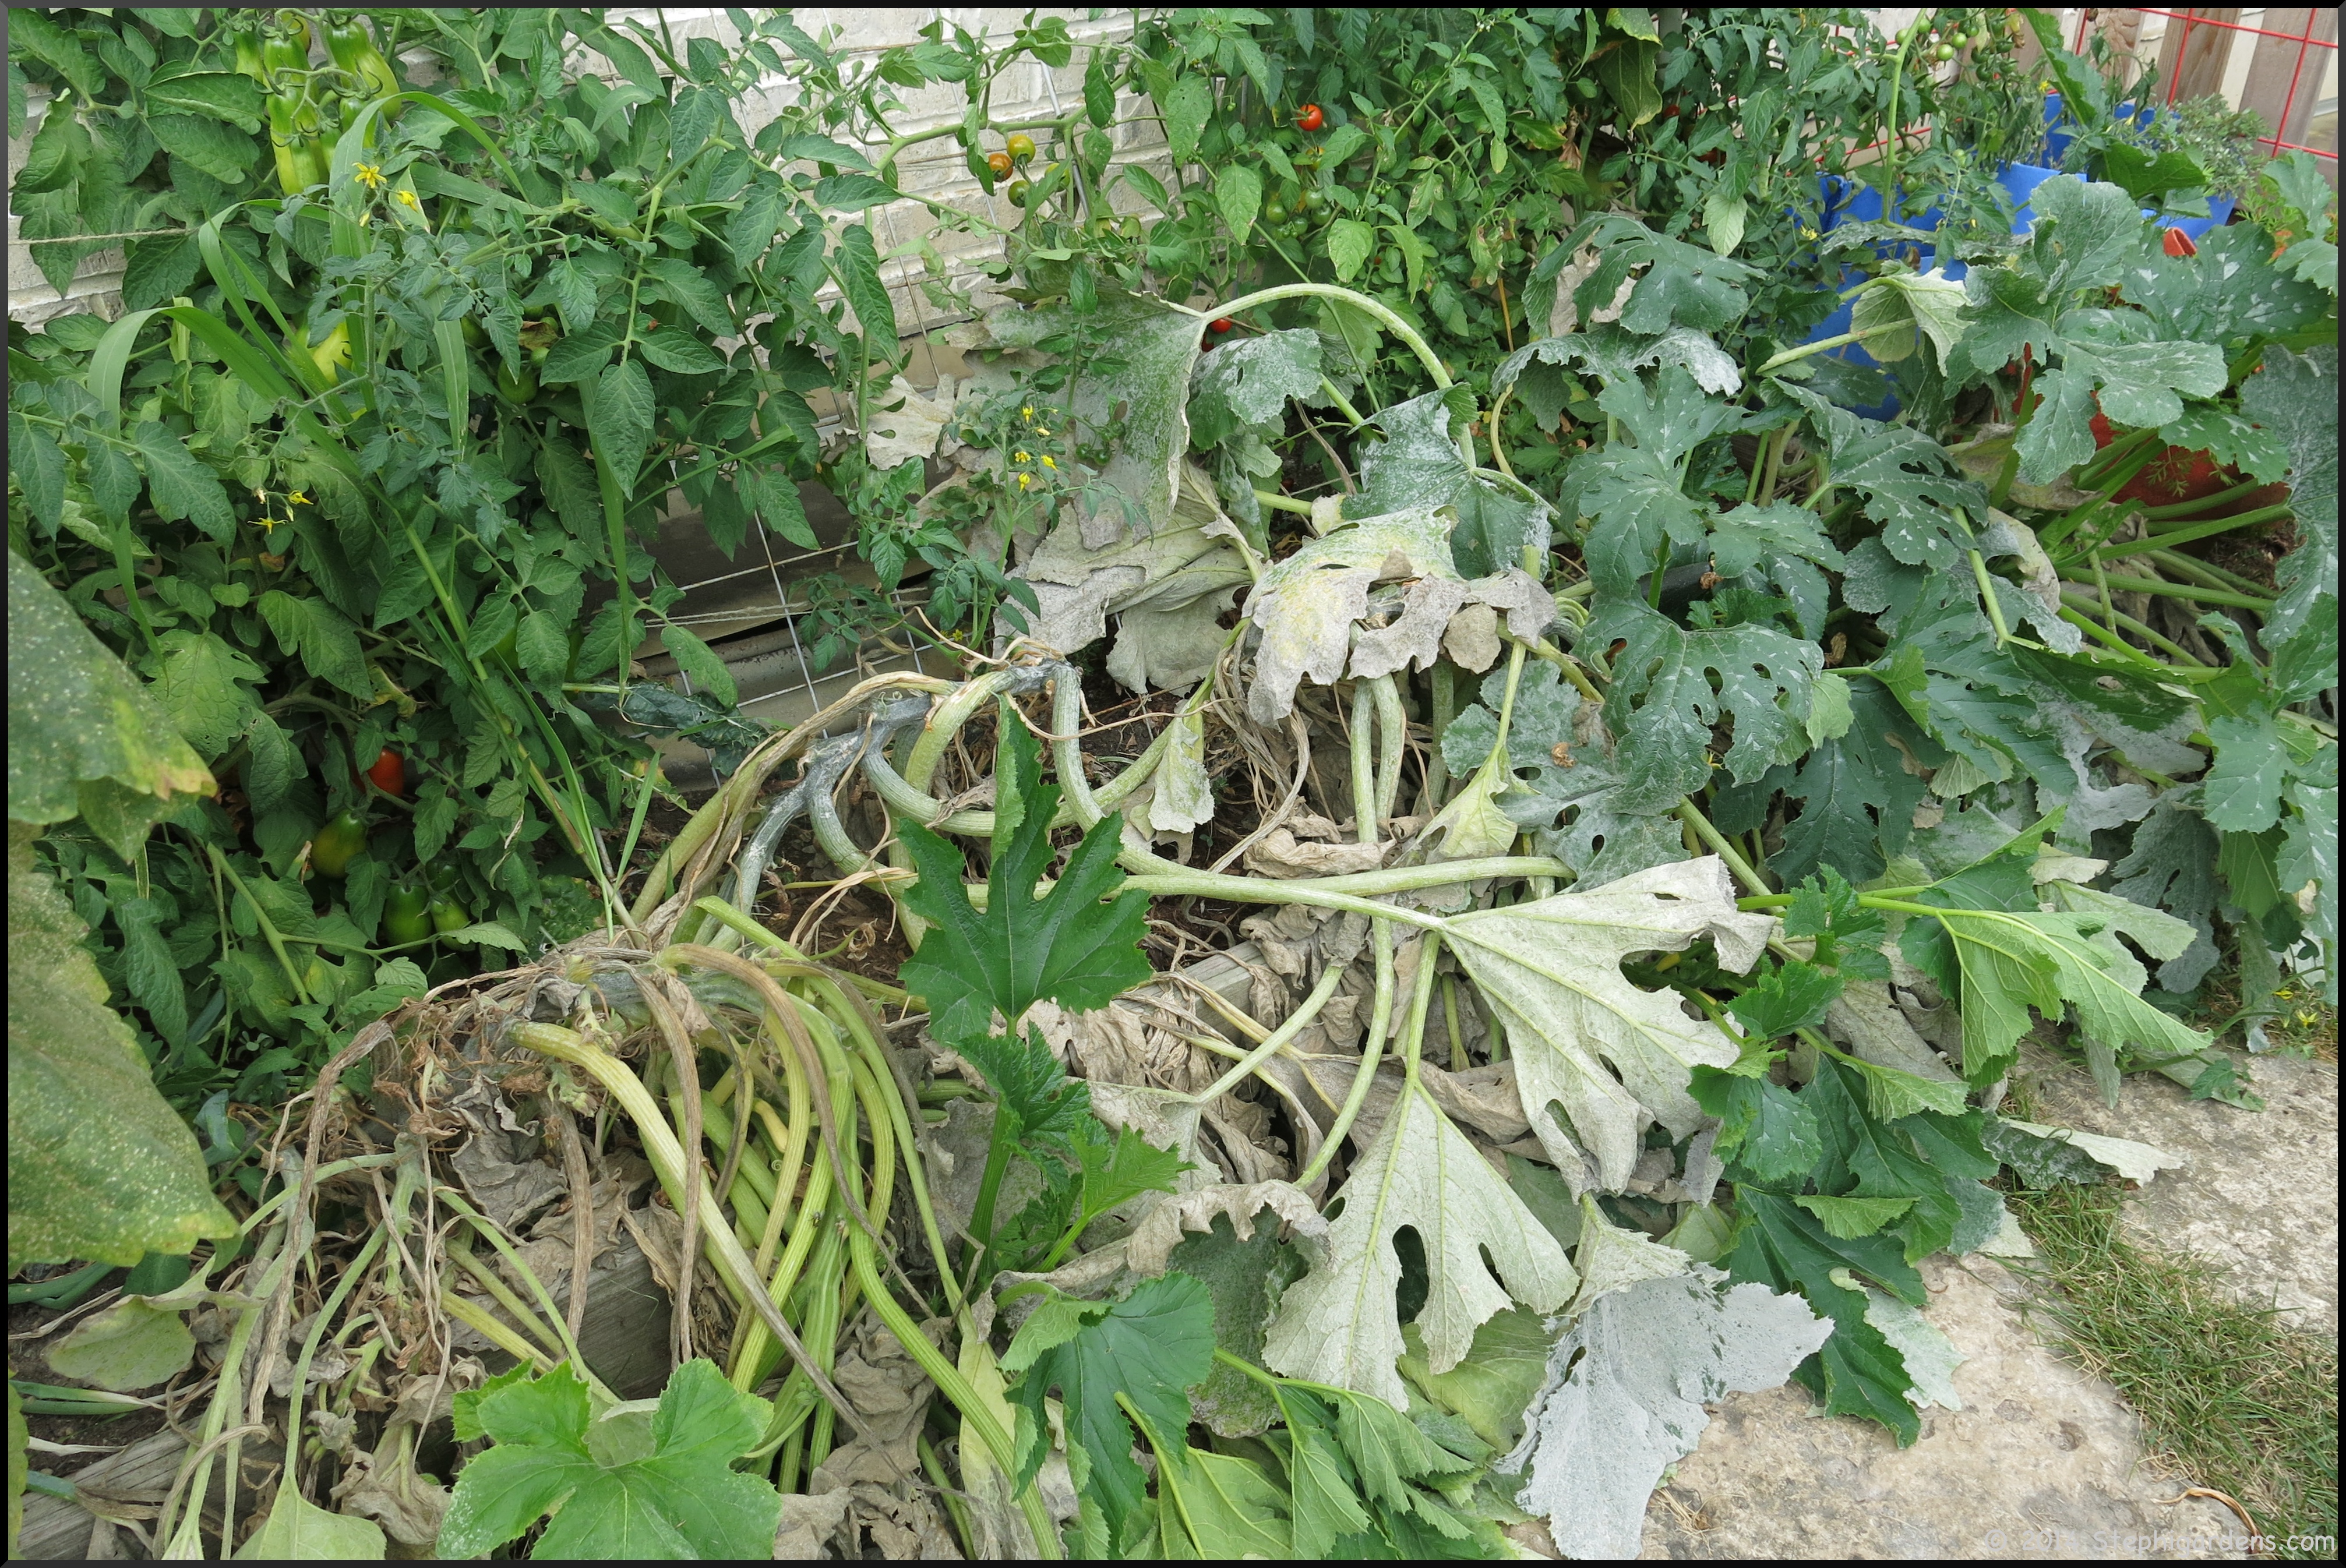
Since the powdery mildew was in my vegetable garden, I especially didn’t want to use a non-organic way to treat it. First I got rid of as many of the badly infected leaves.  As I did this, I found that the leaves were truly covered in a thick layer of dust that flew everywhere as soon as I handled the leaves.  Yuck.

Once that was done, I needed to spray with some kind of fungicide.  Other than chemical means,  there doesn’t seem to be a lot of evidence that anything else really works well.   After a lot of research, I settled on spraying with a milk and baking soda solution.

Powdery Mildew treatment

I used:

2 cups water
1 cup milk (I used 2% but anything would be fine; it’s the milk protein, not milk fat that is the active ingredient)
3 Tbsp baking soda
squirt of Dawn dish detergent

Stir and put in some kind of spray bottle.
Spray on all infected and uninfected leaves every 10-14 days.

squash

After 2 weeks, many of the leaves were looking much better.

squash


squash

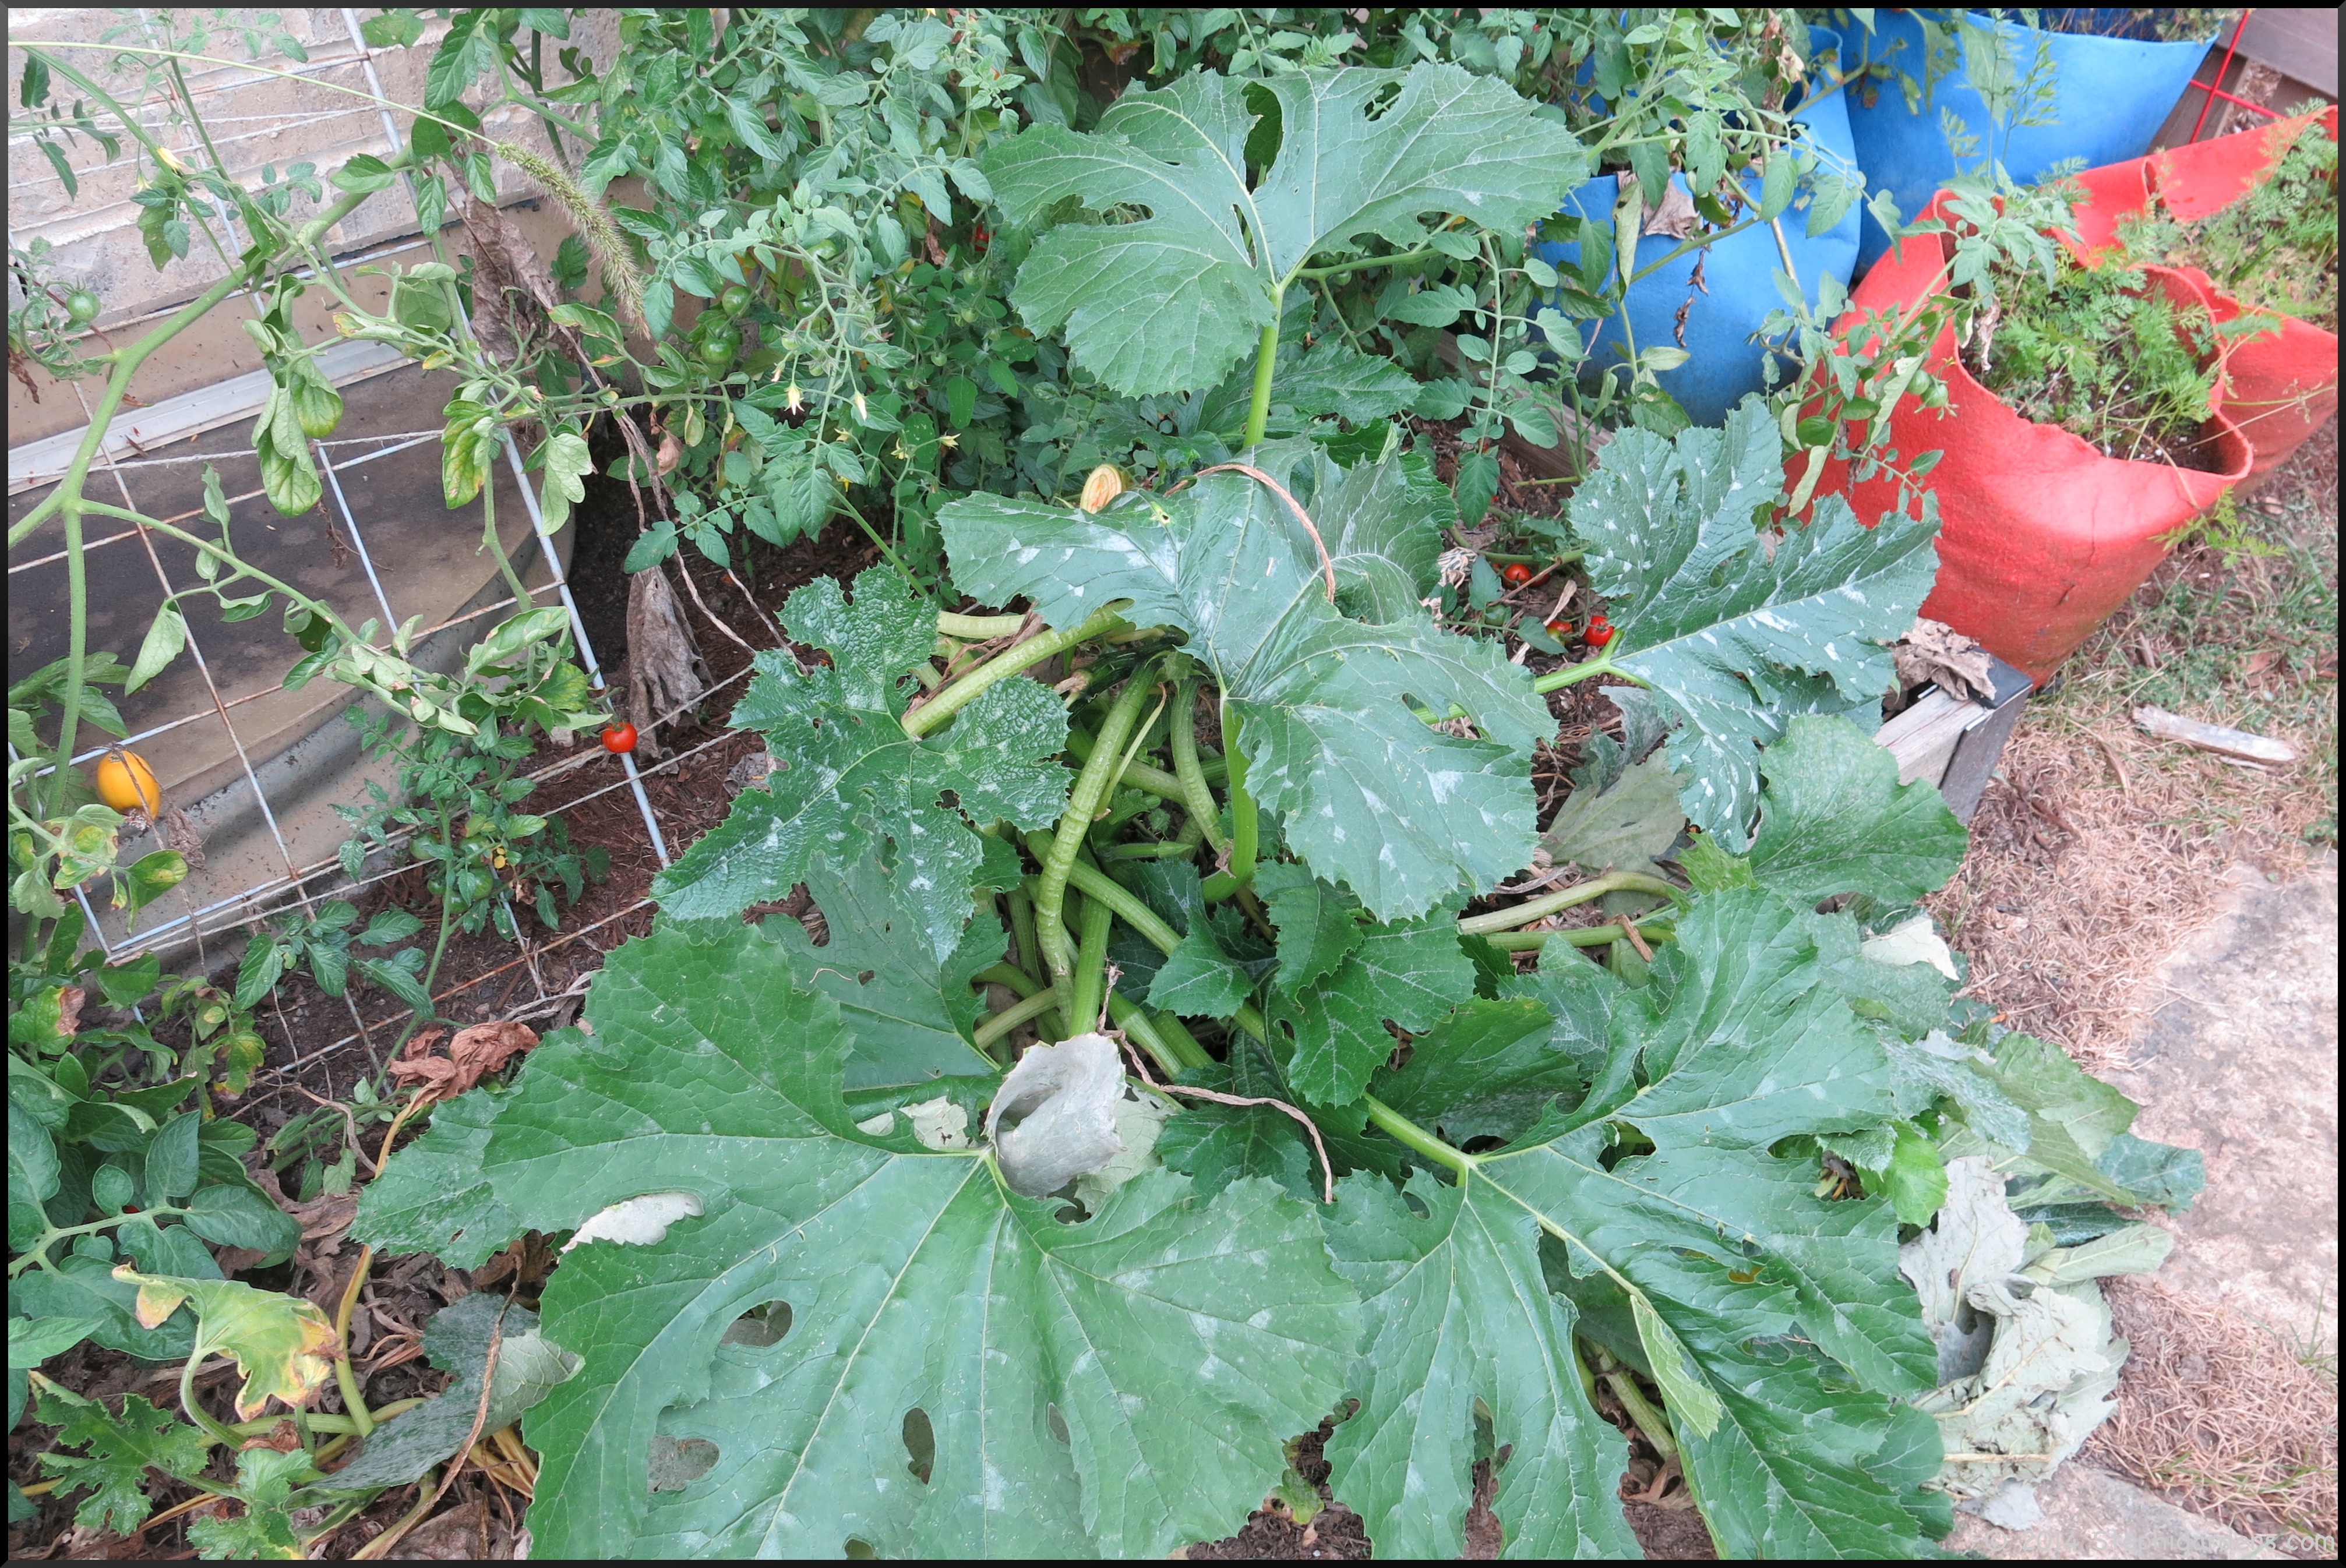
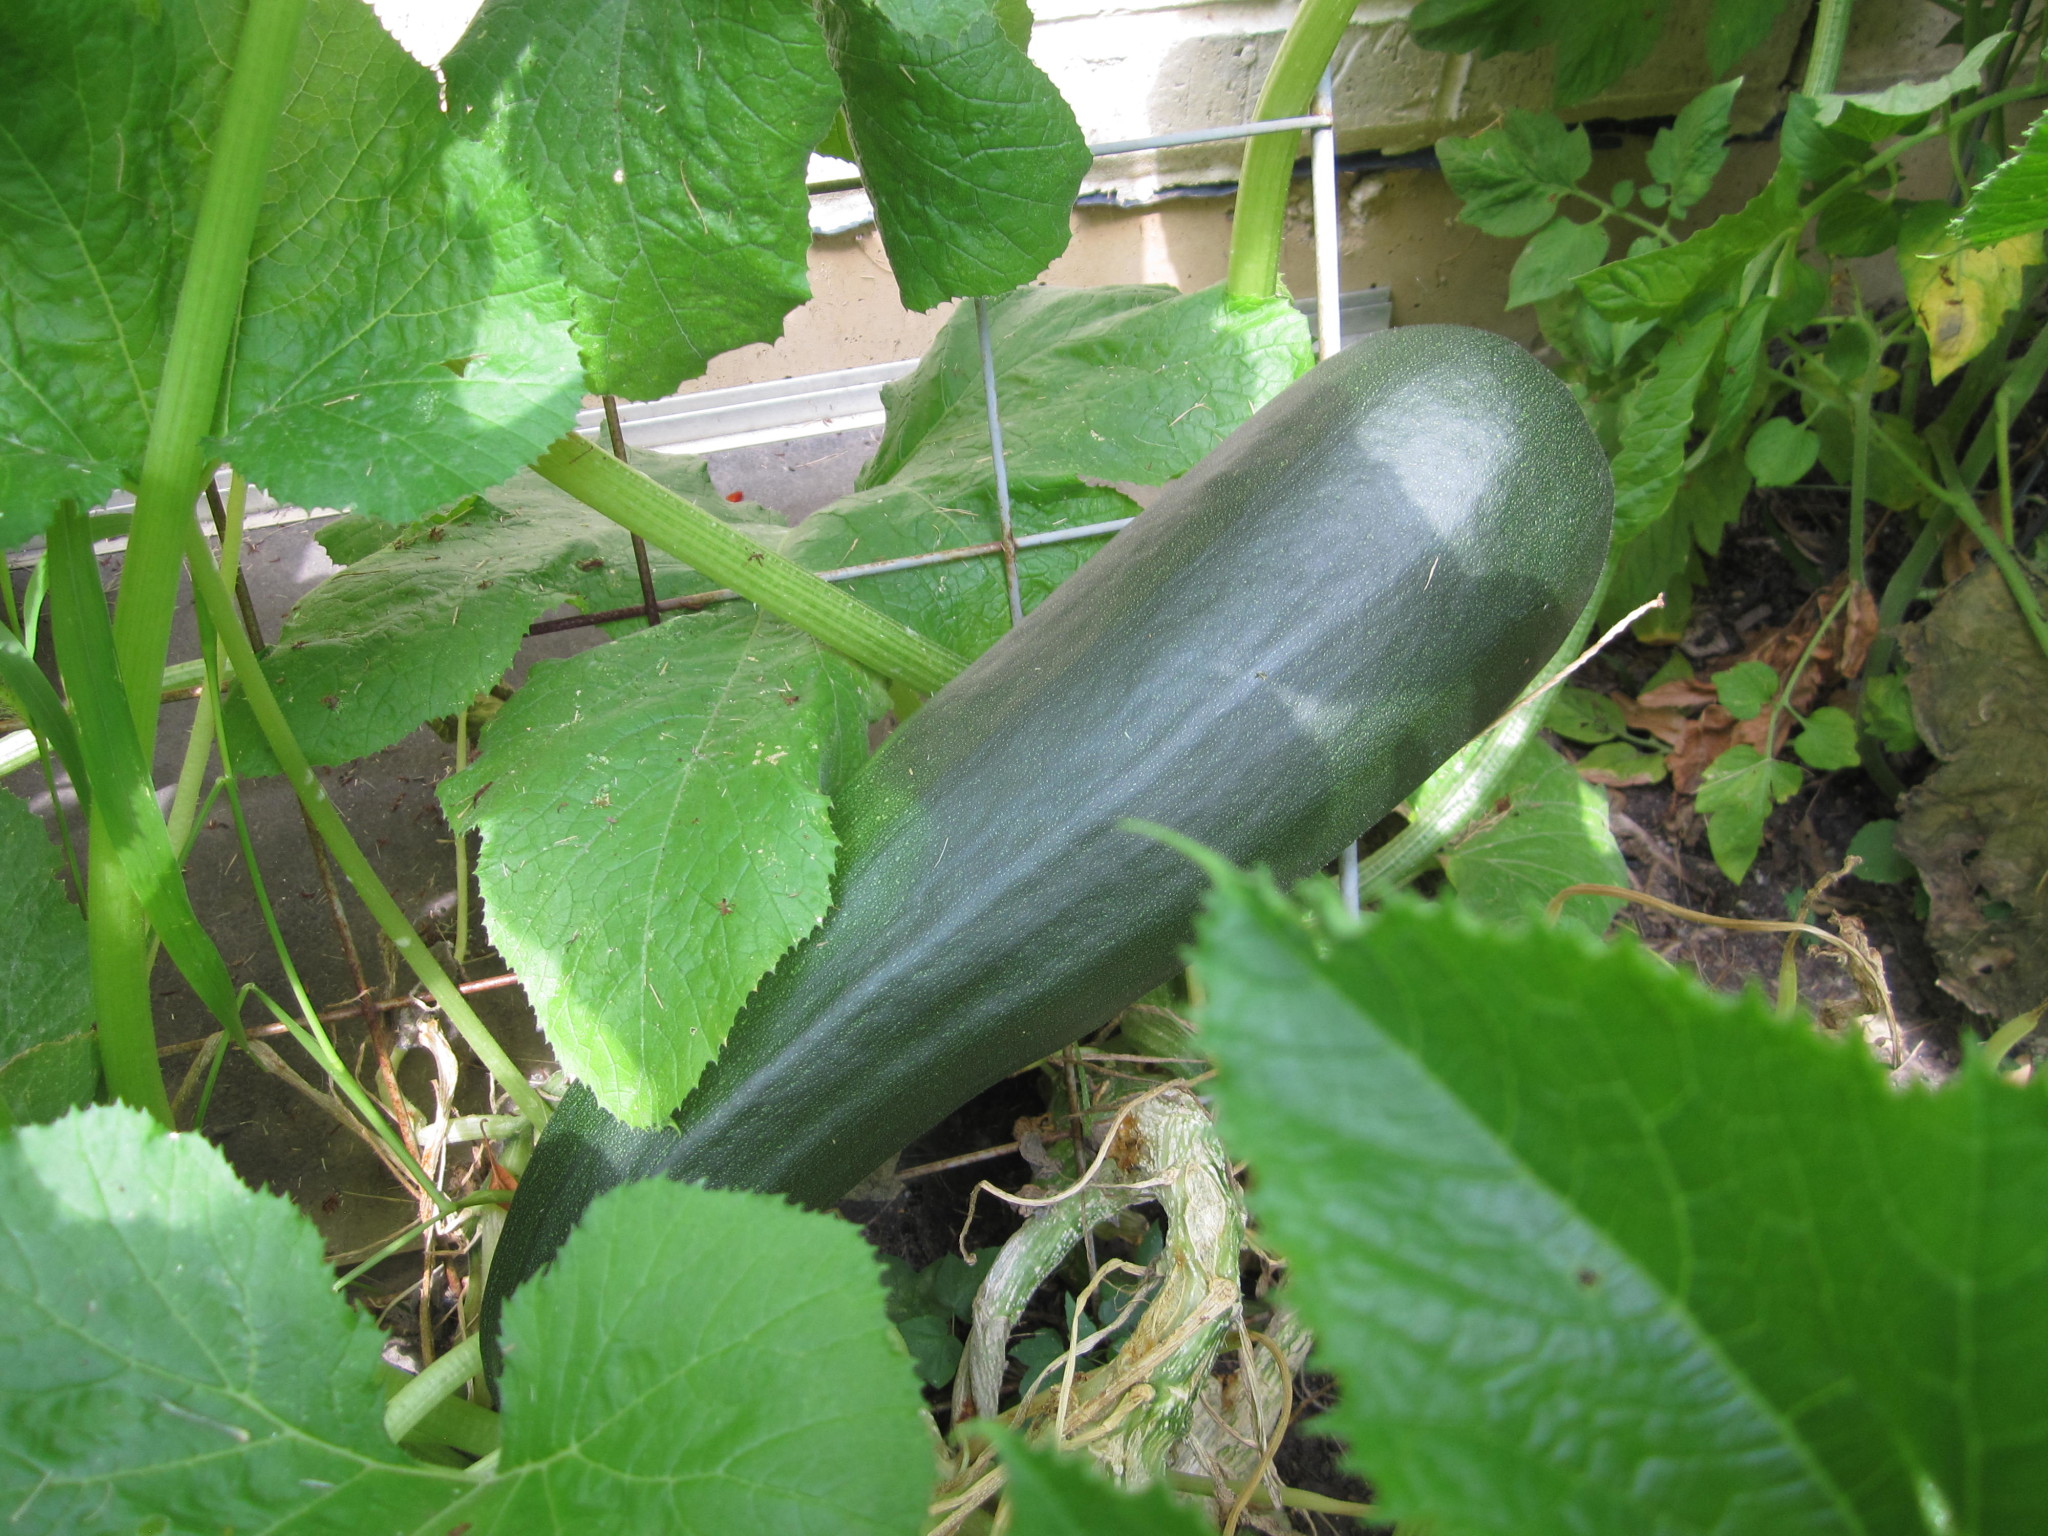
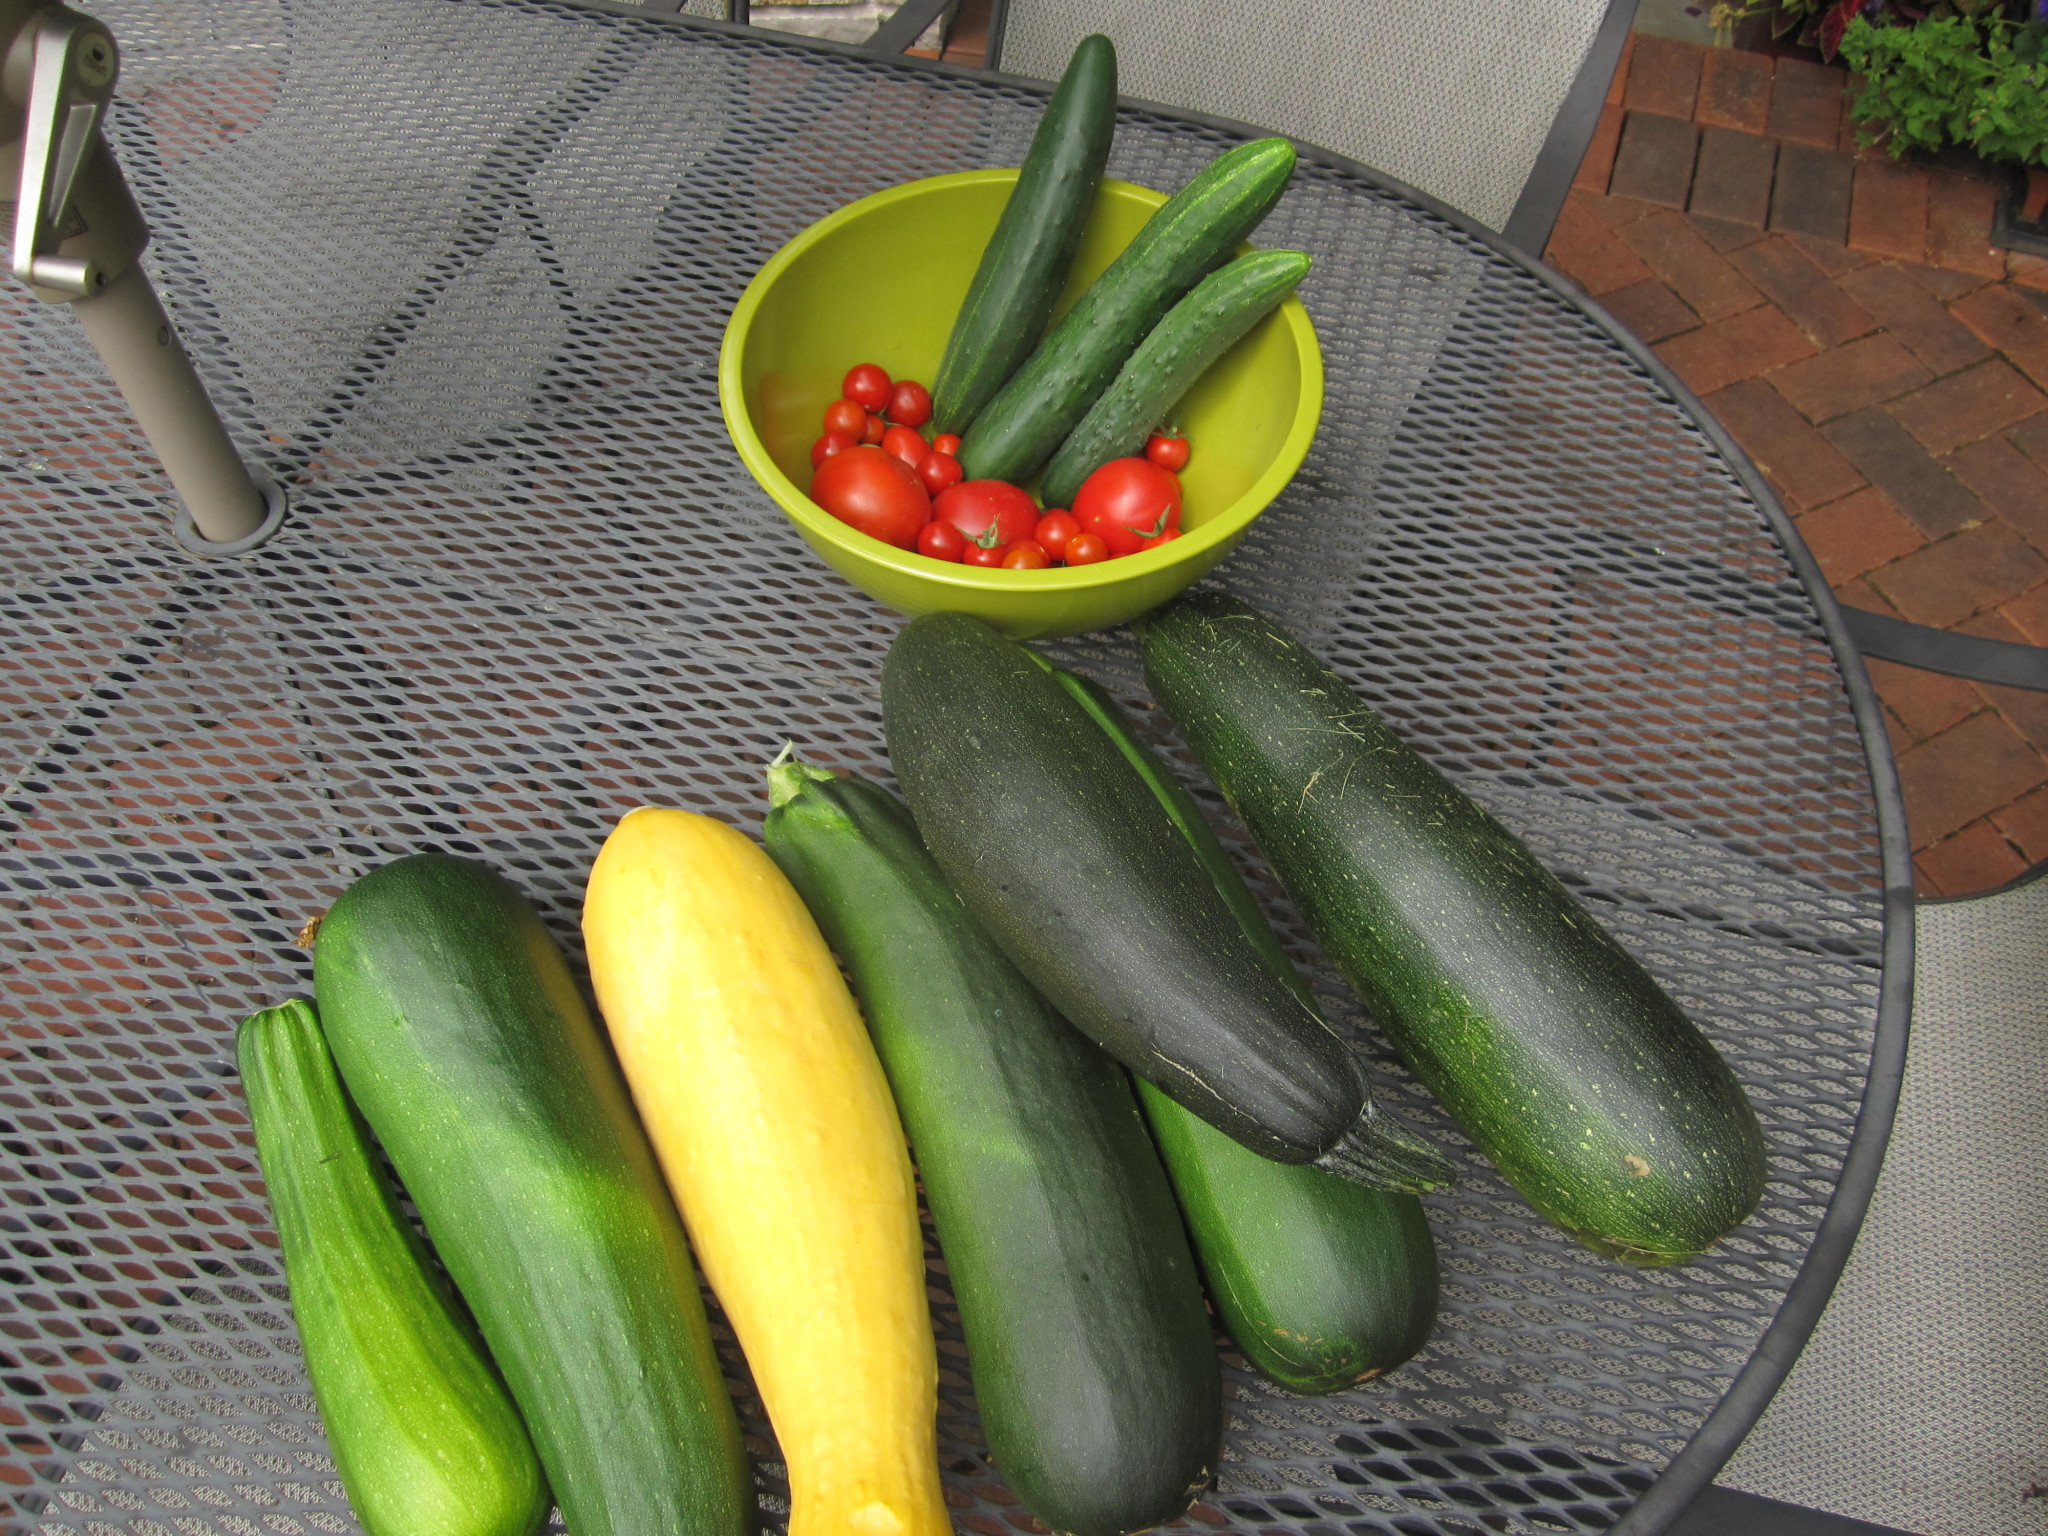
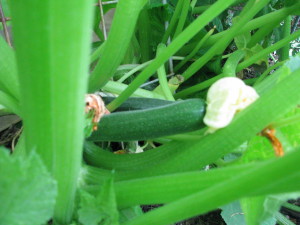
Unfortunately, the plants that were severely damaged ended up dying.  But, the ones I was able to rescue seemed healthy and have continued to put out squash and zucchini.

Next year, I need to be sure to get on top of this earlier.  Isn’t that true for many garden  issues?  I had success with the milk and baking soda solution on the less infected plants and will use it again next year if the powdery mildew comes back.   Many of the plants that failed were severely affected by the time I even started trying to do anything.   Again, early intervention is the key!

Did you have any powdery mildew issues this year?  How do you treat it?

Whoops-Giant Zucchini

I go on vacation for a week, then got busy and forgot to check the status of the vegetable garden.  Not a good idea this time of the year.  I have HUGE zucchinis and summer squash.  They are the size of kiddie baseball bats and each weigh about 4 lbs.  This is not good!

IMG_5537
IMG_5539
IMG_5540
IMG_5557

When squash get this big, they get tough and develop very big seeds. I’ve tried to cook them before and they just don’t work well for summer recipes. Especially the summer squash. Letting them get this big also saps the plant from any desire to make new squash since it’s real purpose is to produce seeds. And those big ones are just full of them, making the plant content to just continue make them even bigger.

So what to do?????

After some exploring on the web, I decided all was not lost. Looks like my best bets are zucchini bread and freezing for soups and winter dishes. So, my kitchen has been a flurry of baking and cutting trying to use these monsters up. I’ve never made zucchini bread, so again explored the web and came up with what I hoped was two delicious sounding recipes from Fine Cooking and Real Simple. First, I made Chocolate-Nut Zucchini bread from Fine Cooking with a couple of changes. First, I decided that 3/4 lbs of zucchini was about 3 cups shredded, I used whole chocolate chips instead of the bittersweet chocolate and vanilla yogurt instead of plain because that’s what I had on hand, and I then I just simply forgot to put the nuts in.

Because of the very big seeds and pithy center, I cut the zucchini in half and scooped out the center with a spoon before I grated it.  The skin didn’t seem too tough, so I left that on. If you can’t scratch it with your fingernail, it was suggested that it should be peeled then.

IMG_5562
IMG_0873

IMG_0880

This recipe got thumbs up from the family, so I will be making another loaf (or 2) for freezing.

Next, I made Zucchini Spice Bread from Real Simple.   I like the method of getting some of the water wrung out of the grated zucchini from the previous days’ recipe so I did that again here.  Briefly, put the grated zucchini into a colander, sprinkle with 1-2 Tbsp sugar to draw out some of the liquid, let sit for 15-20 minutes.  Then hand squeeze the water out before putting into the bread batter.  The only change I made to this recipe was that I added 1/2 cup of chopped walnuts.

IMG_0890

IMG_0899_2

Again, thumbs up!  Two good recipes.  If you have another you like, I have plenty more zucchini to make into bread.

Lastly, I cut up another zucchini for freezing.

  • I again scooped out the pithy, seedy center, then it cut into about 1 inch chunks.
  • I then blanched them in boiling water for about 3-4 minutes, followed by plunging them into an ice bath to stop the cooking process.  I just want to blanche the chunks, not cook.
  • Then drained in a colander for a few minutes and packed them in 2 cup portions in freezer bags.

IMG_0883
IMG_0886
IMG_0888

Ready for use this winter in some kind of soup or stews. Does anyone have any favorites?  Hopefully now I will be able to pick some nice tender ones to use in my favorite summer side dish and salad recipes.

By the way, I did toss the one giant summer squash.  It was just not salvageable.  That’s where a composter would come in handy.

Pattypan Squash

At the farmers market last week, there was a giant tub of pattypan squash at one of my favorite vendor’s tent.  Usually I pass right by them, not having any idea what to do with those weird little things.  But this time I decided to give them a try and bought a bunch of them (and some funny globe looking ones).

IMG_2808

They sat in my fridge for about a week until I decided I’d better cook them.  I looked up some recipes and oven roasting or grilling seemed to be the best option.  I chose oven roasting and they were fabulous!!  I will definitely be growing some next year!

My recipe for roasting pattypan squash:

Preheat oven to 400°F.  Cut off the tops and bottoms of pattypan squash, then quarter.  In a microwave safe bowl, toss with some extra virgin olive oil, cover with plastic wrap and poke a few holes in the plastic wrap.  To speed up the roasting time, I microwaved them for 3 minutes on high, or just until they were slightly soft.  Uncover, and toss with  a little more olive oil and seasoning.  I seasoned mine with generous amounts of Penzys Spice’s Arizona Dreaming.  Toss out onto a oven safe dish, cook for 20-30 minutes or until nice and roasted.  It was a hit.  I’ll try the same recipe next with those globe shaped squashes!

IMG_2890


Zucchini and Squash Mid-summer

My zucchini and squash plants are growing like gangbusters!  I was a little worried when I transplanted them as seedlings,  because they had grown into tangled messes in the growing pots.  I was as gentle as I could be, but a couple almost broke in half because the stems were so fragile.  I ended up planting all of them, despite what they looked like, just hoping they’d grow.   The ones that seemed barely connected by threads of stems, I laid carefully in the dirt and covered up the damaged spots.  Luckily, the weather cooperated and the little plants were actually able to become established.  Never toss a plant that you think is too far gone to plant, nature has a way of making these things survive

I have them in the garden growing in front of, and on the Cucumber trellises that I got from Gardeners Supply Company.   These were great purchases for me since I could lean them against the house and expand my garden space.  Squash and zucchini plants aren’t really climbers, but they will prop themselves up a little bit and save some space by spreading up, rather than just out.

I  have already harvested 1 summer squash and see at least 2 little zucchinis growing.  Lots of flowers still blooming meaning lots more vegetables to come. Something I’ve learned is that it’s important when reaching around in the plant to be gentle, the new little squashes can be knocked off easily and some of the plants dislodged entirely.  Also, don’t wait too long to harvest the summer squashes especially, they can get very seedy and tough.  Best to pick early and they will be far more tender.


Zucchini and Squash Au Gratin
Print
Author:
Tasty recipe to easily use that late summer zucchini and squash
Ingredients
  • 2 small zucchini, sliced ¼ in thick
  • 2 small summer squash, sliced ¼ in thick
  • 3 Tbs. olive oil (split)
  • ¼ cup fresh thyme leaves
  • ½ cup grated parmesan or asiago cheese
  • ½ cup panko bread crumbs
Instructions
  1. Preheat oven to 375º
  2. Toss sliced zucchini and squash in 2 Tbs olive oil. Arrange in a single layer of overlapping rows in a shallow baking dish.
  3. In a separate bowl, with a fork, combine remaining 1 Tbs olive oil, thyme, cheese and bread crumbs.
  4. Sprinkle cheese mixture on top of vegetables.
  5. Cook 45-60 min until squash is sift and topping is browned. Cover loosely with foil if topping is getting too browned.
  6. Tomato variation: Slice fresh tomatoes and layer in overlapping rows in a shallow baking pan. Brush with olive oil. Sprinkle cheese mixture on top. Cook for 20-30 min until desired doneness.

SaveSave

SaveSave