It’s Going to Be Cold Tonight!

May freeze warning, what to do??

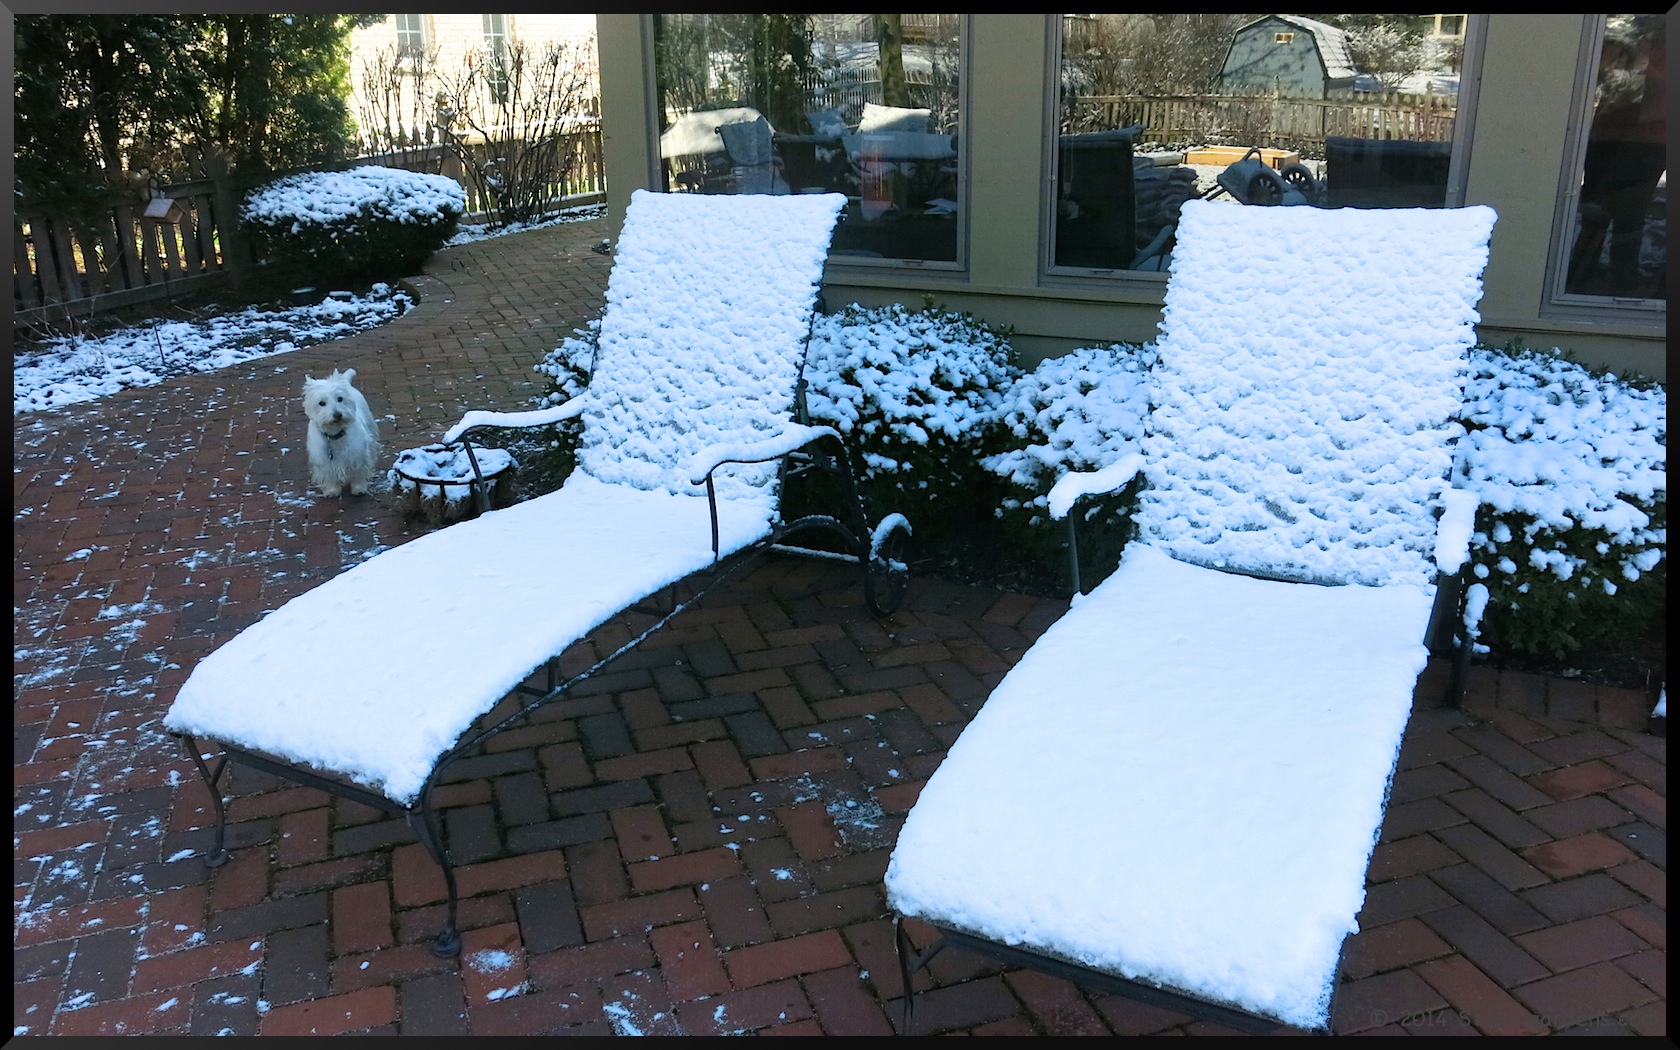
It’s almost Mother’s Day and if you’re somewhere in the Midwest, mid-Atlantic or Northeast, you’re in for an unpleasant weather event the next couple of days. Brrr. Have we not dealt with enough this spring?

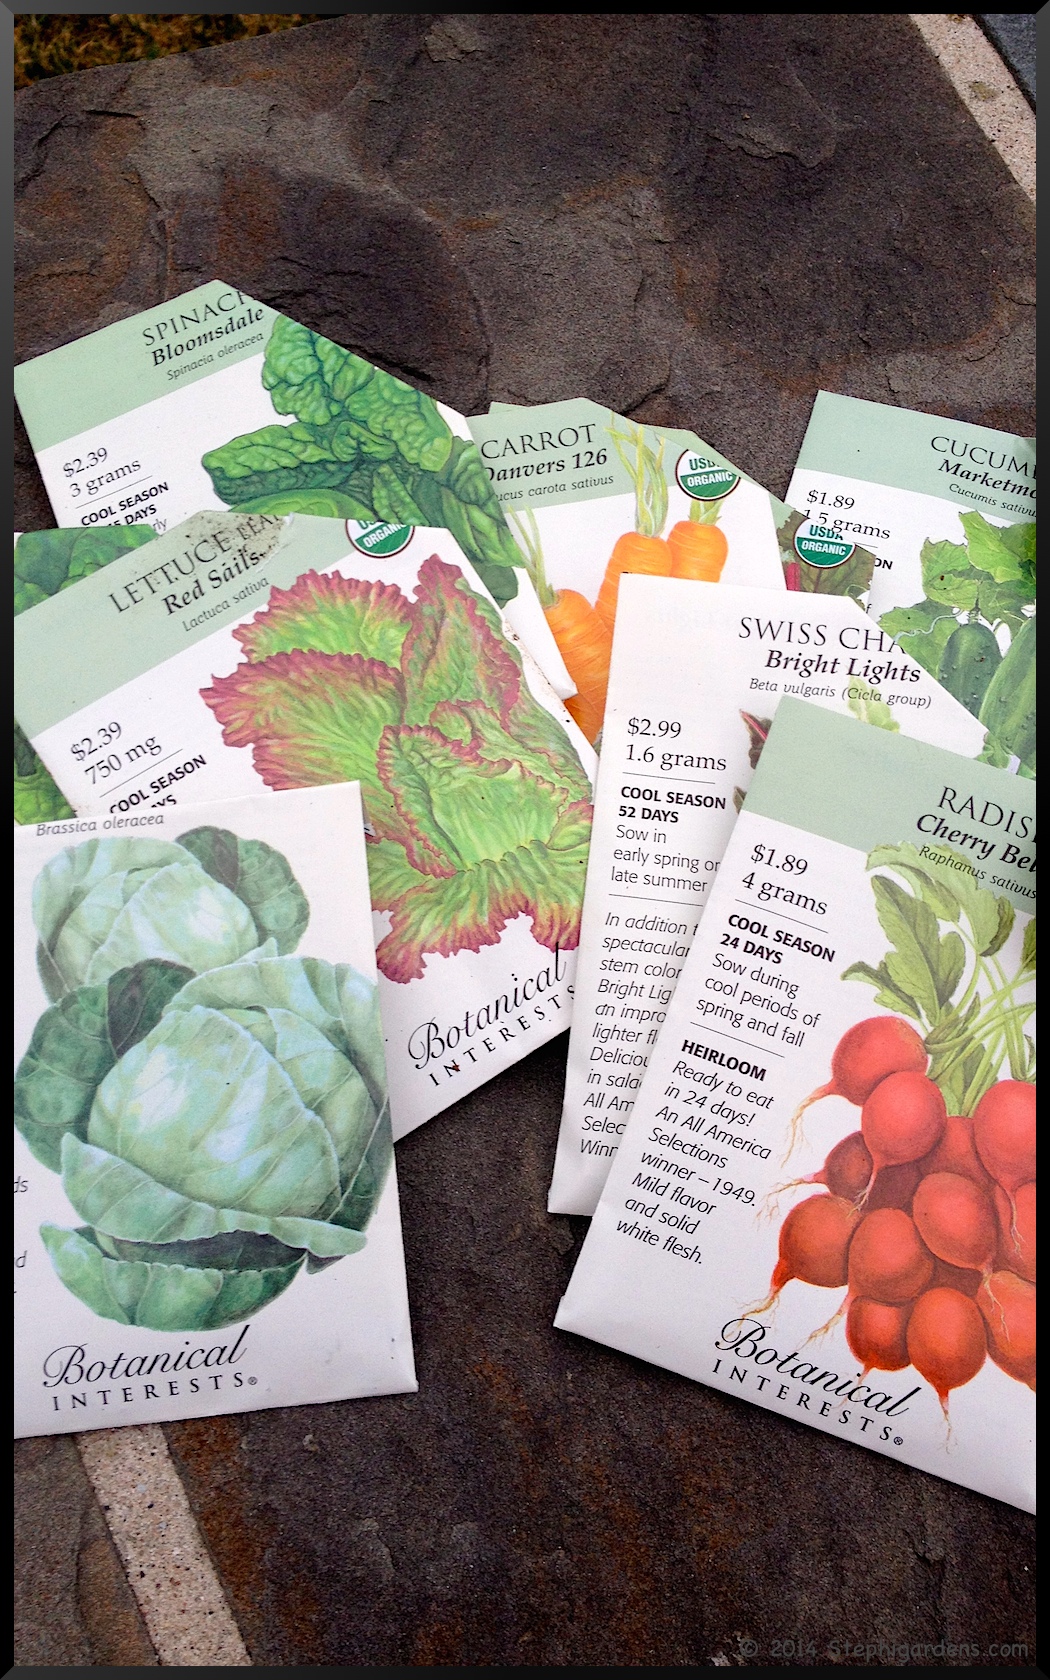
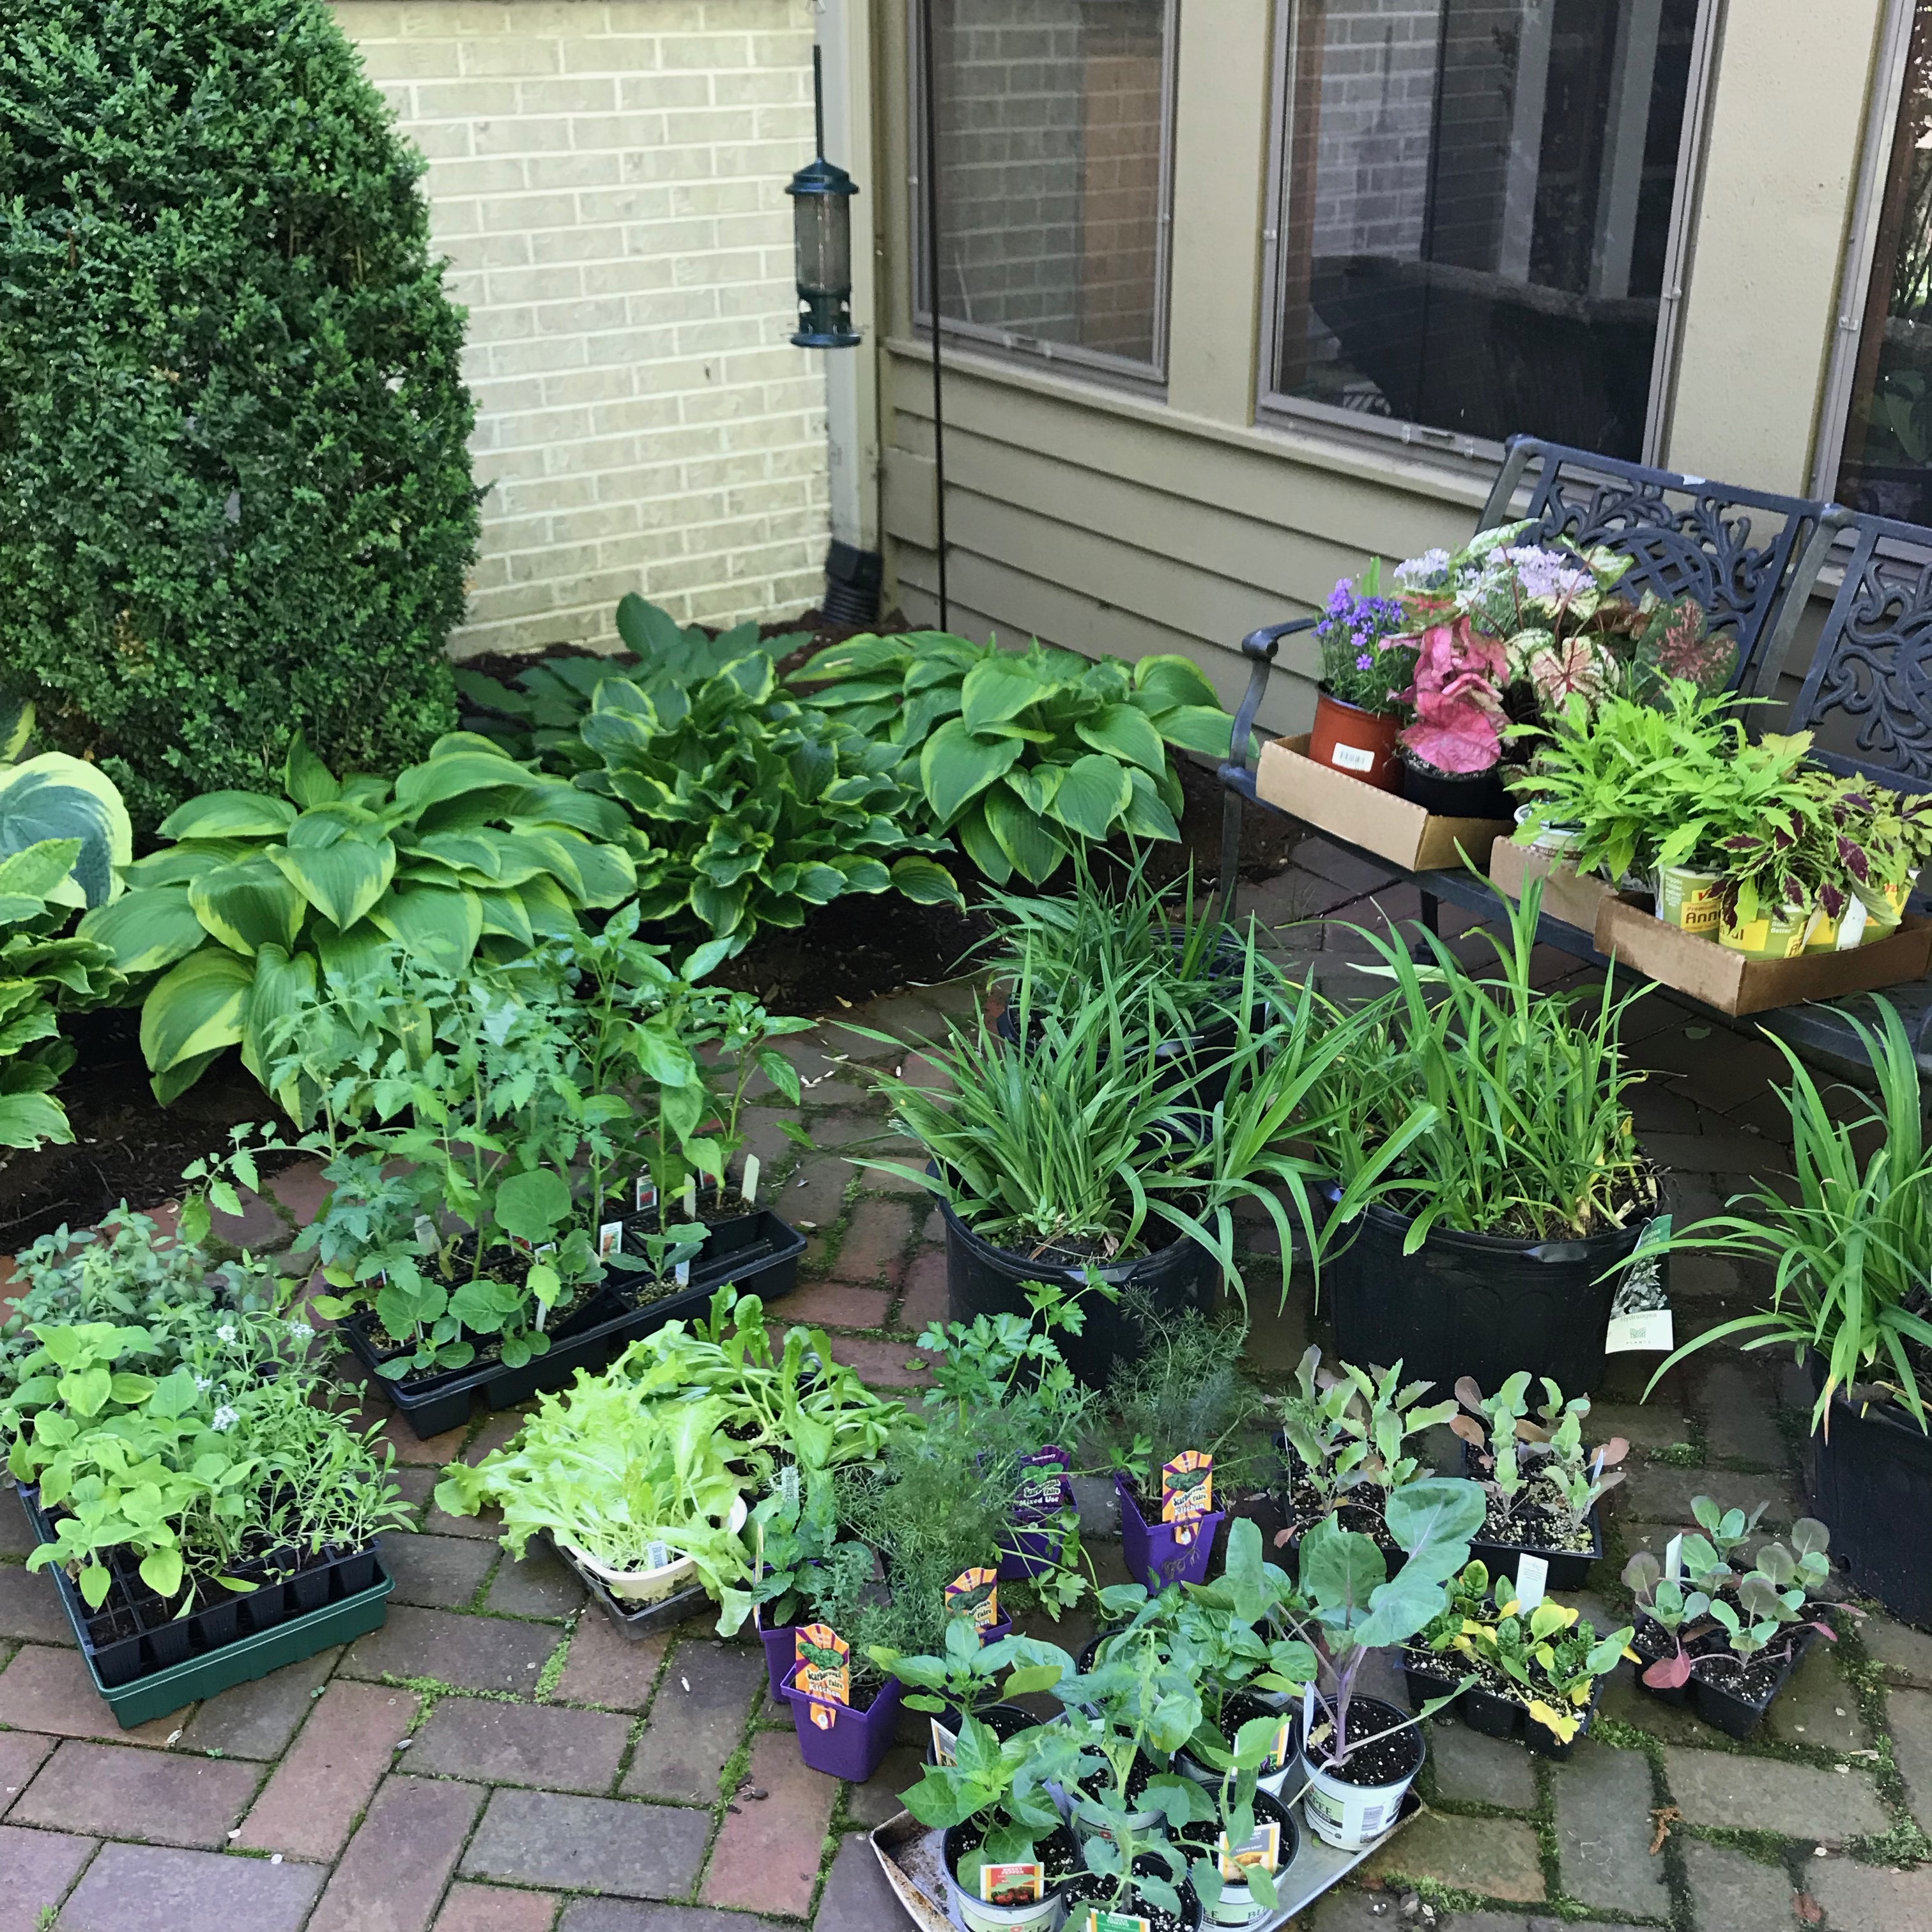
Hopefully, you’ve learned from past mistakes and haven’t planted those wonderful tender annuals and vegetables that all the garden centers already have out for purchase.

It’s always a good idea to know your growing zone, both your plant hardiness zone, based on the lowest expected winter temperatures, and your first and last frost dates. The spring frost date is what we are dealing with now. In my suburban Chicago location, based on Dave’s Garden’s info:

  • Almost certainly, you will receive frost from October 20 through April 17.
  • You are almost guaranteed that you will not get frost from May 24 through September 26.
  • Your frost-free growing season is around 155 days.

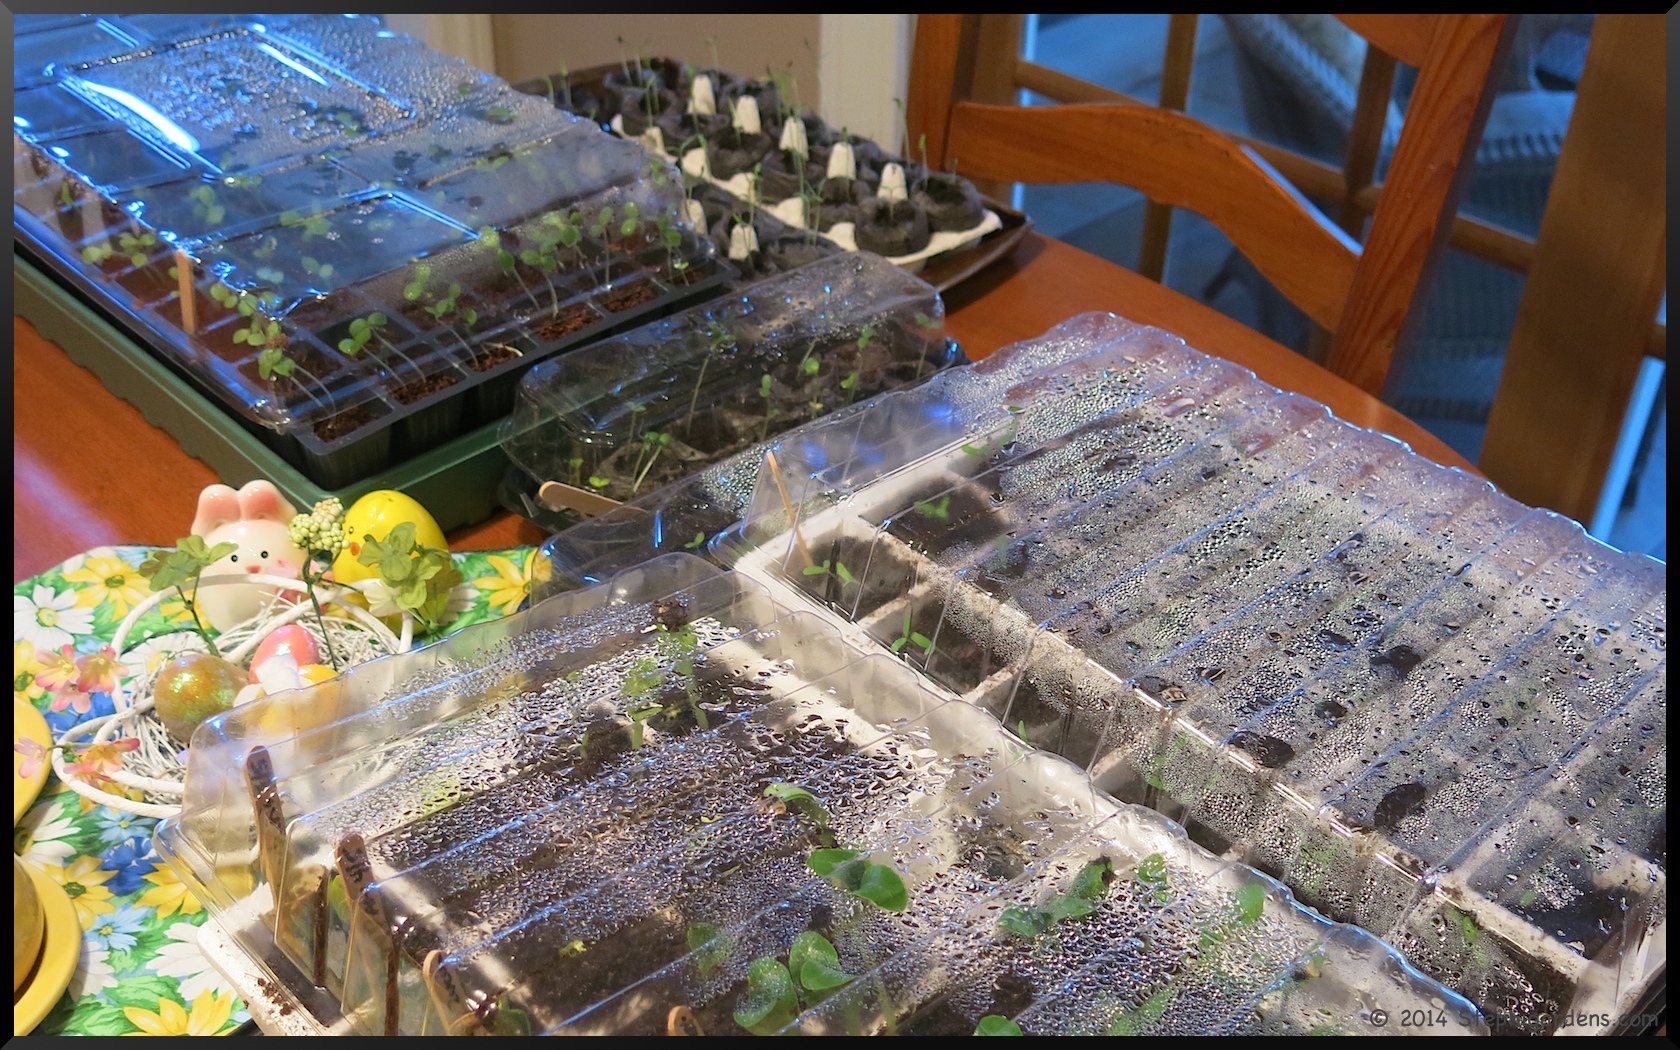
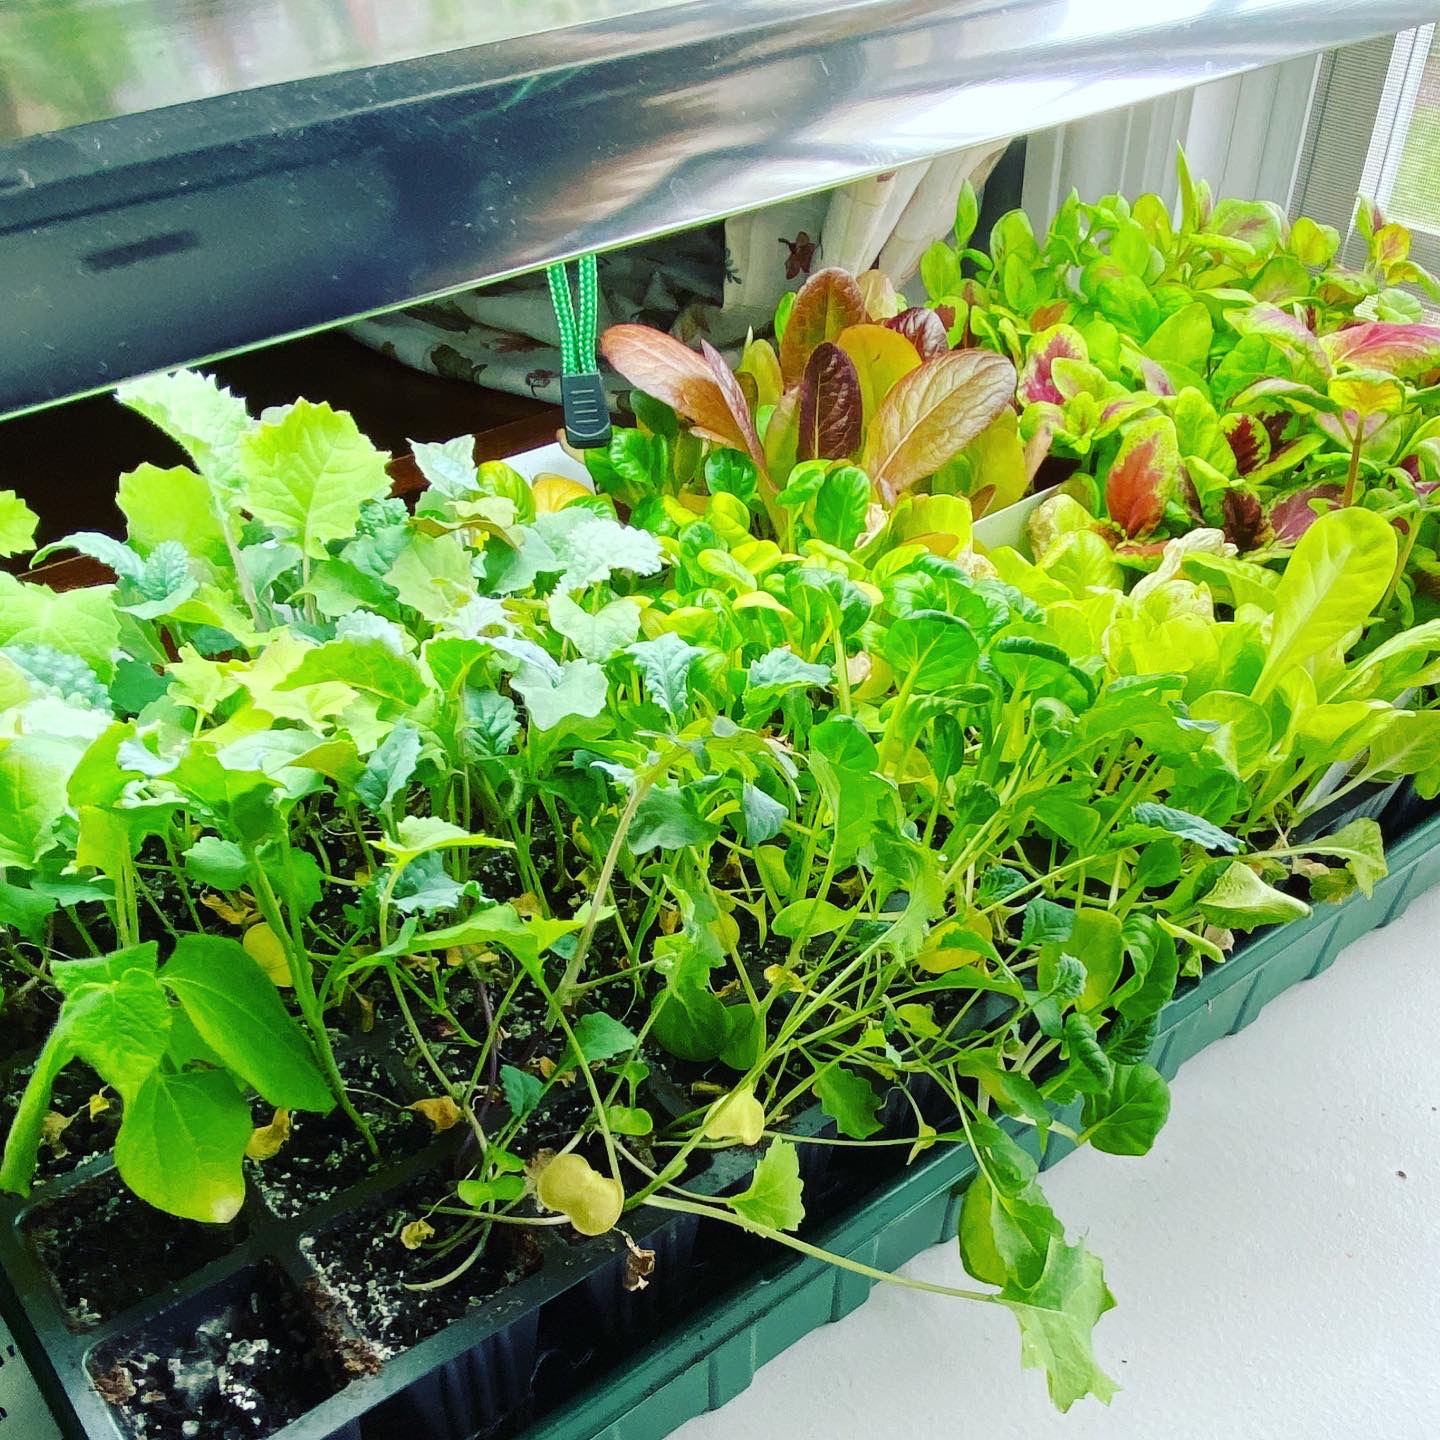
Right now we are in that in between time from mid April-Late May. I’ve learned that none of my seedlings leave the house for hardening off until close to Mother’s Day, about the middle of the in-between time.

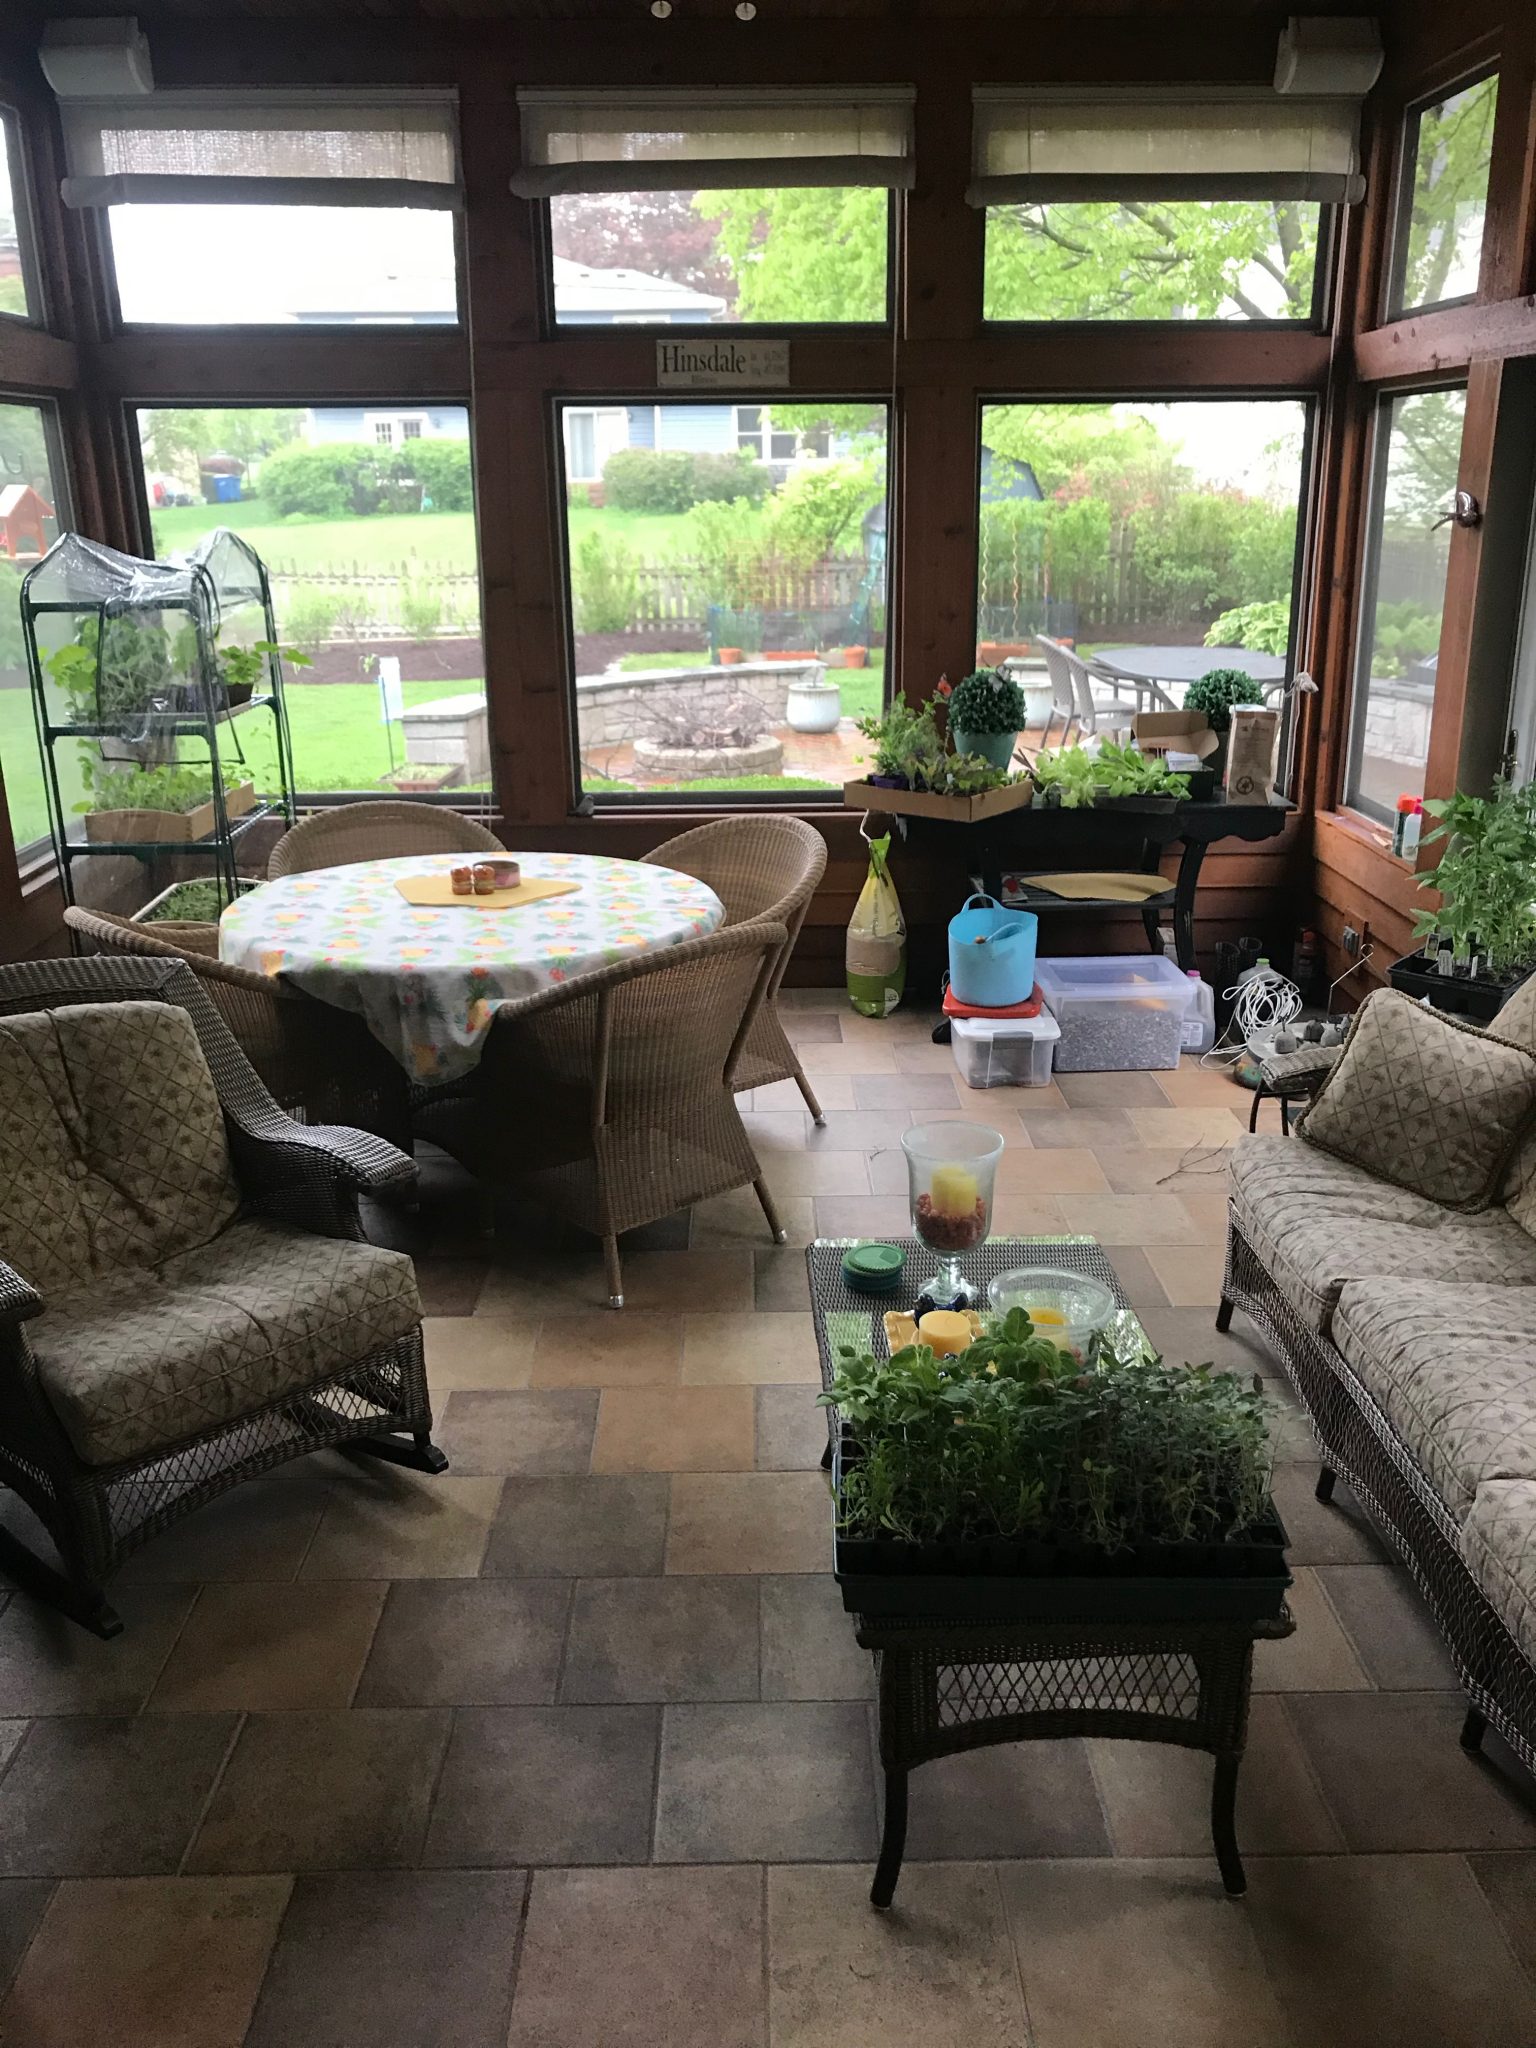
If it does get too cold, plants that are outside and waiting to be planted can spend time in the winterized three-season porch. For the most tender plants they can go in the mini-greenhouse on the porch, or even in the house, if they need even more protection.

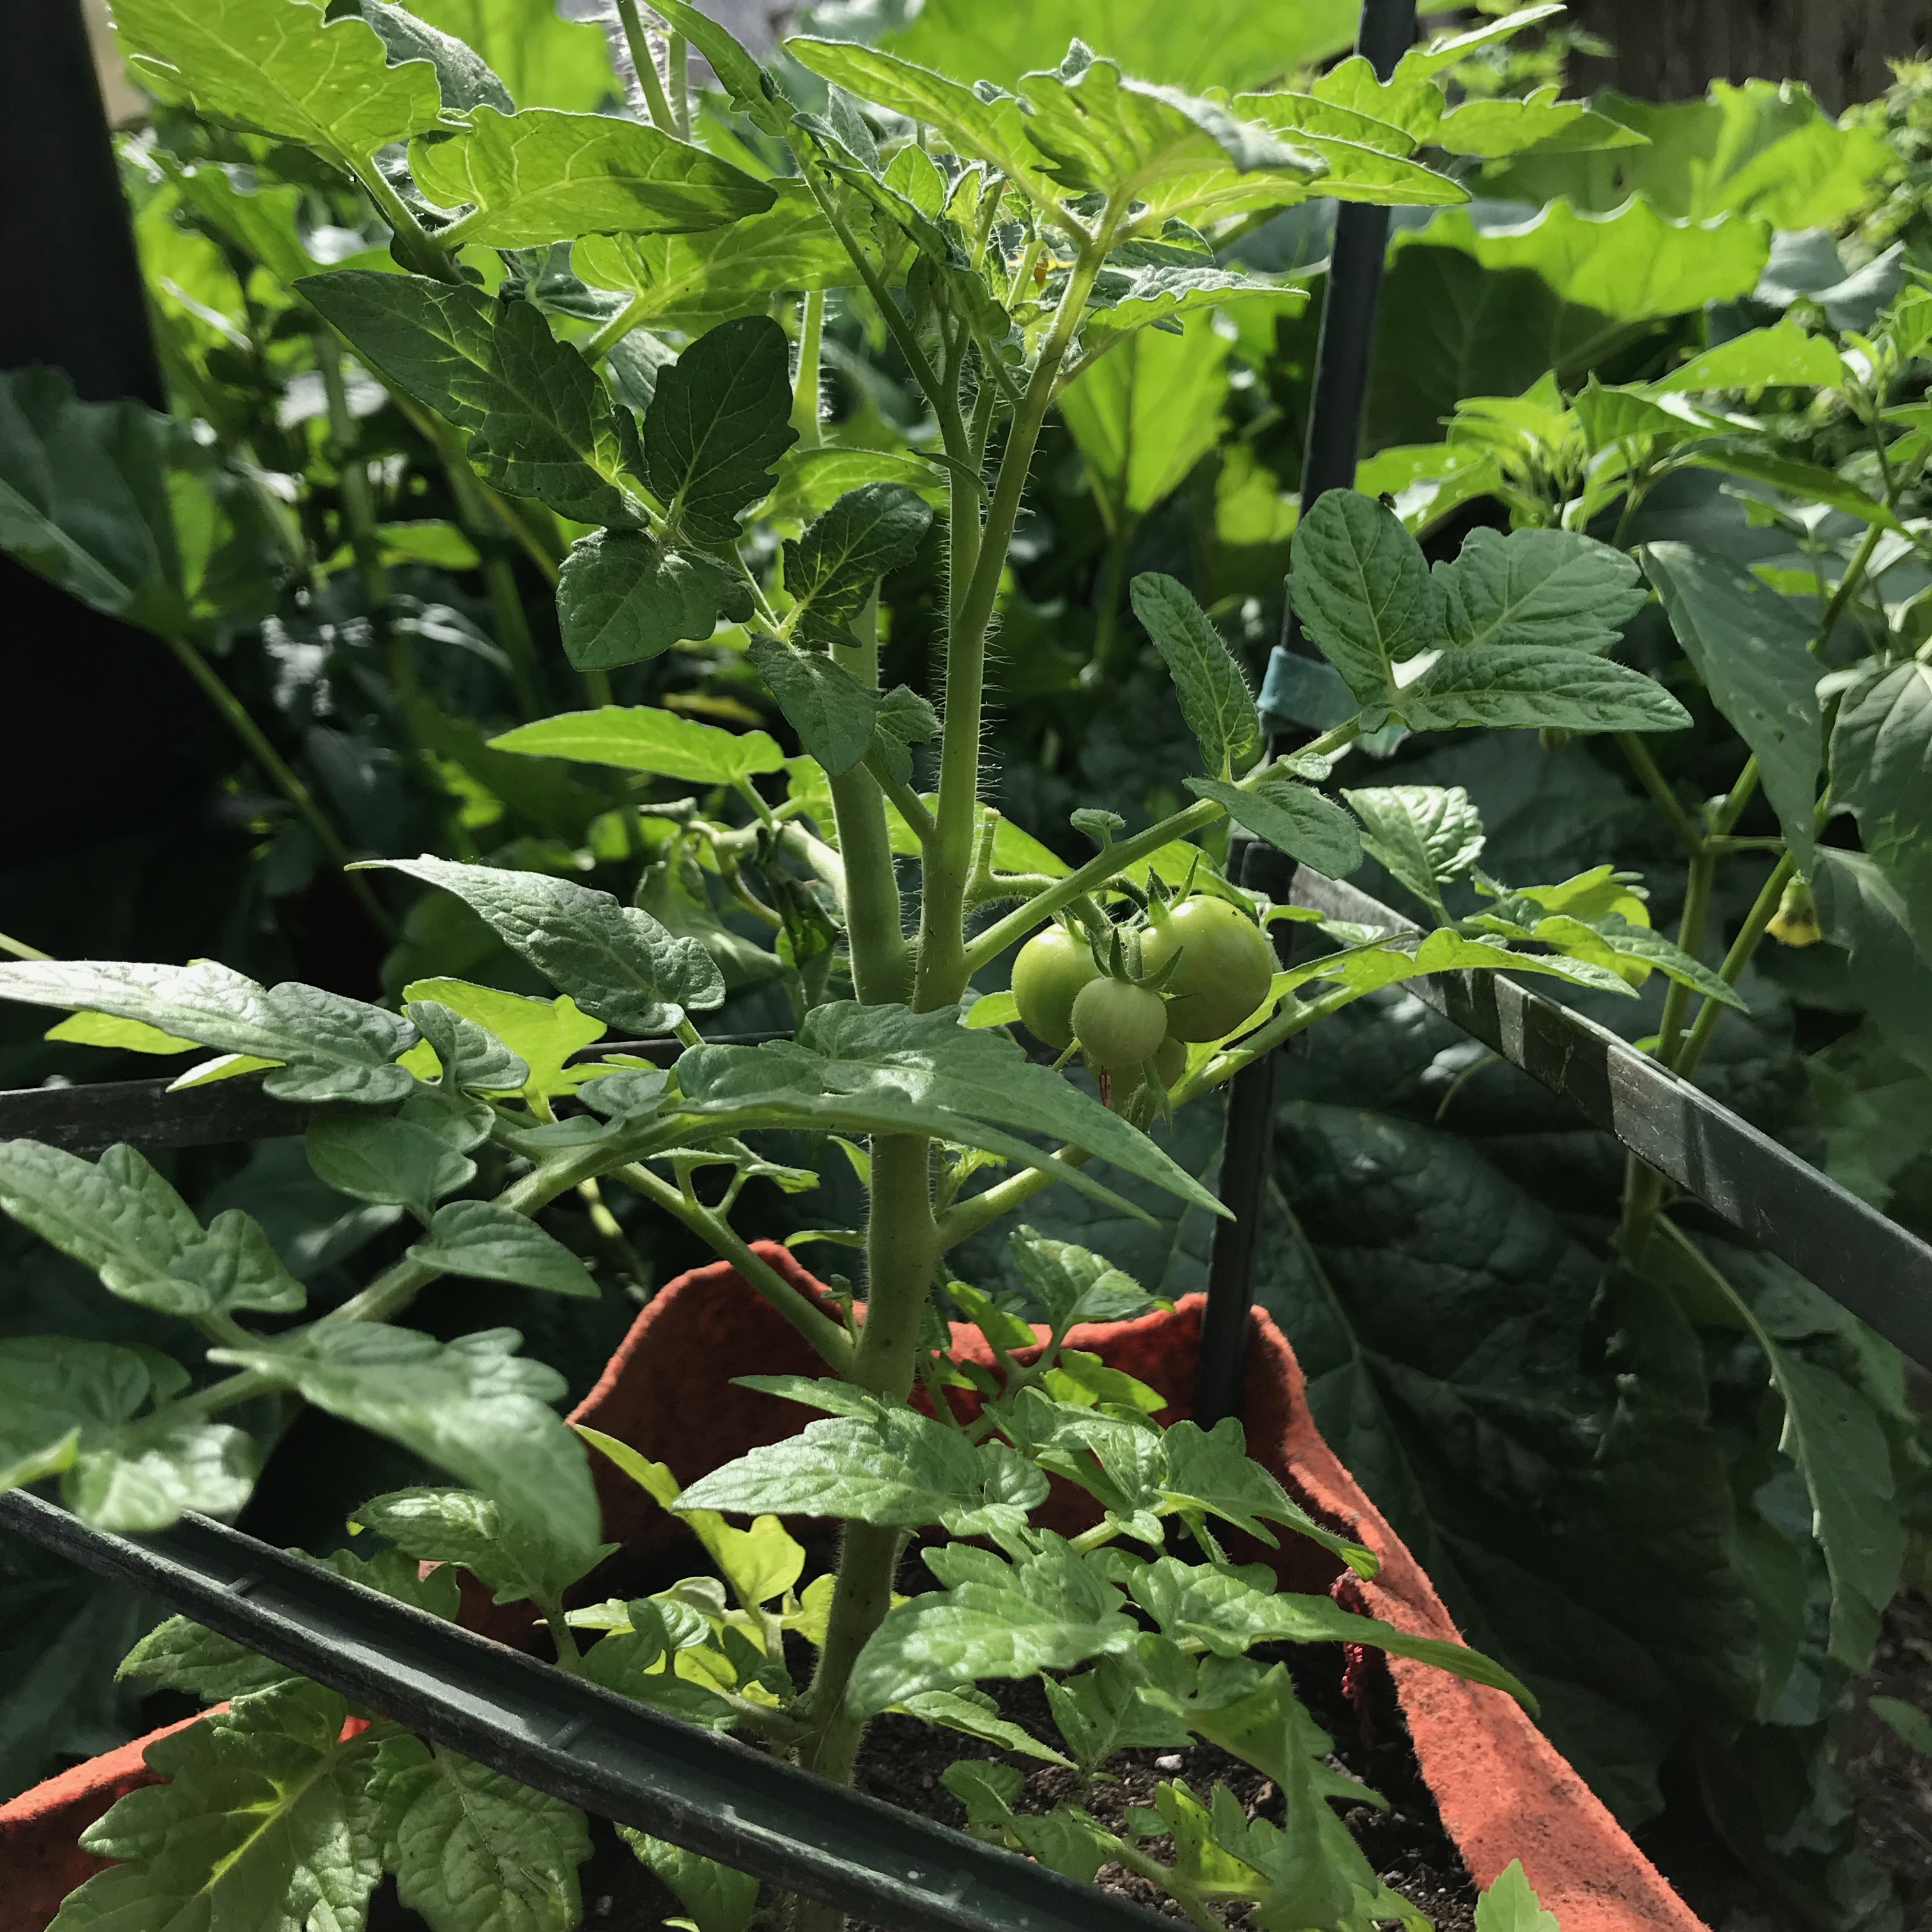
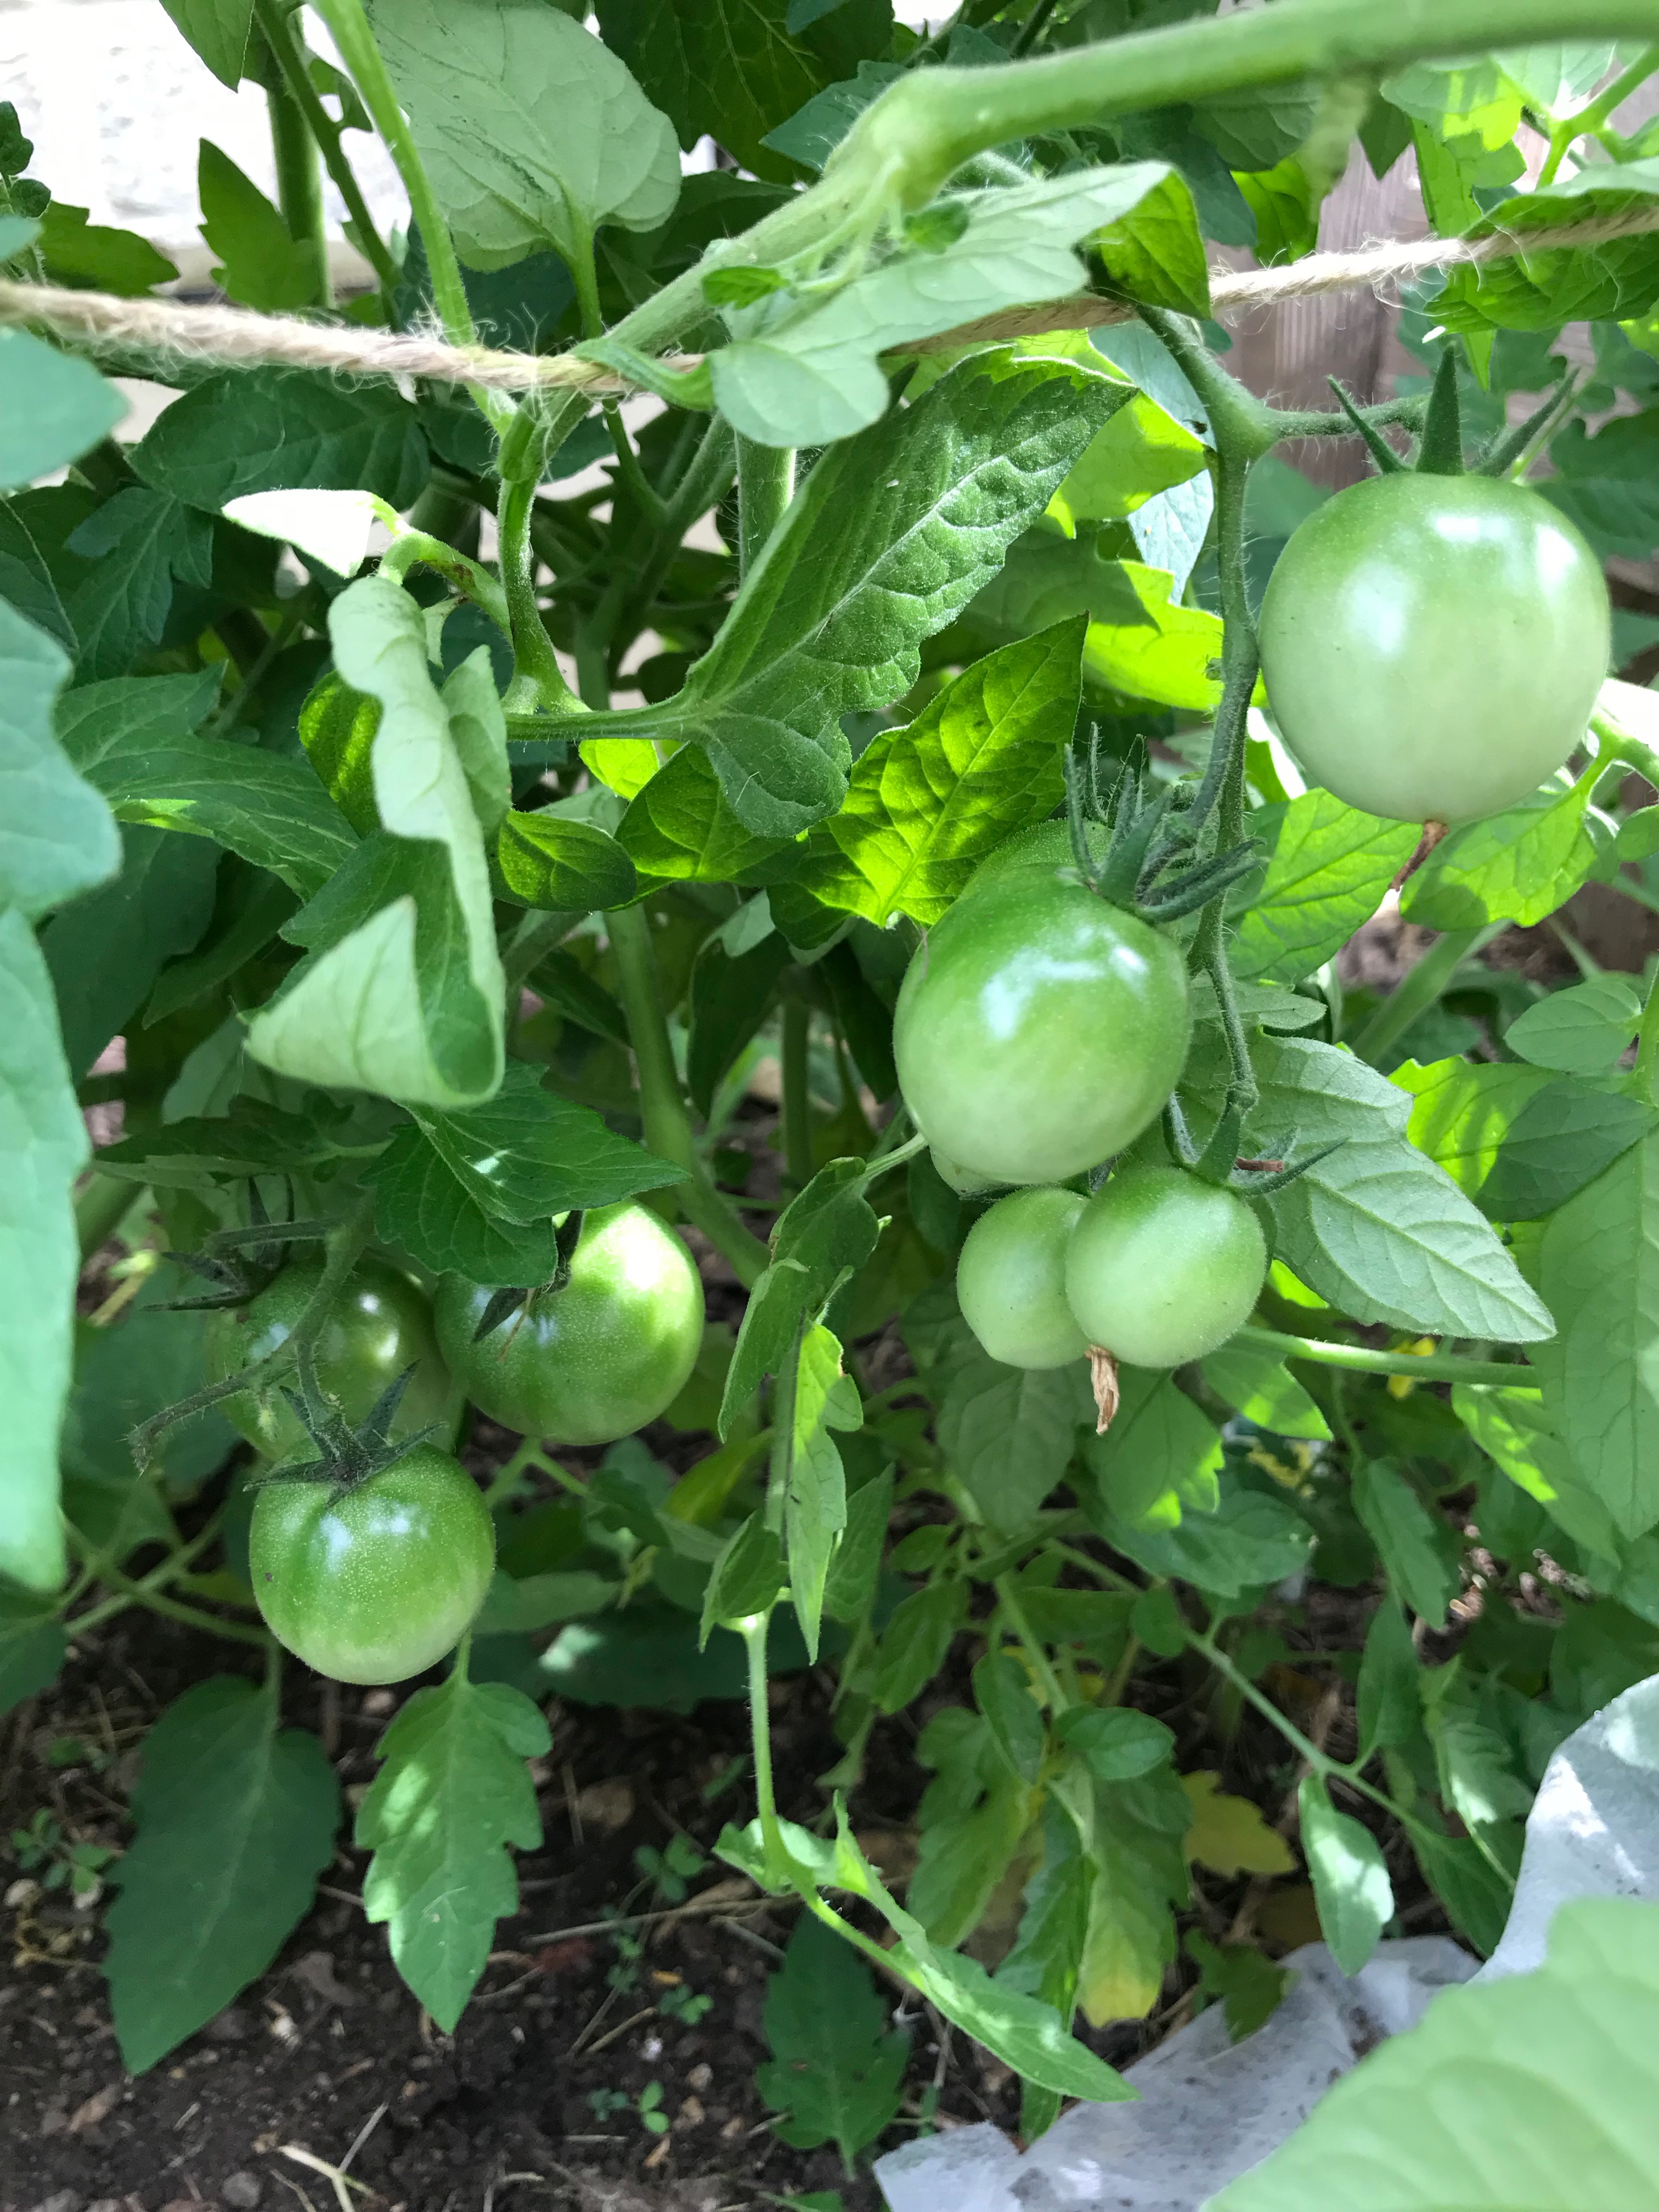
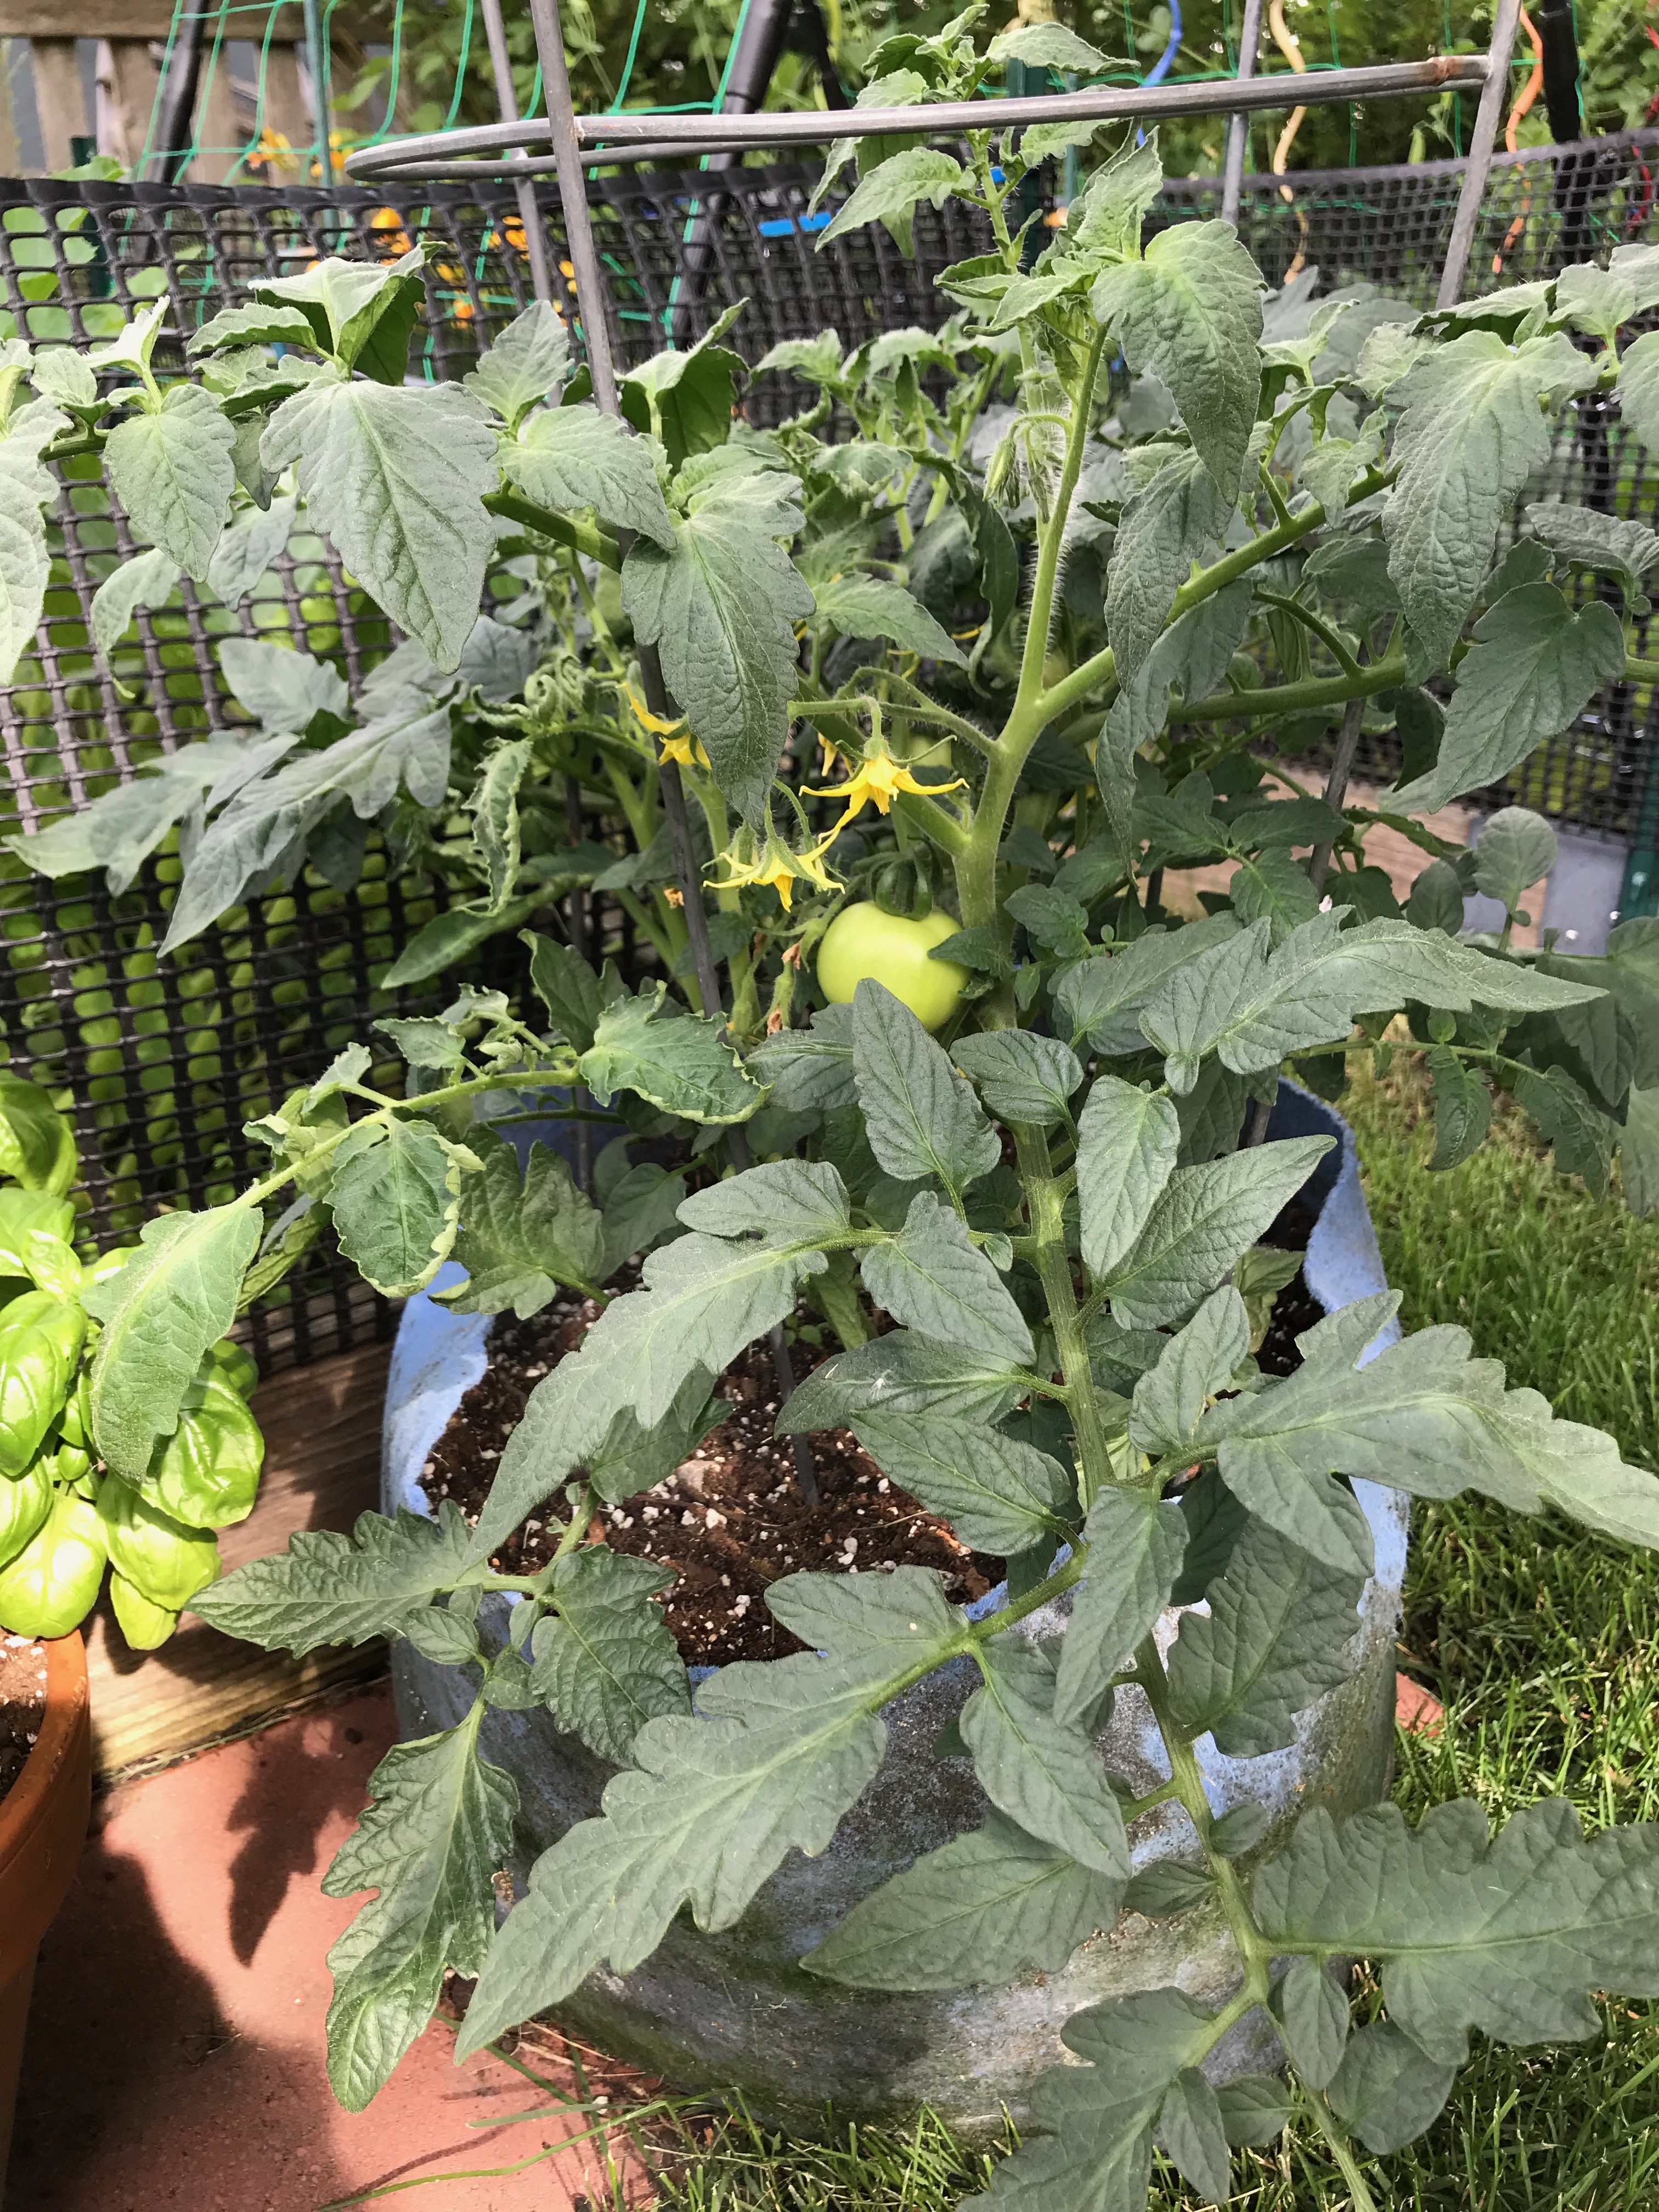
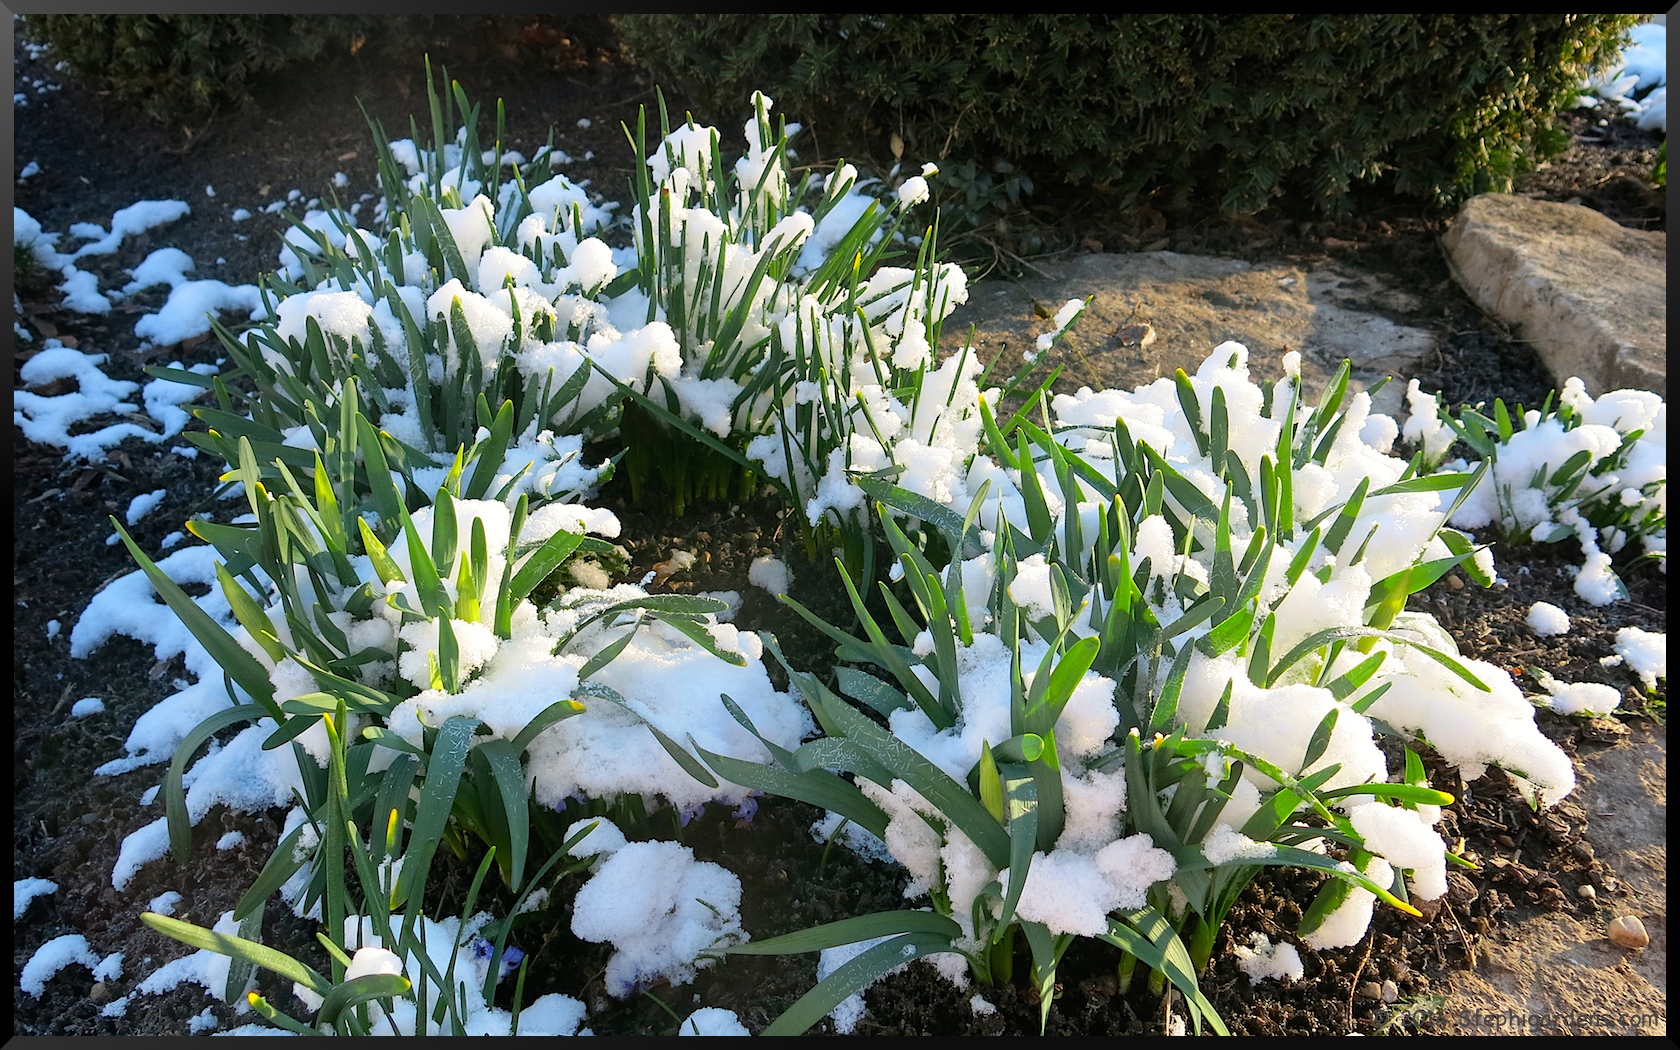
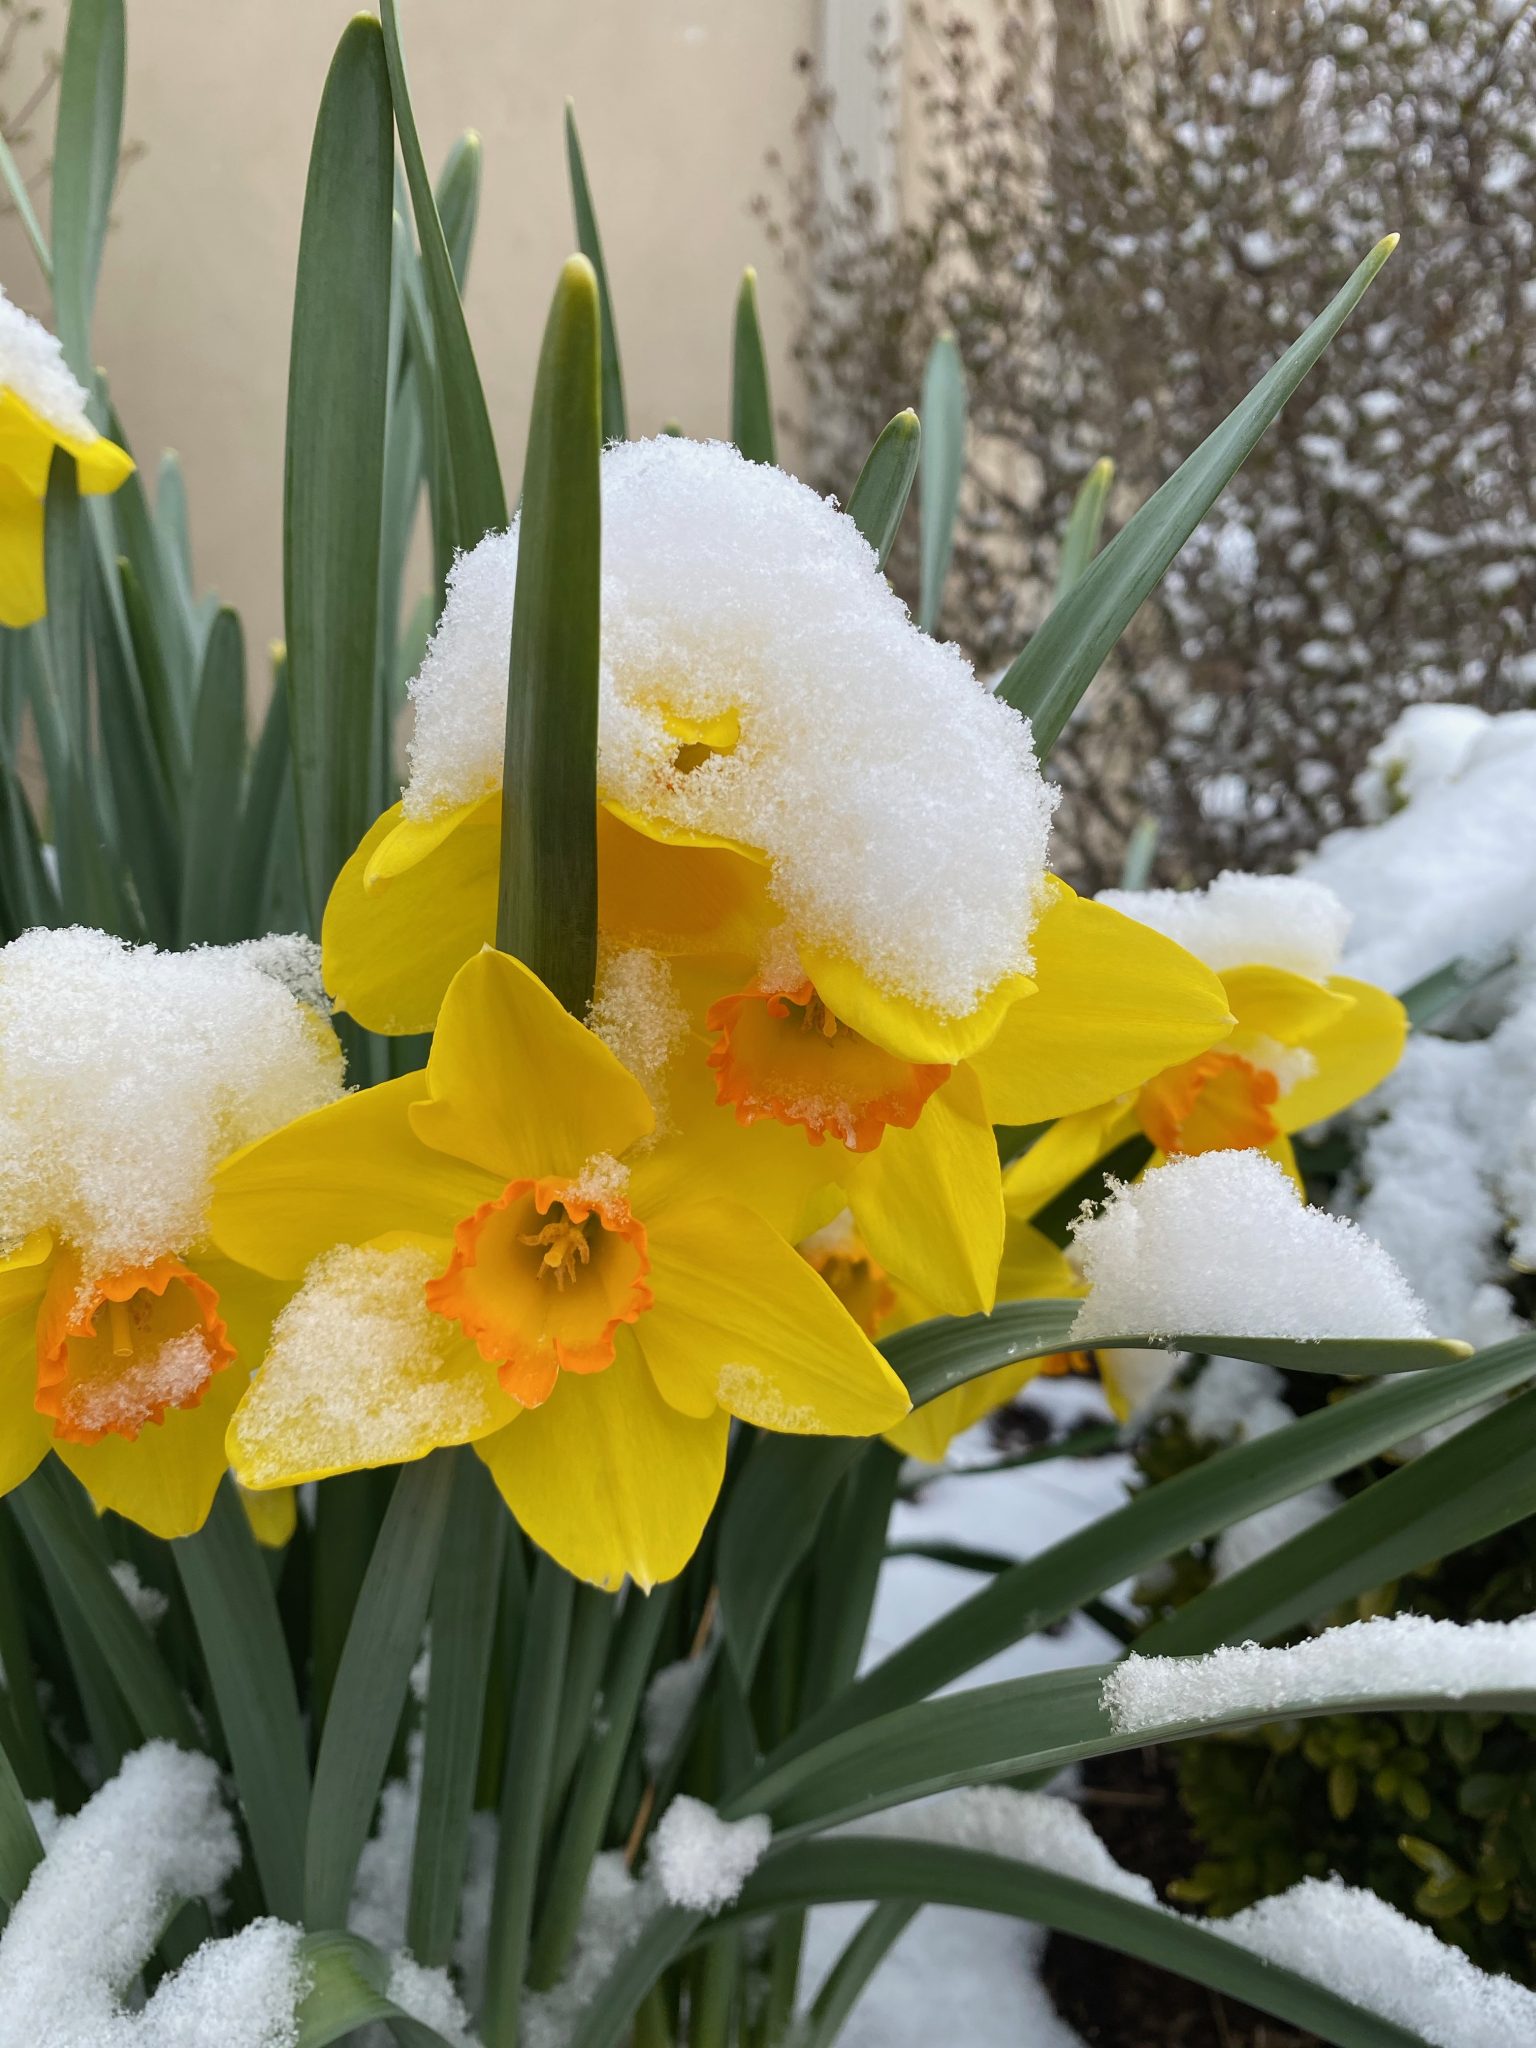
But what about all the perennials already leafing out and shrubs budding? Most spring plants will be ok. But if temperatures are predicted to be below 32ºF your more tender plants like geraniums, begonias, impatiens, peppers, and tomatoes need protecting!  A moderate freeze in the mid 20’s can be devastating to even more of your plants.

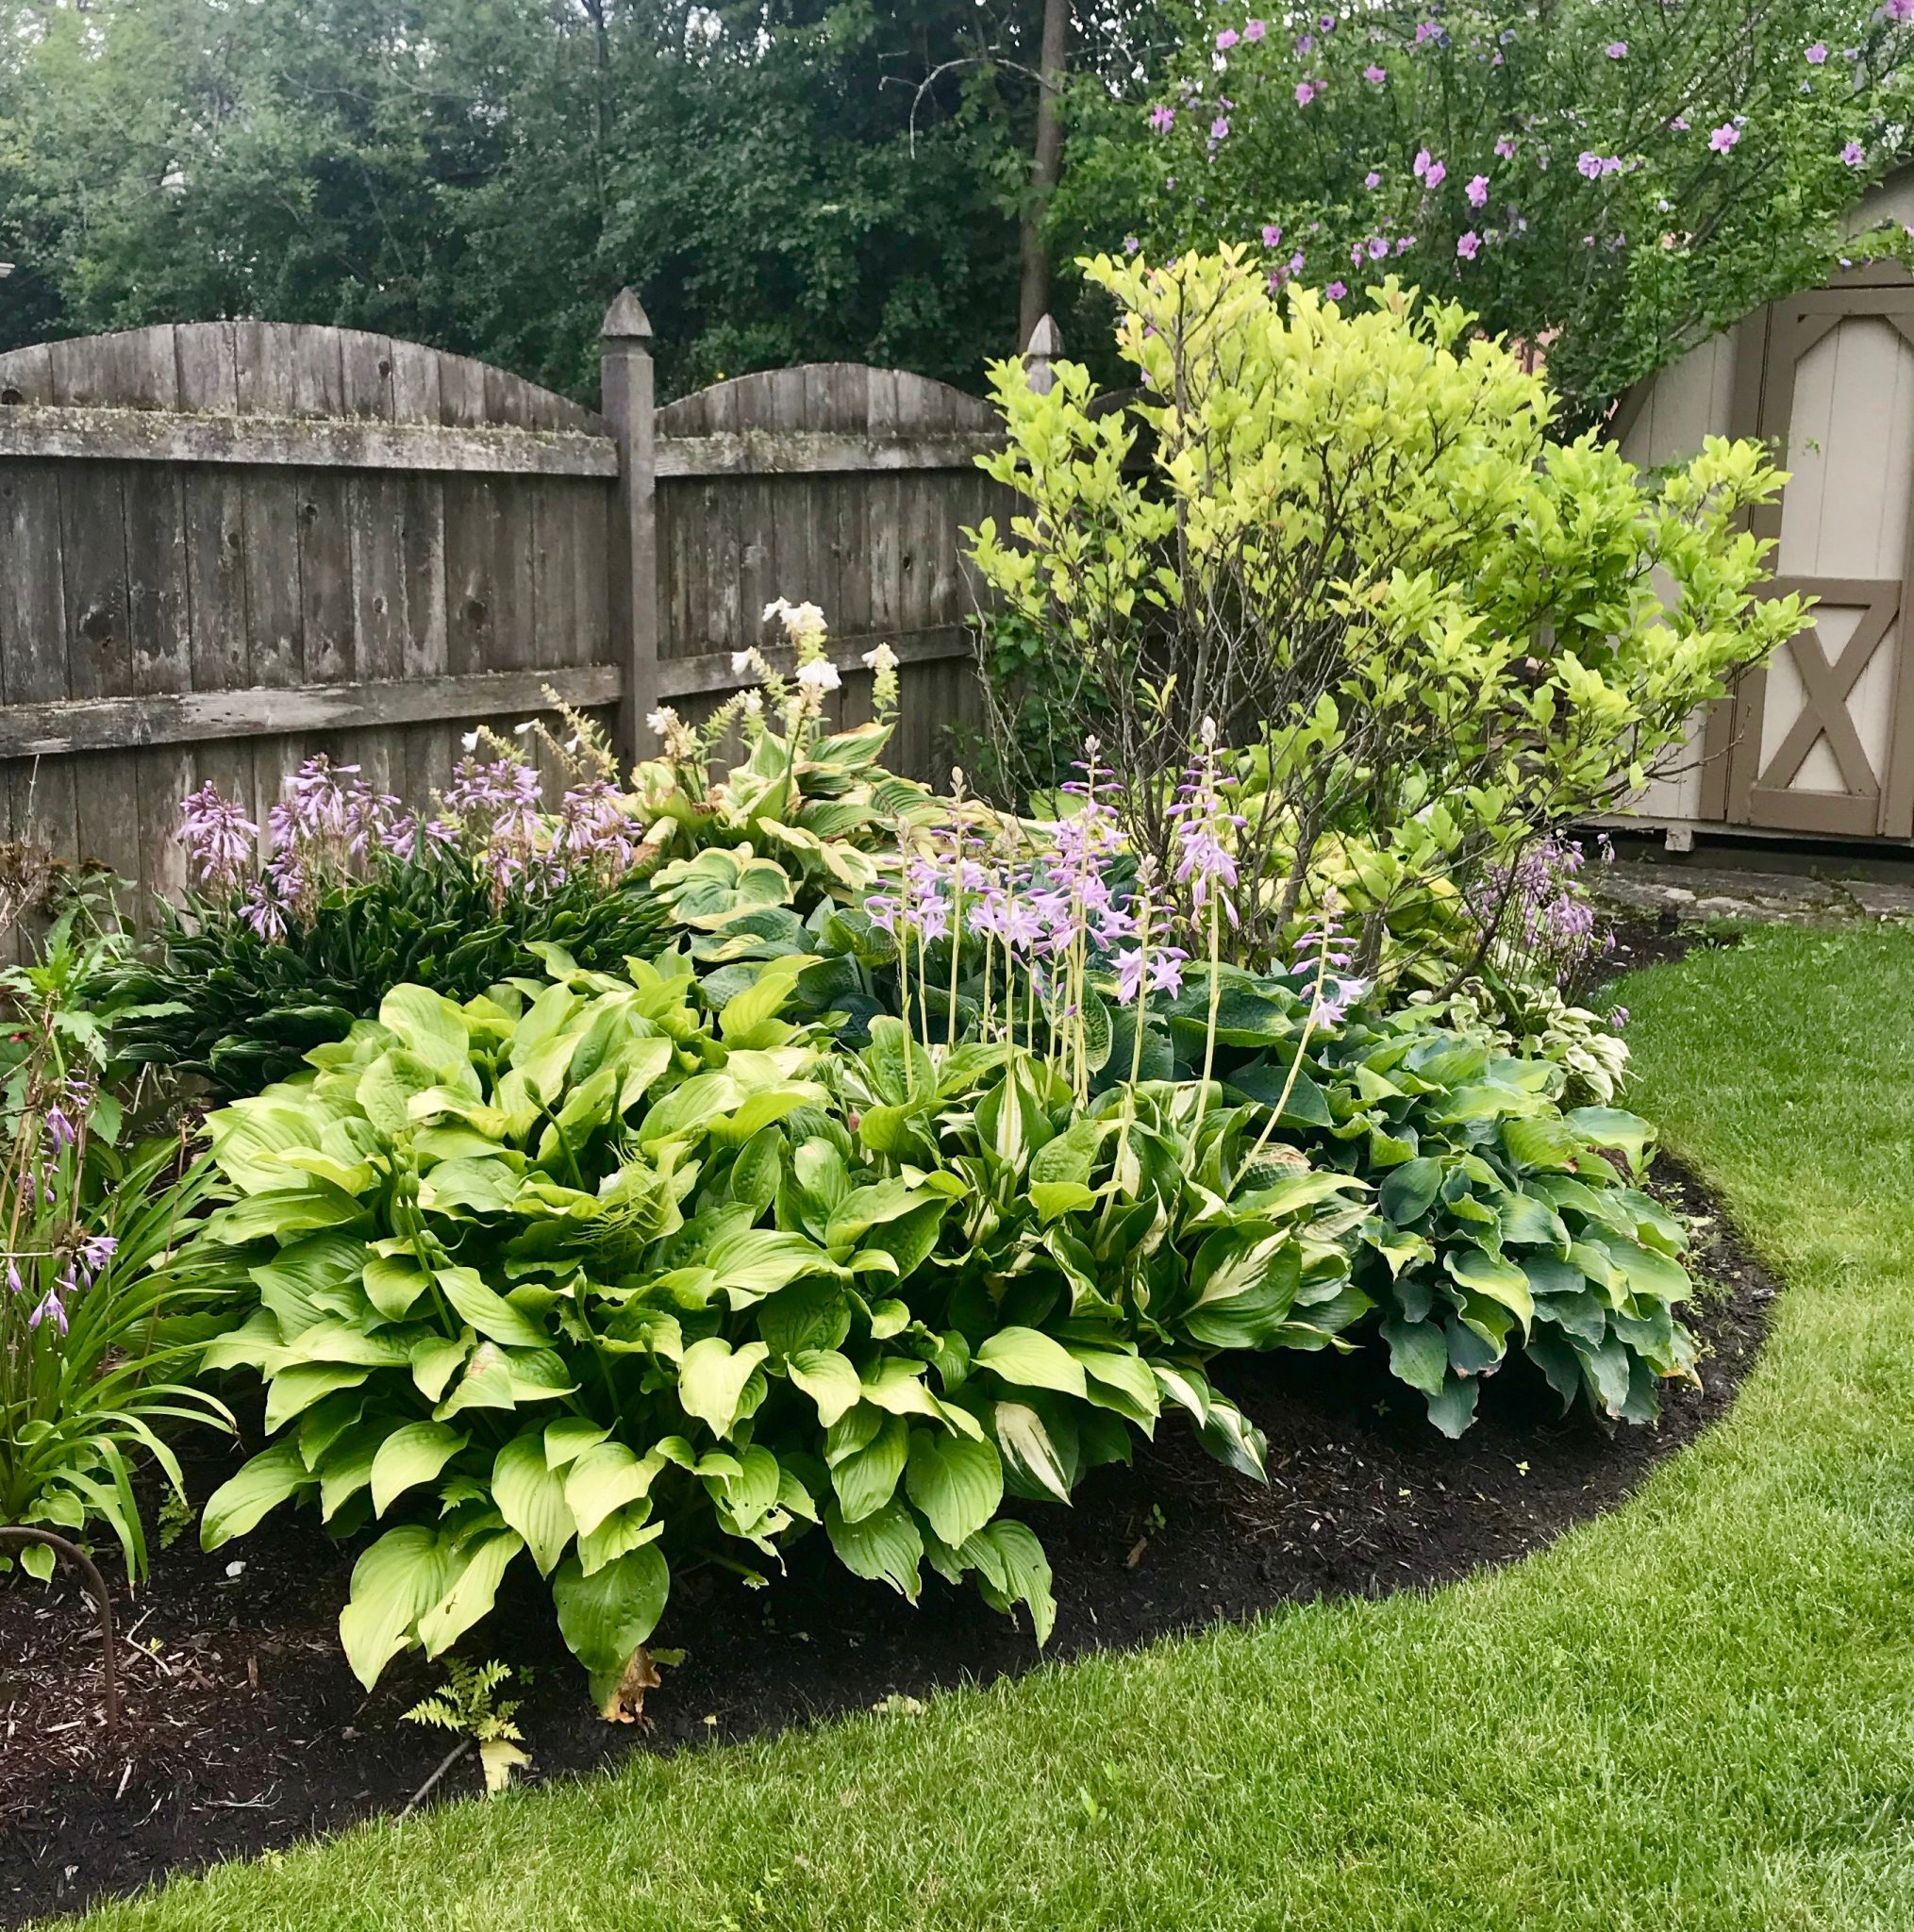
In my yard, I’m most worried about the hostas and early perennials that are pretty leafed out already, and flowering shrubs like the azaleas that haven’t flowered yet.

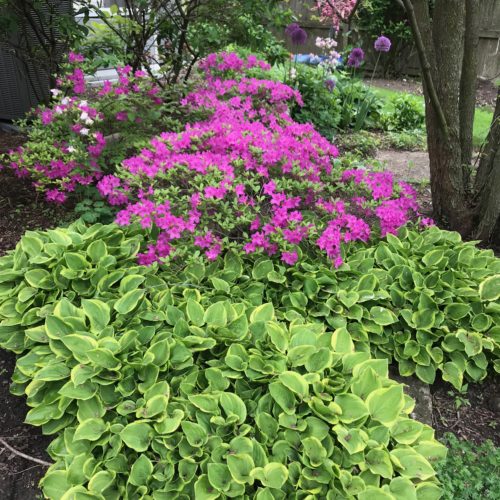
The magnolias and redbud are already in flower or done, so not so worried about them. But many others around the yard are just now coming into bloom.

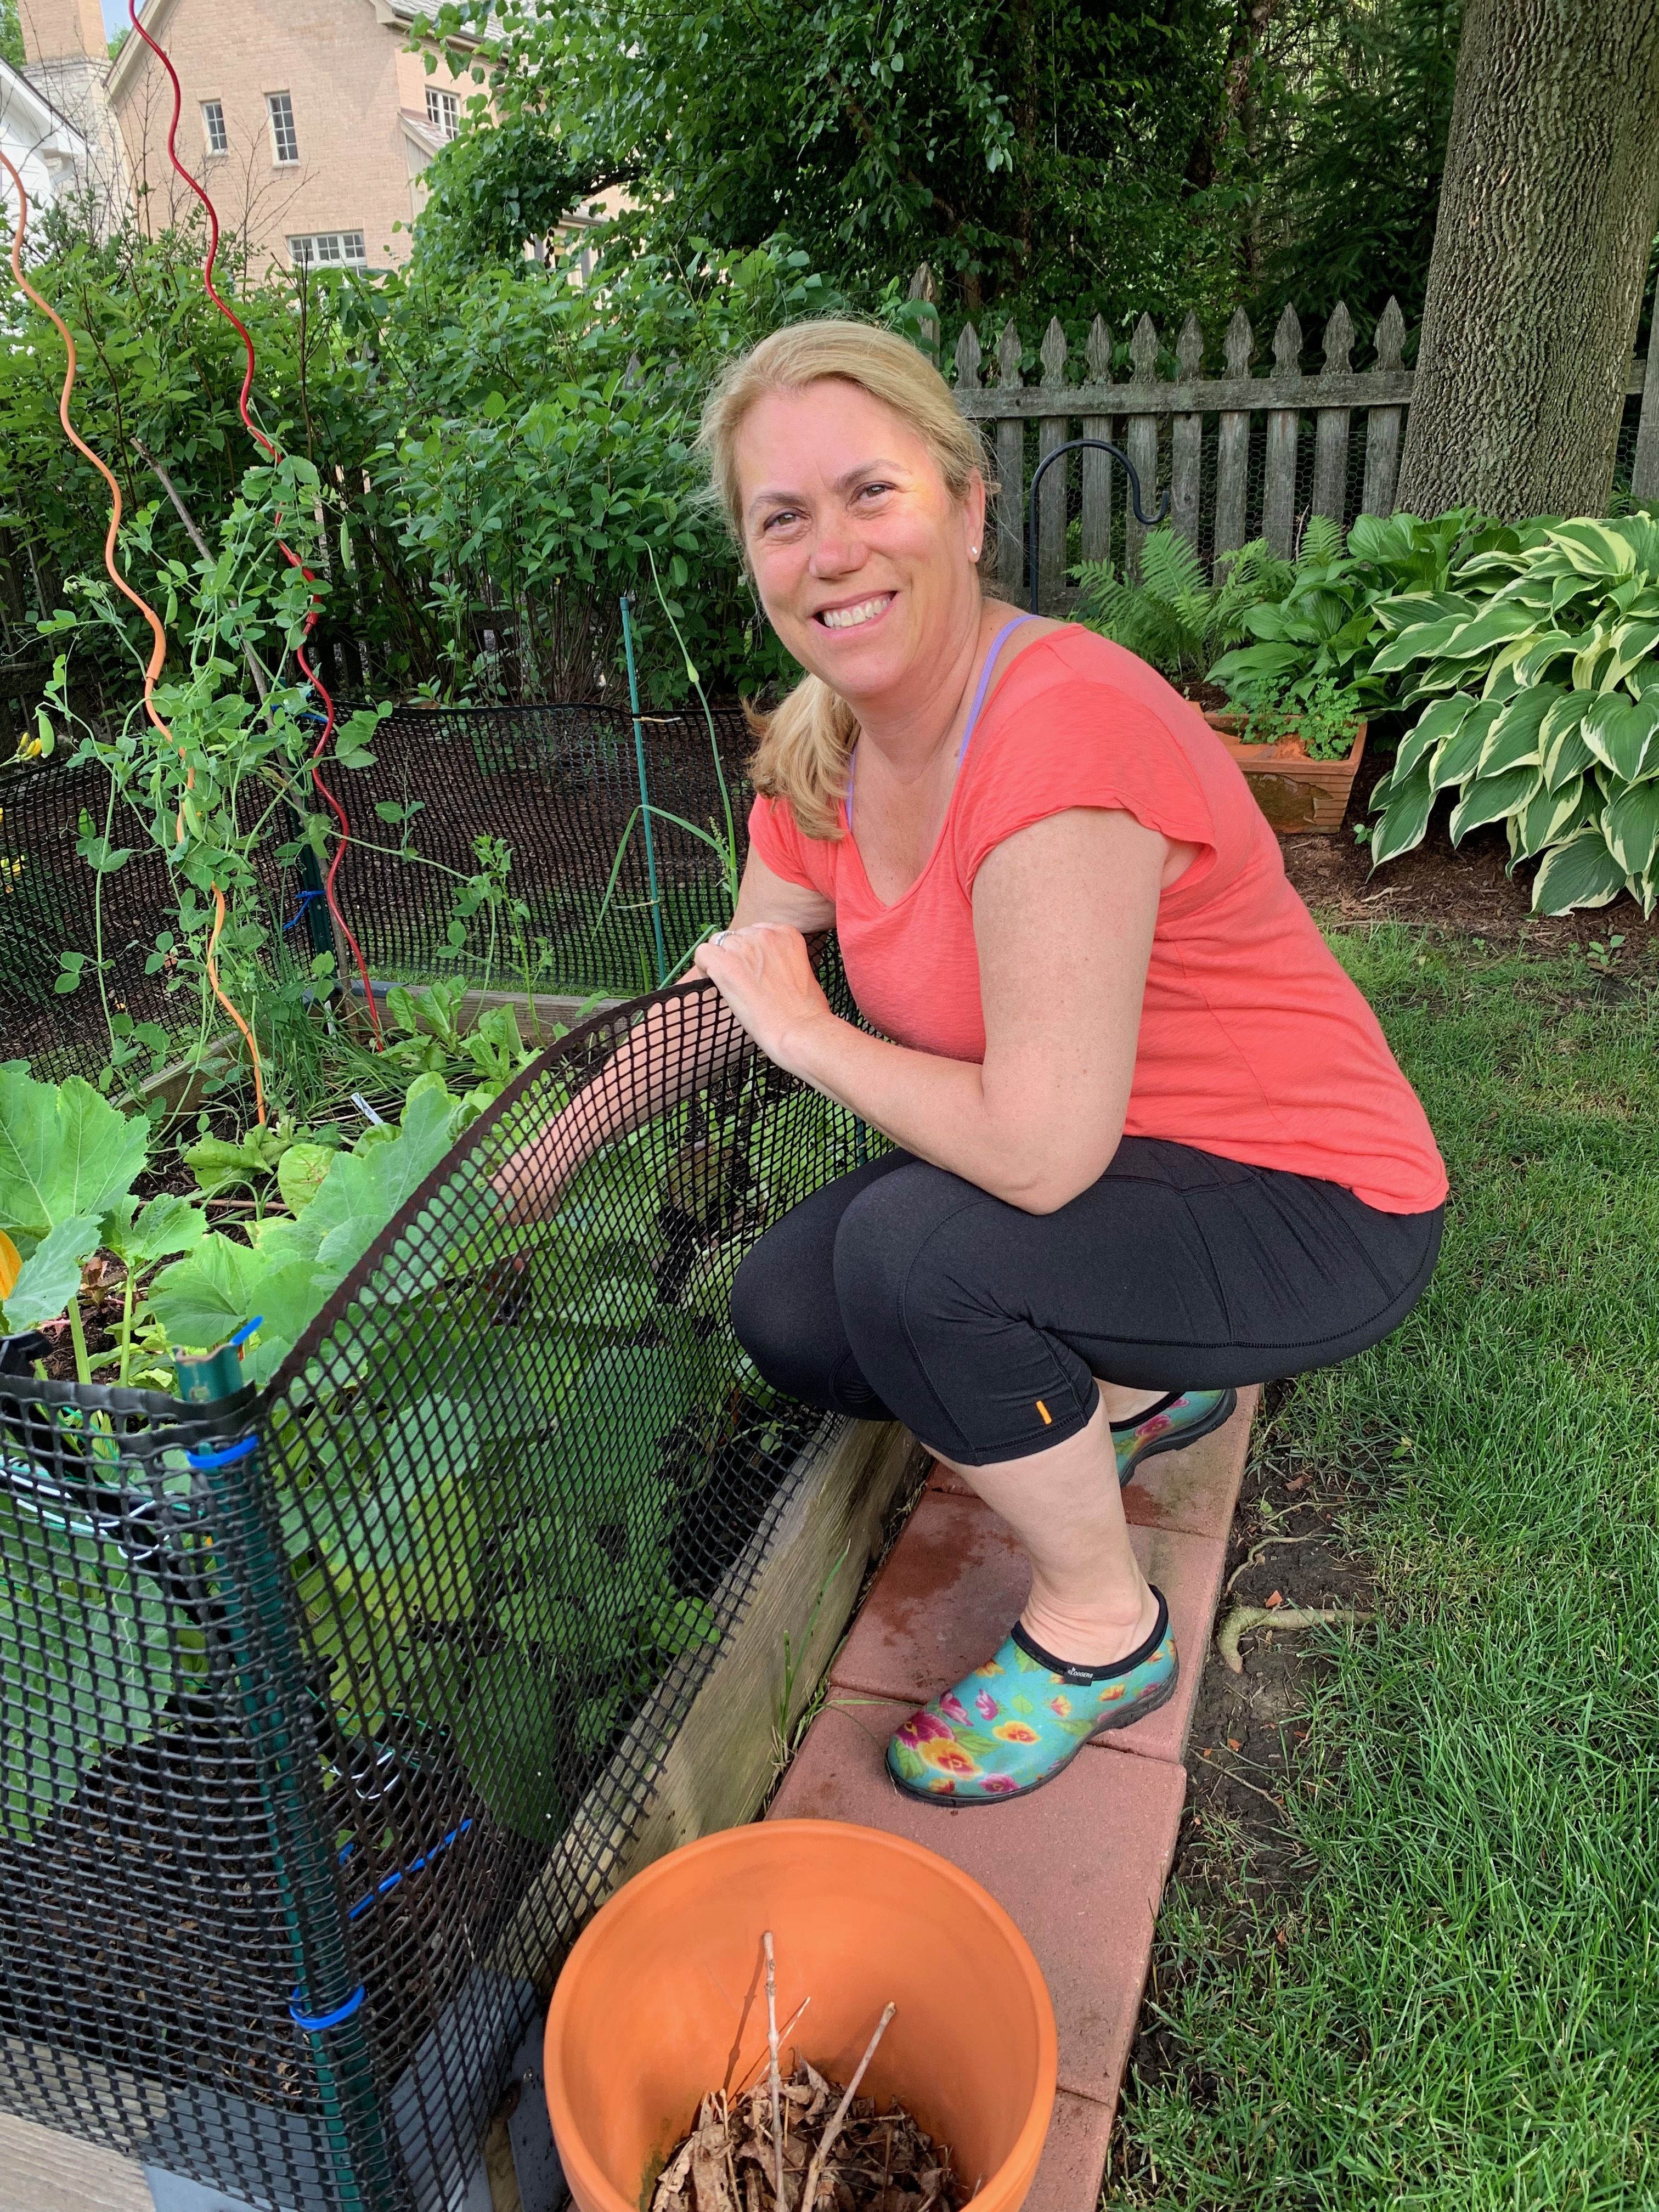
If you know that the plants are likely to be damaged by an overnight frost, you need to cover them with a sheet, blanket, a frost blanket or even an overturned bucket.

garden frost
This is my mom Peggy’s yard in Northern Michigan when she got hit with a late freeze a few years ago.

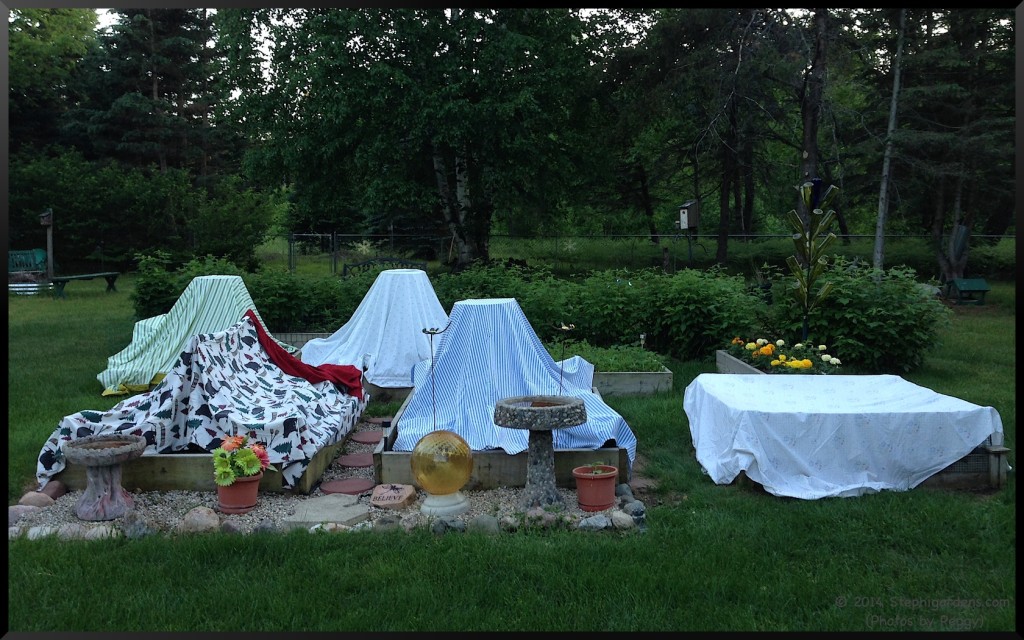
By tenting the sheets or frost blanket over the garden, it creates a warm air pocket around the plants from the warmed soil. If it’s thought to be colder than a light frost, you can add a layer of plastic over the blanket to trap even more warm air (but never put plastic right on the plants).  Be sure to remove the coverings first thing in the morning before condensation starts to form on the inside.  If still cold enough, the moisture could freeze on the plants and cause additional harm.  An actual hard freeze (below 28 º) requires even more elaborate weather protection, or you may just need to sigh and start over.

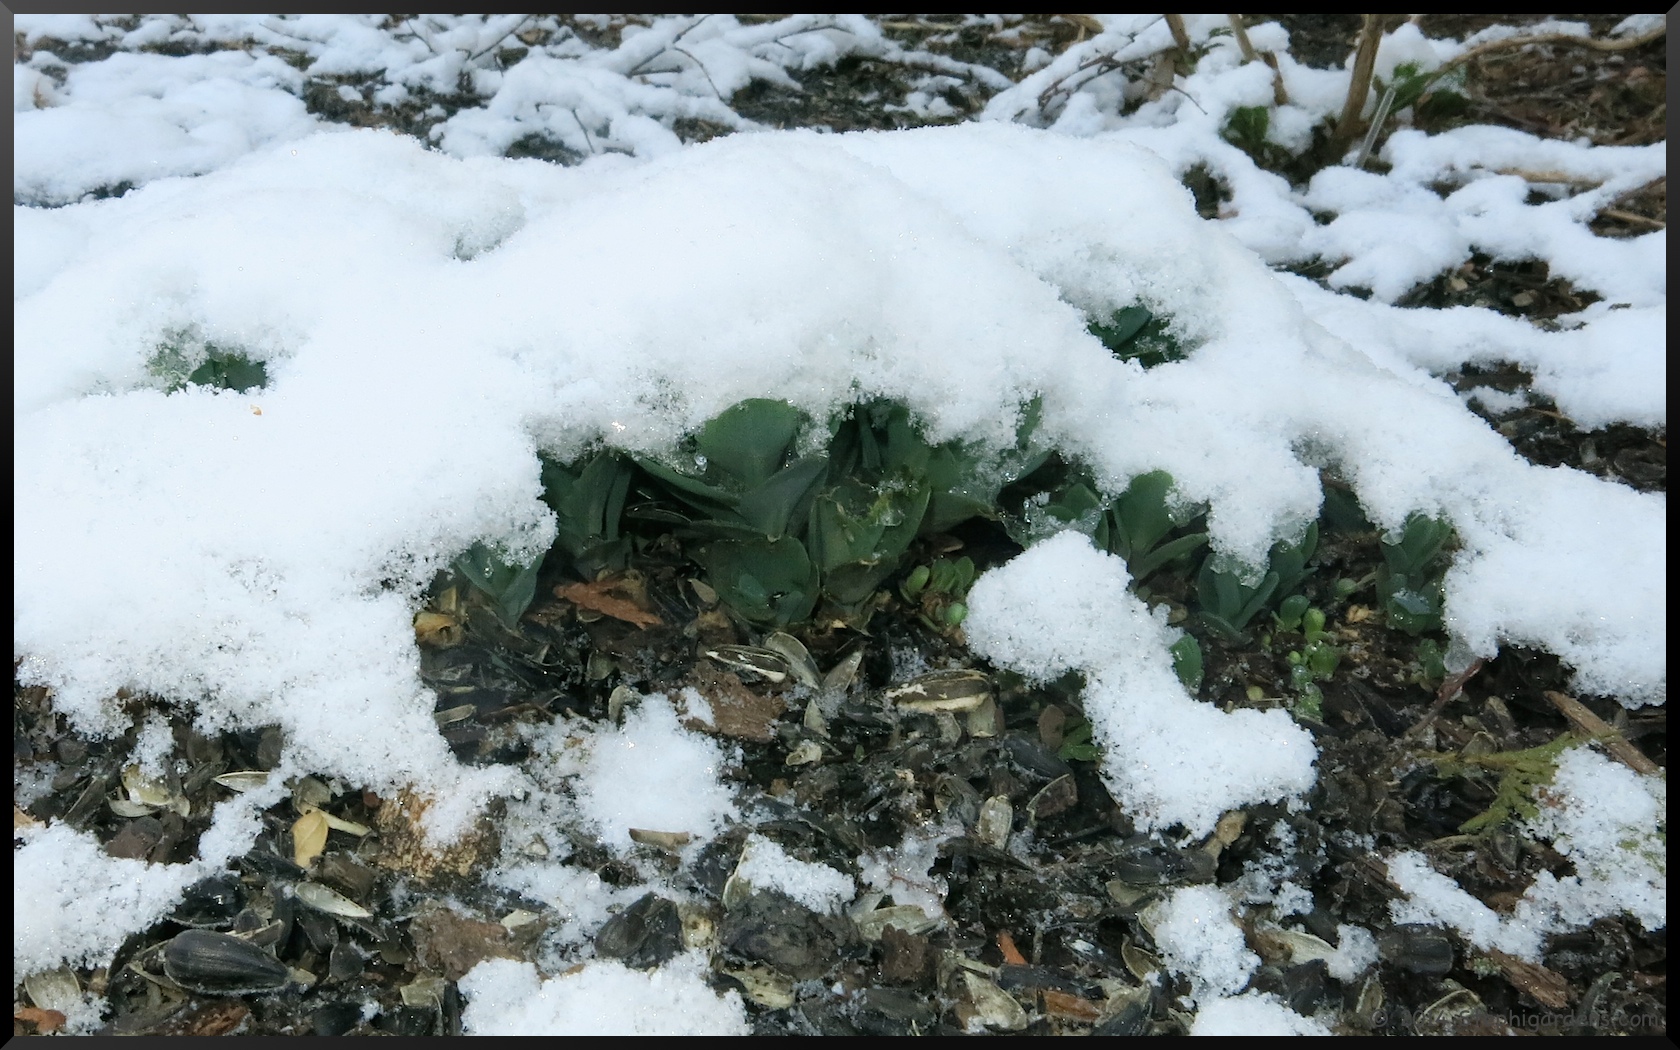
Plants like hostas will survive the frost or freeze, but will cause frost “cracks” or even cause portions of the leaves turn white and wilt. Damaged leaves will not come back, so trim them off and new leaves will continue to fill in throughout the summer. If a lot of the plant is damaged, the plant should survive, it’ll just be smaller than normal.

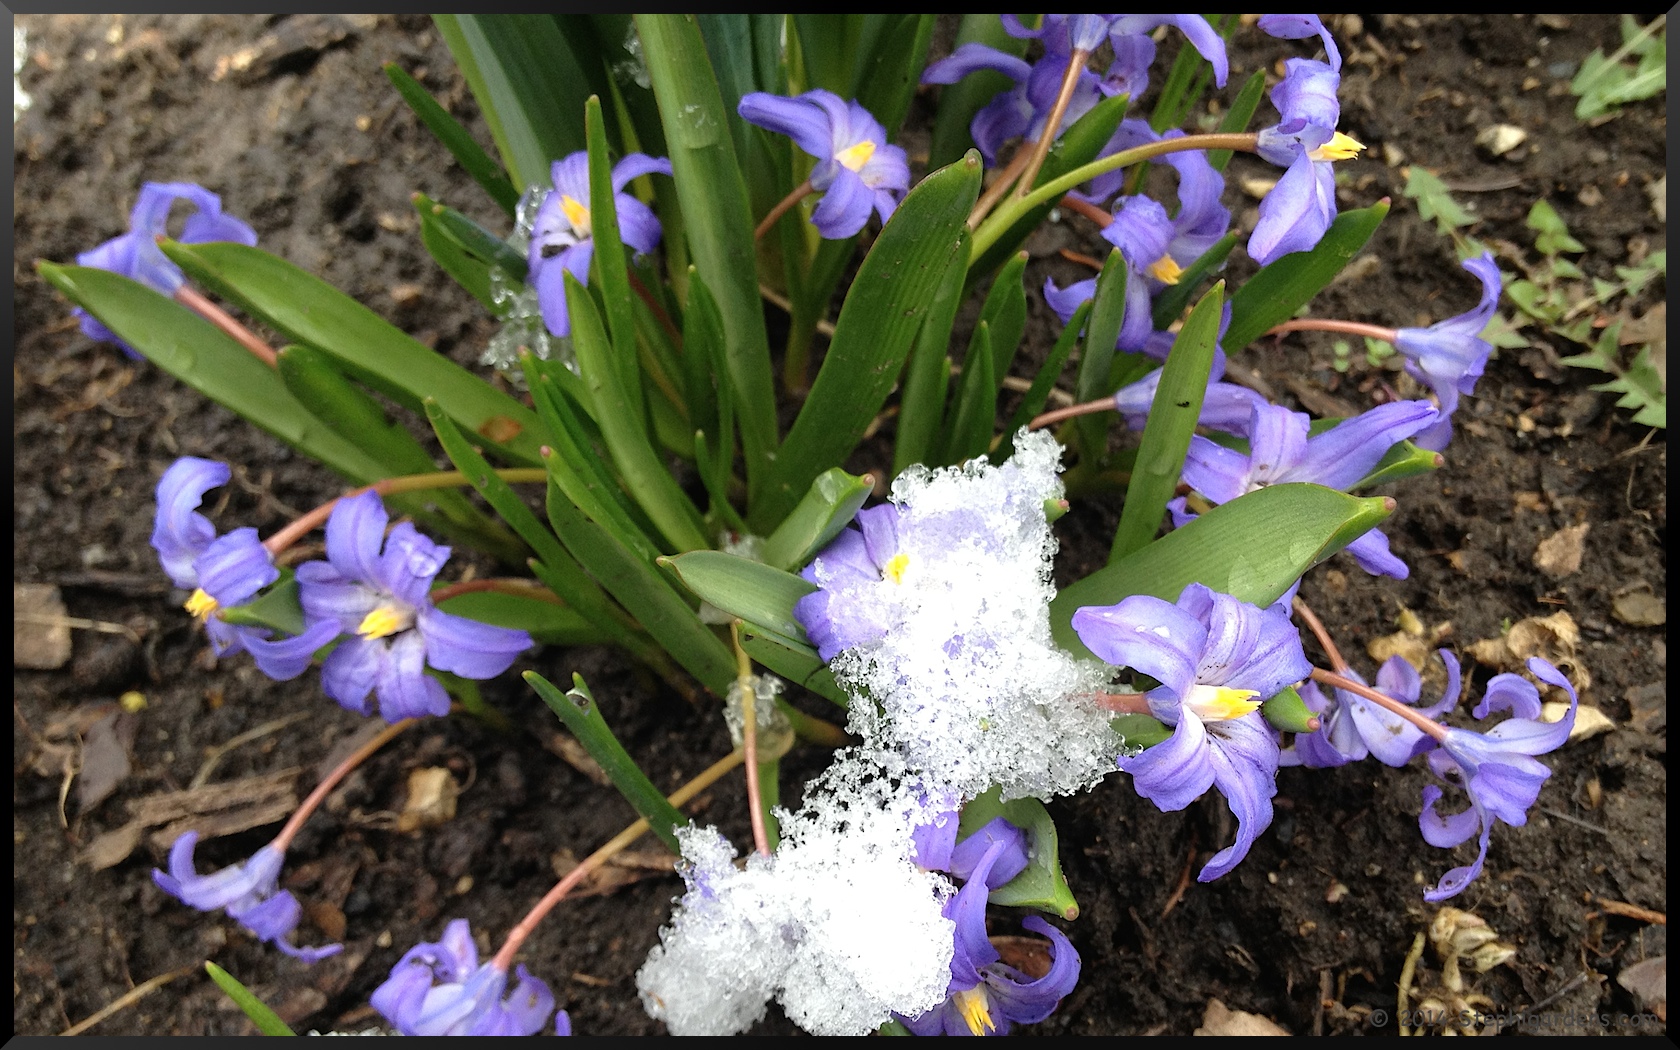
Most perennial flowers can take a light frost with temps between 32-35º degrees. A hard freeze with temps of 28º or lower will most likely kill the flowers, but not the plants. If you have beautiful spring flowers in your garden and you hear a hard freeze below 28º is in the forecast, maybe it’s time to bring spring inside by cutting those flowers and making a beautiful spring bouquet..

Two more thoughts for tonight:

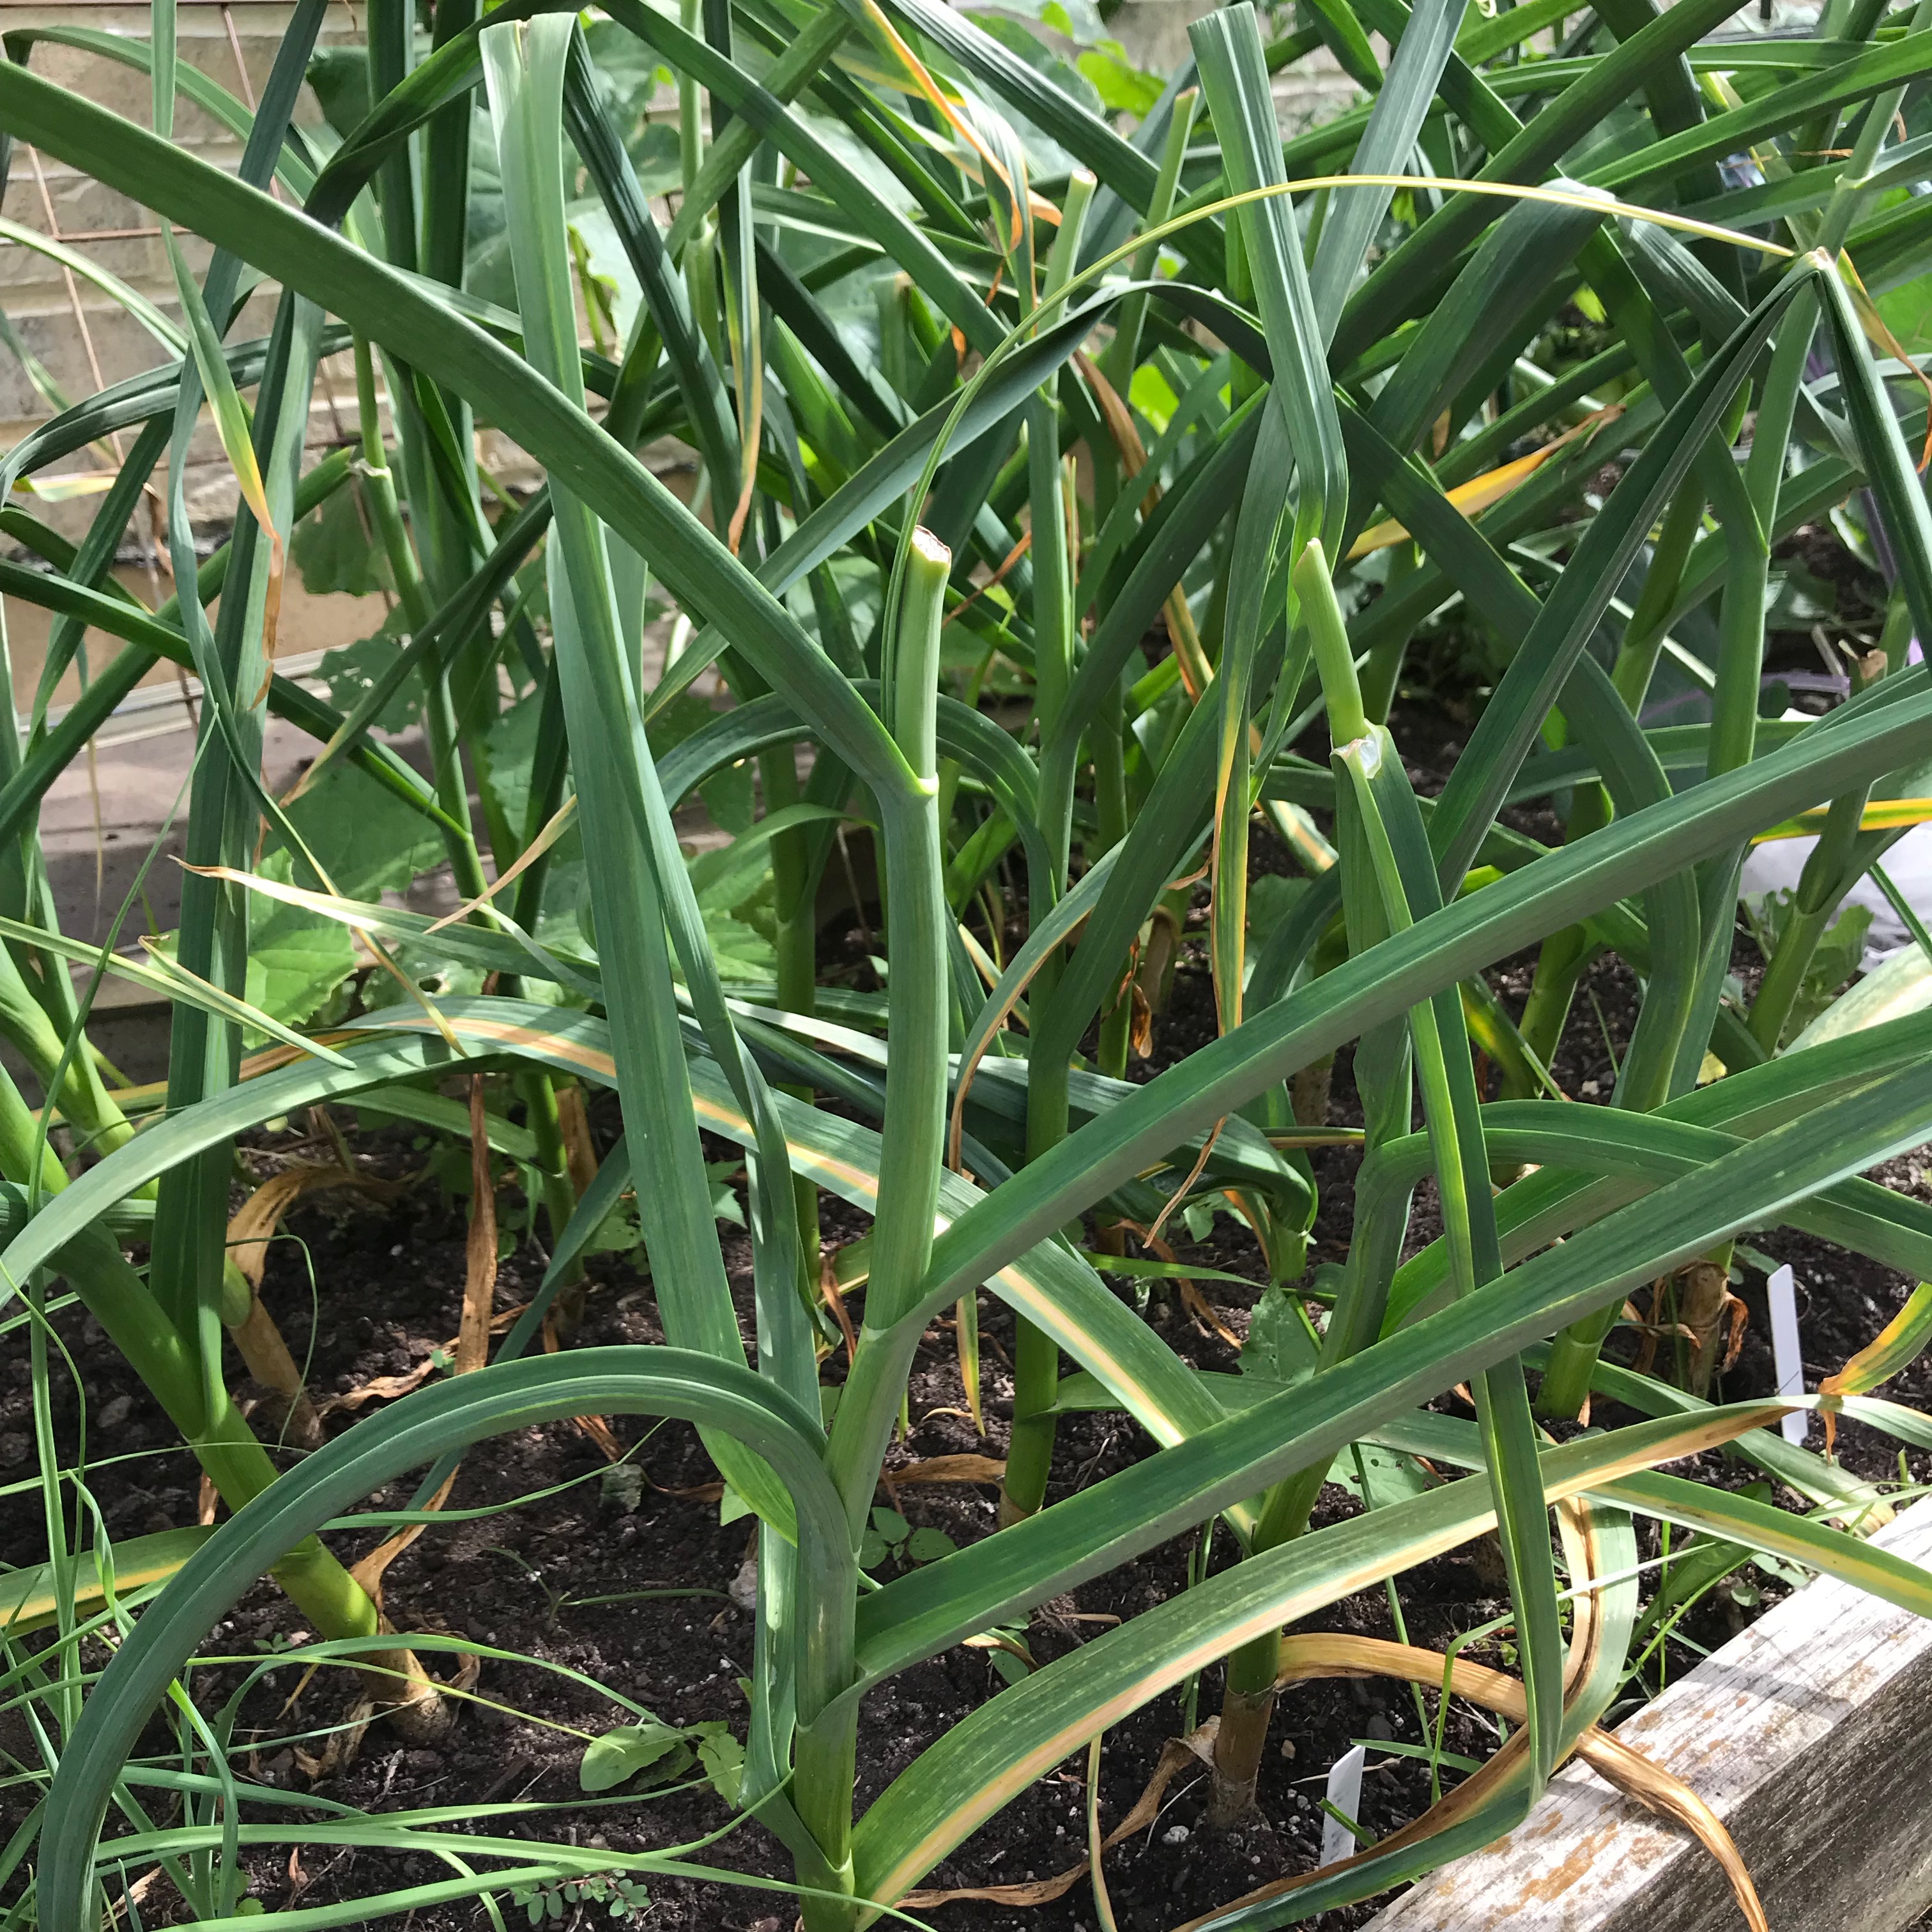
Garlic and Shallots–Garlic and shallots will be fine at these temperatures. The leaves may turn a little yellow, but the growing bulbs will be fine.

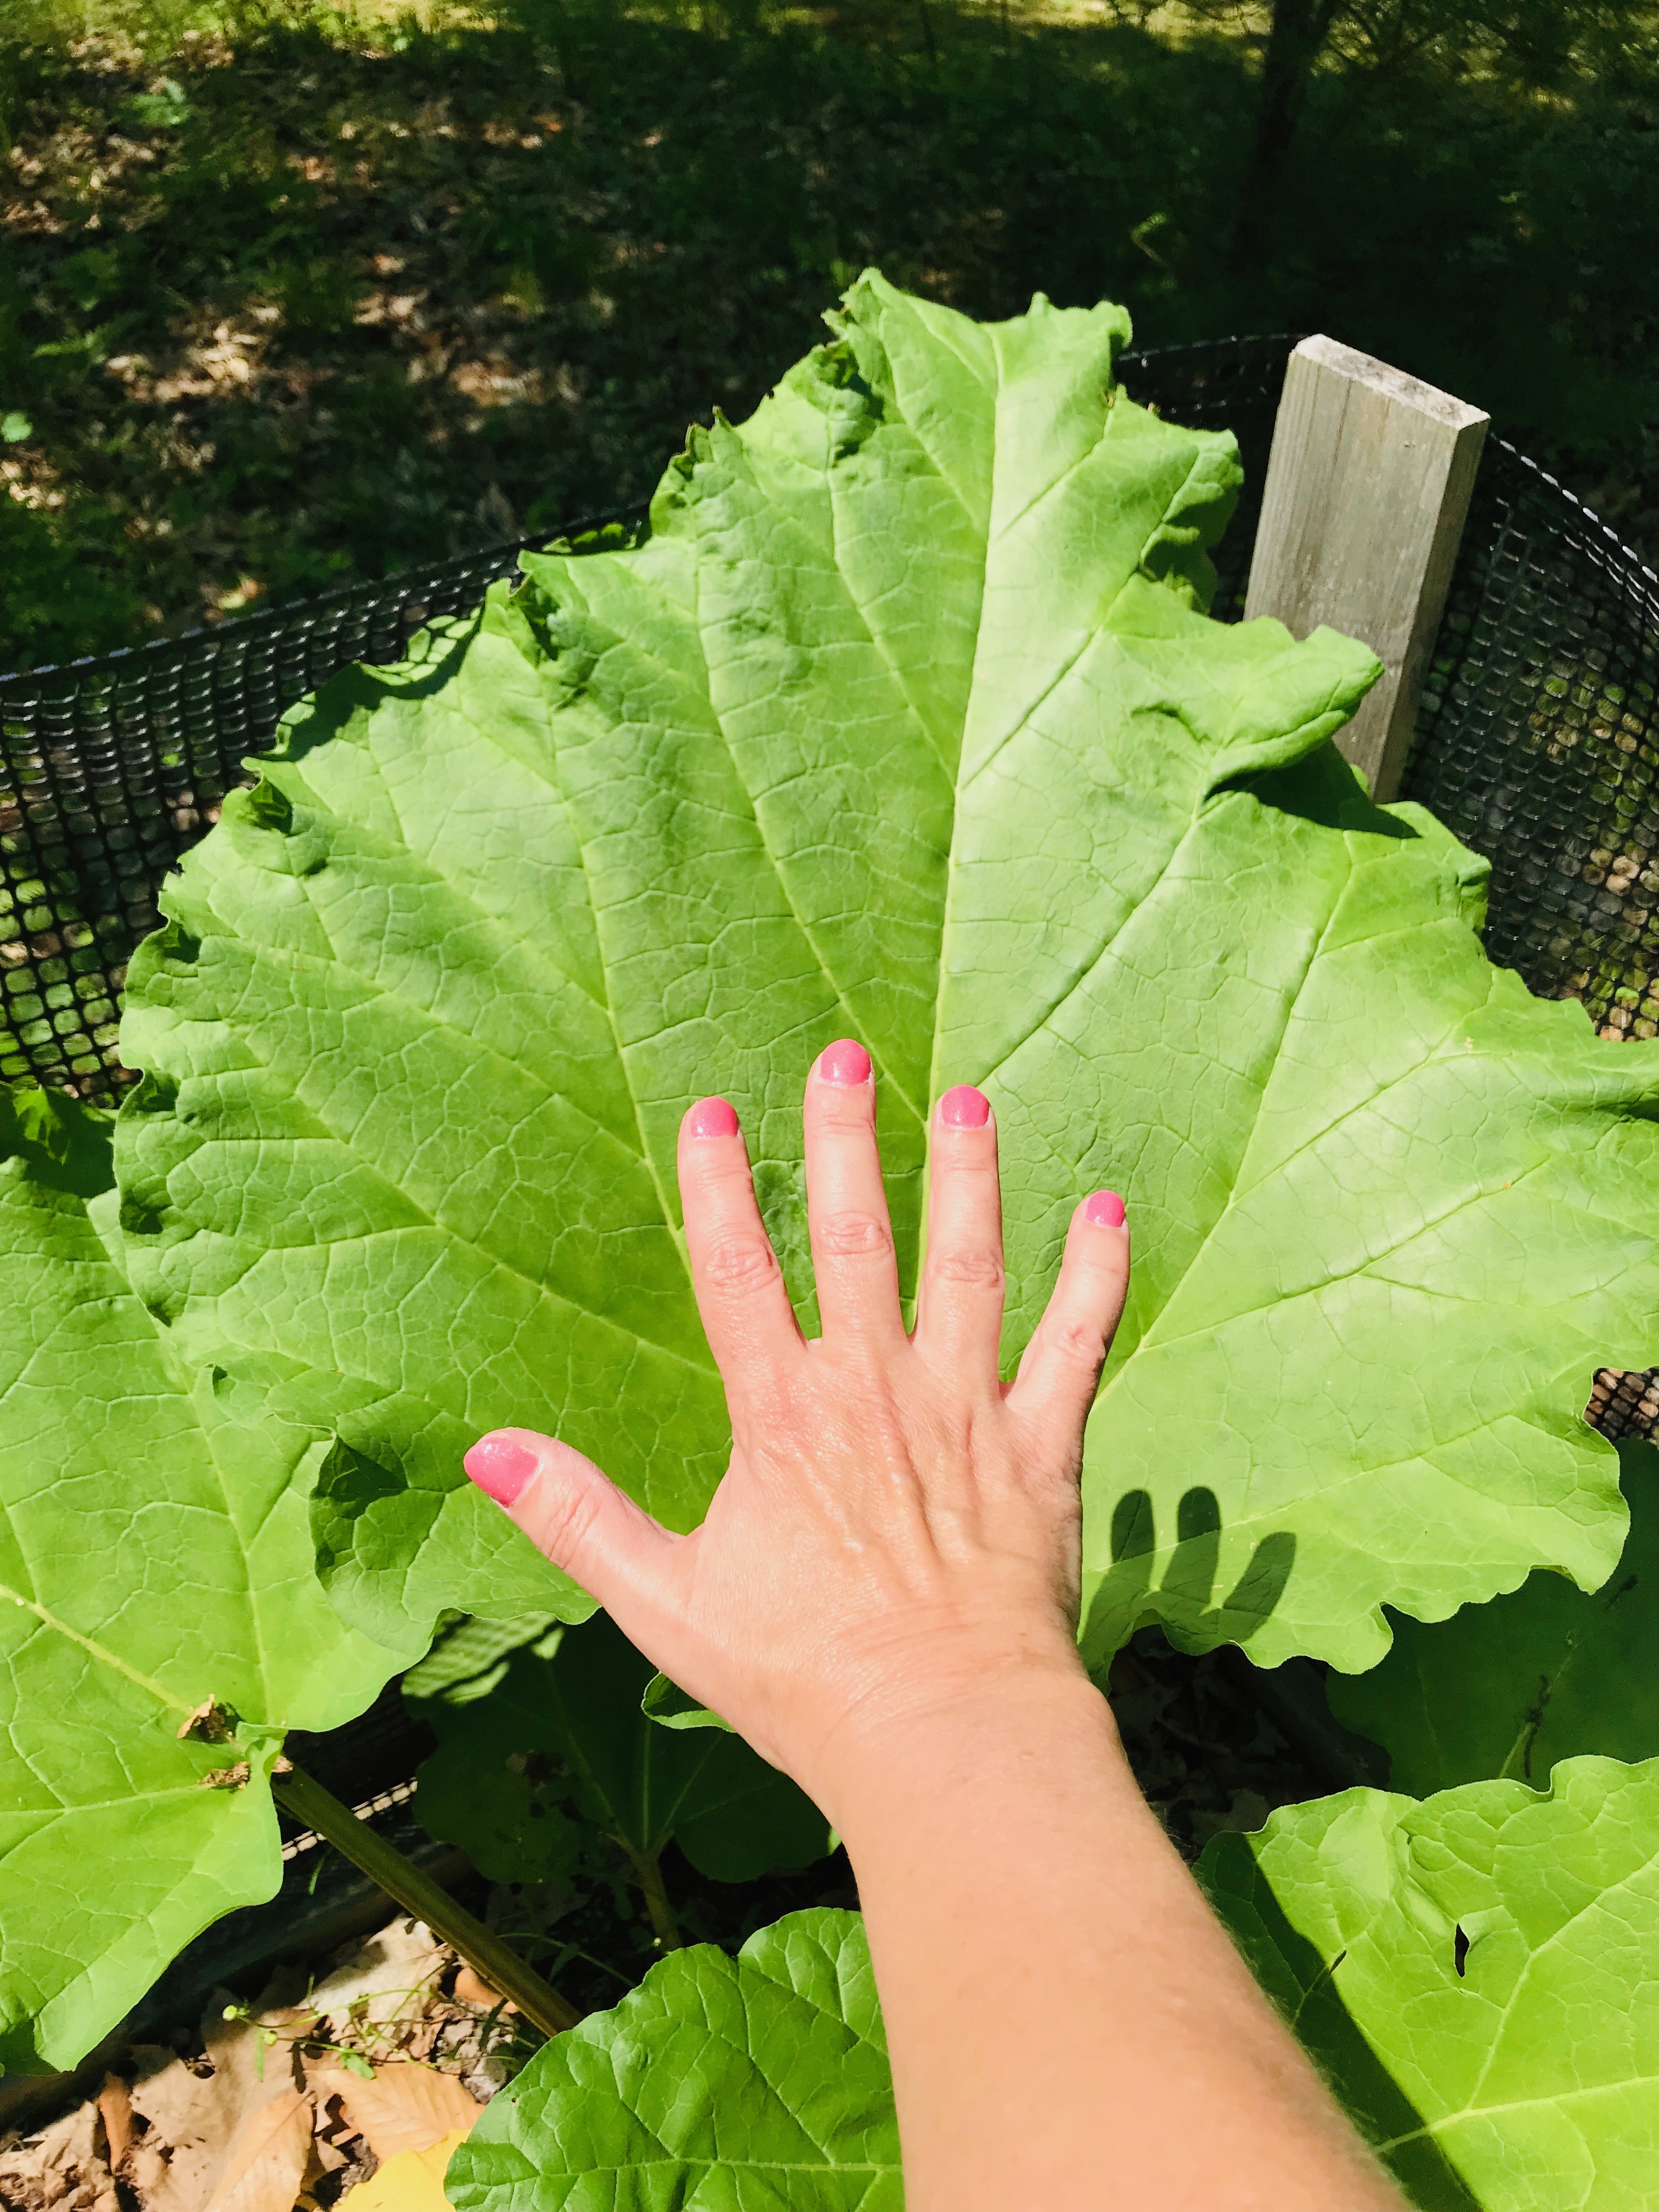
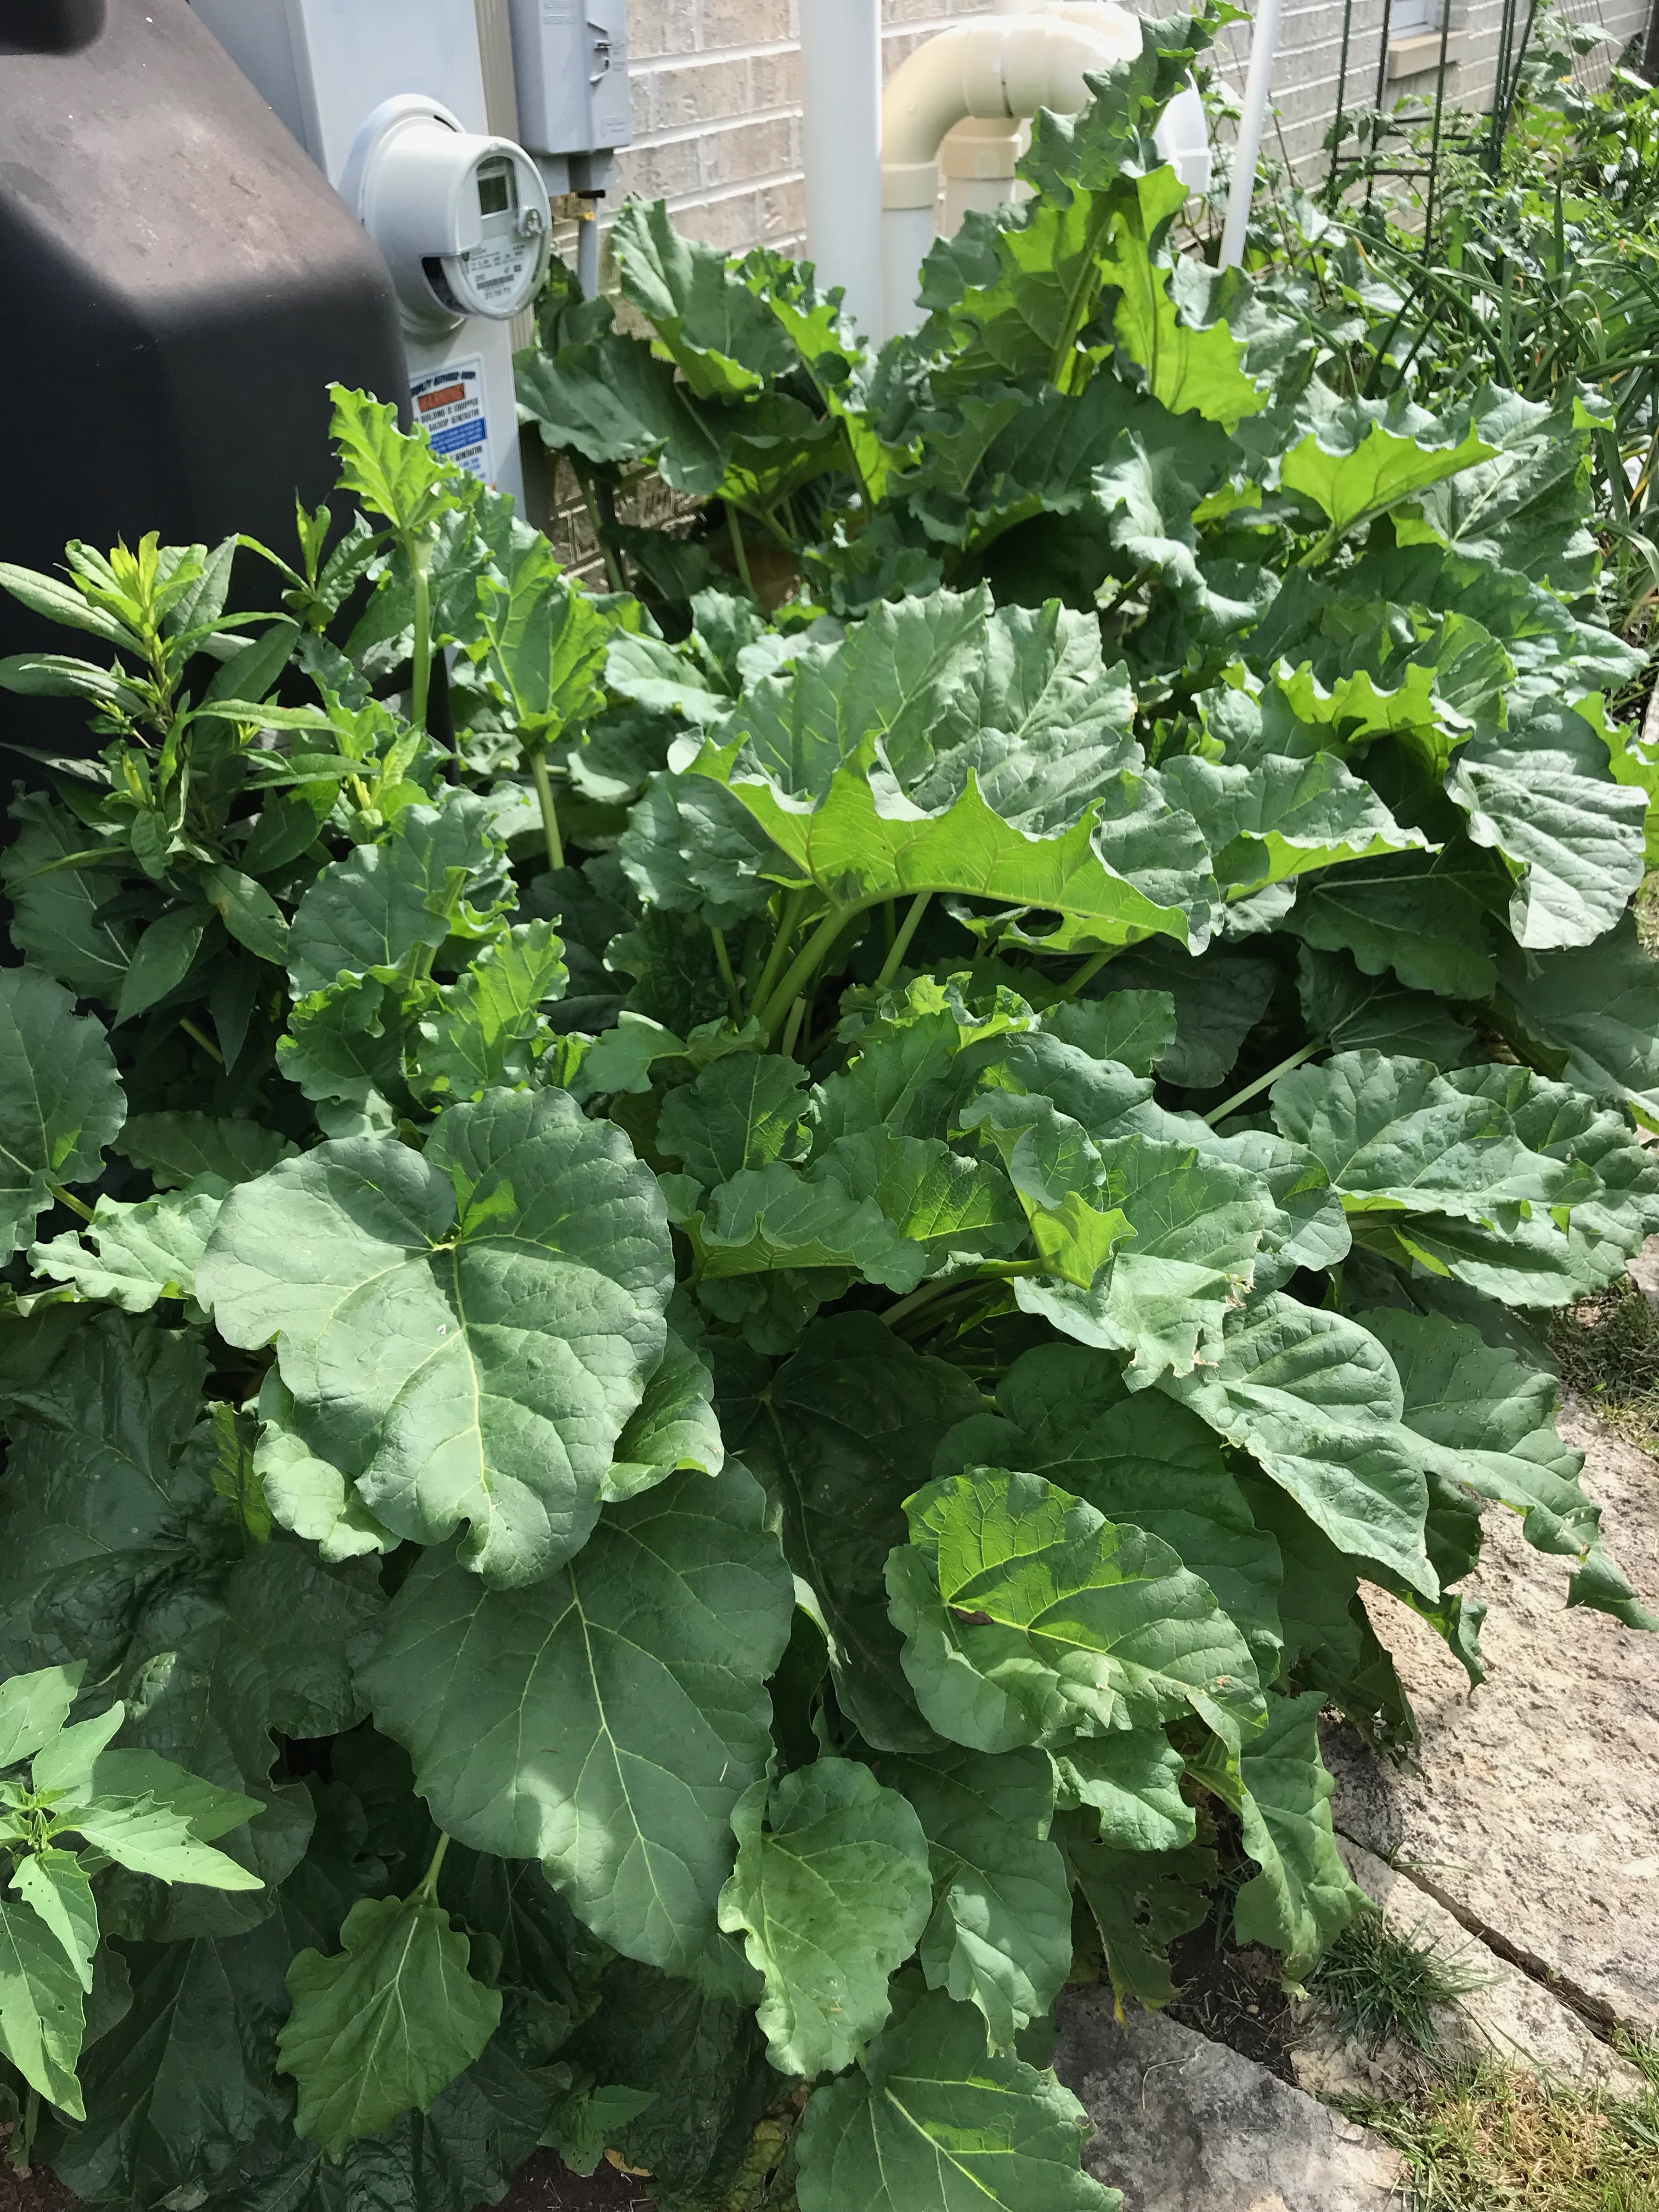
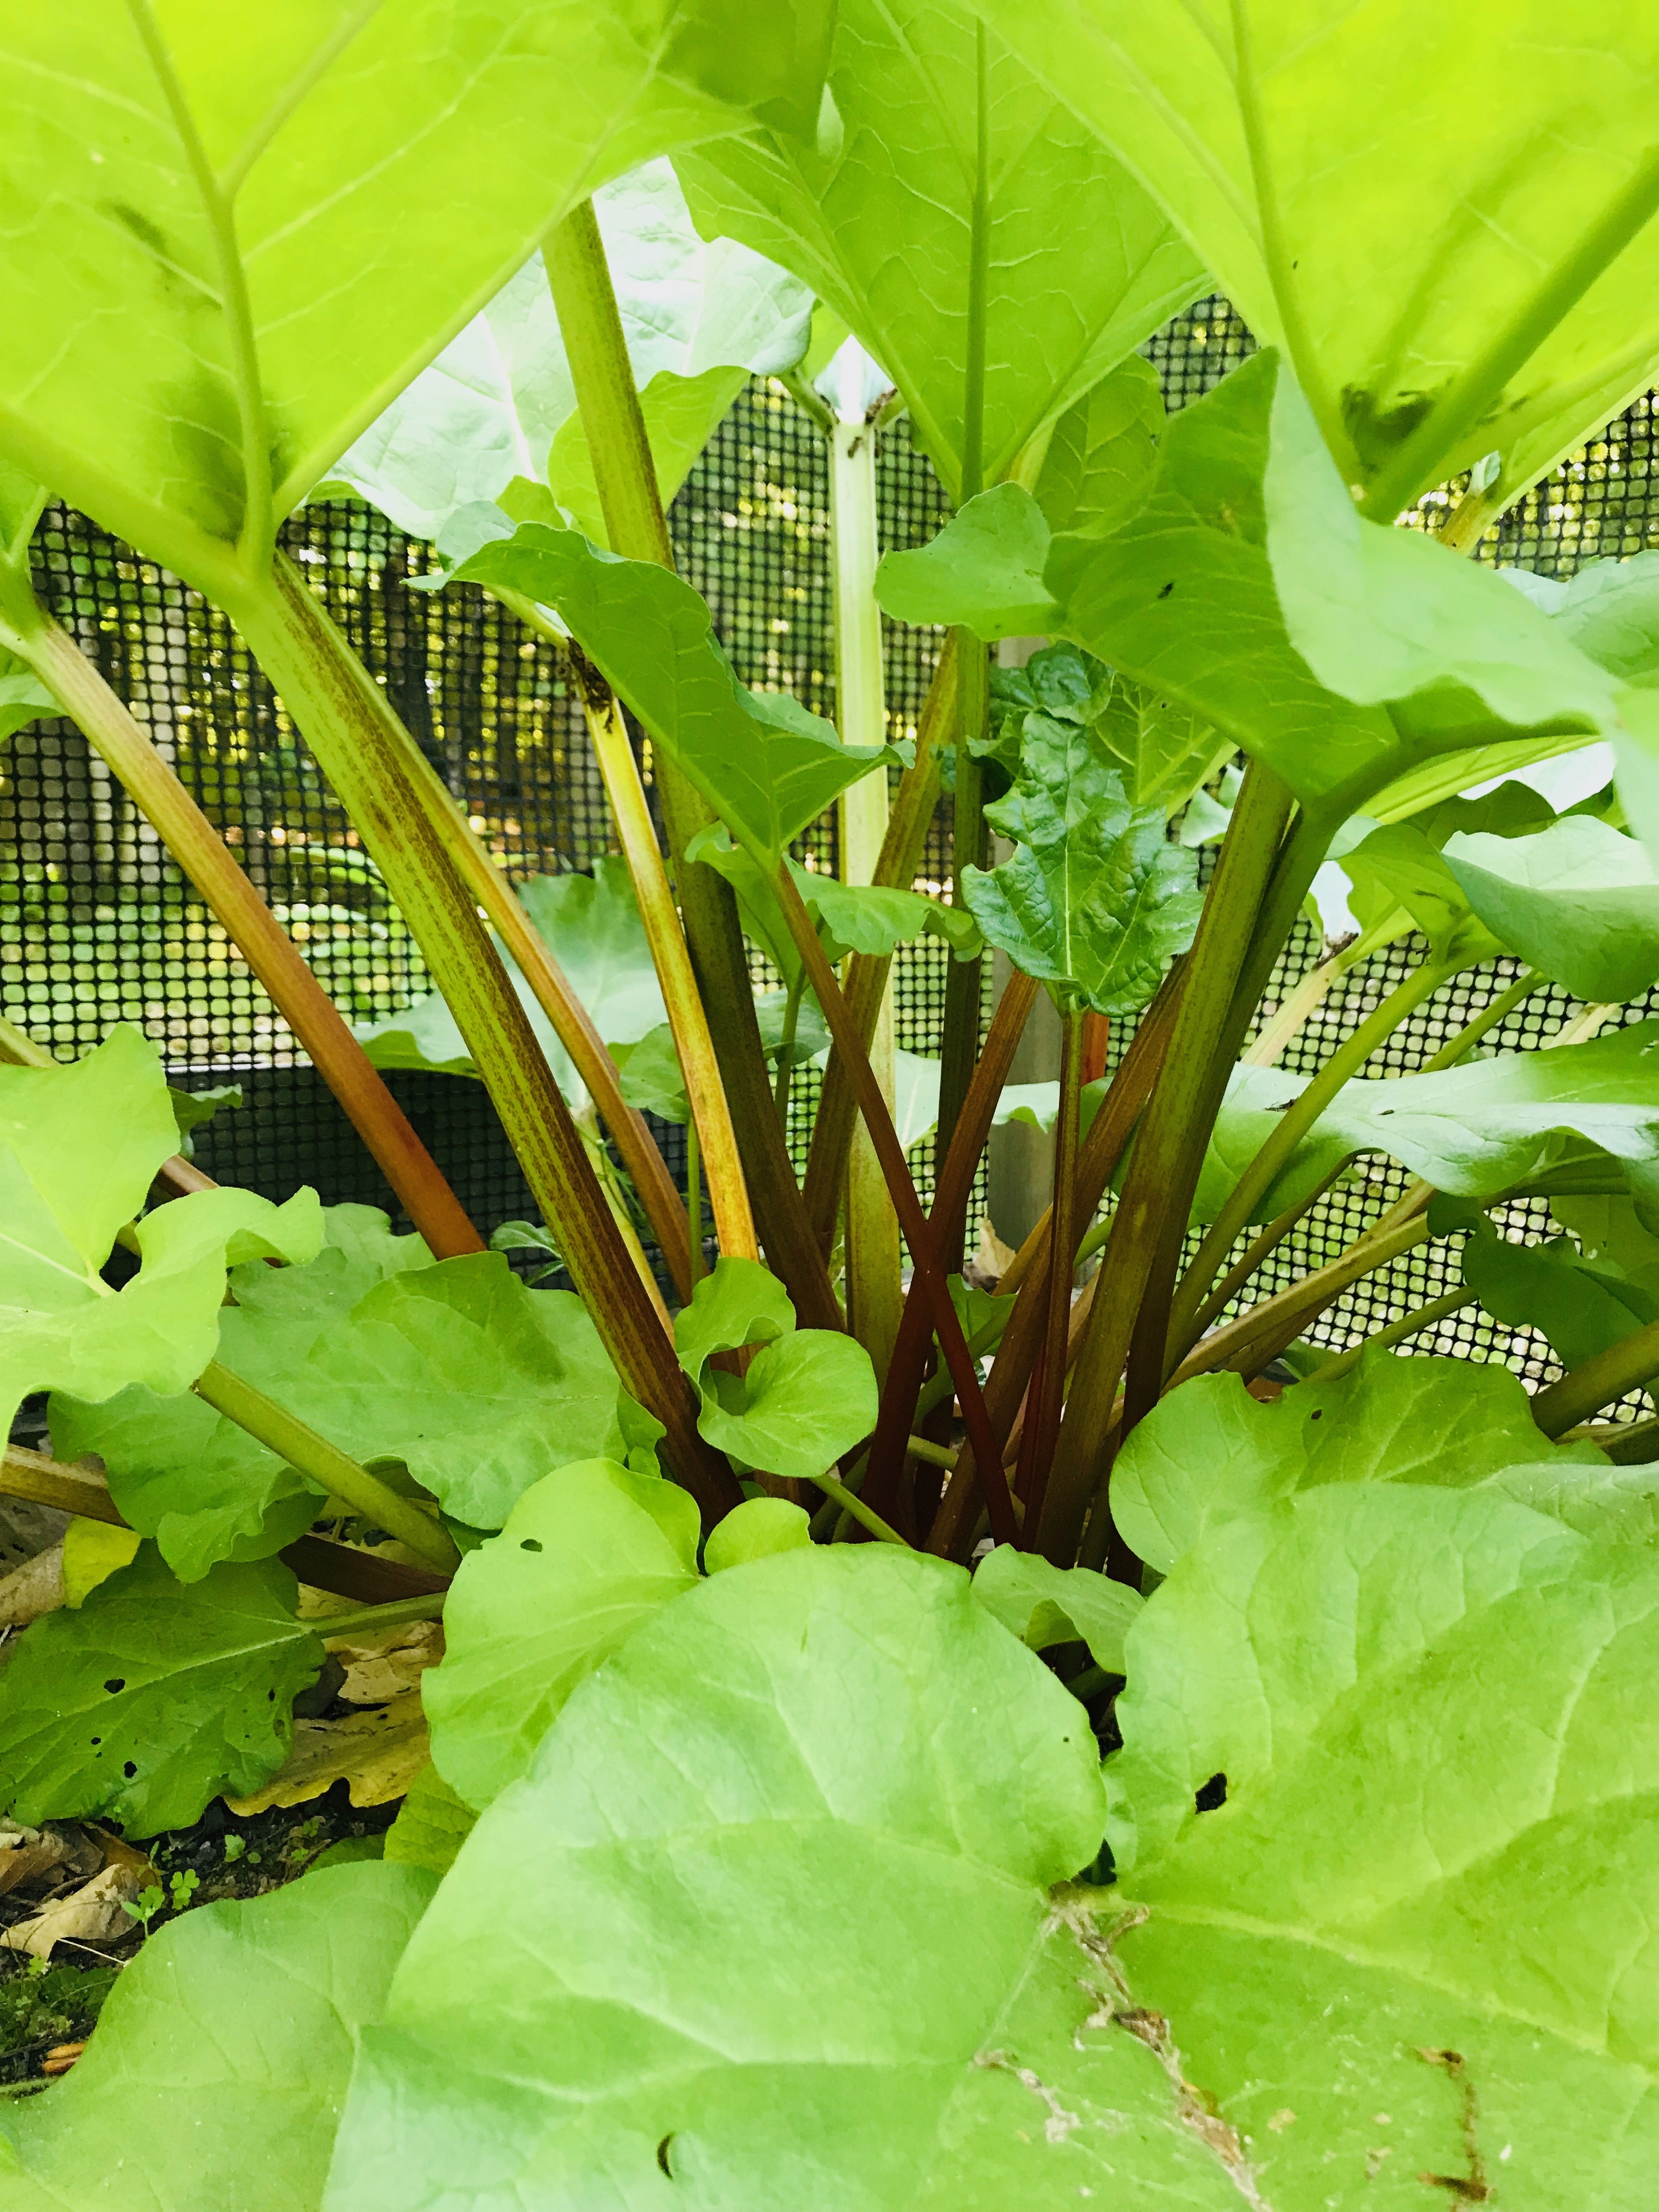
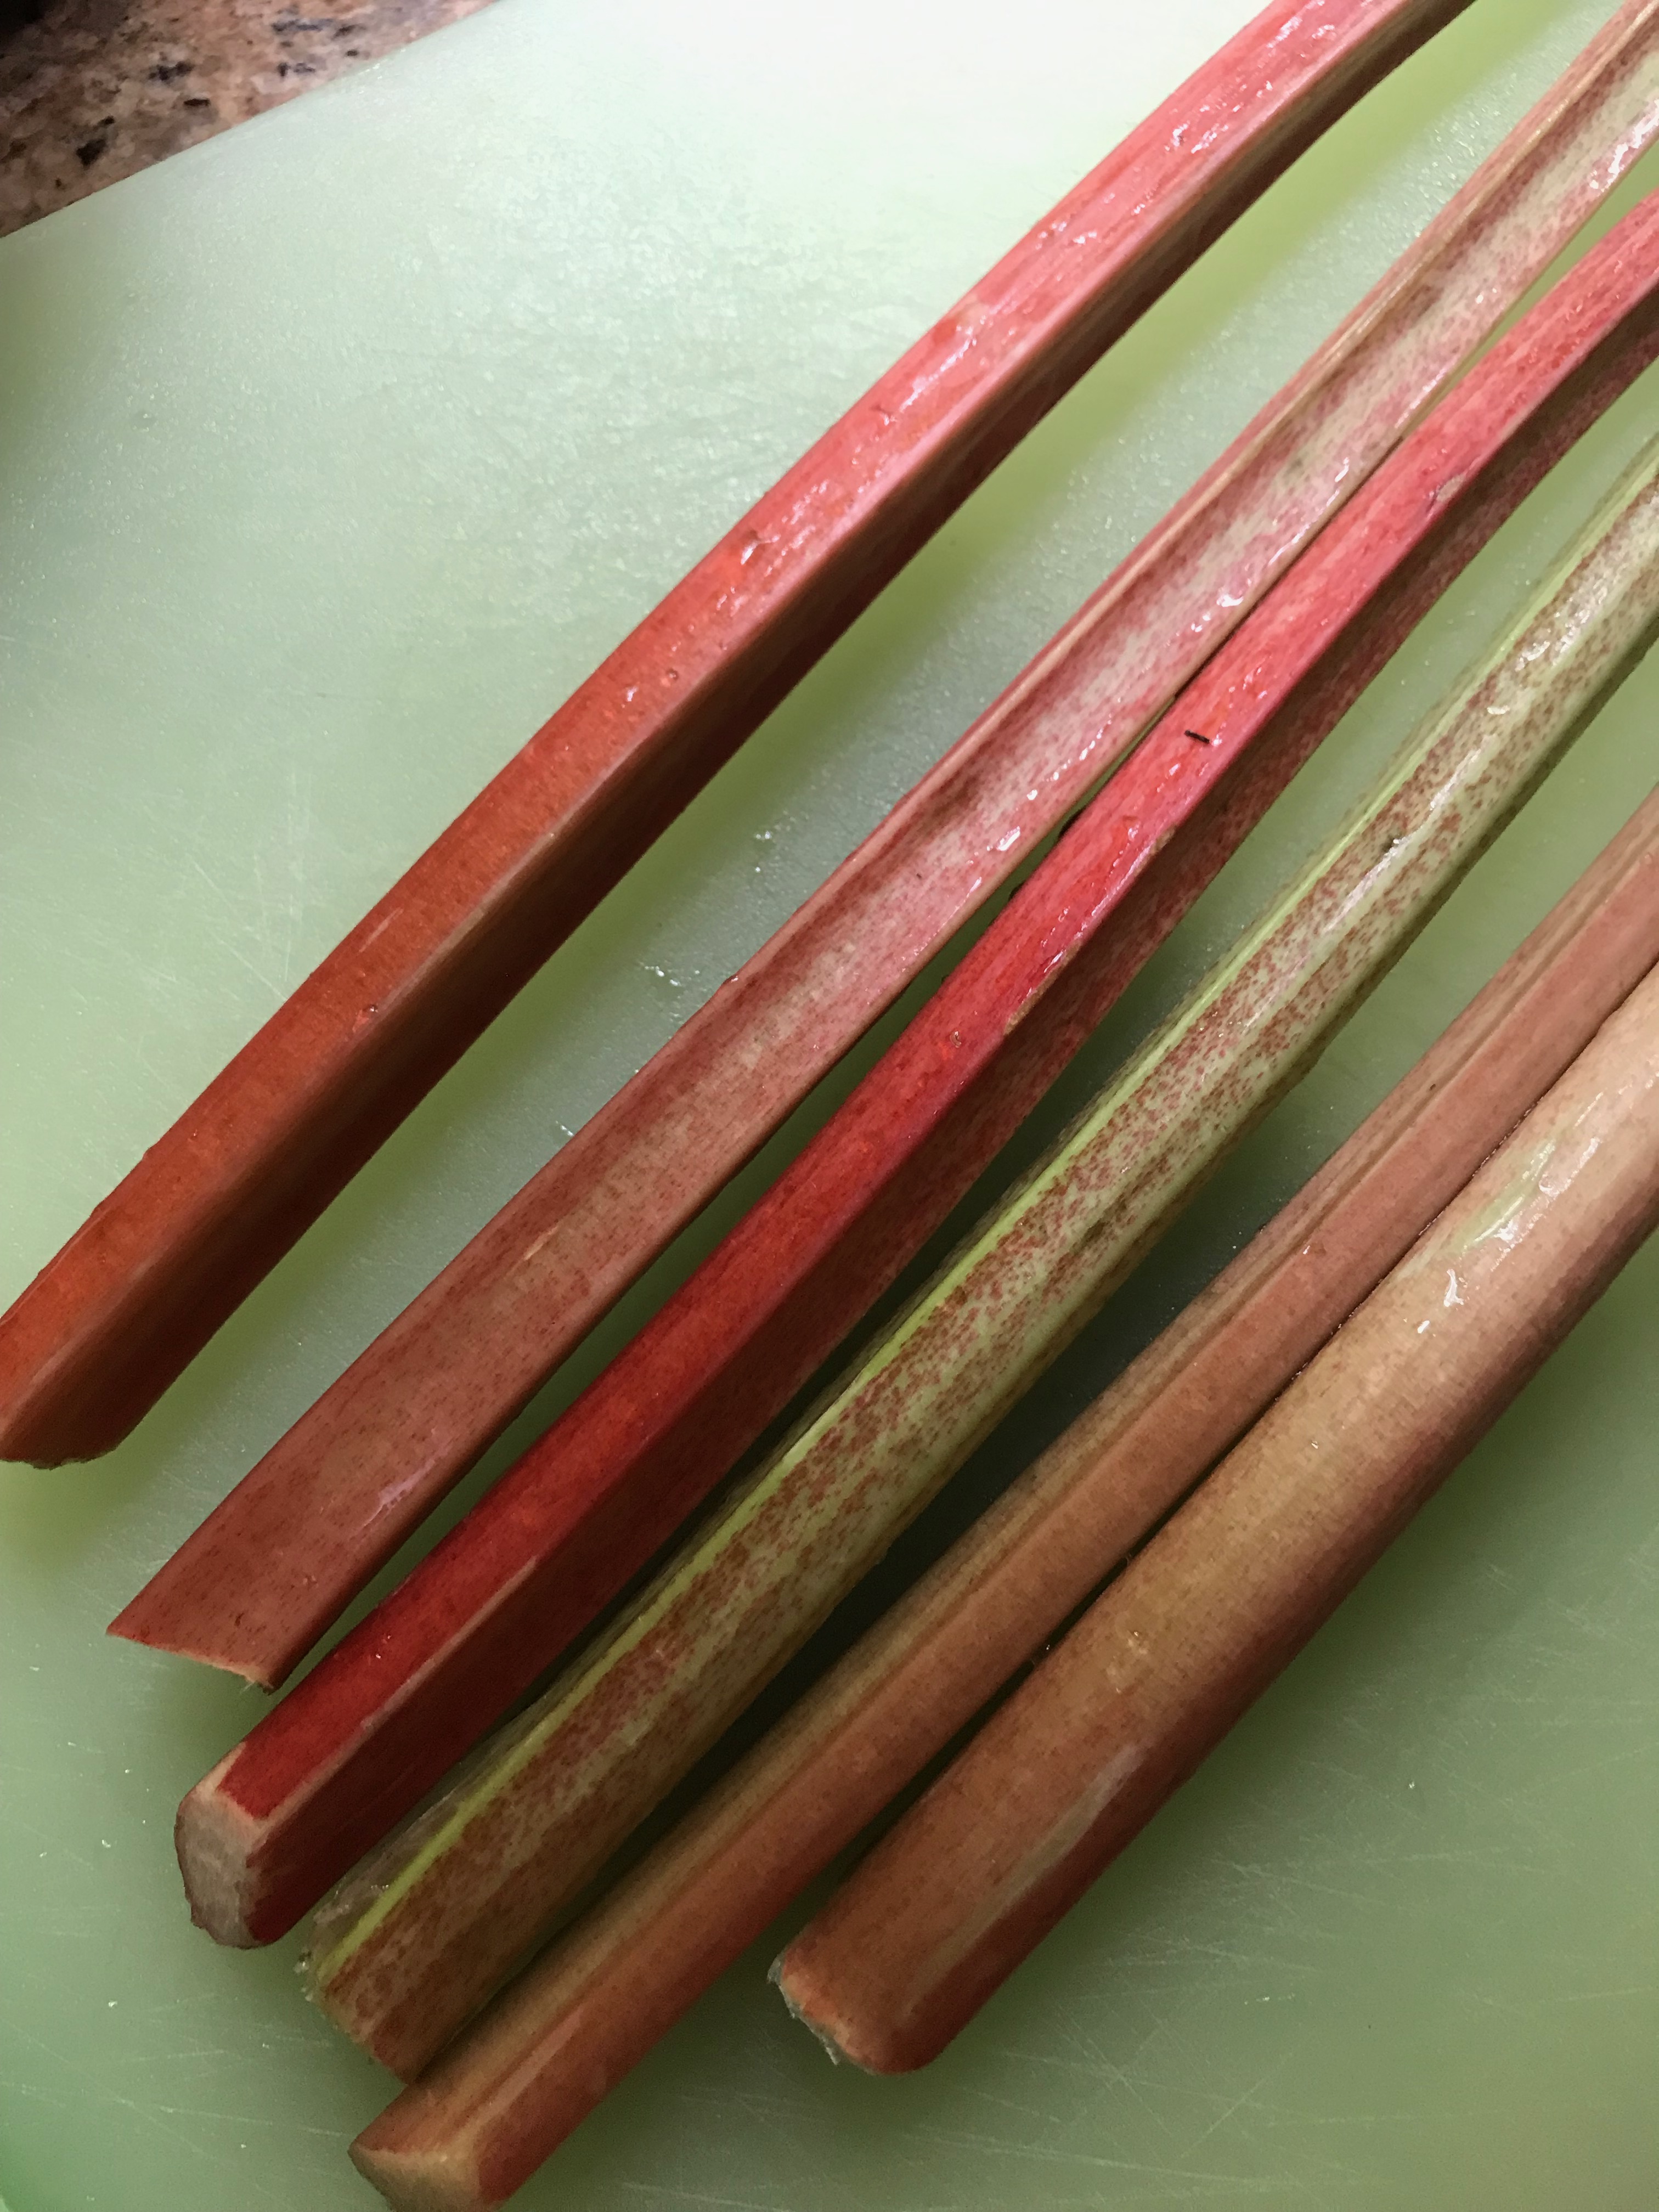
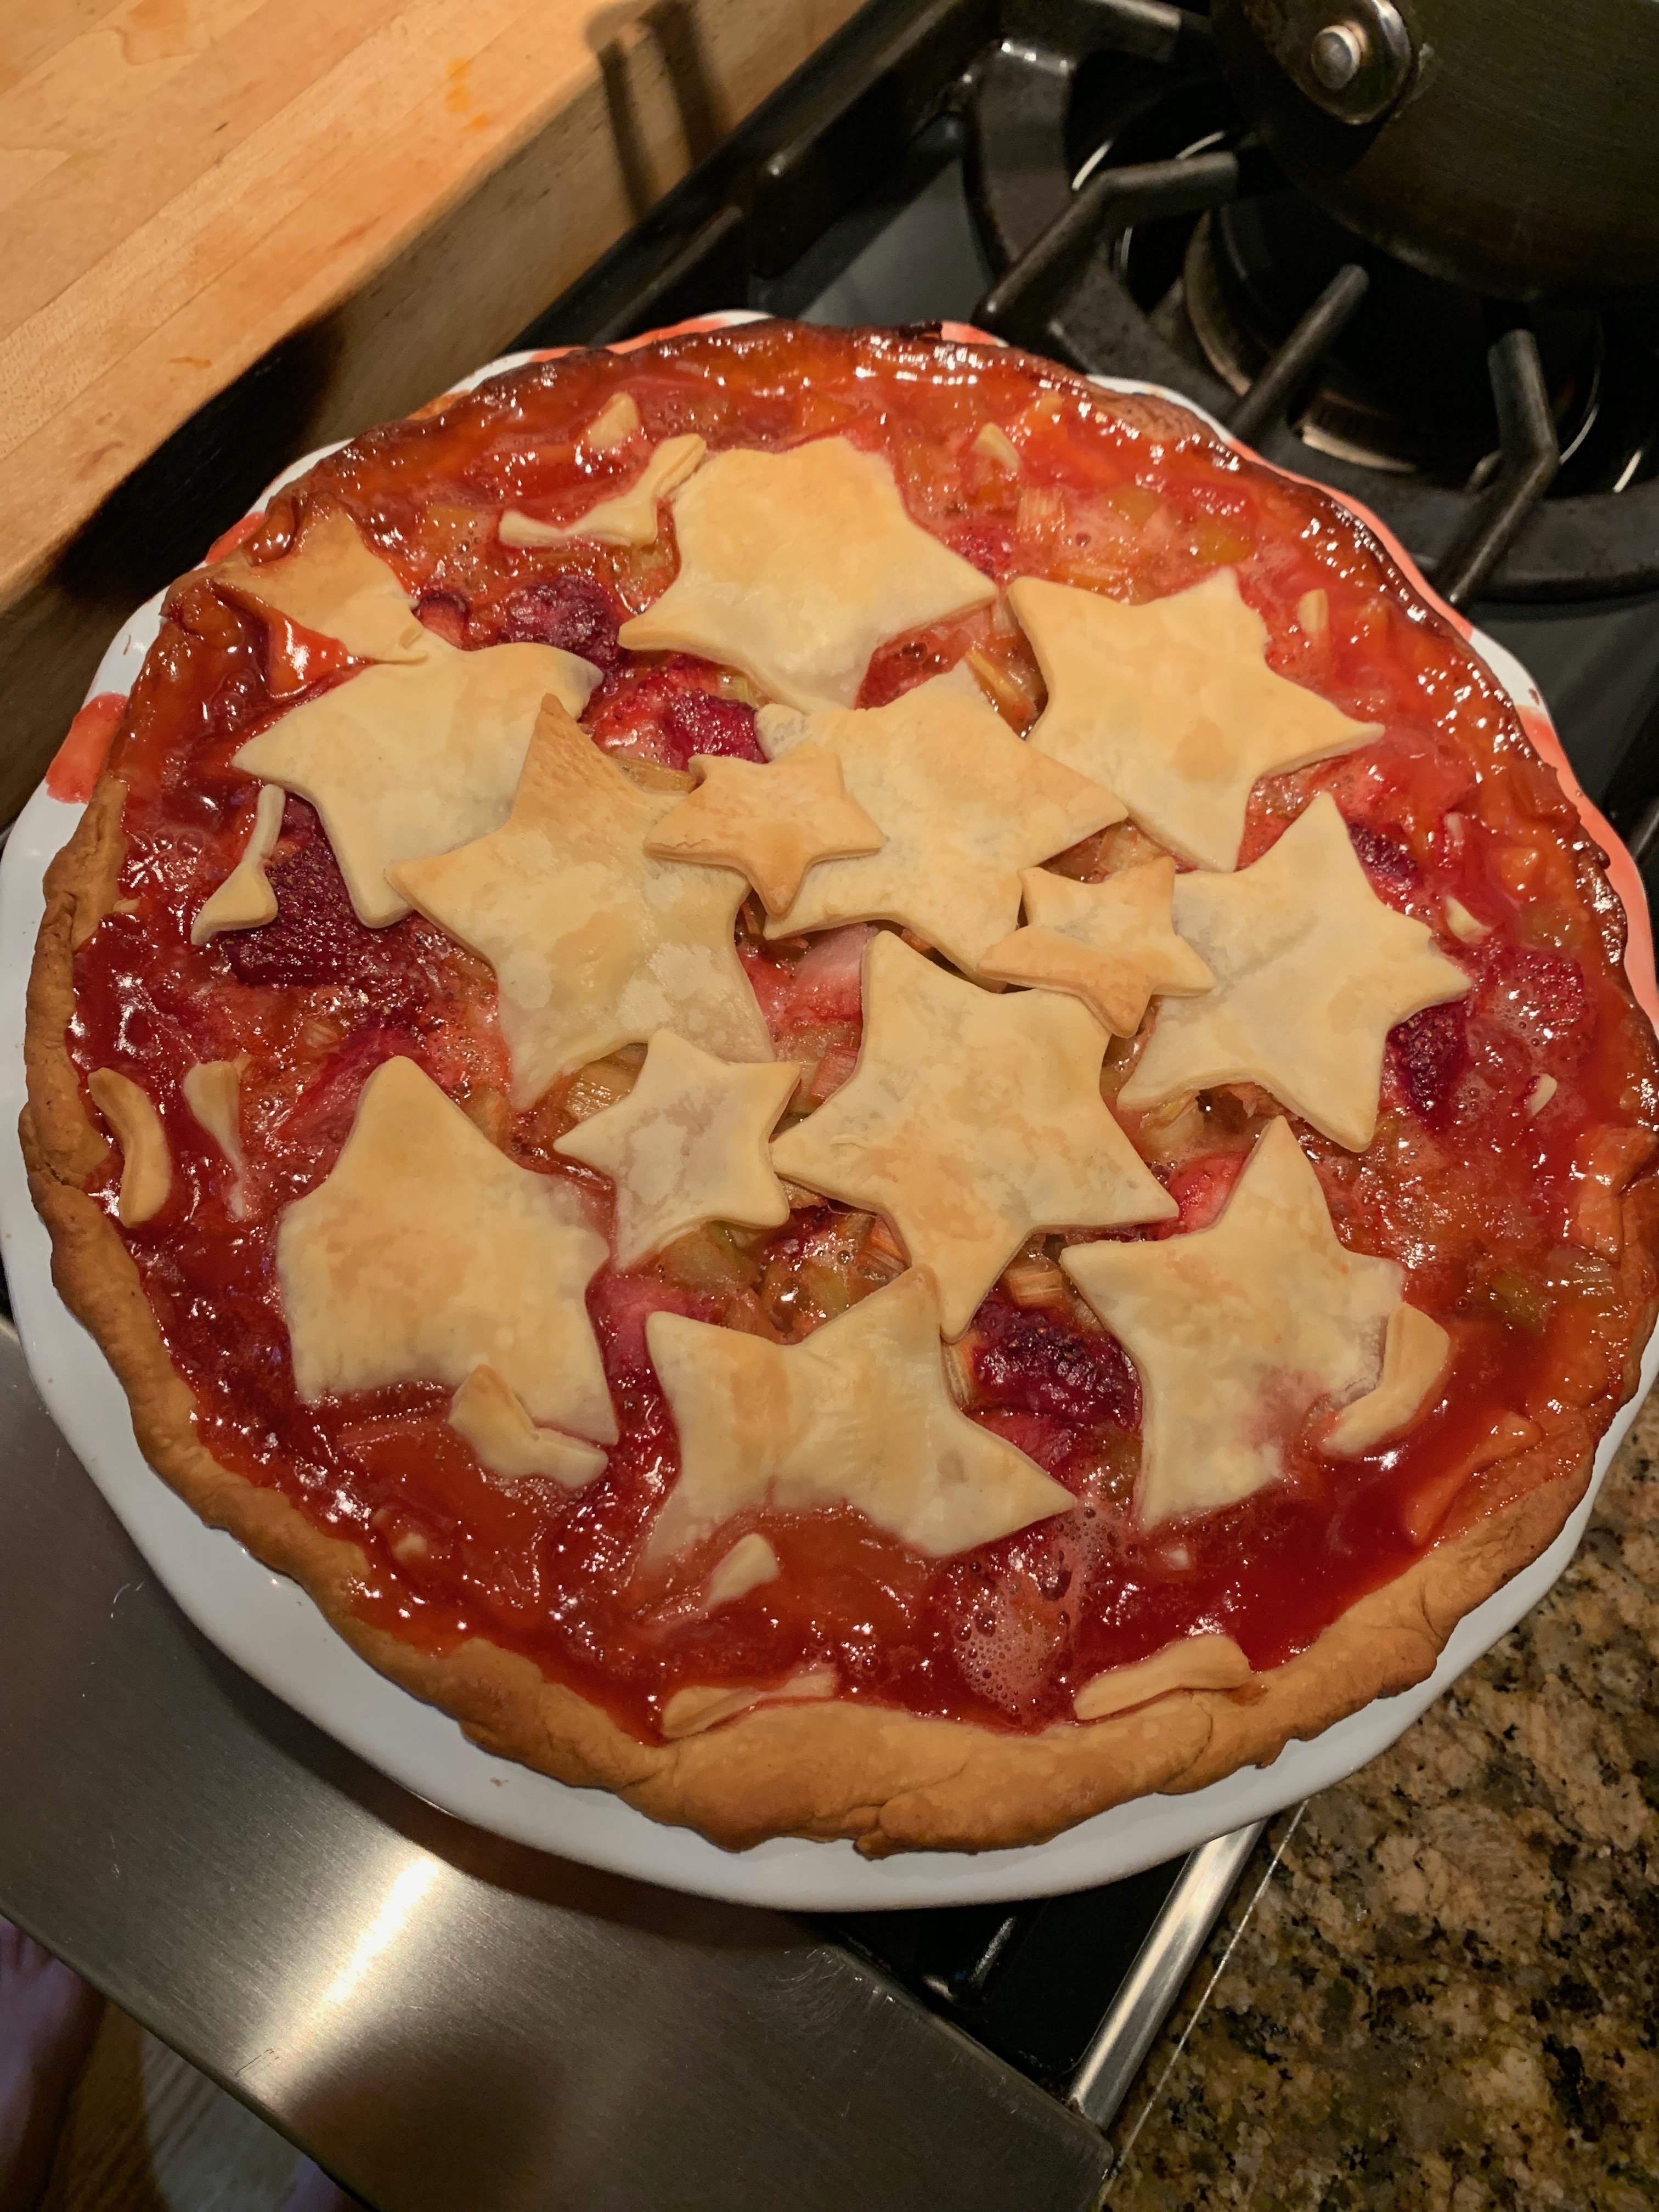
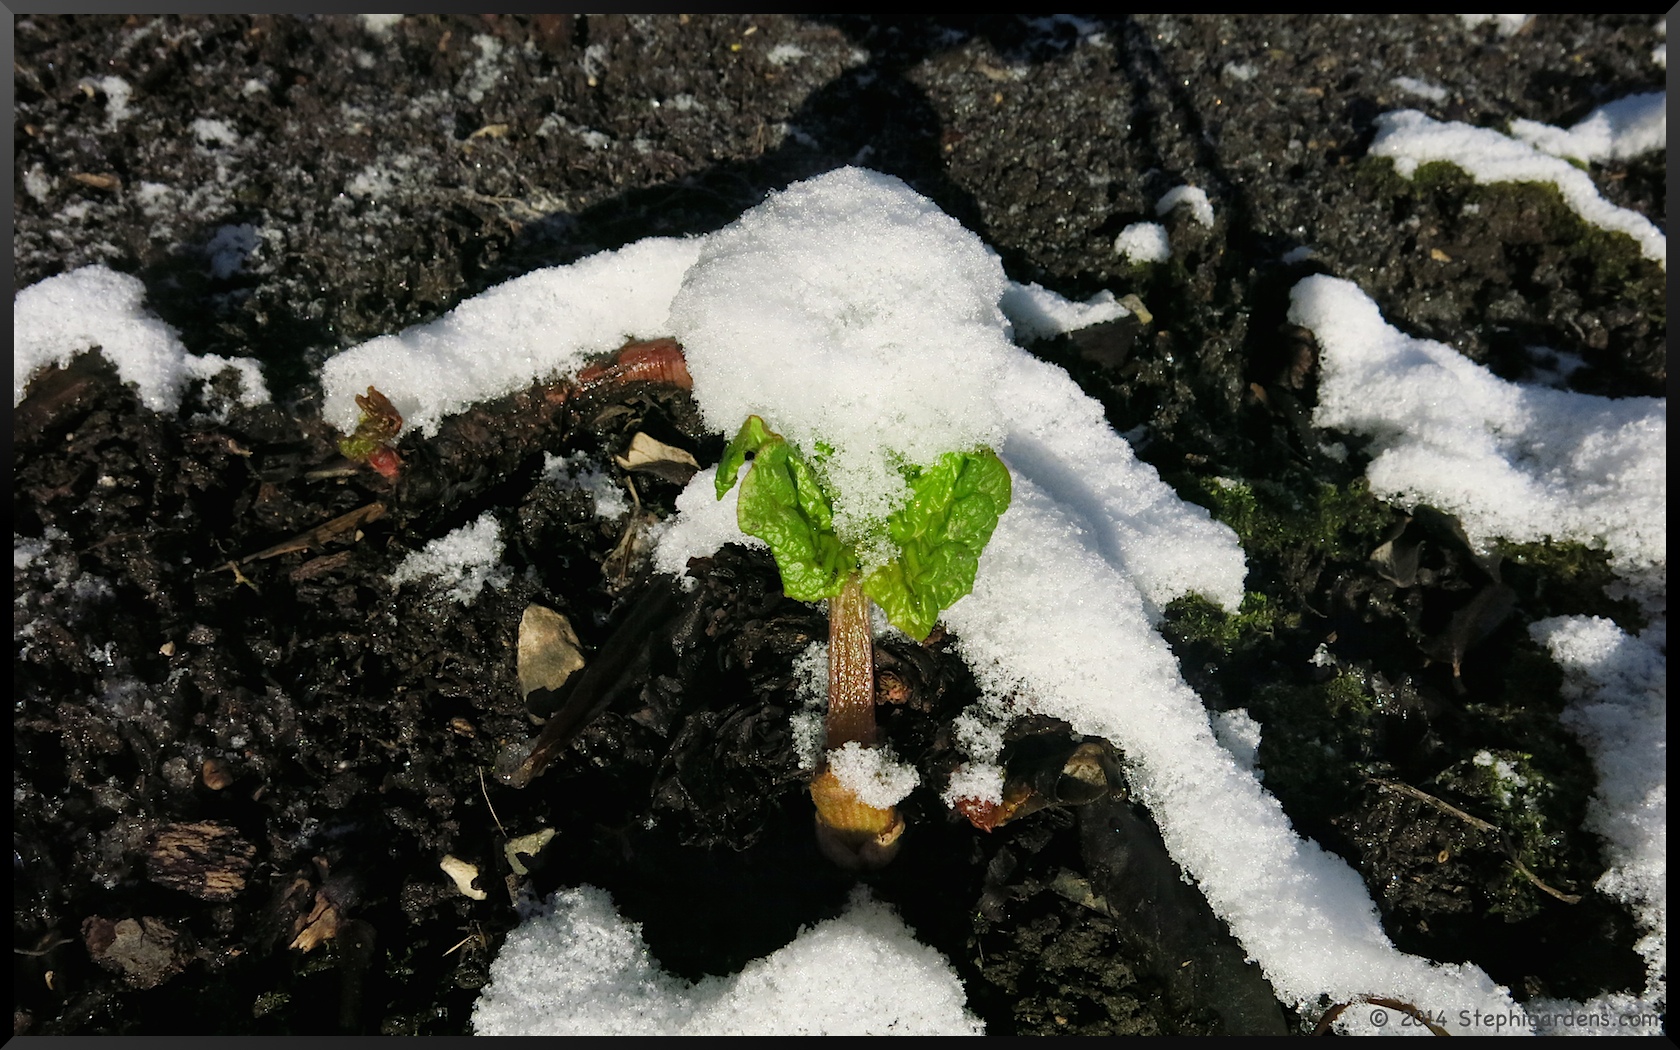
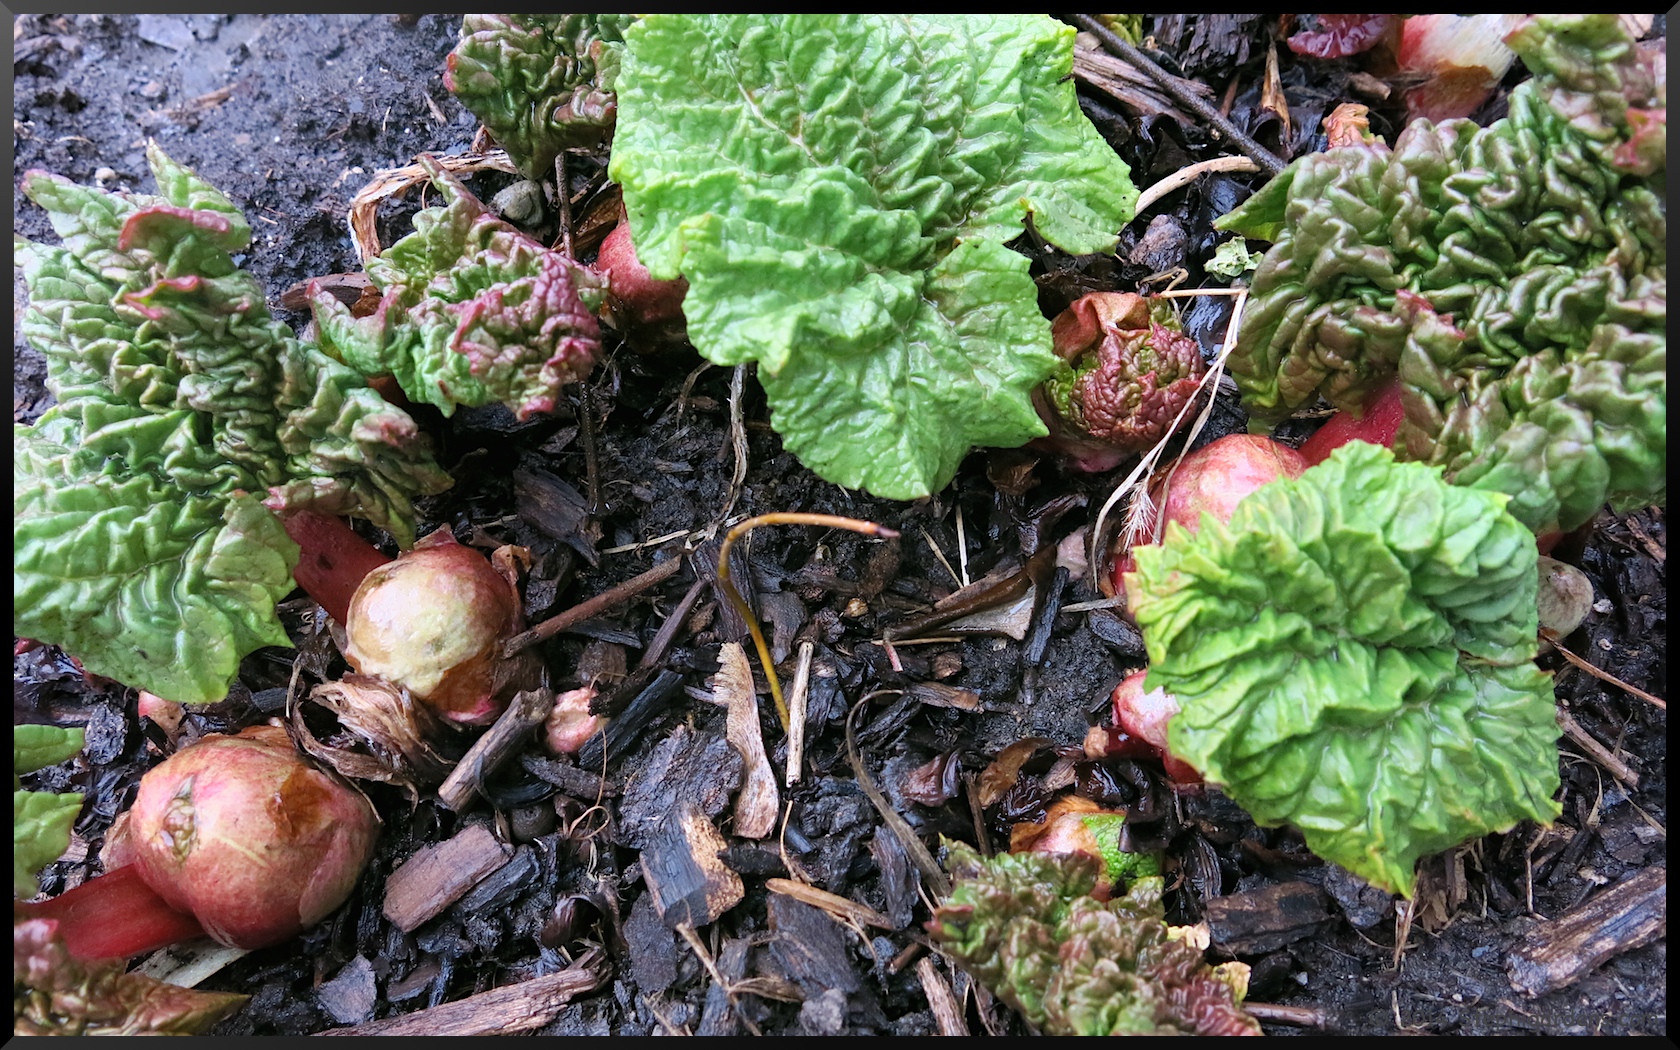
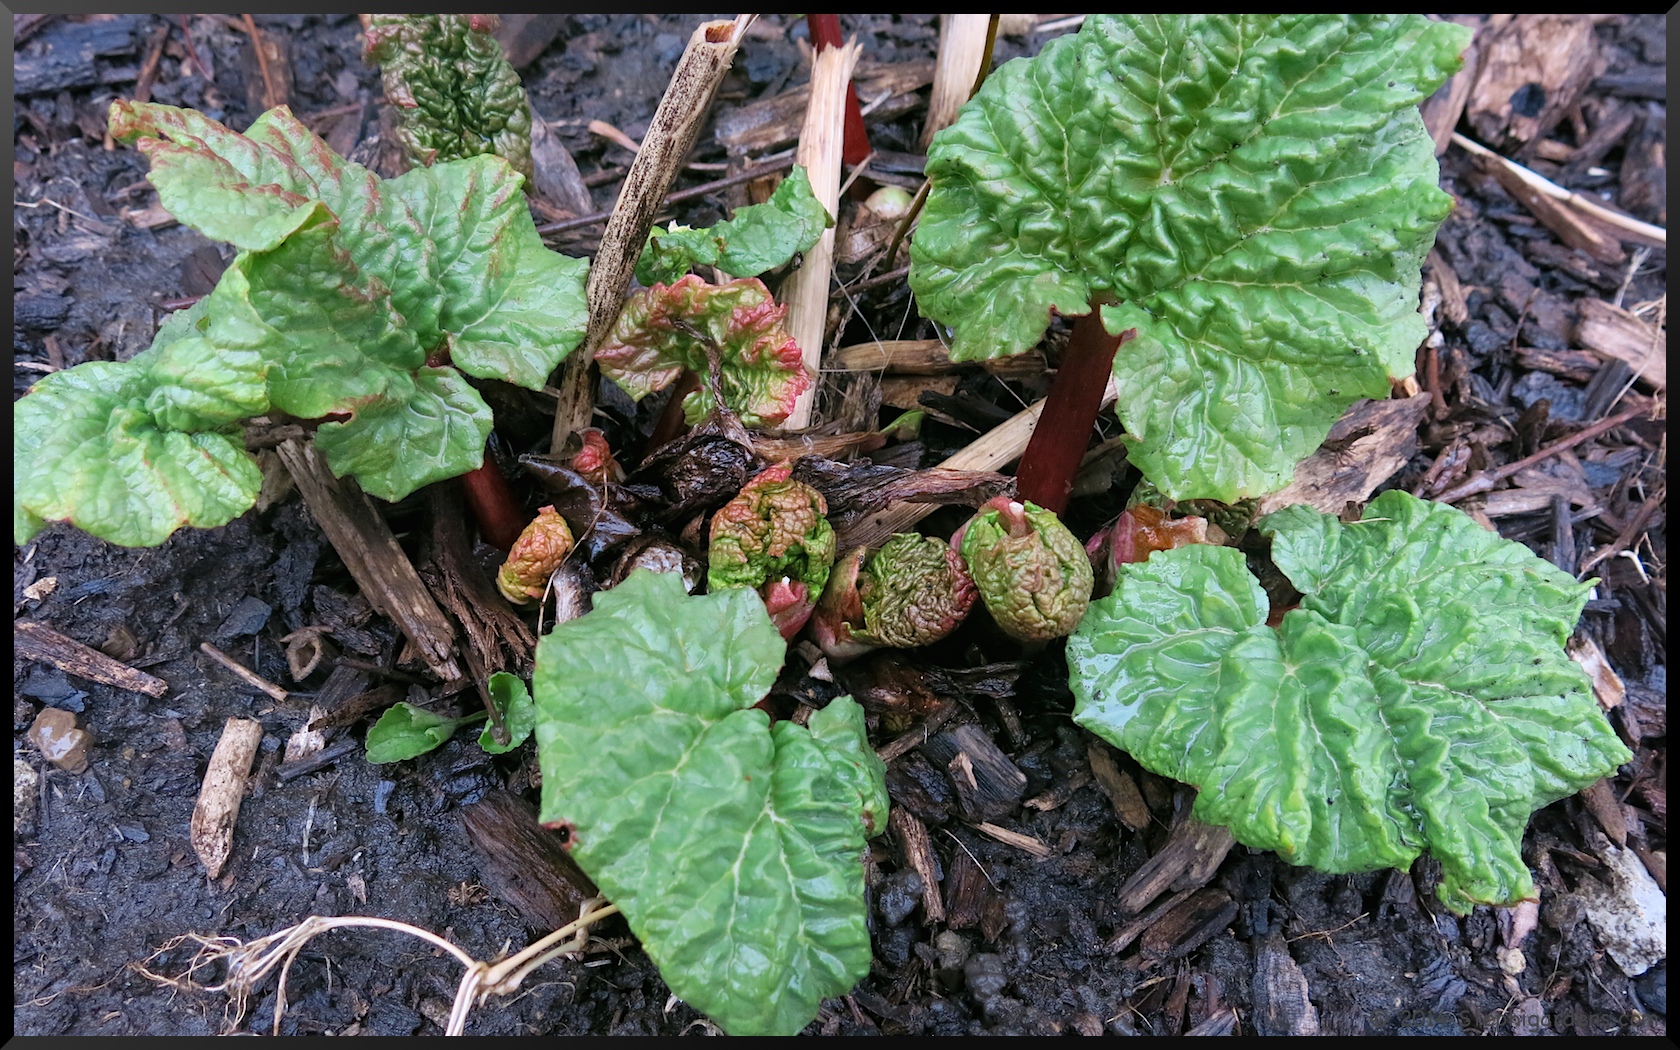
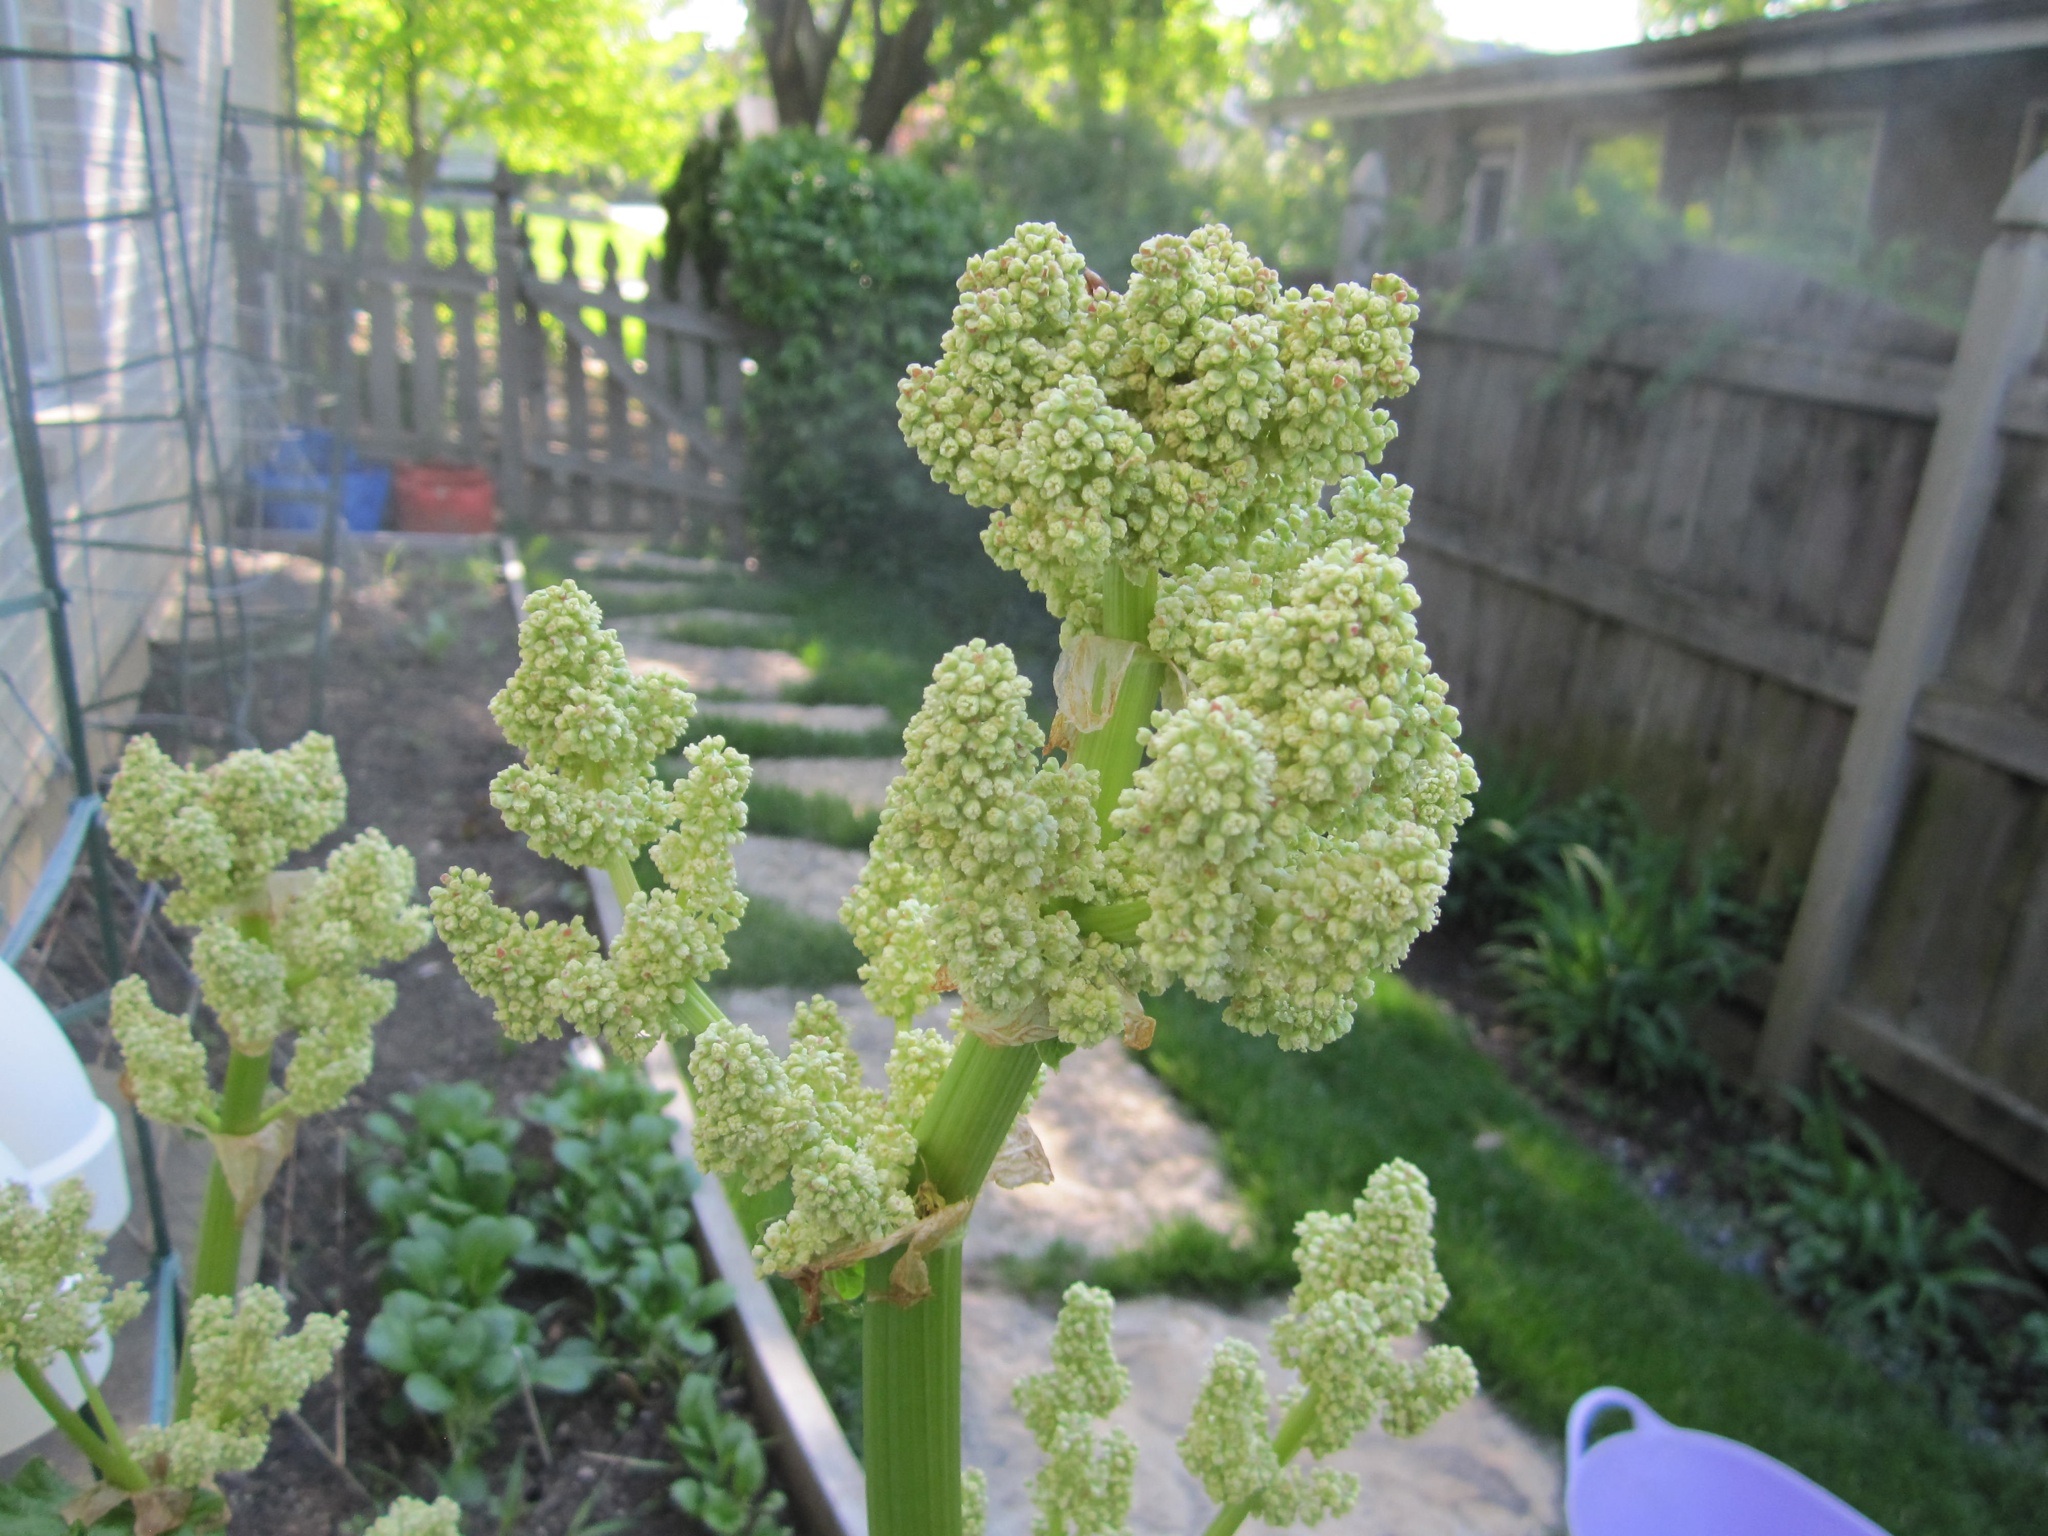
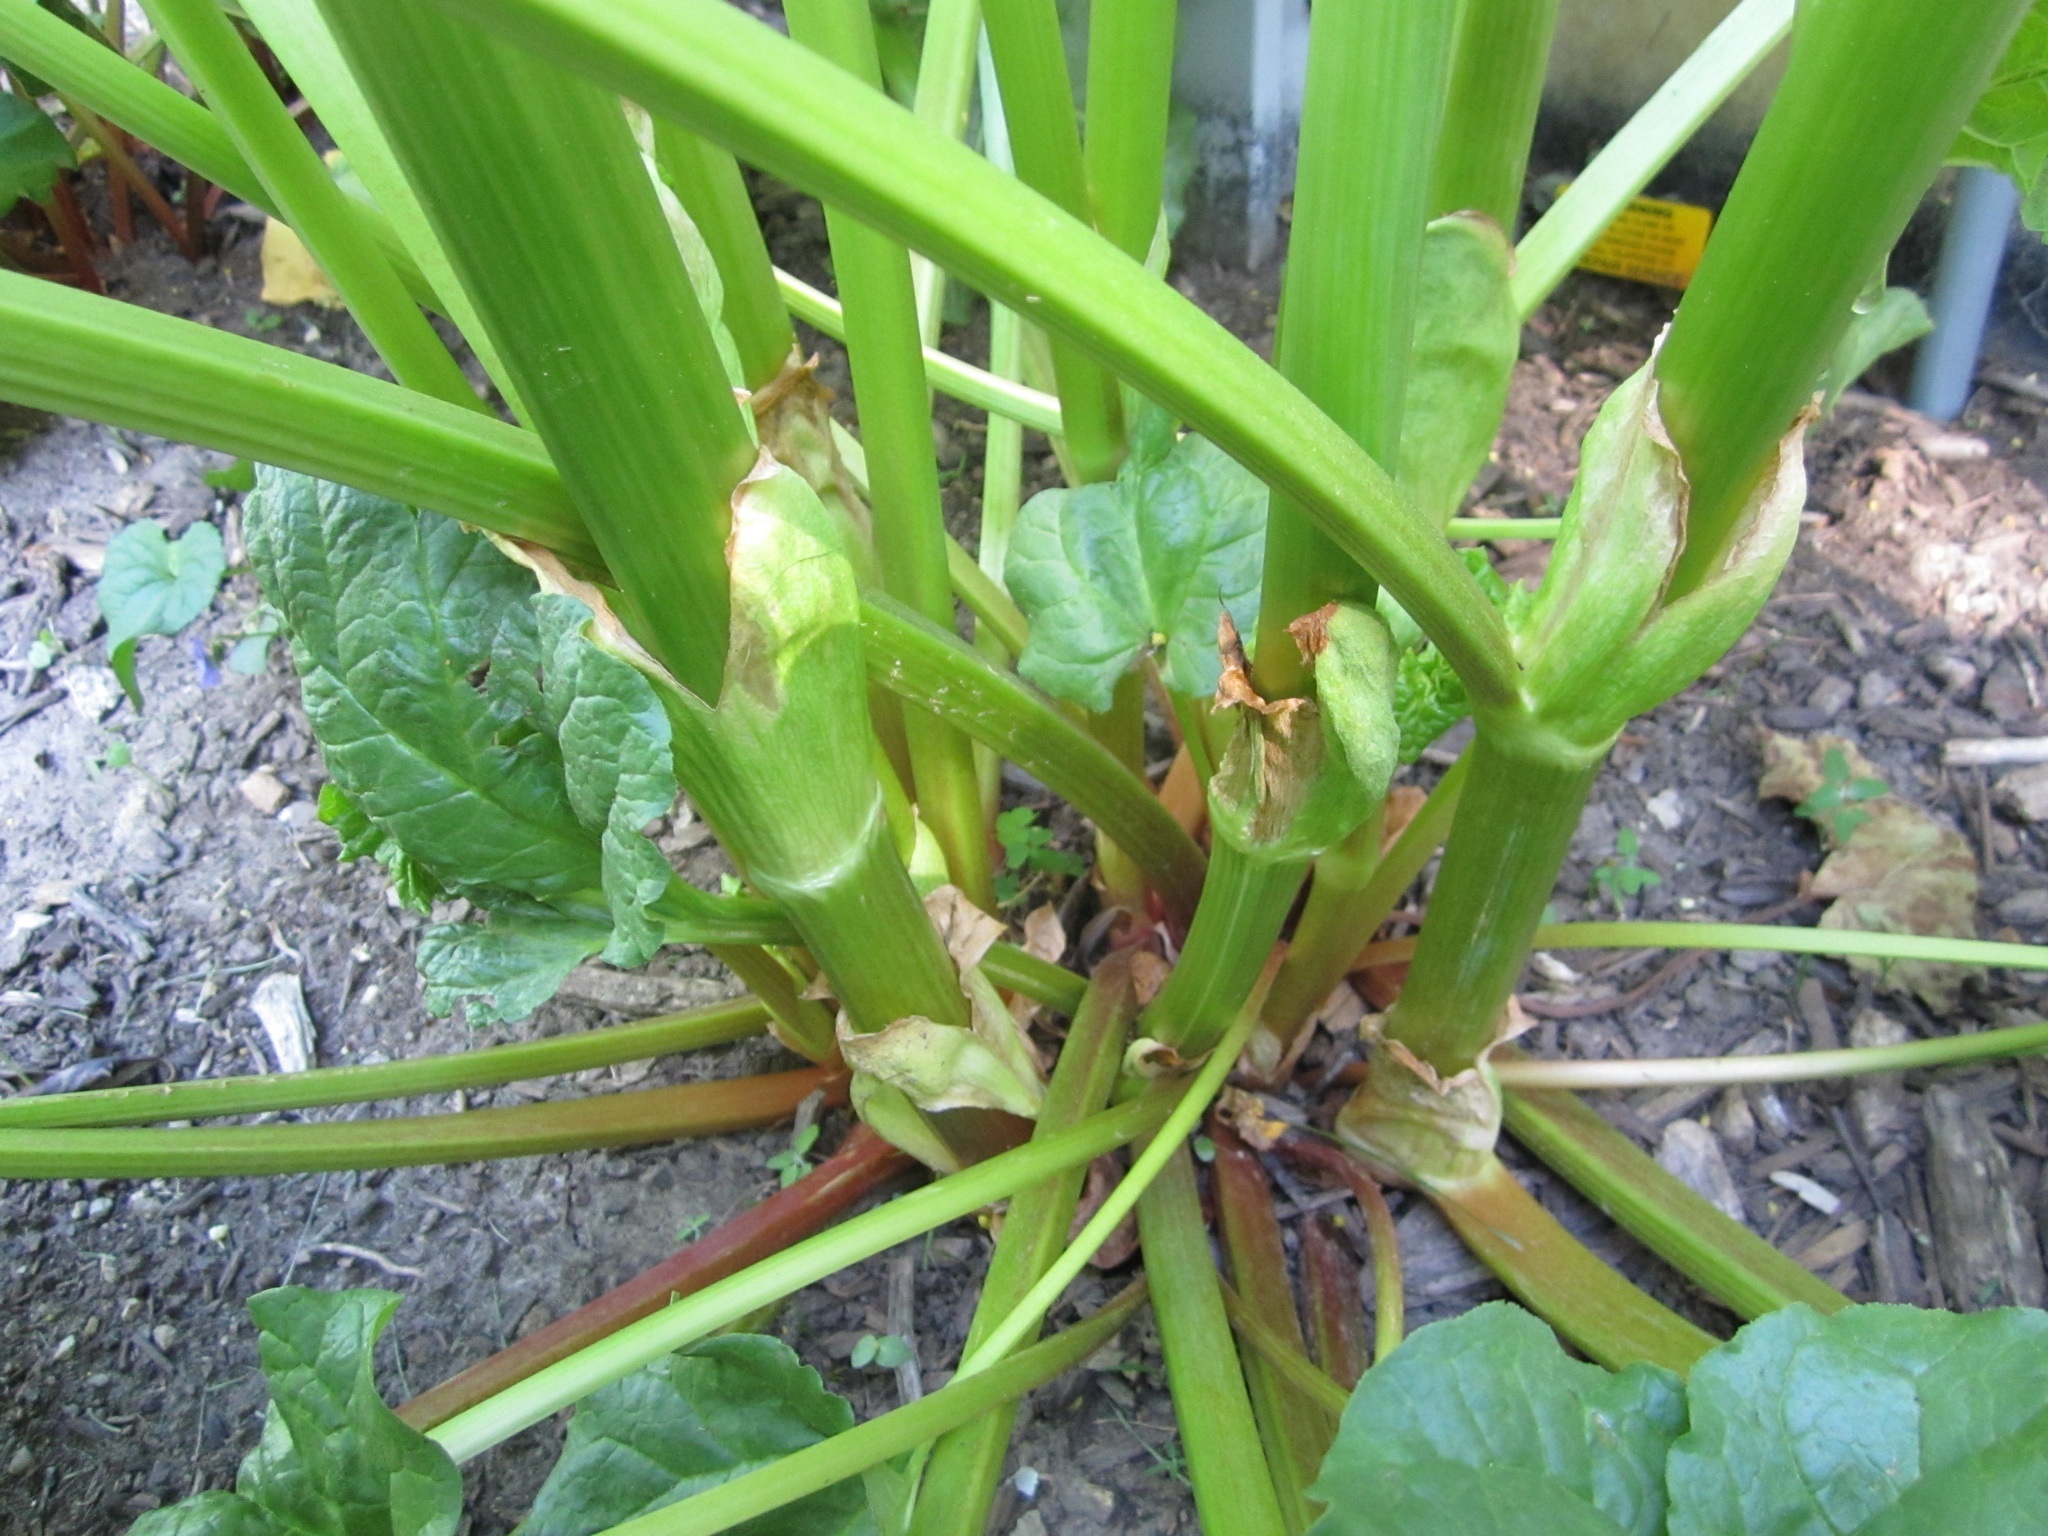
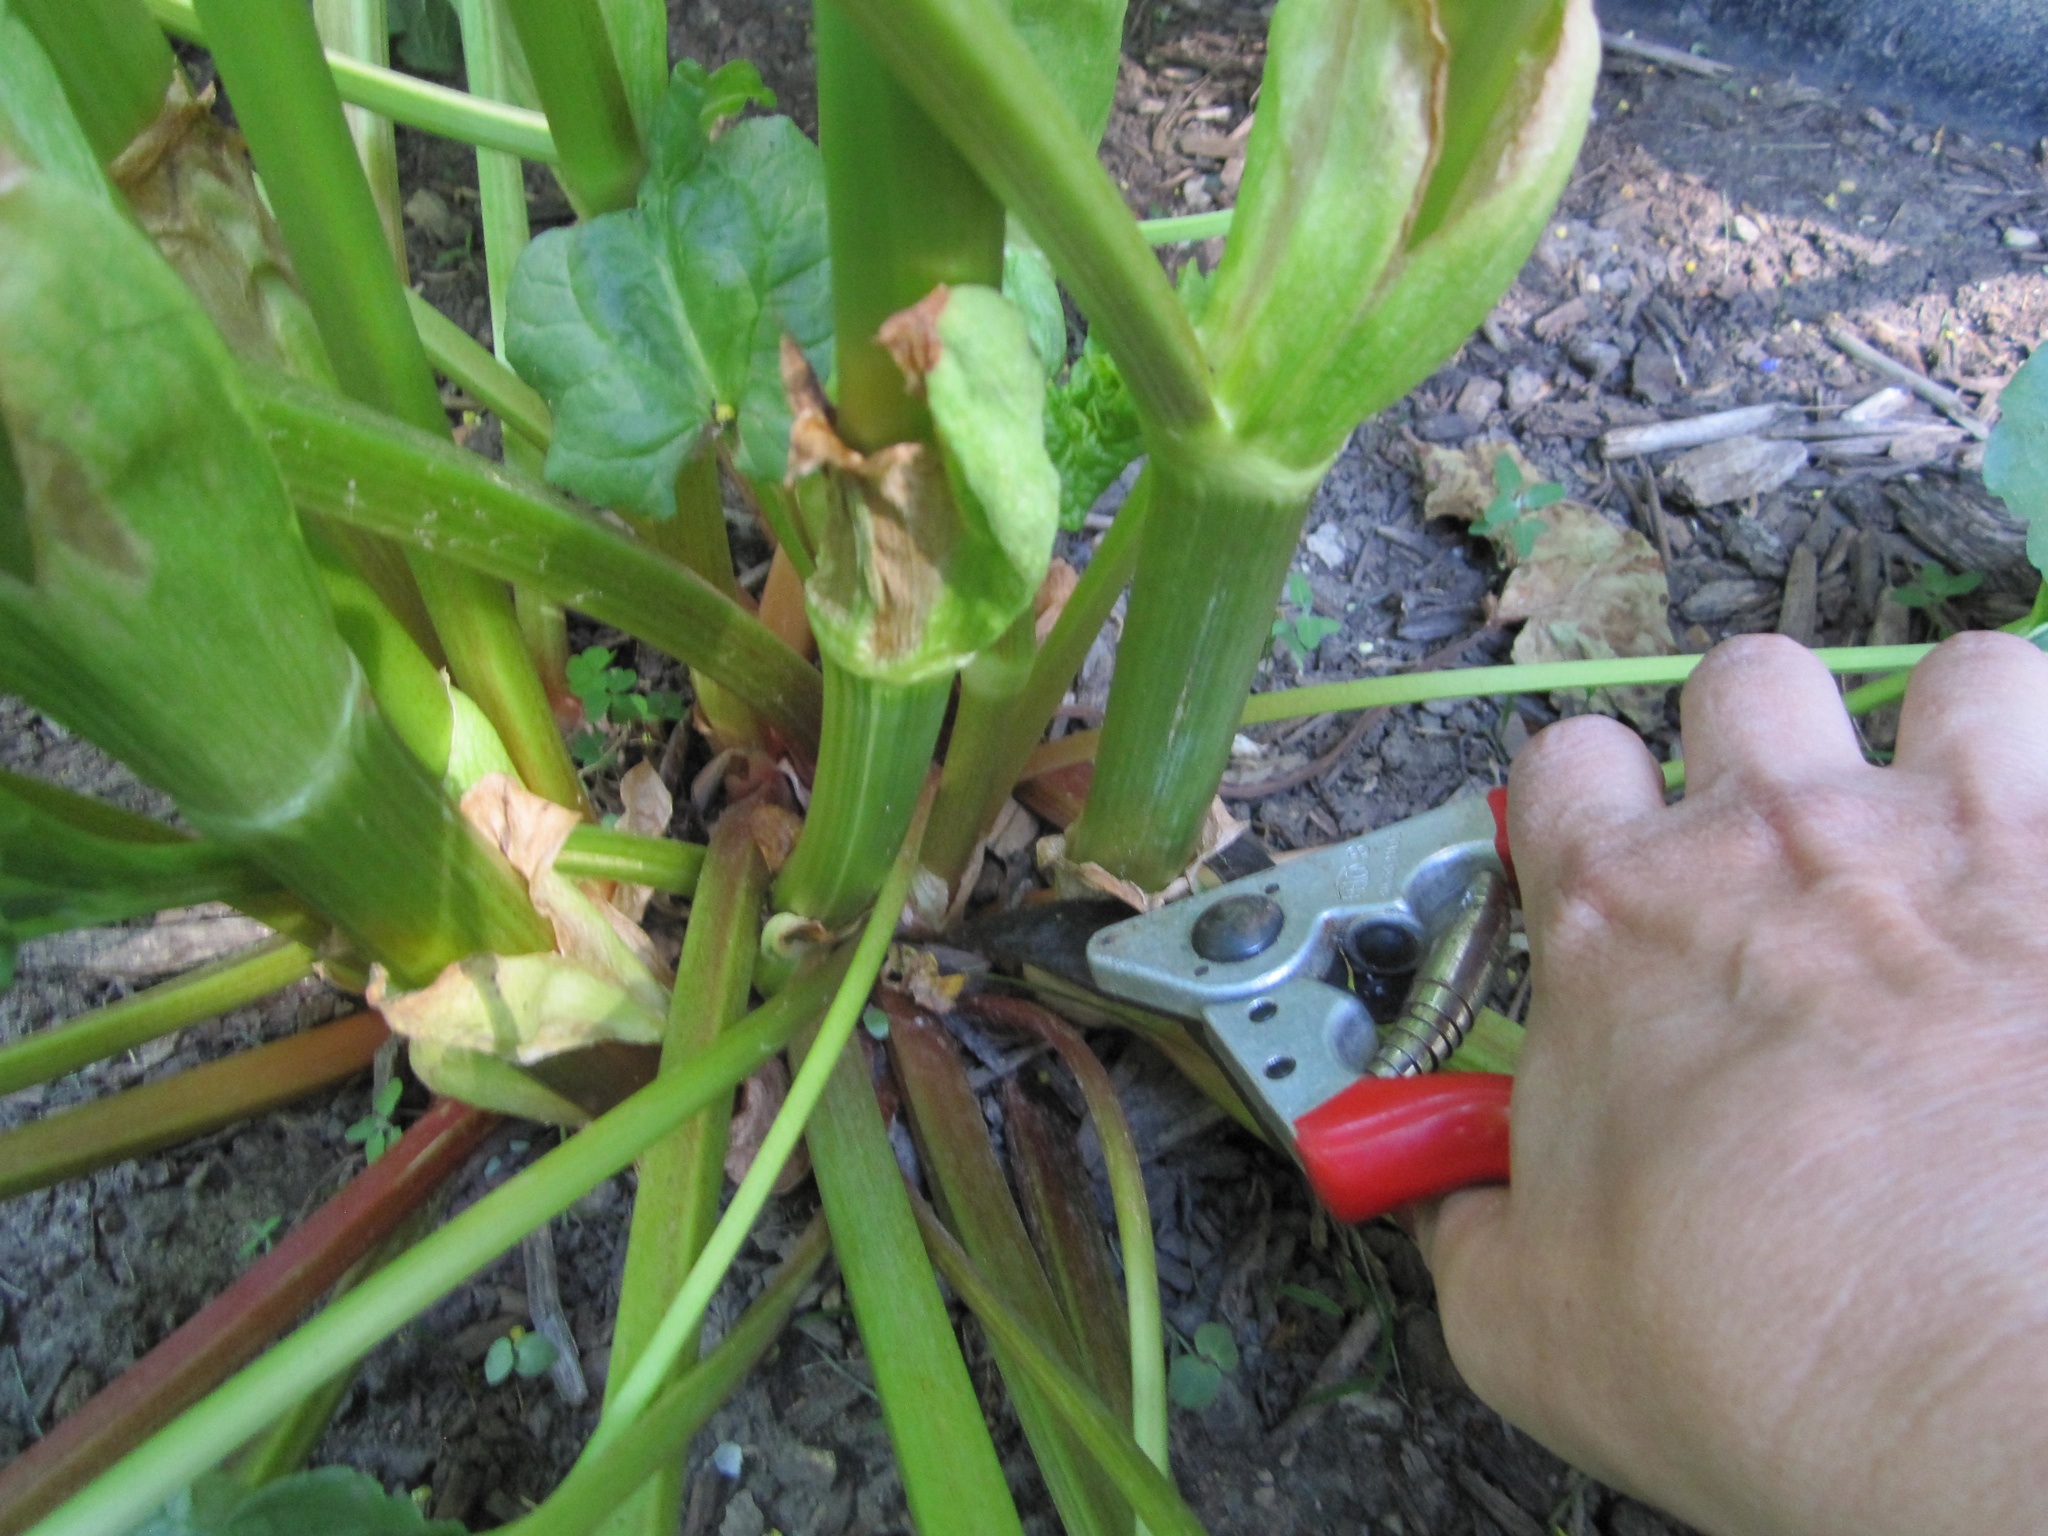
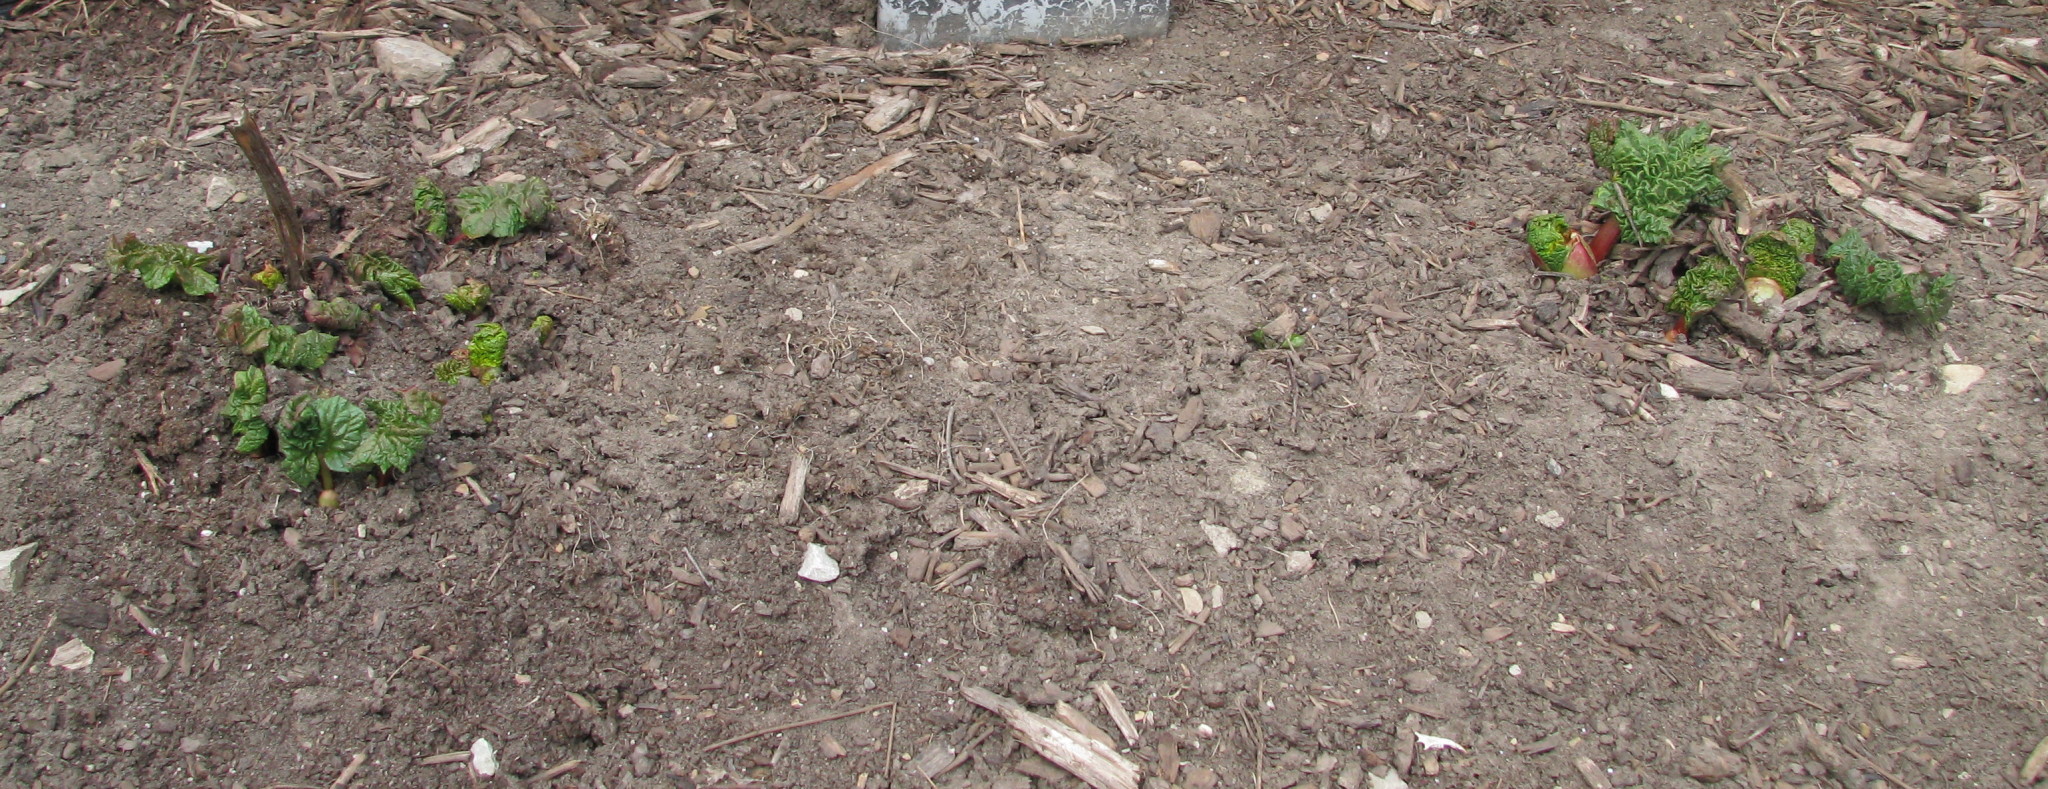
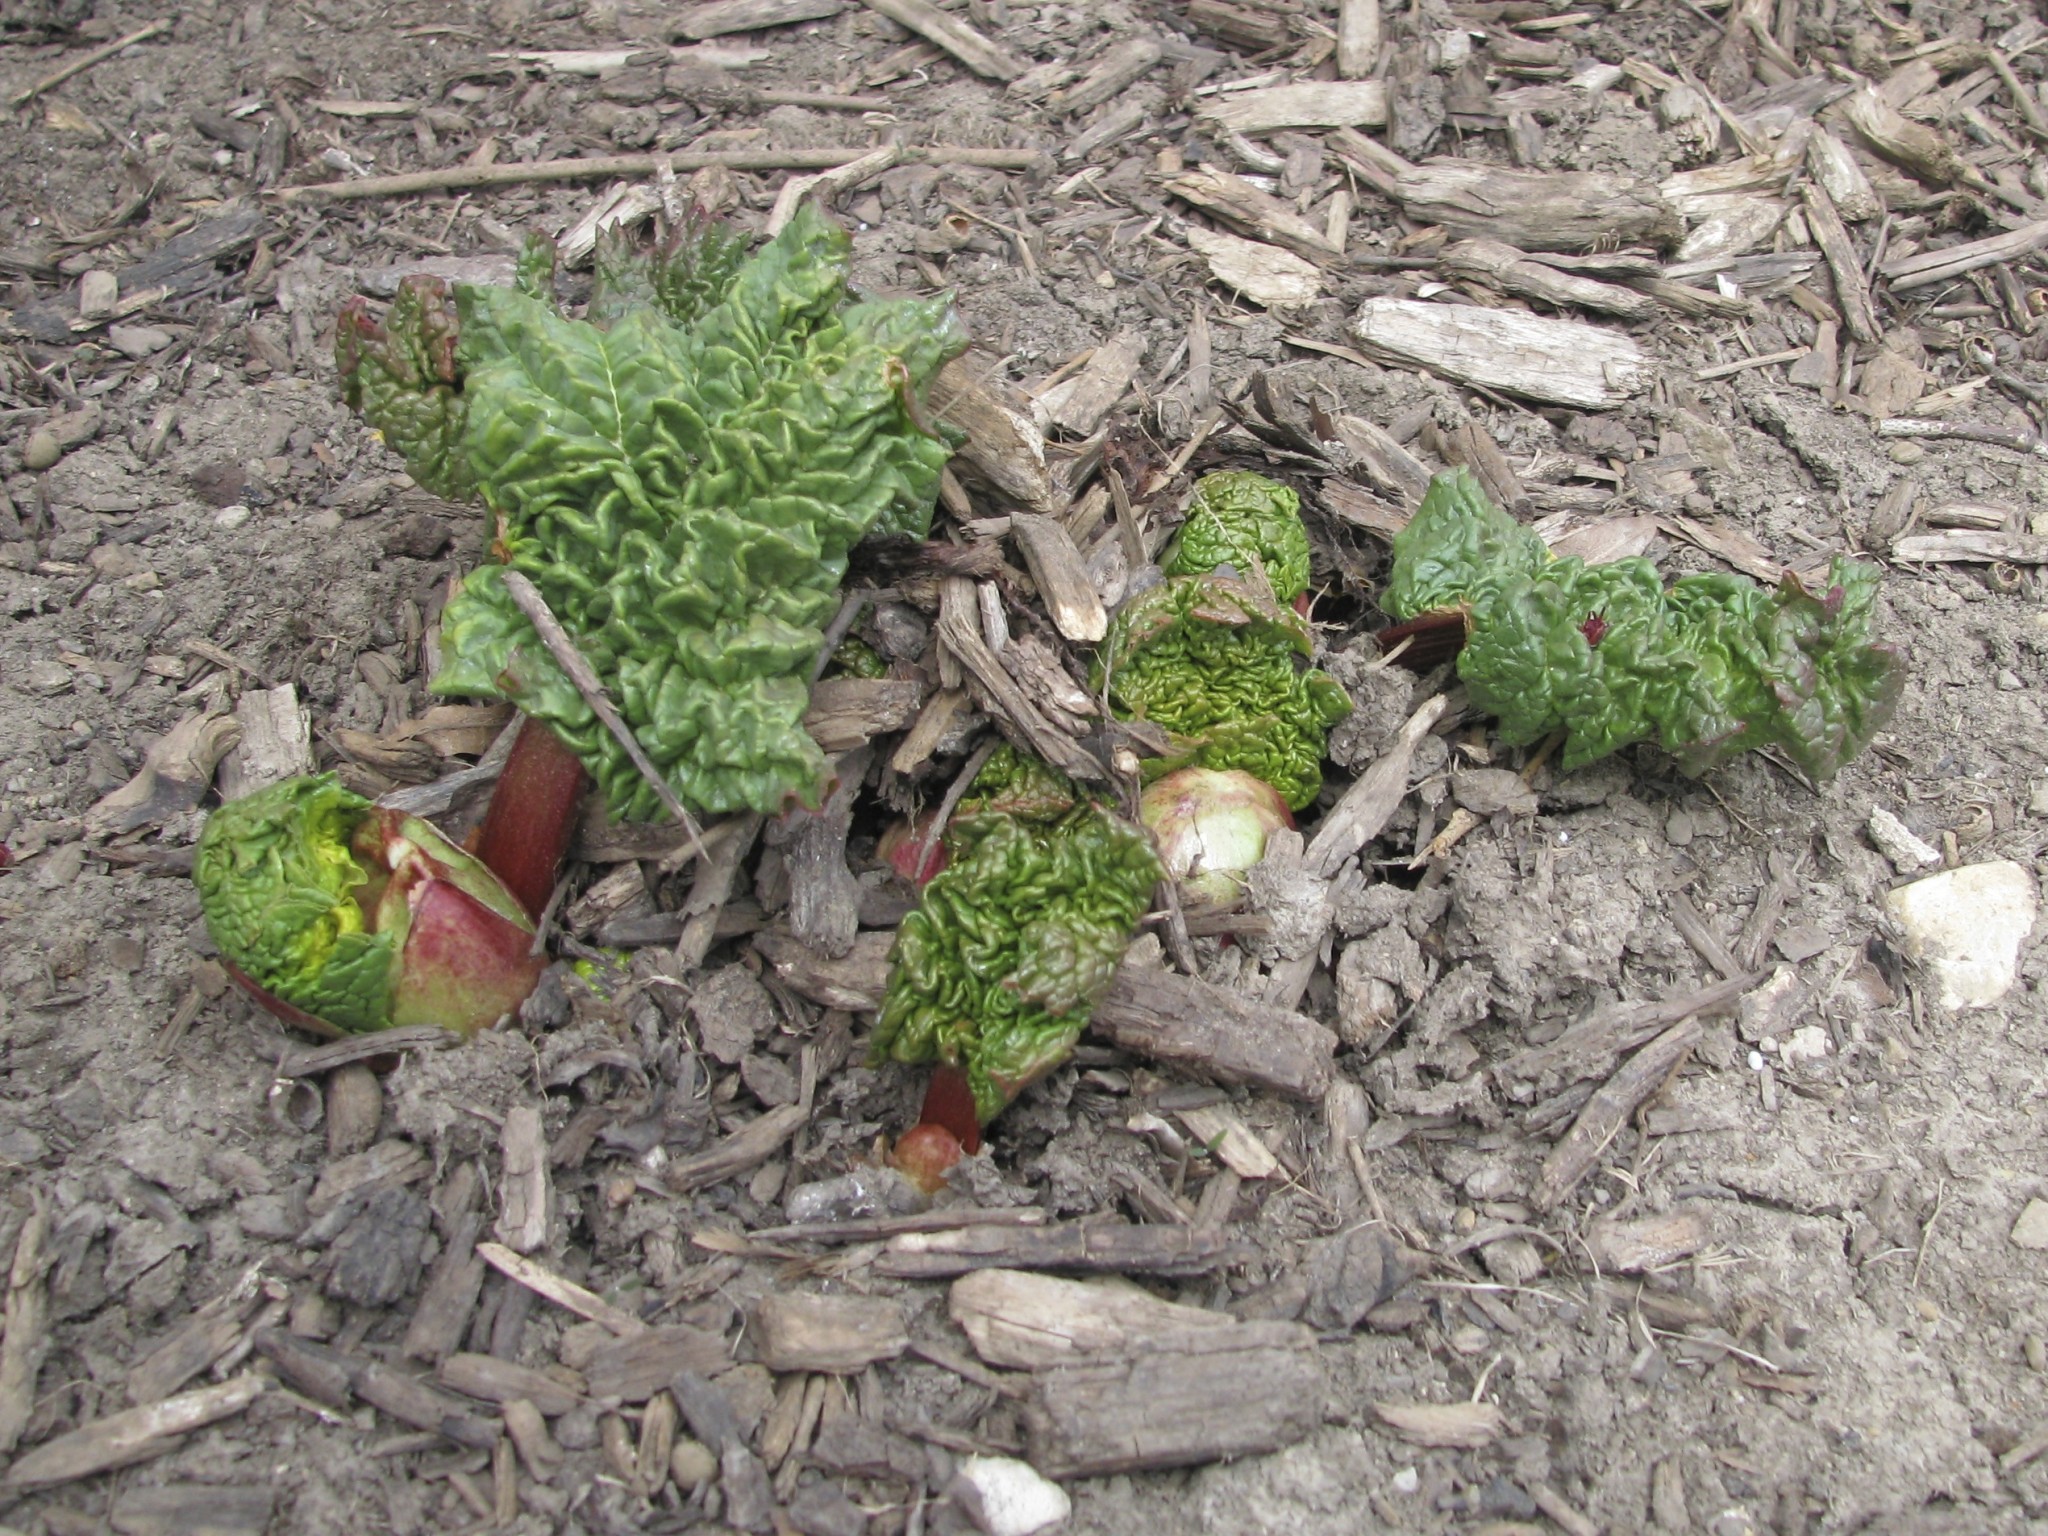
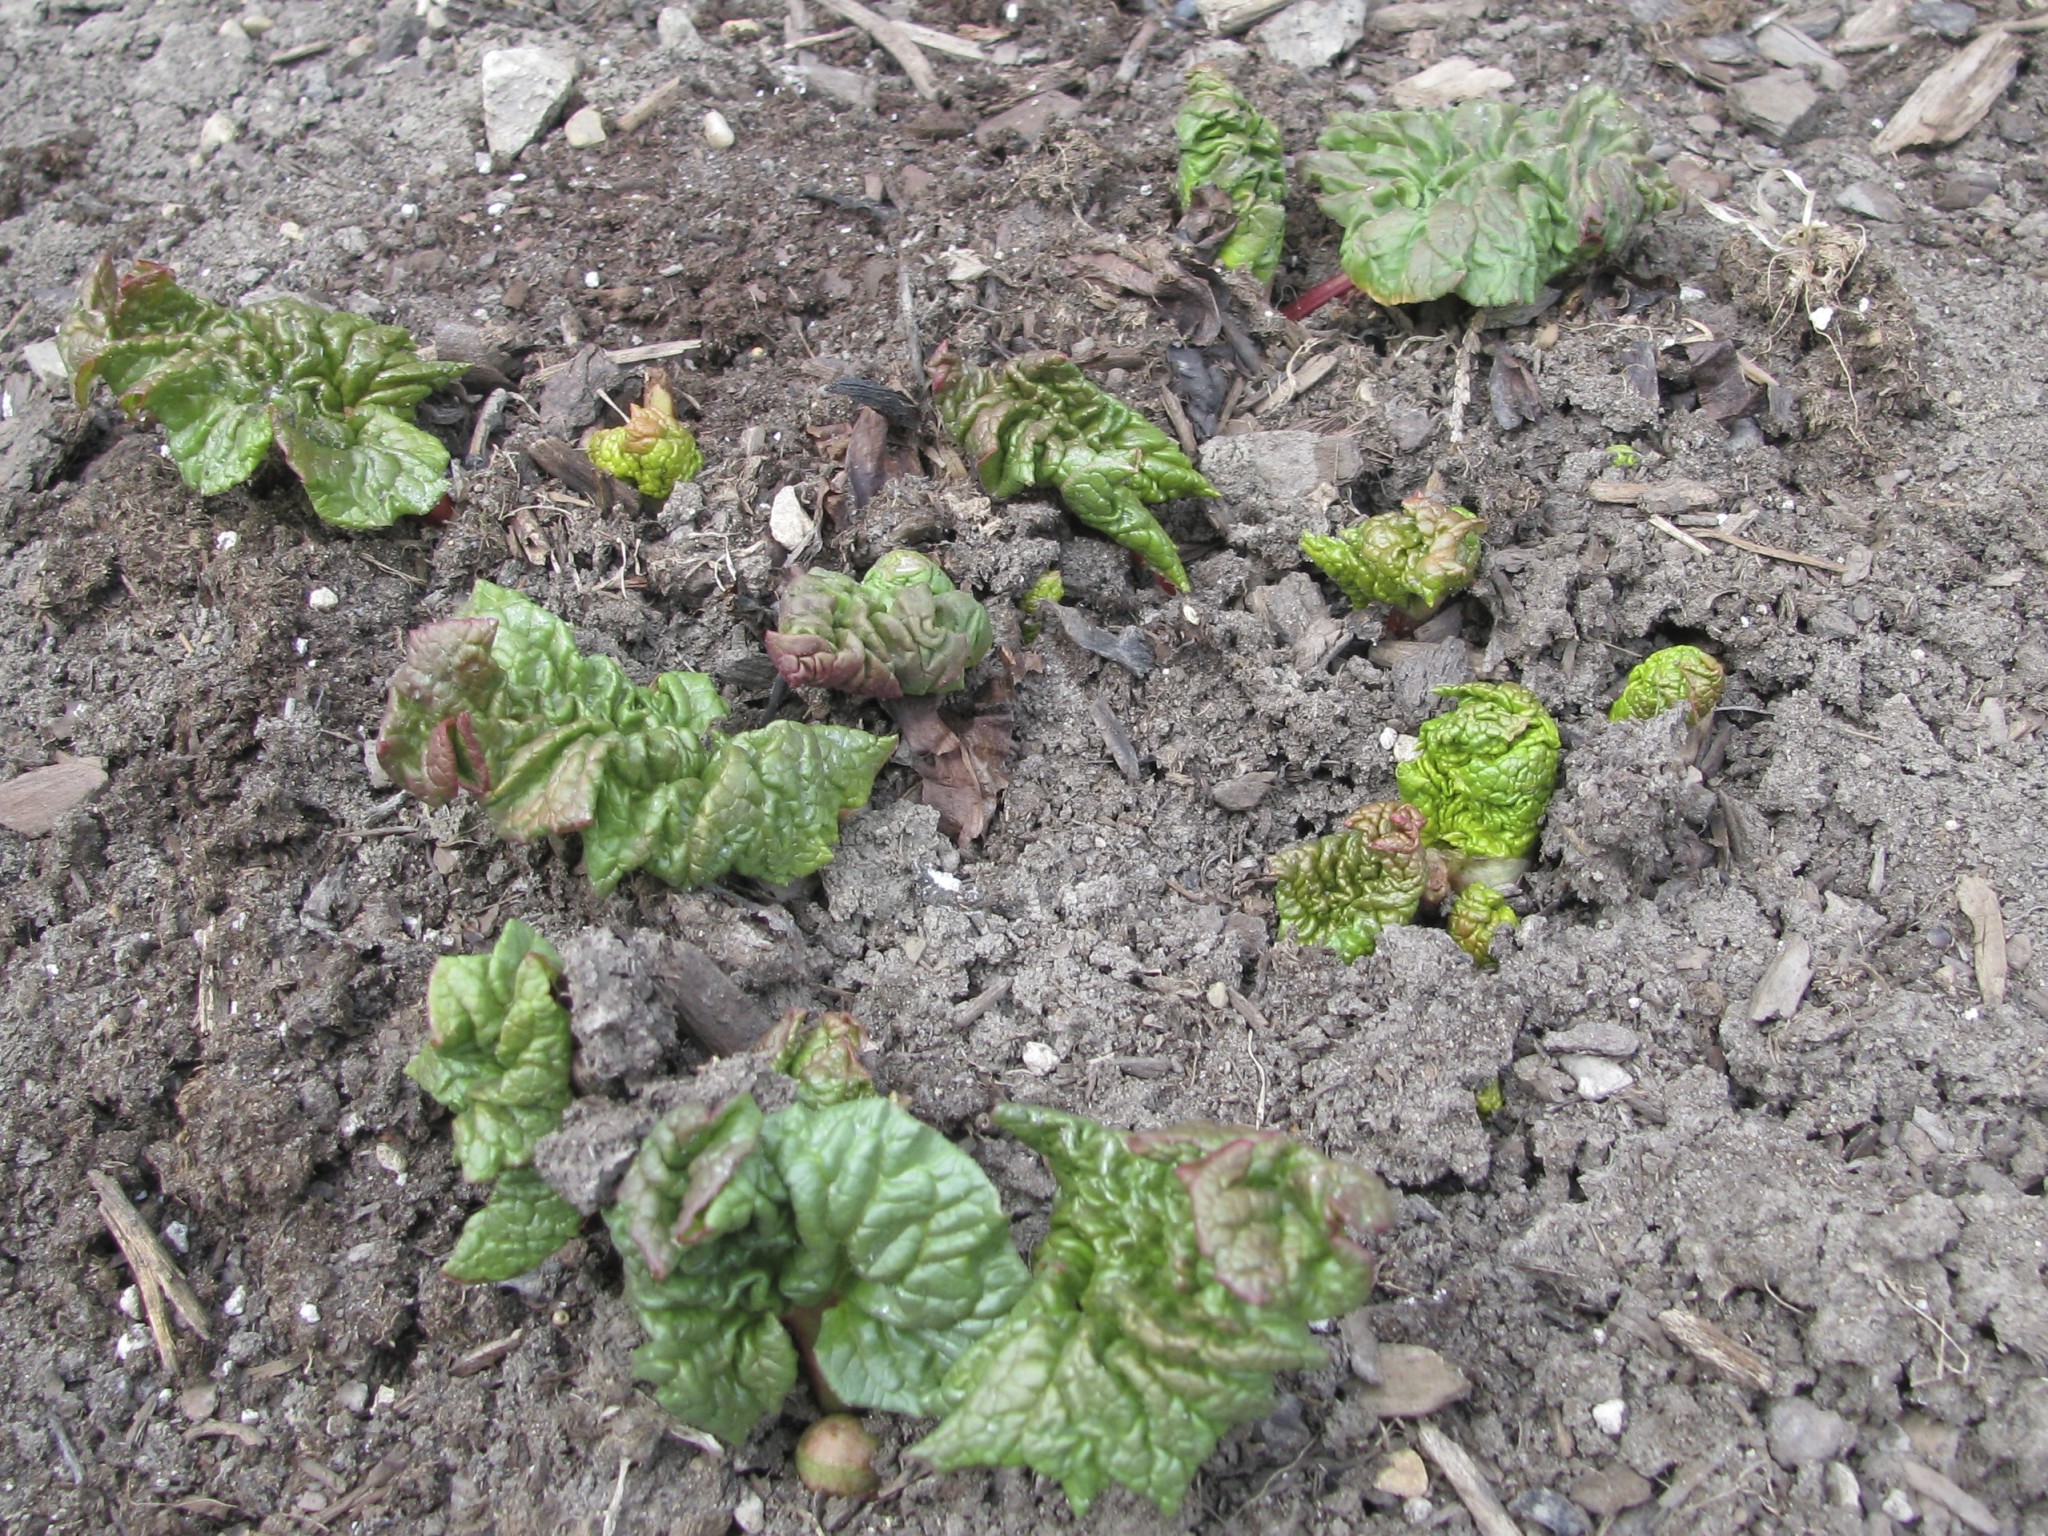
Rhubarb–Rhubarb will be fine, but you can cover if desired. Some of the stems and leaves may get frozen and turn mushy as they thaw. Just cut those unwanted leaves and/or stems away. First year, no more harvesting or cutting, second year and later, be gentle in your harvest this year if a lot of the plant was damaged.

Wishing you all good luck tonight 🤞🤞. What are you doing to protect your plants?

Photo credits: Stephi Gardens, Photos by Peggy and Photos by Steve

Giant Rhubarb and a June Veggie Garden Review

Giant rhubarb!

While the spring has been tough on some plants, others have flourished. Rhubarb is one of the things that has flourished. I have two plantings, my original here at home that I got from my mom, and a second I got from one of her friends when I complained that mine wasn’t very red.

My original plants taste great, but the stalks were more green than red. Apparently there’s many varieties of rhubarb that run from green to red, and green ones will never turn red. So now I have a green variety and red variety! Both are mature plants so I can harvest freely, but I never cut more than 1/2 -2/3 of the stalks and stop around late July to let the plant get ready for fall. What did I do today with my harvest? A 4th of July Strawberry Rhubarb Pie for my daughter and boyfriend who are visiting for the weekend!

How’s everything else doing? Fine would be the word I use, and for gardening that’s not a bad thing. I got my first full salad harvest the other day. The lettuce hasn’t bolted yet due to the cooler weather we’ve had, the Sugar Snap Peas are plentiful and I got my first YOLO Wonder green pepper and Summer Stripe squash.

Everything else is blooming beautifully and I’m looking forward to lots of July harvests.

Sweet Success Burpless and Telegraph Cucumbers are looking excellent climbing their trellises

…All the tomatoes are looking great. Lots of flowers and green tomatoes just teasing me with their abundance.

I’m growing Husky Cherry Red, a bush type cherry tomato, and indeterminate Yellow Cherry and the larger Juliet Grape tomatoes.

Husky Cherry Red Tomato

Yellow Cherry Tomato

Slicer tomato varieties are Burpee Early Girl, and 2 bush types, Grand Slam F1 Slicer Tomato (a Burpee Home Garden 2020 new variety) and Early Girl Bush. From the looks of it, I’m going to be having a great tomato harvest!

Grand Slam F1 Slicer Tomato

I’m really liking the bush varieties I’m growing. In the past, I’ve grown some slicer tomatoes in grow bags, but since they were indeterminate varieties they became really gangly and hard to deal with. These are nice and compact, great for a patio or porch, and seem to be producing equal to their wilder cousins.

Do I grow roma tomatoes? I used to, but I don’t have the space to grow enough to use for sauce etc, so I leave those to buy at the Farmer’s Market.

What else is growing?

My Burpee Home Garden 2020 new variety Redarling F1 Brussel Sprout, is looking awesome. I hope it begins to “sprout” soon.

Best of the rest…

Is your garden doing “fine”?

The Seedlings are in the House, Literally!

Chionodoxa (Glory of the Snow)

Just when we all thought we had turned the corner to spring, Mother Nature decided she doesn’t want to let go of winter quite yet.

Daffodils

Temperatures dropped down into the mid 20’s and we got about 1.5 inches of snow, although it didn’t really stick to any pavement type surfaces.

Because of the freezing temperatures, my seedlings that have been quite happy on the porch in their mini greenhouse needed to come inside or risk freeze damage. Quite unceremoniously, they get to spend the next couple of days on the kitchen table in the warmth of the house. Luckily no company coming over, but even if they did, they know me so they’d understand. Temperatures should be back up by midweek, although still below average.  I’ll move them back outside when the danger of sub-freezing temperatures has passed.  It’s probably a good thing I got the seeds started a little late.

Seedlings

The rhubarb is looking wonderful and will handle the snowfall just fine.

Rhubarb


Rhubarb

The Sedum “Autumn Joy” and Hens and Chicks that looked so good over the weekend, got a little buried last night.  Hopefully, they will be ok with the additional moisture and freezing temperatures.  Not too worried about the sedum, but the potted Hens and Chicks are less predictable.

Sedum "Autumn Joy"


Hens and Chicks

Relaxing on the patio will have to wait for another day.

Chaise lounges

Garden Season has Officially Begun!

After quite the long winter, I finally have been able to get out in the garden and get started for the season. Woohoo!! Because it’s a little later than usual, we skipped over the garden clean-up temporarily and worked on preparing the vegetable garden, building 2 new raised beds and seed-starting. Normally, with the last frost date being the end of April, I would have liked to get all this started a couple of weeks ago. But, with the weather as awful as it was, and spring break thrown in, this weekend was better than never.

First off, I prepared the current vegetable bed by adding compost to refresh things a bit. I always seem to have trouble finding it early in the spring (and haven’t started making my own yet), so I bought it last fall and left the bags there for spring. Nice to not have to go searching for it this weekend!

Raised Bed Gardening


Raised Bed Gardening

Once I got the compost worked into the soil, the garden was ready to add the cold weather seeds. Hopefully, it’s not too late. Looking at the long range forecast, I think I’m fine.

Raised Bed Gardening

Today I planted rows of:
Beets (Gourmet Blend Organic)
Carrots (Danvers Organic)
Cabbage (Copenhagen)
Lettuce (Tom Thumb Butterhead)
Lettuce (Red Sails Leafy Organic)
Radish (Cherry Belle Organic)
Spinach (Bloomingdale Organic)
Swiss Chard (Bright Lights)

These seeds were all from Botanical Interests.  In another week-10 days, I’ll plant a second row of seeds to try and get 2 harvests before the summer heat hits us.

Botanical Interests Seeds

All seed packets give specific instructions as to how and when to to plant the seeds.  Most are planted either 1/4 inch or 1/2 inch deep.  The 1/4 inch deep seeds I usually spread according to instructions, then just lightly cover with some dirt sprinkled from my hand.  You want just a very light cover of dirt.  The seeds planted 1/2 inch deep,  I’ll push in about fingertip deep and cover.  Then water gently.

Later this week, I’ll share the rest of the weekend’s projects!

I had a nice surprise when I went over to the side of the house to start the vegetable garden.  My rhubarb was already up and looks beautiful. Both plants have returned, so now I have a 2 yr old and 3 yr old plant that can both be fully harvested.  I think I will have plenty to share, so my friends are going to love me!

Rhubarb


Rhubarb

Did you get out in your garden this weekend?

Rhubarb: Part 2

My rhubarb has been growing like gangbusters and when I wasn’t paying attention shot up giant seed stalks.
imageimage

After a quick investigation into what to do, I realized that you don’t want these to grow very big and suck all the energy from the plant. They should be cut as soon as you see them forming, certainly well before they get to be this big. You need to cut these seeds stalks, not twist and pull them like you do to the stems you are harvesting. They are much thicker and hollow, and should be cut right down at the base.
imageimage
So now, I check the plants, down under the leaves to find the seed stalks just as they are forming and cut them as soon as possible.
image
From the plant that is in its second year, I’ve had 2 harvests so far and have used some in recipes and frozen the rest.

Rhubarb: Part 1

I love rhubarb, but have found it so expensive to buy at the farmer’s market or grocery store.  My mom (who lives in northwest MI) has always had a bunch in her garden, so a couple of years ago I asked for some.  First she bought me a root to plant from her local garden shop, but that came completely dried out and was basically dust.  Since that didn’t work, she split off a part of her plant 2 falls ago, brought it to me in a bag filled with dirt and I planted it.  That spring, it came up beautifully.  Everything I read said I should not harvest anything the first year.  It allows the roots to get established fully and will result in a healthier plant going forward.  So for all last summer I could only look longingly at my plant and collect rhubarb recipes on Pinterest to use this year.  Then, last fall, my mom wanted to get rid of all her rhubarb plants to grow something else, so I took the rest and planted it next to last year’s plant.

Here’s what they look like so far this year.  It’s one of the only green things in the garden.  It’s also not the prettiest area of the yard, but it is good soil and sunny.

2nd year plant is on the right, first year on the left.

rhubarb

Second year plant

rhubarb

First year plant

rhubarb