Burpee Home Garden 2019 Gardeners of the Month-I’m July!

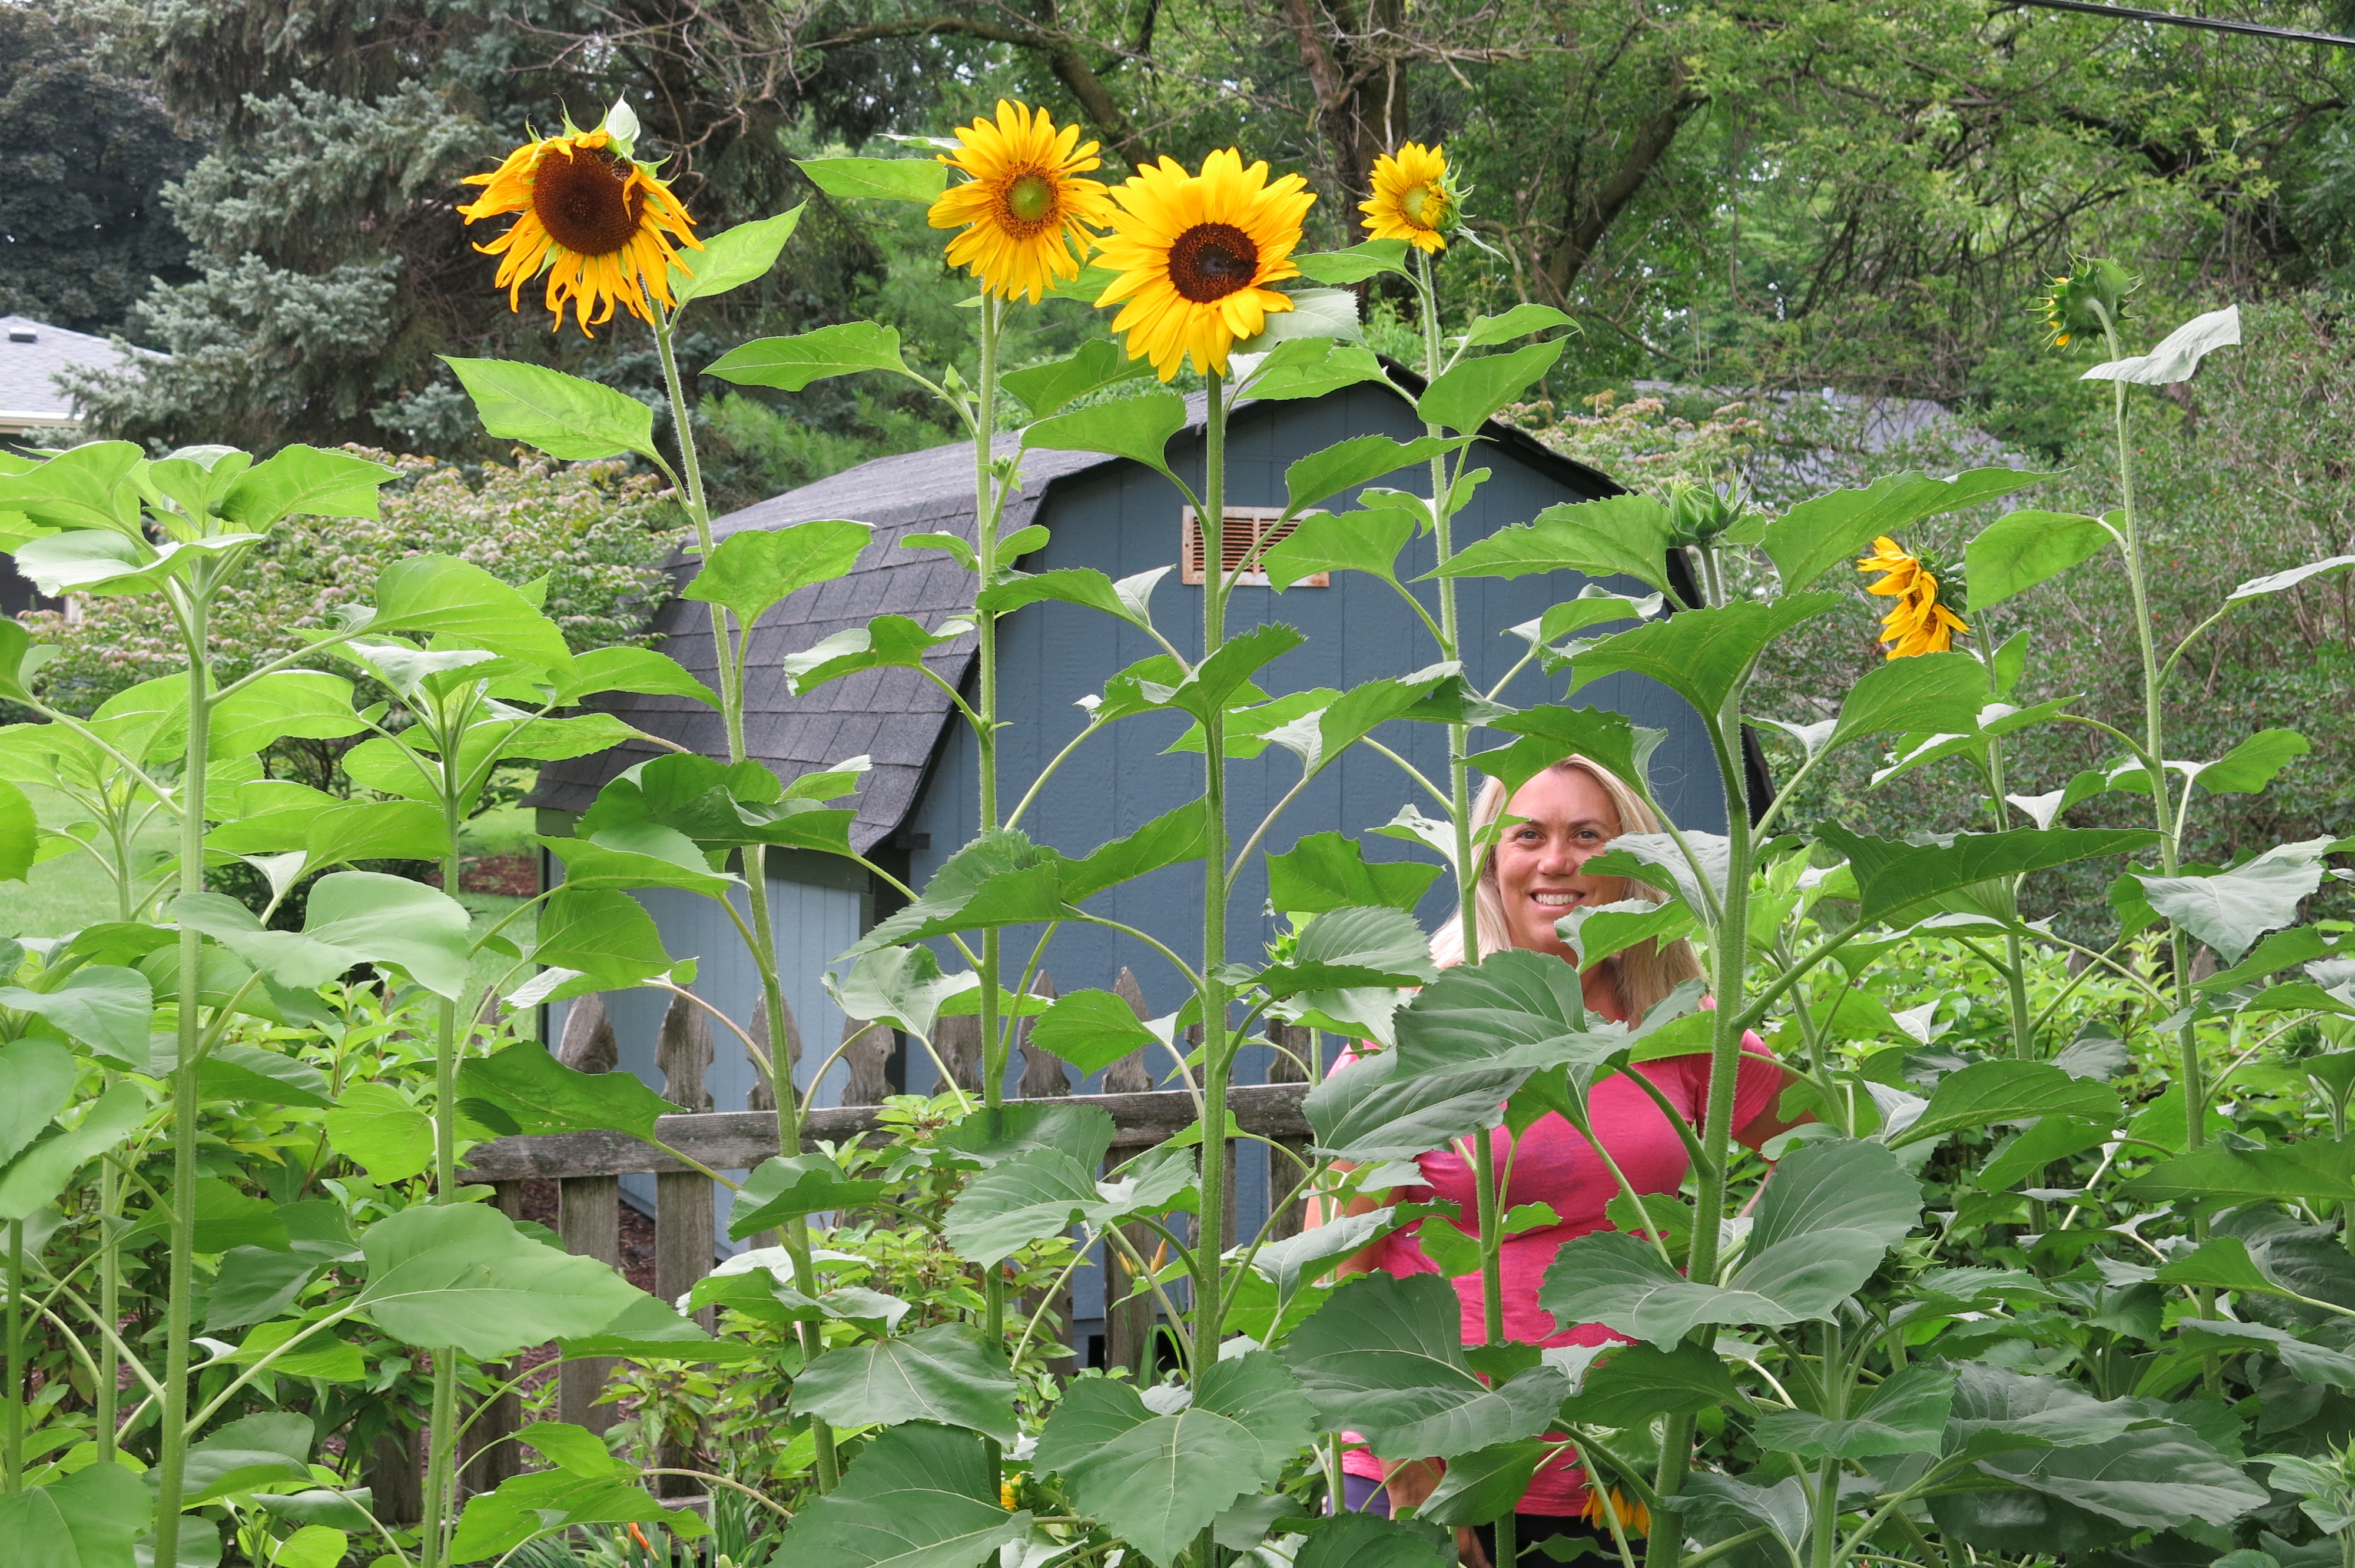
Yep, that’s me! Last fall on Instagram, Burpee Home Gardens asked gardeners to enter themselves or a friend to be one of BHG’s 2019 Gardeners of the Month. I shamelessly submitted my name with the following description:

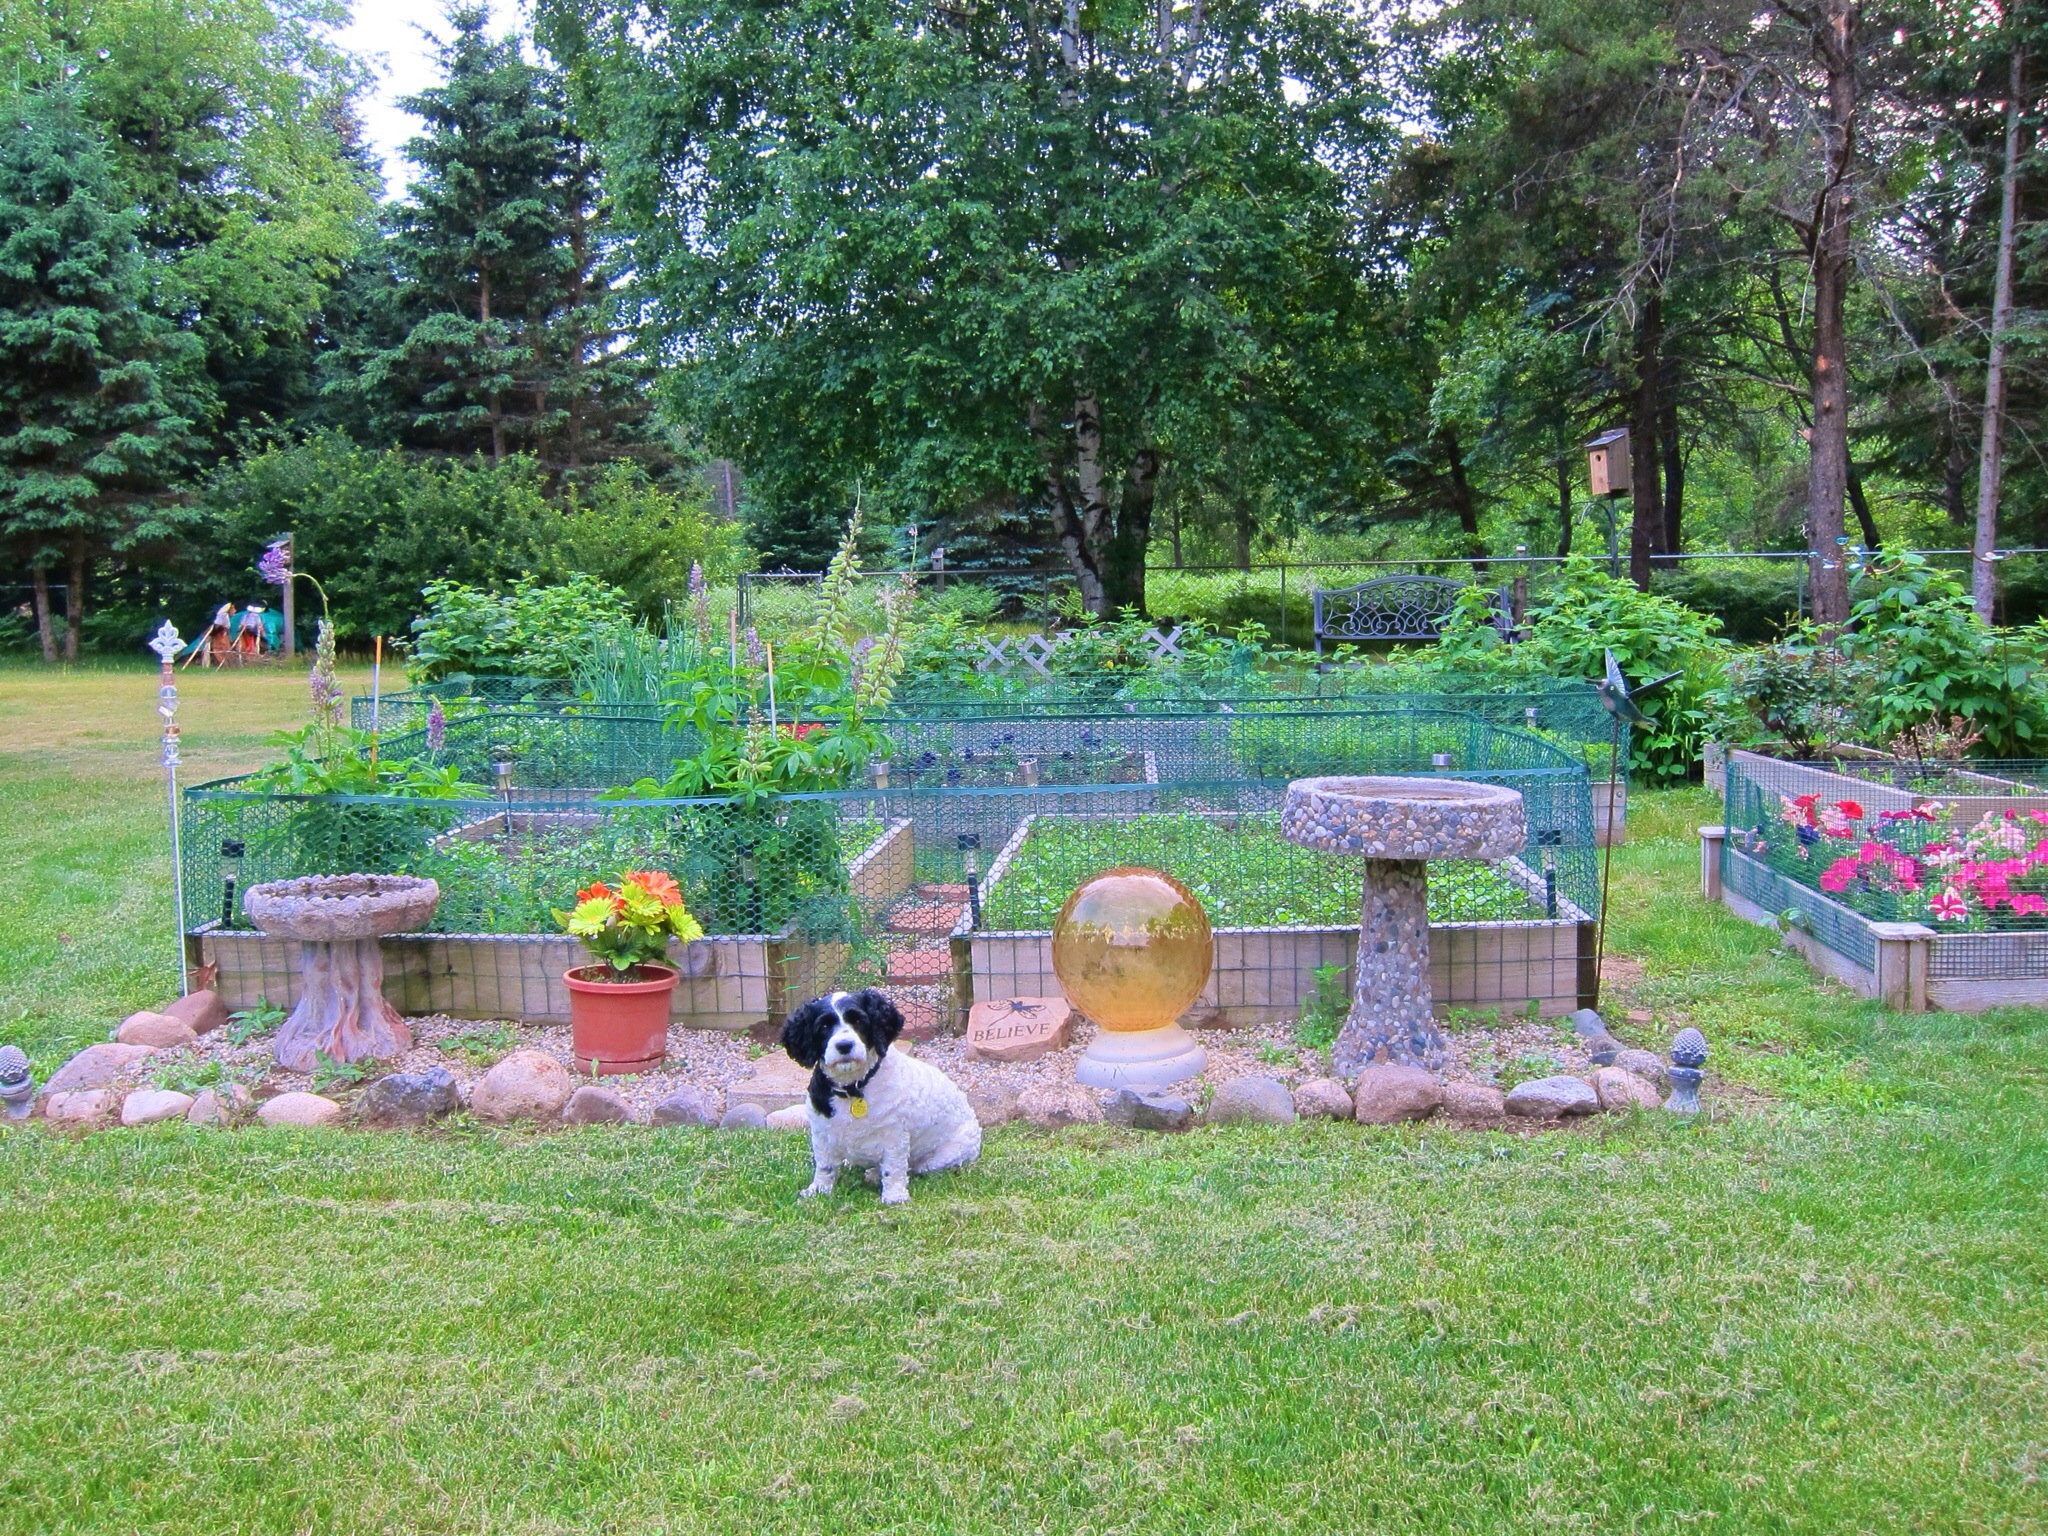
“I would love to be one of your featured gardeners. I may not have the most perfect garden, but it’s immensely fun to see what’s going on out there in the yard, to see what has worked well this year, and think about what I might try next year. Check out my blog and see what’s going on in my suburban yard!”

I didn’t really think I’d get picked since there are so many exceptional, passionate gardeners out there. Then much to my surprise, or rather shock, I got the following message by to me Instagram inbox:

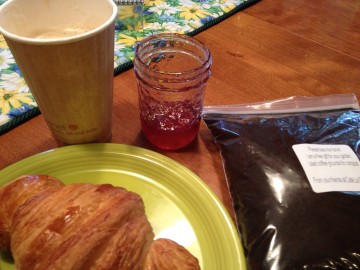
“We apologize for the delay, but we have good news! You’ve been selected as one of Burpee Home Gardens’ 2019 Gardeners of the Year! What does this mean? Either you submitted yourself or a friend submitted you to be featured on our account! We think you’re great and will feature you on the following month: July 2019. As a gift for being such an awesome gardener, we’d like to send you an exclusive plant sample box of our new varieties for 2020! Please reply with an address to which we can ship the box. (You won’t receive these until early summer, but we need to confirm you on our list now.) Congrats again, and we look forward to showing our followers how amazing you are! 🌱😁”

Wow, wow, wow!!! How exciting is this?

Burpee Early Girl Tomato

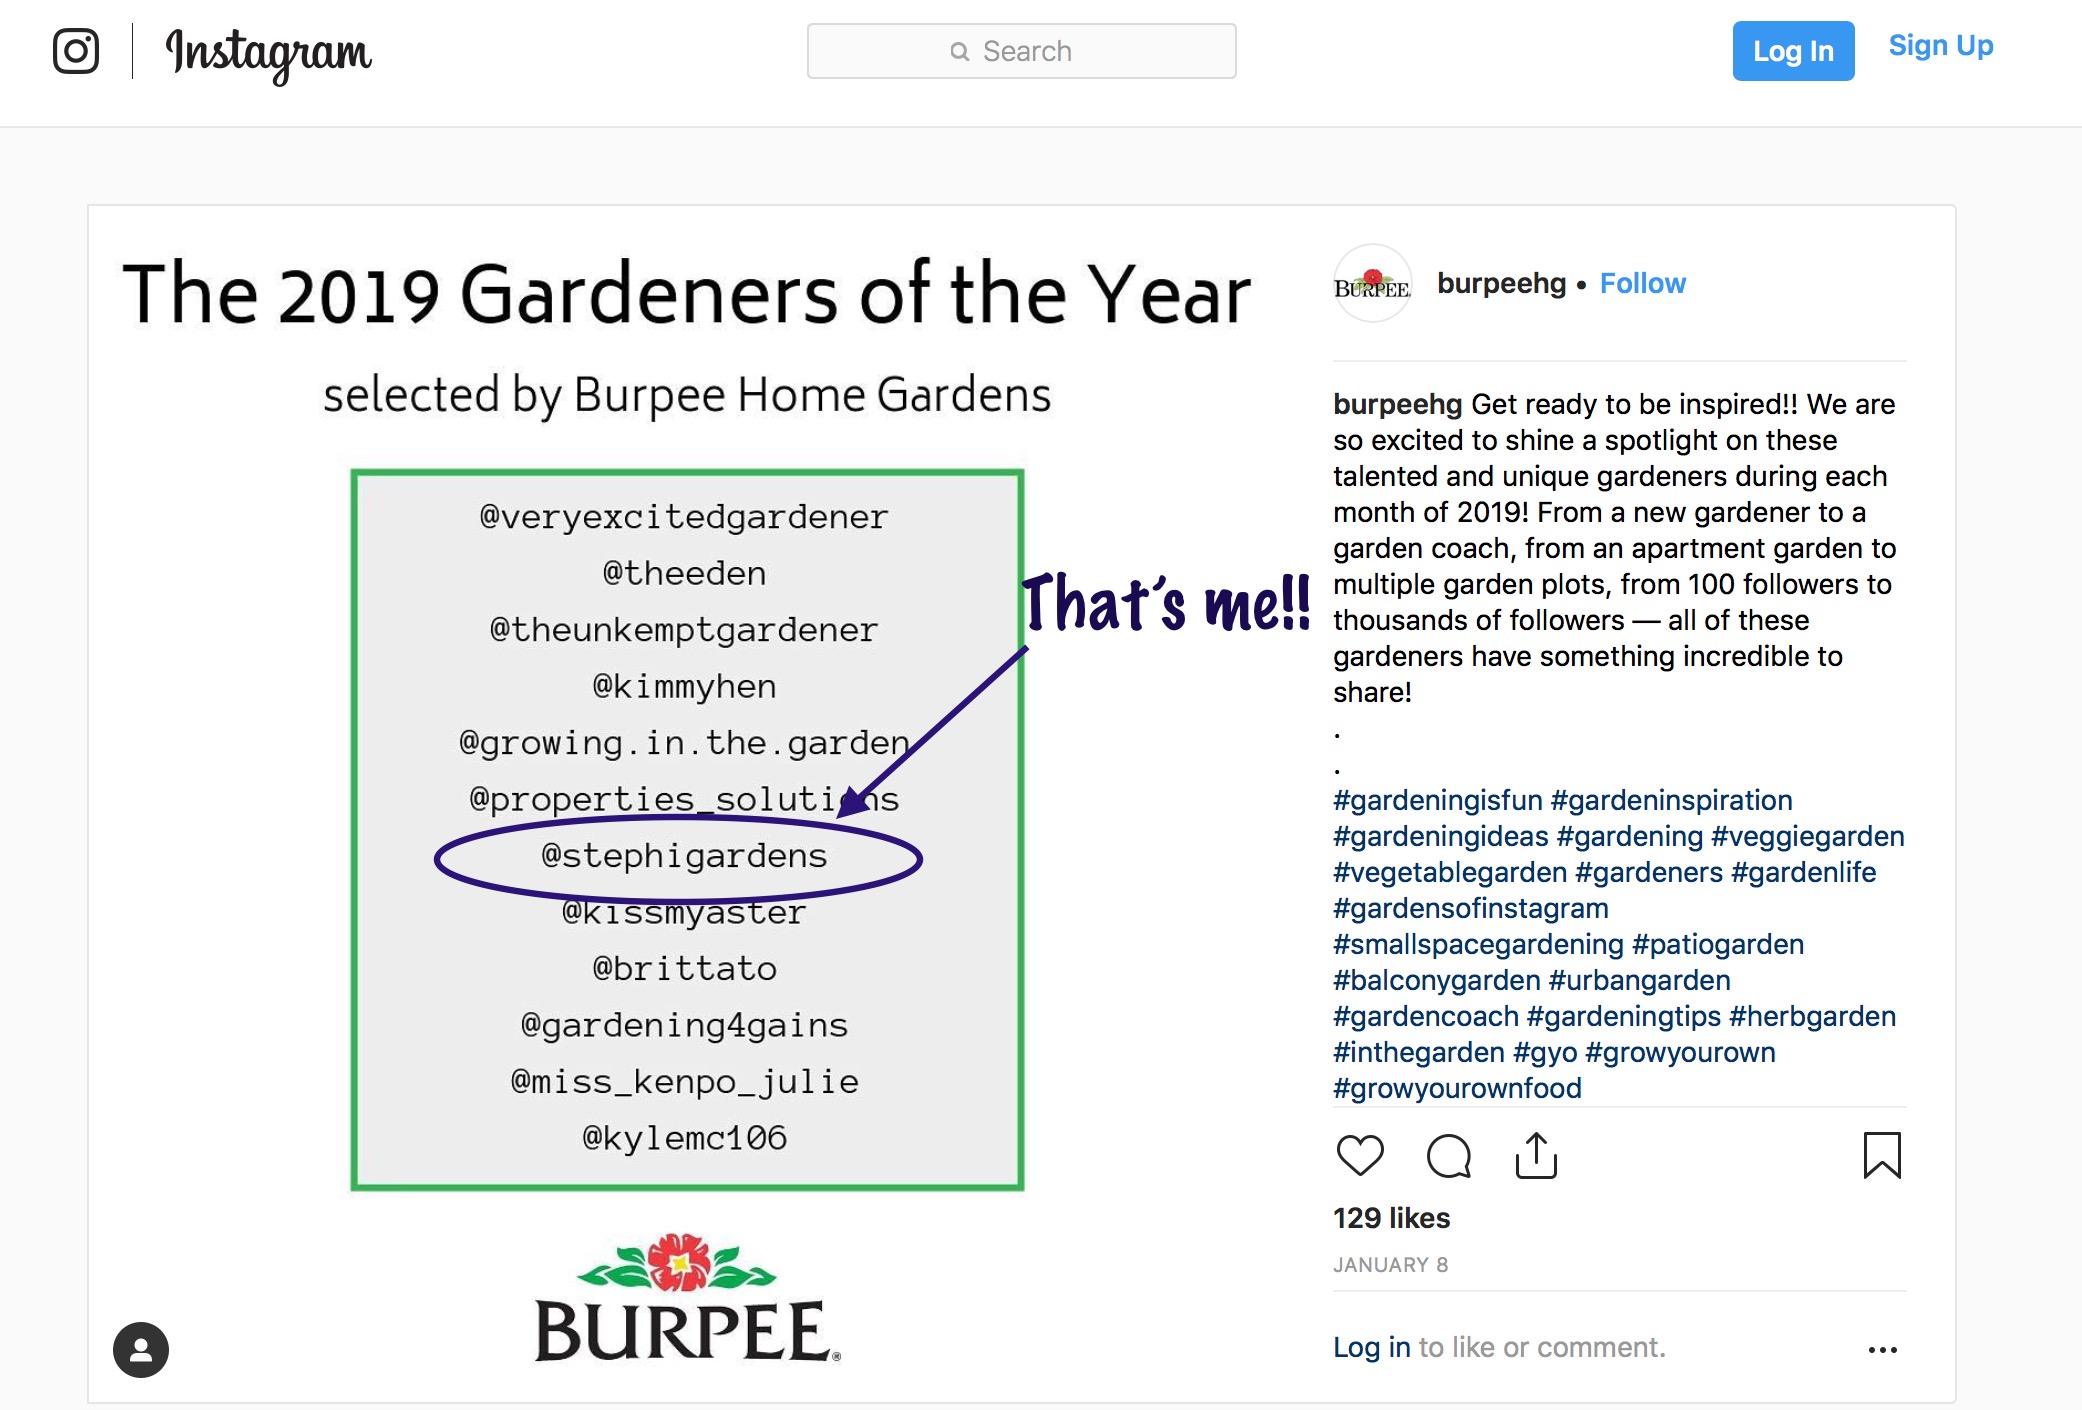
Announcement from the Burpeehg instagram site last week:
“Get ready to be inspired!! We are so excited to shine a spotlight on these talented and unique gardeners during each month of 2019! From a new gardener to a garden coach, from an apartment garden to multiple garden plots, from 100 followers to thousands of followers — all of these gardeners have something incredible to share!”

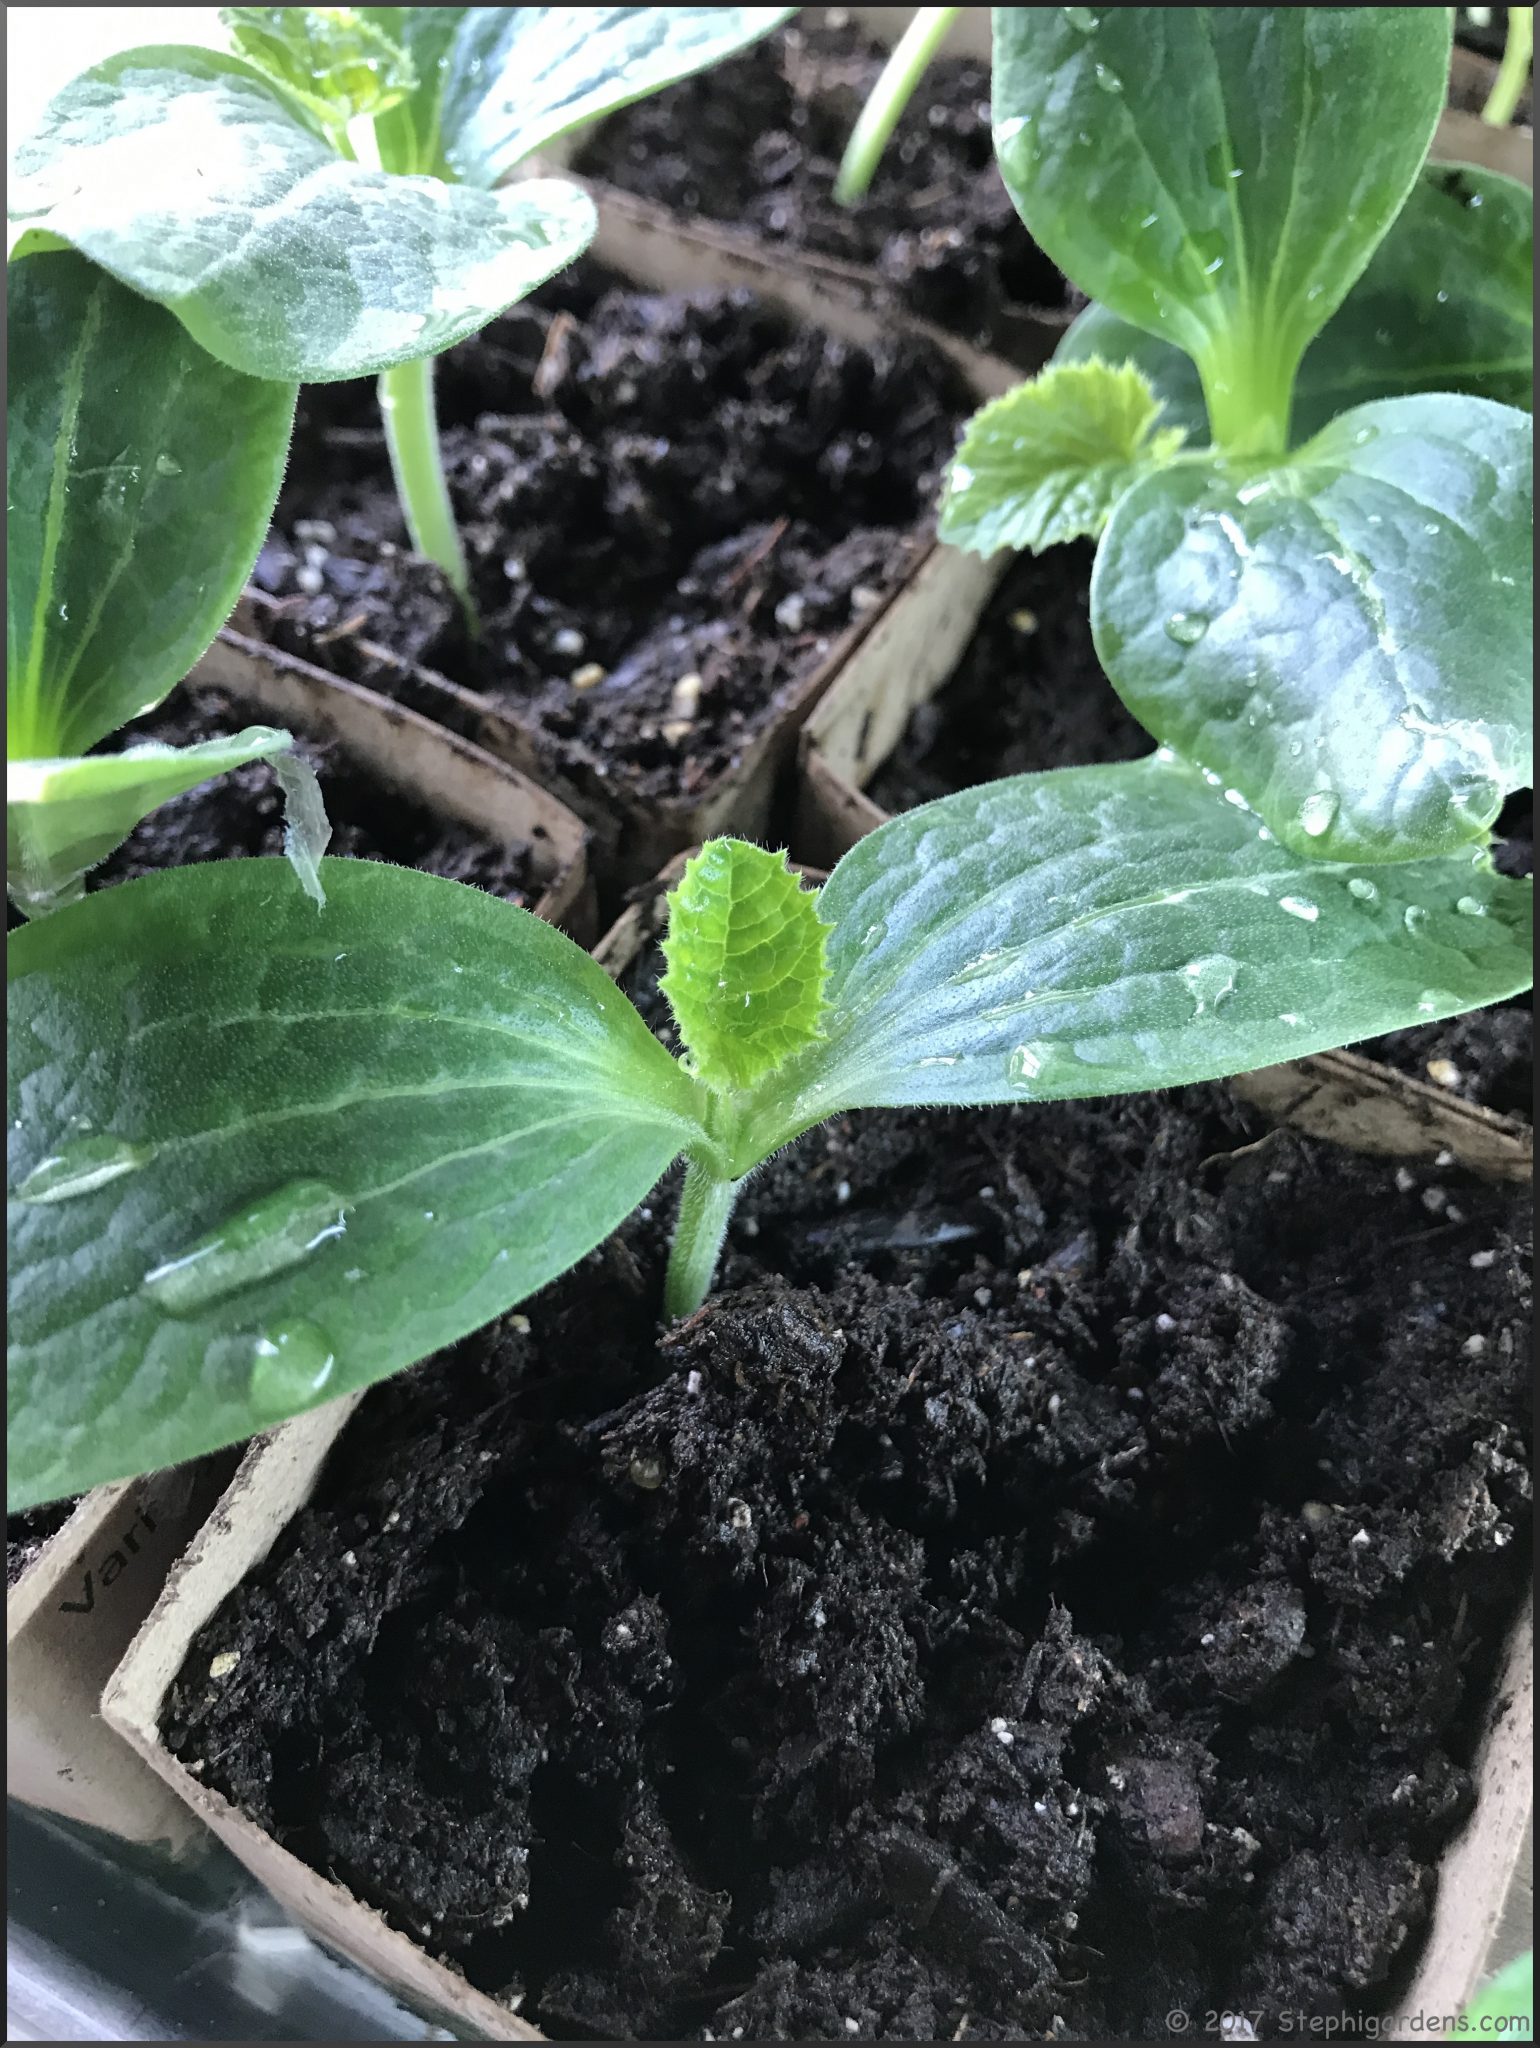
Now the pressure is on. What am I going to grow this year? What new things do I want to try? How will I compare to the other gardeners? What unexpected things are going to happen this year? What, what what…

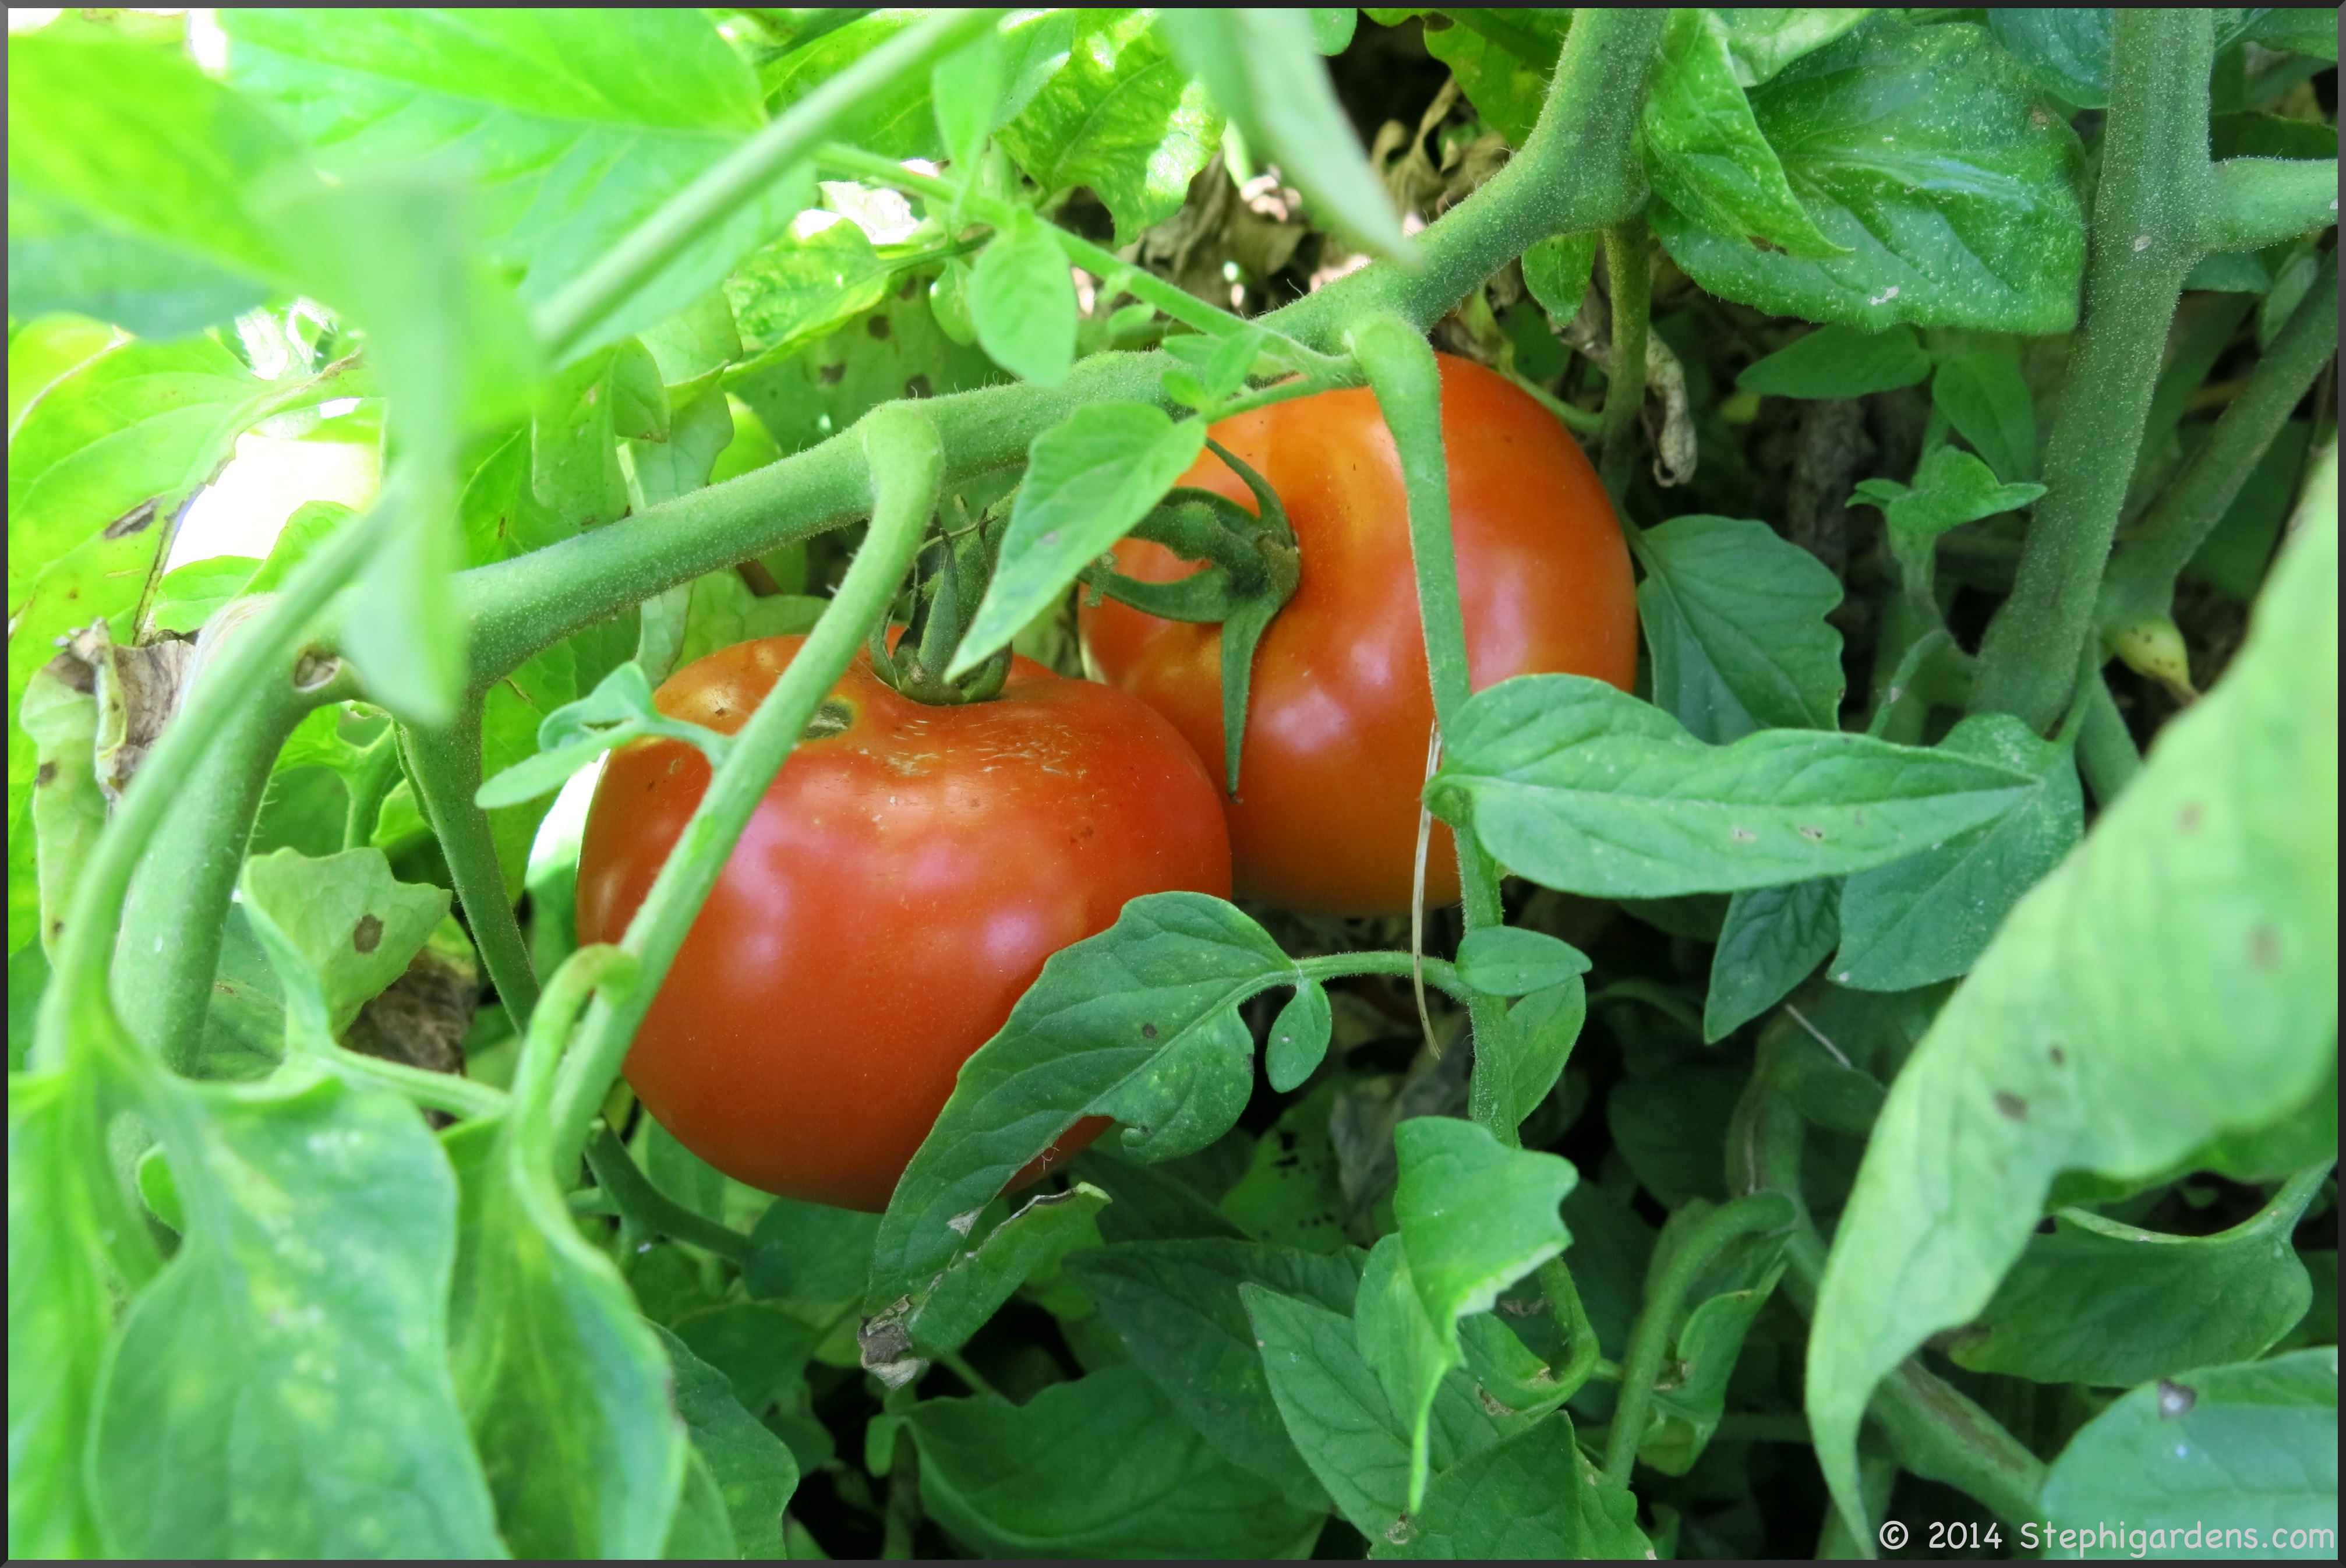
One thing I do know, is that people garden for all different kinds of reasons and no one really has a perfect garden. I grow what makes me happy and I love writing about it. The good and the bad. That’s real life. I hope some of what I experience encourages someone else to try their hand at growing something, or just getting outside to appreciate nature.

Can’t wait to follow Burpee and Burpee Home Gardens as they highlight all these gardeners this year.  Watch for me in July on their Instagram site and blog. I’ll be sure to let you know when I’m featured 😉

Coffee Grounds-What to do With Them?

I was getting coffee and picking up my bakery bread order last weekend at the local coffee shop.  Next to the register was this bag of coffee grounds, just inviting me to take it home for the garden.

coffee grounds

While we’re not huge coffee drinkers, we drink enough that there are a few handfuls of grounds headed to the the trash each week.  Between that and the bag of grounds I brought home with me, I thought I should look into using grounds in the garden to see if I can help the environment and my garden at the same time.  It seems that it’s not quite as simple as sprinkling it in the garden to get results.  Of course there’s the anecdotes that it’s the magic potion that turns a so-so garden into a breathtaking place.  But, from a more scientific point of view, that may not always be the case.

Here’s what I’ve learned:

  • Lab tests show that the grounds contain useful amounts of phosphorus and potassium, are a low-level source of nitrogen (about the same as grass clippings) and also contain minor amounts of calcium, magnesium, copper, and other trace minerals, carbohydrates, sugars, some vitamins, and some caffeine.
  • Coffee is acidic, but coffee grounds are closer to neutral so not really that useful for acid loving plants like azaleas
  • They are great in the compost bin, both for their nutrient value and their ability to make it “hot”.  Add them as part of the “green material” not brown .
  • People have reported good results adding it to the soil around hostas, roses, and on their lawns.  Especially when there is an underlying soil issue, like clay or damaged soil.
  • Use as transplant fertilizer for tomatoes, squash and leafy vegetables by placing a handful in the transplant hole.  Seems to give those young transplants a nutritional boost.
  • Worms love coffee grounds (in moderation, of course).  Use them in soil to attract worms to the garden, or in a worm composter.
  • Use to make a liquid feeder.  Mix grounds with a bucketful of water and leave sit for a day or two to make a nice carmel colored tea to use as a liquid fertilizer.
  • Grounds placed around the base of plants are a slug deterrent.  Seems to be an ant repellent as well.

I didn’t read anything about them being harmful to the garden in reasonable amounts, so I think this year the grounds will be sprinkled in some of the older gardens that could use a little perking up.  I’m also planning to use them around my hostas as a slug repellant as they start to do their damage mid-summer.  Maybe someday I’ll get a compost pile going and they’ll be a great addition, but that’s not in the cards right now though.

Do you use your coffee grounds in the garden?

Another problem area

IMG_0800
IMG_0799After fixing up the garden in the front of the house, inevitably another spot is starting to look messy and unpleasant.  Many elements of this corner garden are struggling. The overgrown Miss Kim Lilac, the mishmash of day lilies, a giant decorative rock mostly buried under the shrub that serves no purpose, constant weeds, and dead daffodil leaves are a few examples.  This corner says anything but “Welcome to my house!”


So we really needed to spruce this up a bit.  The giant flat accent rock and daylilies  moved to another spot and immediately the site perked up.  I was going to leave some of the daylilies right on the front corner and add 2 boxwoods to the spot next to yew.  As soon as we set the boxwoods there, it was obvious the other daylilies had to go and one more boxwood was added.  The lilac, I will continue to prune in hopes that one day it’ll be small and full again.  And here’s what it looks like now!

IMG_0831

IMG_0830

One of the constant things I mysteriously find in the garden is small rocks. They are everywhere! I assume they are remnants of the initial house construction and walkway construction. I bring this up because I found about a bucketful in this small area. Rocks are one of those things that I just don’t know what to do with. They’re not landscaping waste, too heavy for the regular trash, so they now go to help fill in the swale in the back that has river rock in it.

Check your supplies :(

I finally found time to go out and fertilize my annuals, perennials and vegetables. I have always used  Miracle Grow All Purpose Plant Food, either as the water soluble plant food granules I mix into the watering can or use with their refillable garden feeder or the ready to use Liquifeed garden hose system.  All seem to work fine, just depends on what form I can find the food in at the store. I know there’s other plant food out there, this is just what I’ve always used and it works for me. If anyone uses something else, I’d love to hear your experience.

IMG_2908

But, like anything, the best laid plans can go awry. When I opened the gardening cupboard, I apparently had pretty much used up everything last year and never bothered to buy more, or make a note of needing to buy it for this year.

So, I watered with what I had on hand, and then went to the store later in the afternoon.  I did have a problem with the liquafeed dispenser in that it was clogged.  That happened last year too.  That is one downside to this set-up.  It takes a while before you realize the food isn’t being mixed with the water and that you need to get it unclogged.  I never had that problem with the older no-clog garden feeder.  But, the downside is that you have to deal with adding the crystallized food to the dispenser (but that’s not really that big of deal).

To get it unclogged, first I rinsed out the sprayer bottle attachment pretty well to get clear any crystals or gunk.  Then I squeezed the unnattached bottle really hard to get a little spray to come out to clear that little hole.  That seemed to do the trick.  Some hints I’ve come across to keep it working well include, run some water through the sprayer after detaching the bottle to clear any crystals,  don’t leave the bottle attached to the nozzle during storage and keep the bottle capped when not in use to prevent unused solution from evaporating.

Watering the plants this way also gives me a chance to check everything out and see what might need attention.  This is important as we get into the heat of the summer.

Zucchini and Squash Mid-summer

My zucchini and squash plants are growing like gangbusters!  I was a little worried when I transplanted them as seedlings,  because they had grown into tangled messes in the growing pots.  I was as gentle as I could be, but a couple almost broke in half because the stems were so fragile.  I ended up planting all of them, despite what they looked like, just hoping they’d grow.   The ones that seemed barely connected by threads of stems, I laid carefully in the dirt and covered up the damaged spots.  Luckily, the weather cooperated and the little plants were actually able to become established.  Never toss a plant that you think is too far gone to plant, nature has a way of making these things survive

I have them in the garden growing in front of, and on the Cucumber trellises that I got from Gardeners Supply Company.   These were great purchases for me since I could lean them against the house and expand my garden space.  Squash and zucchini plants aren’t really climbers, but they will prop themselves up a little bit and save some space by spreading up, rather than just out.

I  have already harvested 1 summer squash and see at least 2 little zucchinis growing.  Lots of flowers still blooming meaning lots more vegetables to come. Something I’ve learned is that it’s important when reaching around in the plant to be gentle, the new little squashes can be knocked off easily and some of the plants dislodged entirely.  Also, don’t wait too long to harvest the summer squashes especially, they can get very seedy and tough.  Best to pick early and they will be far more tender.


Zucchini and Squash Au Gratin
Print
Author:
Tasty recipe to easily use that late summer zucchini and squash
Ingredients
  • 2 small zucchini, sliced ¼ in thick
  • 2 small summer squash, sliced ¼ in thick
  • 3 Tbs. olive oil (split)
  • ¼ cup fresh thyme leaves
  • ½ cup grated parmesan or asiago cheese
  • ½ cup panko bread crumbs
Instructions
  1. Preheat oven to 375º
  2. Toss sliced zucchini and squash in 2 Tbs olive oil. Arrange in a single layer of overlapping rows in a shallow baking dish.
  3. In a separate bowl, with a fork, combine remaining 1 Tbs olive oil, thyme, cheese and bread crumbs.
  4. Sprinkle cheese mixture on top of vegetables.
  5. Cook 45-60 min until squash is sift and topping is browned. Cover loosely with foil if topping is getting too browned.
  6. Tomato variation: Slice fresh tomatoes and layer in overlapping rows in a shallow baking pan. Brush with olive oil. Sprinkle cheese mixture on top. Cook for 20-30 min until desired doneness.

SaveSave

SaveSave

Rhubarb: Part 1

I love rhubarb, but have found it so expensive to buy at the farmer’s market or grocery store.  My mom (who lives in northwest MI) has always had a bunch in her garden, so a couple of years ago I asked for some.  First she bought me a root to plant from her local garden shop, but that came completely dried out and was basically dust.  Since that didn’t work, she split off a part of her plant 2 falls ago, brought it to me in a bag filled with dirt and I planted it.  That spring, it came up beautifully.  Everything I read said I should not harvest anything the first year.  It allows the roots to get established fully and will result in a healthier plant going forward.  So for all last summer I could only look longingly at my plant and collect rhubarb recipes on Pinterest to use this year.  Then, last fall, my mom wanted to get rid of all her rhubarb plants to grow something else, so I took the rest and planted it next to last year’s plant.

Here’s what they look like so far this year.  It’s one of the only green things in the garden.  It’s also not the prettiest area of the yard, but it is good soil and sunny.

2nd year plant is on the right, first year on the left.

rhubarb

Second year plant

rhubarb

First year plant

rhubarb