

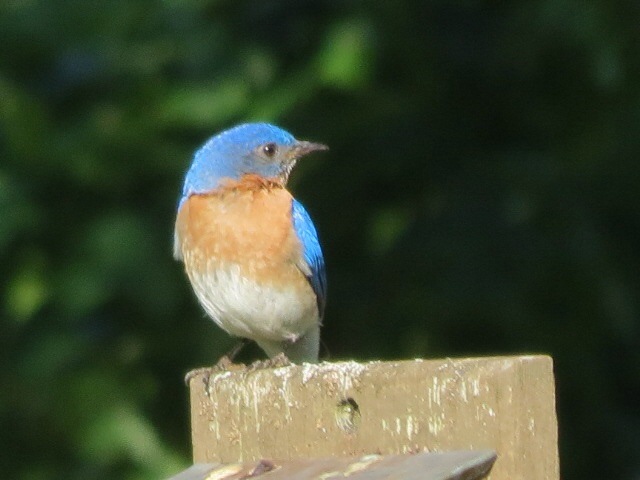
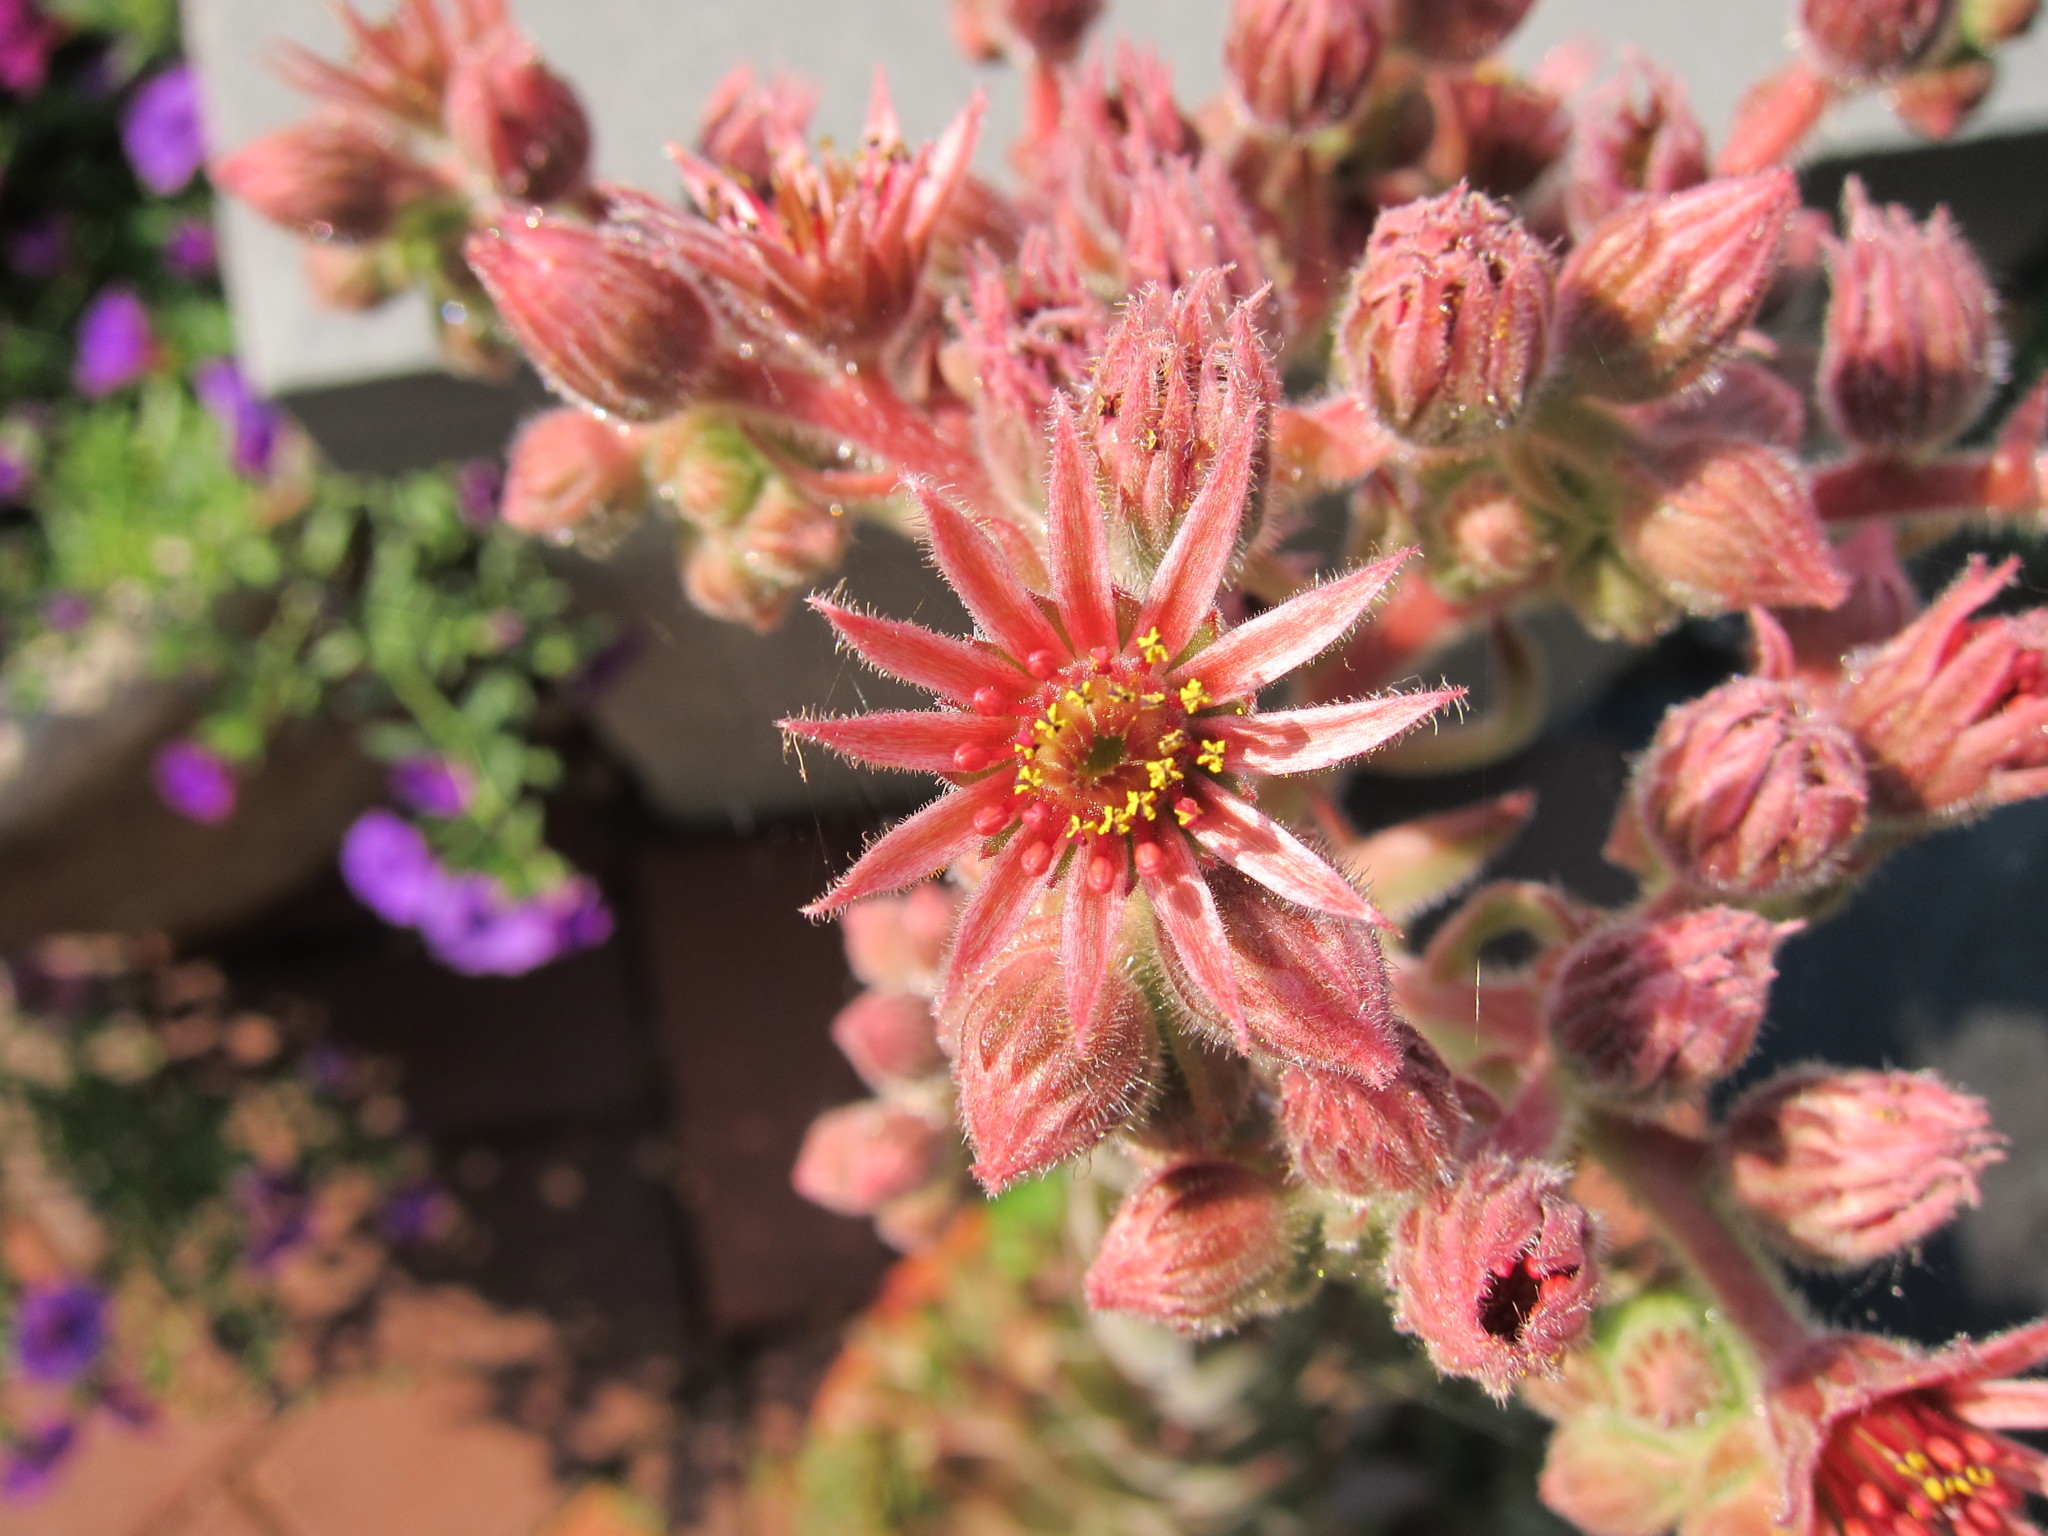
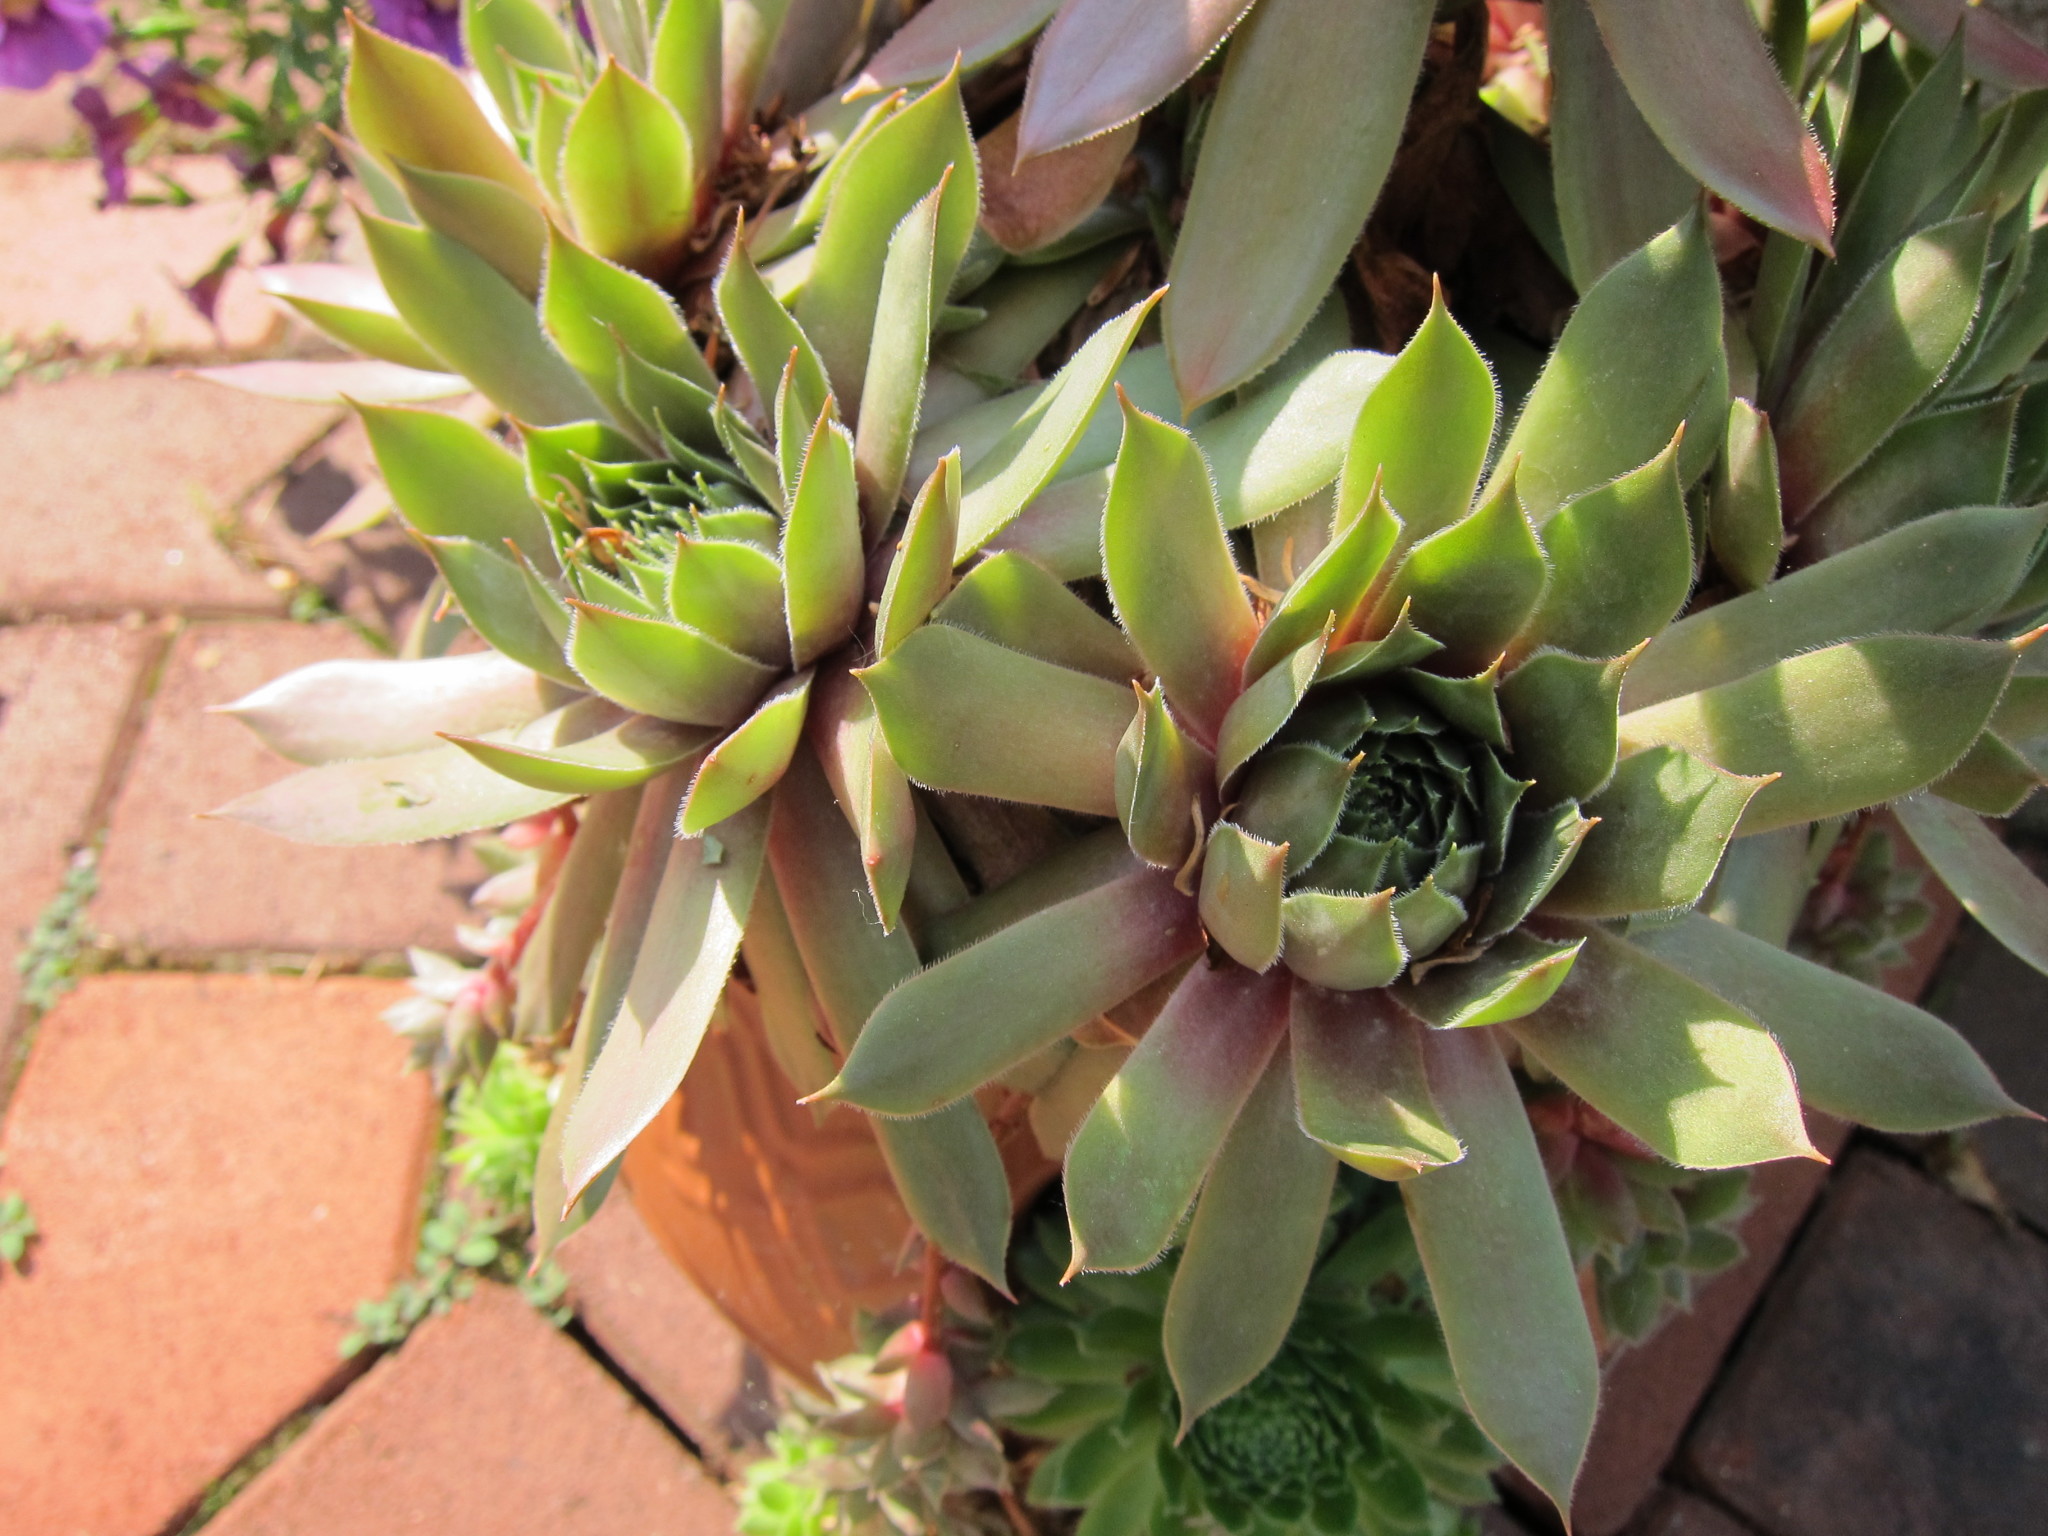
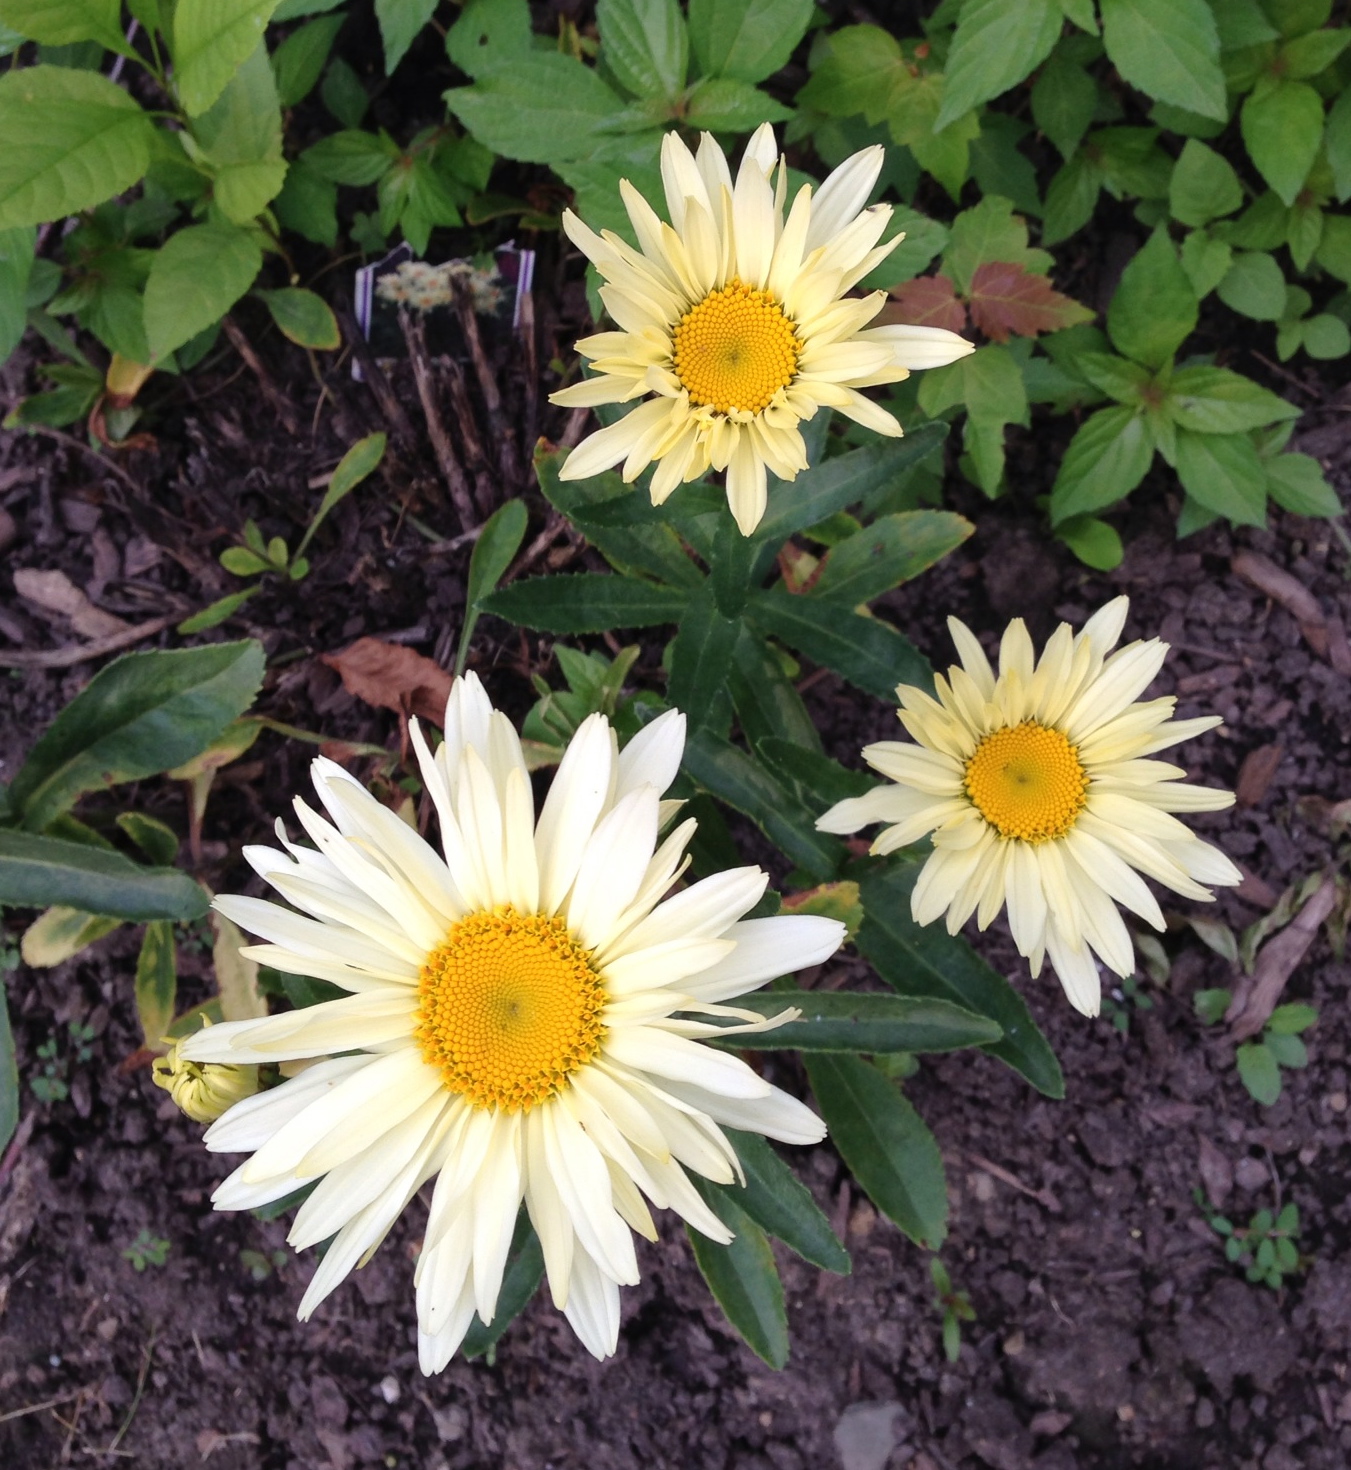
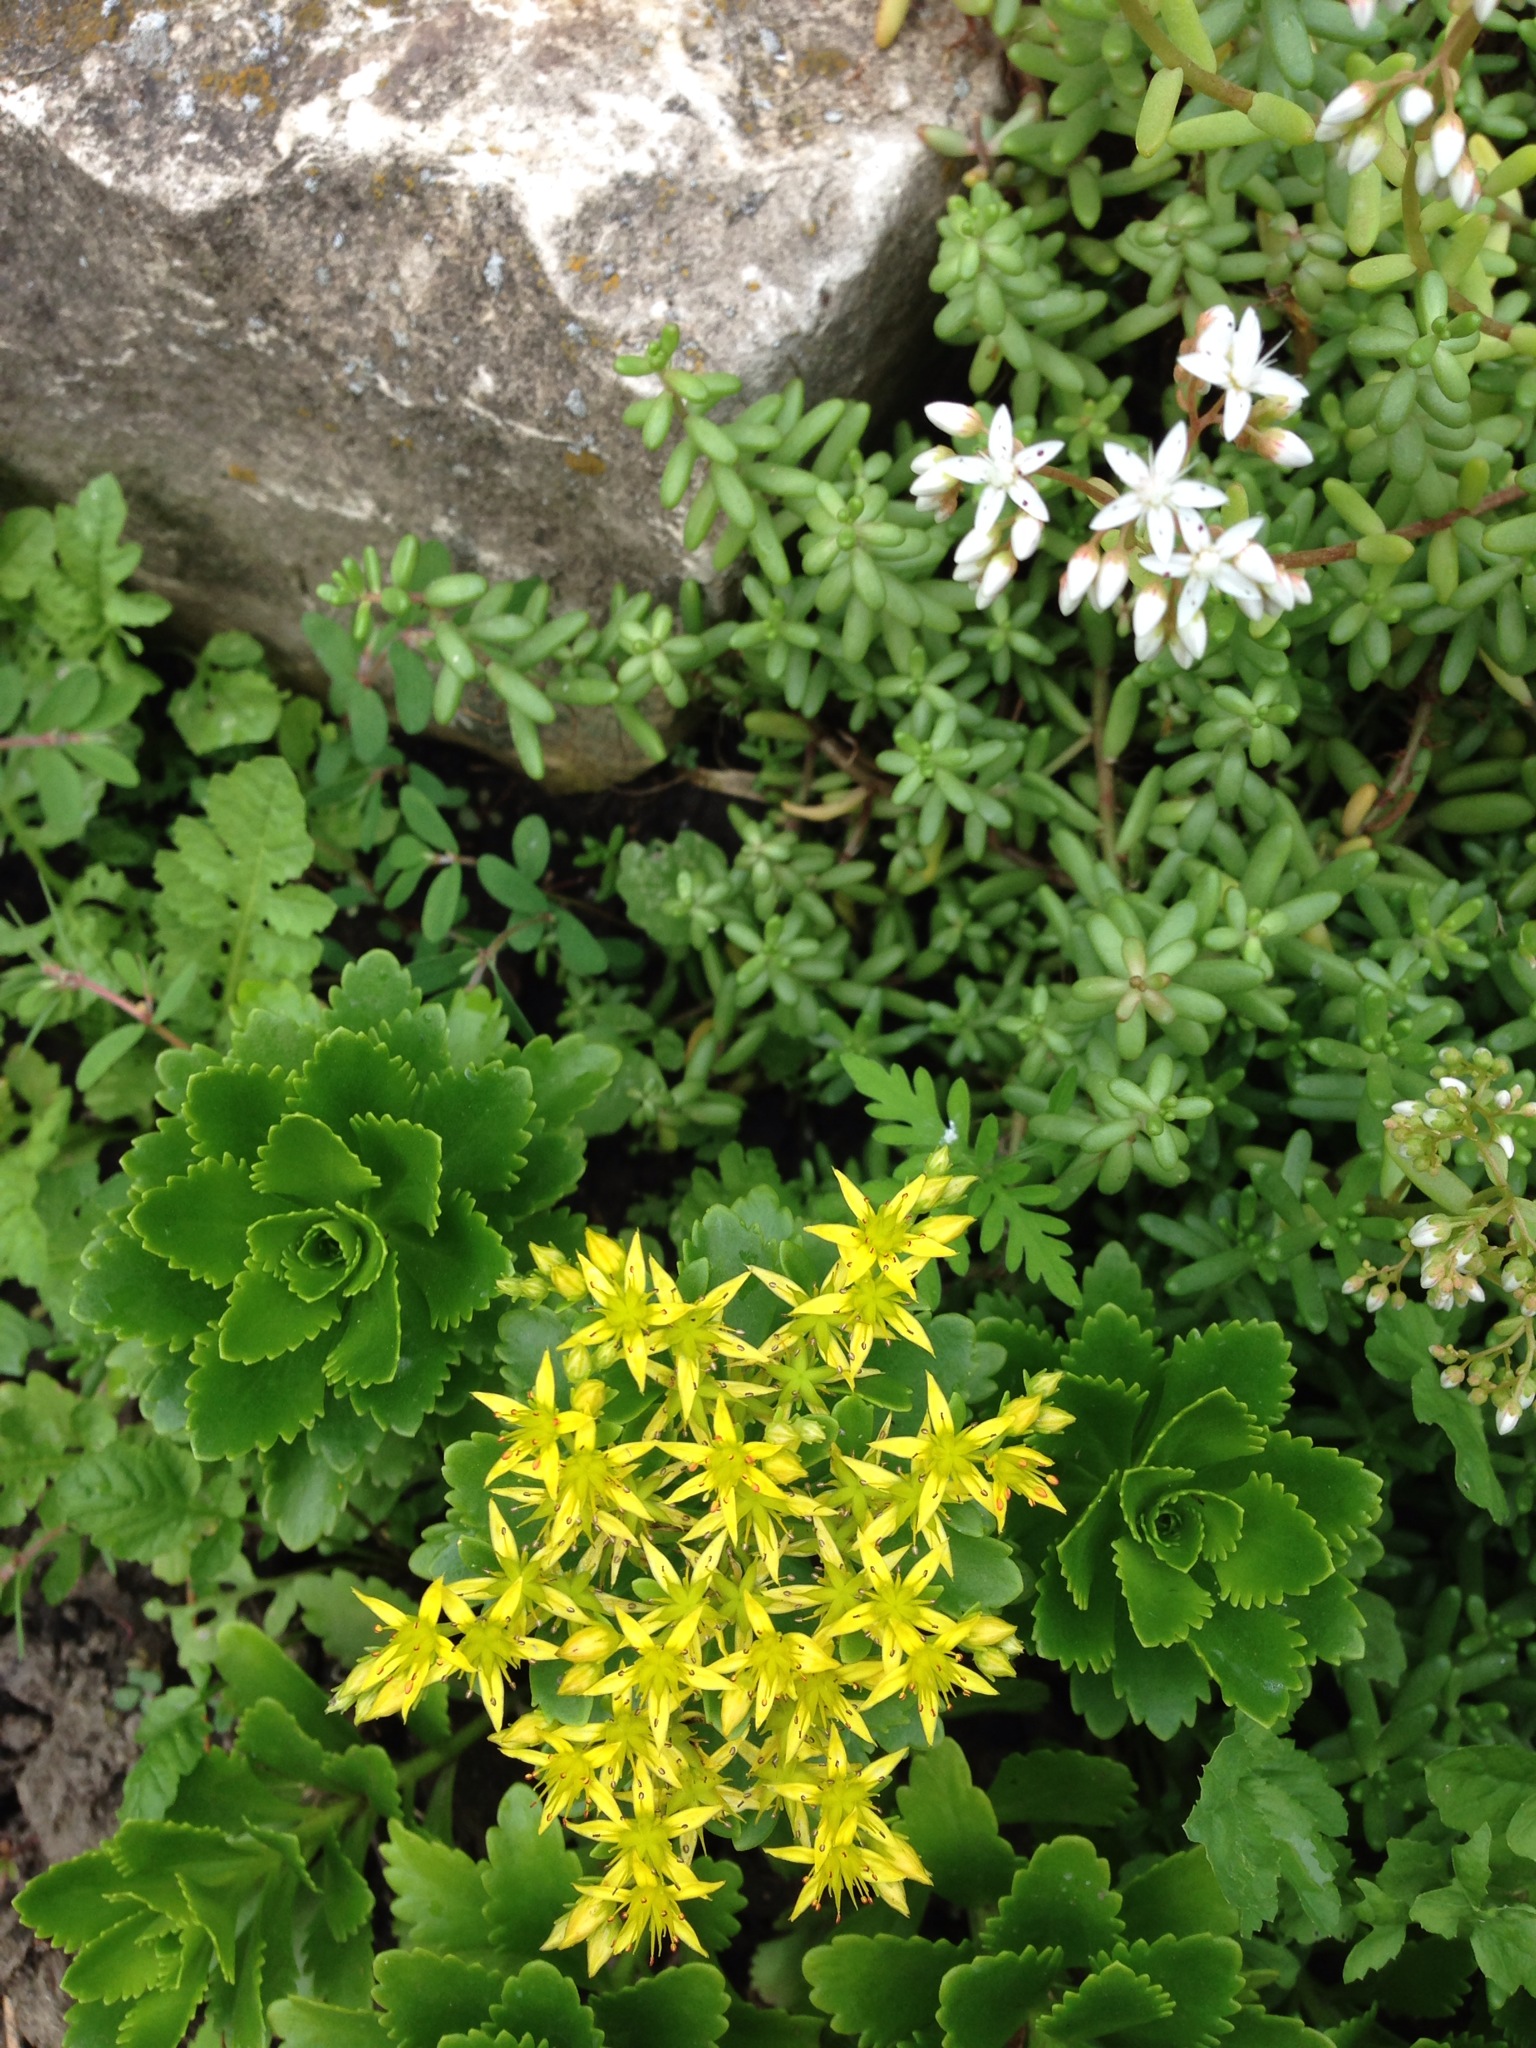
Category: Flowers
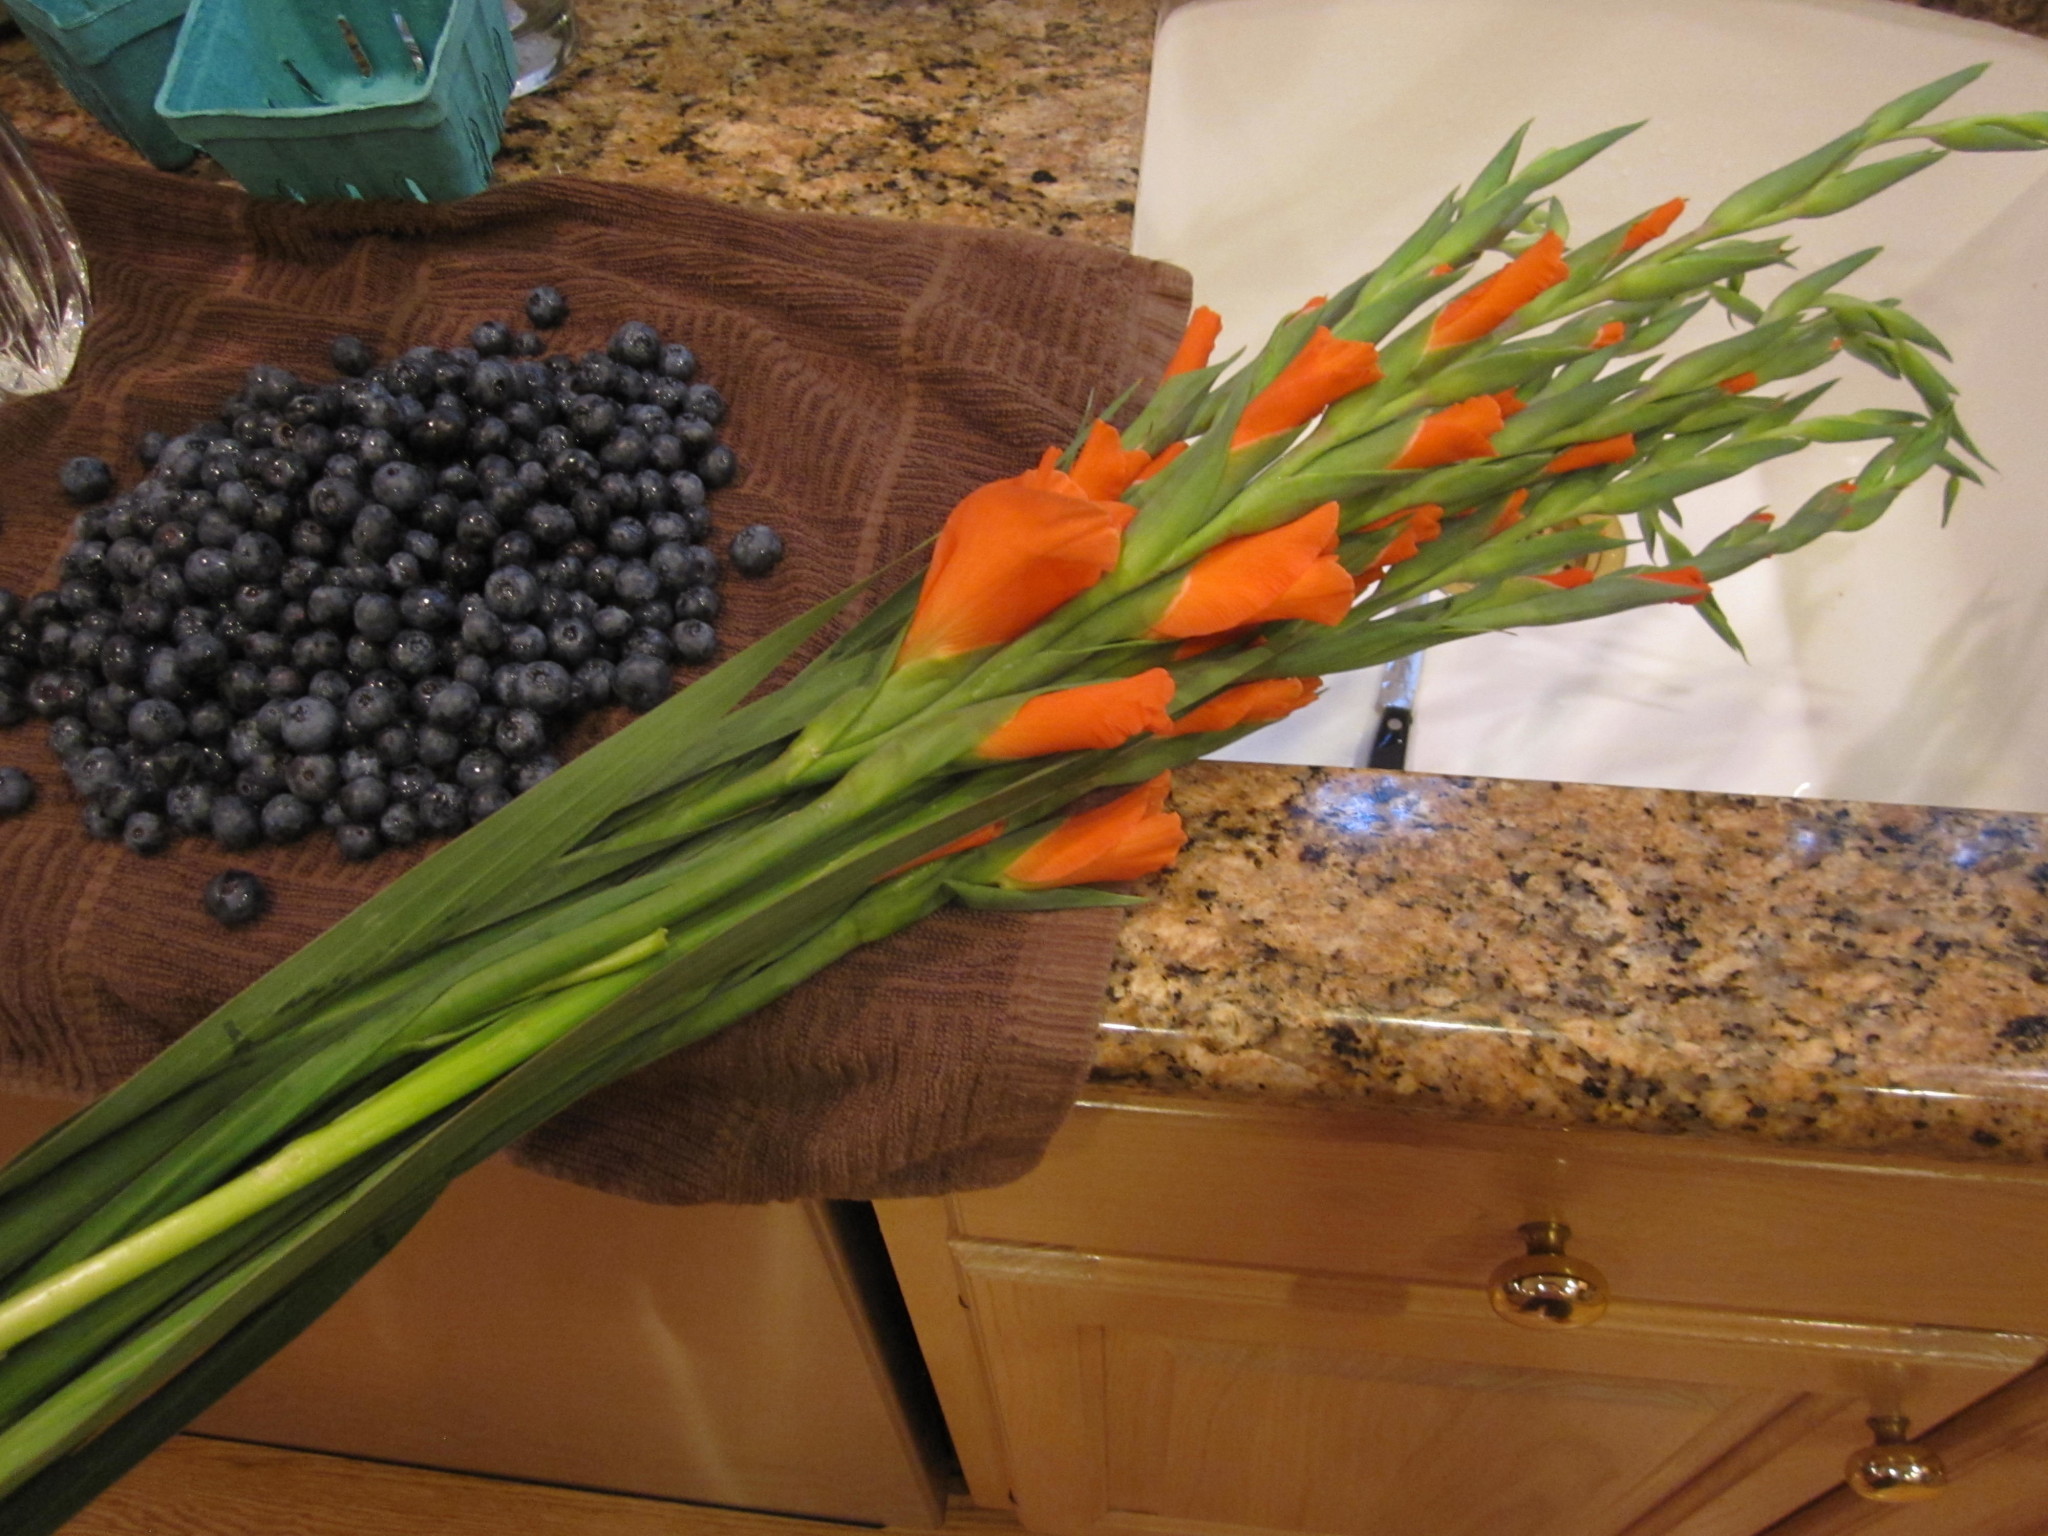
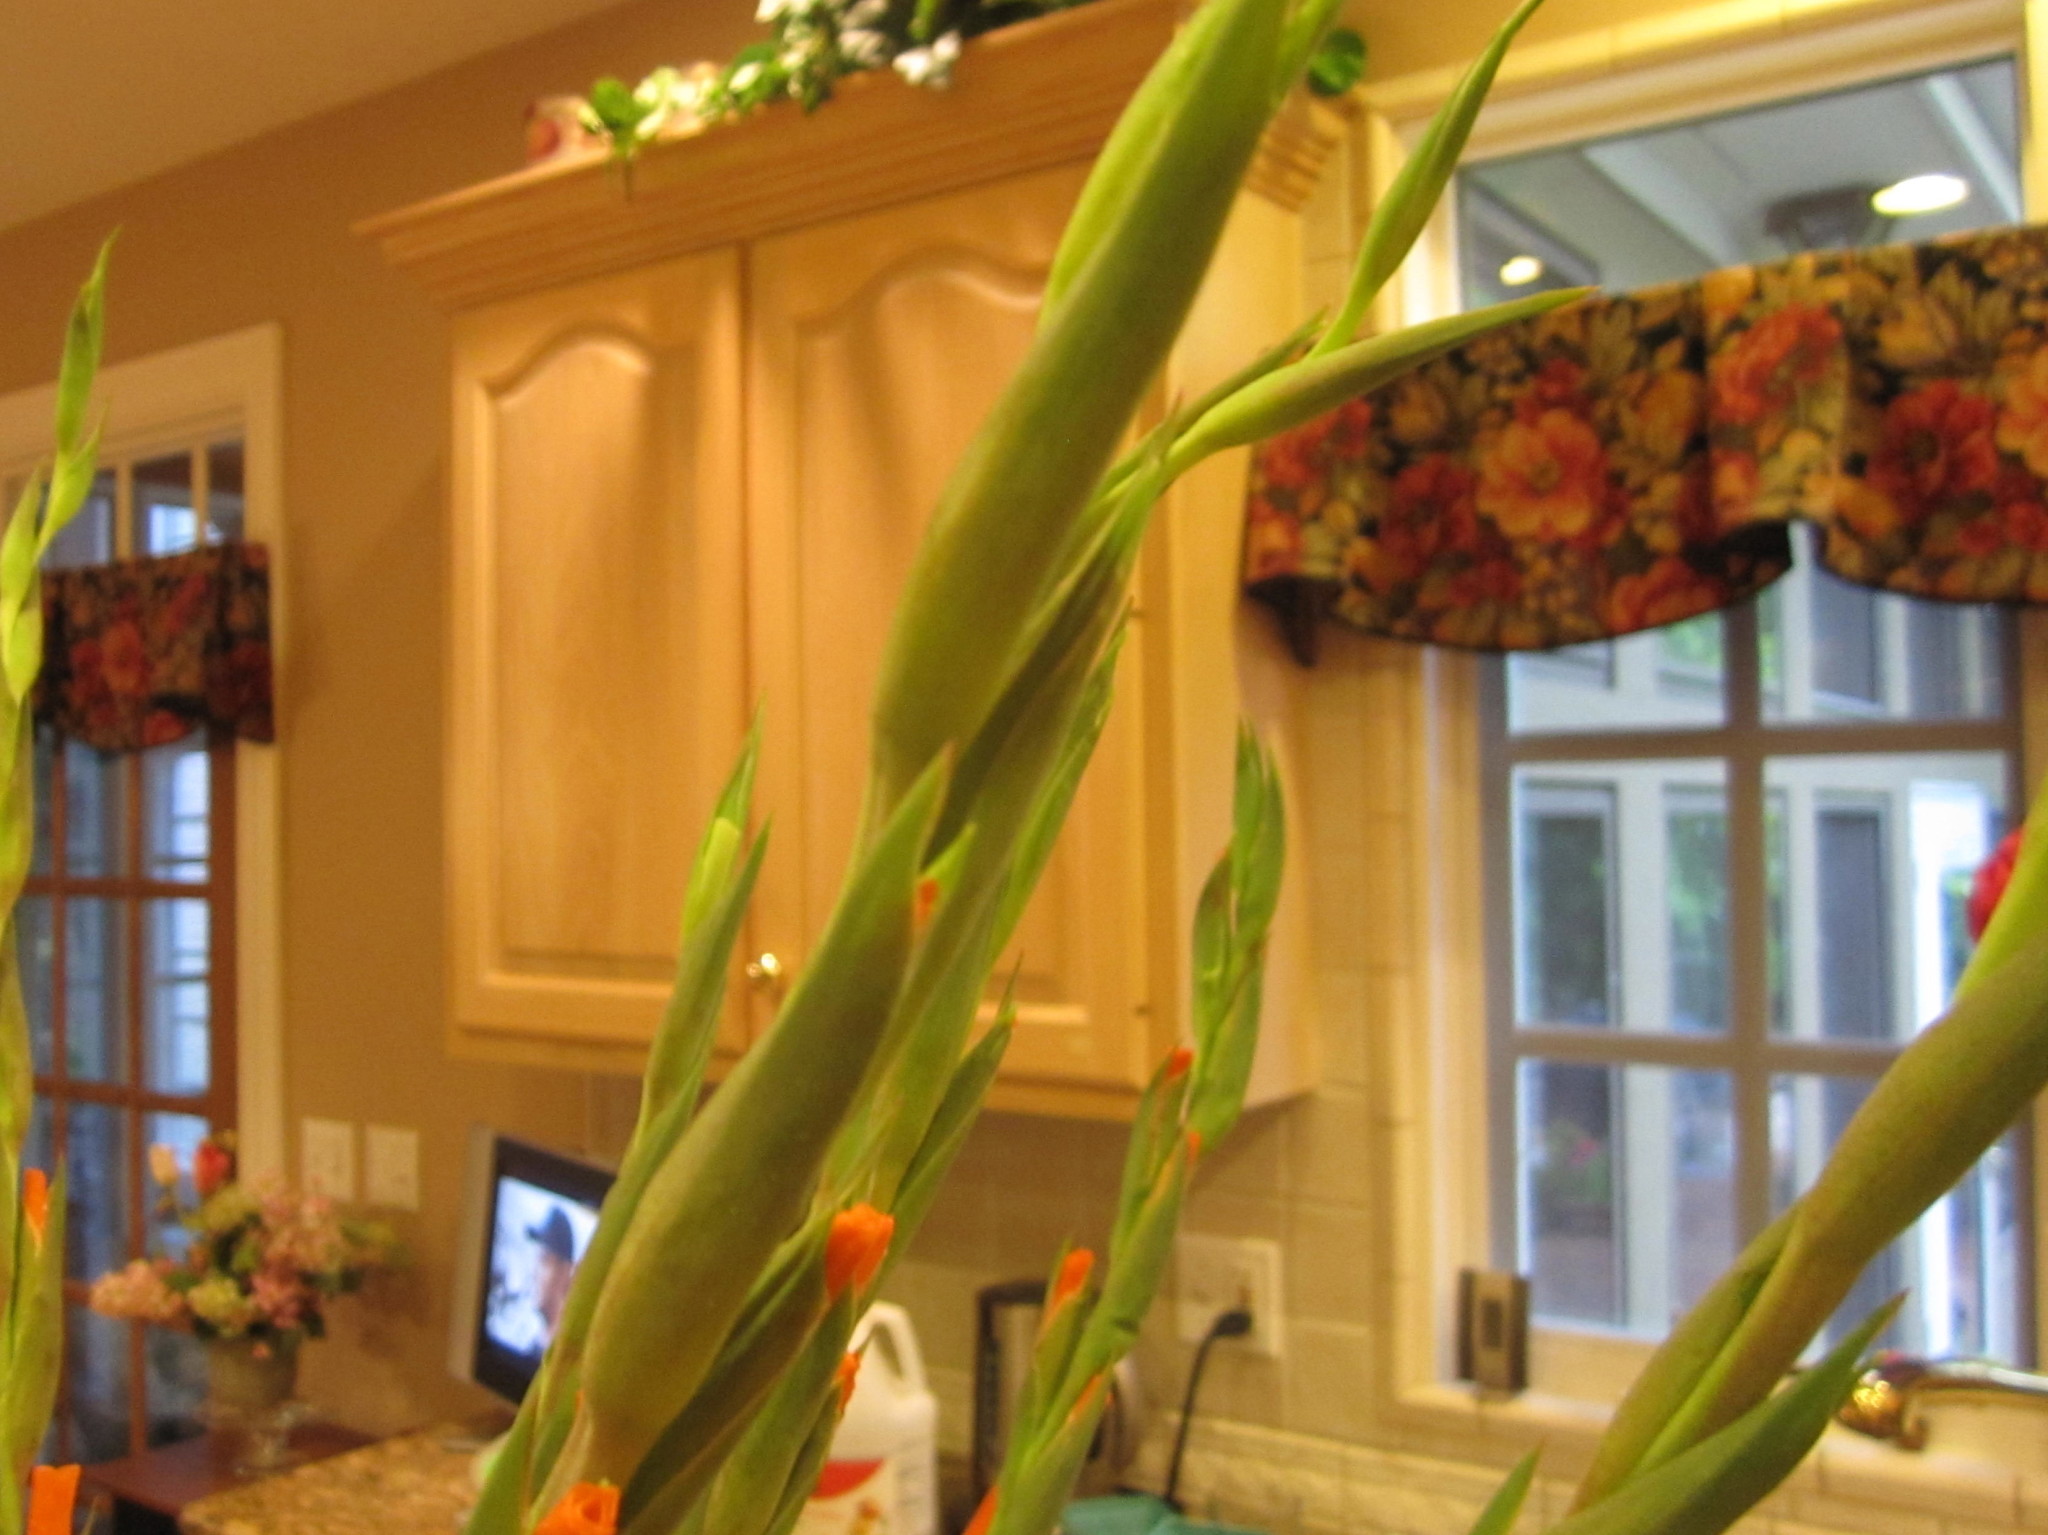
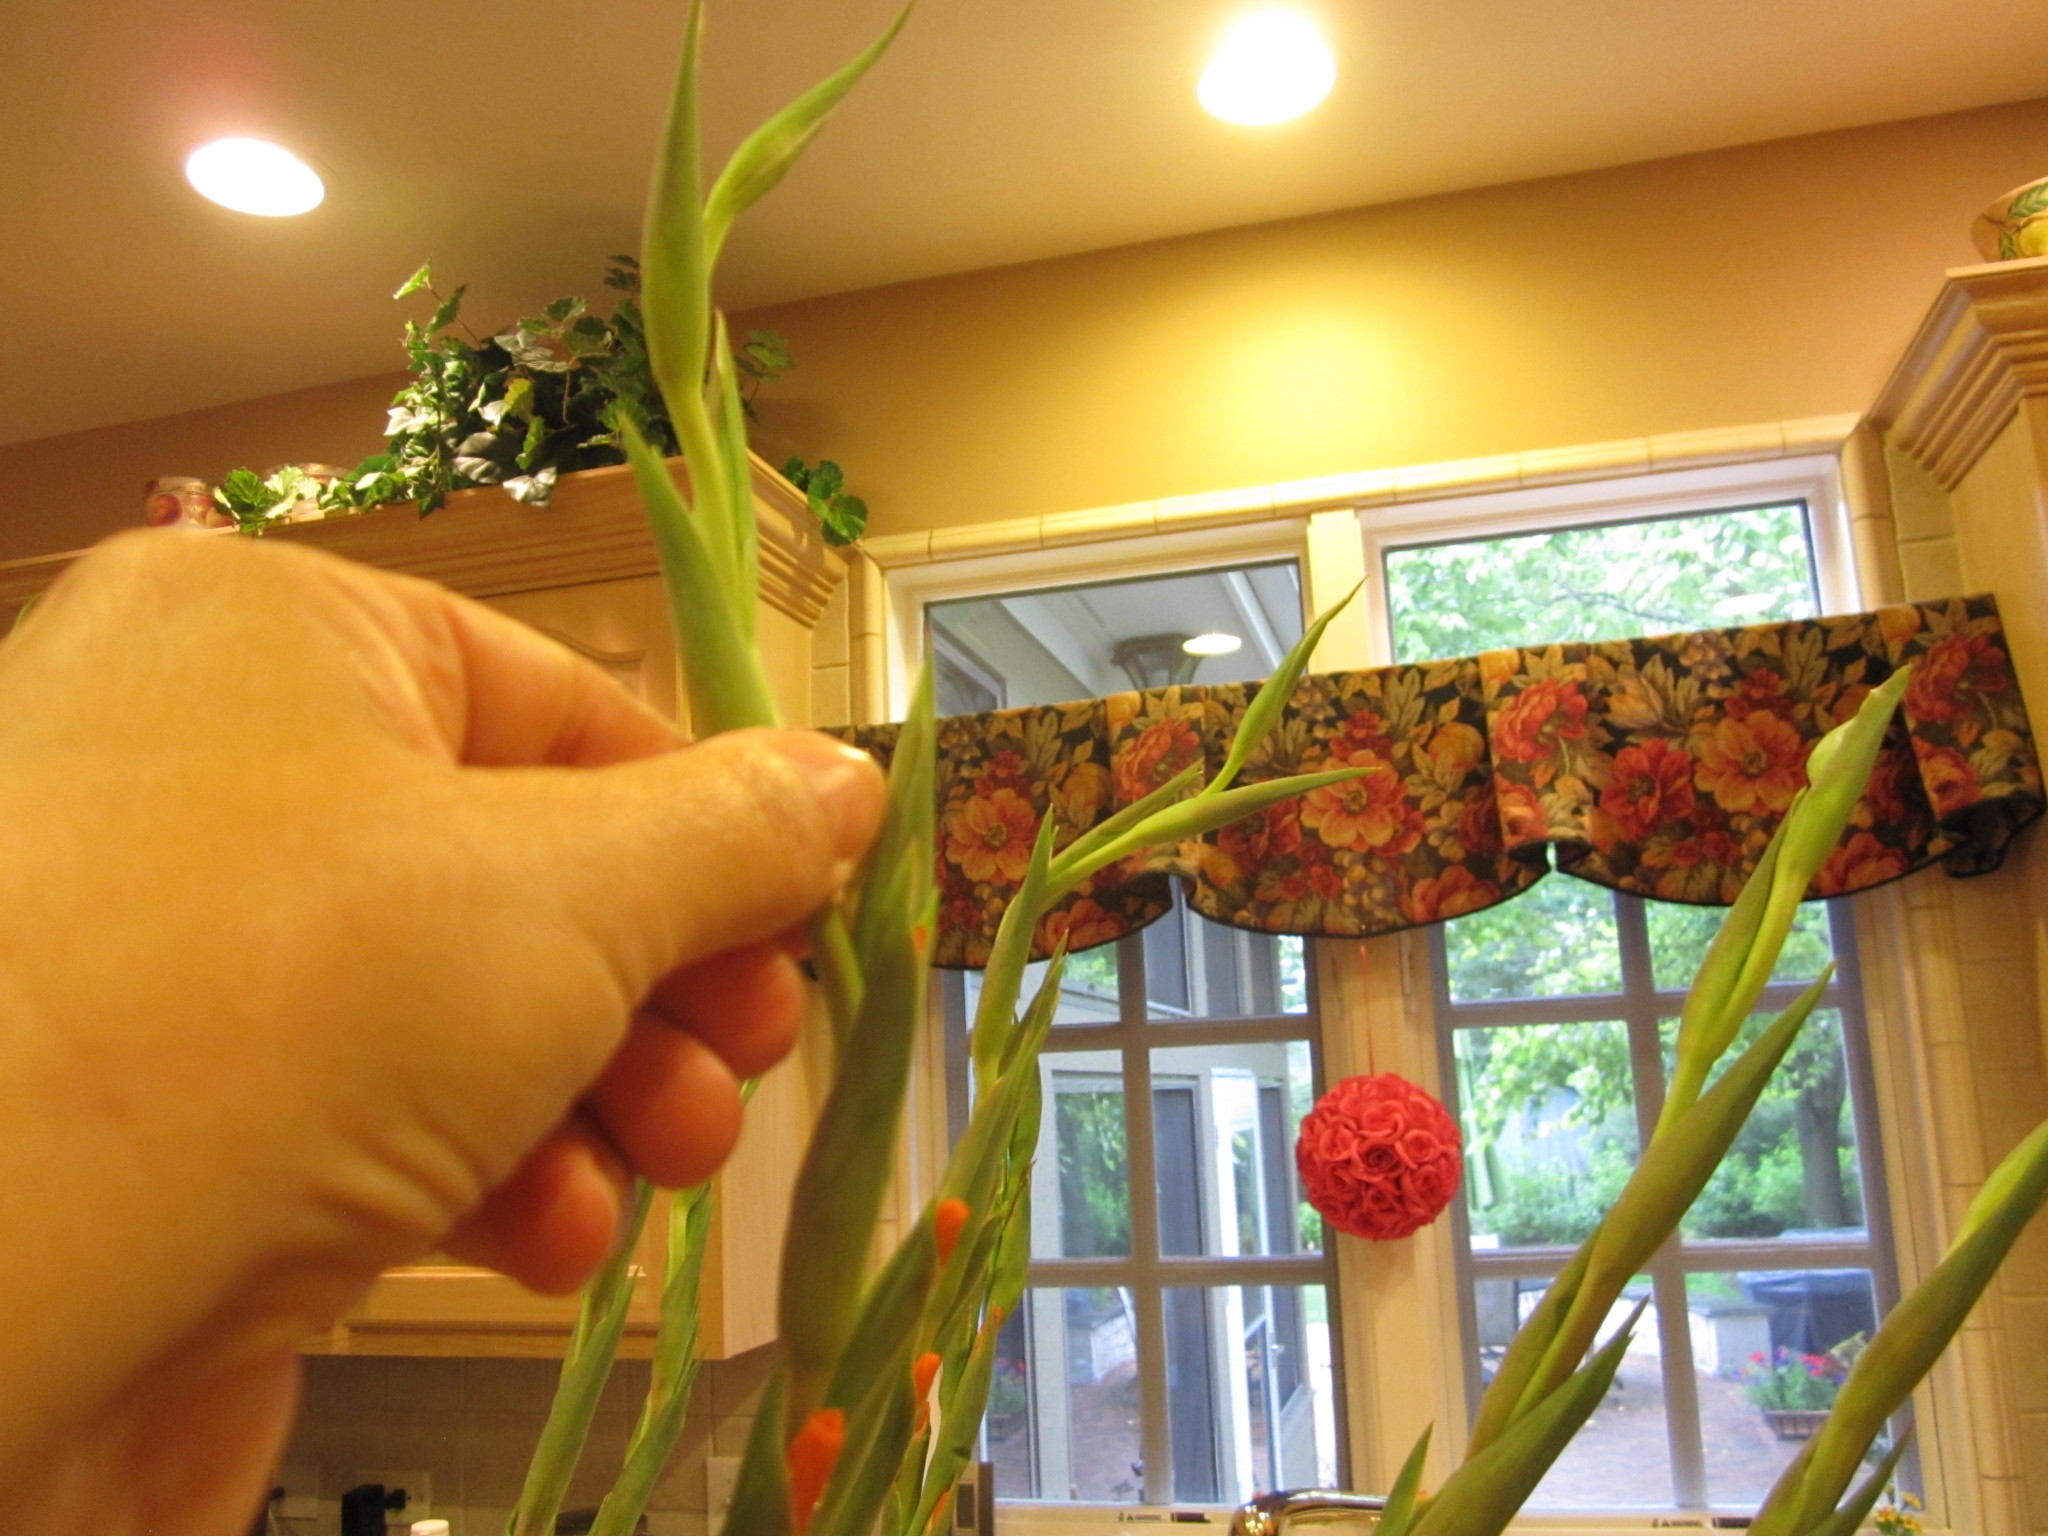
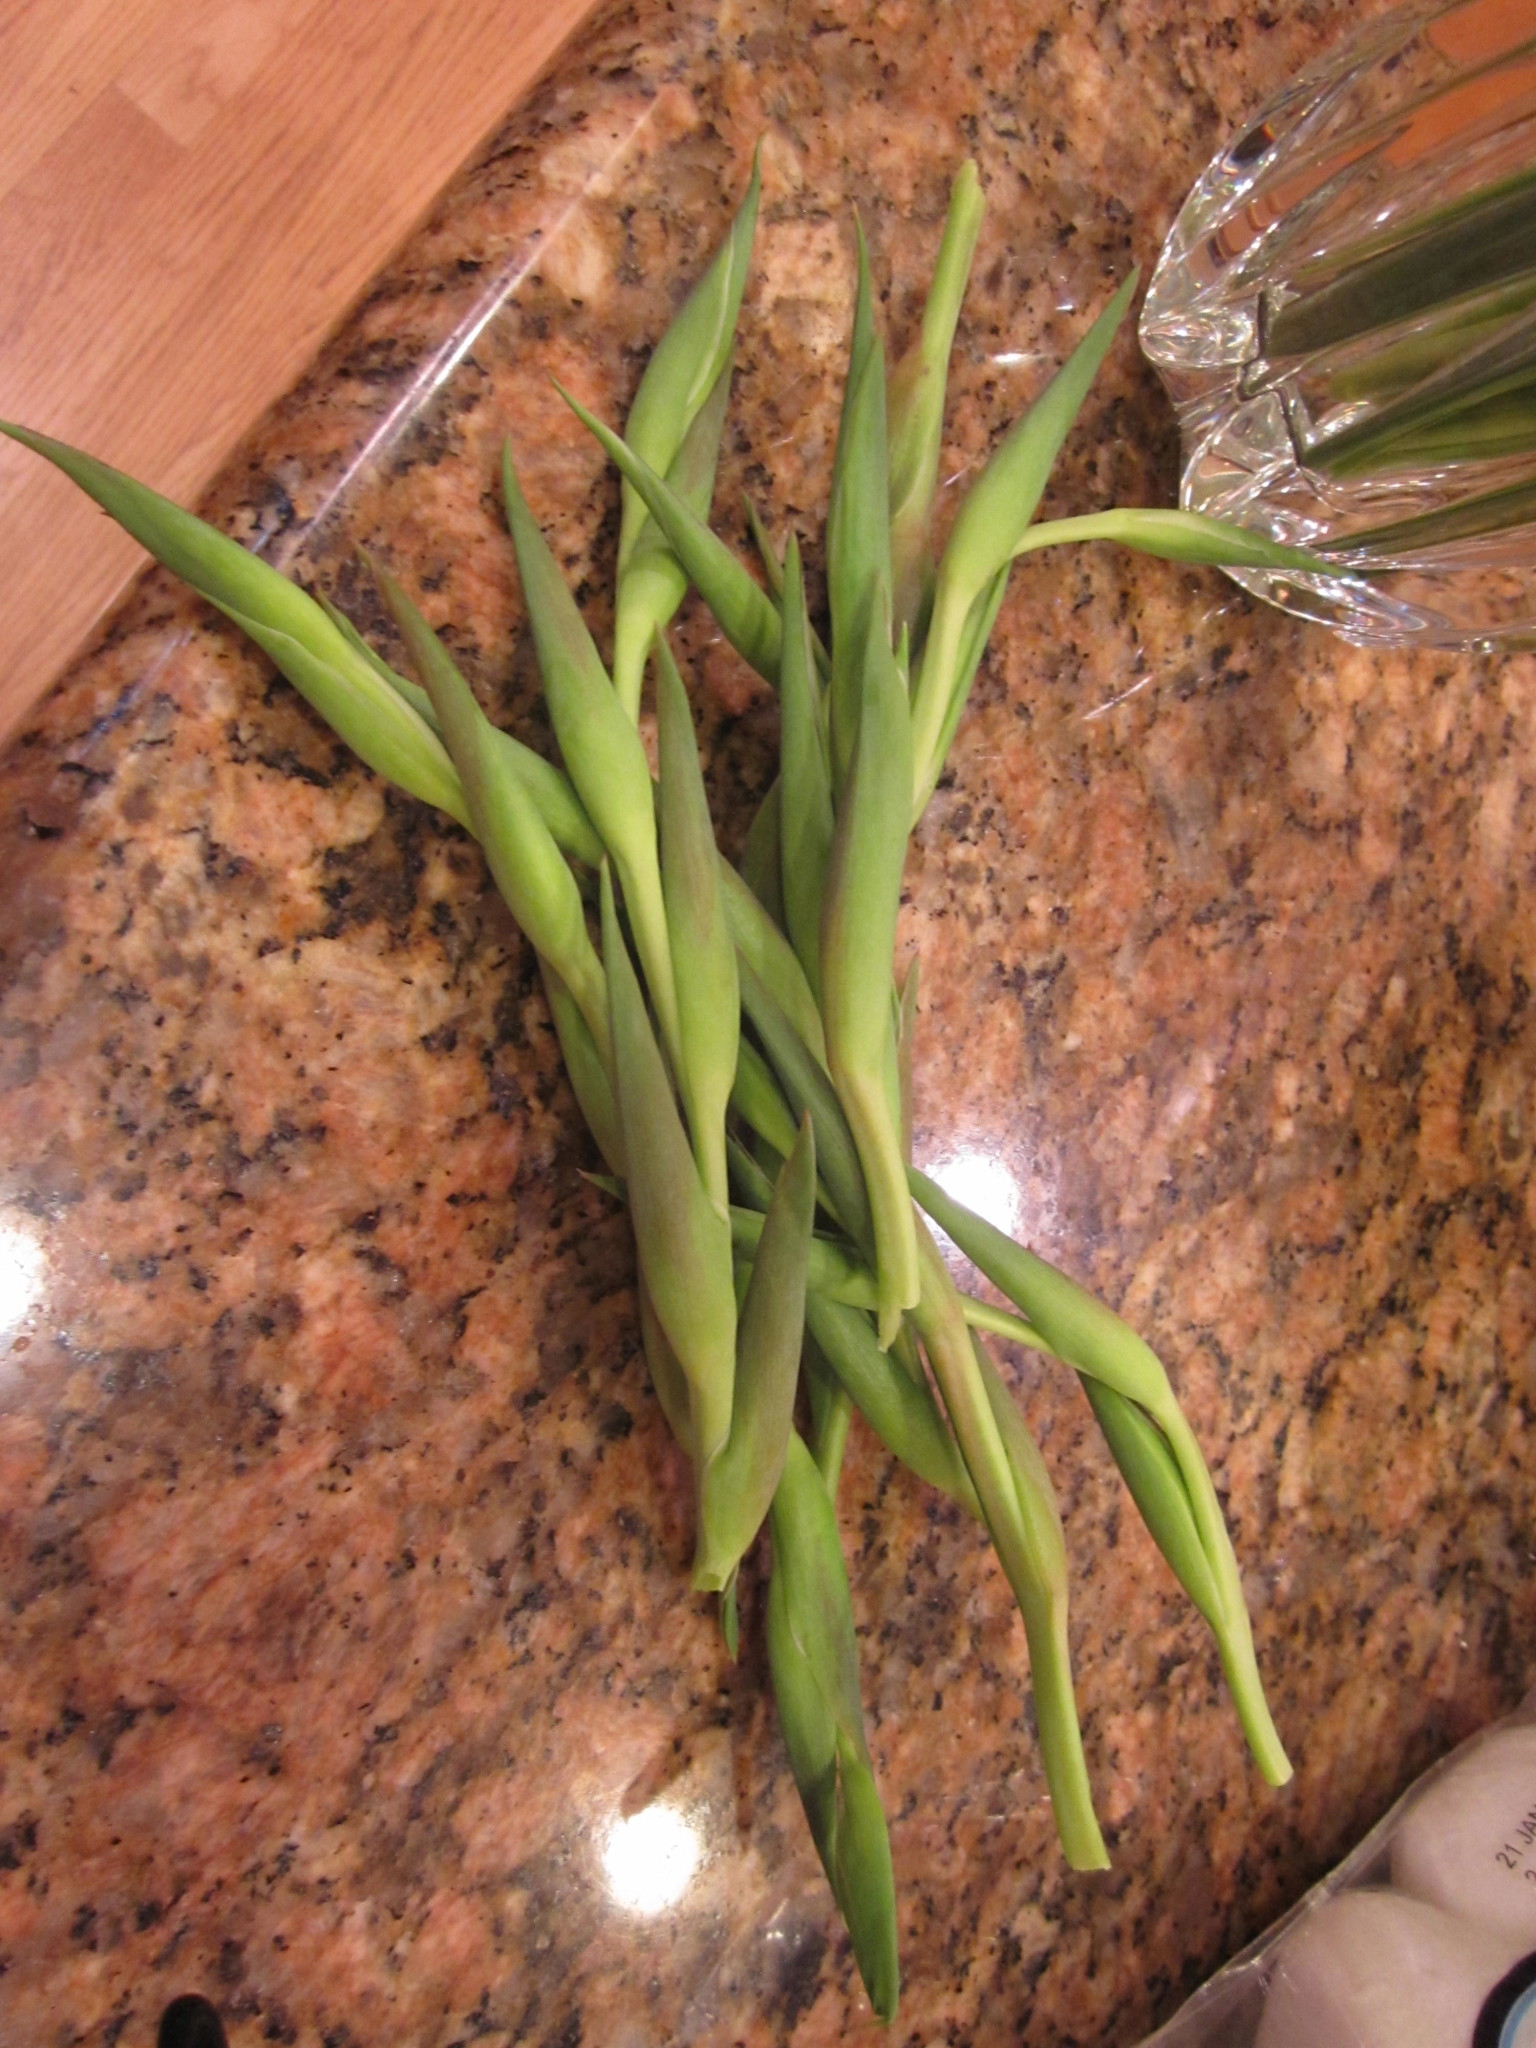
Gladiolas from the Farmers Market

Gladiolas are one of my favorite flowers to have around the house. They are just so dramatic, colorful and cheerful. With so many colors to choose from, it’s usually hard to decide. If you’ve ever seen a field of gladiolas, it’s quite a sight!
My local farmers market has a wonderful local fresh flower vendor. While maybe a little more expensive than the grocery store florists, the flowers are always super fresh and last longer in the vase. They also give wonderful flower care advice. This is this week’s purchase and some of their advice.

Daylilies: Part 2
Some close ups of the daylilies in my yard. I’m still working on the identification part, so if I have something wrong, or you know what I can’t find yet, please let me know!
I realized that part of my identification problem was thinking that the daylily was the wrong color. For example, the Catherine Woodbury. I searched for the longest time under peach daylilies, but it wasn’t until I searched for all tall, traditional bloom types that it popped up. They were under lavender, so I went back out and sure enough, there’s the lavender. As the flowers are fading it becomes even more striking. I’m trying to use that trick with the 2 species that I’m still not sure of.


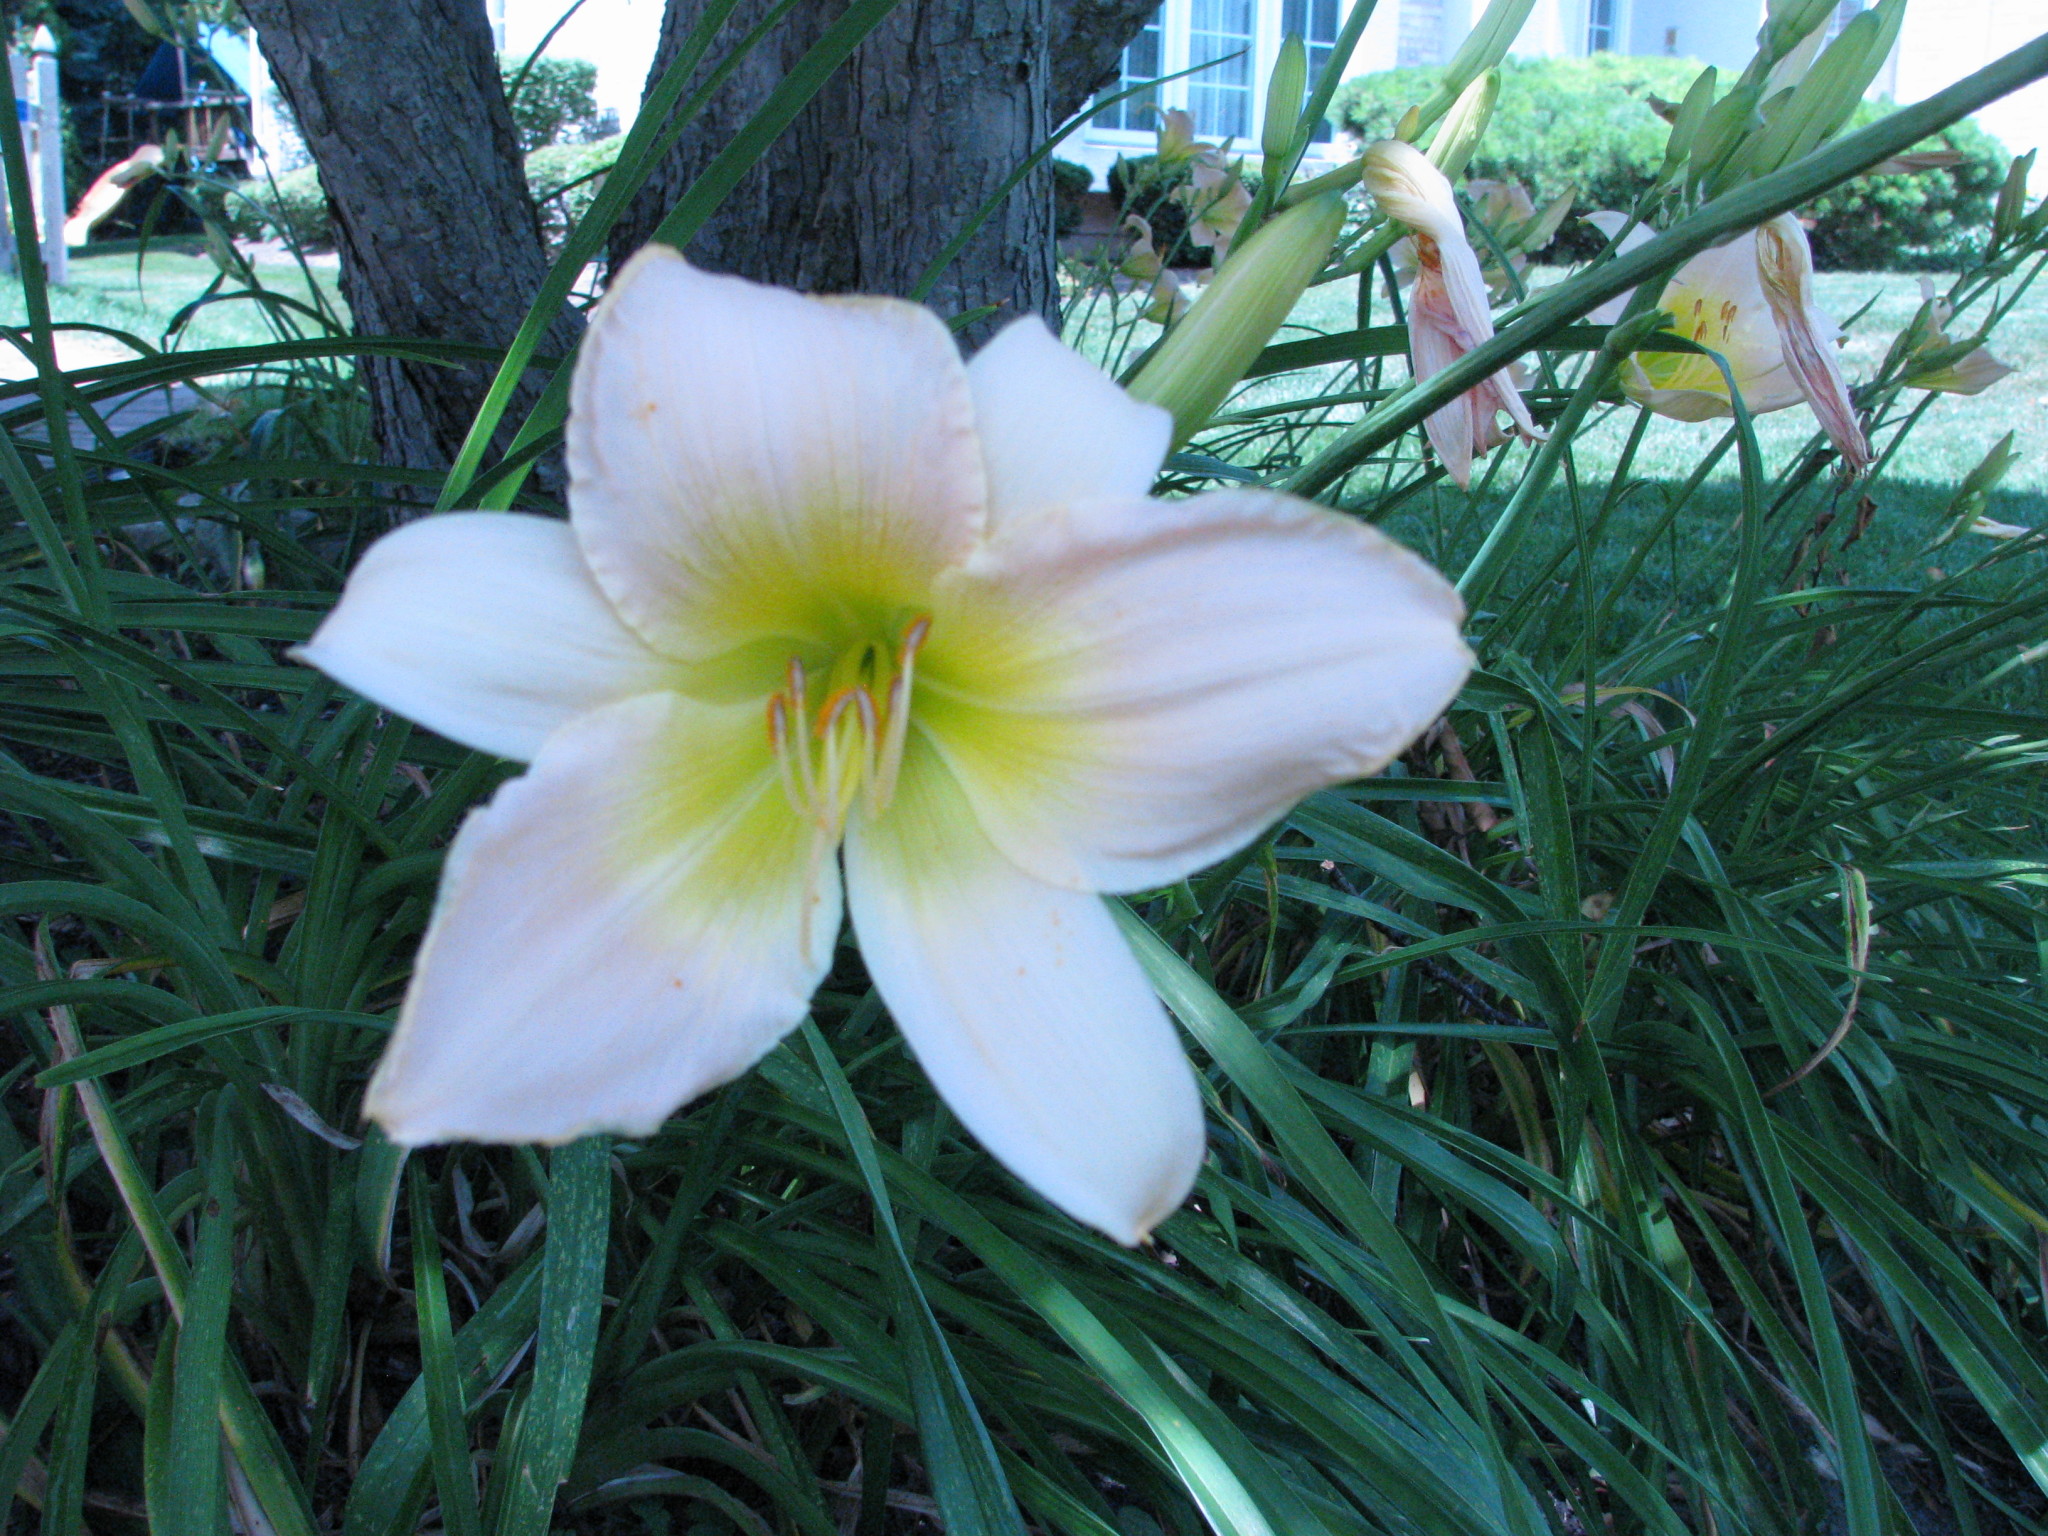
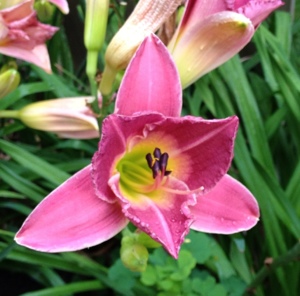
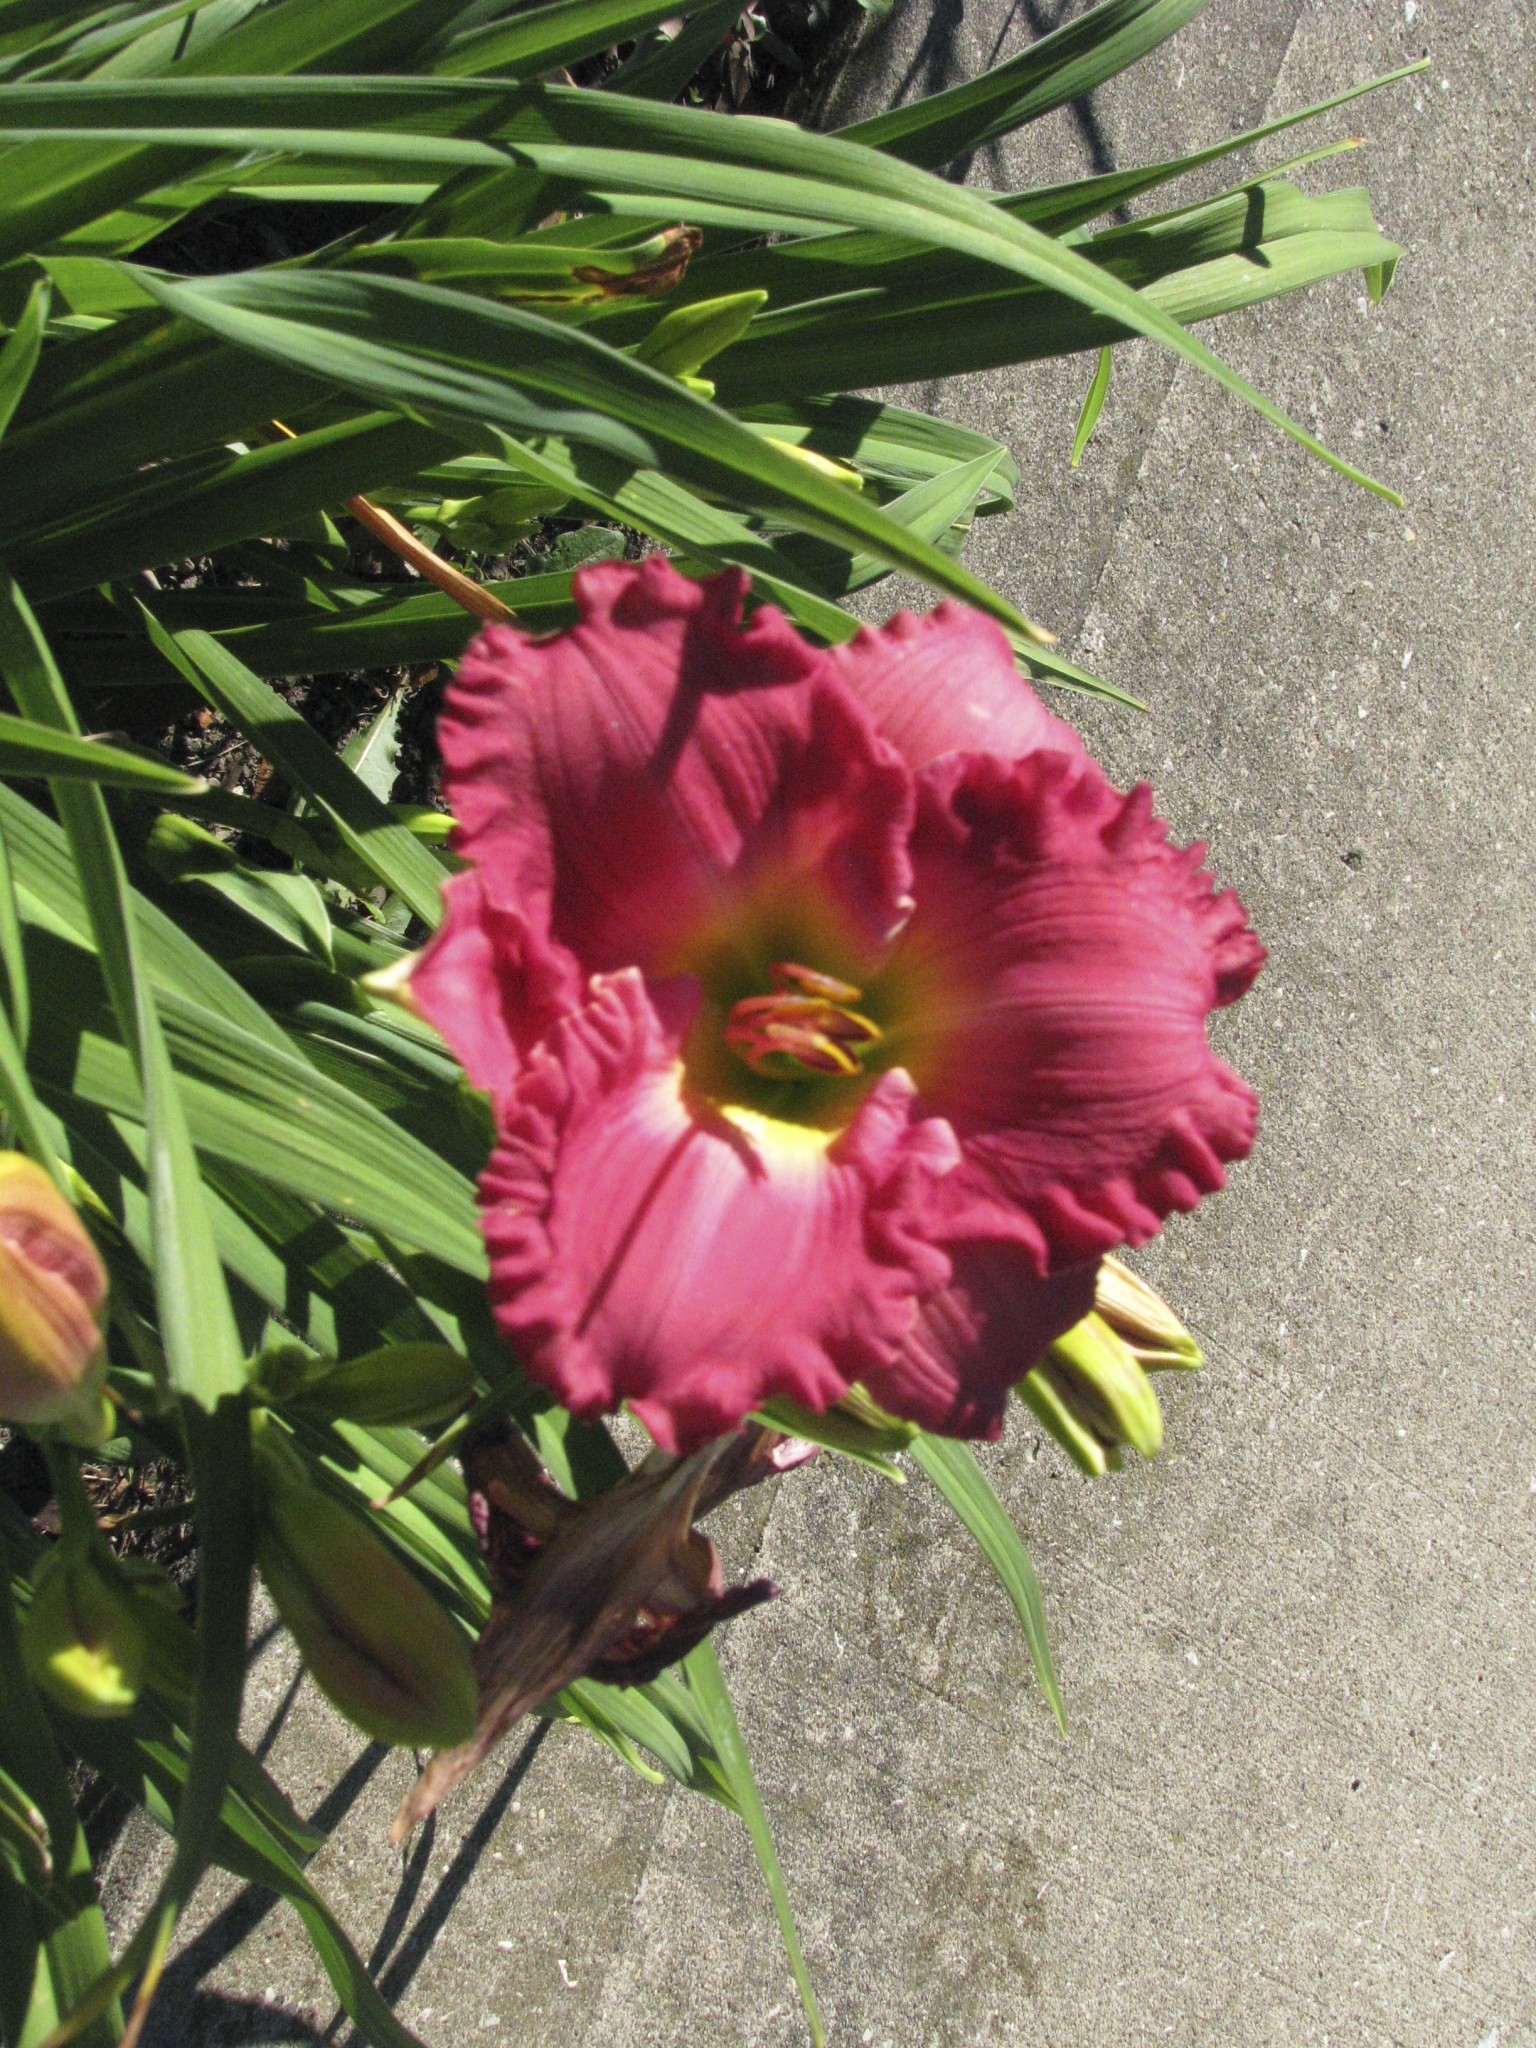

Now that I’ve spent some time studying the daylilies in my own yard, I’ve been noticing all the different daylilies around me. In the neighborhood, parking lots, storefront gardens–I’m surprised at all the varieties that I never noticed before.
Sunday Feature: Peggy’s Pix of the Week
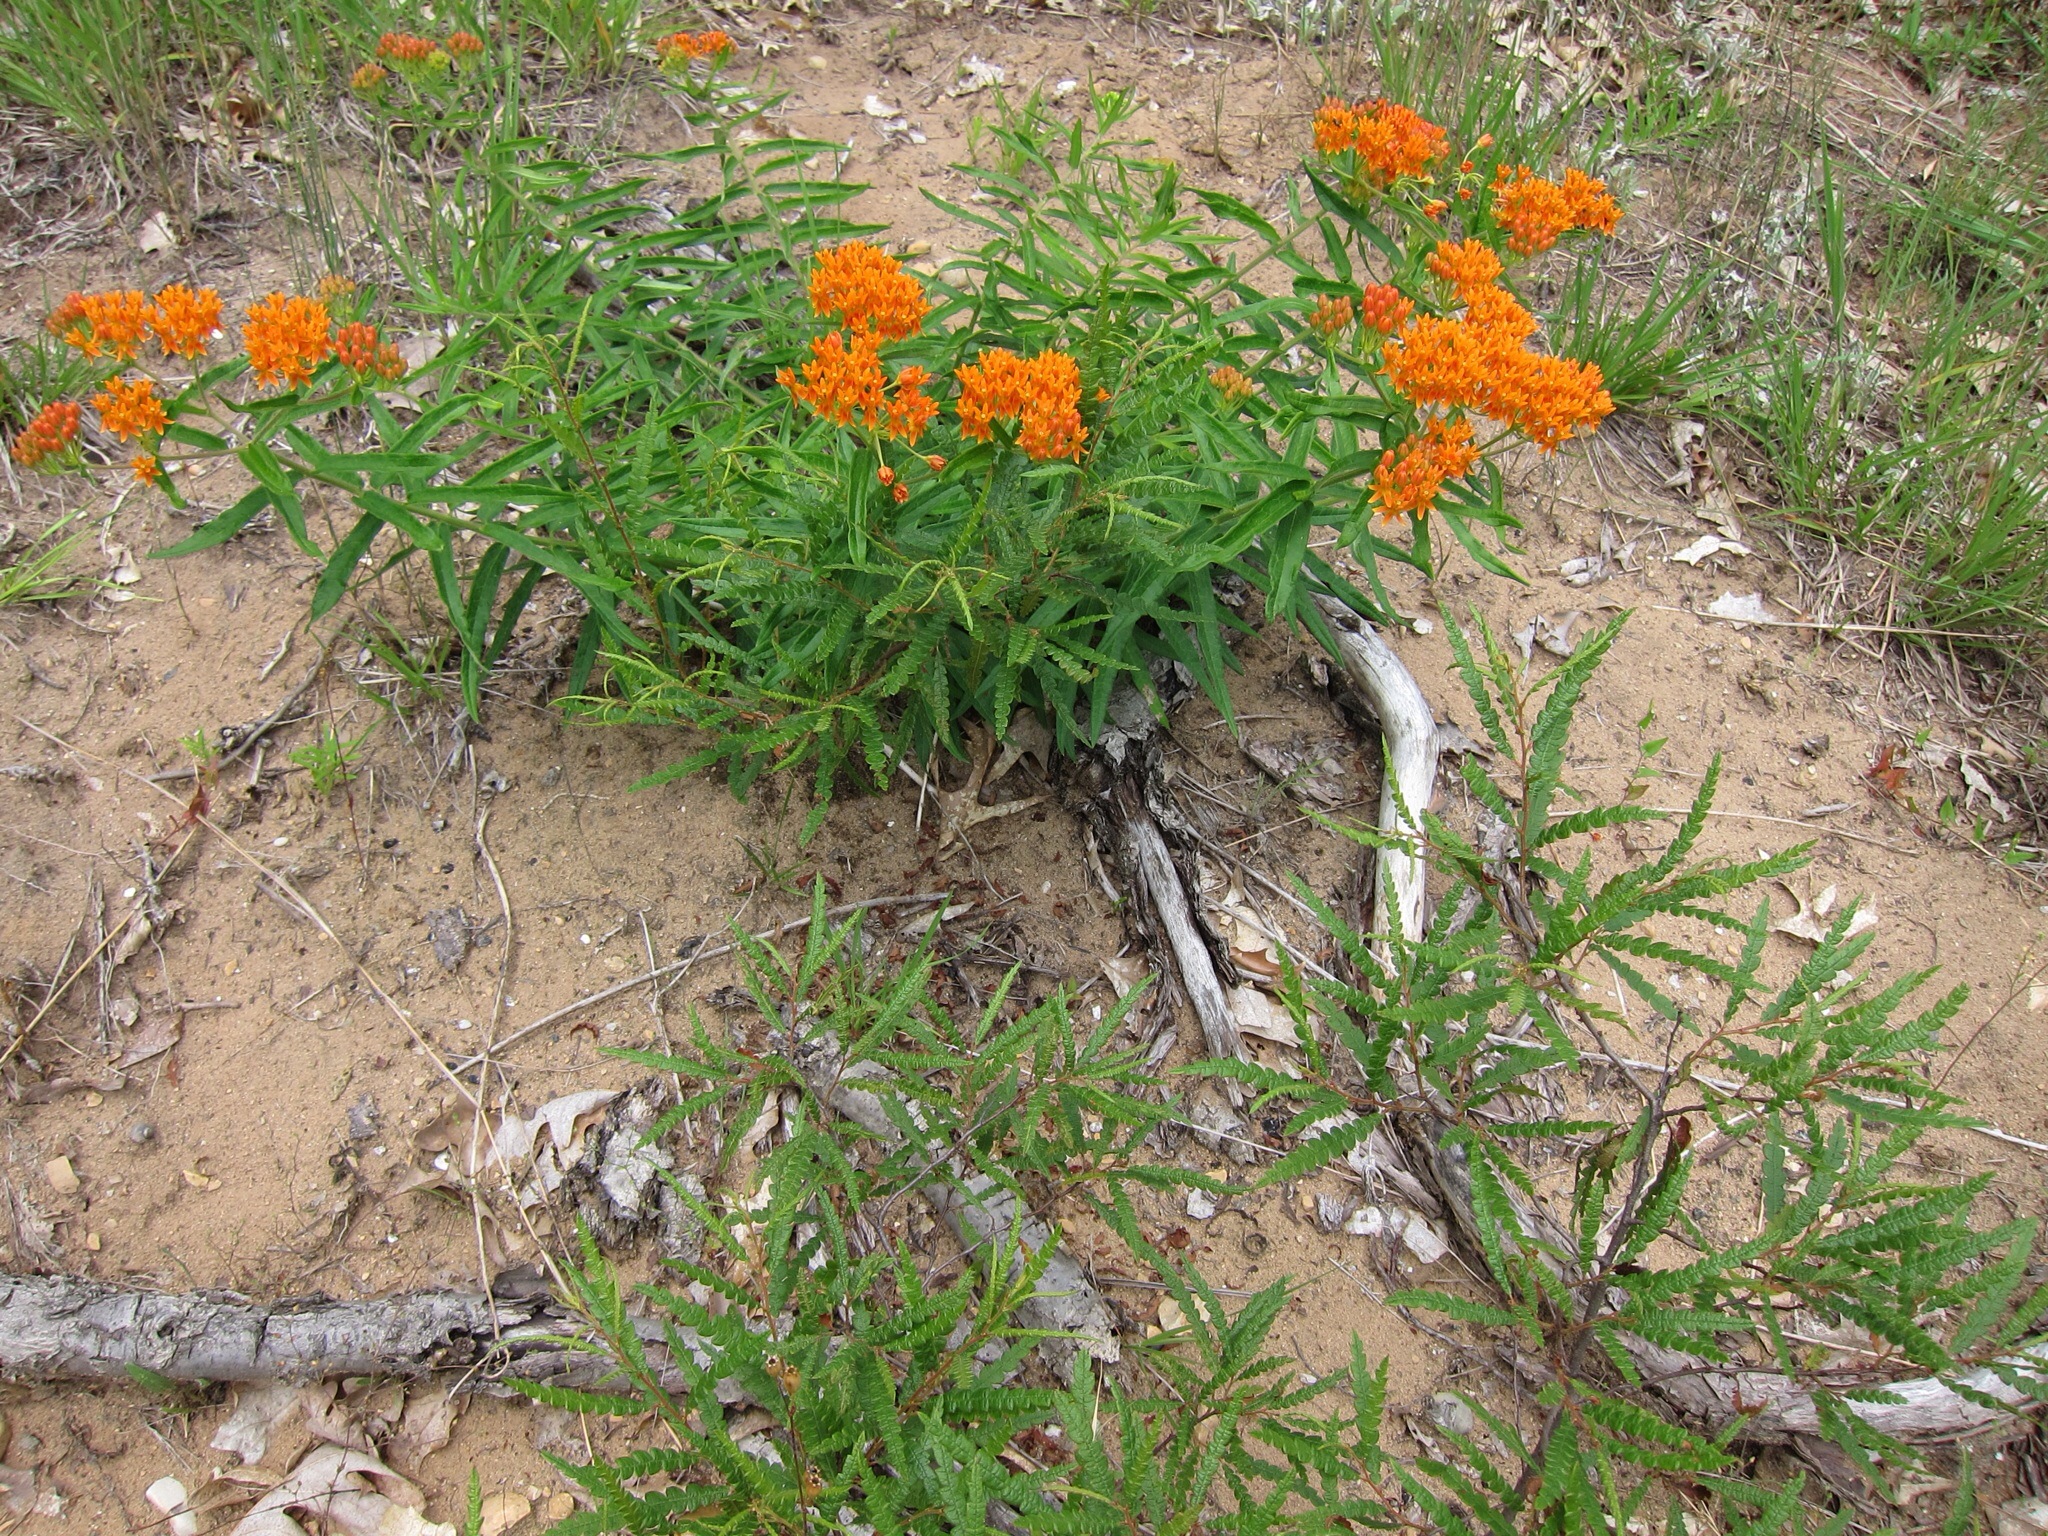
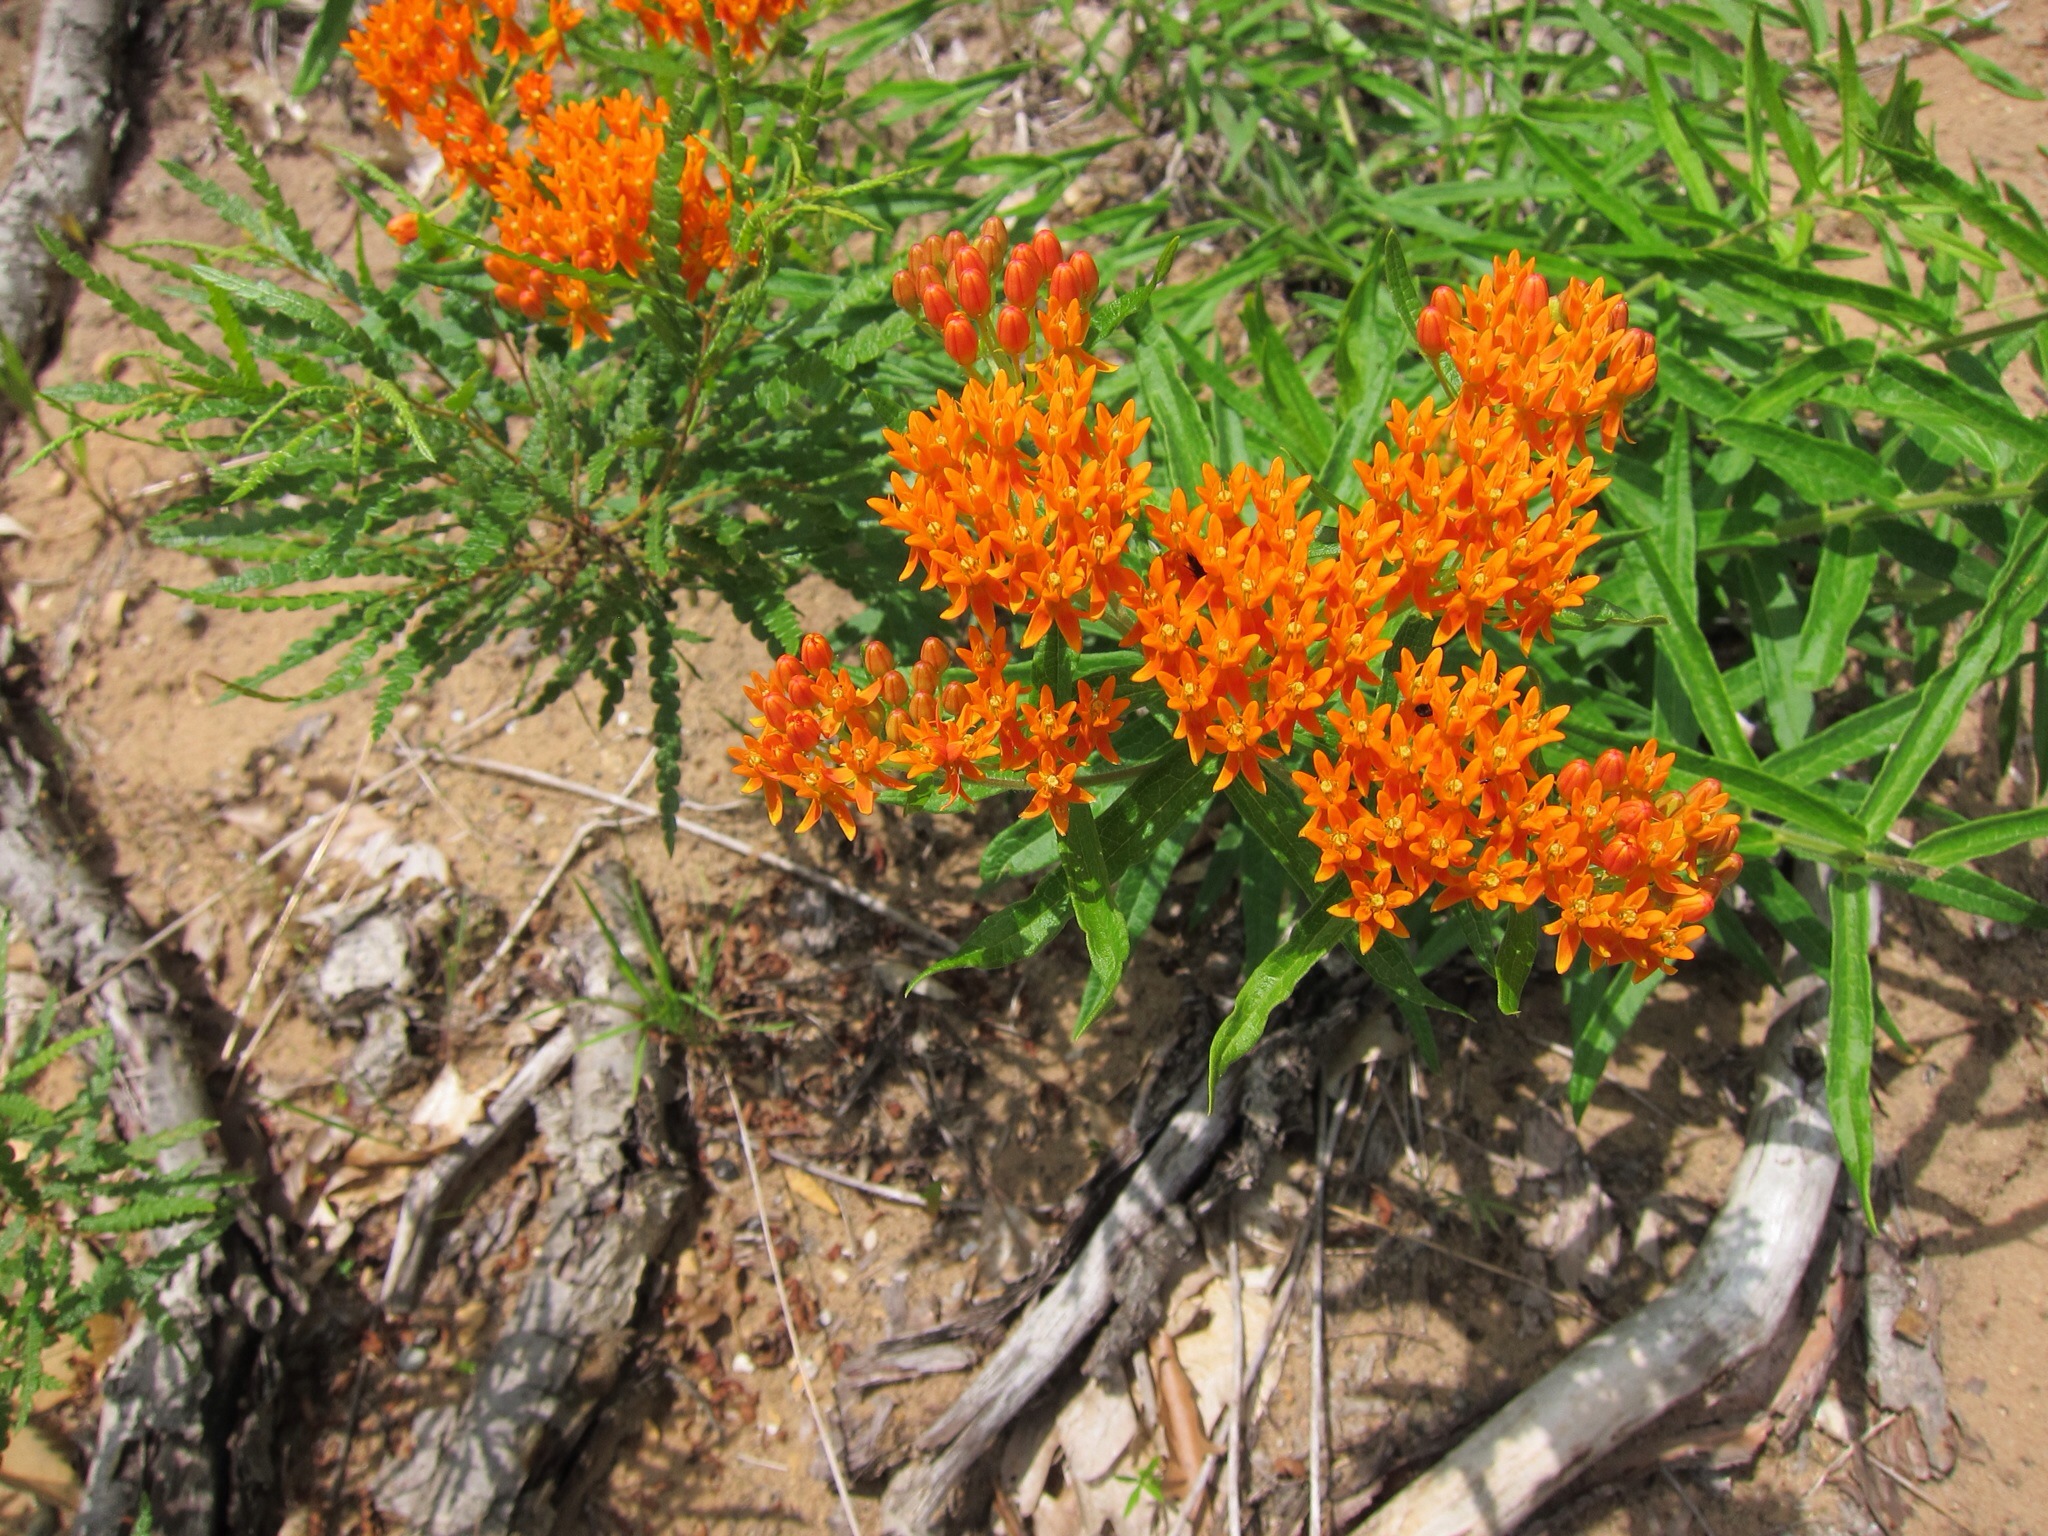
Butterfly Weed
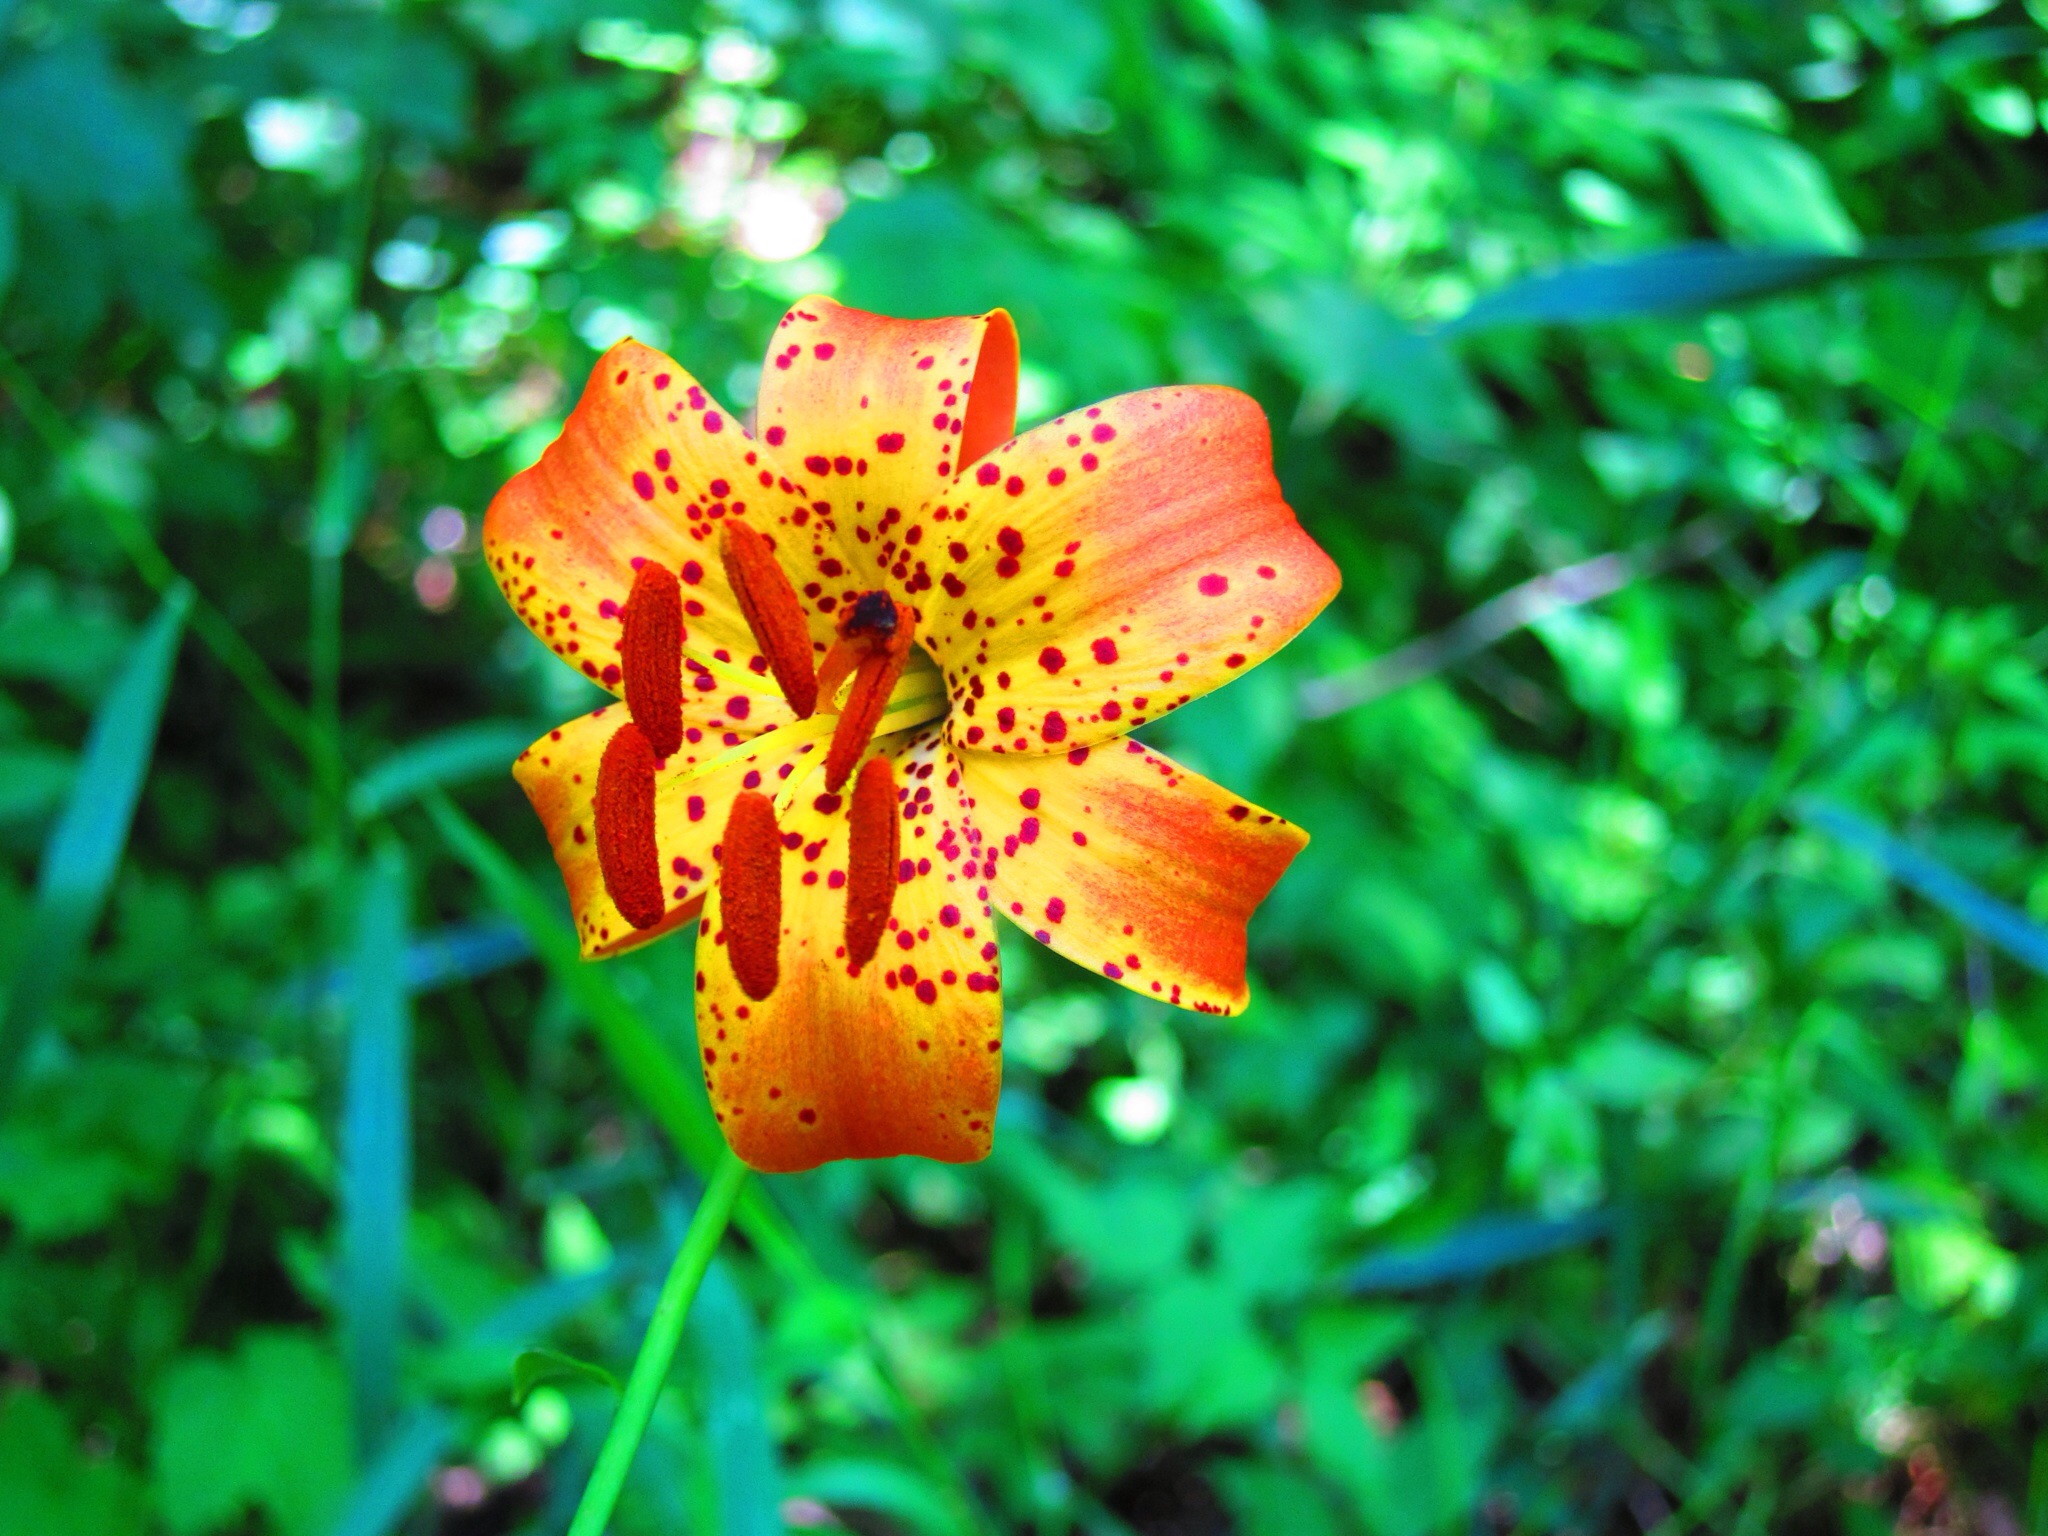
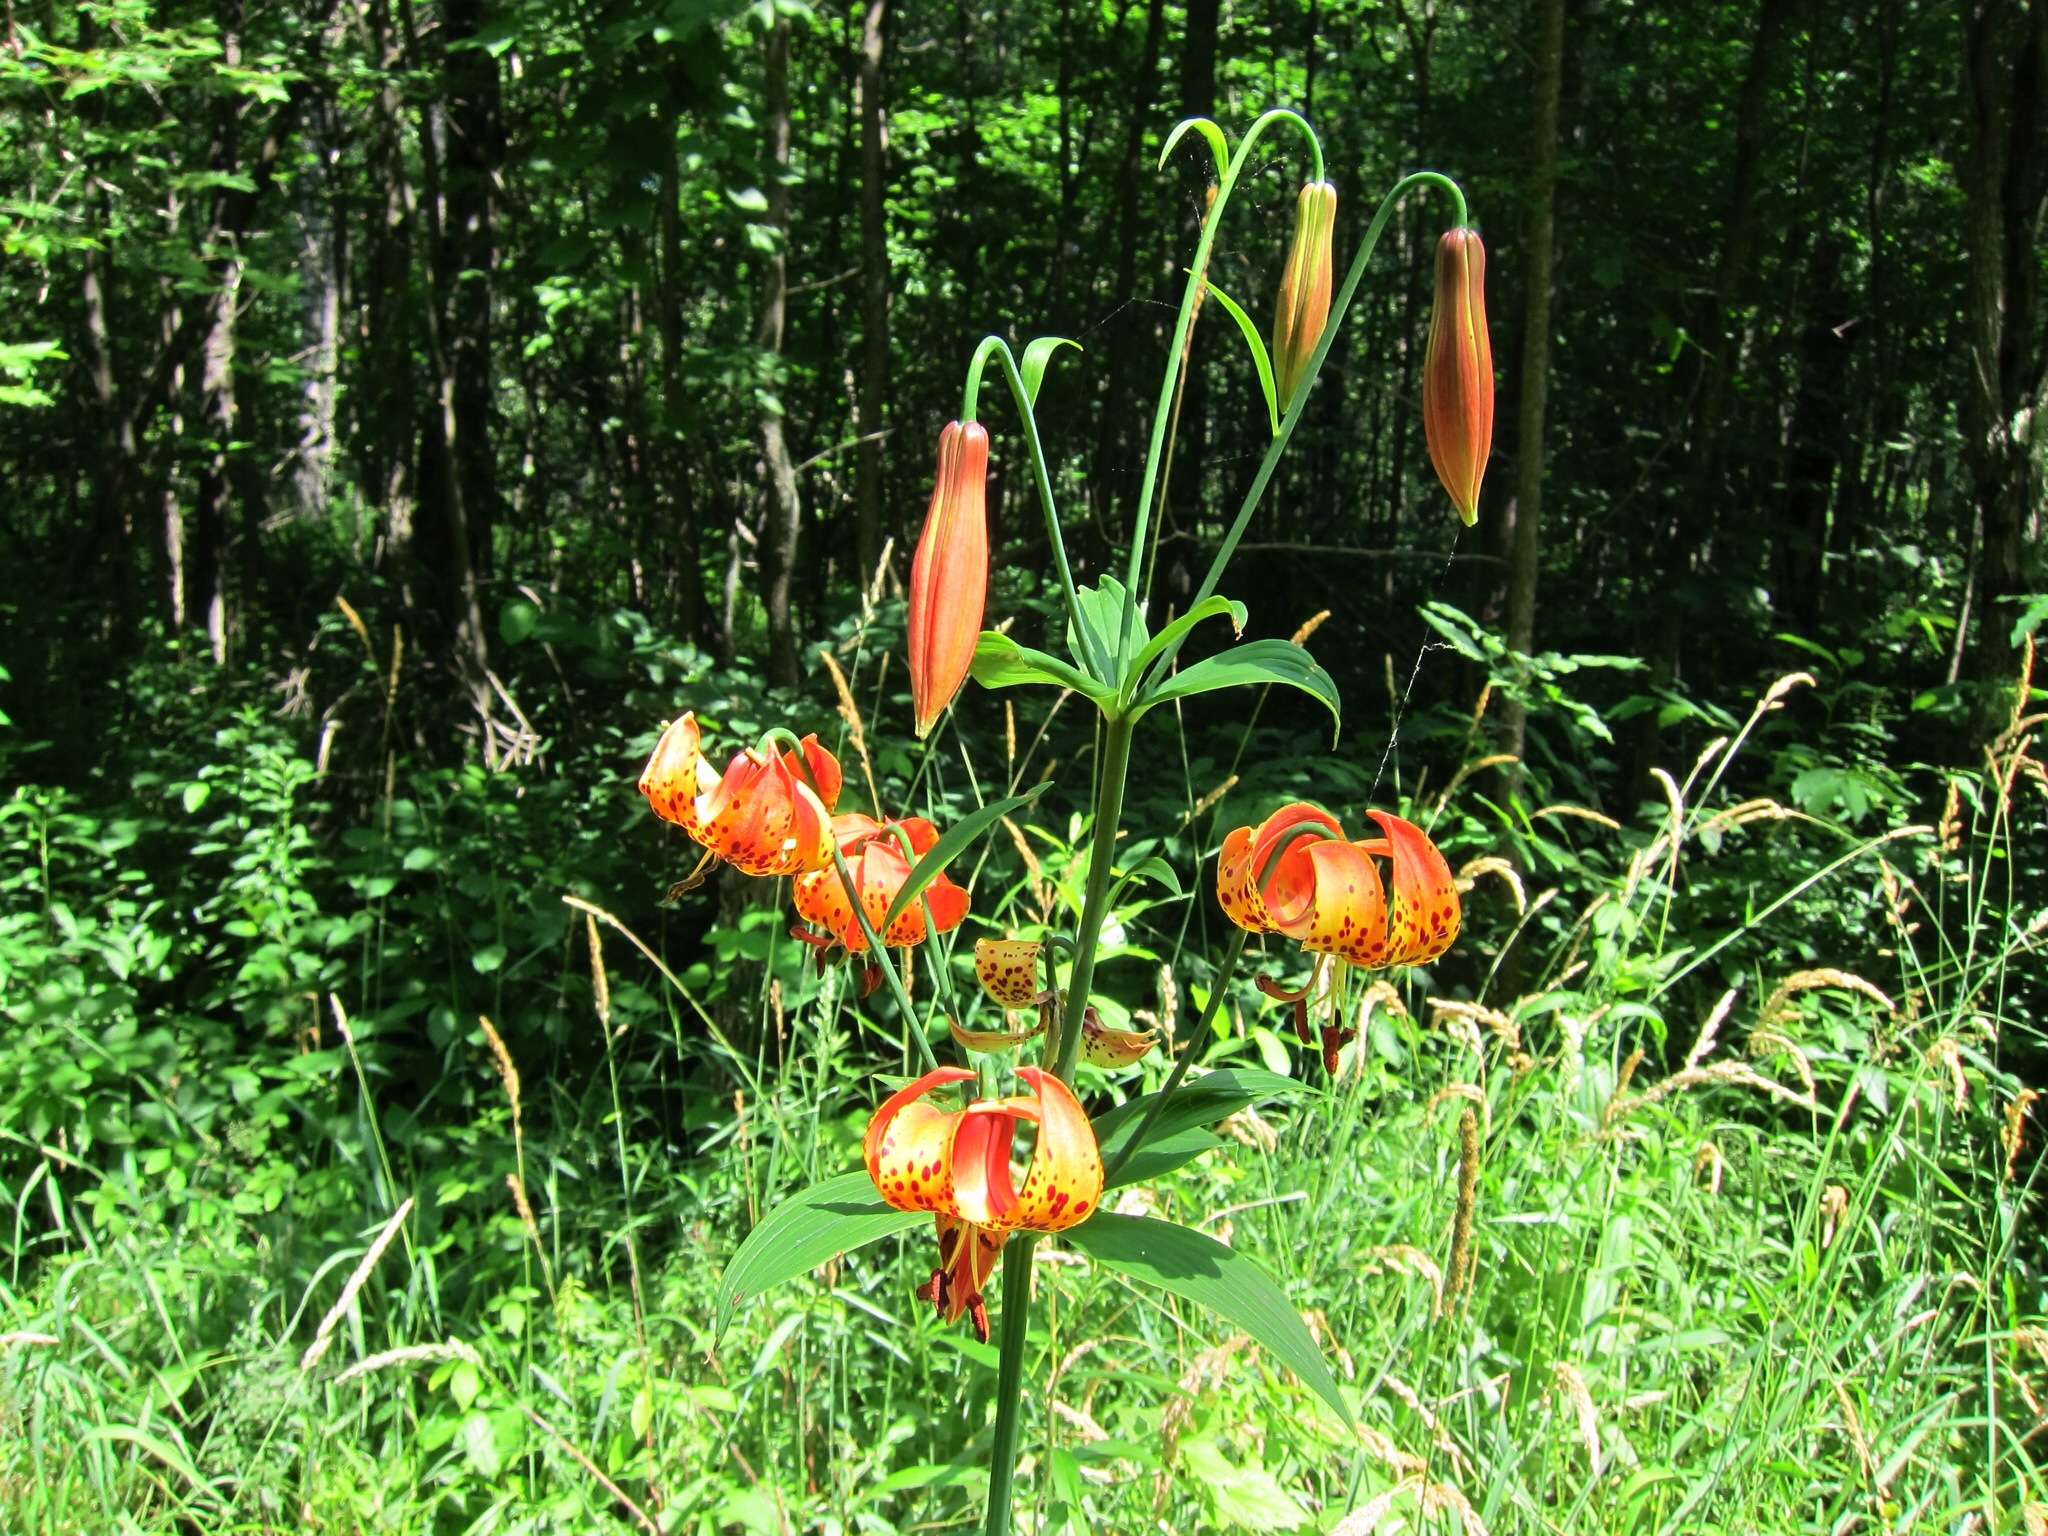
Michigan Lily
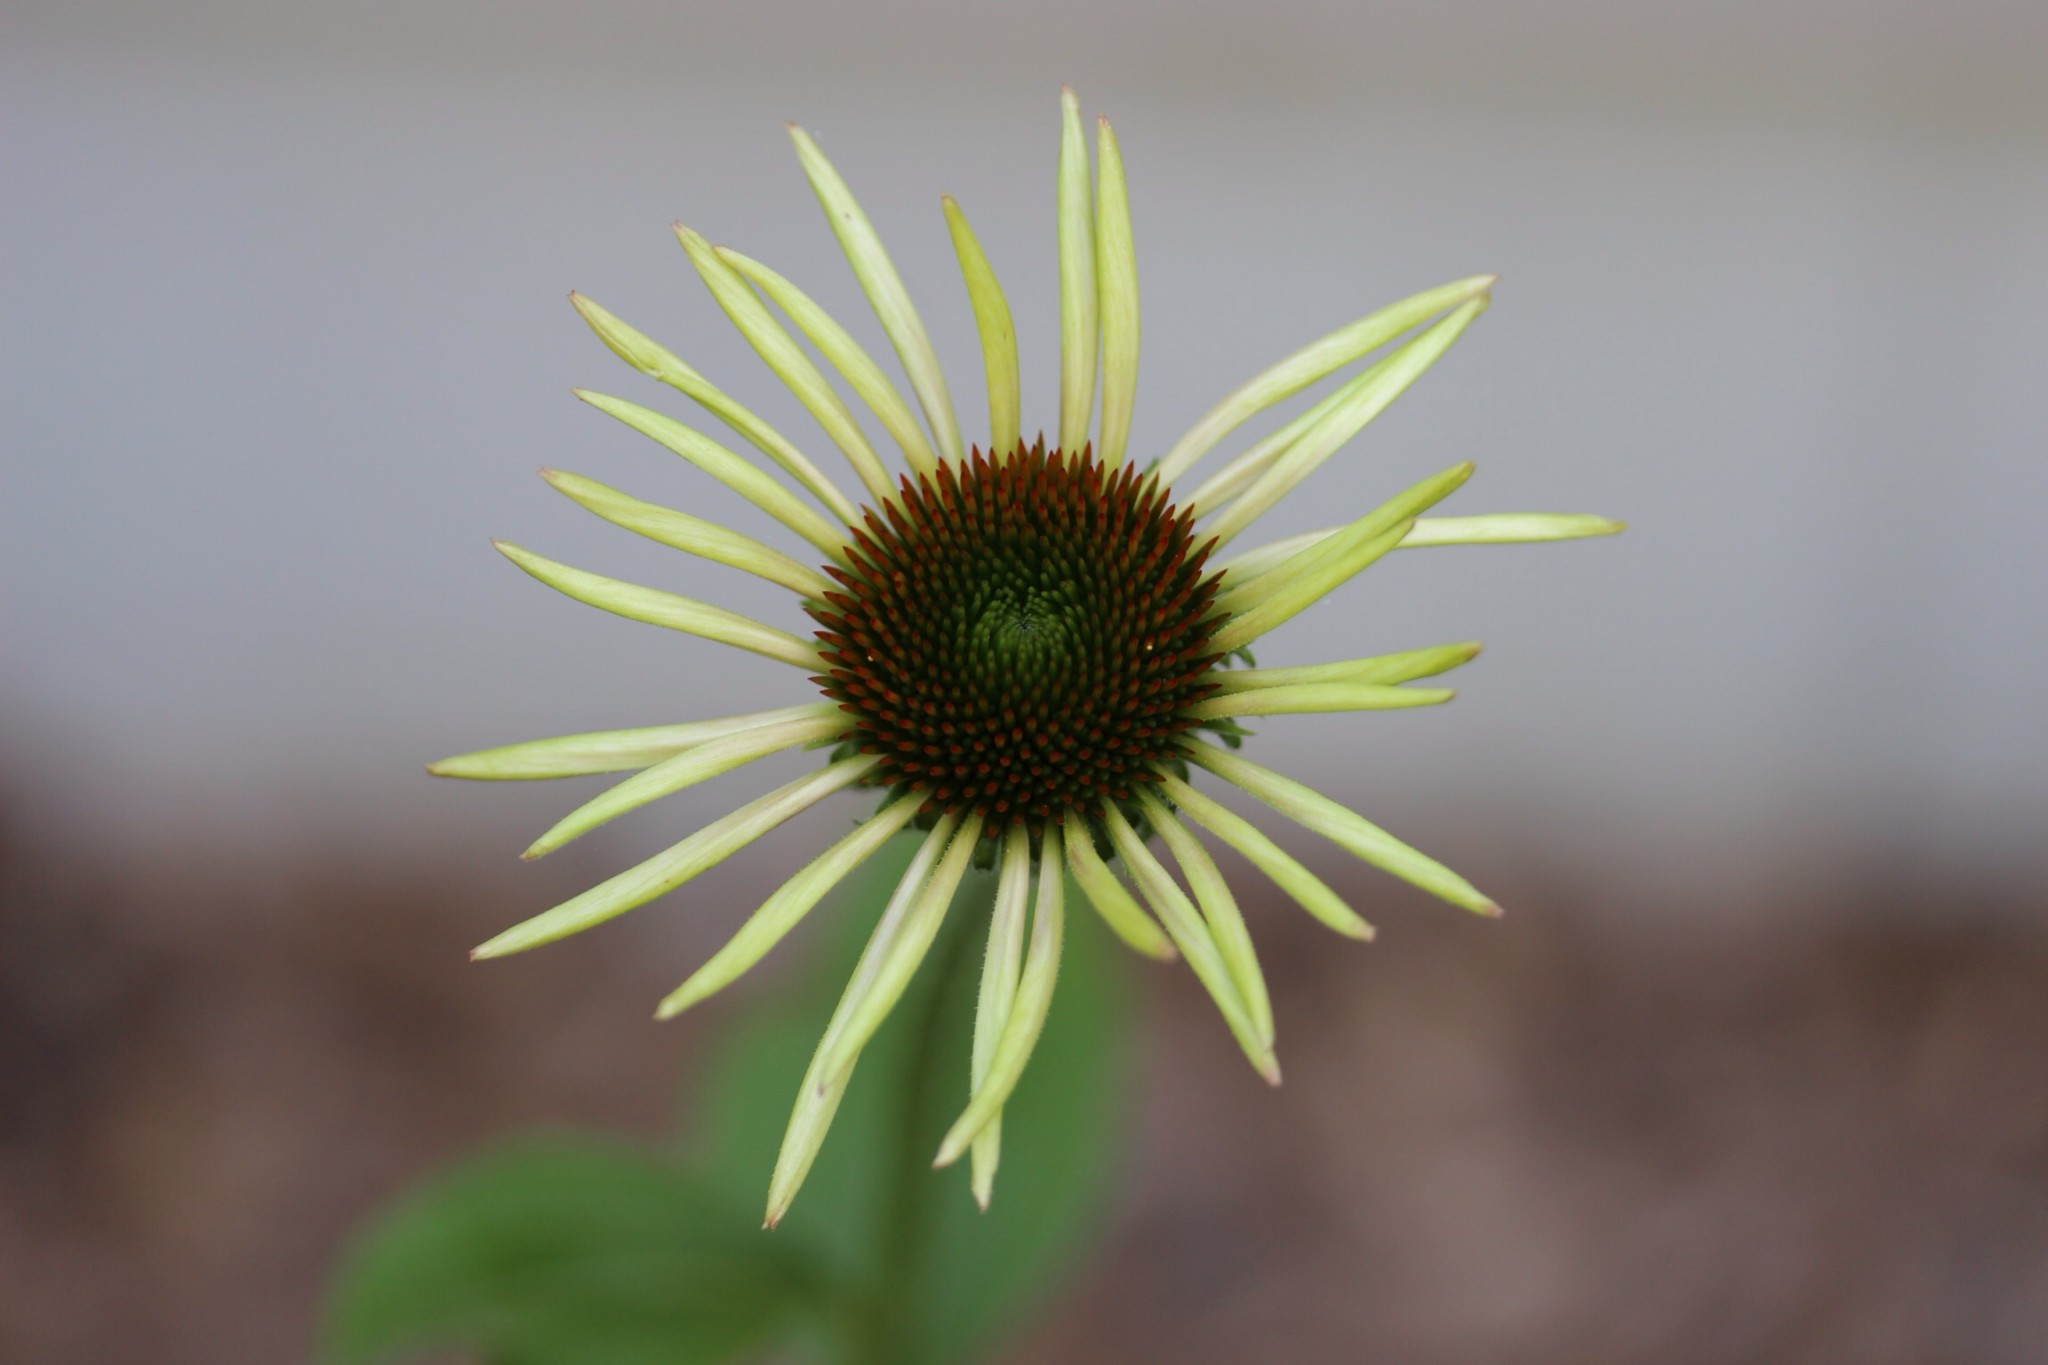
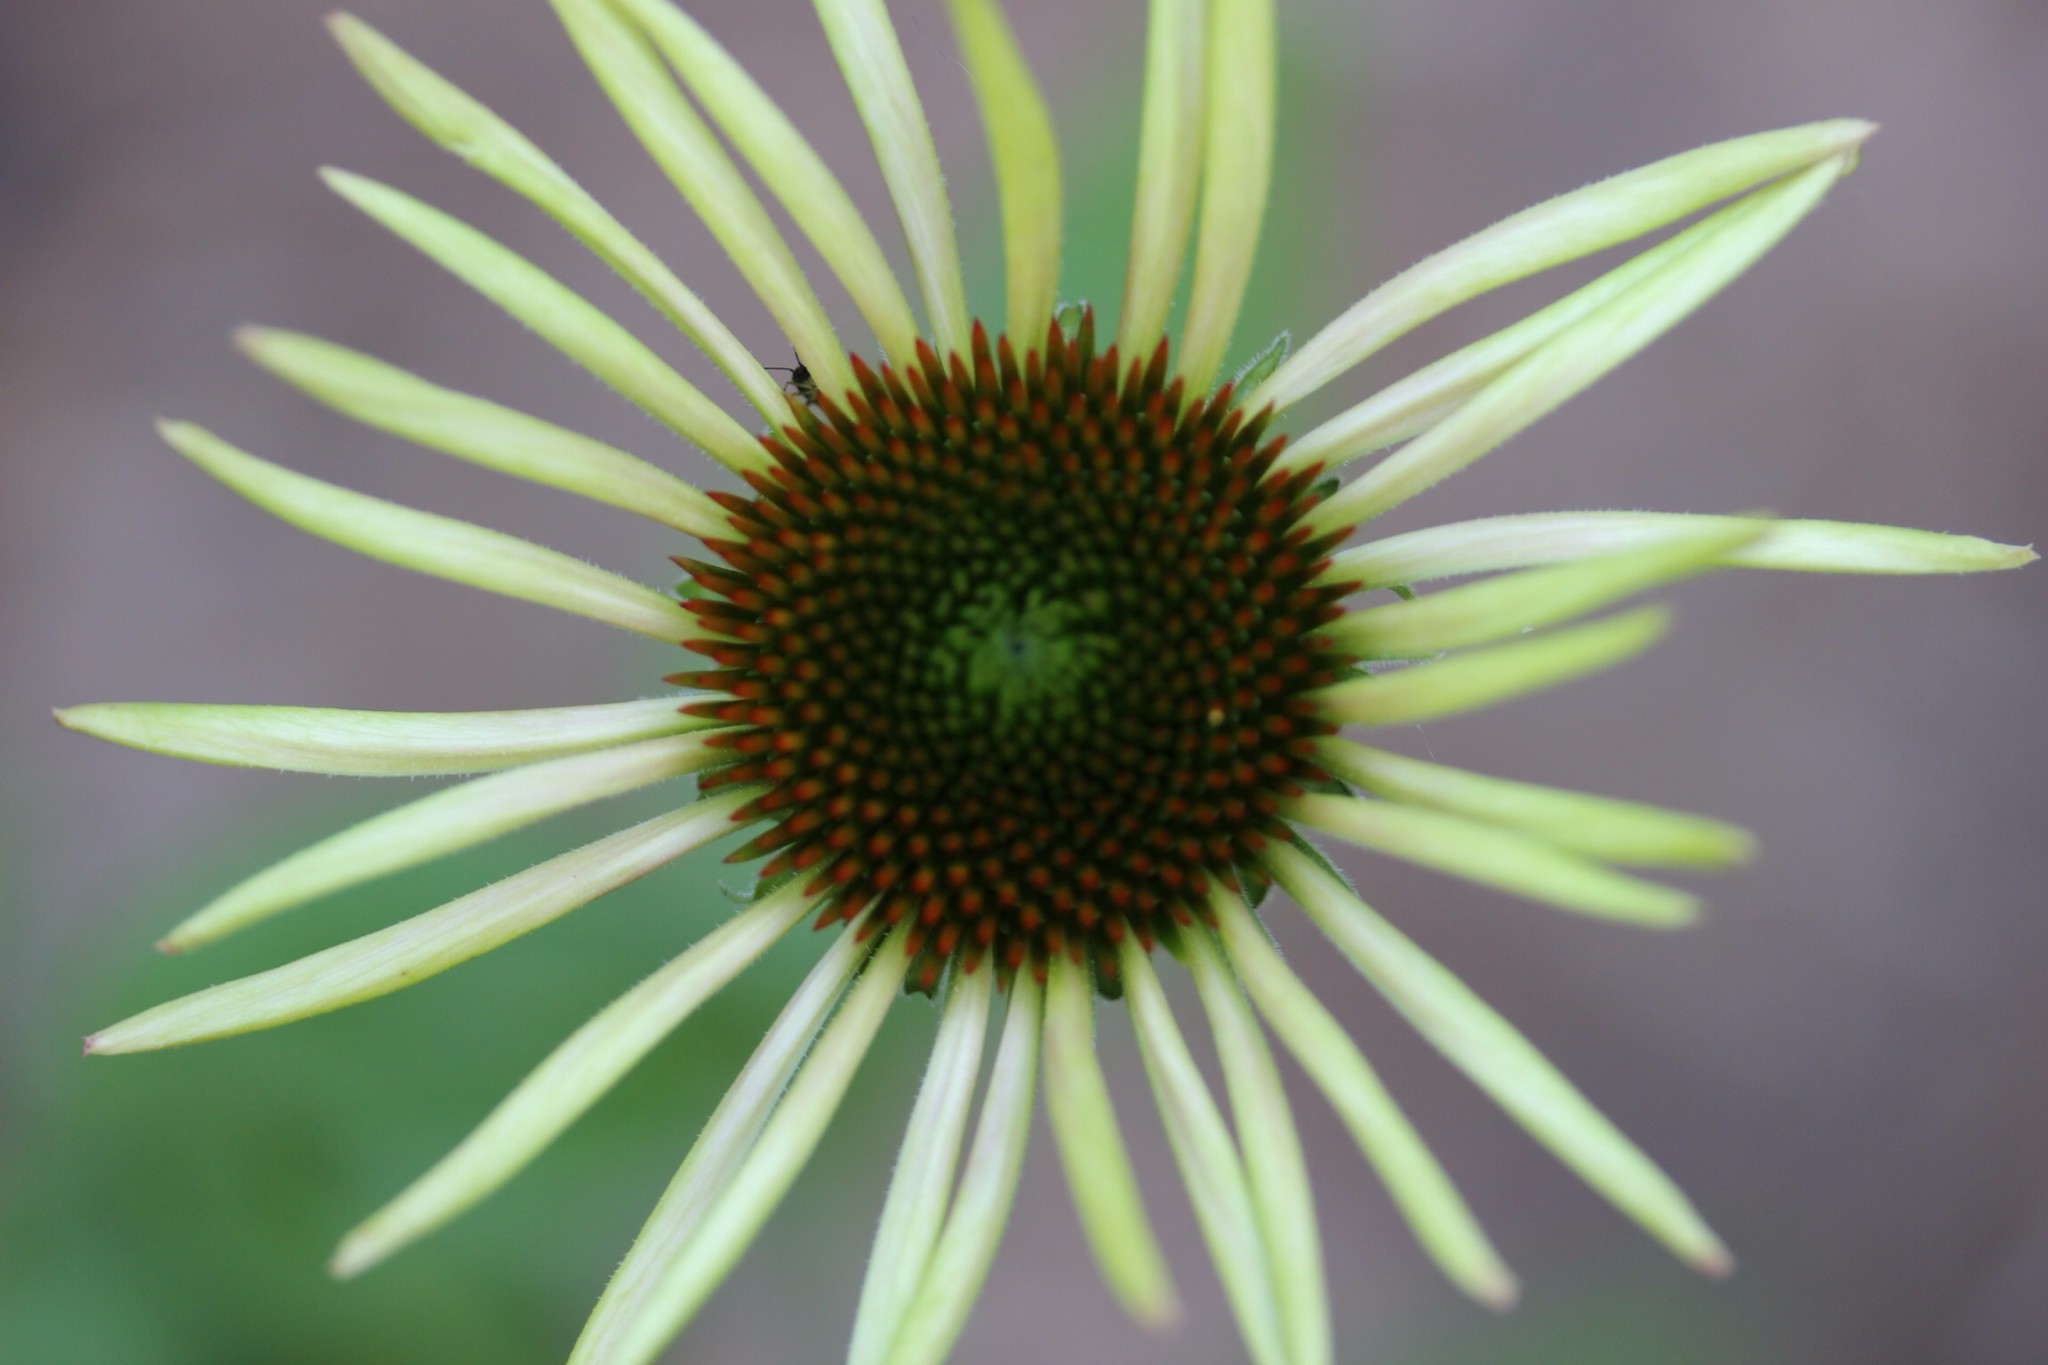
Coneflower

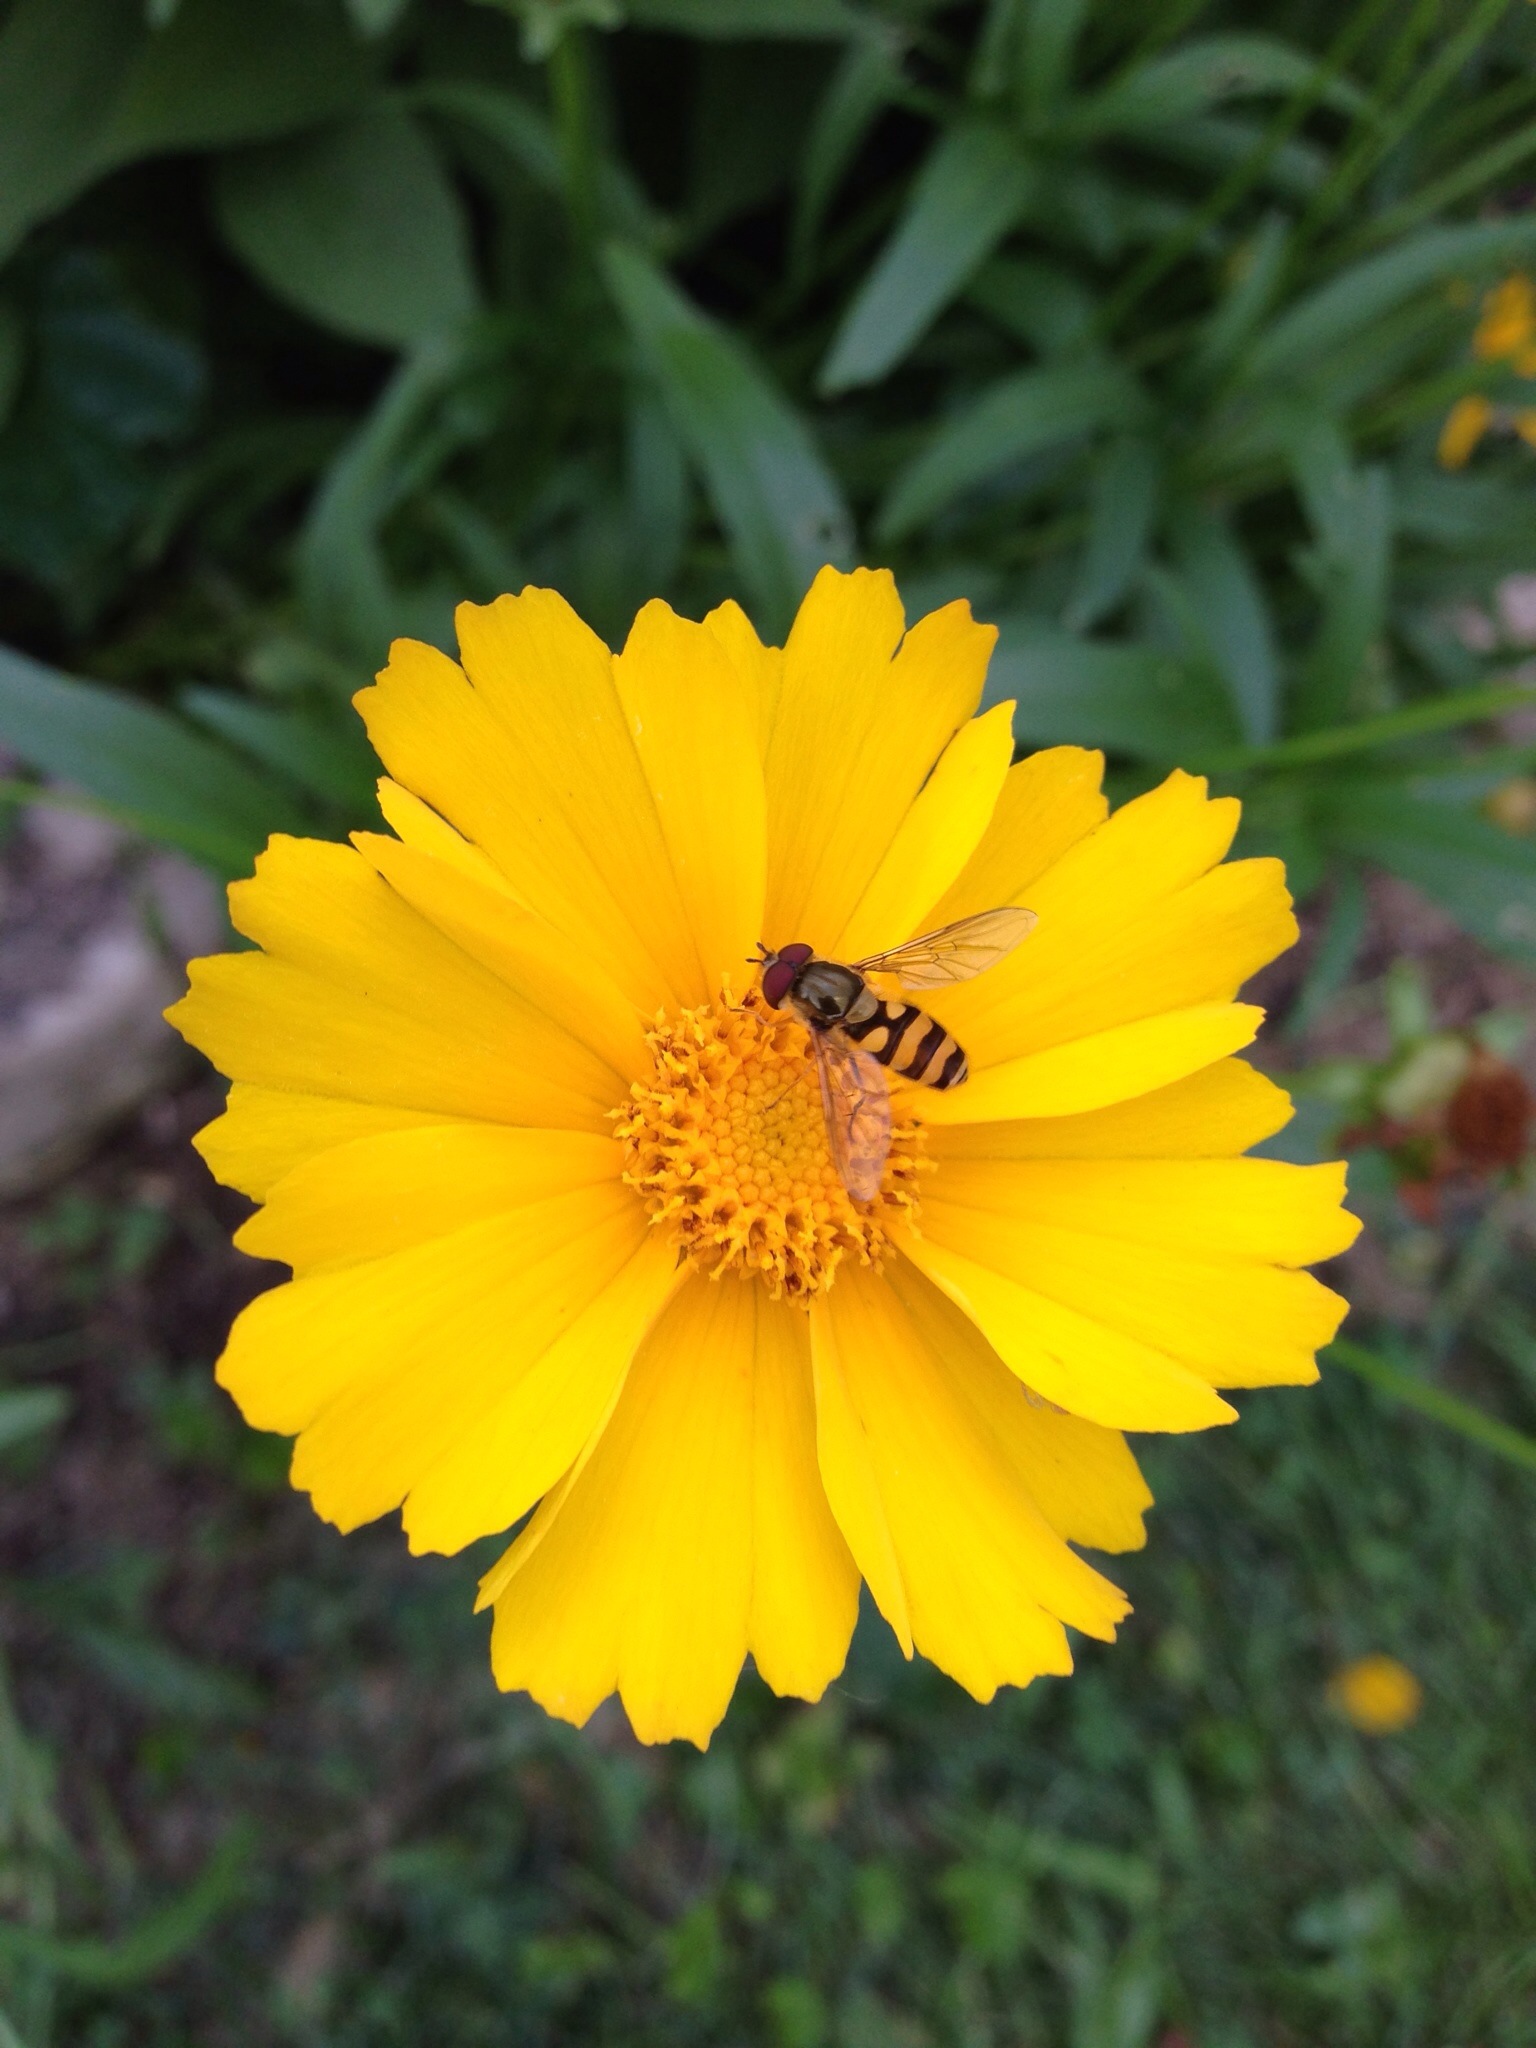
Coreopsis

Zinnia
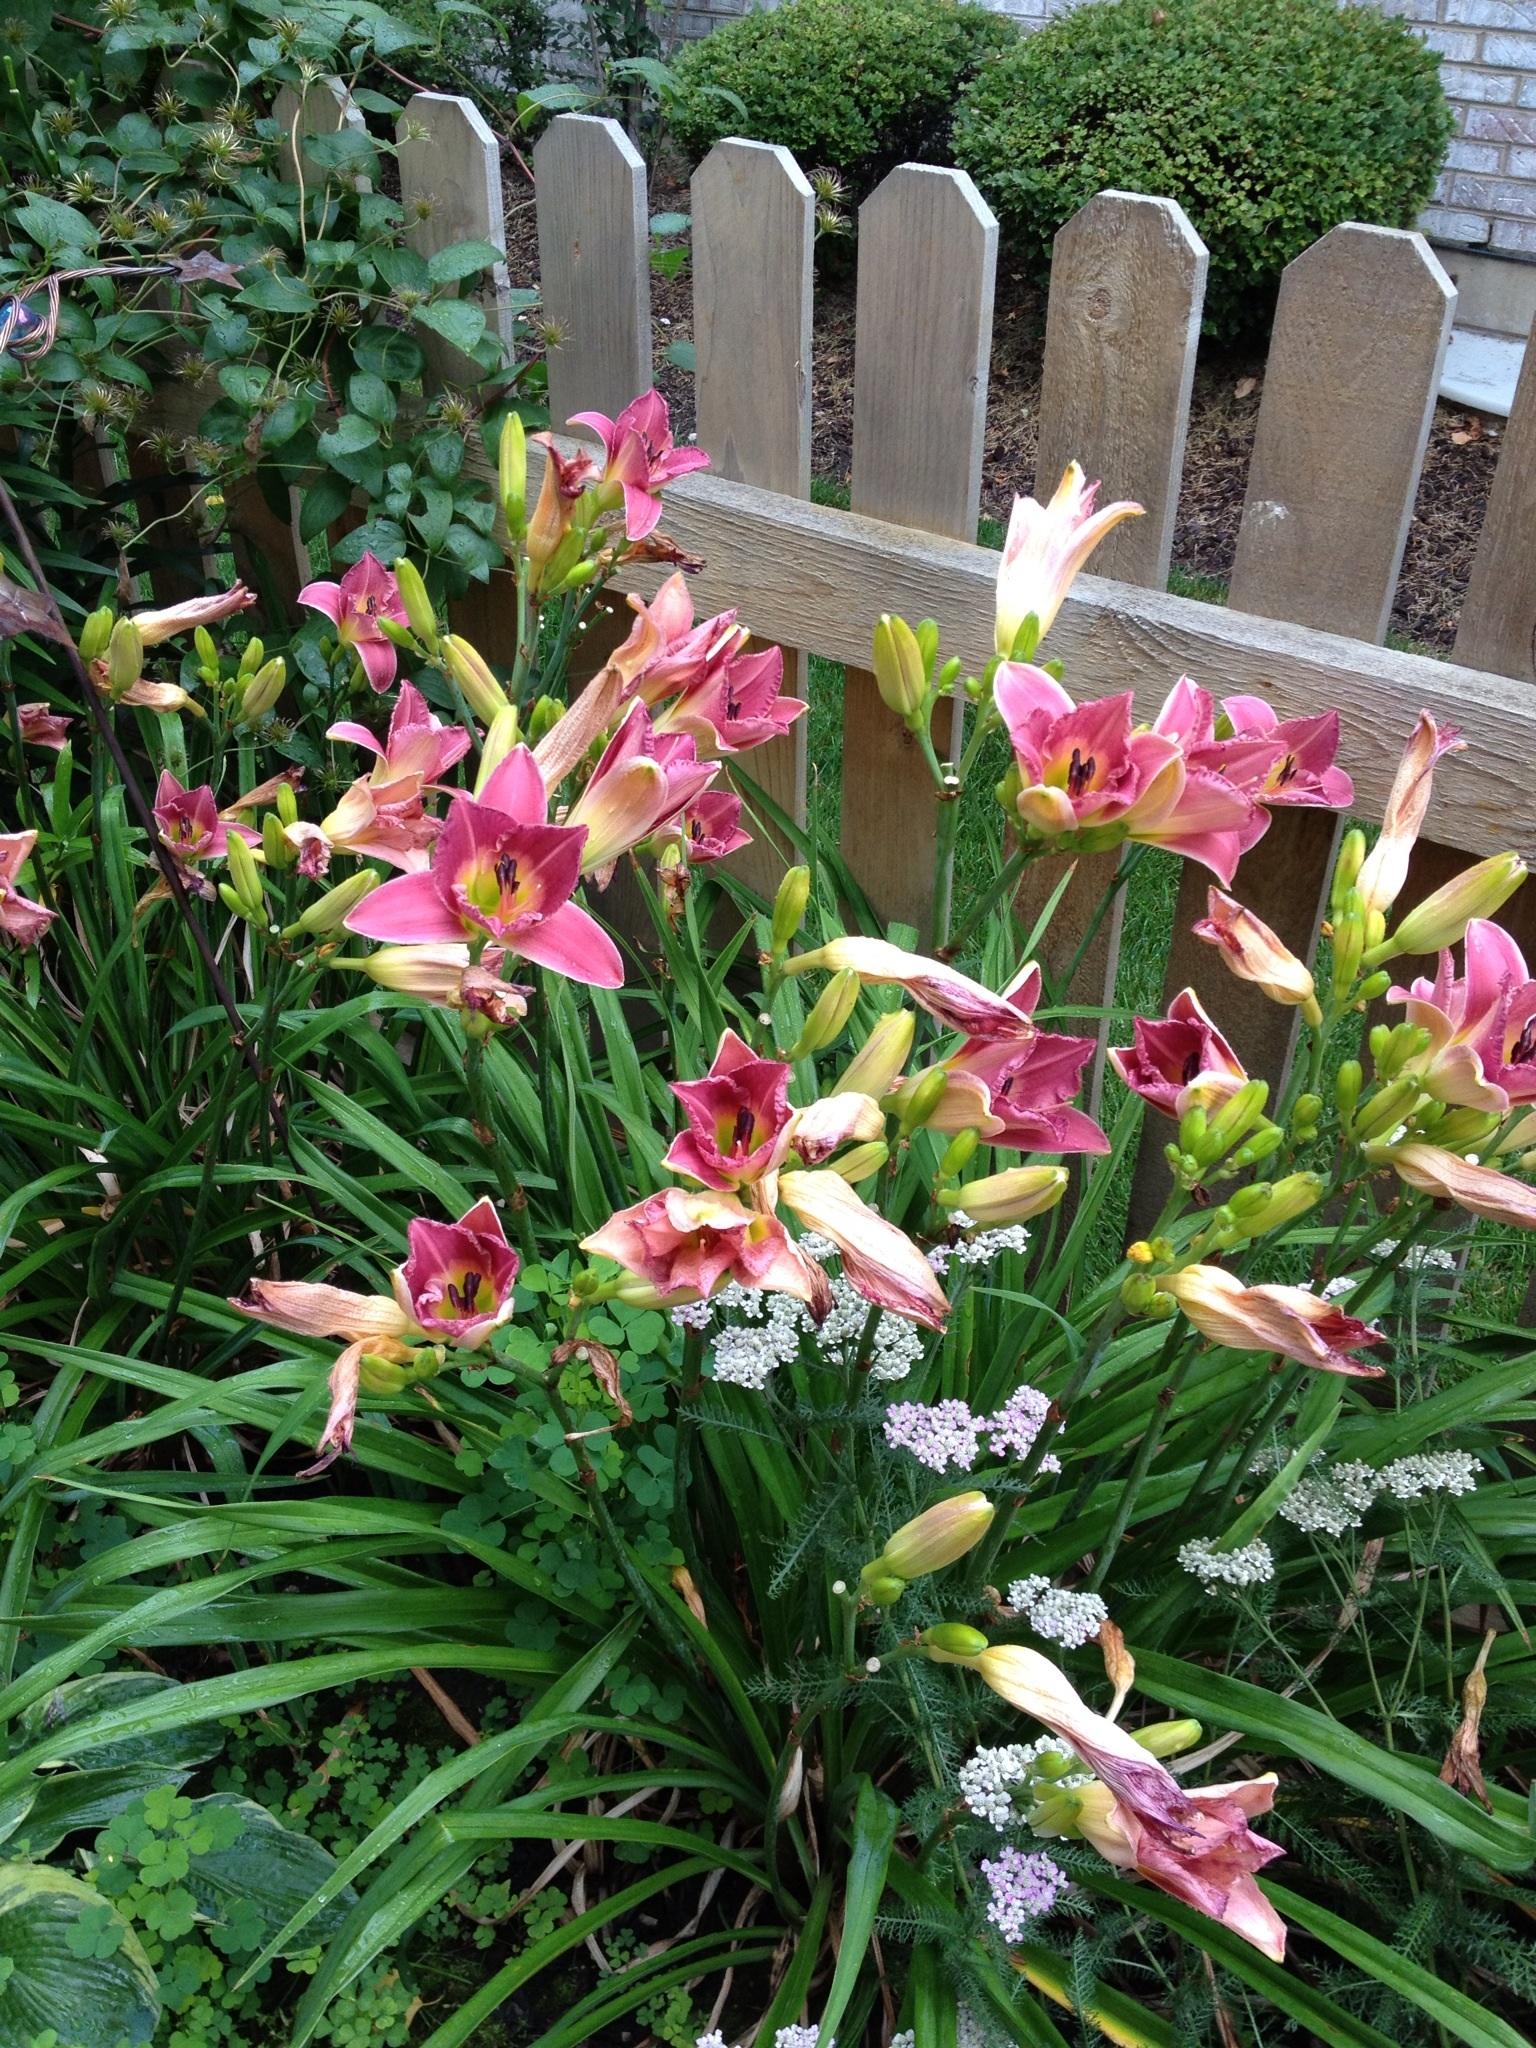
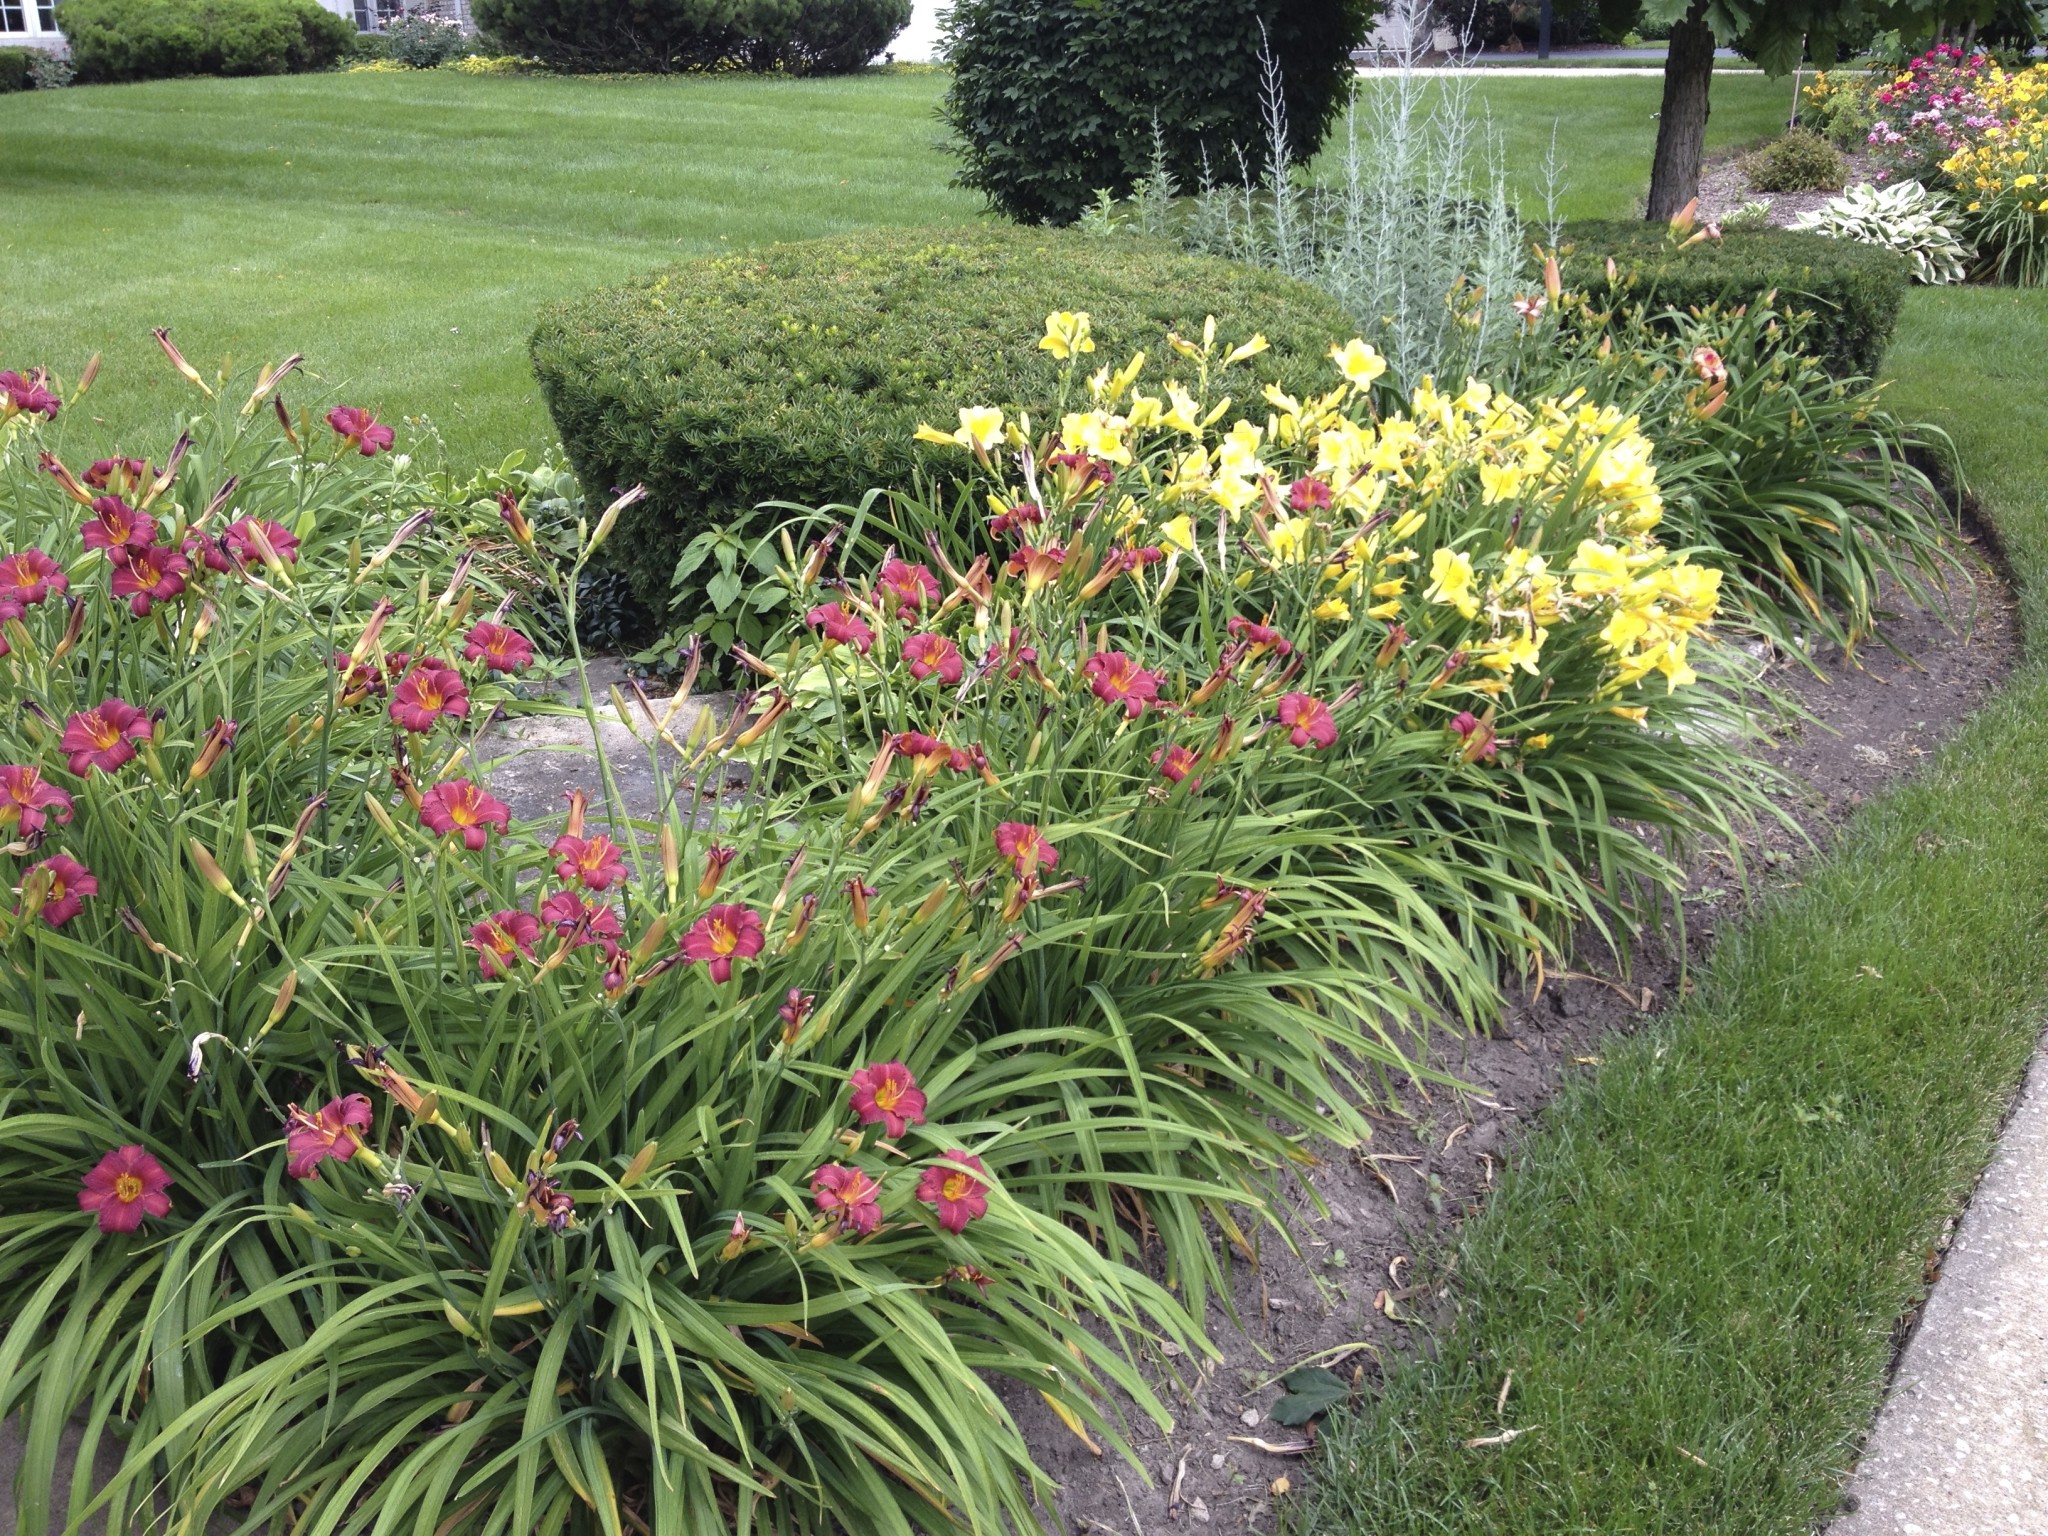
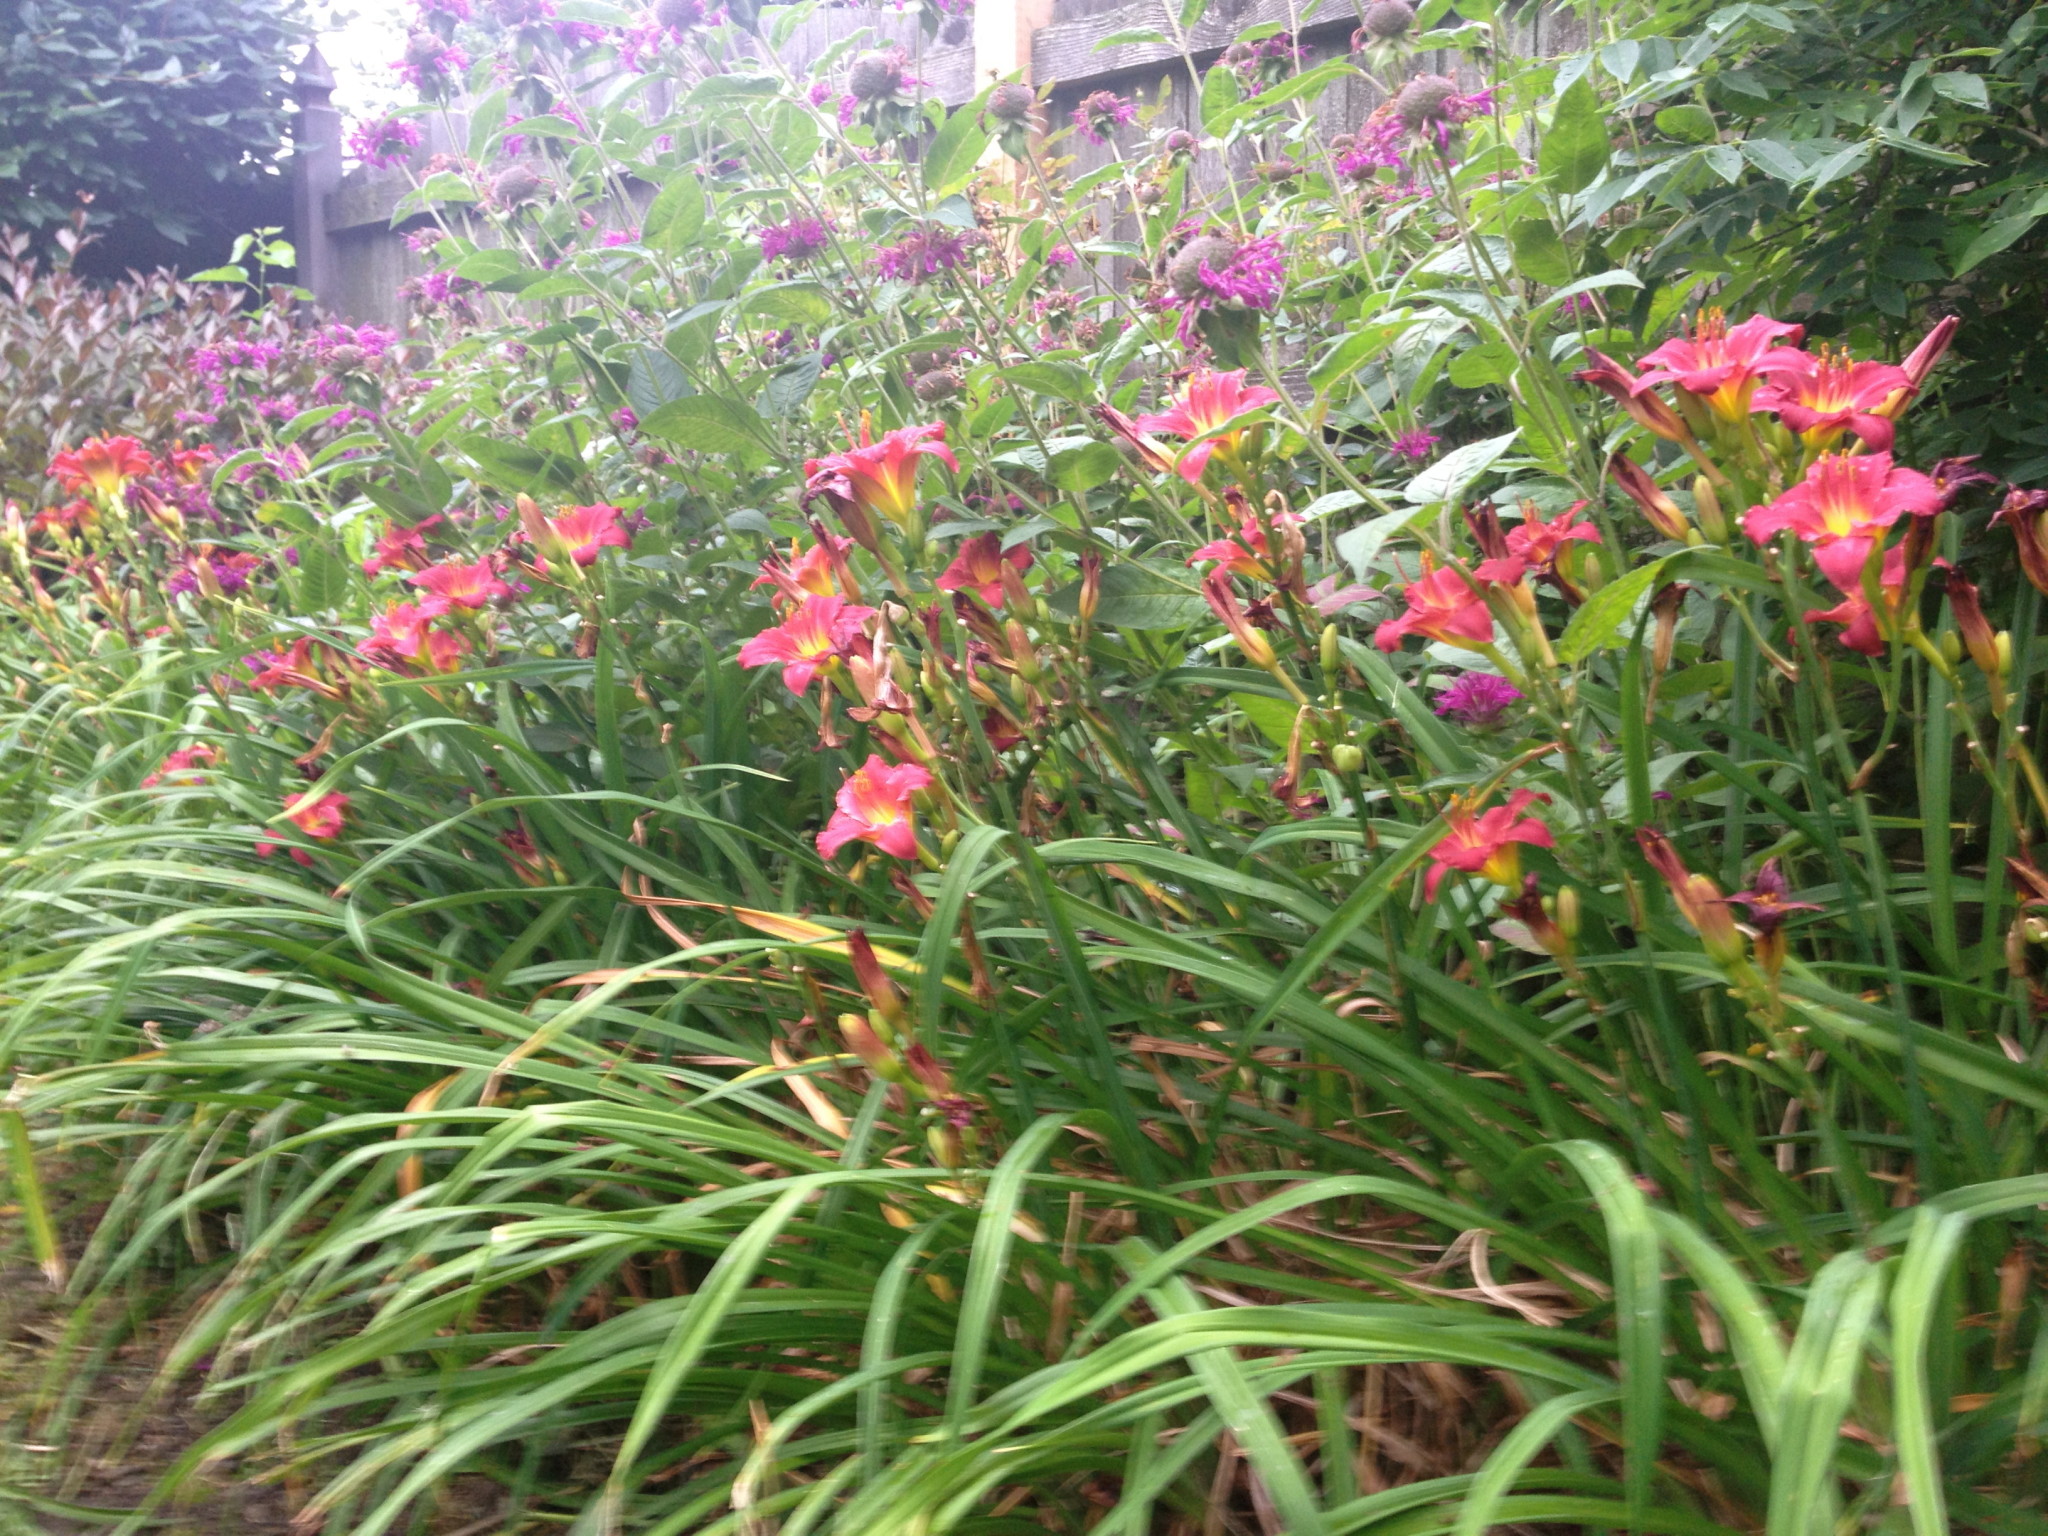
Daylilies
We have a lot of different daylilies around our yard. They are so pretty when they are full bloom and great space fillers. With the introduction of so many varieties of reblooming types, daylilies really can have a place of prominence in the garden. This has been a particularly good year for the daylilies, so the gardens have been just a succession of pretty colors. Of course, when I planted them, I promptly lost the name tags and didn’t write many their names down anywhere. I’ve done my best to figure out what is what, but I welcome any help in identifying what is in my garden.
I stumbled across The American Hemerocallis Society site, Oakes Daylilies, and Olallie Daylily Gardens, among other great daylily websites, while trying to identify my plants and loved their site. They, and the others, provide a wealth of information and daylily help. I had no idea there are so many different varieties out there. I might be tempted to add a few more to my garden…
Overviews of the gardens today:
Next post will include individual pictures.
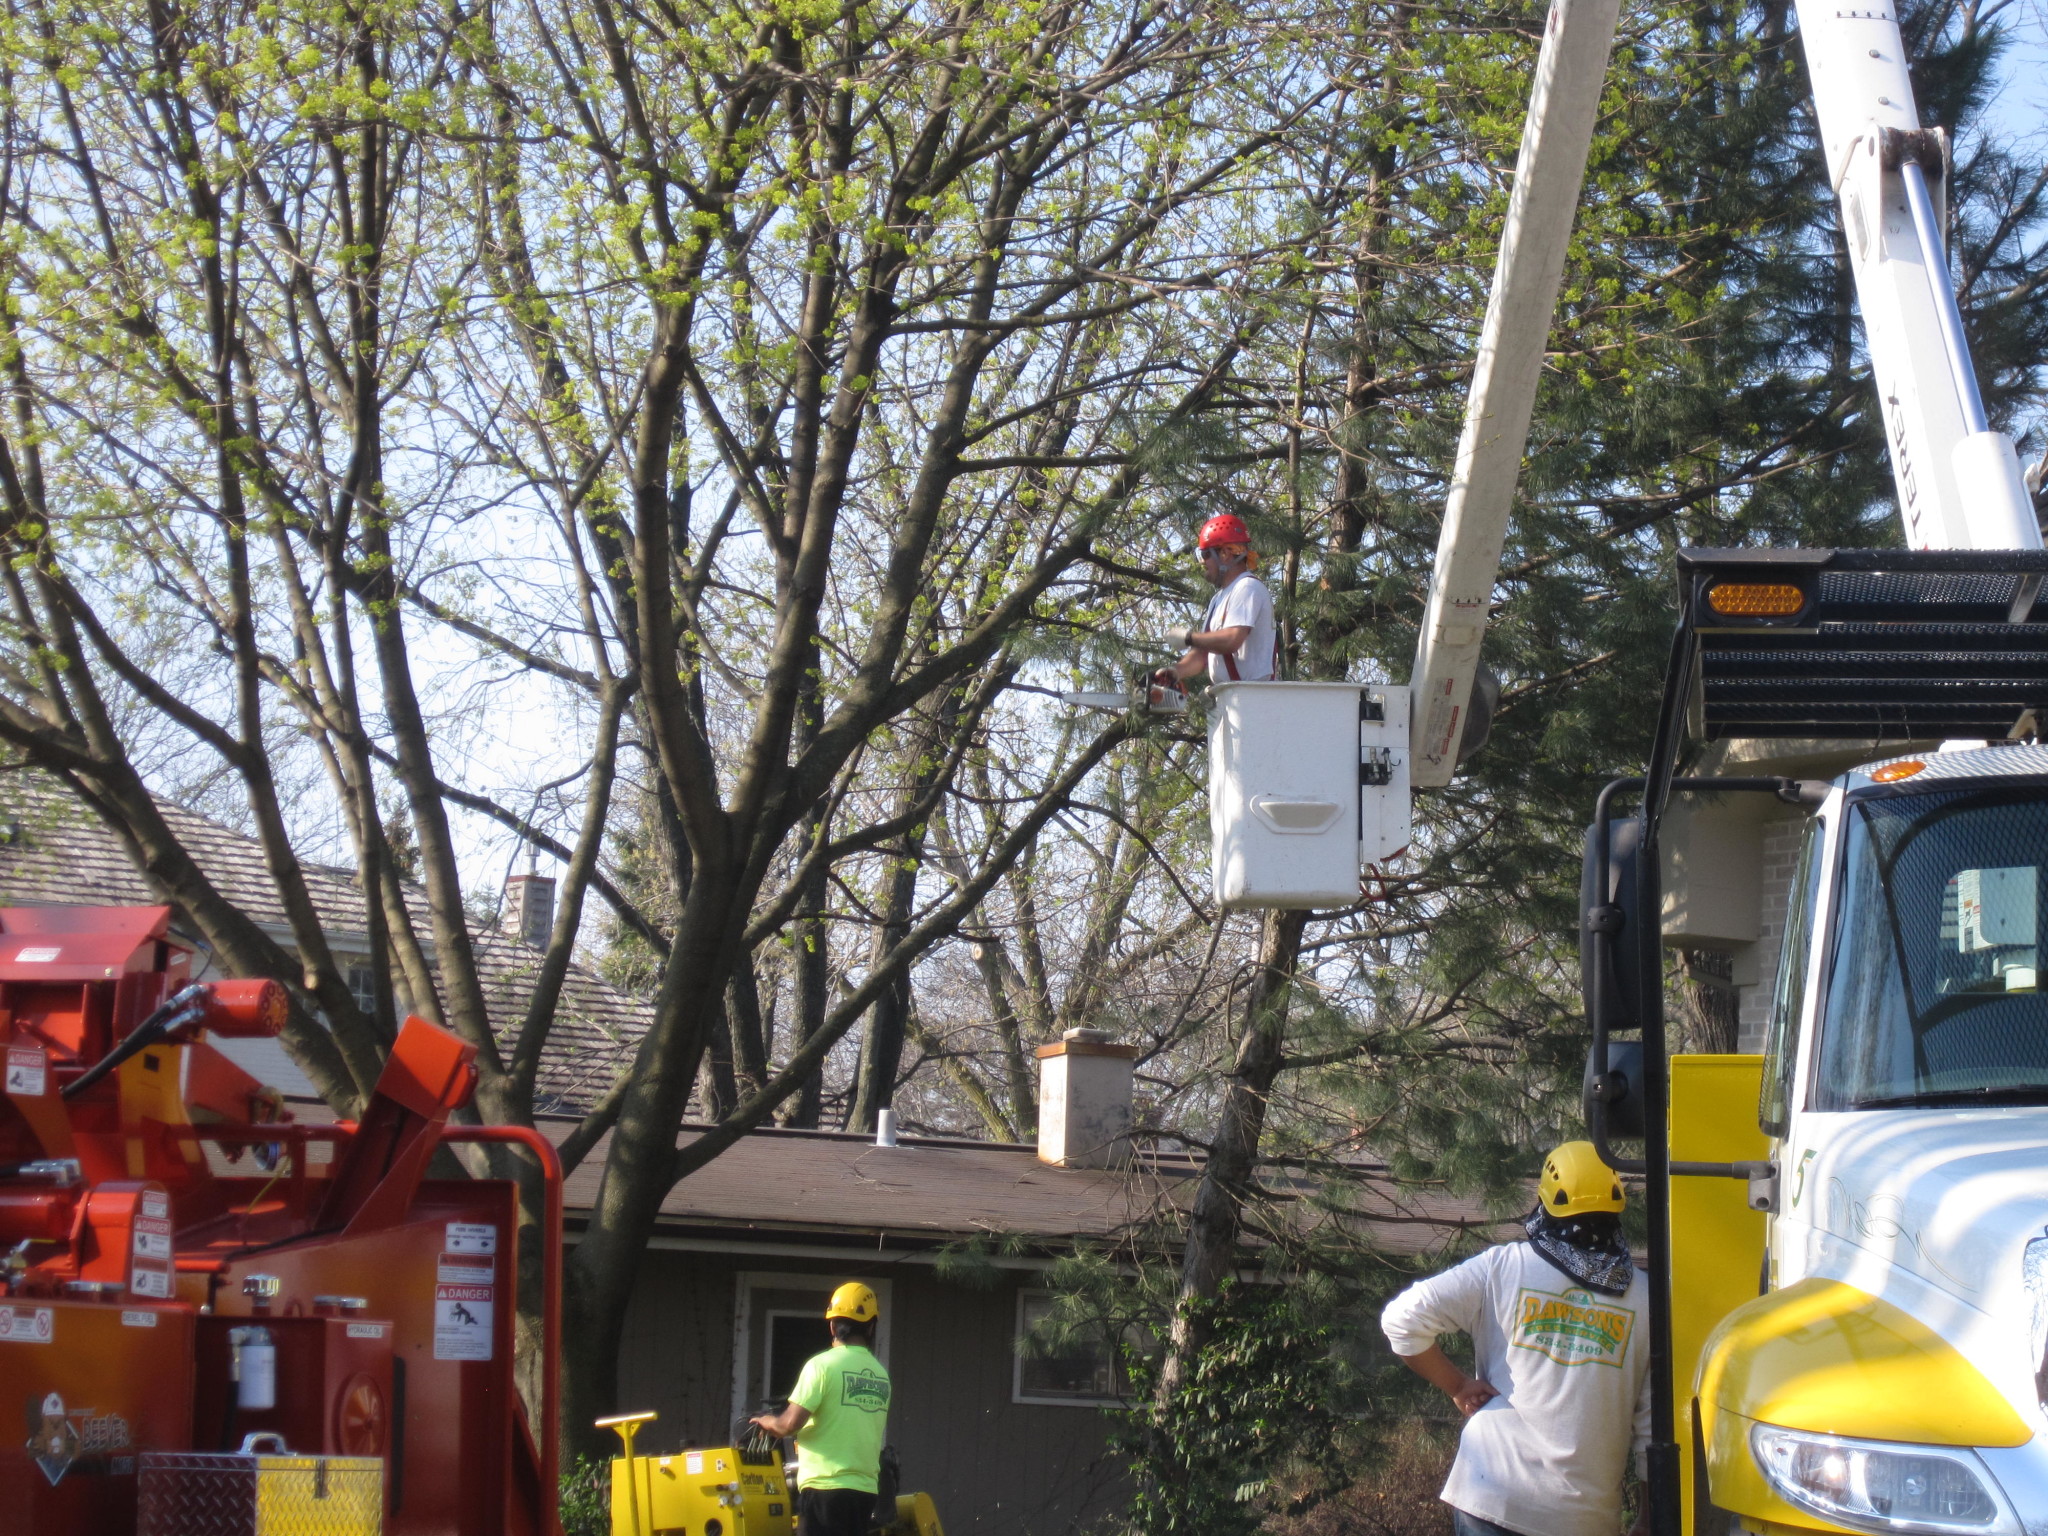
Problem Areas
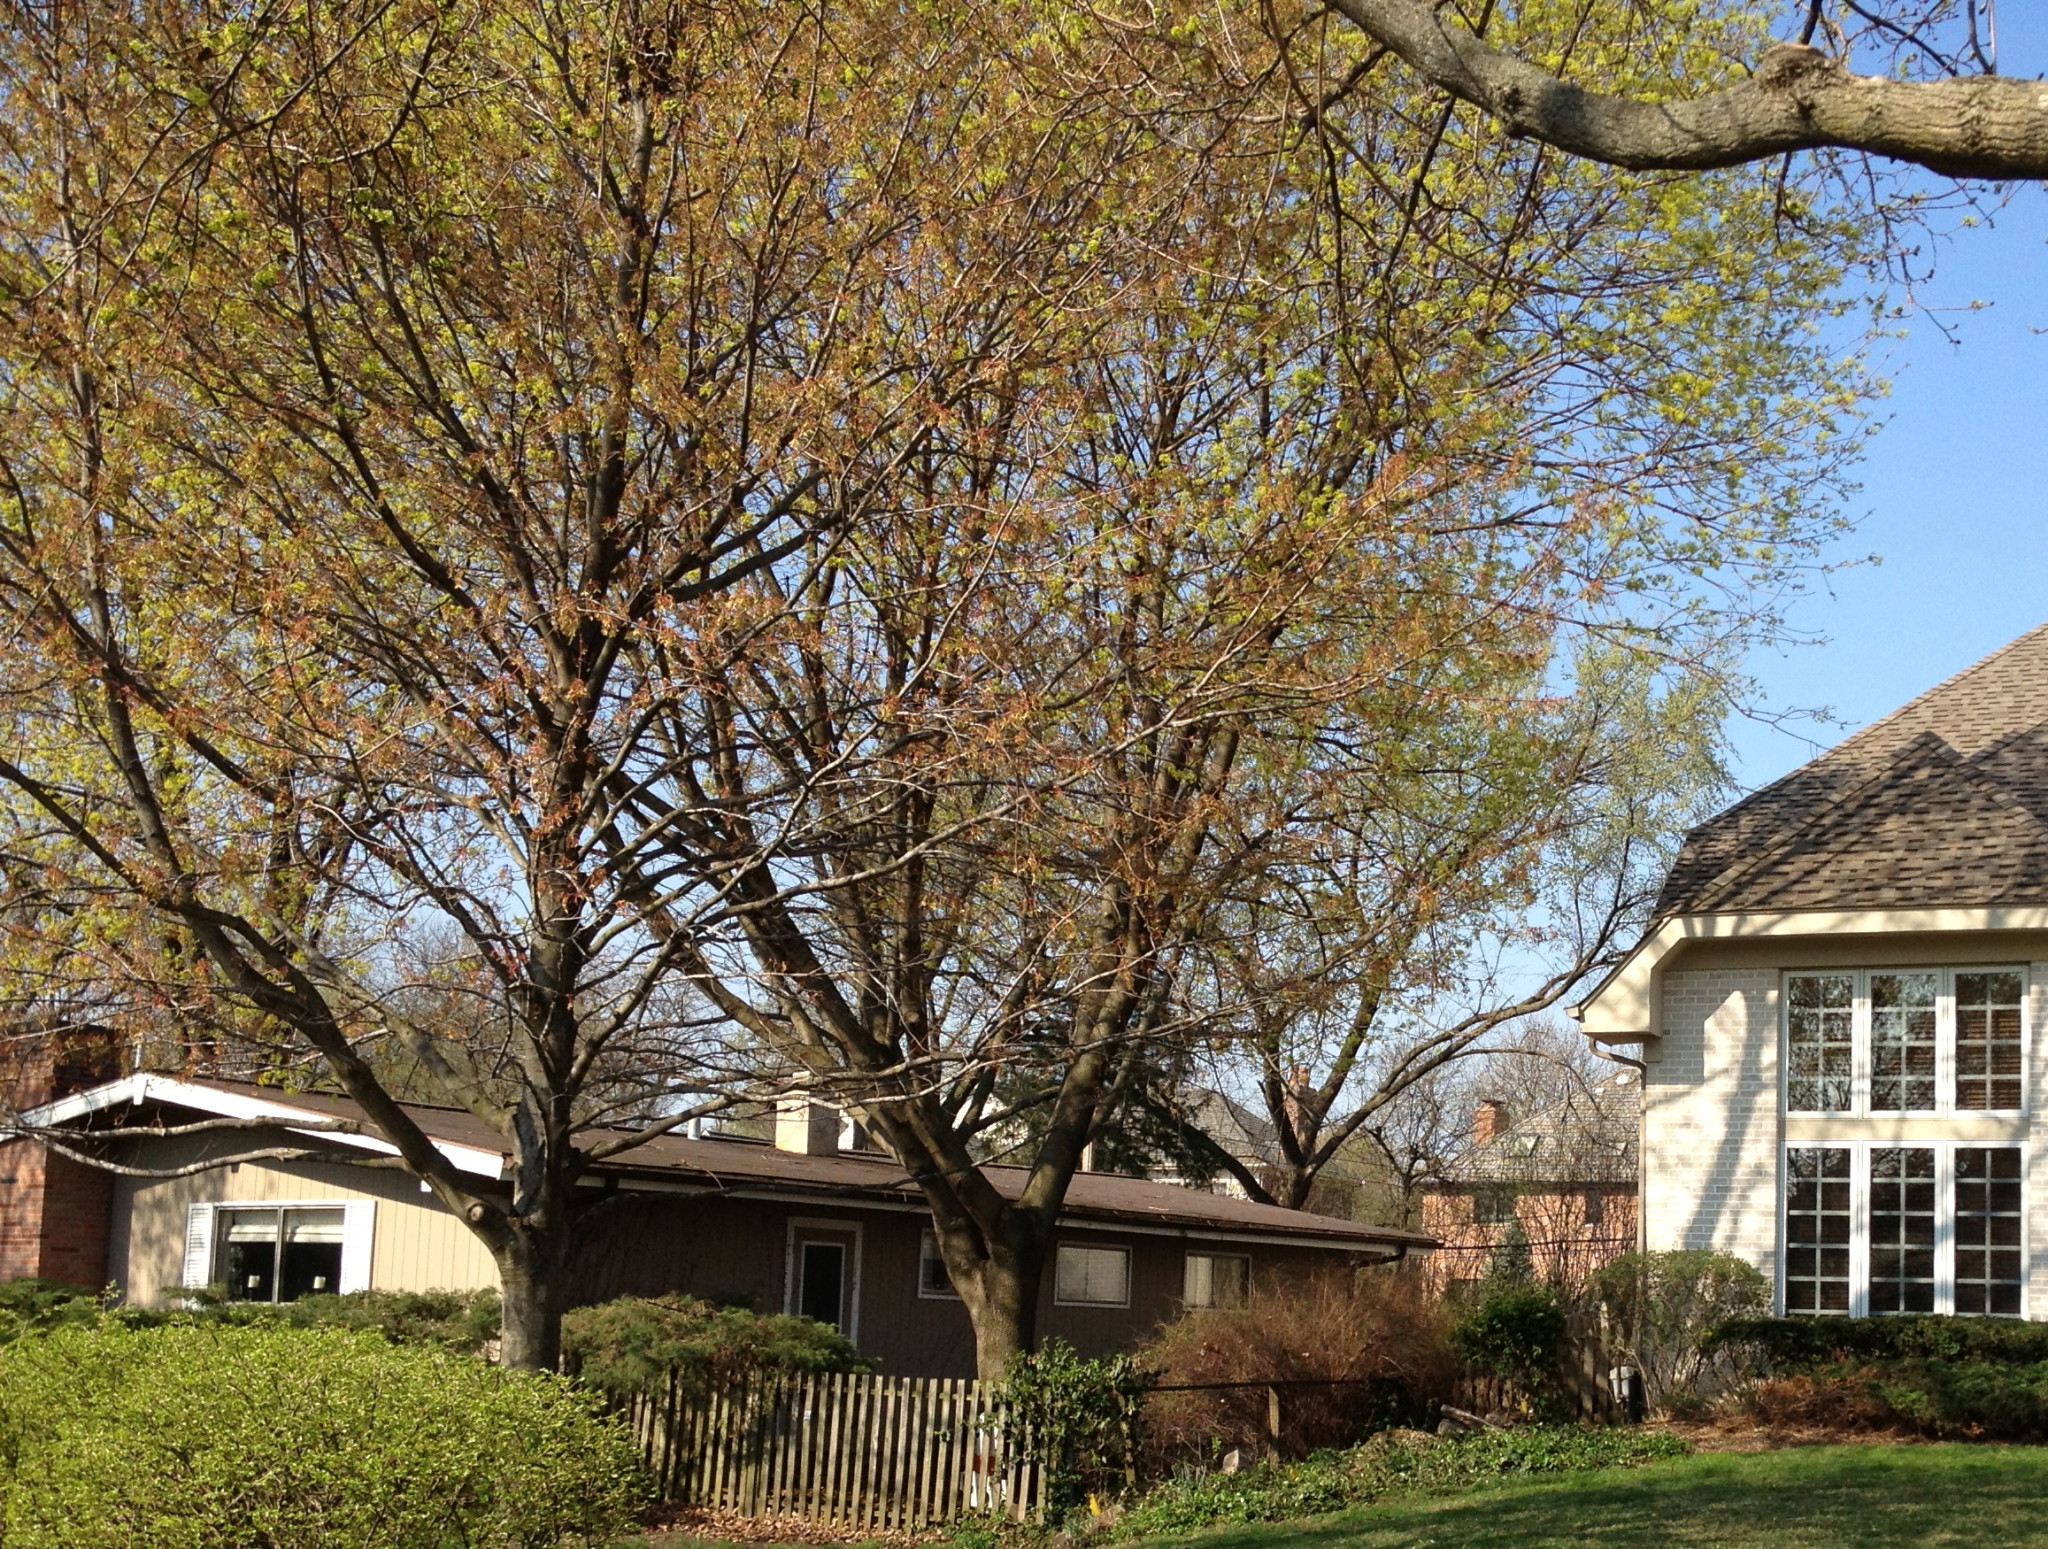
Everyone has problem areas in their yard. This week, I’m going to show some of ours and some of the solutions we’ve finally come up with. First was an area off the corner of the house. When we first moved in, the landscaper designed the space to have 3 large Austrian Pines in the corner with some yews and junipers in front of the window.
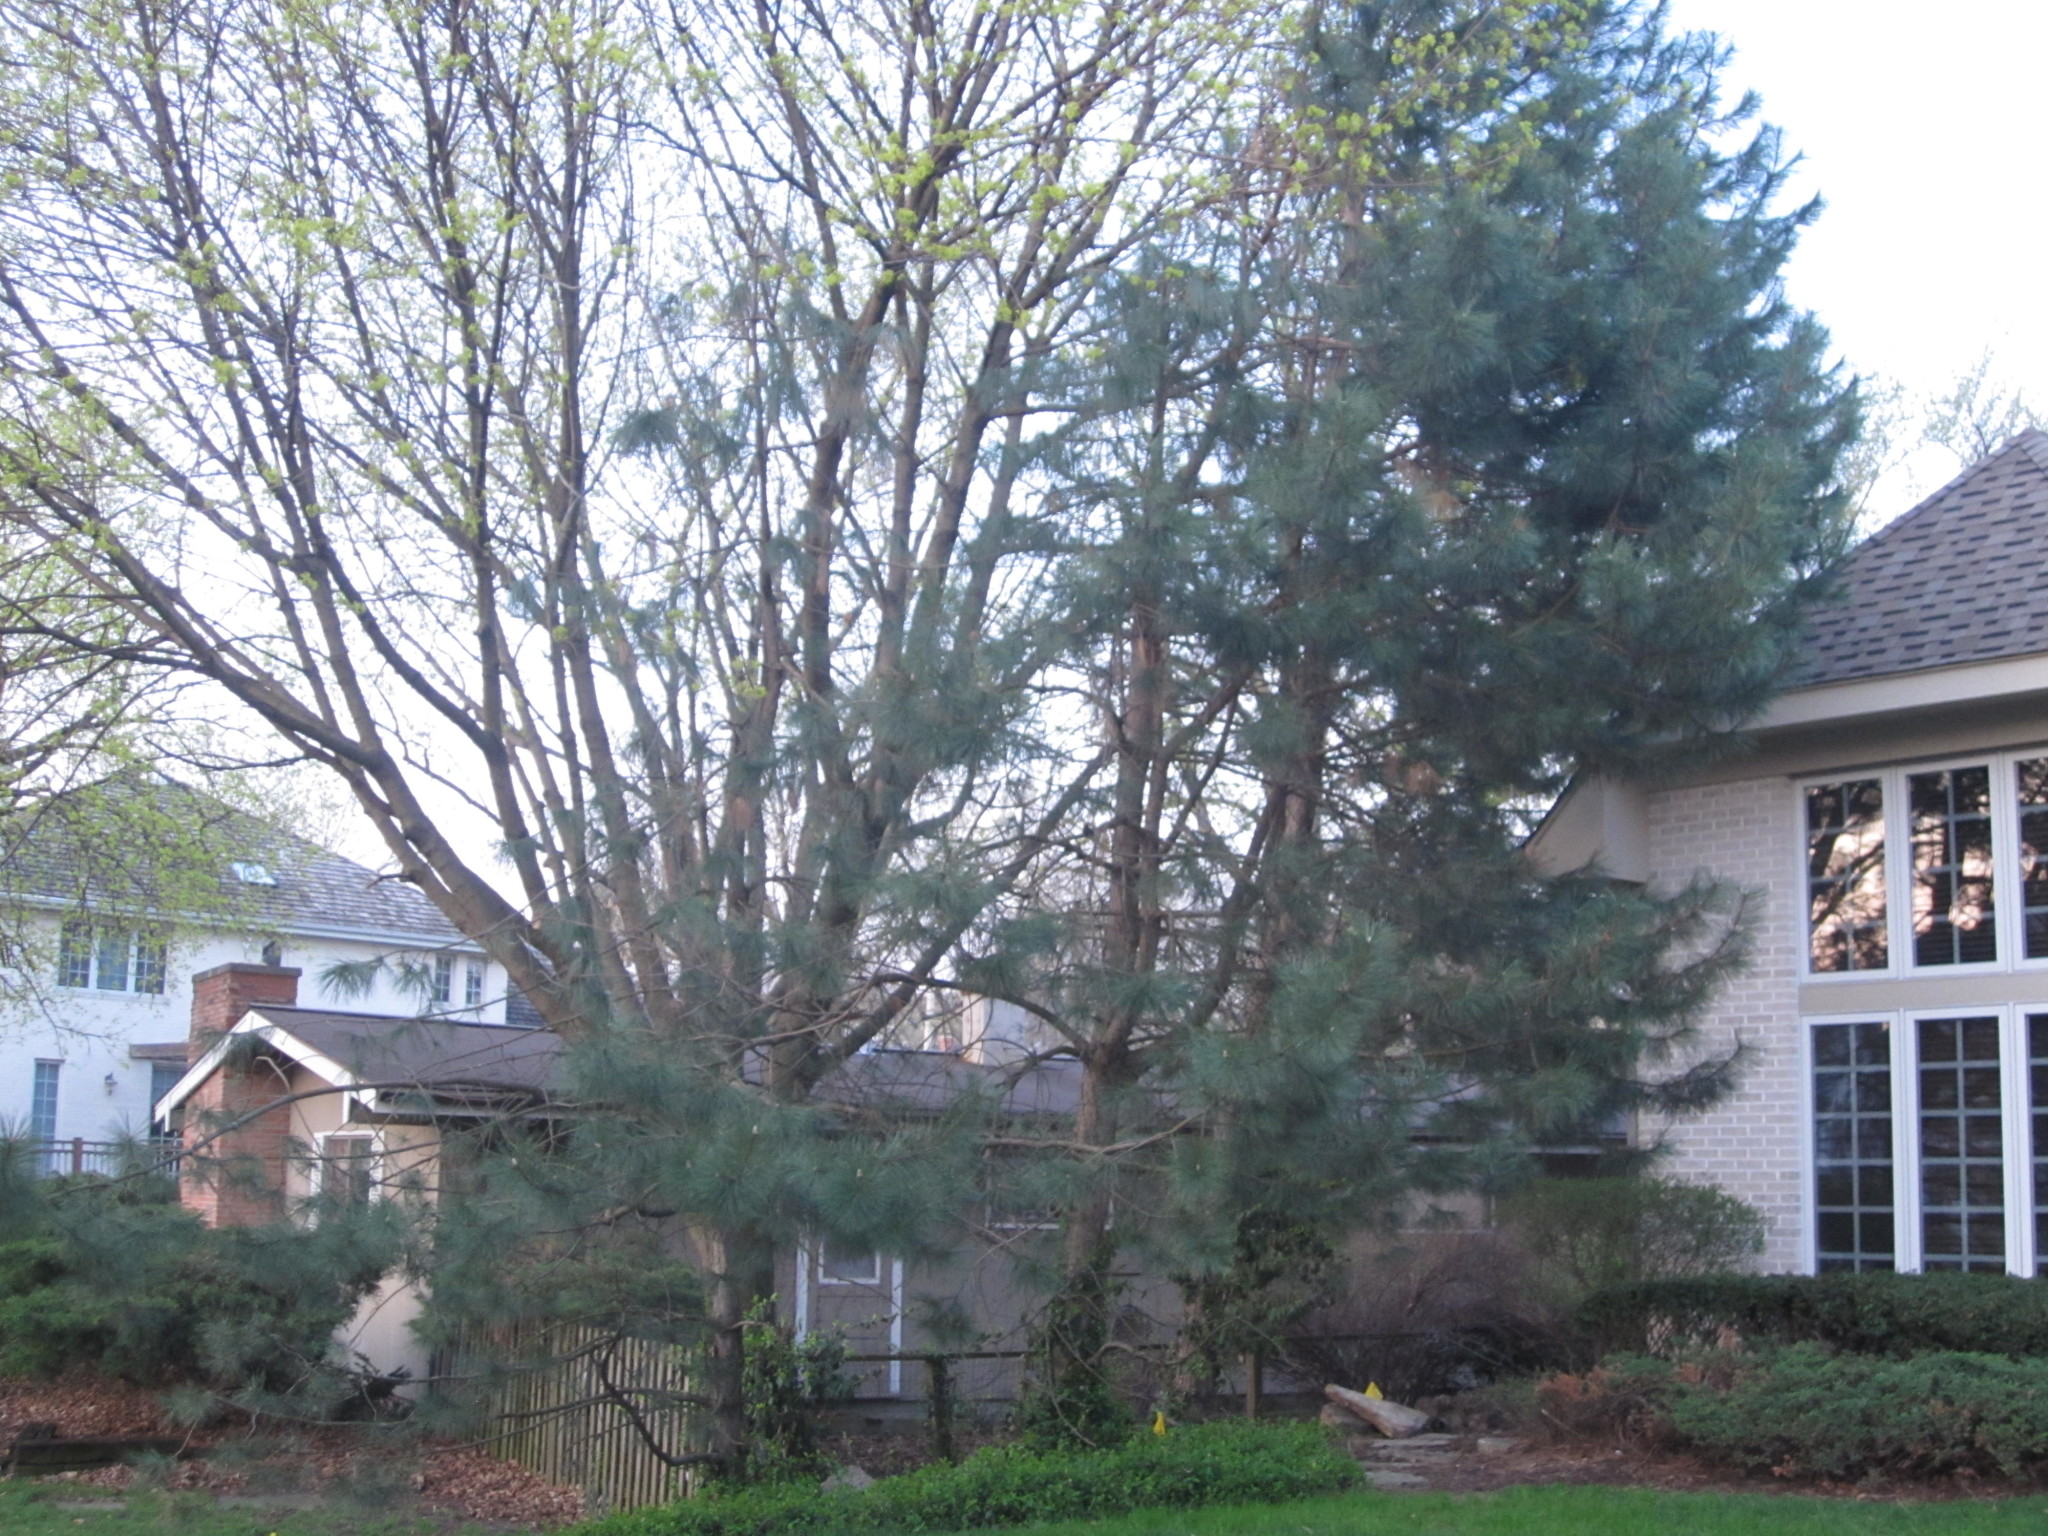
Little did we know that a self-planted maple was growing right next to it in my neighbors yard. It grew extremely rapidly to become one of the biggest trees around the property. It was so dense that it created too much shade for the Austrian Pines to grow properly (and killed off all her shrubs as well). So, last year we finally threw in the towel and had our trees removed to try and fix up this very noticeable part of the garden and house. In the process, we also took out the creeping junipers that were half dead as well from lack of sun.
In the new garden we wanted some type of visual distraction from the neighbors fence since that’s where your eyes would go as you walk up the front walk. But, also wanted to keep it fairly low budget and therefore decided on 3 Arborvitaes. They’re one of the few evergreens that will tolerate shade, although their growth will be very slow. We didn’t want a full privacy hedge, just something to distract your eyes. We happened to have 4 Annabelle hydrangeas on the side of the house that are far too big for the space and by mid season flop over into the main brick walkway to the back of the house. In this new shade garden we created, the hydrangeas would be a perfect plant. They can obviously tolerate the shade and can finally just grow as they want in an appropriate space. Of course, to fill in the rest, I moved some hostas from elsewhere in the yard. We also had some boxwoods added to give the space a more finished, less wild look.
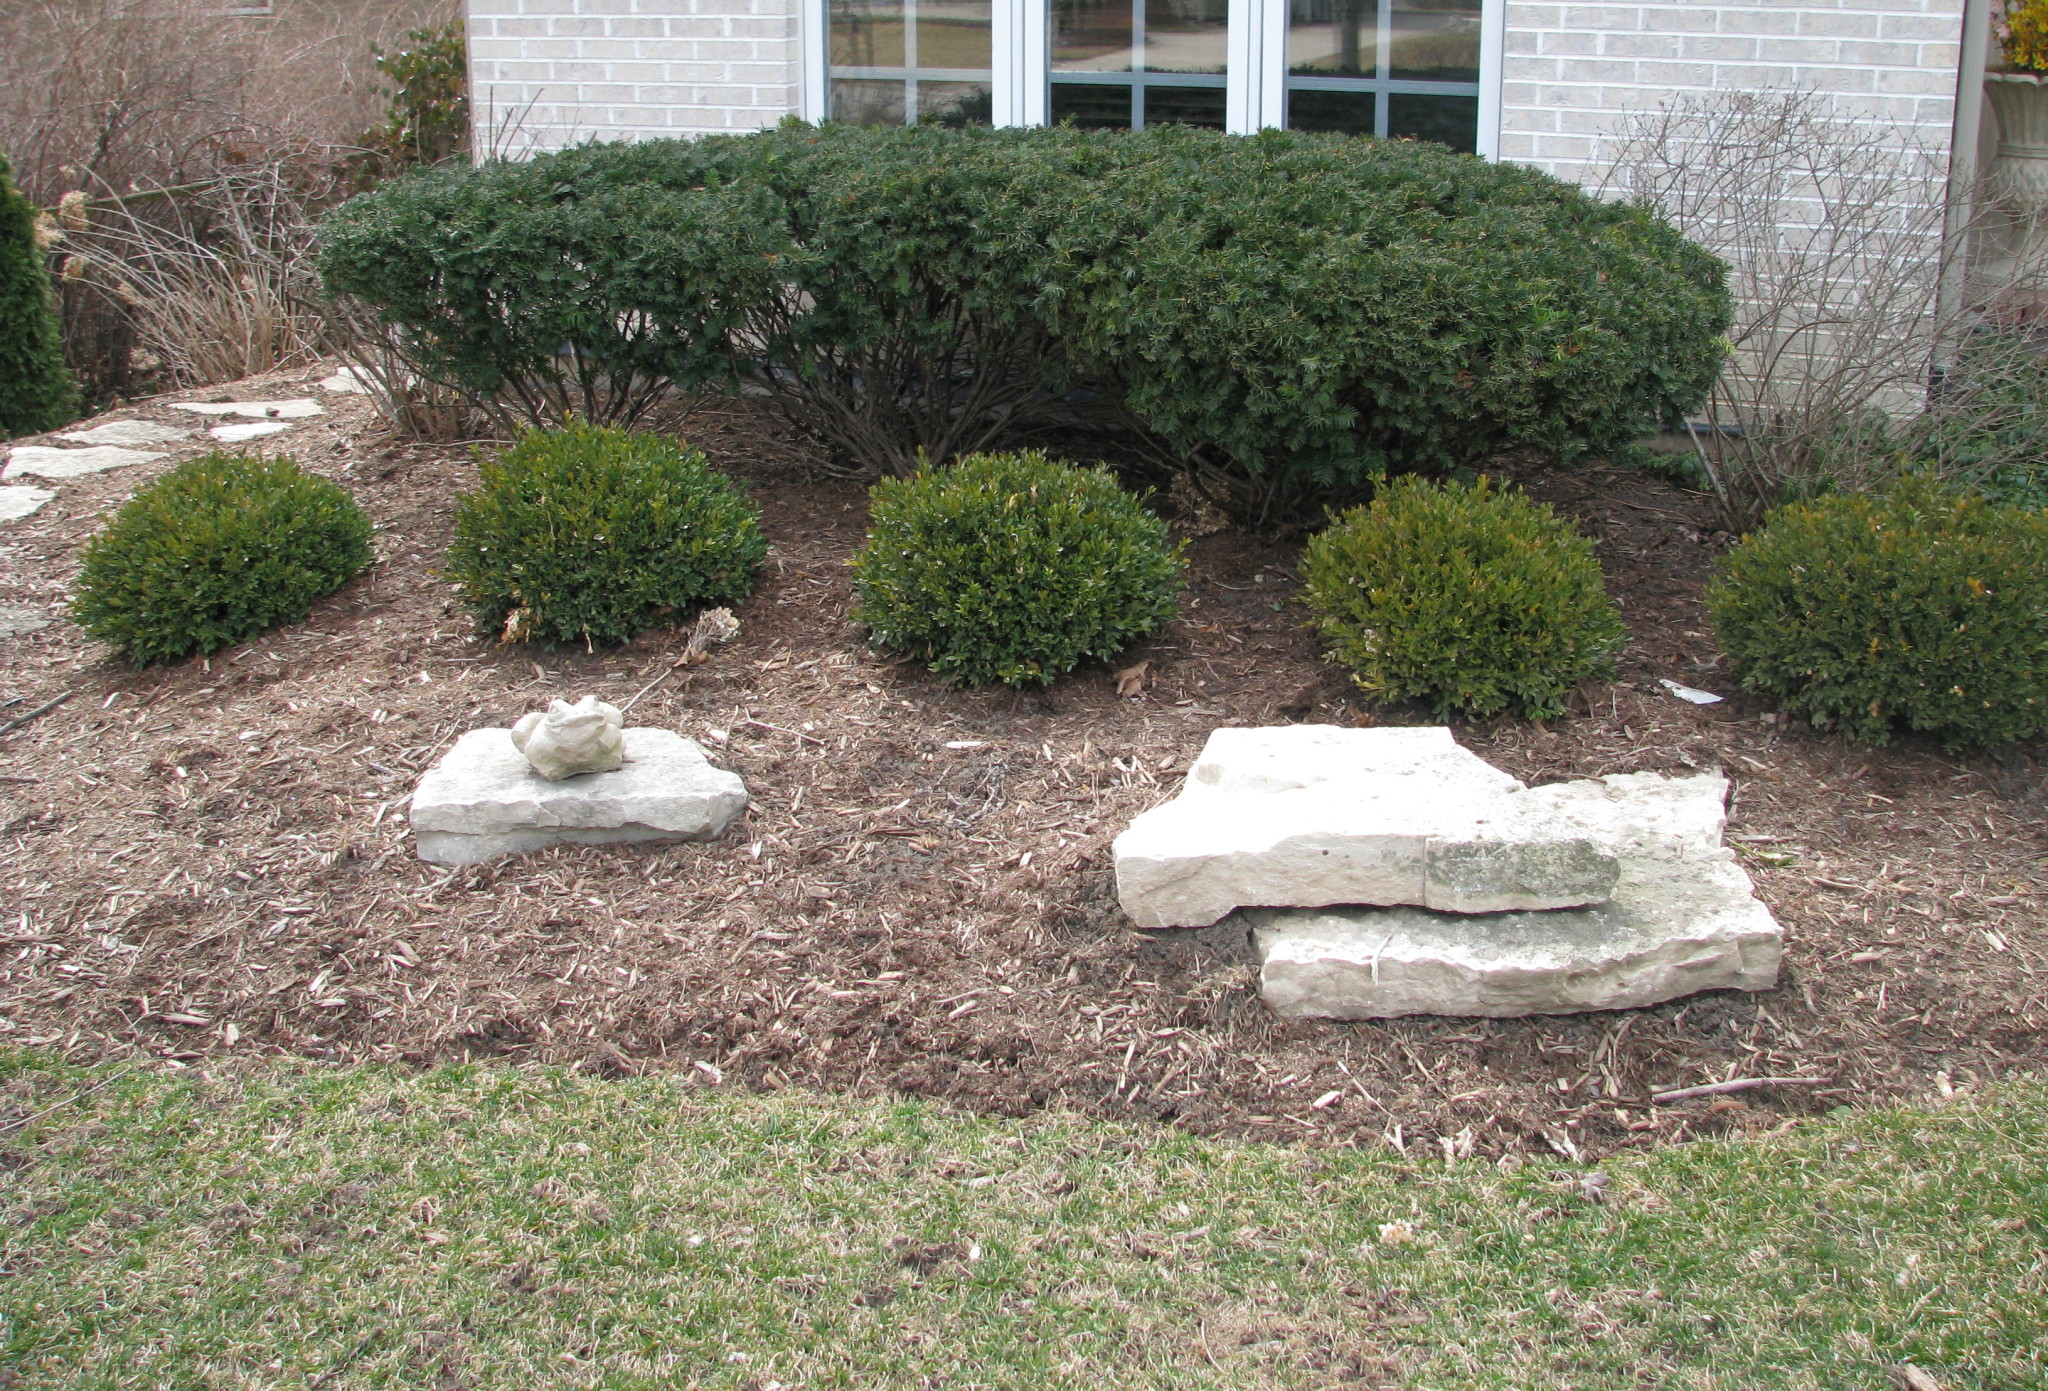
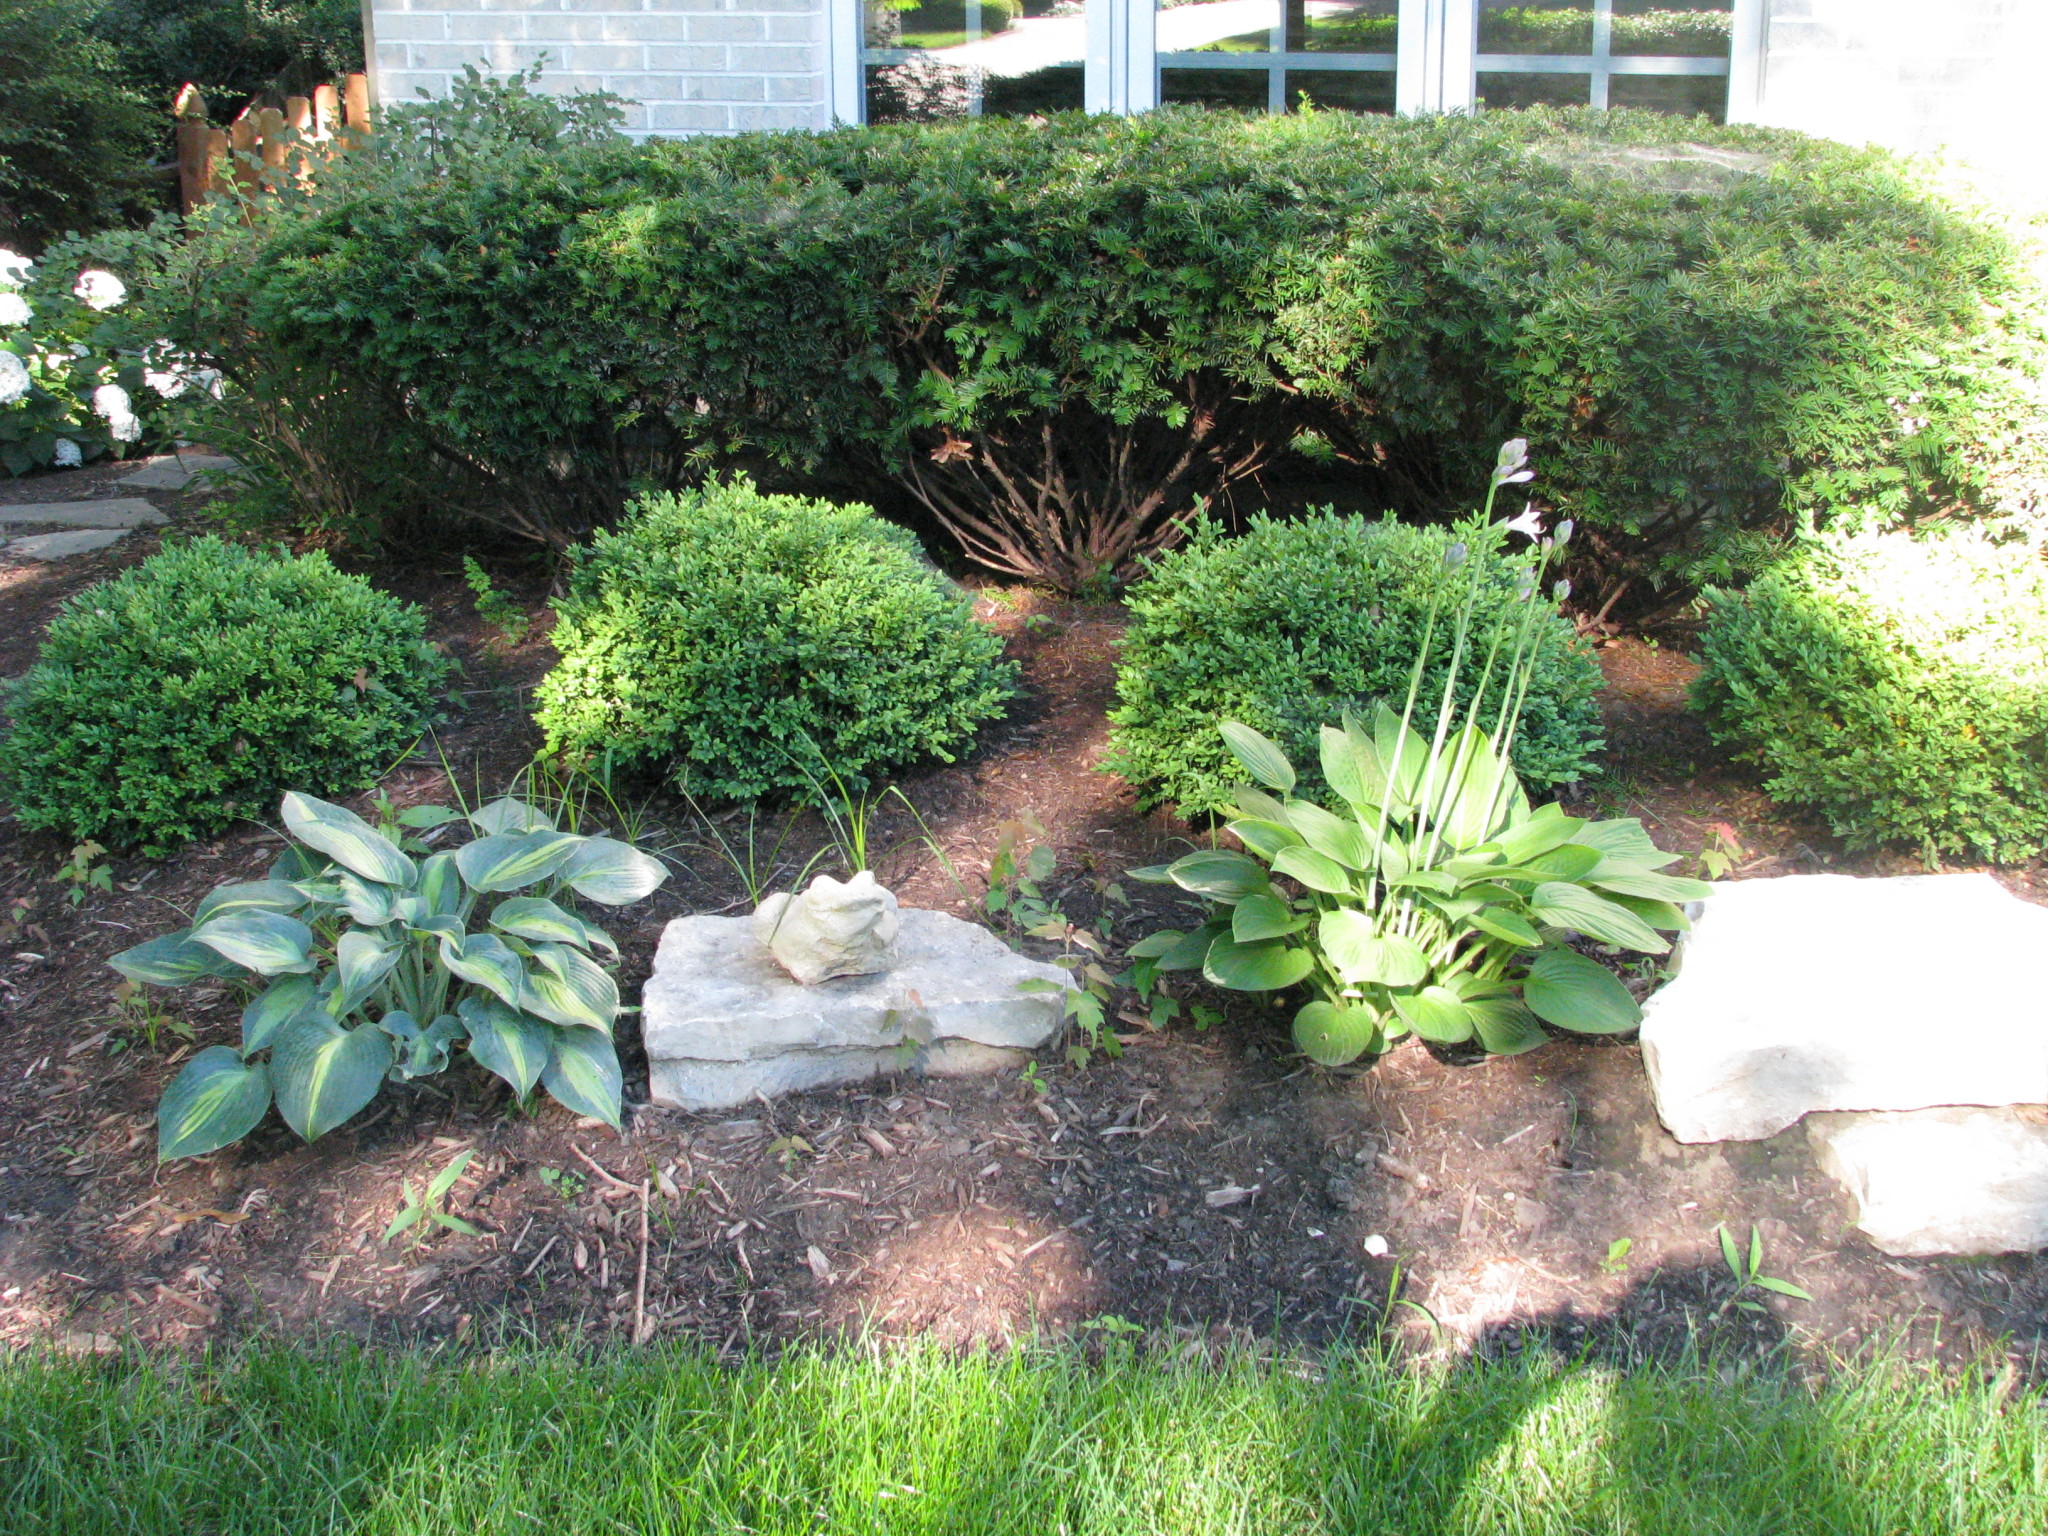

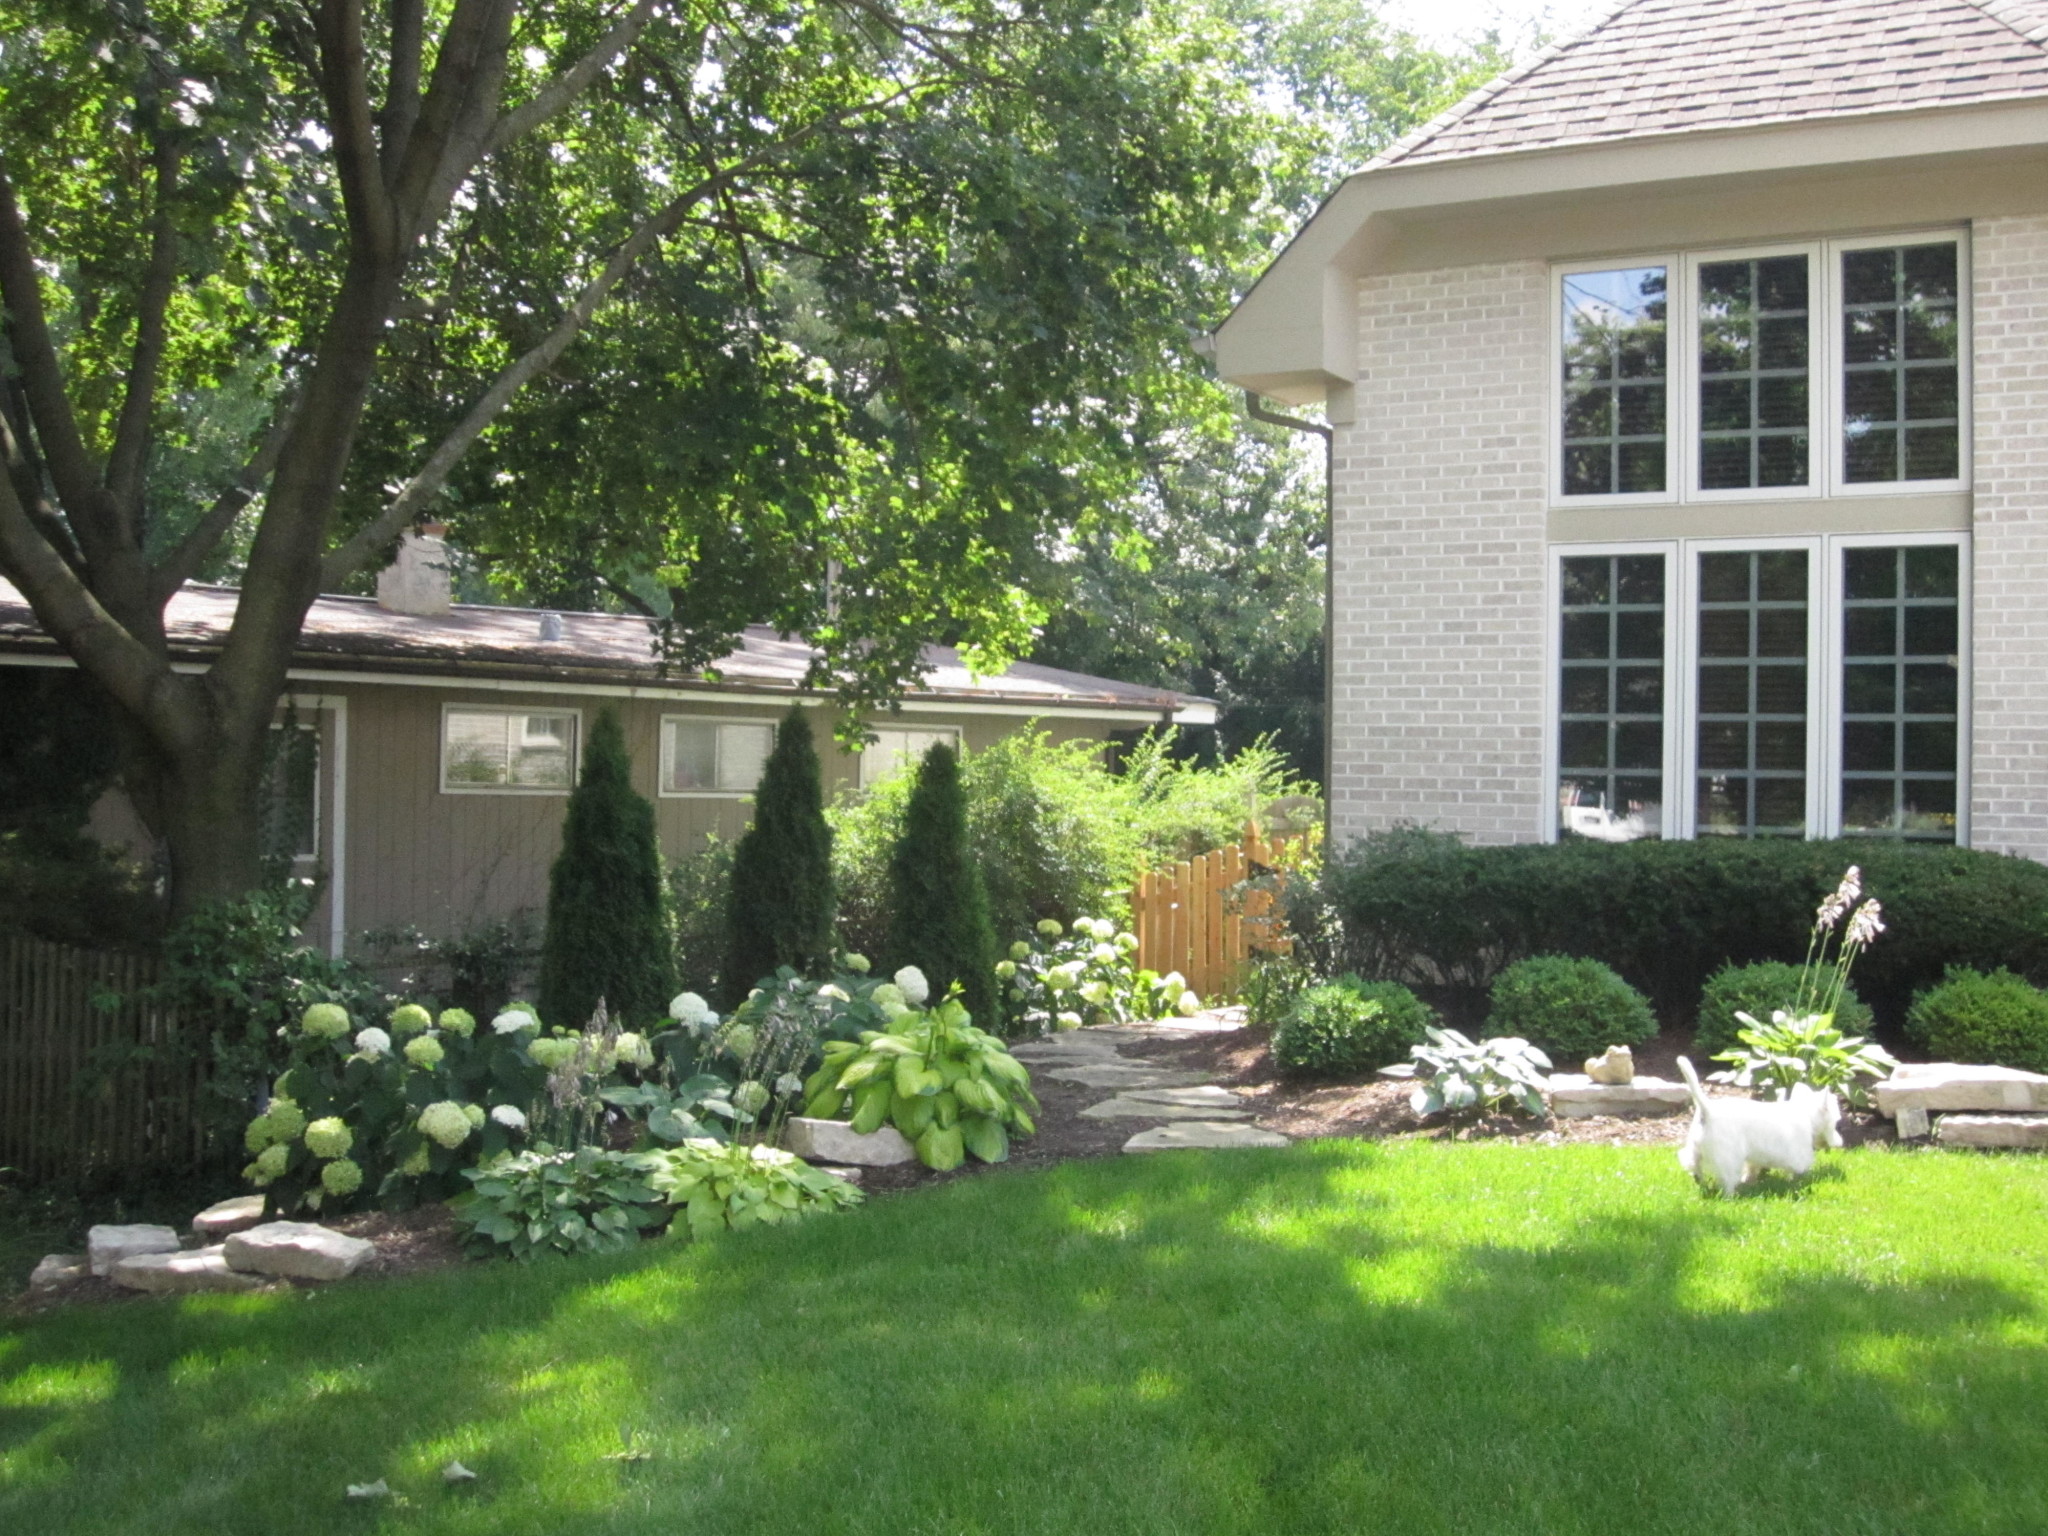
We think this was a great improvement to the front yard. The only problem we had was that everything was planted/transplanted right before the drought hit last summer. I did a lot of watering to keep all the plants alive and they all survived the drought and the winter.
MI Garden Photos
Here’s some beautiful photos from my mom’s garden in northern Michigan.

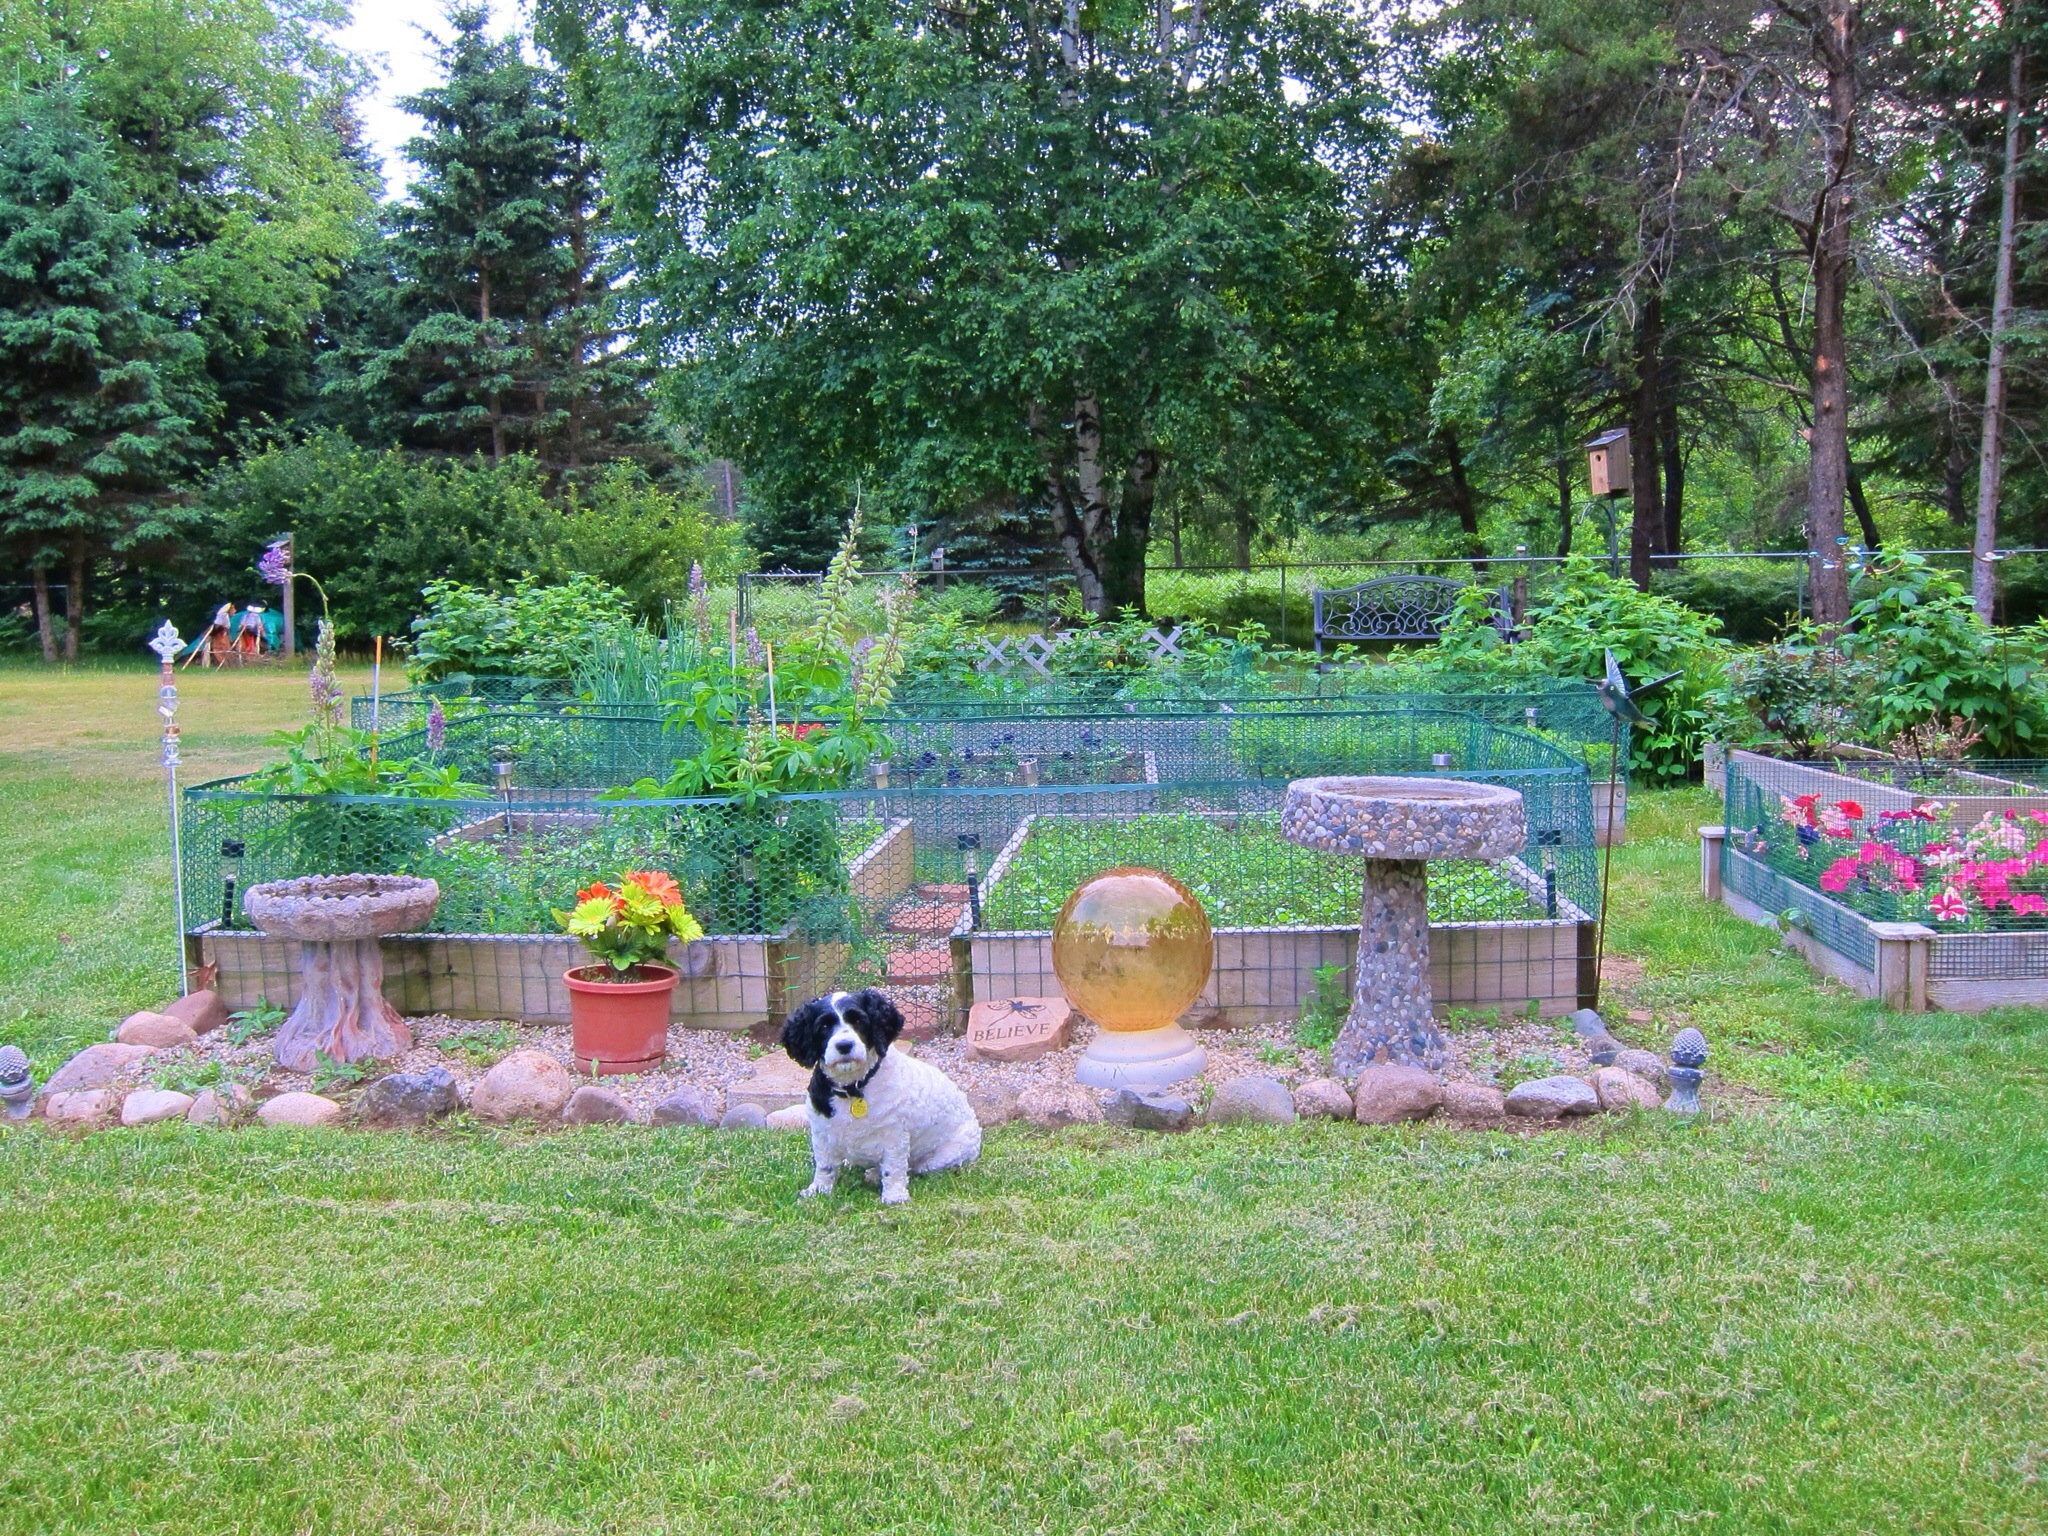
Photos taken by Peggy
Really??
A couple of weeks ago as I pulled in the driveway, I noticed a dead patch in the parkway grass.
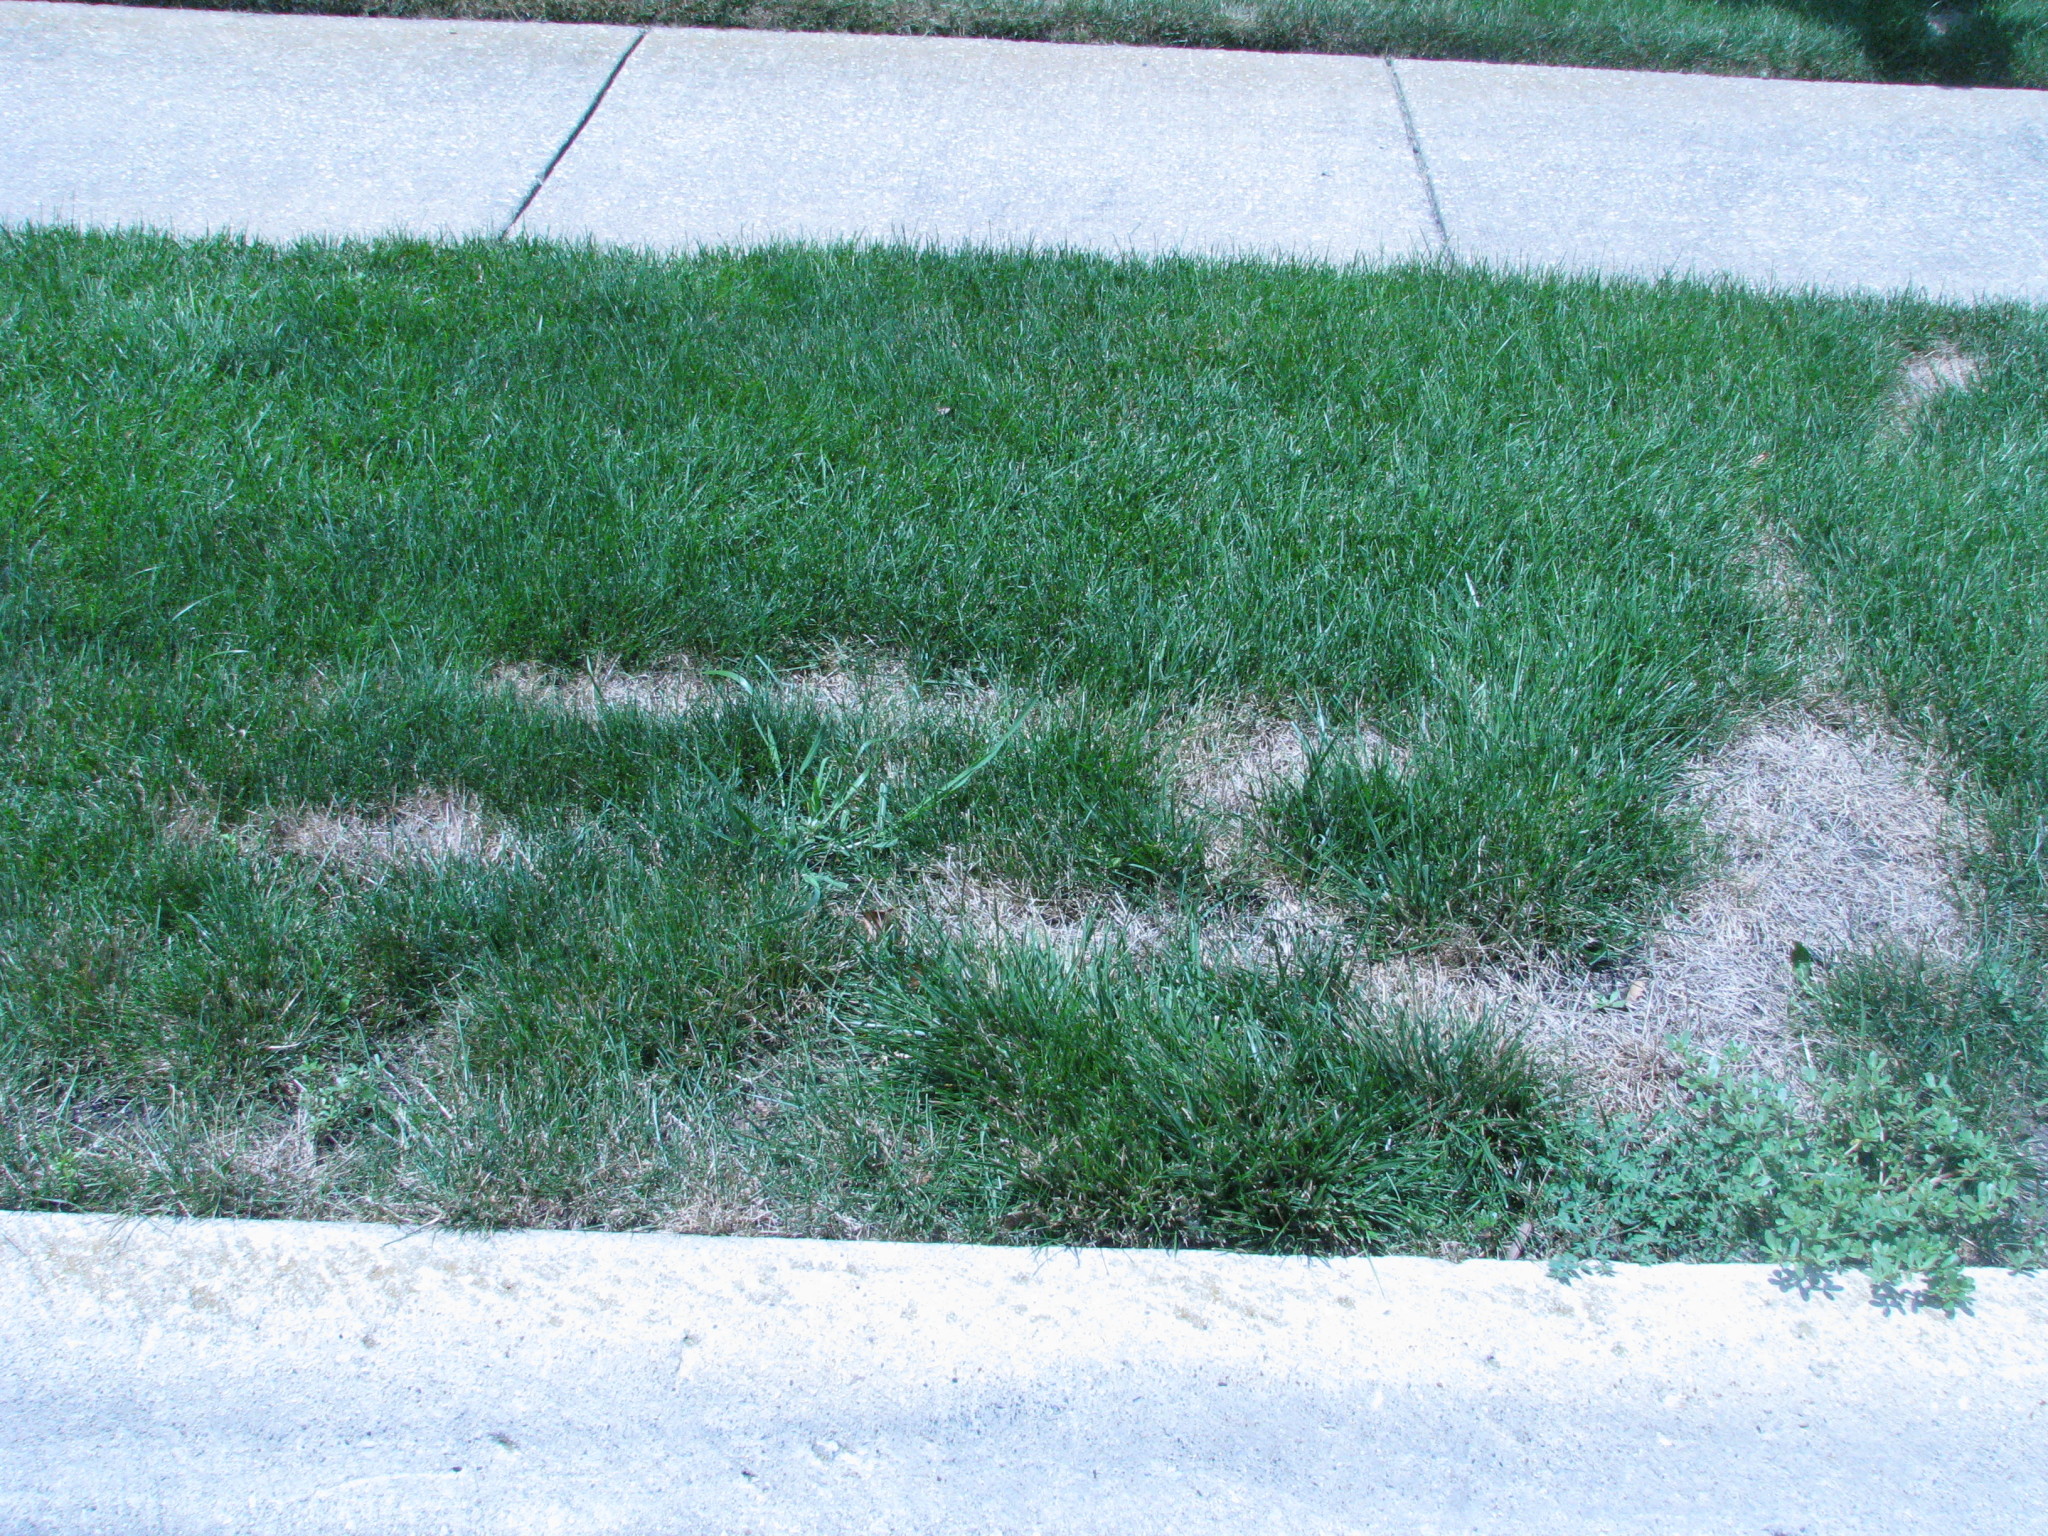
We’ve had problems in this area before because it’s a really sunny hot spot and I don’t run the in-ground sprinkler that often, so I assumed it was more of the same. But, I finally went up there and was looking more closely and I could see dead grass footprints walking away from the dead area, going up between us and our neighbors, towards the side of the house.

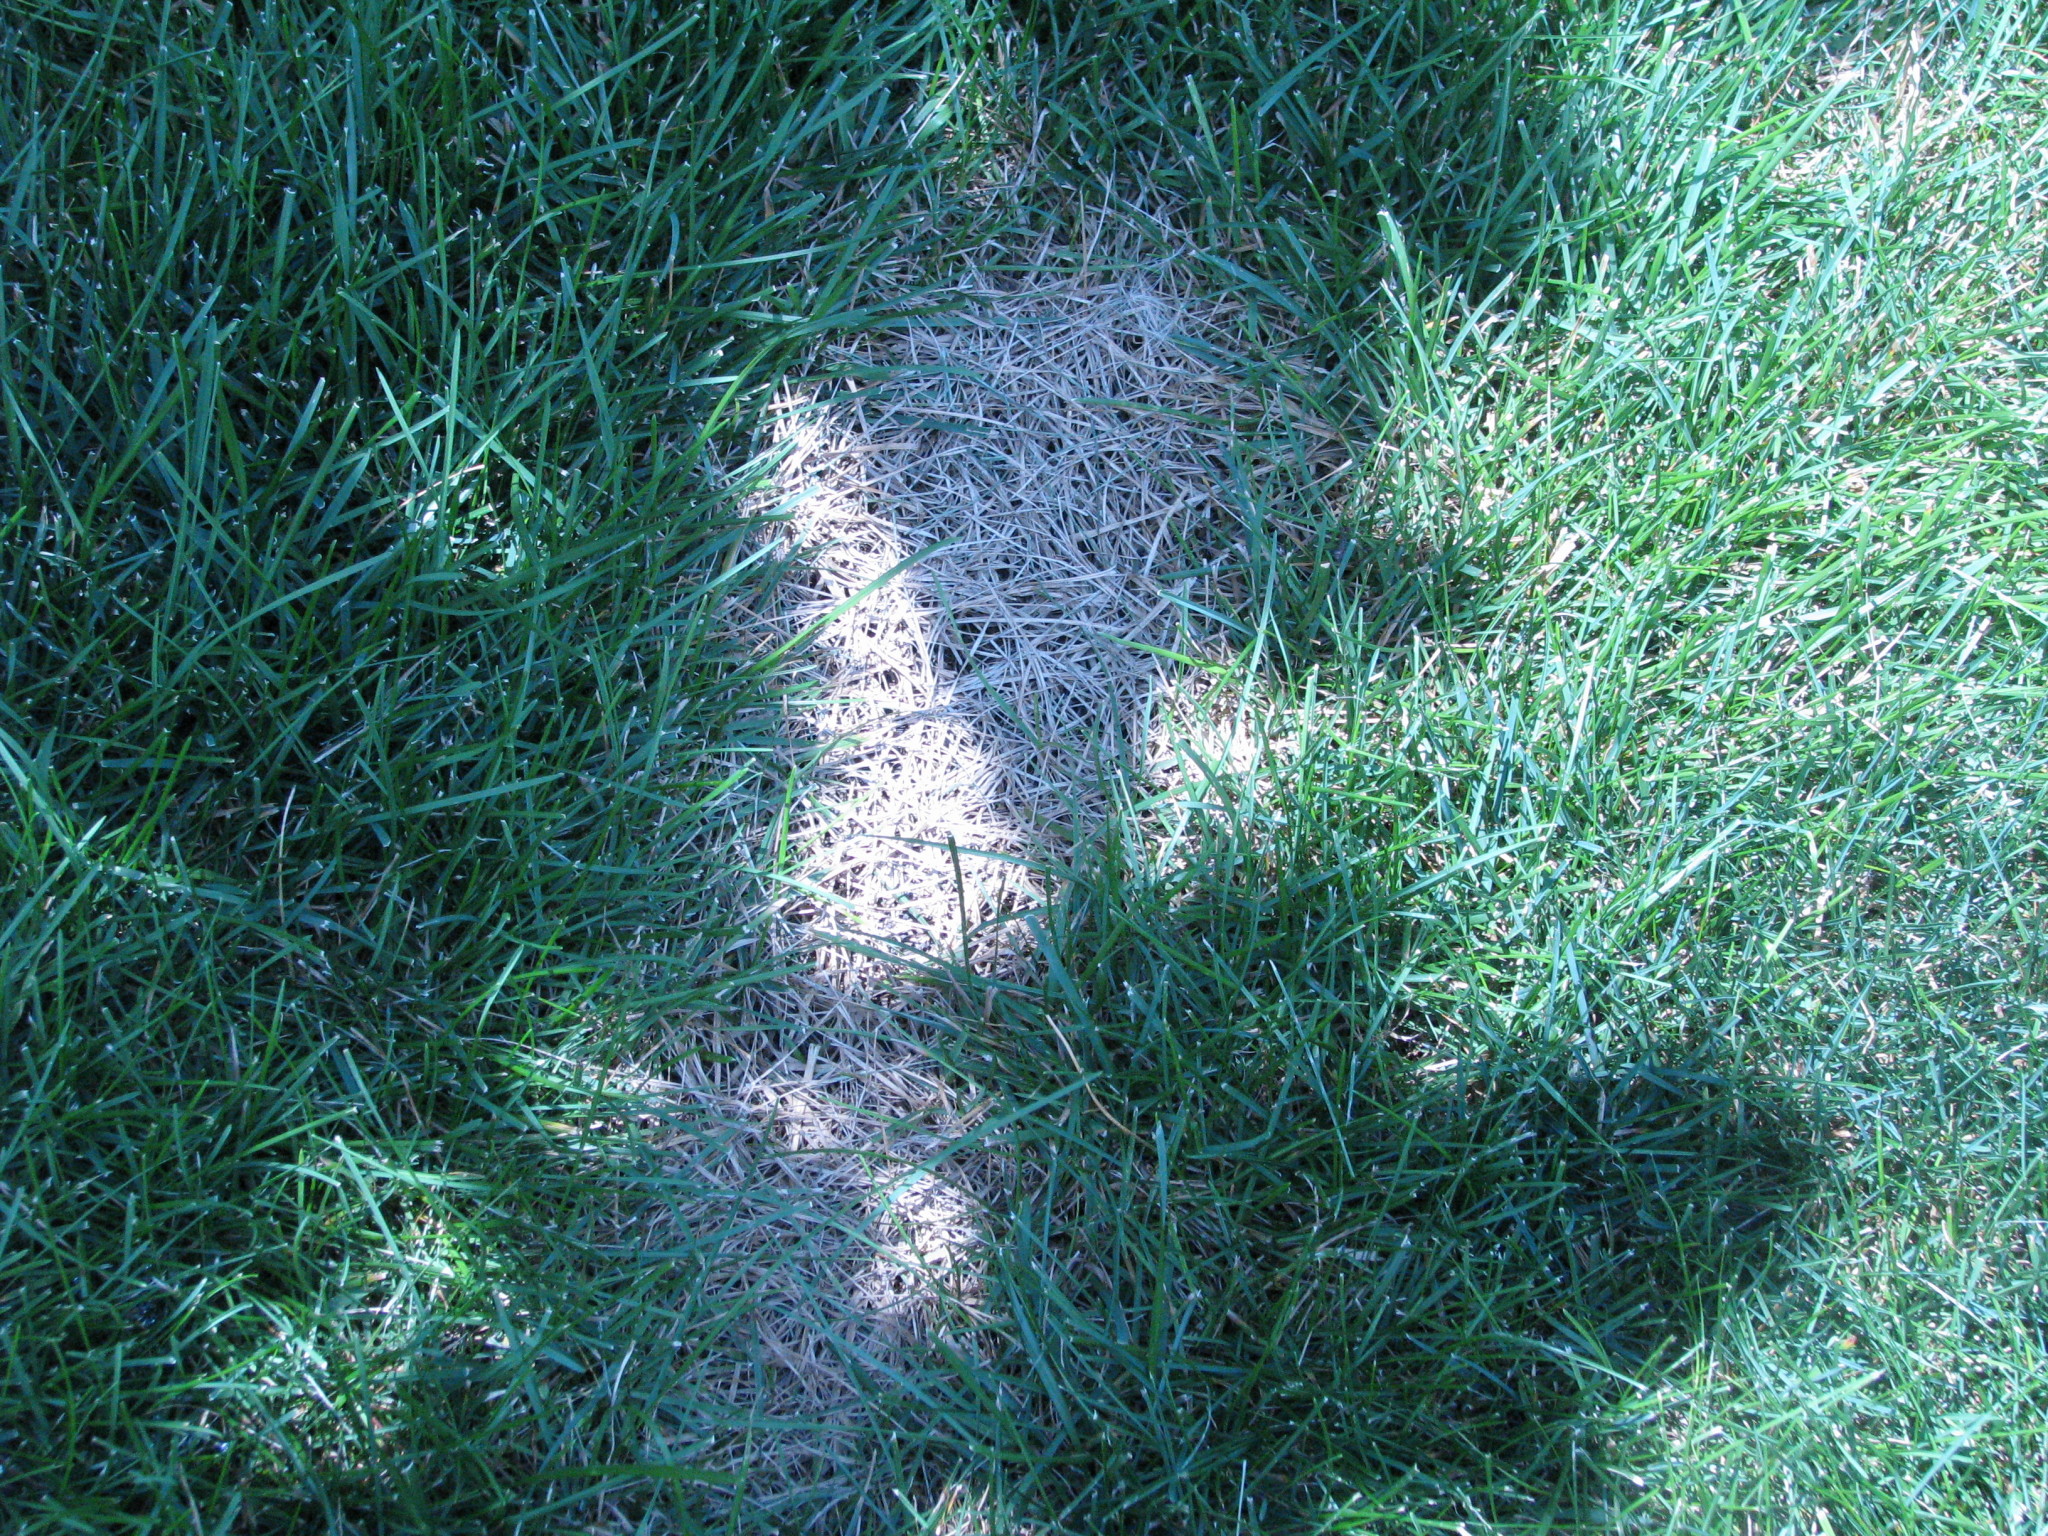
So what happened? I’m not sure, but my guess is that fertilizer, some type of weeder concentrate or even possibly round-up, was spilled and the landscaping worker stepped in it and it stuck to his boots. It must have been pretty strong because obvious footprints probably go for about 30 ft. I really would have hoped that if such a spill happened that they would have taken more care to clean it up, and certainly not traipse it all over the yard. Looks like I’ll be reseeding some more in the fall.
Japanese beetle update–
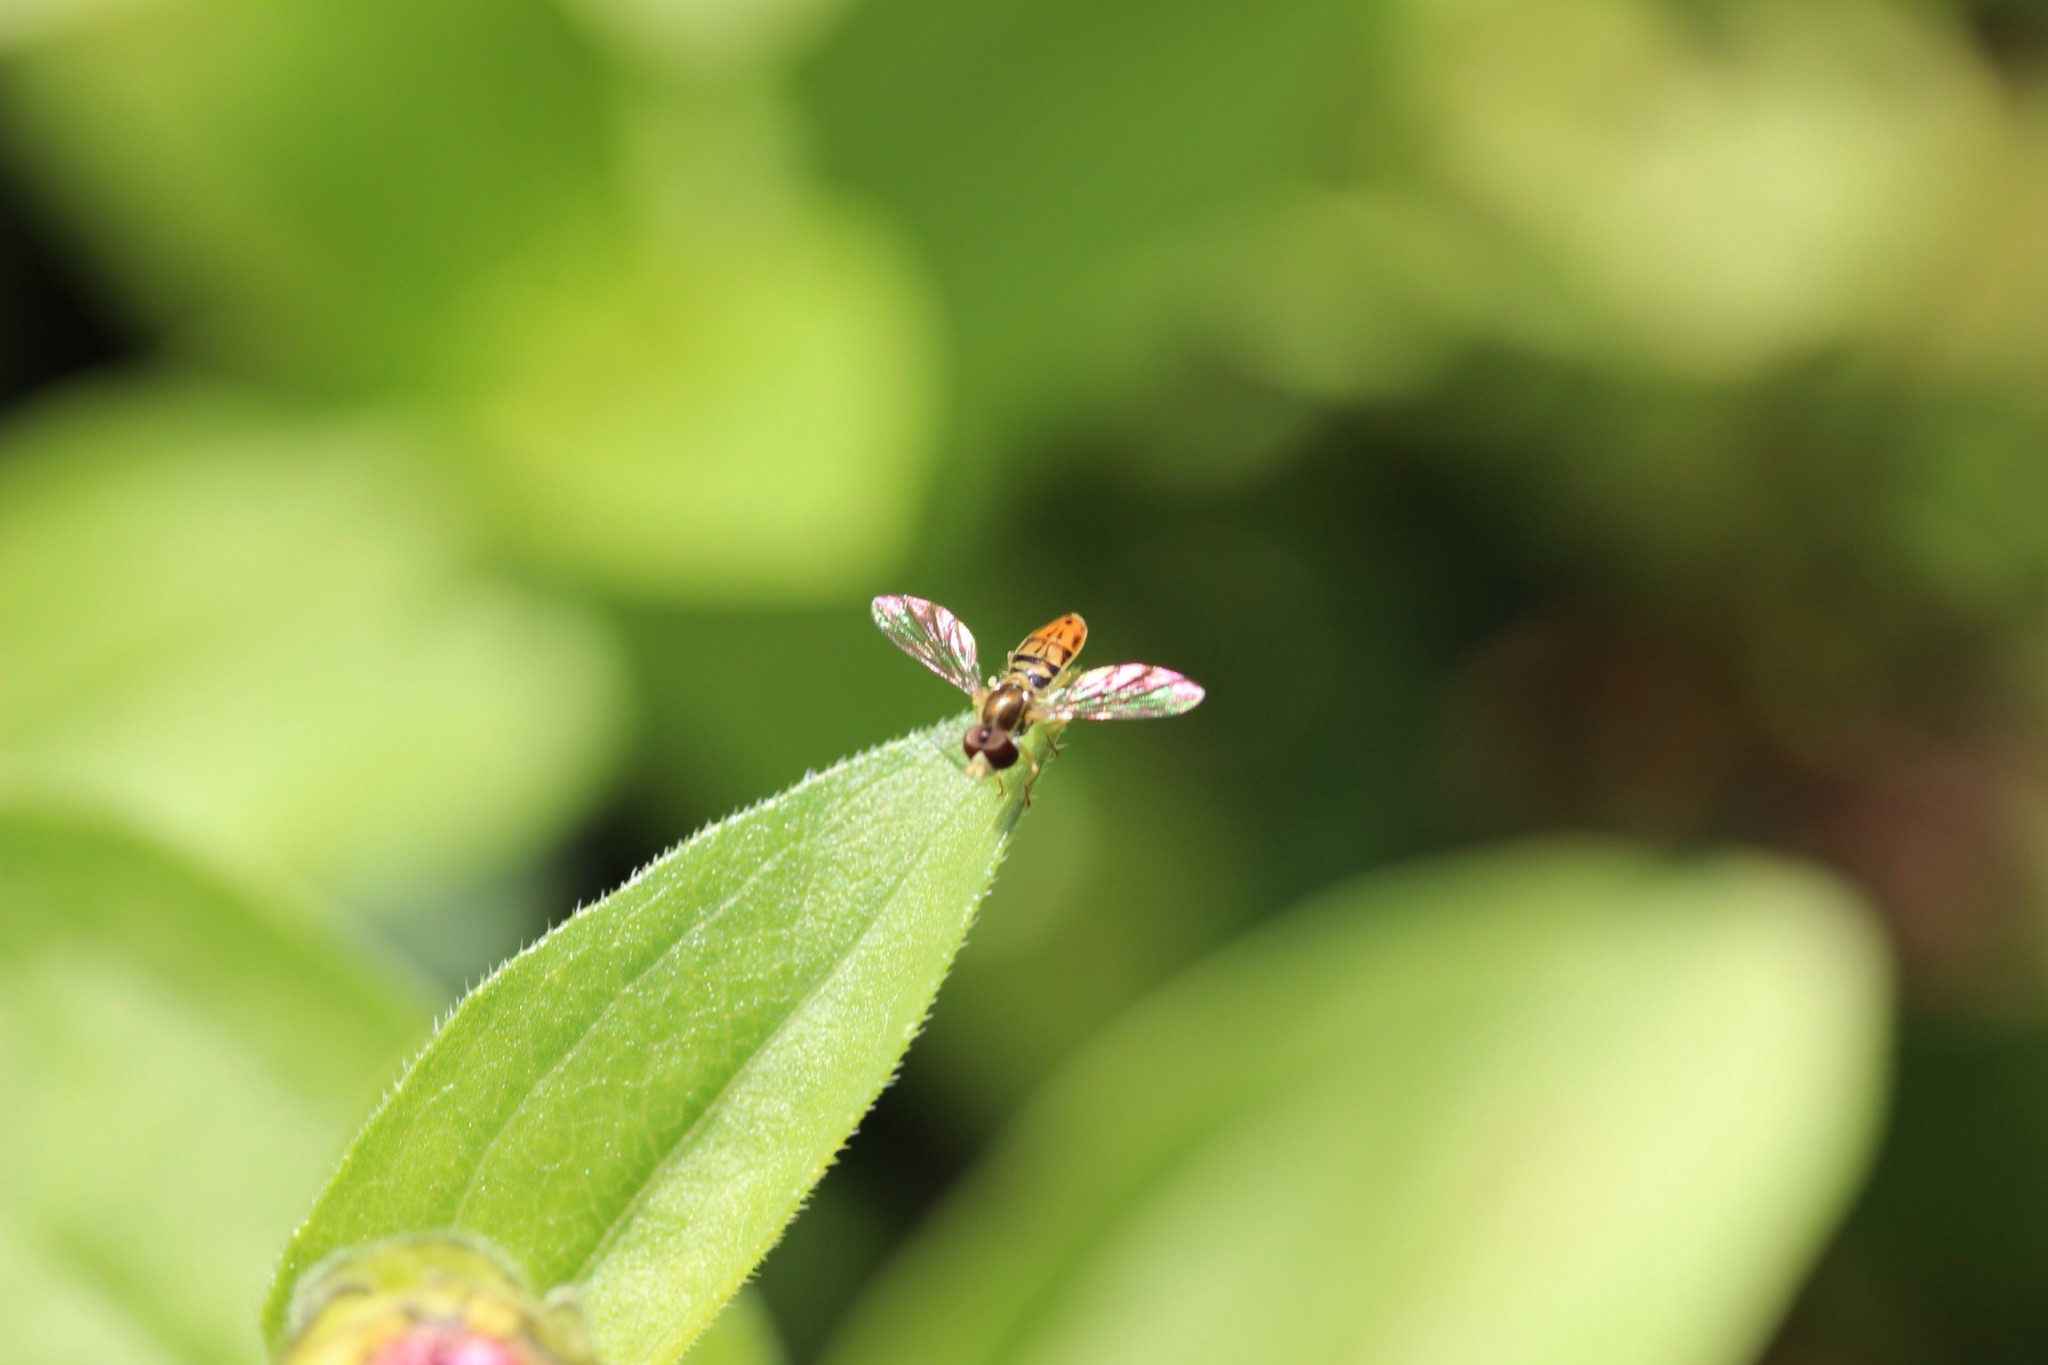
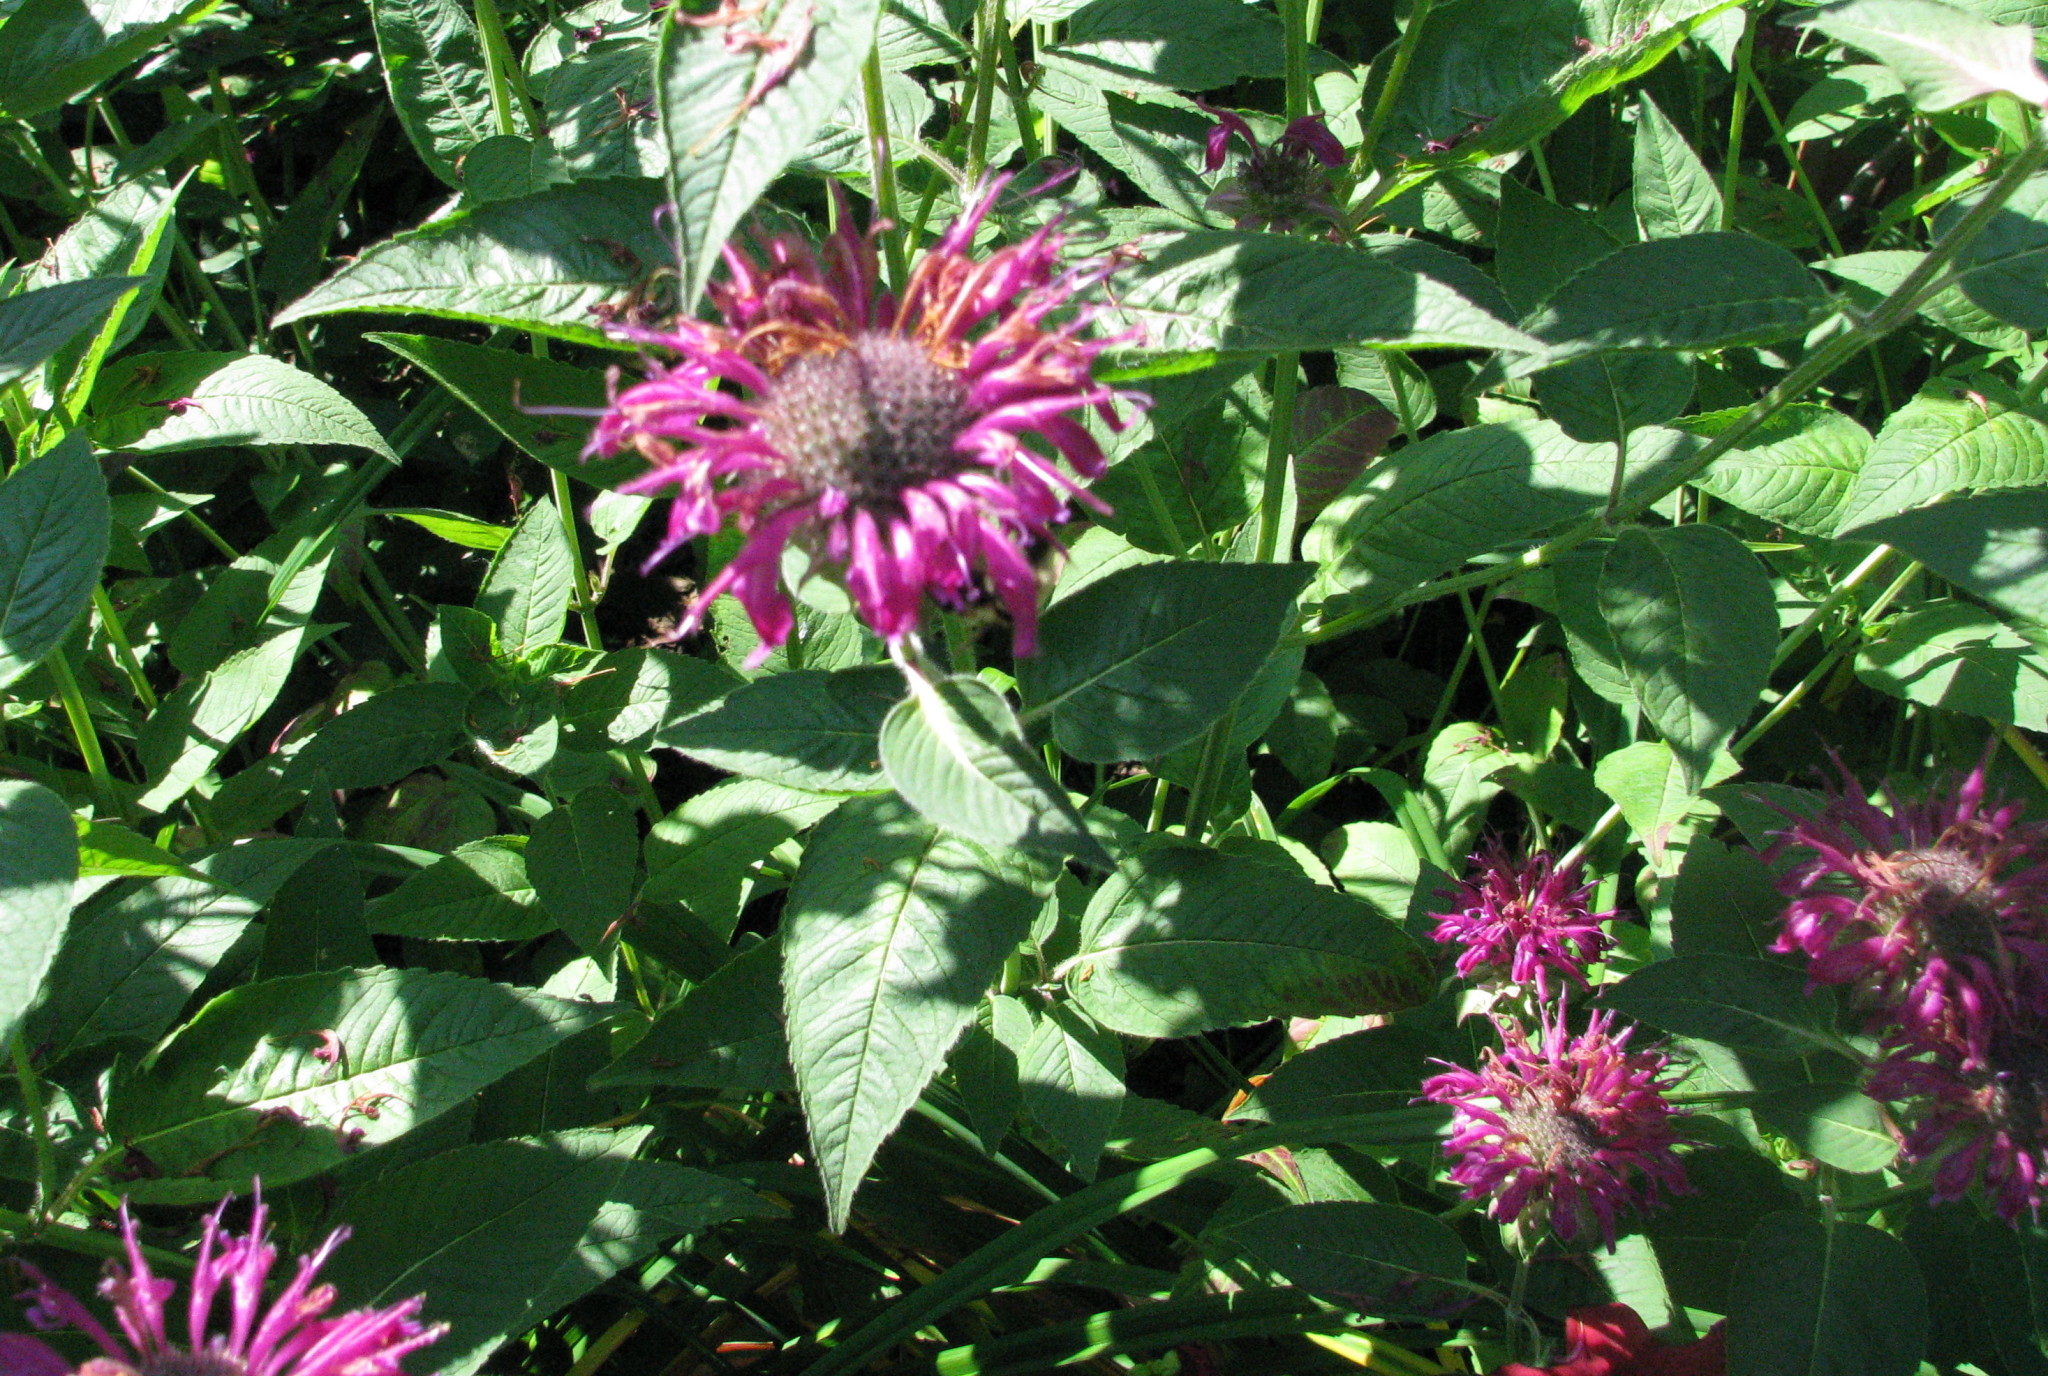
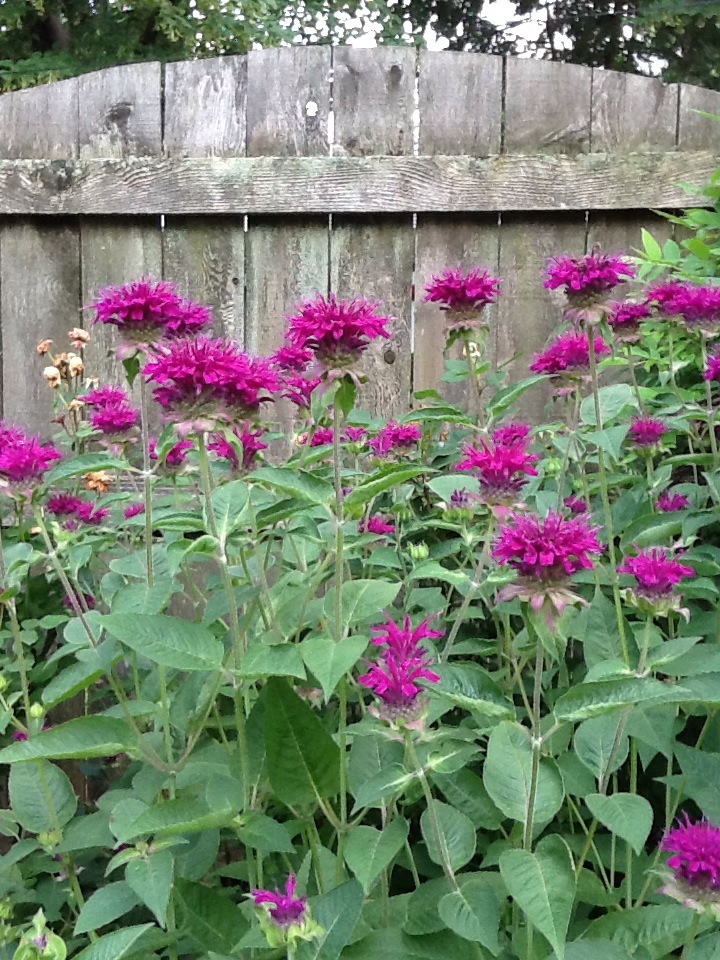
I went and checked on my roses and there are many fewer Japanese Beetles on the roses, and the ones I saw seemed to be chewing on fresh rose buds. I sprayed a little bit more on the new growth areas so hopefully there’ll be some new blooms soon. I also saw that the Bee Balm was still nicely covered in all kinds of honey bees.
Japanese Beetles
If you have rose bushes, you probably have Japanese Beetles. Mine arrived after my Knock-Out Roses roses finished their first bloom and are really making a mess of the plants. Most years I just let it go, but these are new, 3rd year plants and are finally looking great so I’d like them to stay healthy for next year’s show.
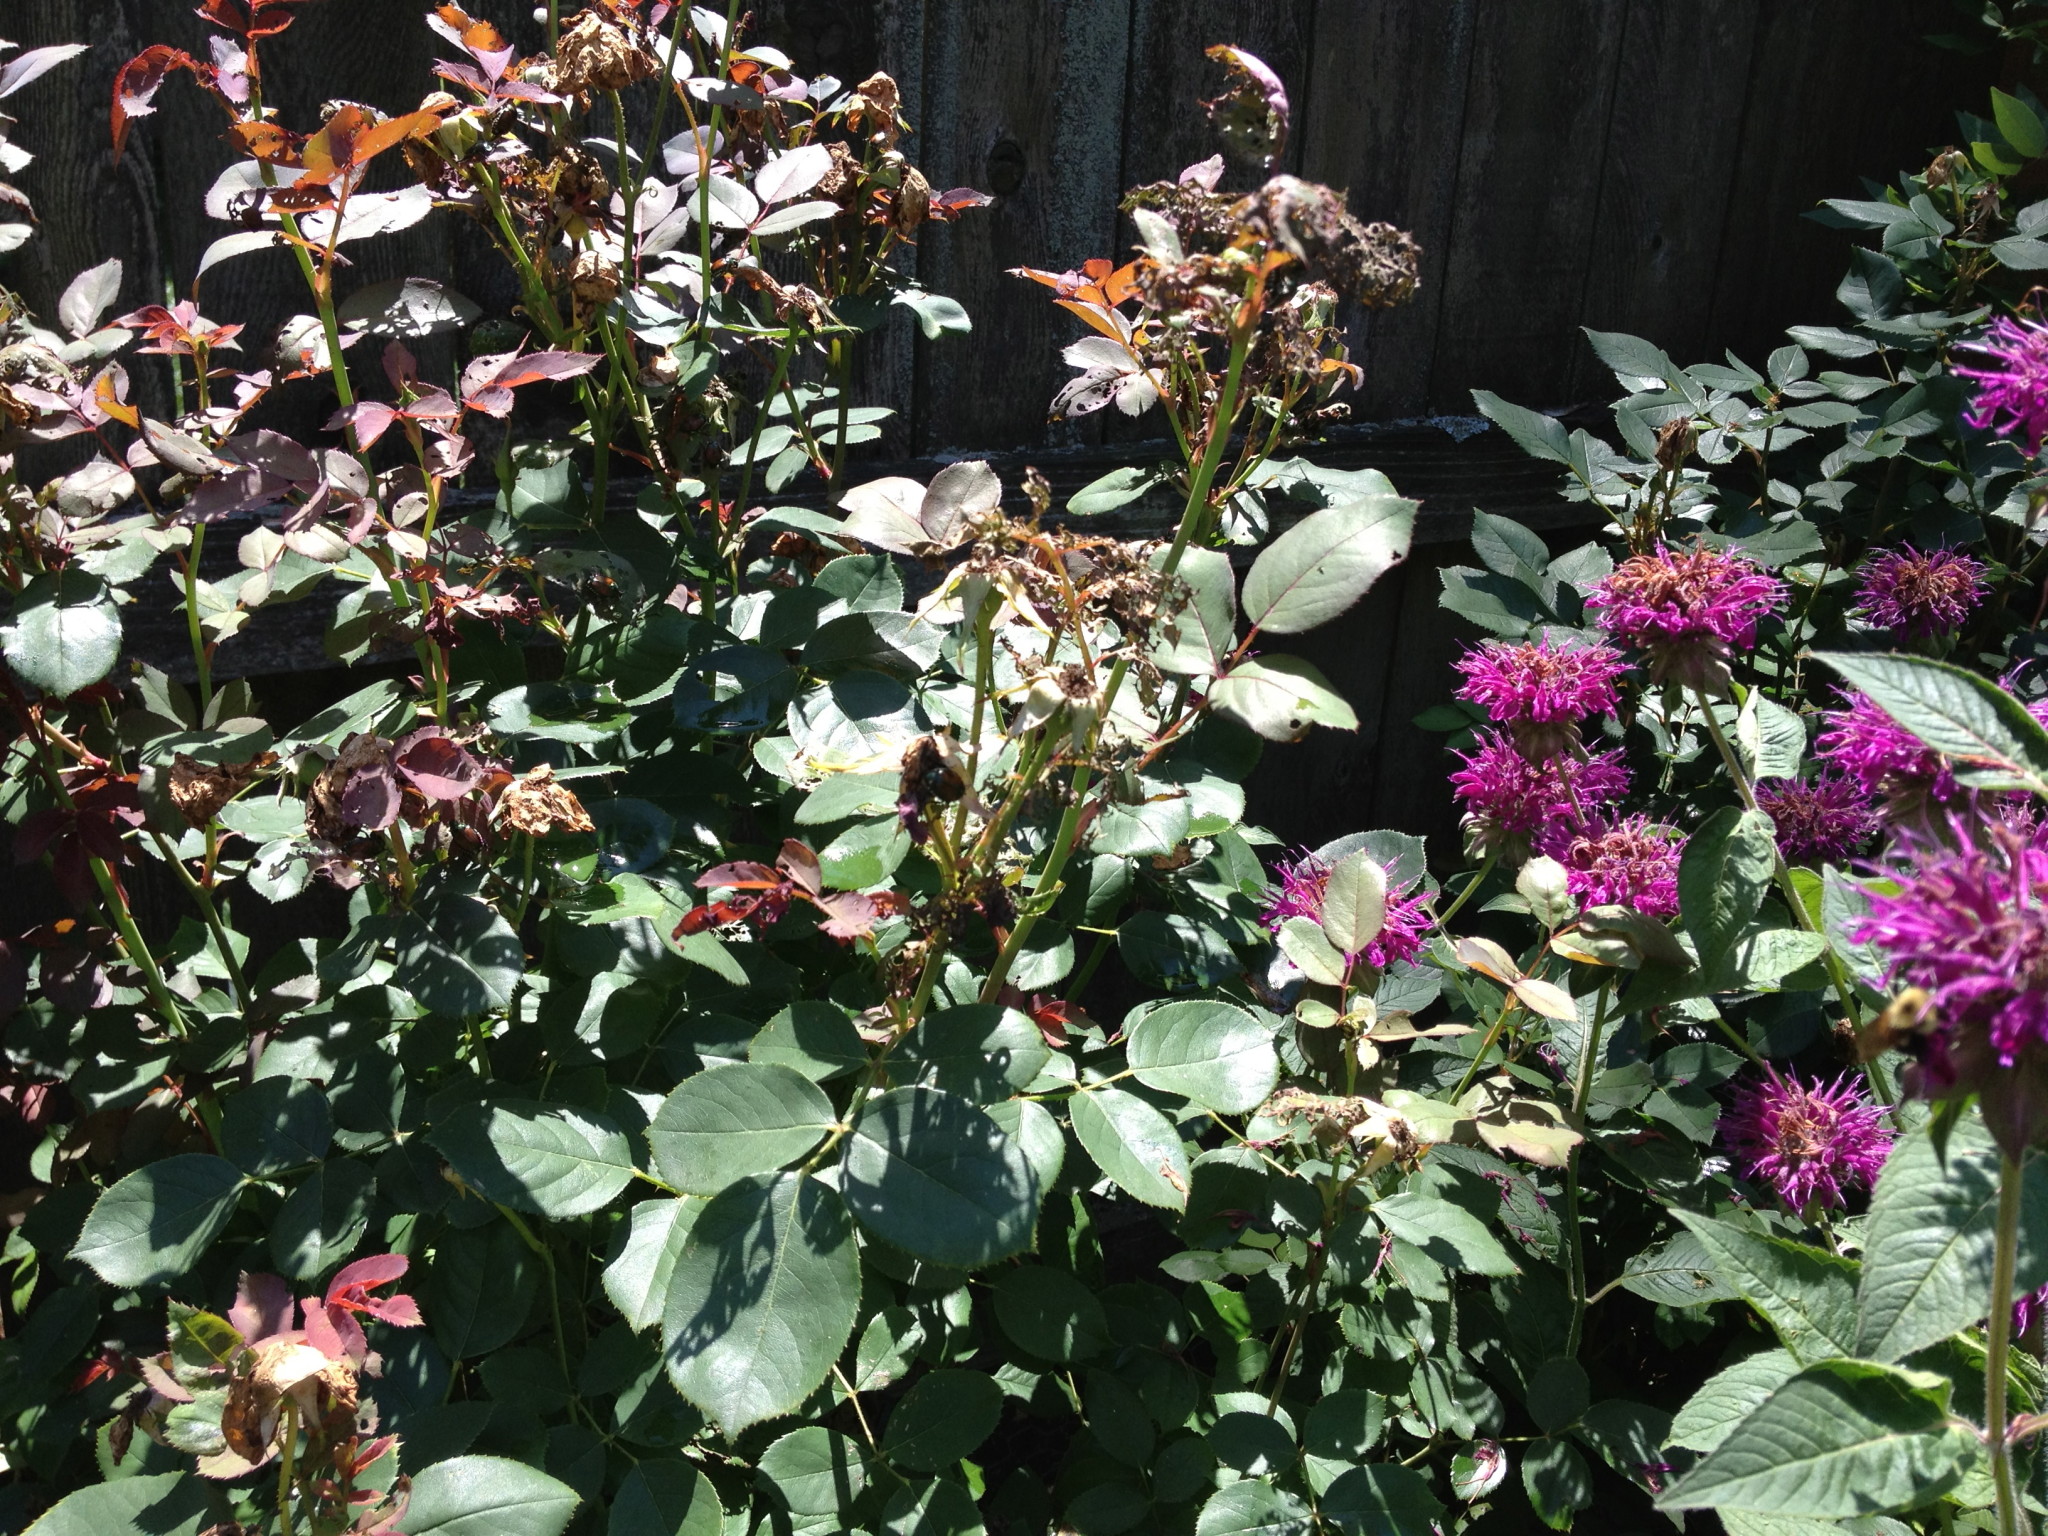

There are a lot of choices for dealing with Japanese Beetles and I am going to try a product that contains Neem Oil. Traps seem to be only good for attracting even more Japanese Beetles to your yard and many other insecticides can be harmful to good bugs like bees and ladybugs. This is especially important for where I am spraying, since the roses are right next to Bee Balm, which really does attract those big, beneficial bumblebees.
Neem oil affects only insects that chew and eat leaves, which beneficial bugs like bees and ladybugs don’t do. The active ingredients in the oil interferes with the insect’s hormonal balance leading to “confusion” and ultimately death. It should be sprayed every 7 or 14 days depending on the level of infestation. I’m planning on spraying on the every 7 day cycle to begin with, and I’ll follow up in a couple of weeks to see if I can go to every 14 days for the rest of the summer.
Word of warning–One rather unpleasant thing that happened to me was that when I started spraying, a whole bunch of Japanese Beetles came flying off the rose bushes and a few got tangled in my hair. Gross! I had no idea there were so many on the plant. I only saw a few, so I guess where there’s a few, there’s a lot! No wonder there was so much damage to the plants.
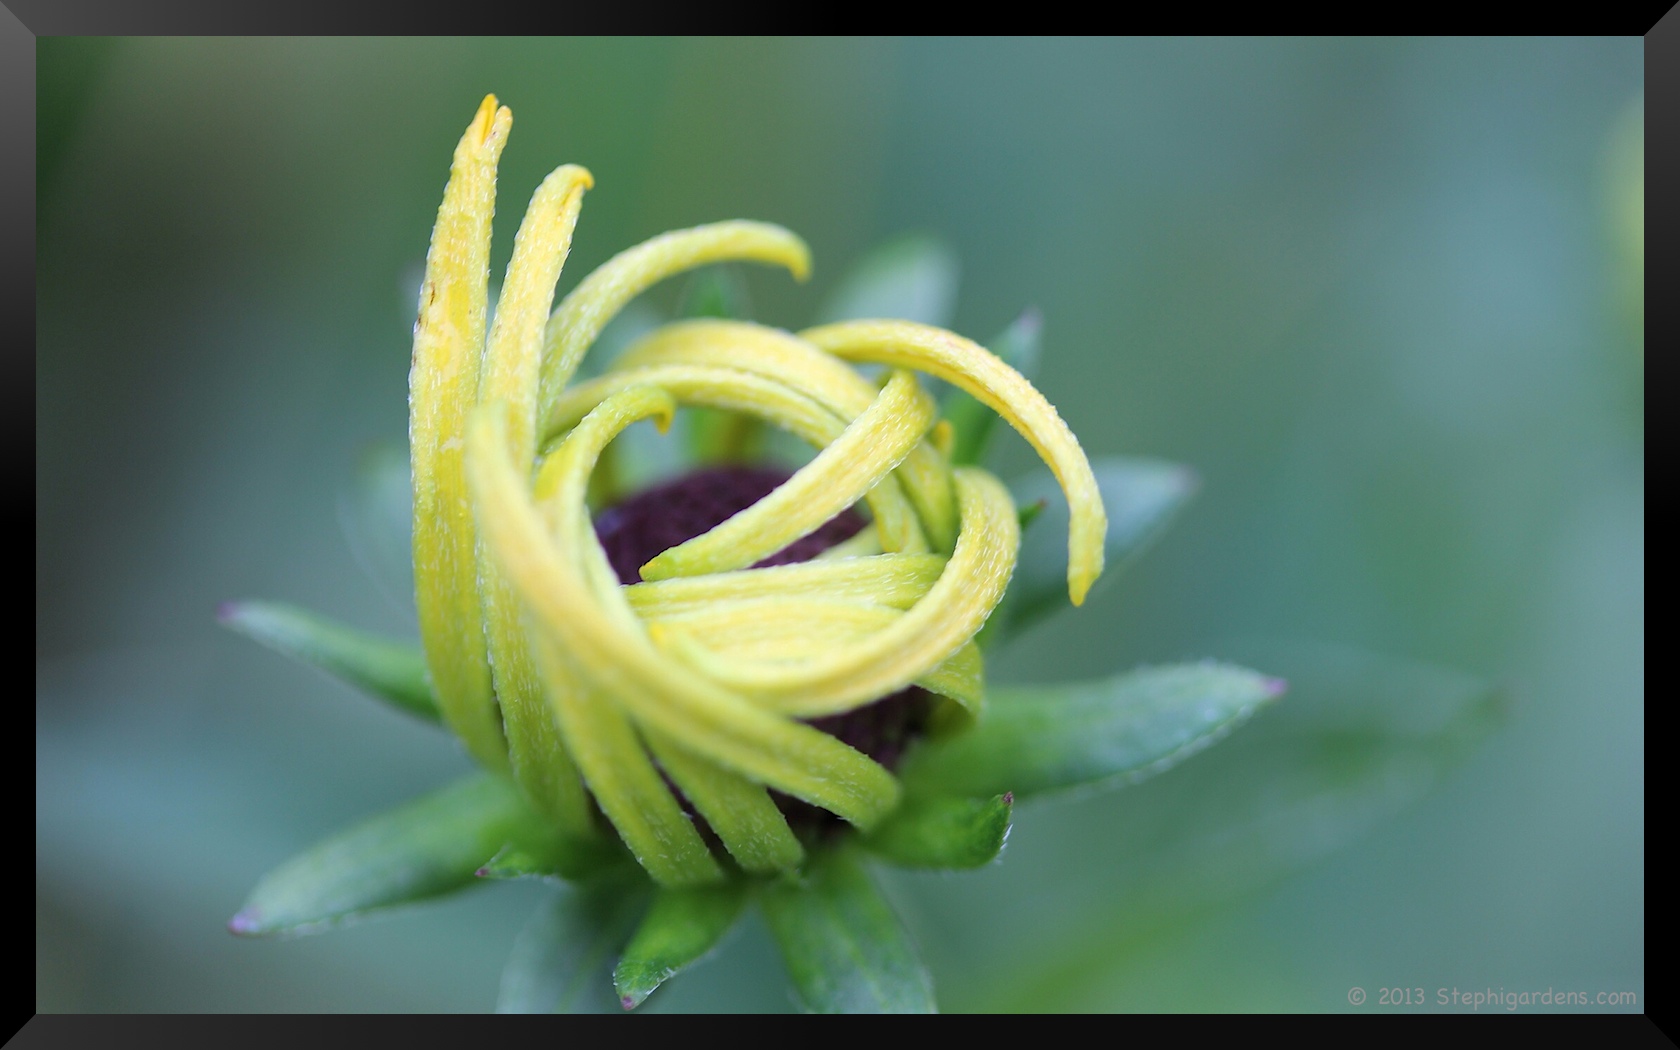
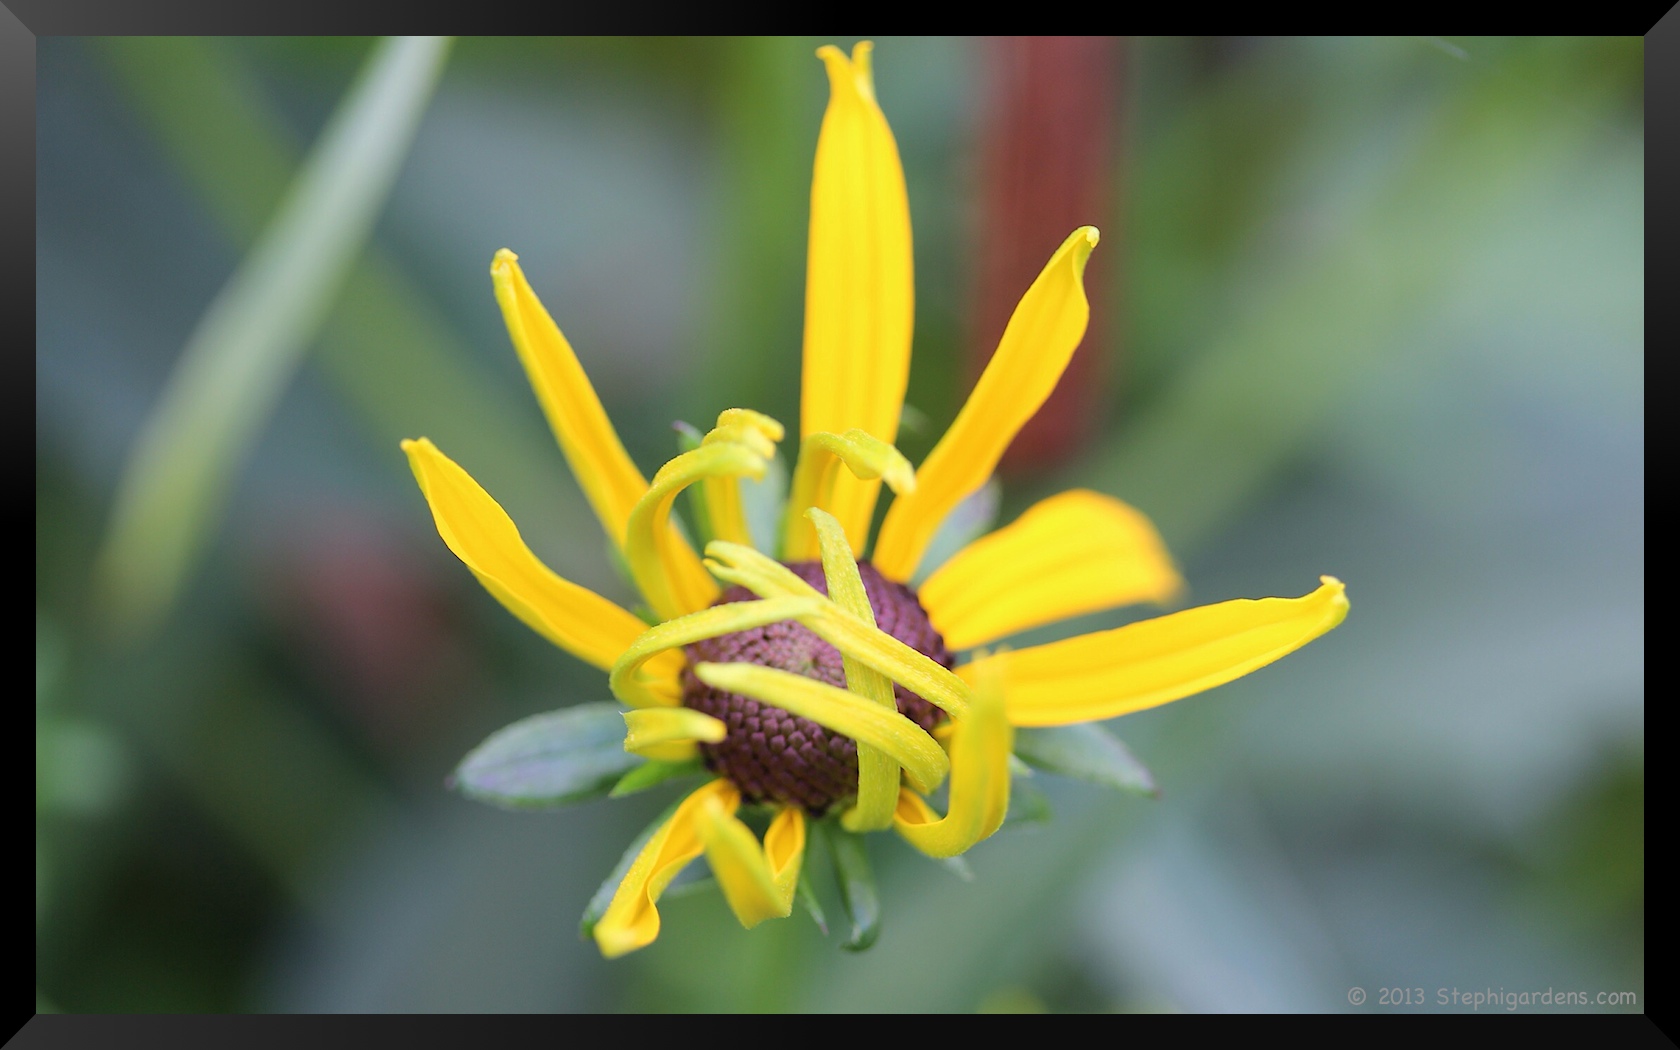
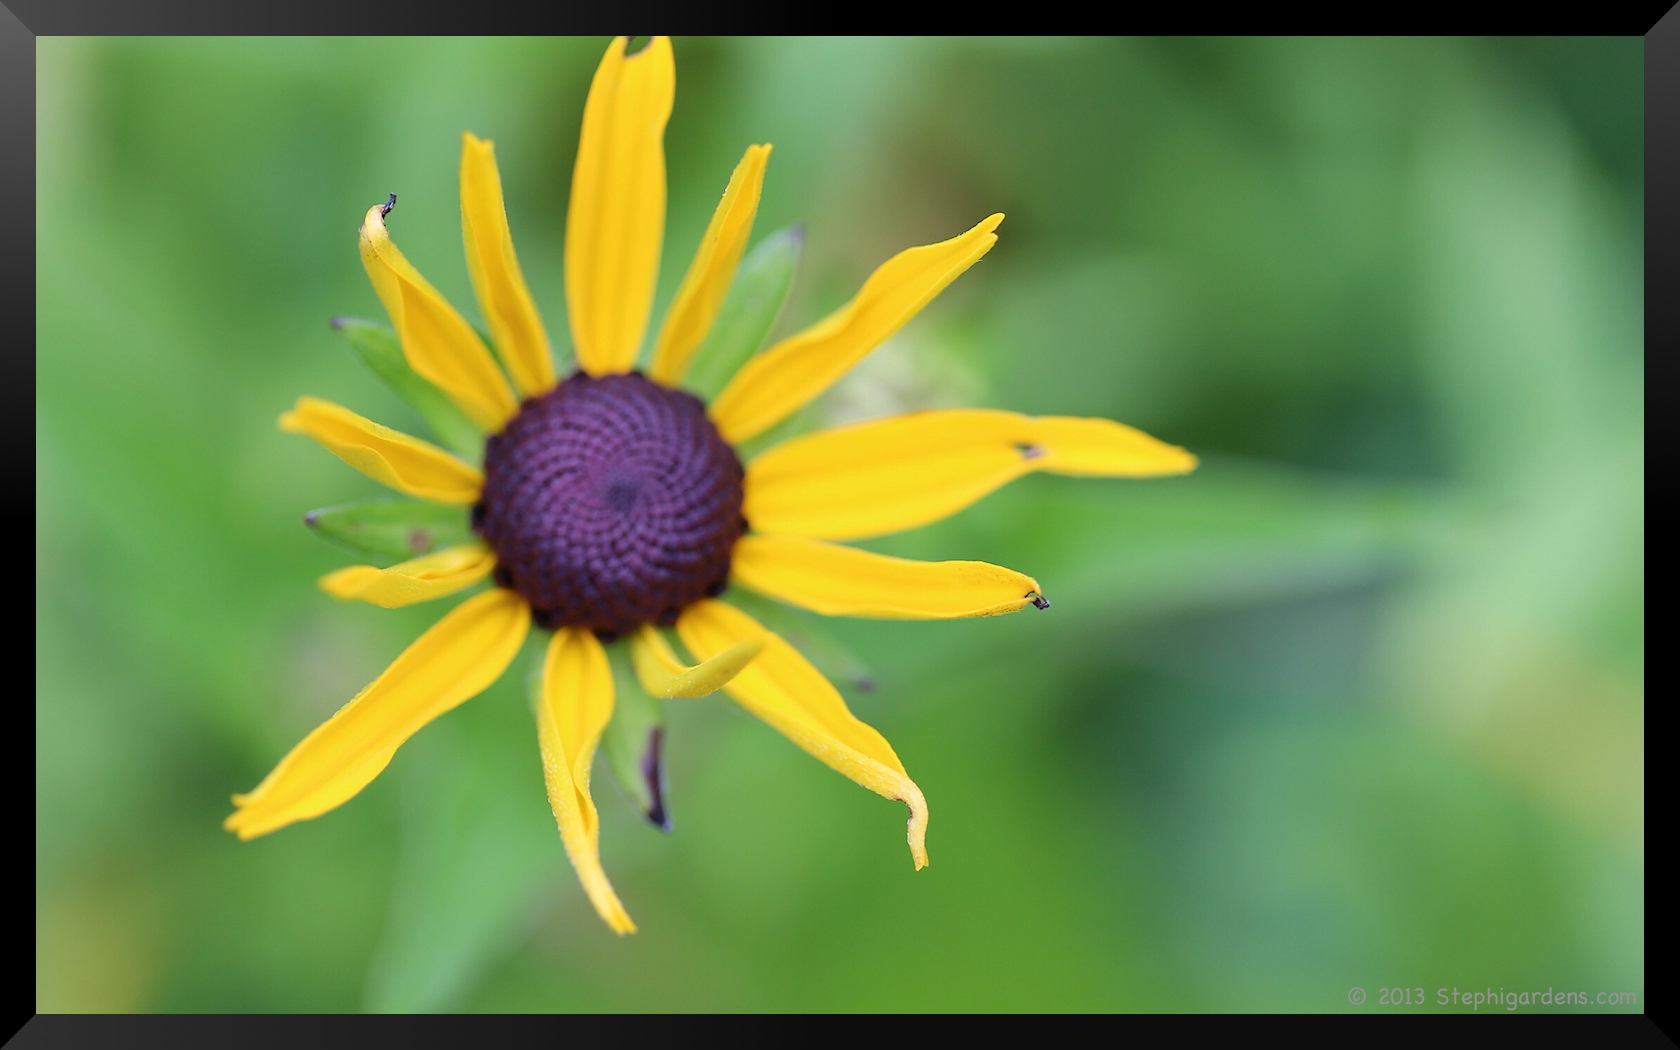
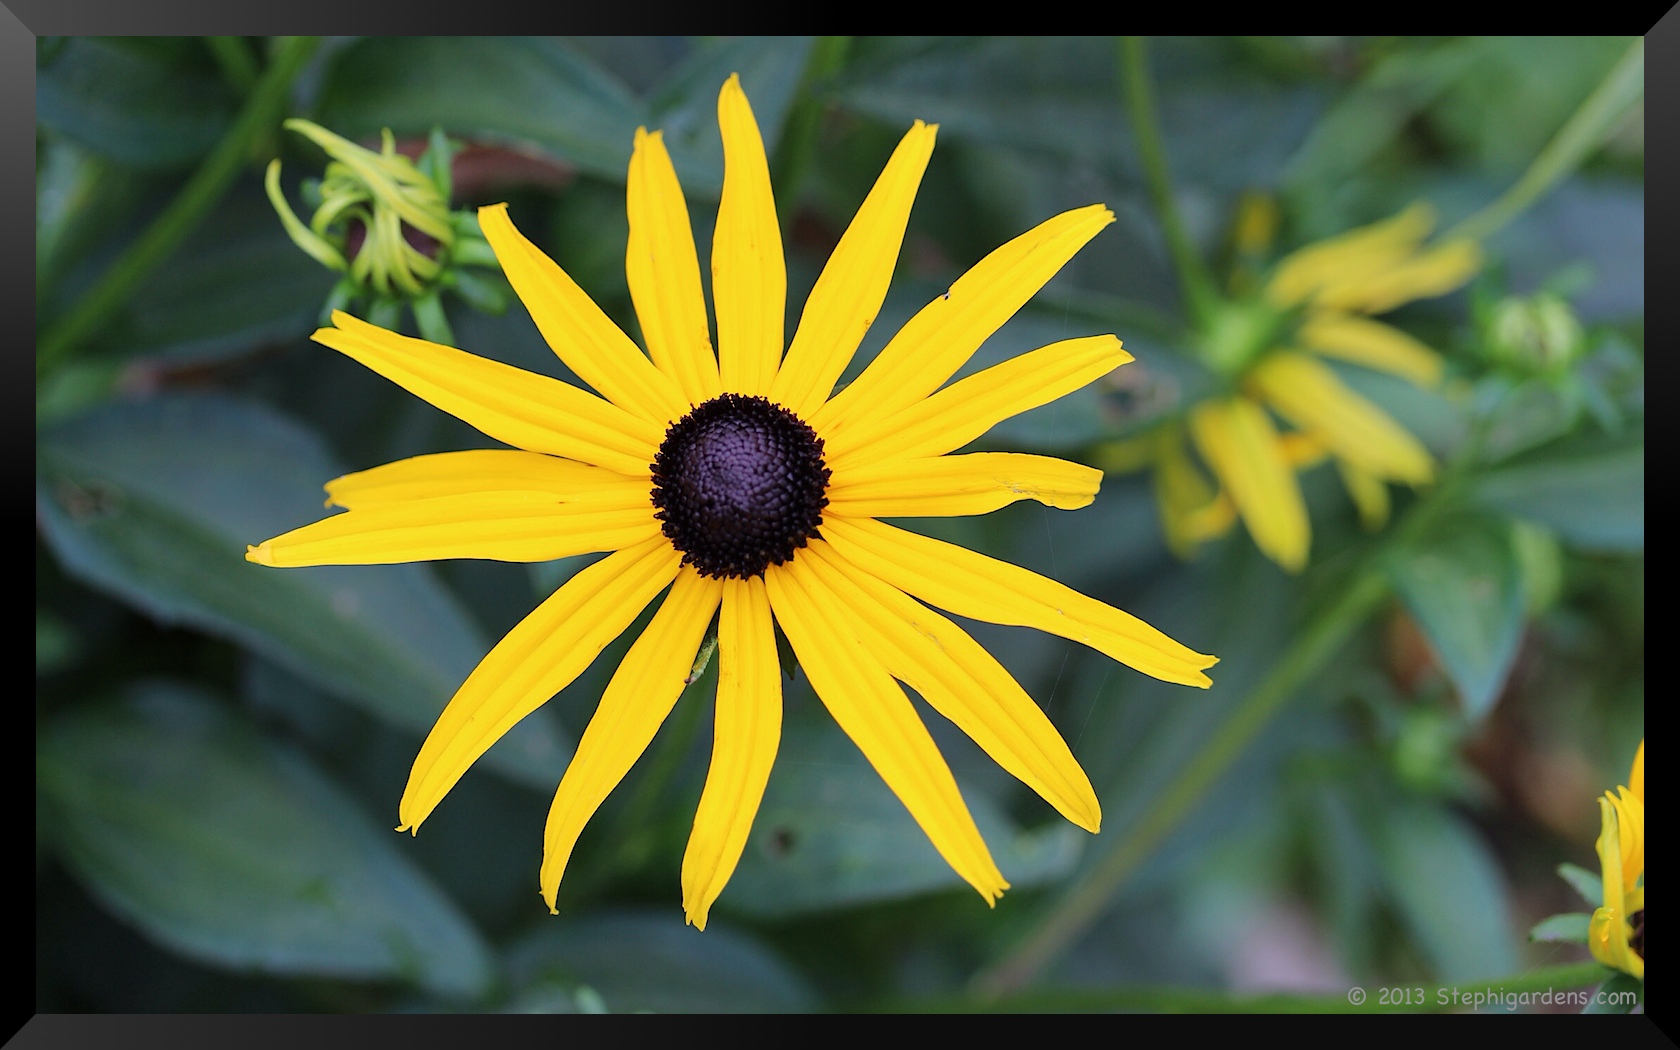
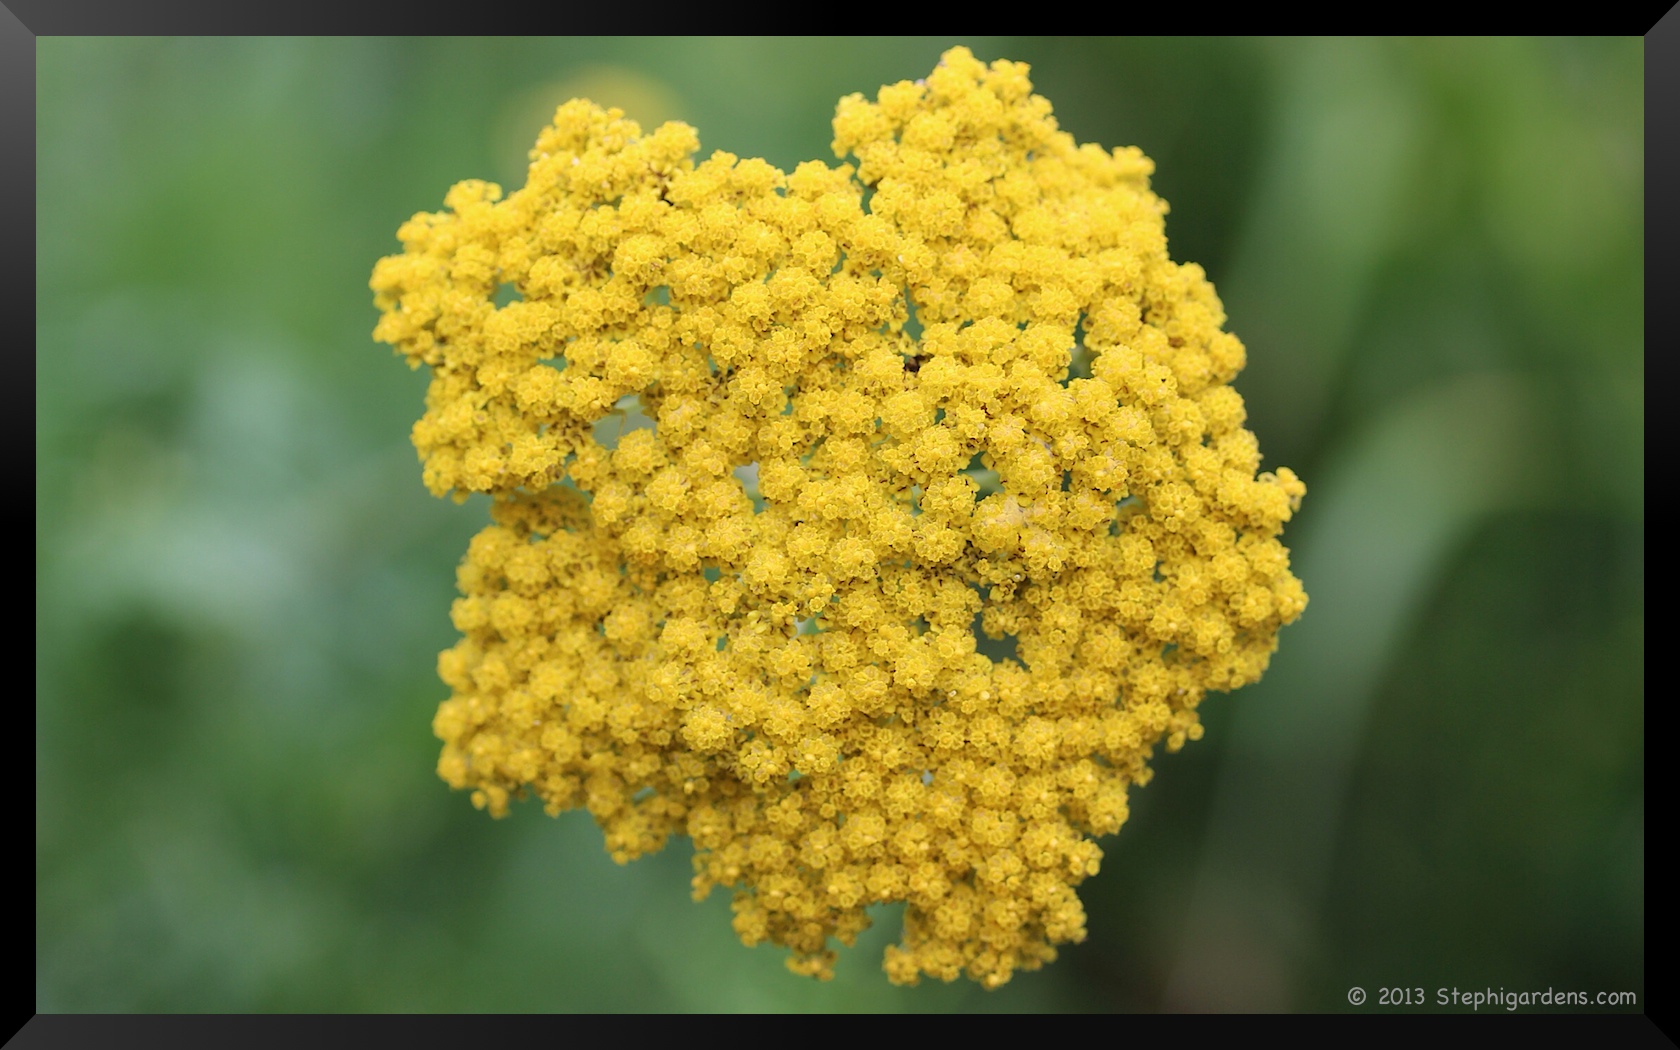
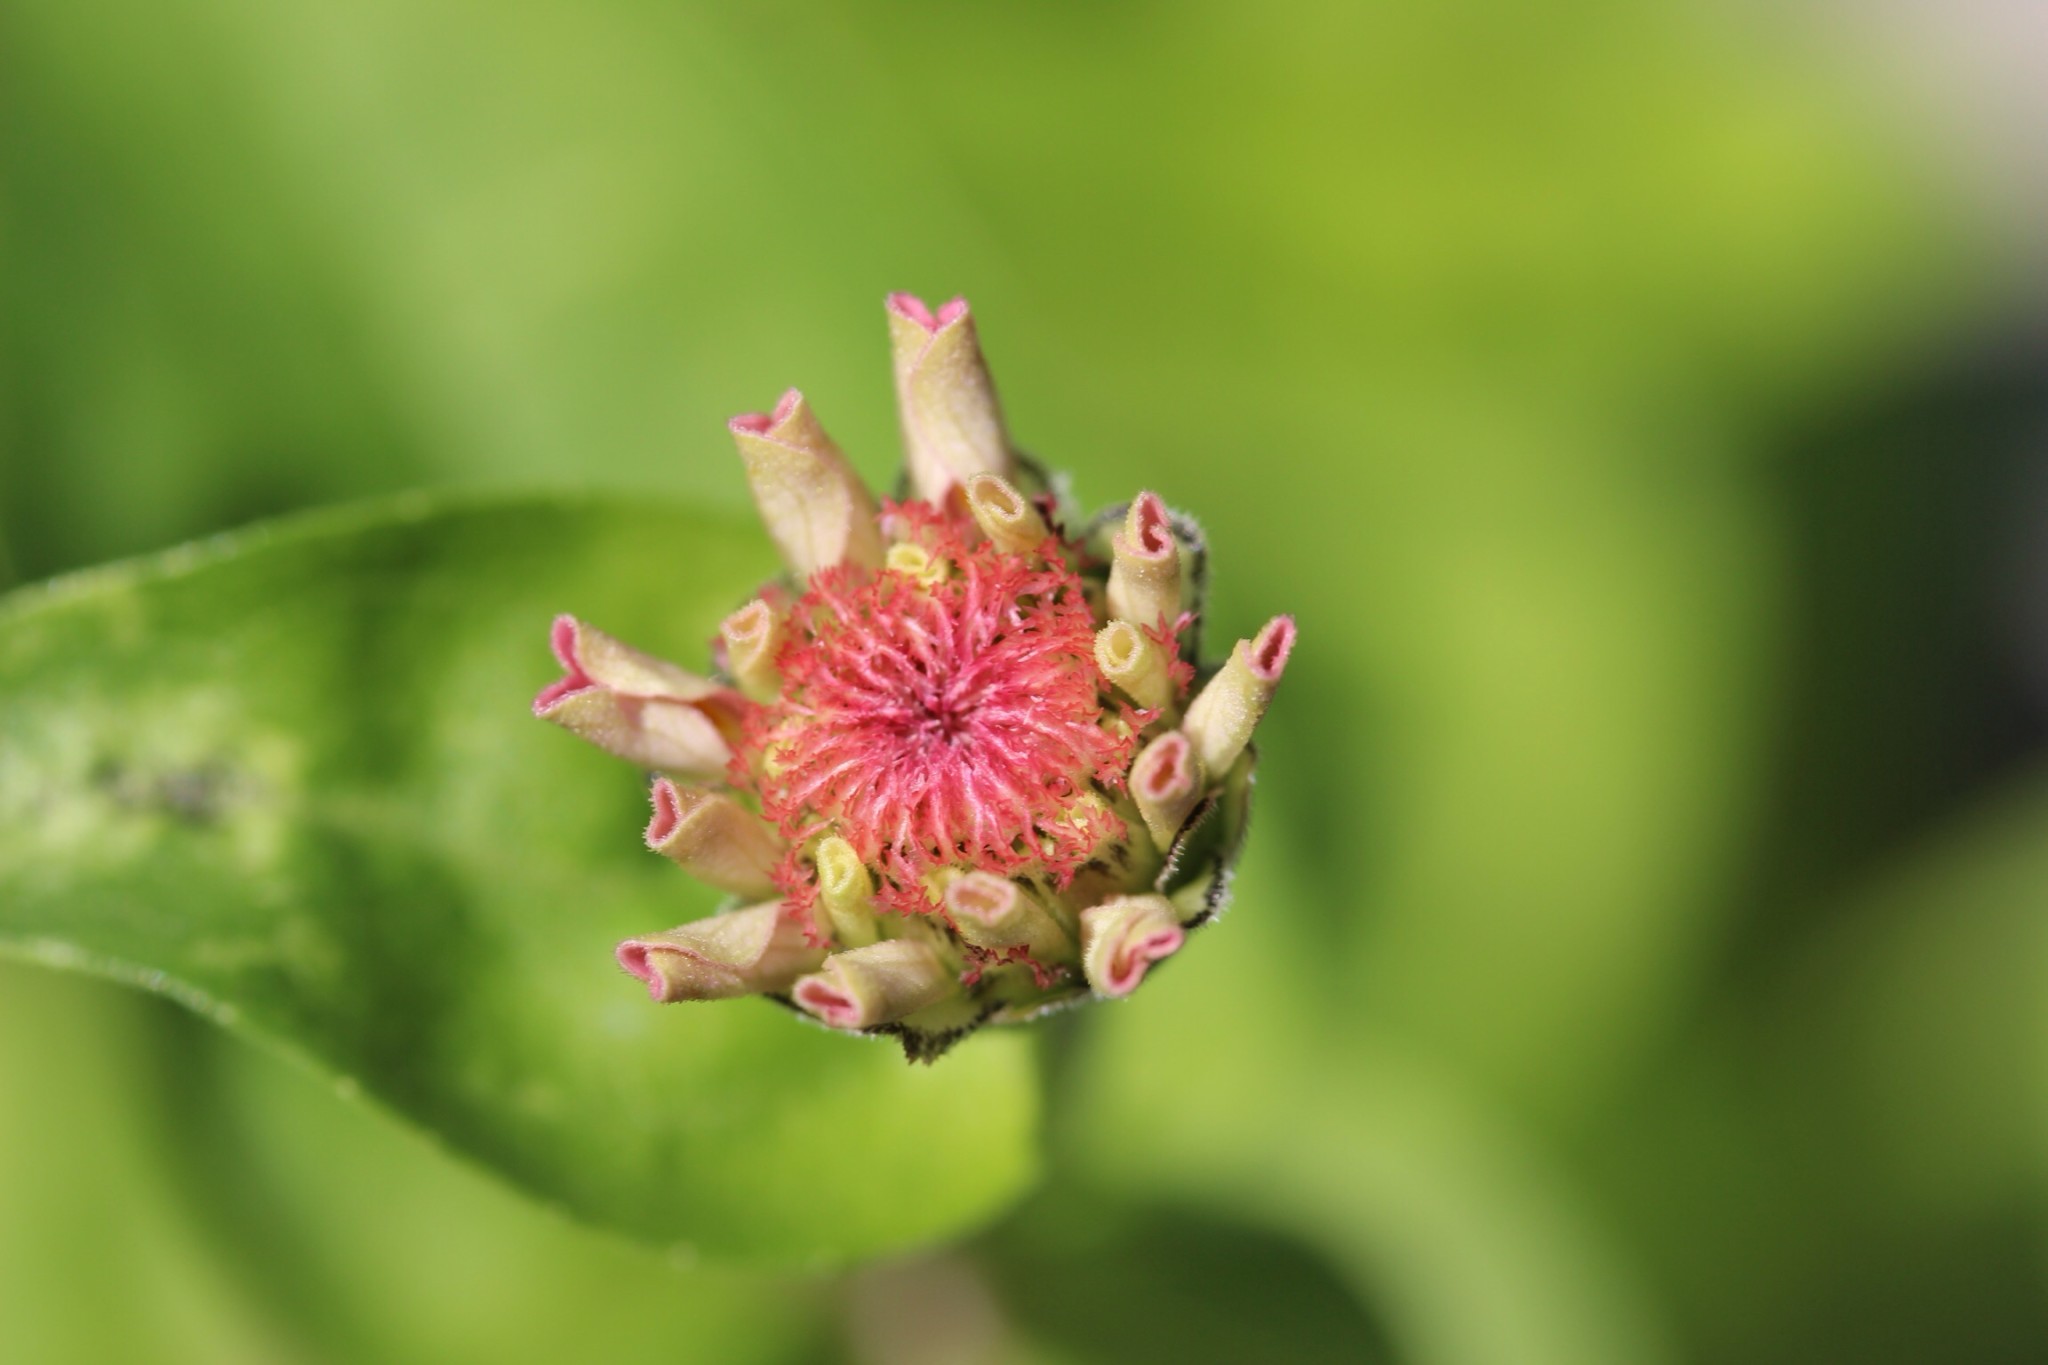
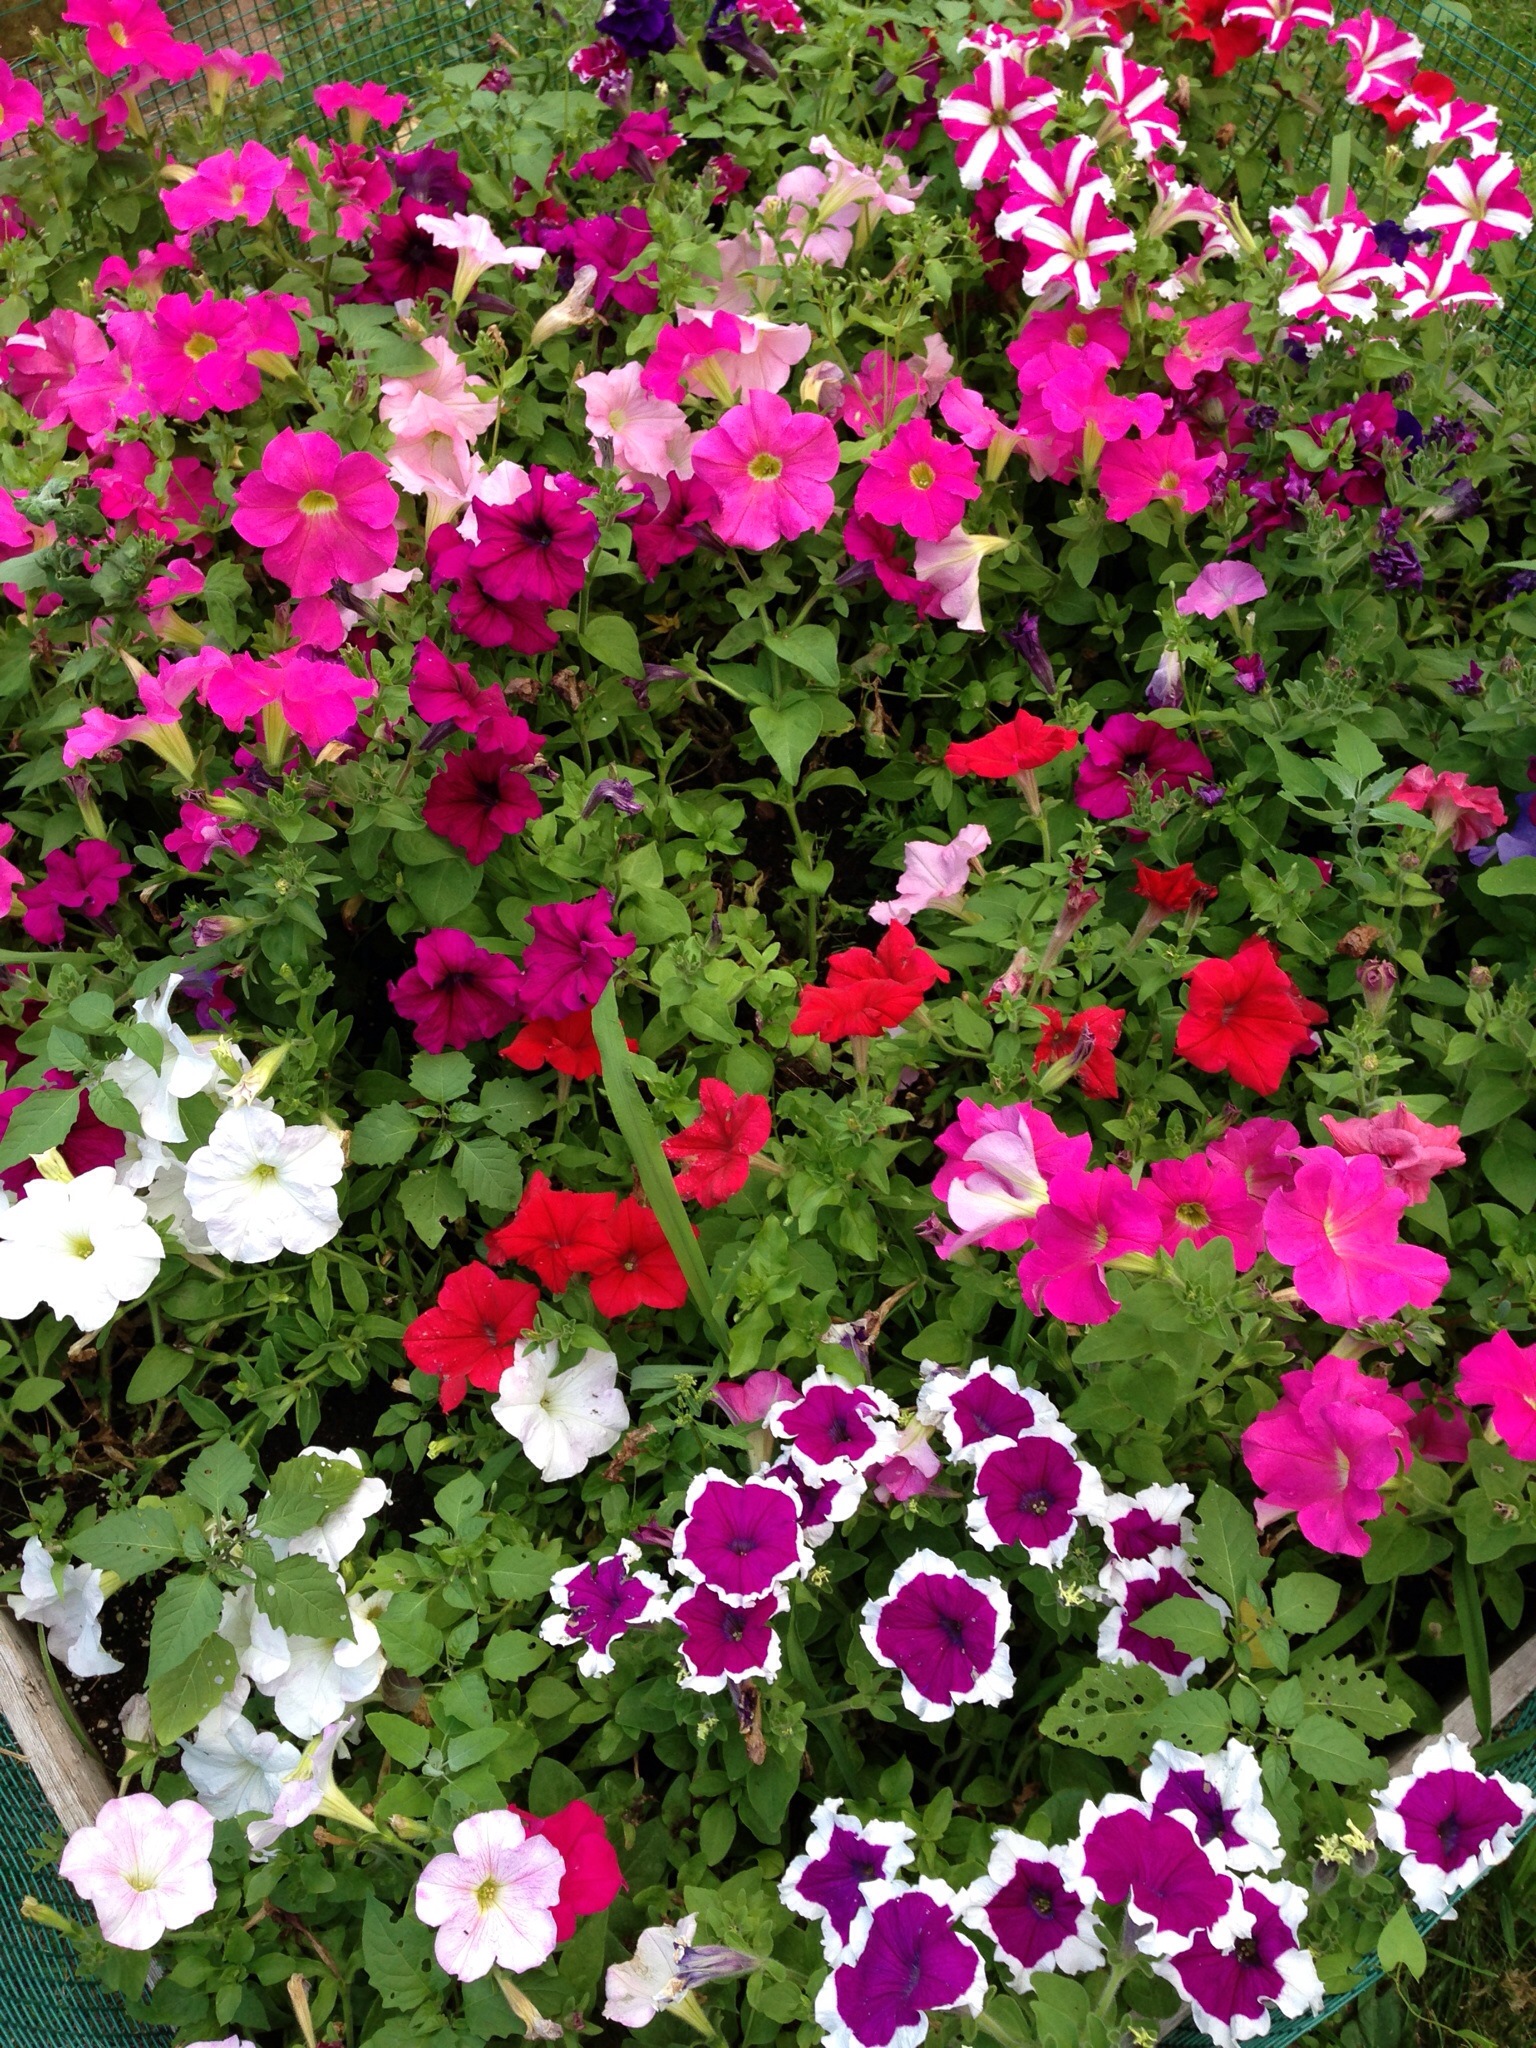
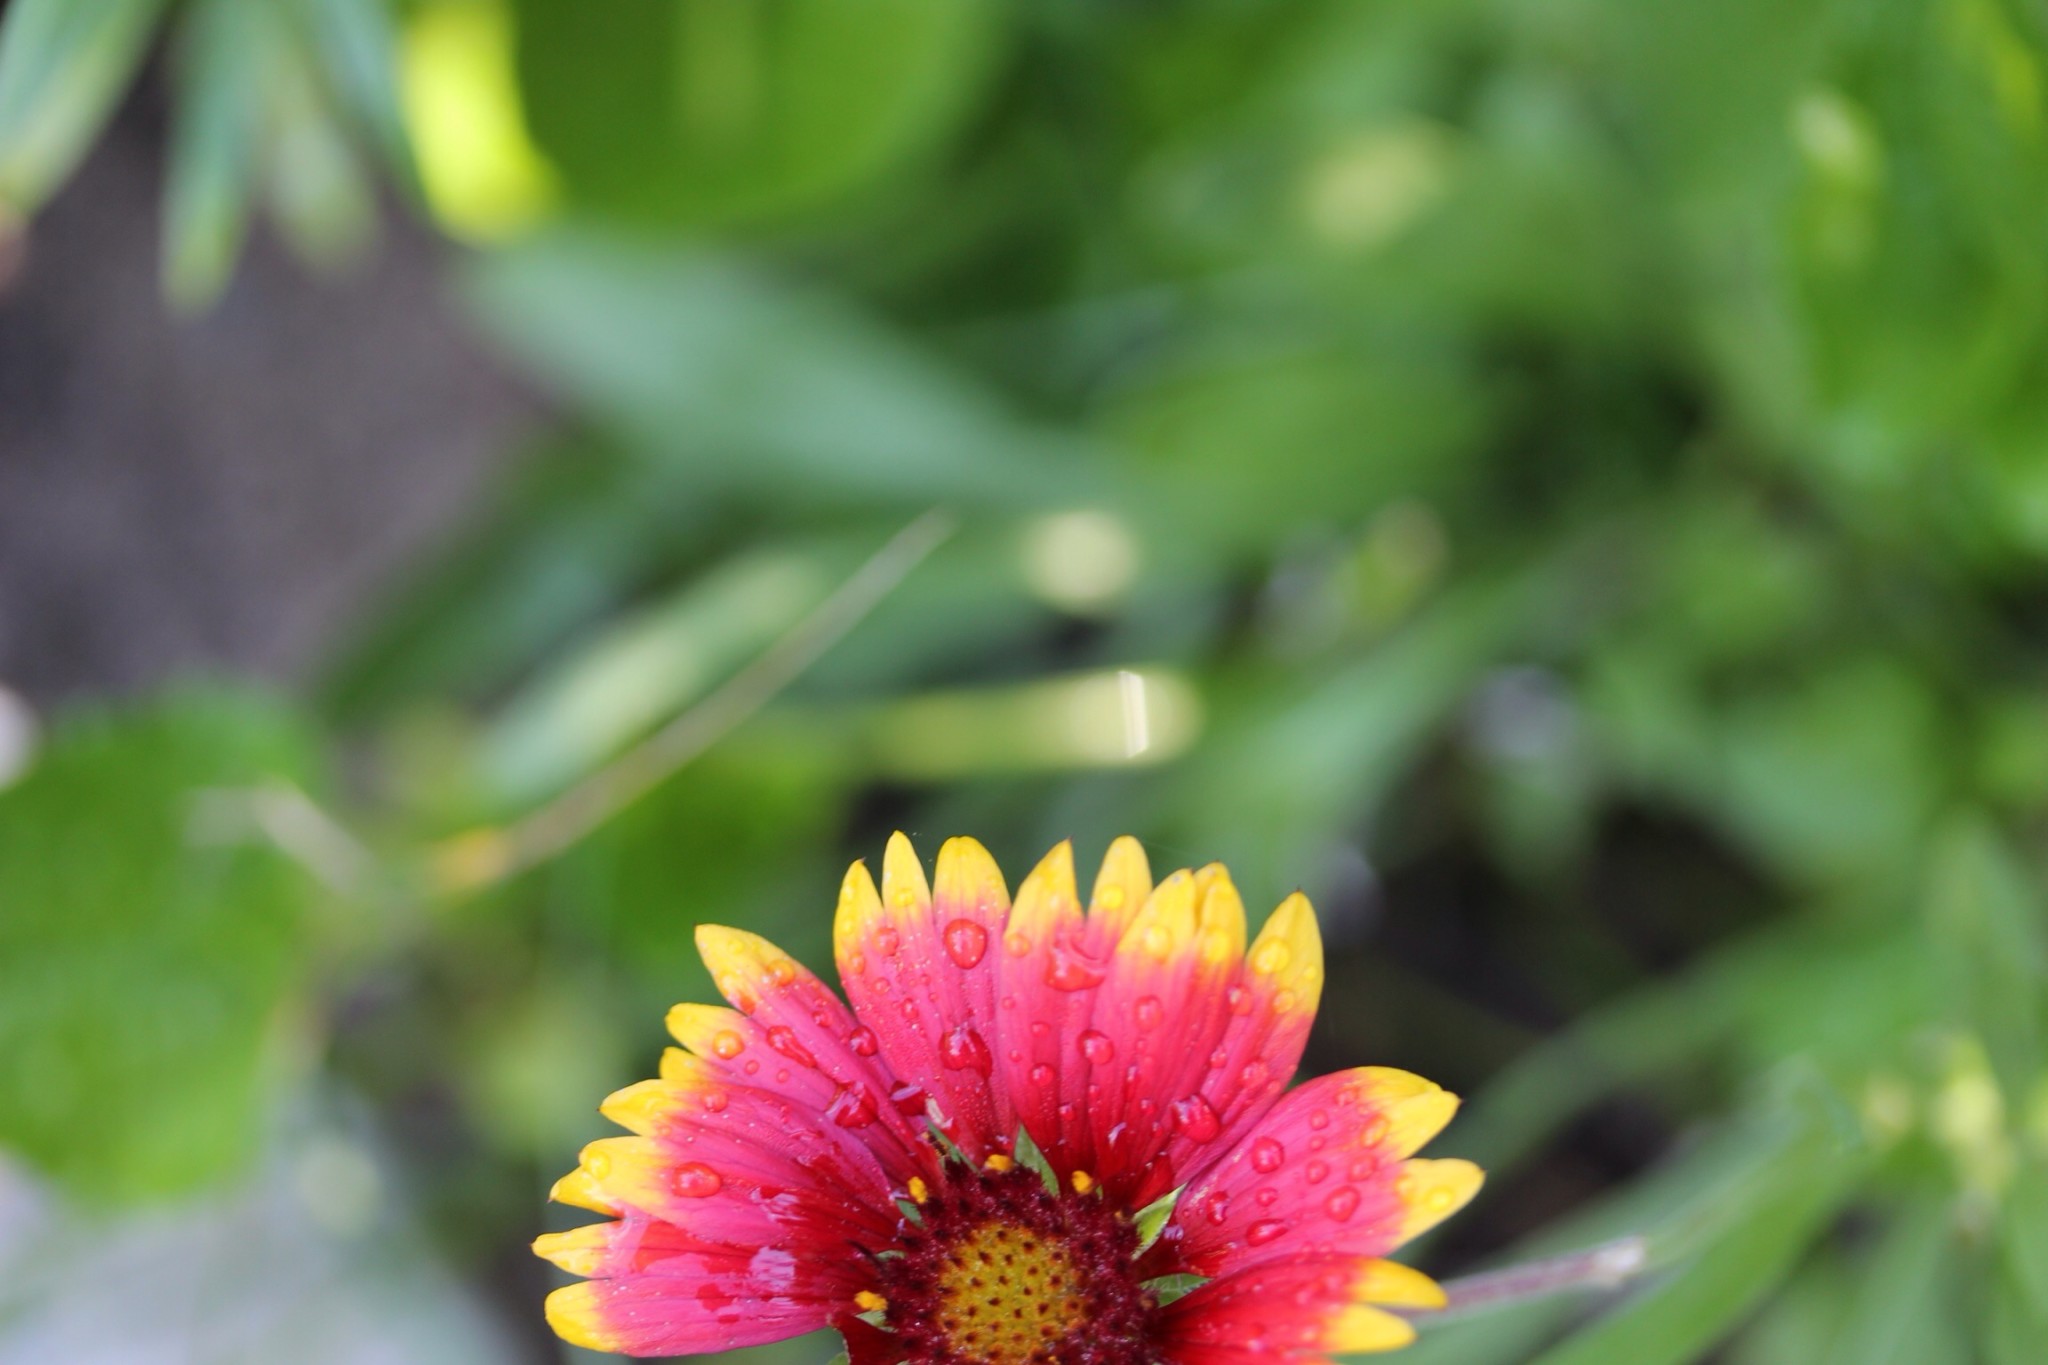
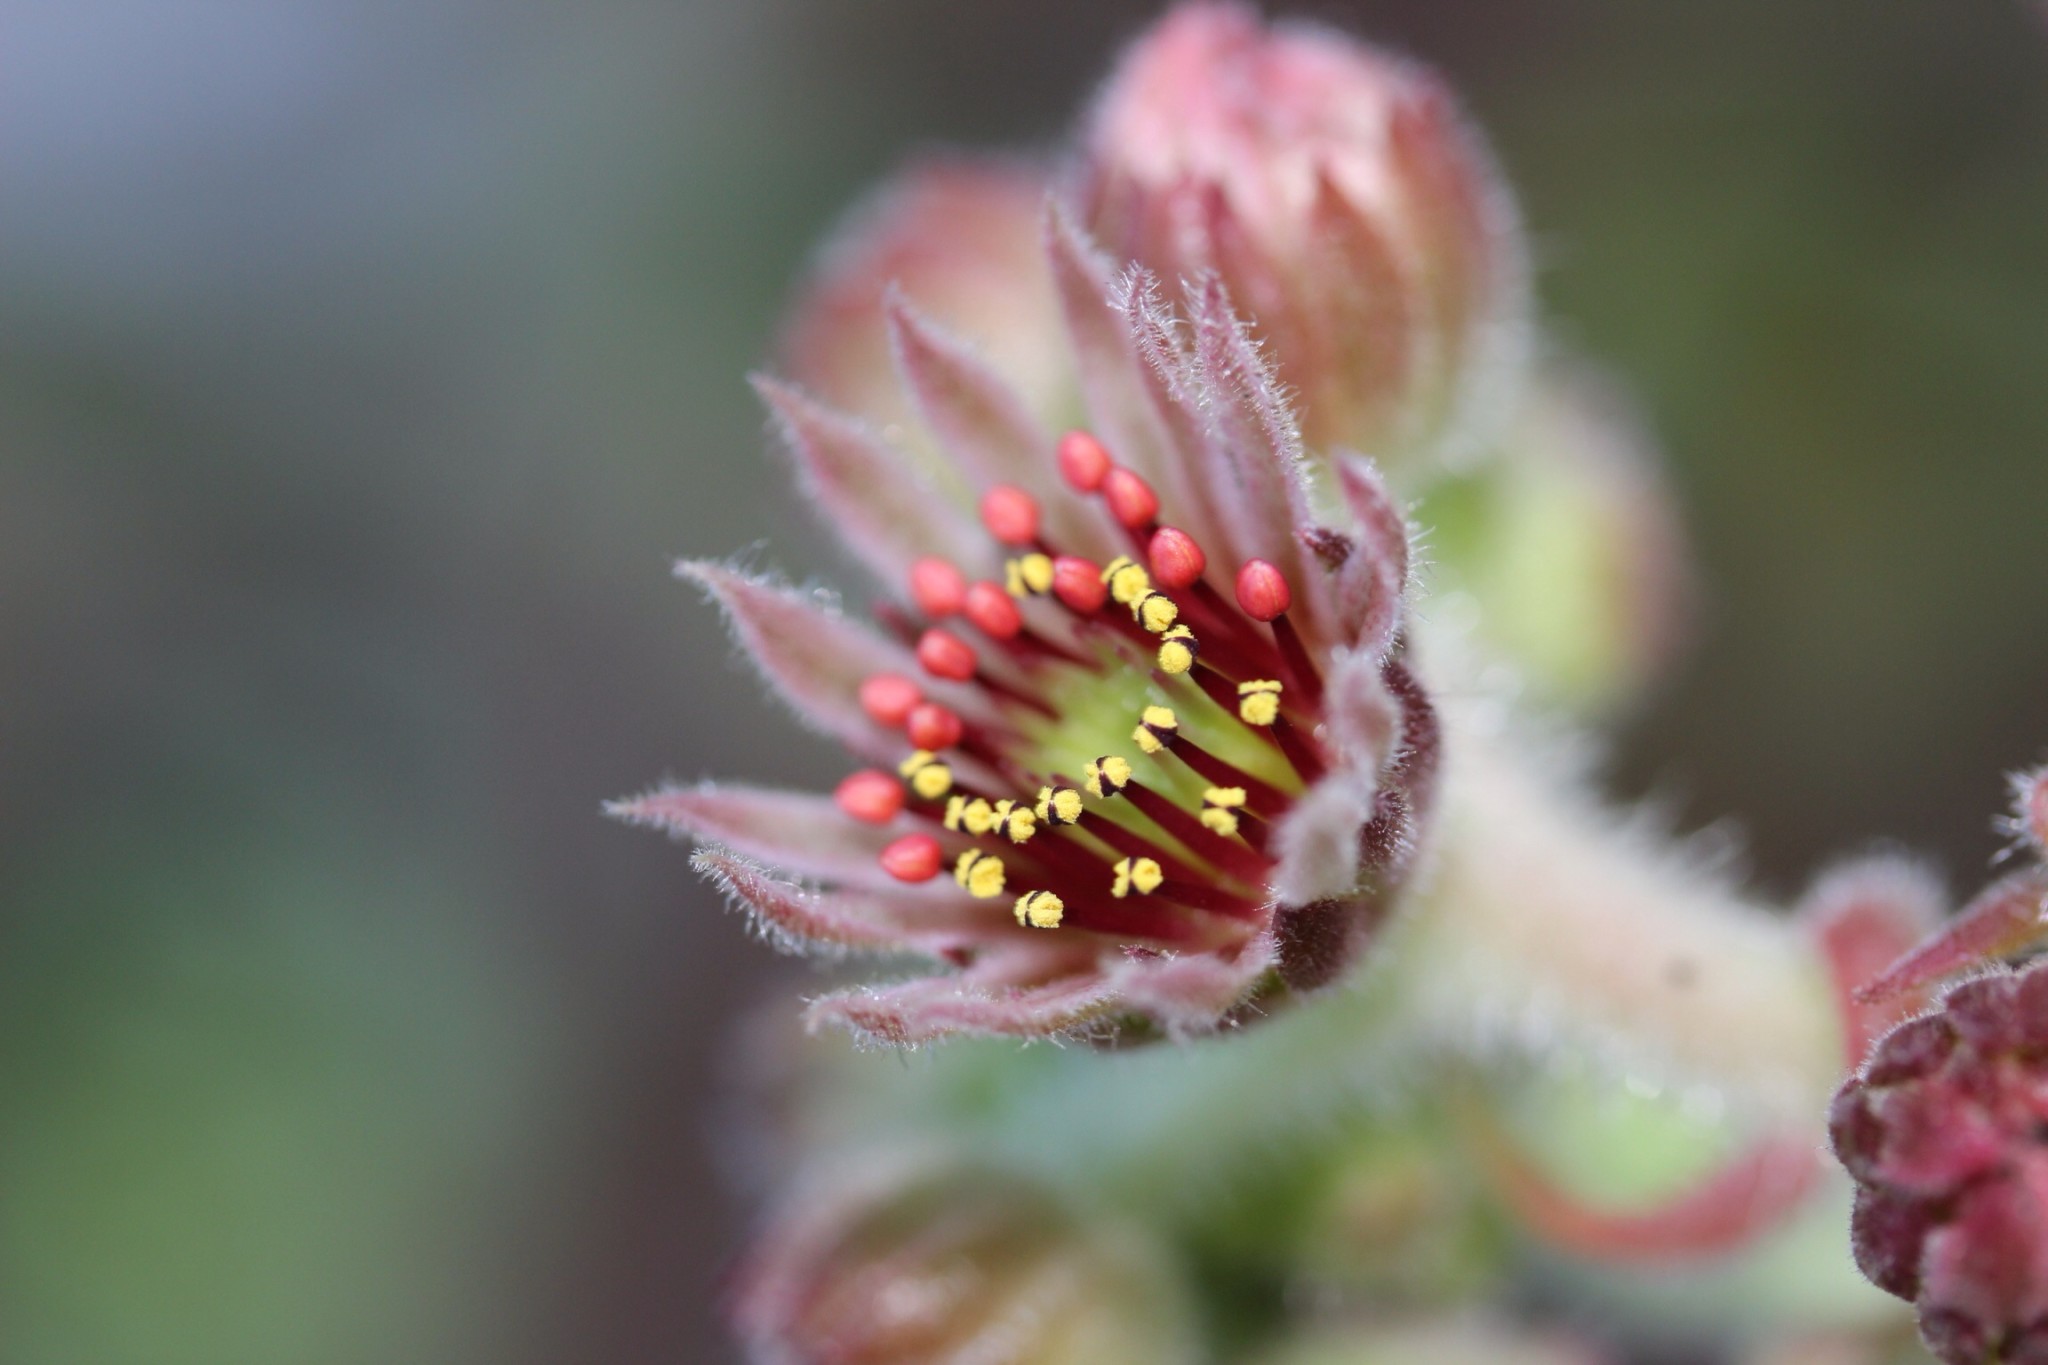
July Garden Photos
These beautiful pictures were taken of my garden by Peggy over the last week.


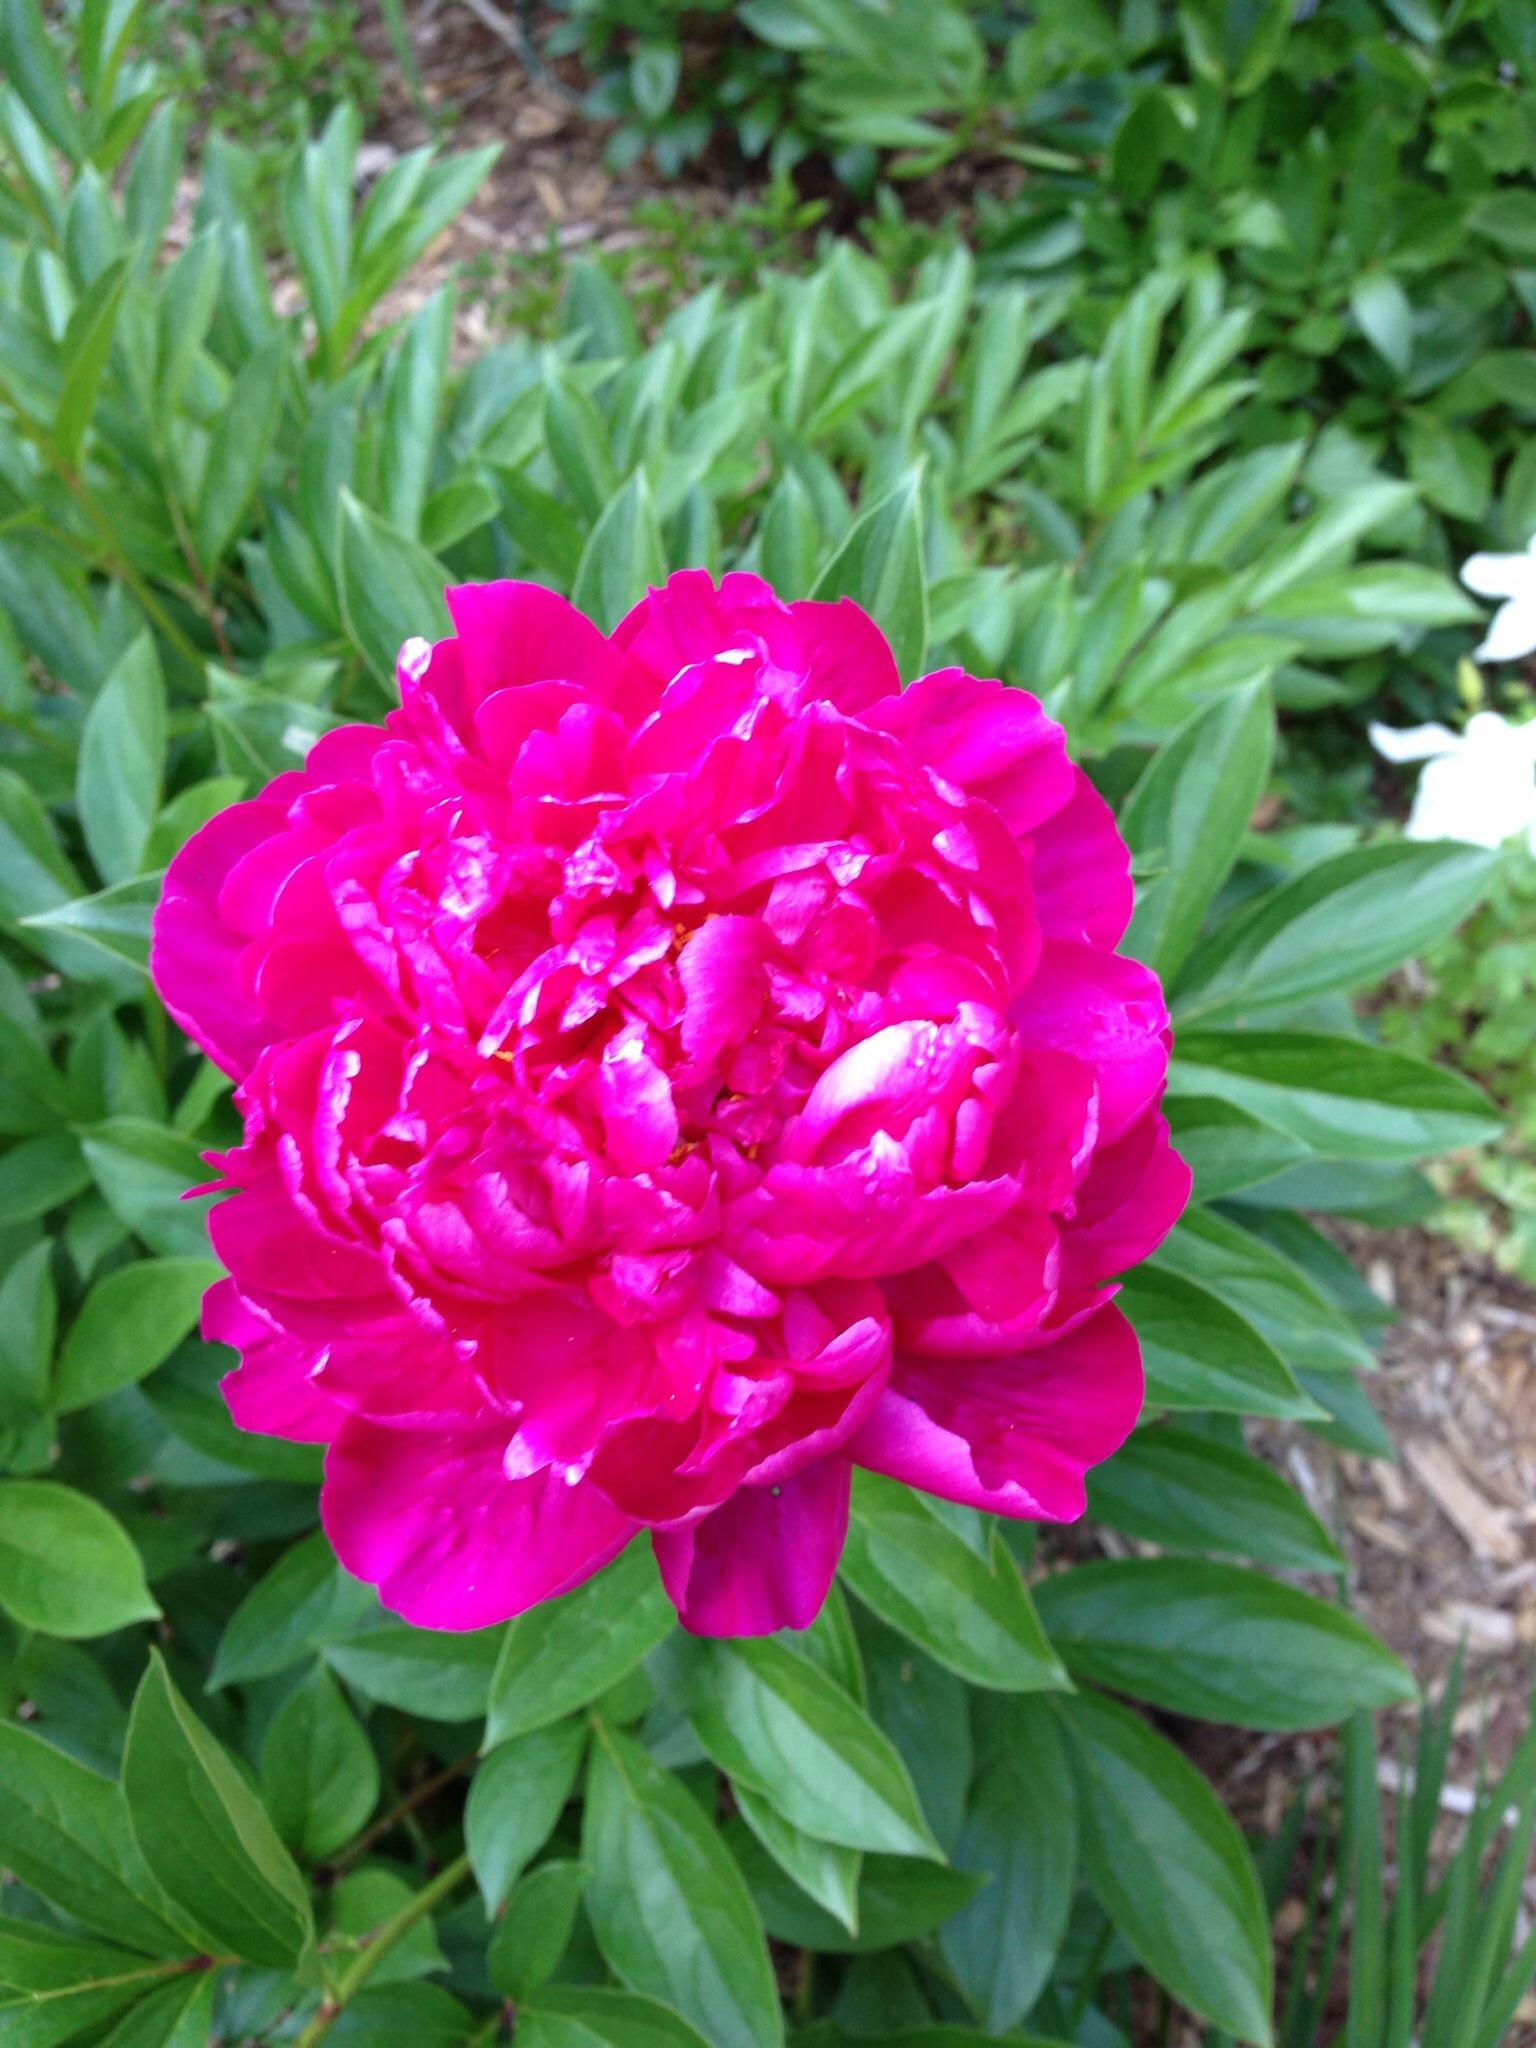
And one brilliant photo of a peony from her garden in Michigan!